The Pioneer Woman Tasty Kitchen
Profile photo of georgiapellegrini

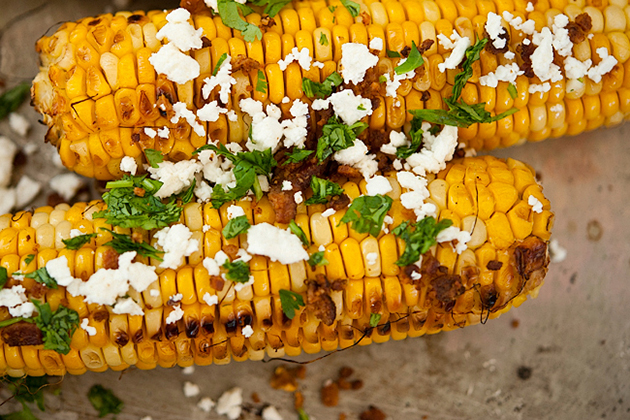
Grilled Corn with Bacon Butter and Cotija Cheese

Posted by in Step-by-Step Recipes

Tasty Kitchen Blog Grilled Corn with Bacon Butter & Cotija Cheese. Guest post by Georgia Pellegrini, recipe submitted by TK member Jessica Merchant of How Sweet It Is.

 
I’ve been trying all summer to grow corn. I planted the seeds in two long rows and waited patiently. Out of one hundred or so seeds, about six sprouted. Then a woodchuck came along and helped himself to about half of those. So I went to the gardening store and bought some corn in containers that had already sprouted. They were hearty little stalks and I spent all day planting them with the help of my brother. They grew for a while and we woodchuck-proofed the fence. But then the little stalks began to disappear, one by one. It was the chipmunks and squirrels this time, and in the end, all that remained were the original three. For some reason those weren’t as tasty to the creatures of the wild. Then one day I went to check on them and guess what? They had vanished, too. Corn growing is decidedly not in my destiny this summer!

Luckily there are some talented farmers down the road. They enabled me to make this mouthwatering recipe by fellow TK contributor Jessica of HowSweetEats that I just couldn’t take my eyes off of: Grilled Corn with Bacon Butter & Cotija Cheese.


Tasty Kitchen Blog Grilled Corn with Bacon Butter & Cotija Cheese. Guest post by Georgia Pellegrini, recipe submitted by TK member Jessica Merchant of How Sweet It Is.

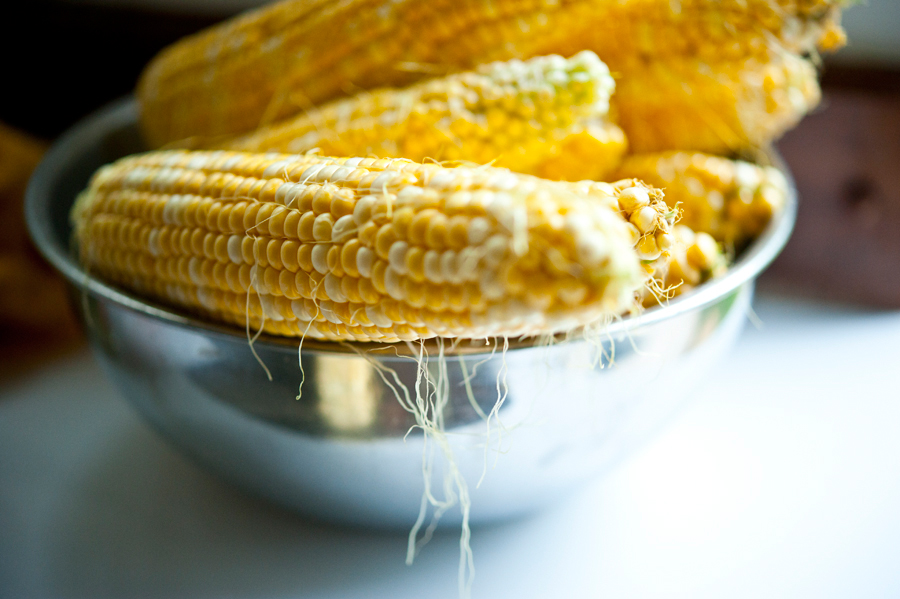
You start by firing up the grill as hot as can be, and shucking your ears of corn. Now you could grill them with the husks on, but it would be a bit messier to peel afterward.
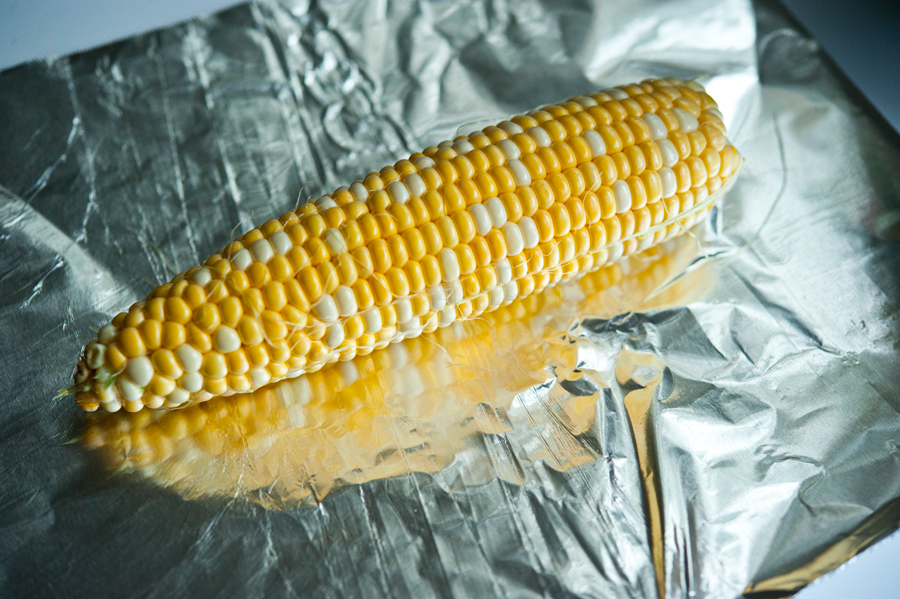


Tasty Kitchen Blog Grilled Corn with Bacon Butter & Cotija Cheese. Guest post by Georgia Pellegrini, recipe submitted by TK member Jessica Merchant of How Sweet It Is.

So if you’re going the clean route, shuck them and lay each piece of corn on a square piece of tin foil.
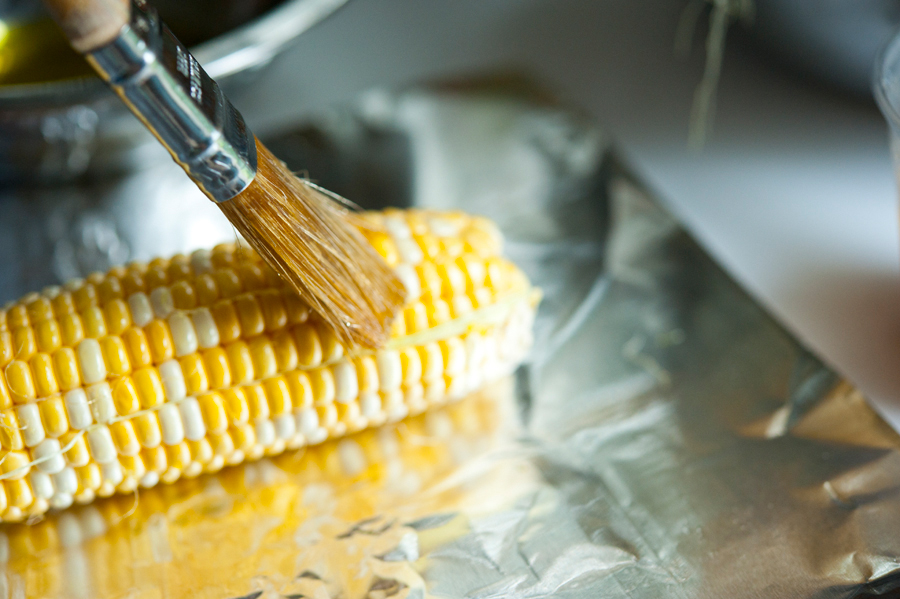


Tasty Kitchen Blog Grilled Corn with Bacon Butter & Cotija Cheese. Guest post by Georgia Pellegrini, recipe submitted by TK member Jessica Merchant of How Sweet It Is.

Next, brush each ear with a good dose of melted butter. Because it’s the right thing to do.
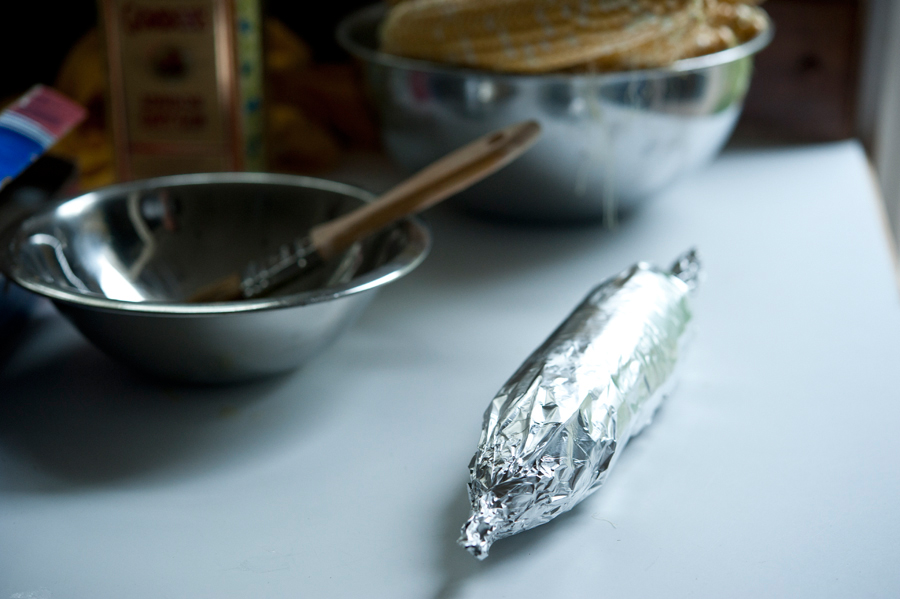


Tasty Kitchen Blog Grilled Corn with Bacon Butter & Cotija Cheese. Guest post by Georgia Pellegrini, recipe submitted by TK member Jessica Merchant of How Sweet It Is.

Then wrap each ear of corn in some tin foil and twist the ends so you have nice little packages.
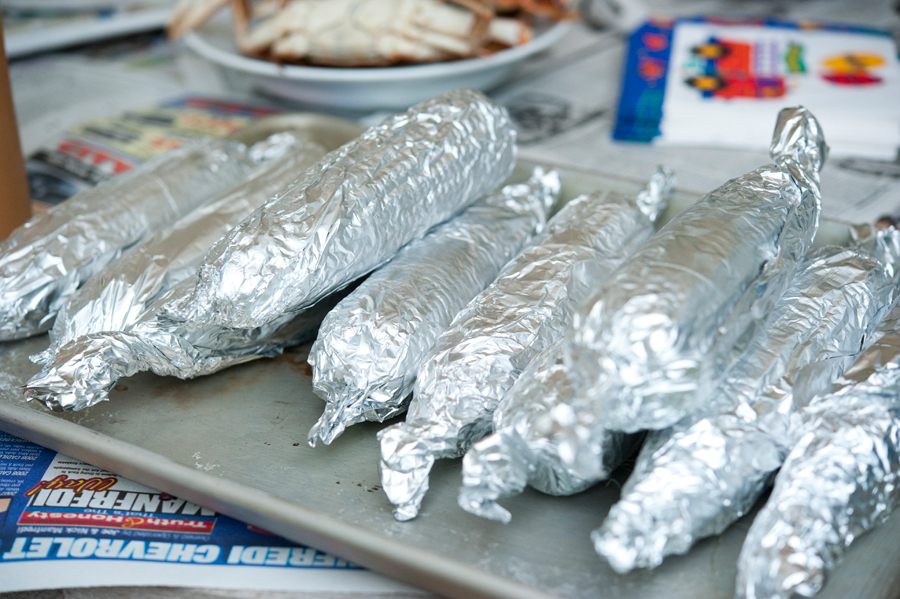


Tasty Kitchen Blog Grilled Corn with Bacon Butter & Cotija Cheese. Guest post by Georgia Pellegrini, recipe submitted by TK member Jessica Merchant of How Sweet It Is.

Set ‘em all on a tray and bring them to the grill! Let them sit on the grill covered, turning them every 5 minutes or so.


Tasty Kitchen Blog Grilled Corn with Bacon Butter & Cotija Cheese. Guest post by Georgia Pellegrini, recipe submitted by TK member Jessica Merchant of How Sweet It Is.

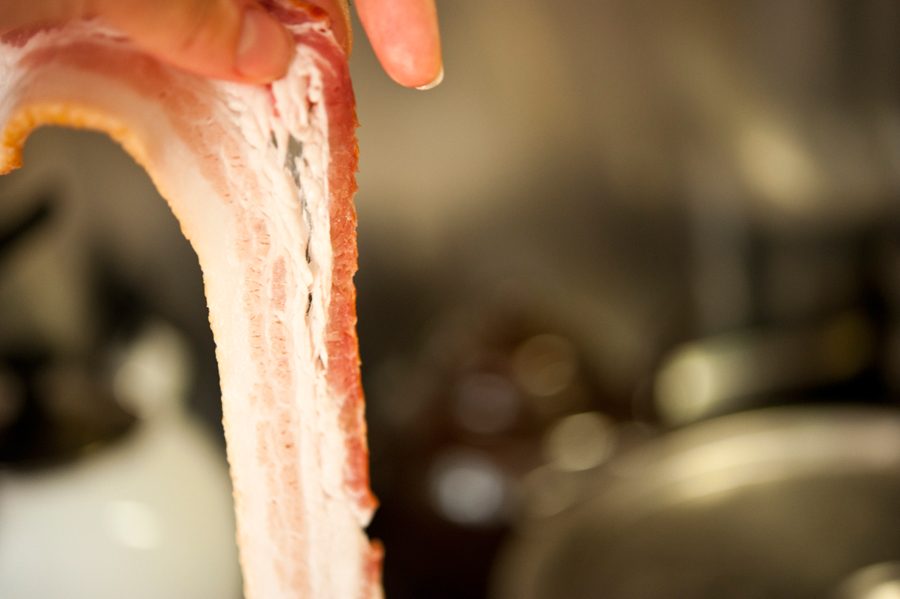
Meanwhile, take out a few big thick strips of bacon.


Tasty Kitchen Blog Grilled Corn with Bacon Butter & Cotija Cheese. Guest post by Georgia Pellegrini, recipe submitted by TK member Jessica Merchant of How Sweet It Is.

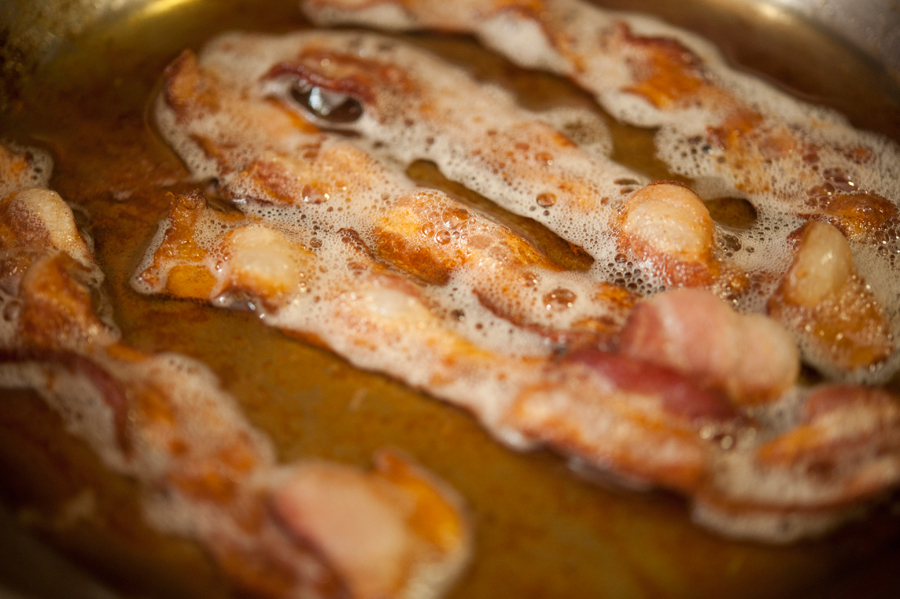
Render them on gentle heat in a skillet until they are crisp and all of the fat has melted into the pan.


Tasty Kitchen Blog Grilled Corn with Bacon Butter & Cotija Cheese. Guest post by Georgia Pellegrini, recipe submitted by TK member Jessica Merchant of How Sweet It Is.

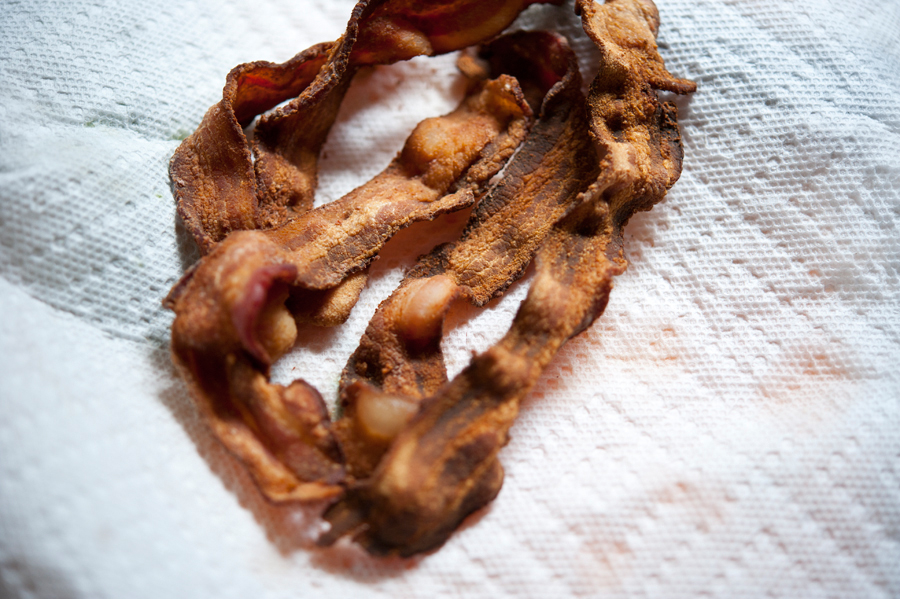
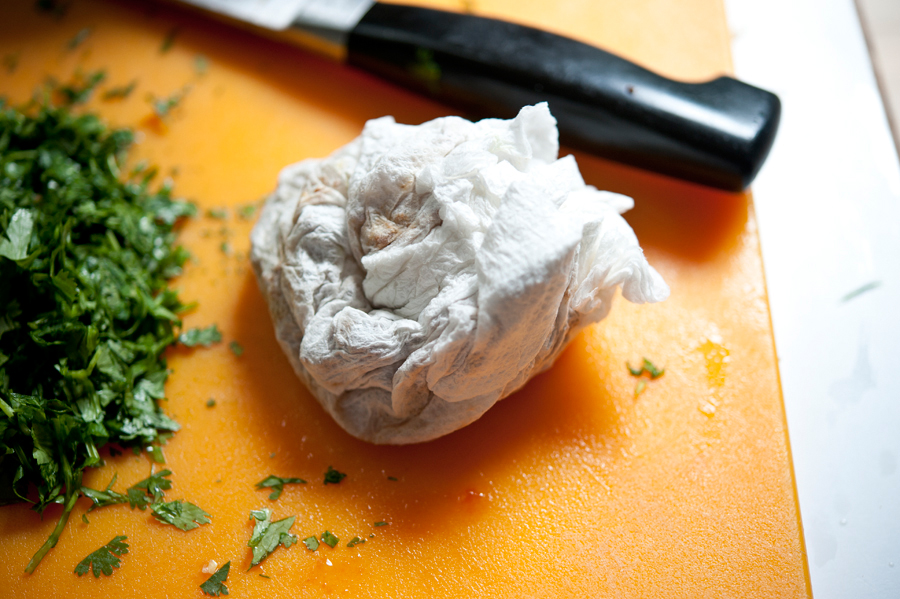
Dry them on some paper towel so they’re good and crisp.


Tasty Kitchen Blog Grilled Corn with Bacon Butter & Cotija Cheese. Guest post by Georgia Pellegrini, recipe submitted by TK member Jessica Merchant of How Sweet It Is.

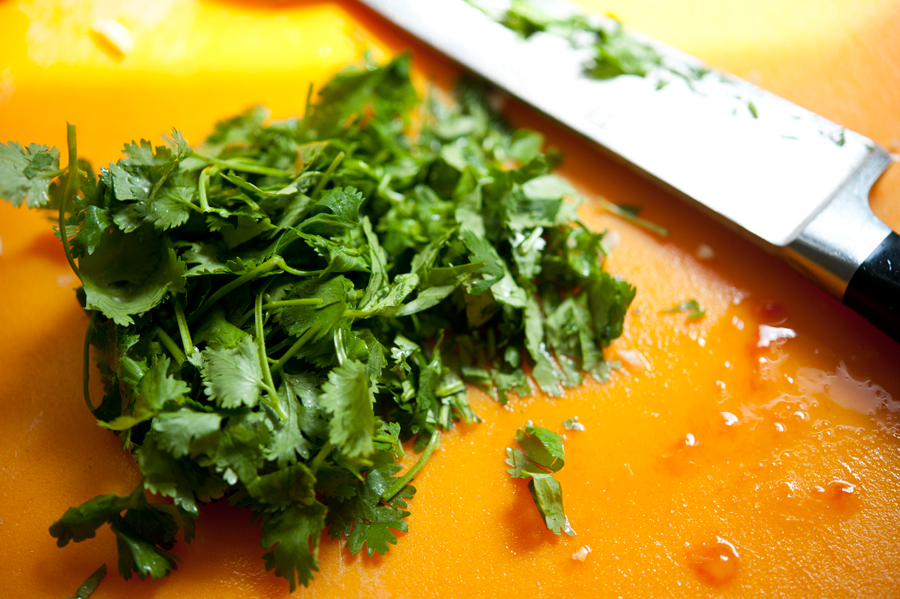
Next comes some chopped cilantro. This will be a garnish for flavor and color, because food isn’t any fun without lots of color involved.


Tasty Kitchen Blog Grilled Corn with Bacon Butter & Cotija Cheese. Guest post by Georgia Pellegrini, recipe submitted by TK member Jessica Merchant of How Sweet It Is.

Next crumble the bacon. I do this by wrapping it in paper towel and crushing it with my hands.


Tasty Kitchen Blog Grilled Corn with Bacon Butter & Cotija Cheese. Guest post by Georgia Pellegrini, recipe submitted by TK member Jessica Merchant of How Sweet It Is.

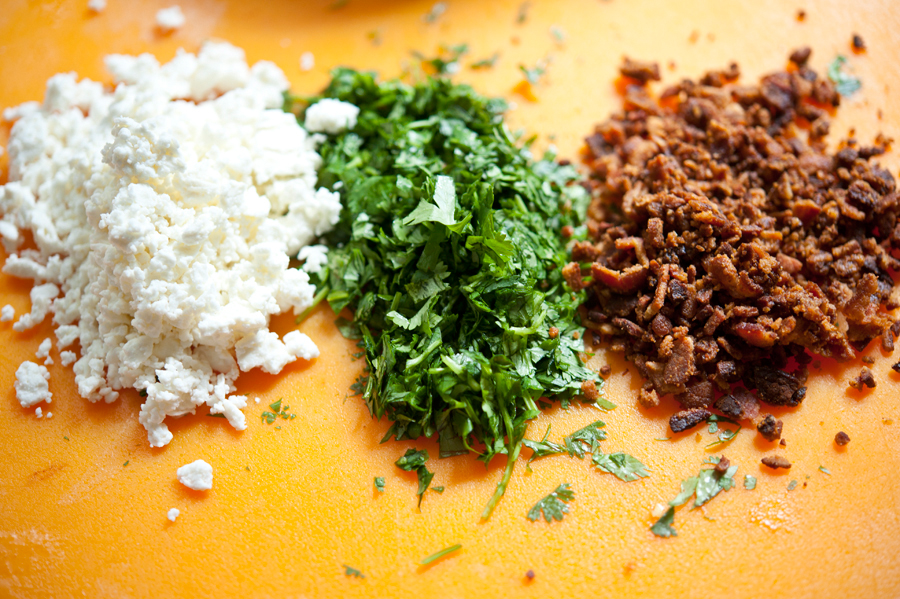
Set out your crumbly cheese along with your cilantro and bacon. If you can’t find cotija cheese at your store, feta or blue cheese are fabulous as well.


Tasty Kitchen Blog Grilled Corn with Bacon Butter & Cotija Cheese. Guest post by Georgia Pellegrini, recipe submitted by TK member Jessica Merchant of How Sweet It Is.

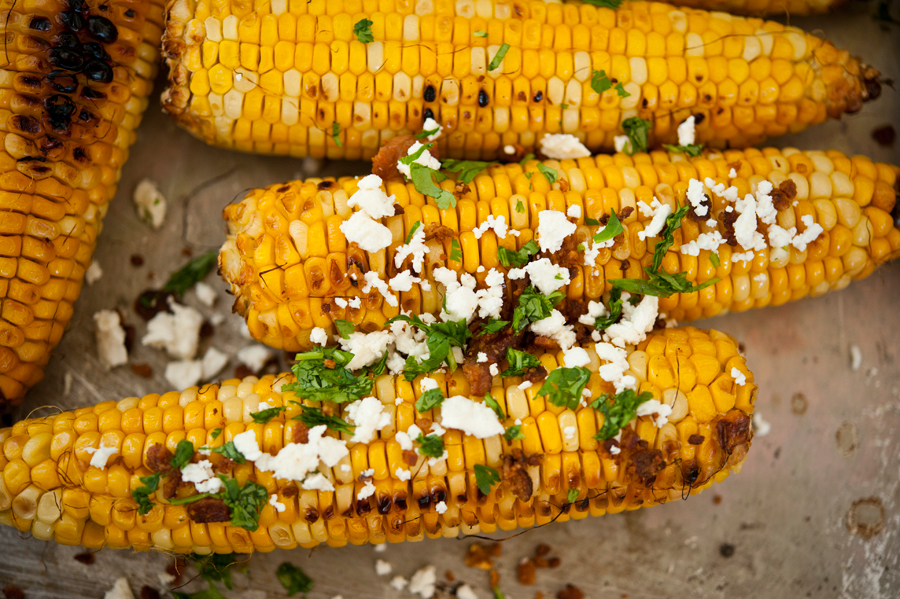
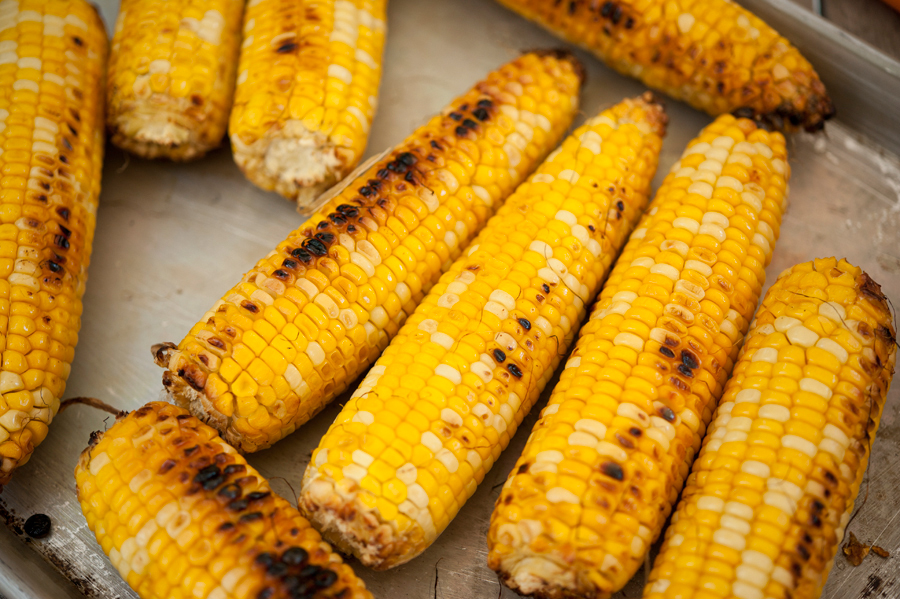
The corn is ready when it has nice grill marks and the kernels look a bit dehydrated. It will have a denser texture, which is nice.


Tasty Kitchen Blog Grilled Corn with Bacon Butter & Cotija Cheese. Guest post by Georgia Pellegrini, recipe submitted by TK member Jessica Merchant of How Sweet It Is.

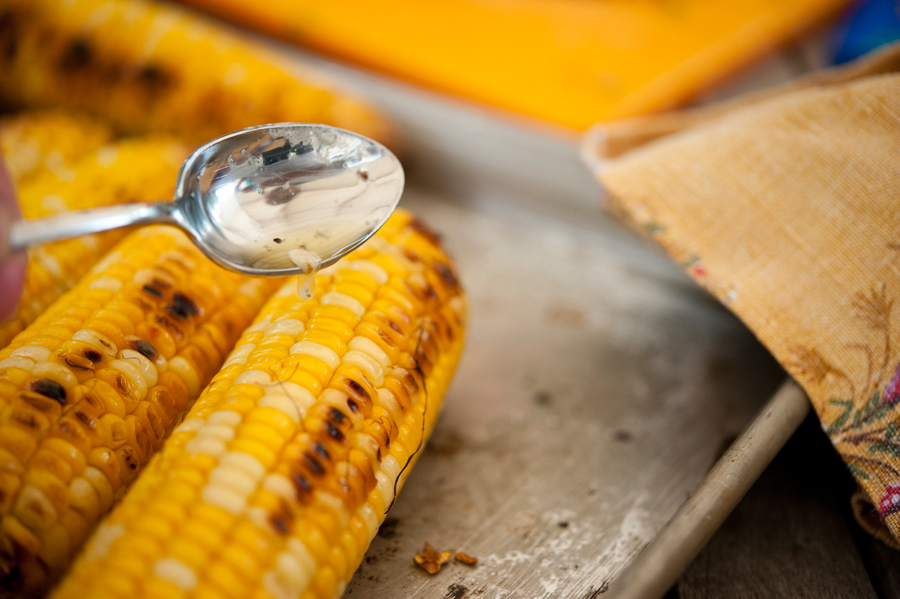
Drizzle on some melted butter. Now you could combine the bacon bits with the butter here and brush it all on, the way Jessica did.
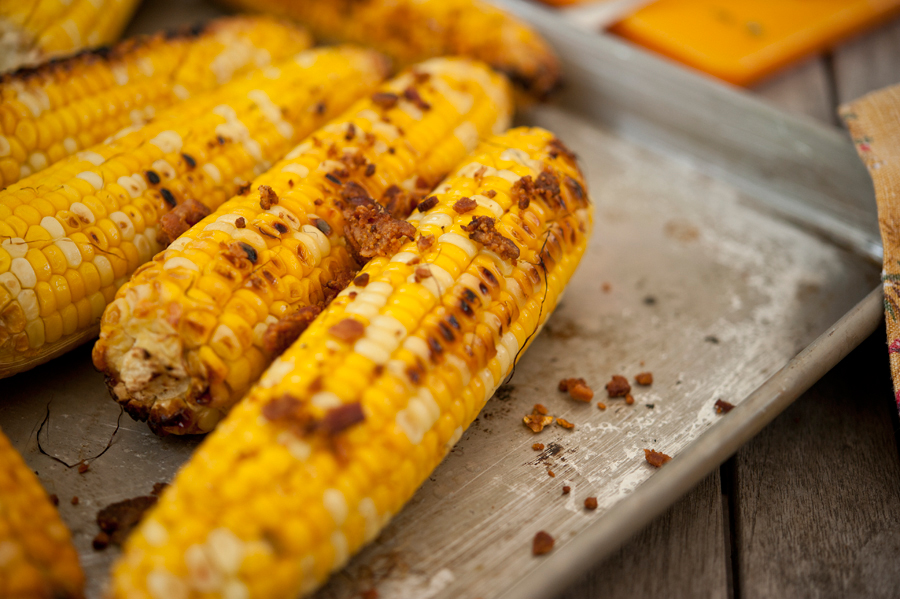


Tasty Kitchen Blog Grilled Corn with Bacon Butter & Cotija Cheese. Guest post by Georgia Pellegrini, recipe submitted by TK member Jessica Merchant of How Sweet It Is.

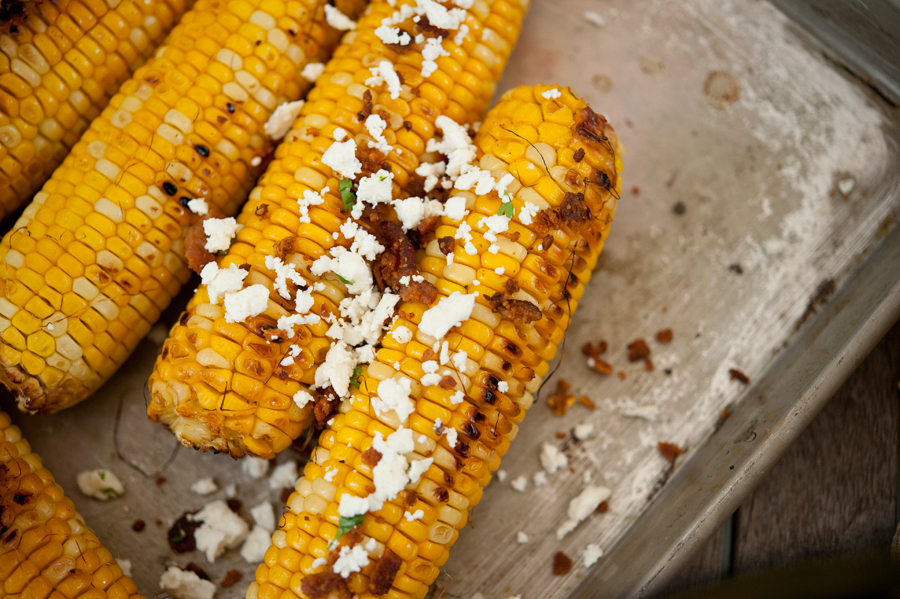
Or you could just sprinkle the bacon on afterward.


Tasty Kitchen Blog Grilled Corn with Bacon Butter & Cotija Cheese. Guest post by Georgia Pellegrini, recipe submitted by TK member Jessica Merchant of How Sweet It Is.

Then add lots and lots of cheese …


Tasty Kitchen Blog Grilled Corn with Bacon Butter & Cotija Cheese. Guest post by Georgia Pellegrini, recipe submitted by TK member Jessica Merchant of How Sweet It Is.

And at long last, the cilantro. Then serve ‘er up! It’s a beautiful dish and a definite crowd pleaser.

Thanks to Jessica for the recipe! And check out her blog How Sweet Eats for other crowd pleasing recipes.


Printable Recipe
Grilled Corn with Bacon Butter and Cotija Cheese

See post on HowSweetEats’s site!
4.75 Mitt(s) 4 Rating(s)4 votes, average: 4.75 out of 54 votes, average: 4.75 out of 54 votes, average: 4.75 out of 54 votes, average: 4.75 out of 54 votes, average: 4.75 out of 5

Prep Time:

Cook Time:

Difficulty: Easy

Servings: 6

6
x

Print Options

Page size Letter 3x5 4x6
Text Size Small Medium Large
Content Include description
Include prep time, etc.
Show image

Description

Caramel-y kernels slathered with bacon butter and rolled in cheese crumbles. You can’t say no.

Ingredients

  • 6 ears Corn
  • 1 Tablespoon Olive Oil
  • 1 teaspoon Black Pepper
  • 3 Tablespoons Unsalted Butter, Softened
  • 2 slices Bacon, Fried And Crumbled Into Very Tiny Pieces
  • 4 ounces, weight Cotjia Cheese, Crumbled
  • ¼ cups Fresh Cilantro For Garnish

Preparation Instructions

Preheat your grill to the highest setting. Shuck corn ears and brush each with olive oil and sprinkle with pepper. Wrap each in a square of aluminum foil, just so there is one layer covering the corn. Grill for about 5 minutes each “side”—rotating corn 4-5 times during grilling—for a total of about 25-30 minutes. While grilling corn, combine softened butter with crumbled bacon. Crumble cotija cheese on a large plate.

Once corn is finished, let sit for about 5 minutes to cool a bit before serving. The corn will still be very hot. Serve with a brush for the bacon butter, the plate of cotija to roll the corn in, and a bunch of fresh cilantro for garnish.

Note: there are so many ways to grill corn and this is what we have found to work best for us. Feel free to grill your corn another way if you’d like. Also, if you can’t find cotija cheese I’m sure you could substitute feta or blue cheese—something that crumbles.


_______________________________________

There’s so much to say about Georgia, we don’t know where to start. Leaving Wall Street for the French Culinary Institute, followed by a stint at the Gramercy Tavern and La Chassagnette in France, her passion for food and food traditions are evident and inspiring. Visit her site at Georgia Pellegrini, where you’ll find more recipes, photos, learn all about her wonderful book Food Heroes, and enjoy her latest adventures.


Profile photo of georgiapellegrini

Chicken in Coconut-Lime Peanut Sauce

Posted by in Step-by-Step Recipes

Tasty Kitchen Blog: Chicken in Coconut-Lime Peanut Sauce. Guest post by Georgia Pellegrini, recipe submitted by TK member Marla Meredith of Family Fresh Cooking.

 
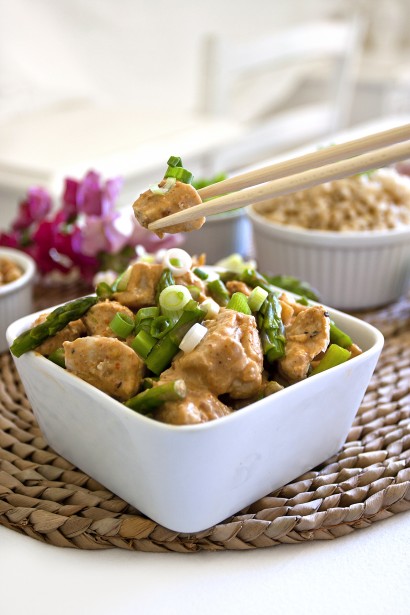
I get such a craving for Asian food sometimes. I’m not very good at cooking it myself—there’s something about the flavor combinations that aren’t intuitive to me while cooking, but are so delicious when put in front of me at a dinner table. I noticed that Tasty Kitchen member Marla Meridith had a delicious-looking recipe for Chicken in Coconut-Lime Peanut Sauce, and since Marla’s recipes are always so accessible, I thought I’d give it a whirl. Peanut sauce is always worth exploring.


Tasty Kitchen Blog: Chicken in Coconut-Lime Peanut Sauce. Guest post by Georgia Pellegrini, recipe submitted by TK member Marla Meredith of Family Fresh Cooking.

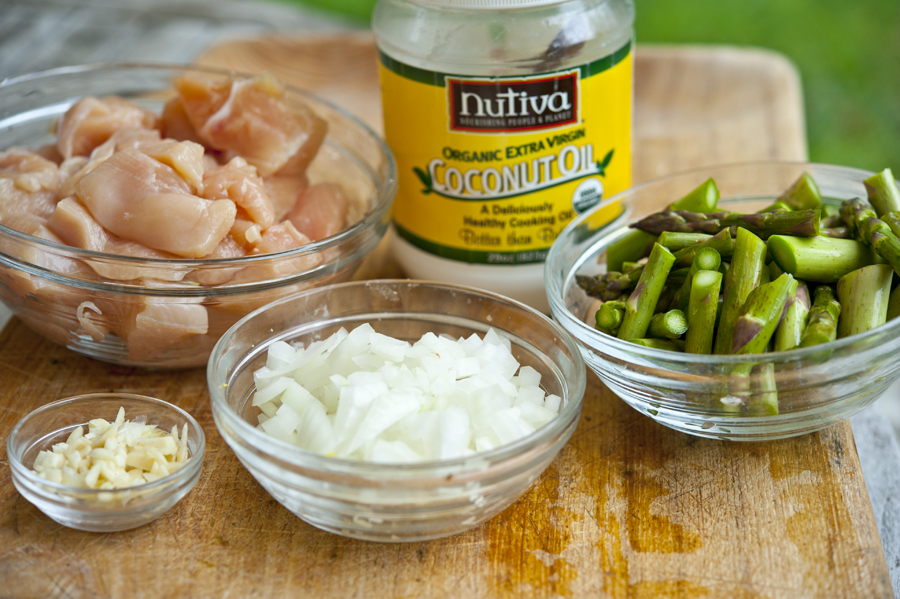
There are two components to this recipe: the chicken and the sauce. To cook the chicken, you’ll need diced onions, diced garlic, asparagus, cubed chicken breast and coconut oil for sautéing. If you can’t find coconut oil, no problem—butter or oil will work well.


Tasty Kitchen Blog: Chicken in Coconut-Lime Peanut Sauce. Guest post by Georgia Pellegrini, recipe submitted by TK member Marla Meredith of Family Fresh Cooking.

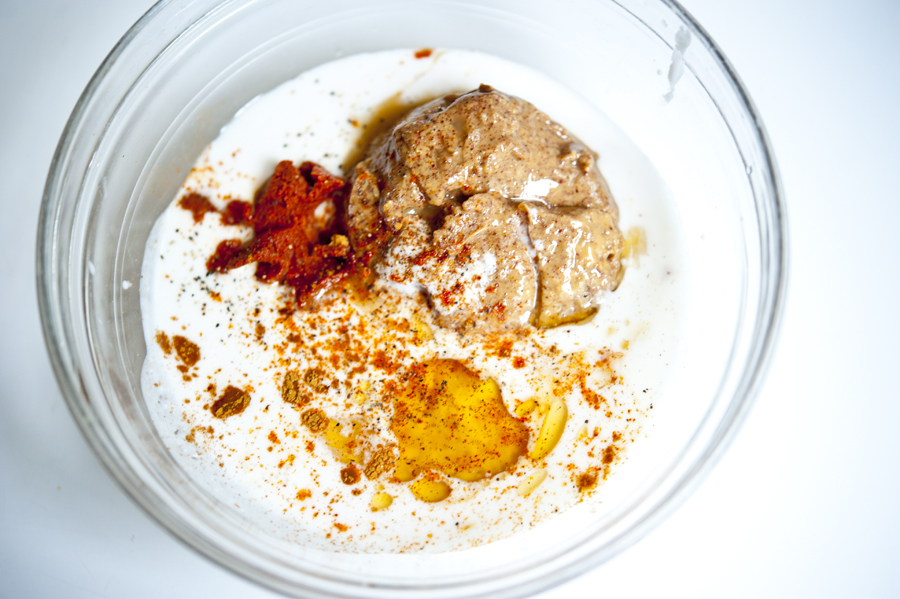
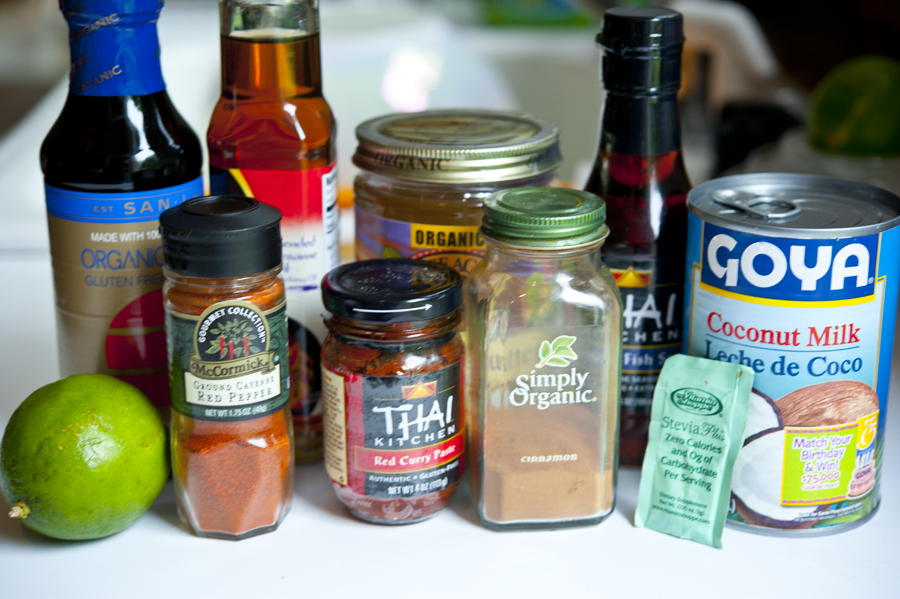
Now for the sauce, you’ll need lime juice, cayenne pepper, red curry paste, cinnamon, stevia (or sugar), coconut milk, fish sauce, peanut butter, toasted sesame oil, and soy sauce.


Tasty Kitchen Blog: Chicken in Coconut-Lime Peanut Sauce. Guest post by Georgia Pellegrini, recipe submitted by TK member Marla Meredith of Family Fresh Cooking.

Combine all of the sauce ingredients into a bowl.


Tasty Kitchen Blog: Chicken in Coconut-Lime Peanut Sauce. Guest post by Georgia Pellegrini, recipe submitted by TK member Marla Meredith of Family Fresh Cooking.

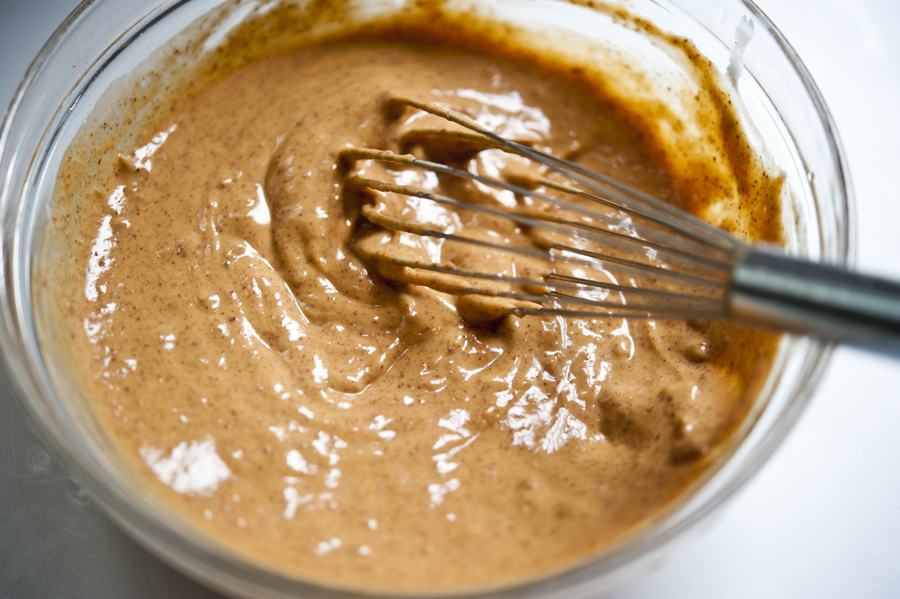
Then whisk it all together until it is well-incorporated and creamy. If it seems too thick, just add a dash of water or coconut milk to thin it out. Then set it aside.


Tasty Kitchen Blog: Chicken in Coconut-Lime Peanut Sauce. Guest post by Georgia Pellegrini, recipe submitted by TK member Marla Meredith of Family Fresh Cooking.

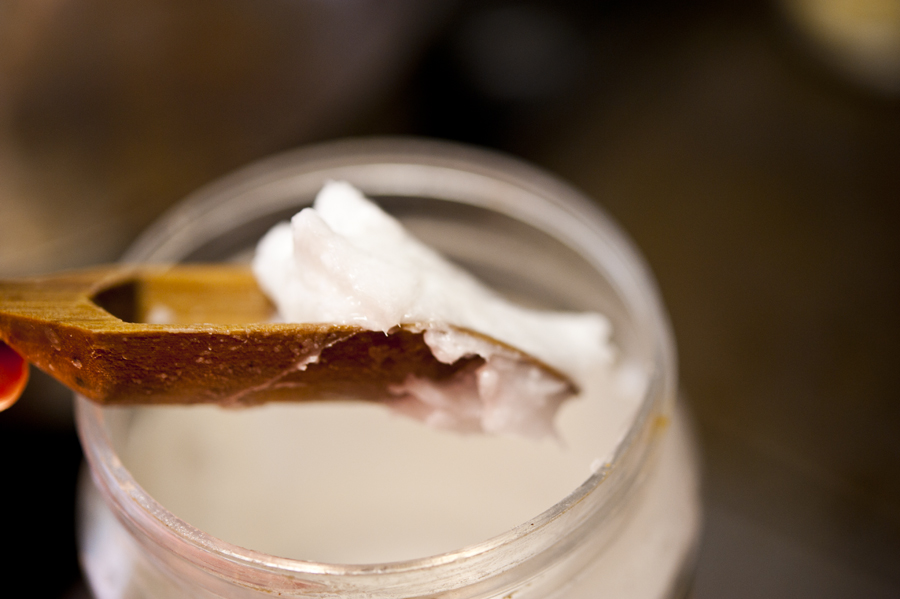
Next you’ll cook the chicken. Scoop out some coconut oil, or butter if you prefer …


Tasty Kitchen Blog: Chicken in Coconut-Lime Peanut Sauce. Guest post by Georgia Pellegrini, recipe submitted by TK member Marla Meredith of Family Fresh Cooking.

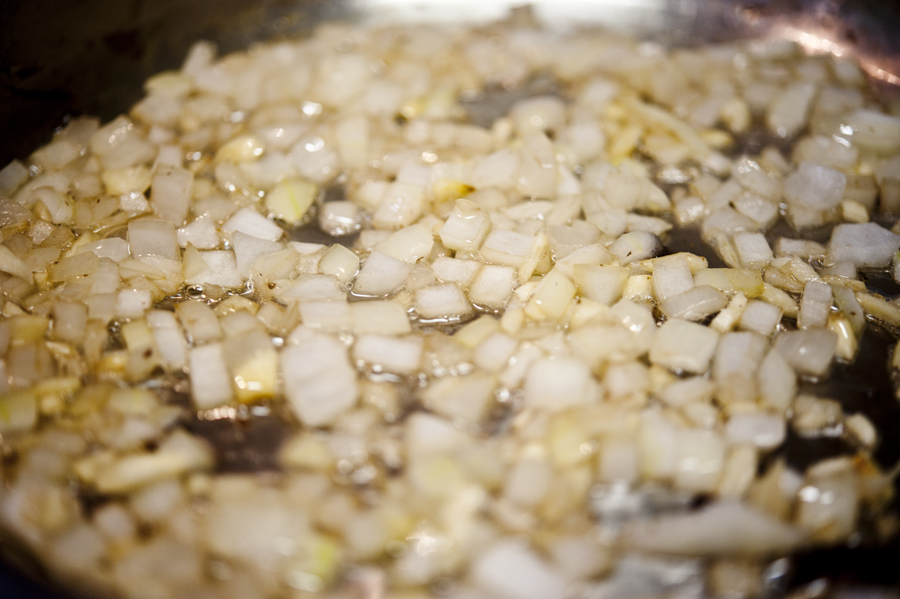
And get your diced onions nice and tender in a sauté pan.


Tasty Kitchen Blog: Chicken in Coconut-Lime Peanut Sauce. Guest post by Georgia Pellegrini, recipe submitted by TK member Marla Meredith of Family Fresh Cooking.

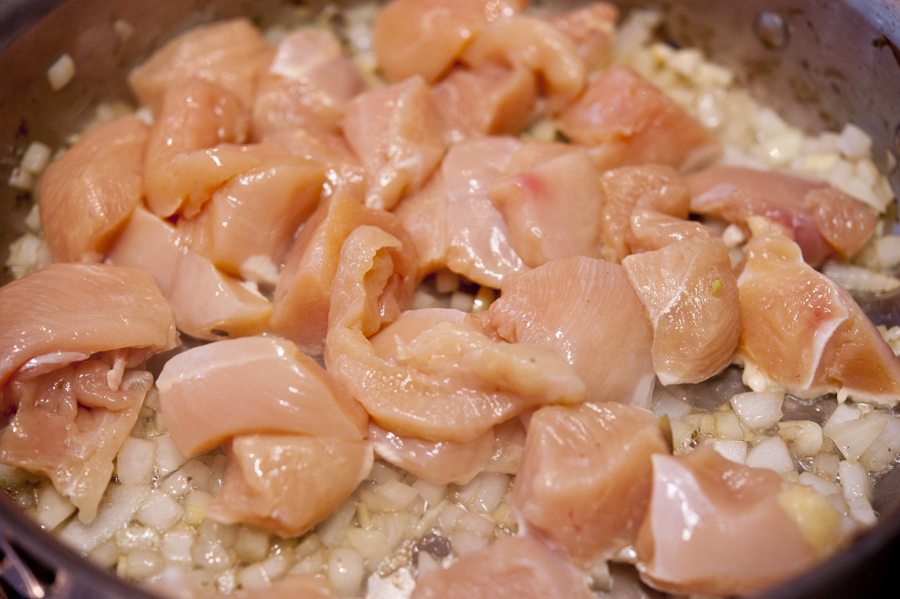
Next add the chicken cubes and let them brown and cook on all sides.


Tasty Kitchen Blog: Chicken in Coconut-Lime Peanut Sauce. Guest post by Georgia Pellegrini, recipe submitted by TK member Marla Meredith of Family Fresh Cooking.

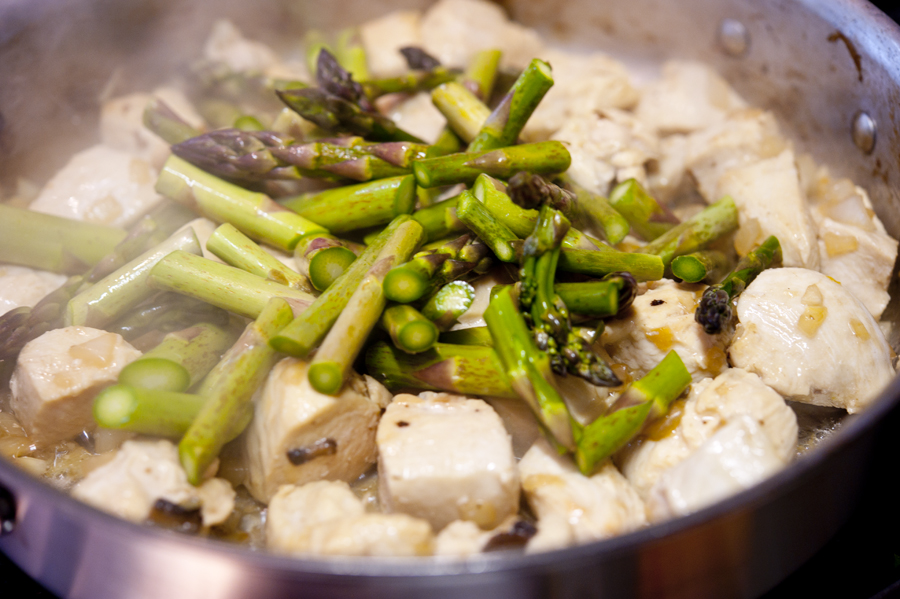
Next you can either add the asparagus if you want to cook them slightly, or you can simply add them raw at the end.


Tasty Kitchen Blog: Chicken in Coconut-Lime Peanut Sauce. Guest post by Georgia Pellegrini, recipe submitted by TK member Marla Meredith of Family Fresh Cooking.

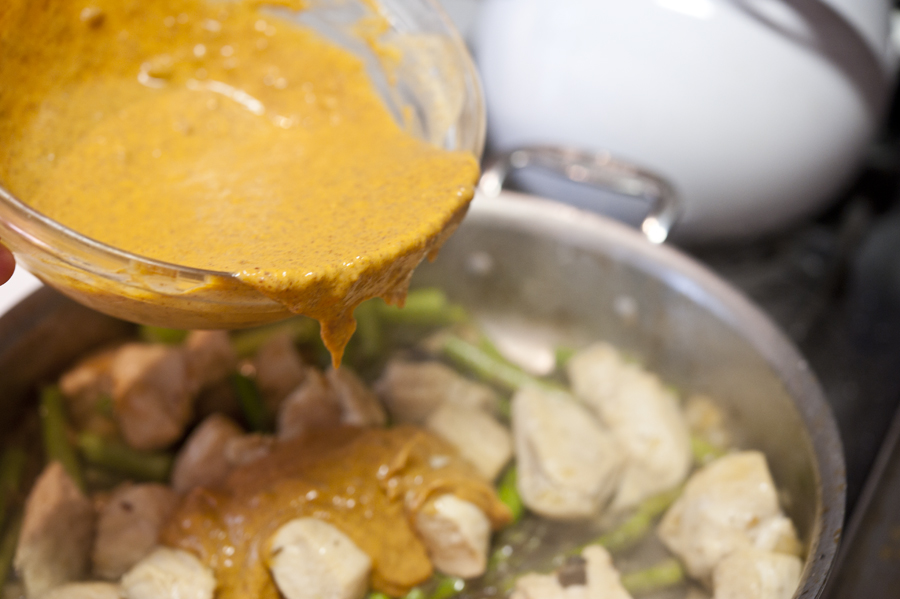
Pour your sauce in and let it warm over very low heat. You don’t want to get the sauce too hot, otherwise the sauce will break. But it will still taste delicious either way.


Tasty Kitchen Blog: Chicken in Coconut-Lime Peanut Sauce. Guest post by Georgia Pellegrini, recipe submitted by TK member Marla Meredith of Family Fresh Cooking.

Serve heaping spoonfuls of this delicious dish into bowls. It is great warm or at room temperature.

Thank you Marla for such a great recipe and a great lunch! Check out her wonderful blog Family Fresh Cooking. It’s chock full of tasty and healthy recipes.


Printable Recipe

Chicken with Coconut-Lime Peanut Sauce

See post on Marla Meridith’s site!
4.55 Mitt(s) 9 Rating(s)9 votes, average: 4.55 out of 59 votes, average: 4.55 out of 59 votes, average: 4.55 out of 59 votes, average: 4.55 out of 59 votes, average: 4.55 out of 5

Prep Time:

Cook Time:

Difficulty: Easy

Servings: 8

8
x

Print Options

Page size Letter 3x5 4x6
Text Size Small Medium Large
Content Include description
Include prep time, etc.
Show image

Description

This recipe is perfect for family meals and upcoming Super Bowl parties. It is filling, very tasty and much fewer calories than the usual peanut sauce. The blend of Thai/Asian flavors is a big hit over here! The lime brightens up the creamy sauce. It might even brighten up those cold winter days.

Ingredients

  • FOR THE SAUCE:
  • ½ cups Natural Peanut Butter (I Like Crunchy)
  • ½ cups Light Coconut Milk
  • 1 Tablespoon Thai Red Curry Paste
  • 1 Tablespoon Lime Juice
  • 1 Tablespoon Soy Sauce Or Tamari
  • 2 Tablespoons Fish Sauce
  • 2 teaspoons Toasted Sesame Oil
  • 1 pinch Stevia Powder To Taste (or Honey)
  • 1 pinch Black Pepper
  • 1 pinch Cayenne Pepper
  • 1 pinch Cinnamon
  • _____
  • FOR THE CHICKEN:
  • 1 teaspoon Unrefined Coconut Oil
  • ½ cups Diced Onion
  • 3 cloves Garlic, Chopped
  • 2 pounds Chicken Breast Cut Into 1 Inch Cubes
  • 1 cup Chopped Asparagus Spears (1 Inch Pieces)

Preparation Instructions

Note: You can adjust all the peanut sauce ingredients according to taste. If you like sweet, go sweeter, spicier, etc. All is good!

Optional garnishes: cilantro, toasted peanuts, green onion, unsweetened toasted coconut flakes.

Sauce: In a medium bowl whisk together the peanut butter, coconut milk, curry paste, lime juice, soy sauce, fish sauce, sesame oil, sweetener and seasonings to form a sauce. Taste and change anything if you want to. Set aside.

Chicken: Heat coconut oil in a large sauté pan over medium high heat. Add onion and garlic, cook until softened. Add chicken, cook until golden brown and cooked through, about 10 minutes. Stir occasionally for even cooking. Stir sauce into the chicken. Partially cover and simmer for about 5 minutes to let the flavors combine. Add asparagus during the last few minutes of cook time.

Serve with spicy Sriracha sauce and garnishes mentioned above.


_______________________________________

There’s so much to say about Georgia, we don’t know where to start. Leaving Wall Street for the French Culinary Institute, followed by a stint at the Gramercy Tavern and La Chassagnette in France, her passion for food and food traditions are evident and inspiring. Visit her site at Georgia Pellegrini, where you’ll find more recipes, photos, learn all about her wonderful book Food Heroes, and enjoy her latest adventures.


Profile photo of georgiapellegrini

Asparagus Cheese Tarts

Posted by in Step-by-Step Recipes

Tasty Kitchen Blog: Asparagus Cheese Tarts. Guest post by Georgia Pellegrini, recipe submitted by TK member Harlie Merten (sissy1) of One Bakin' Blonde.

Our garden has asparagus popping up all over the place this year. We didn’t plant them; in fact, they were planted by my grandmother in the 1970s and they are still showing up all these years later. For that reason, I will always love asparagus and am always looking for new ways to cook them. Harlie Merten’s recipe for Asparagus Cheese Tarts seemed like a perfect combination to try. Asparagus and cheese? Yes, please.


Tasty Kitchen Blog: Asparagus Cheese Tarts. Guest post by Georgia Pellegrini, recipe submitted by TK member Harlie Merten (sissy1) of One Bakin' Blonde.

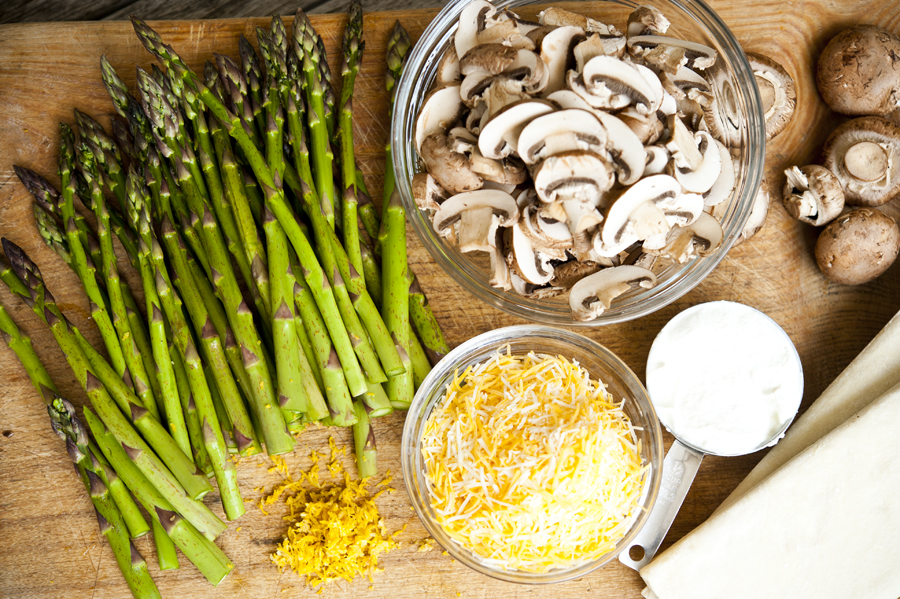
In addition to asparagus, you’ll just need sliced mushrooms, grated cheese, lemon zest, sour cream and frozen puff pastry which comes in sheets in the frozen food section of the grocery store. You’ll also need a bit of salt, pepper, and olive oil.


Tasty Kitchen Blog: Asparagus Cheese Tarts. Guest post by Georgia Pellegrini, recipe submitted by TK member Harlie Merten (sissy1) of One Bakin' Blonde.

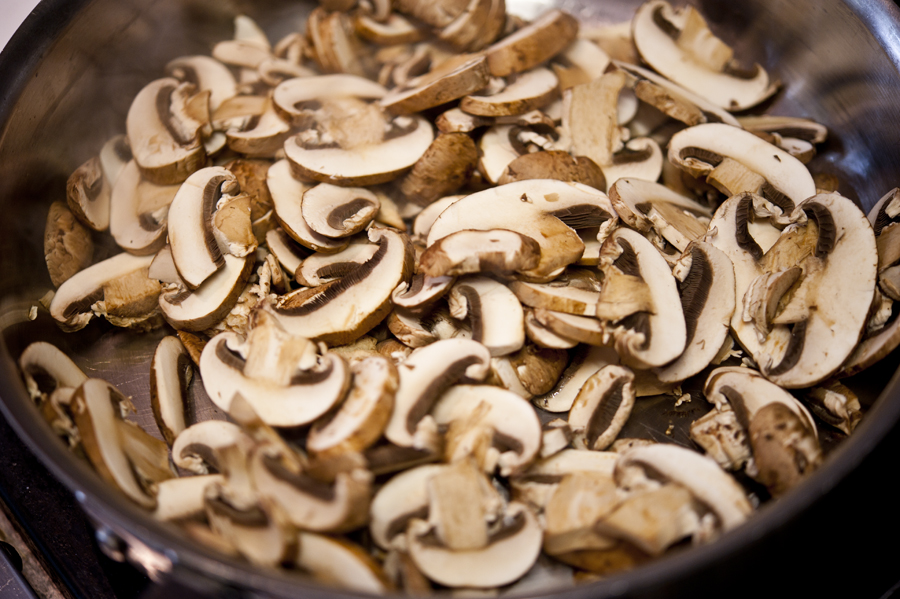
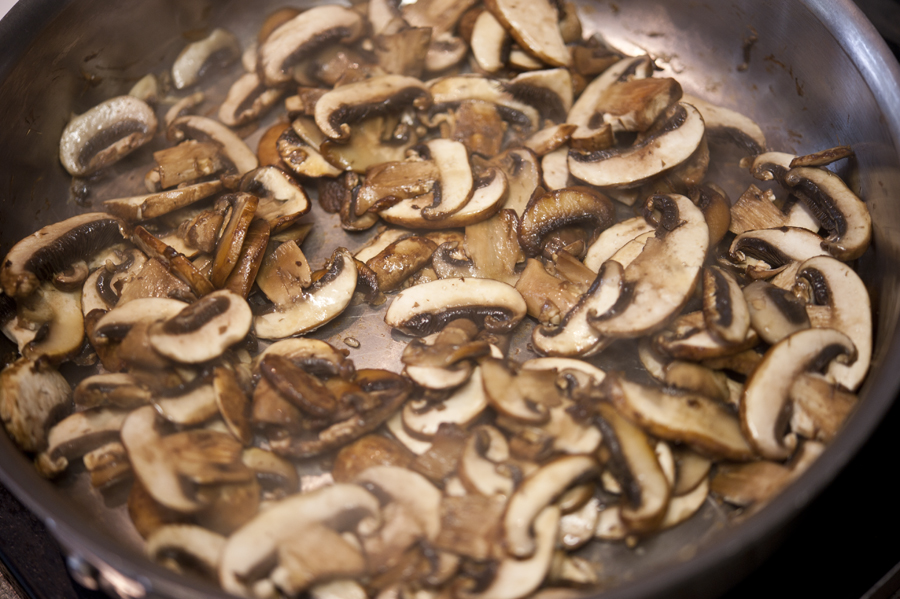
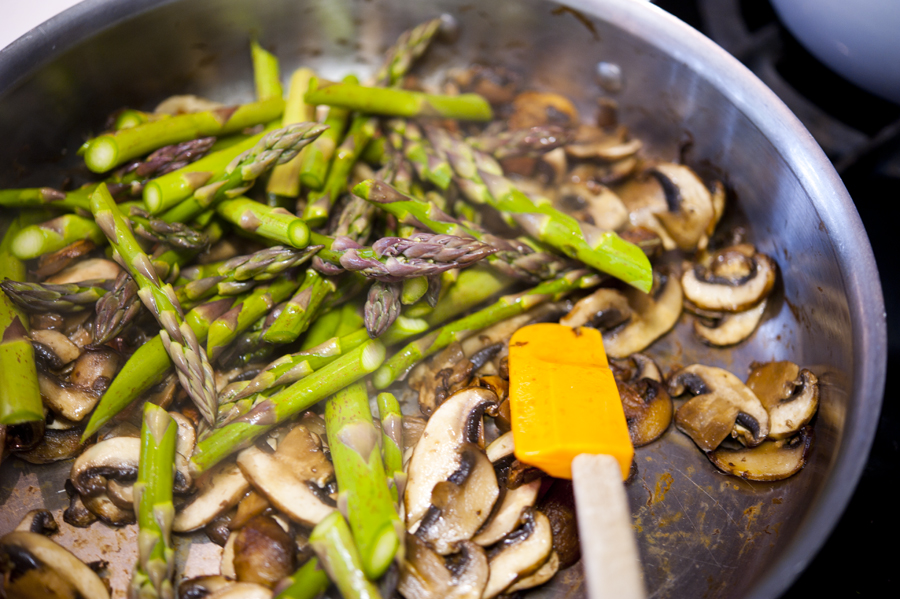
You’ll start by sautéing the mushrooms in a pan with a bit of olive oil or butter. The key with mushrooms is to not stir them around too much in the pan. You want them to brown before they release their juices, since that adds a lovely earthy flavor.


Tasty Kitchen Blog: Asparagus Cheese Tarts. Guest post by Georgia Pellegrini, recipe submitted by TK member Harlie Merten (sissy1) of One Bakin' Blonde.

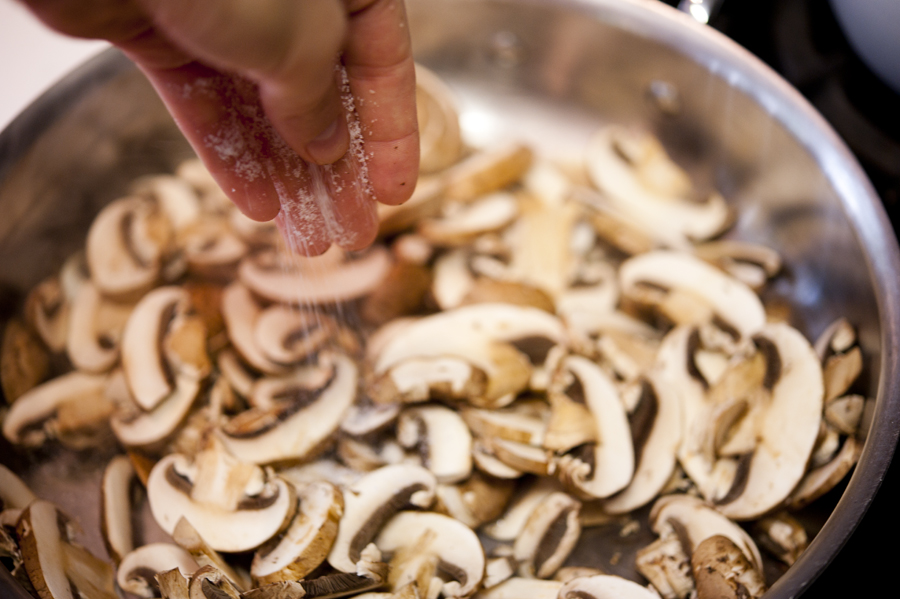
Once they have a nice brown color, simply sprinkle with salt, and that will help release the moisture.


Tasty Kitchen Blog: Asparagus Cheese Tarts. Guest post by Georgia Pellegrini, recipe submitted by TK member Harlie Merten (sissy1) of One Bakin' Blonde.

Give them a stir now so they cook on both sides. They will start to shrink quite a bit.


Tasty Kitchen Blog: Asparagus Cheese Tarts. Guest post by Georgia Pellegrini, recipe submitted by TK member Harlie Merten (sissy1) of One Bakin' Blonde.

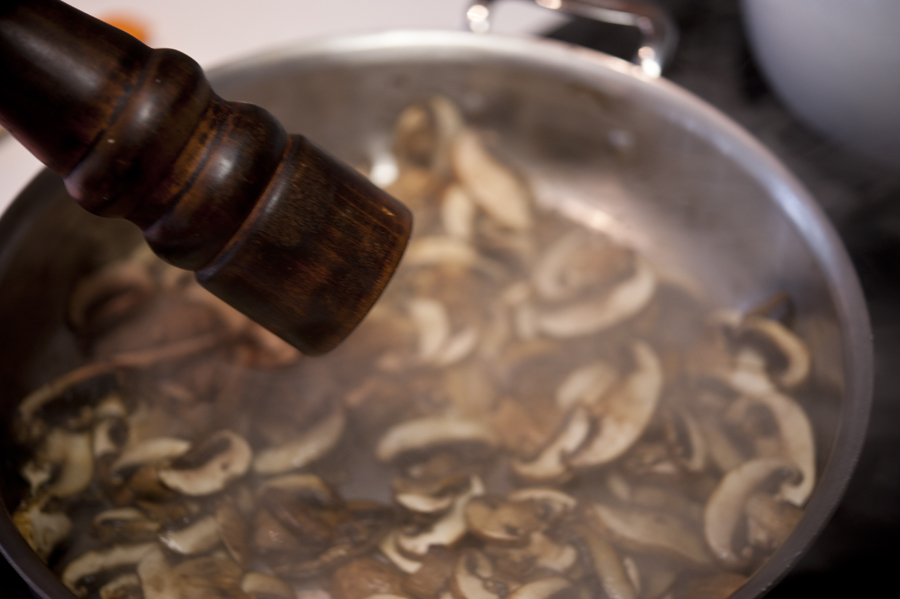
Give them a few turns of pepper and let them cool off the heat while you tend to the asparagus.


Tasty Kitchen Blog: Asparagus Cheese Tarts. Guest post by Georgia Pellegrini, recipe submitted by TK member Harlie Merten (sissy1) of One Bakin' Blonde.

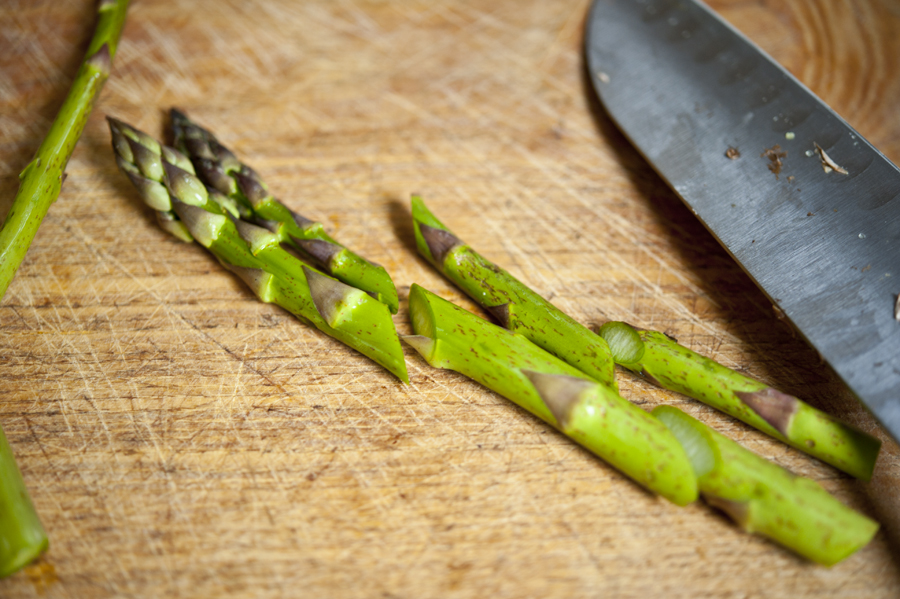
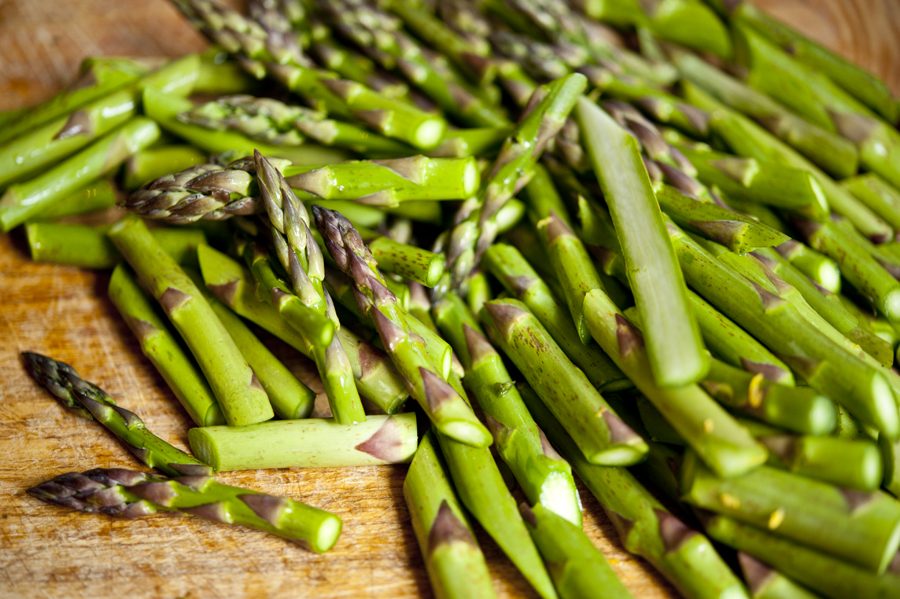
The asparagus can be cut in any way you please. I went for diagonals because it looks nice, but you could cut them lengthwise as well.


Tasty Kitchen Blog: Asparagus Cheese Tarts. Guest post by Georgia Pellegrini, recipe submitted by TK member Harlie Merten (sissy1) of One Bakin' Blonde.

Slice them all as uniformly as possible so that they cook evenly.


Tasty Kitchen Blog: Asparagus Cheese Tarts. Guest post by Georgia Pellegrini, recipe submitted by TK member Harlie Merten (sissy1) of One Bakin' Blonde.

Then toss them in with the mushrooms and sauté them briefly.


Tasty Kitchen Blog: Asparagus Cheese Tarts. Guest post by Georgia Pellegrini, recipe submitted by TK member Harlie Merten (sissy1) of One Bakin' Blonde.

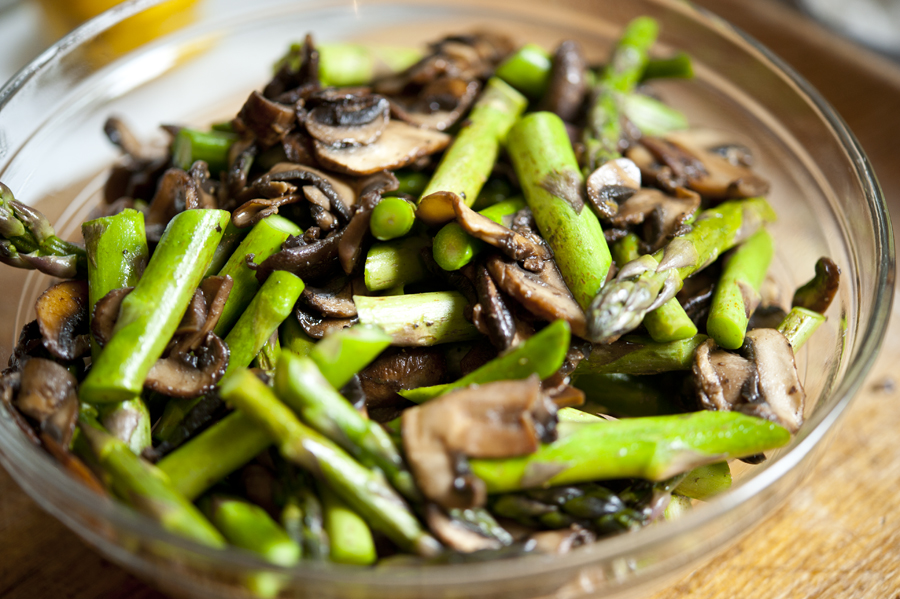
Add this whole mixture to a bowl and let it cool for a few minutes.


Tasty Kitchen Blog: Asparagus Cheese Tarts. Guest post by Georgia Pellegrini, recipe submitted by TK member Harlie Merten (sissy1) of One Bakin' Blonde.

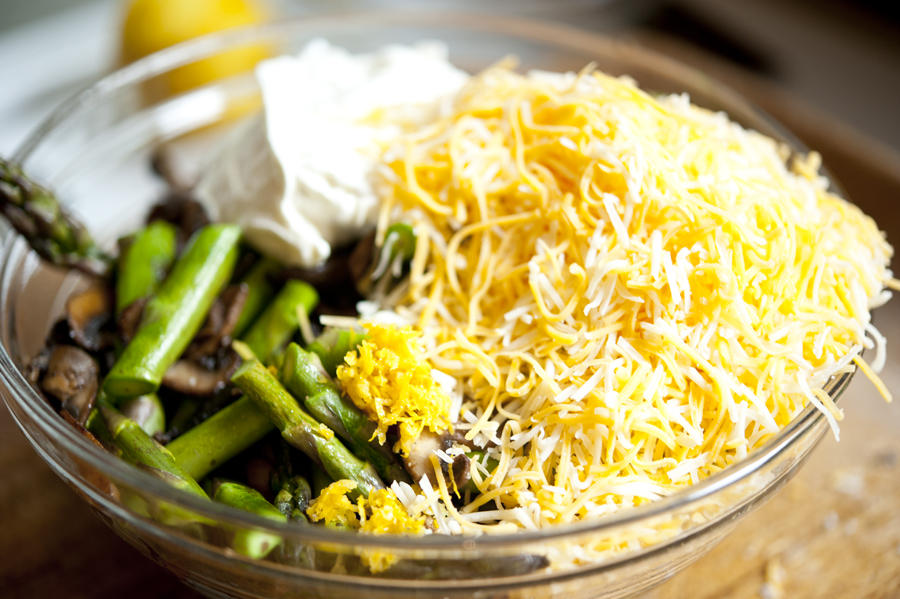
Then add the sour cream, cheese, and lemon zest and give it a stir so that it is nicely incorporated.


Tasty Kitchen Blog: Asparagus Cheese Tarts. Guest post by Georgia Pellegrini, recipe submitted by TK member Harlie Merten (sissy1) of One Bakin' Blonde.

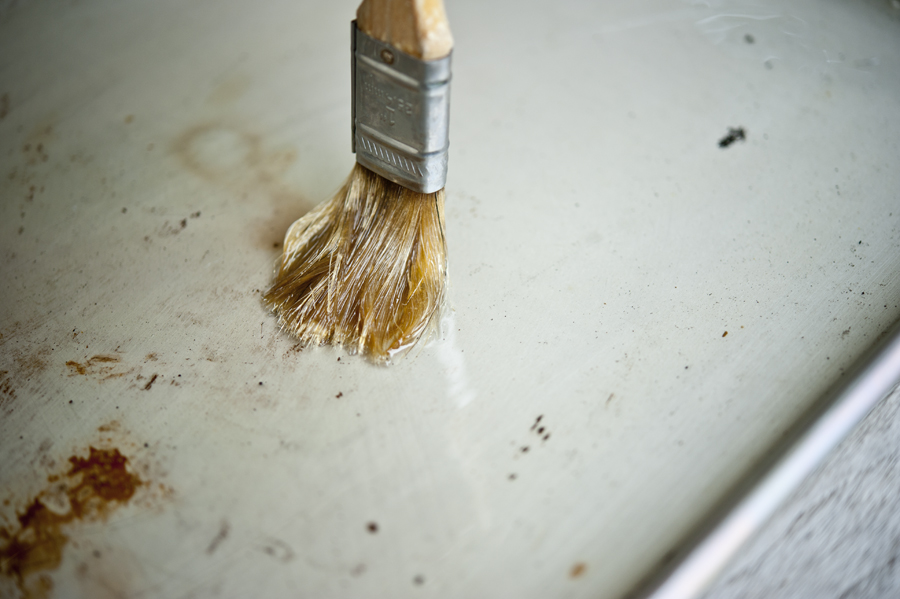
Then you preheat the oven to 400ºF and grease a sheet tray. Hopefully yours doesn’t look as sad as mine—or as “loved,” as I like to say.


Tasty Kitchen Blog: Asparagus Cheese Tarts. Guest post by Georgia Pellegrini, recipe submitted by TK member Harlie Merten (sissy1) of One Bakin' Blonde.

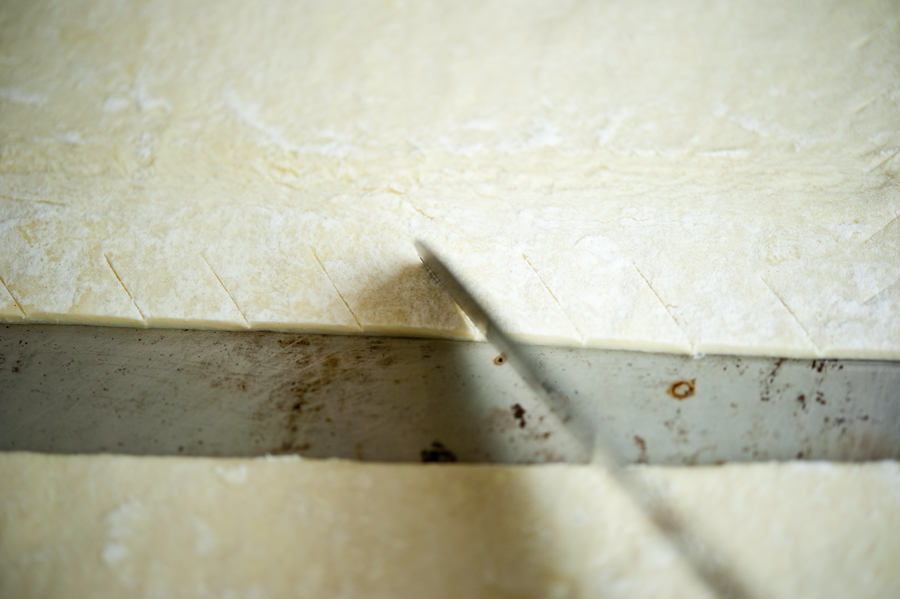
Cut the puff pastry into whatever shapes you’d like. You could do small single serving squares or longer rectangular tarts that you can then cut later. Score the edges all the way around.


Tasty Kitchen Blog: Asparagus Cheese Tarts. Guest post by Georgia Pellegrini, recipe submitted by TK member Harlie Merten (sissy1) of One Bakin' Blonde.

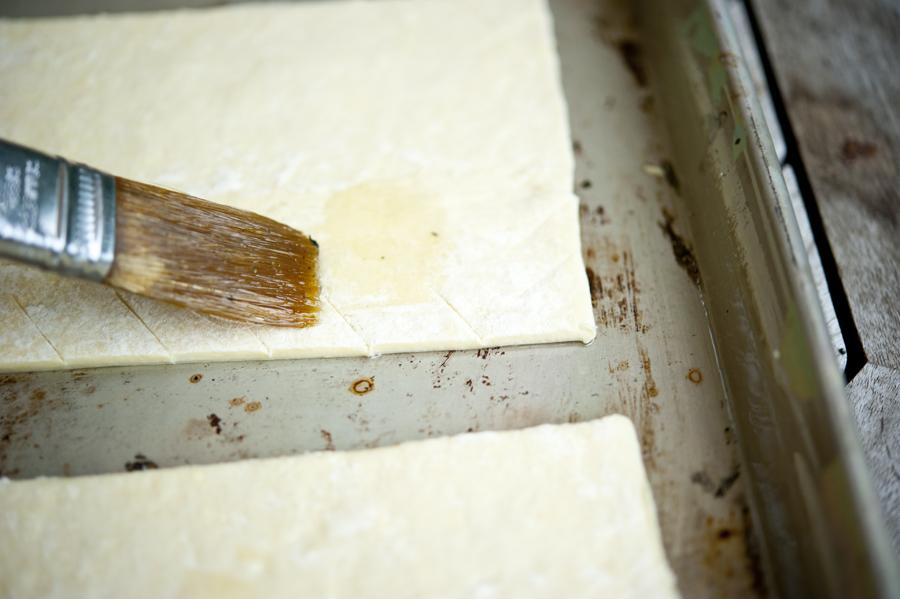
Brush the puff pastry with a little oil…


Tasty Kitchen Blog: Asparagus Cheese Tarts. Guest post by Georgia Pellegrini, recipe submitted by TK member Harlie Merten (sissy1) of One Bakin' Blonde.

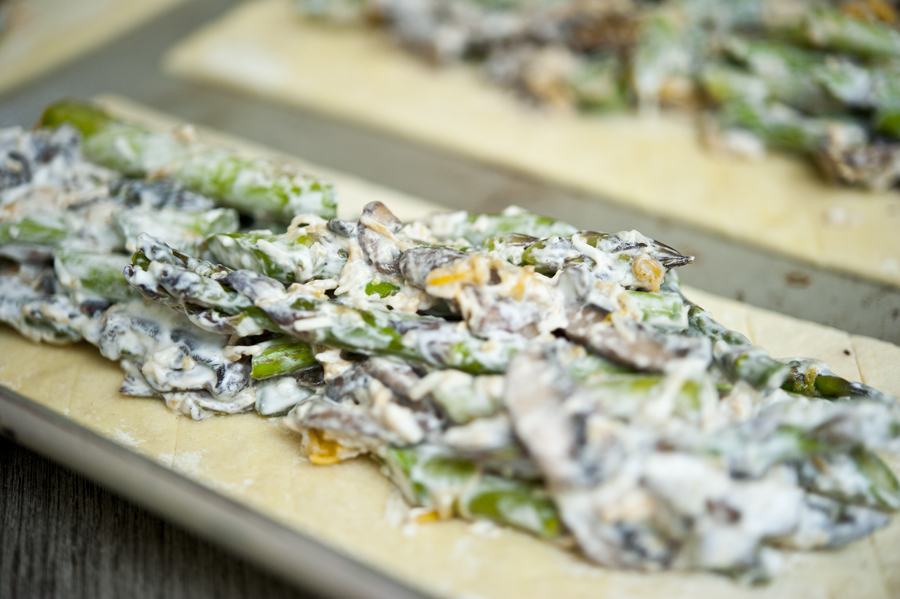
And pile the mixture on top, making sure to leave at least 1 inch around all sides.


Tasty Kitchen Blog: Asparagus Cheese Tarts. Guest post by Georgia Pellegrini, recipe submitted by TK member Harlie Merten (sissy1) of One Bakin' Blonde.

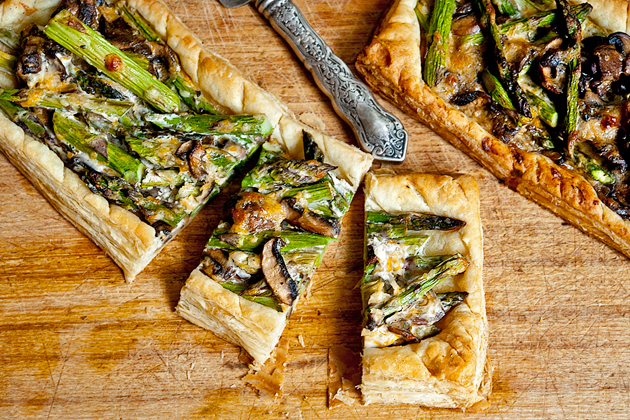
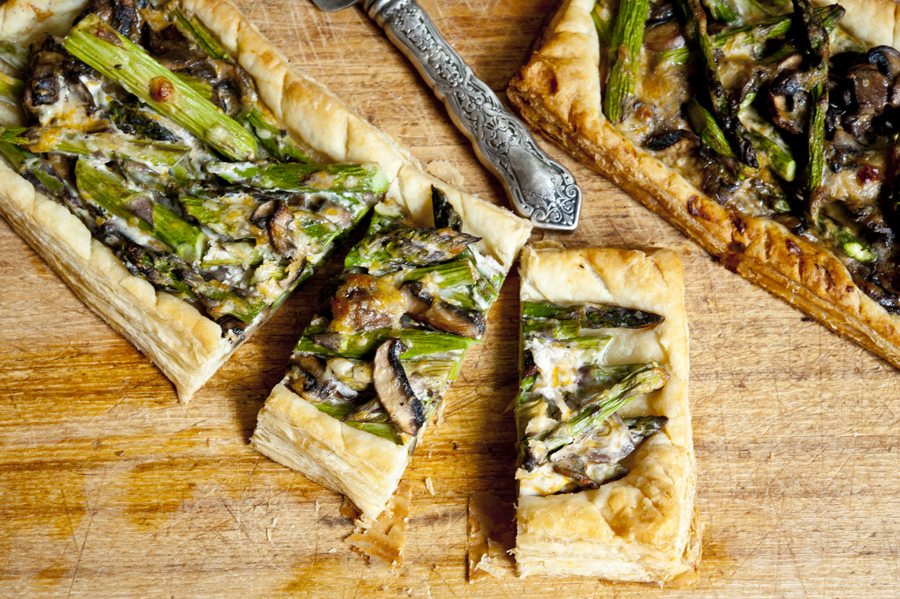
In about 20 minutes, you will have this very easy, very delicious asparagus cheese tart, perfect for a last-minute meal or party food. Give this a try sometime! And thanks to Harlie for such a great recipe. Visit her blog, One Bakin’ Blonde, for more of her recipes!


Printable Recipe

Asparagus Cheese Tarts

5.00 Mitt(s) 1 Rating(s)1 vote, average: 5.00 out of 51 vote, average: 5.00 out of 51 vote, average: 5.00 out of 51 vote, average: 5.00 out of 51 vote, average: 5.00 out of 5

Prep Time:

Cook Time:

Difficulty: Easy

Servings: 12

12
x

Print Options

Page size Letter 3x5 4x6
Text Size Small Medium Large
Content Include description
Include prep time, etc.
Show image

Description

A small and simple appetizer made with a citrusy bite!

Ingredients

  • 2 pieces Thawed Puff Pastry
  • 10 ounces, weight Fresh Sliced Mushrooms
  • 1 teaspoon Sea Salt, Divided
  • ½ teaspoons Black Pepper, Divided
  • 1 pound Fresh Asparagus
  • 1 teaspoon Lemon Zest
  • 1 cup Shredded Cheese
  • ½ cups Sour Cream

Preparation Instructions

1. Preheat oven to 400ºF.

2. Roll out the pastry sheet and cut into 6 small squares.

3. Using a small knife, score a ½” border around the inside edge of each square and place on a greased baking sheet.

4. Sauté mushrooms in a skillet and add half of the salt and pepper.

5. Transfer to a large bowl and cool.

6. Cut asparagus on the diagonal into 1” pieces and add to the mushroom mixture.

7. Add in lemon zest, remaining salt and pepper, cheese and sour cream.

8. Spoon filling on the pastry squares, leaving ½” border.

9. Bake 20 to 22 minutes.


_______________________________________

There’s so much to say about Georgia, we don’t know where to start. Leaving Wall Street for the French Culinary Institute, followed by a stint at the Gramercy Tavern and La Chassagnette in France, her passion for food and food traditions are evident and inspiring. Visit her site at Georgia Pellegrini, where you’ll find more recipes, photos, learn all about her wonderful book Food Heroes, and enjoy her latest adventures.


Profile photo of georgiapellegrini

Homemade Marshmallows

Posted by in Step-by-Step Recipes

Tasty Kitchen Blog: Homemade Marshmallows Carrot-Flavored. Guest post by Georgia Pellegrini, recipe submitted by Calamity Anne's Adventures.

 
During my restaurant days, I used to make marshmallows from time to time. It was a rather complicated affair, with complicated ingredients like “inverted sugar.” I was delighted to see several recipes for marshmallows here on Tasty Kitchen that were much simpler. This one is by TK member Calamity Anne, and is originally for plain homemade marshmallows. I decided to add my own twist to it just like the olden days and make them flavored. Can you guess which flavor?


Tasty Kitchen Blog: Homemade Marshmallows Carrot-Flavored. Guest post by Georgia Pellegrini, recipe submitted by Calamity Anne's Adventures.

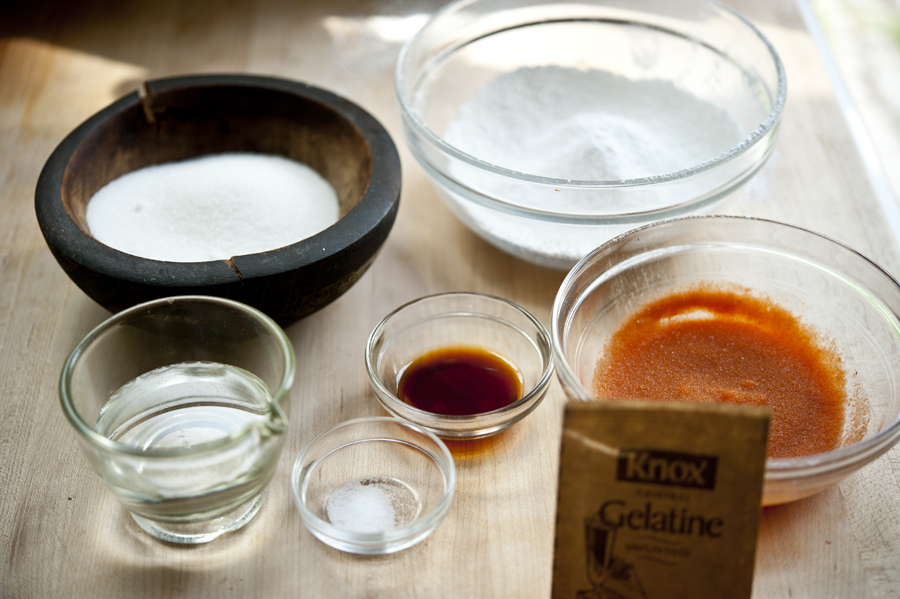
The ingredients that you need are sugar, light corn syrup, salt, vanilla, a mixture of cornstarch and powdered sugar, gelatin mixed with … water or your flavoring liquid—in this case, carrot juice!


Tasty Kitchen Blog: Homemade Marshmallows Carrot-Flavored. Guest post by Georgia Pellegrini, recipe submitted by Calamity Anne's Adventures.

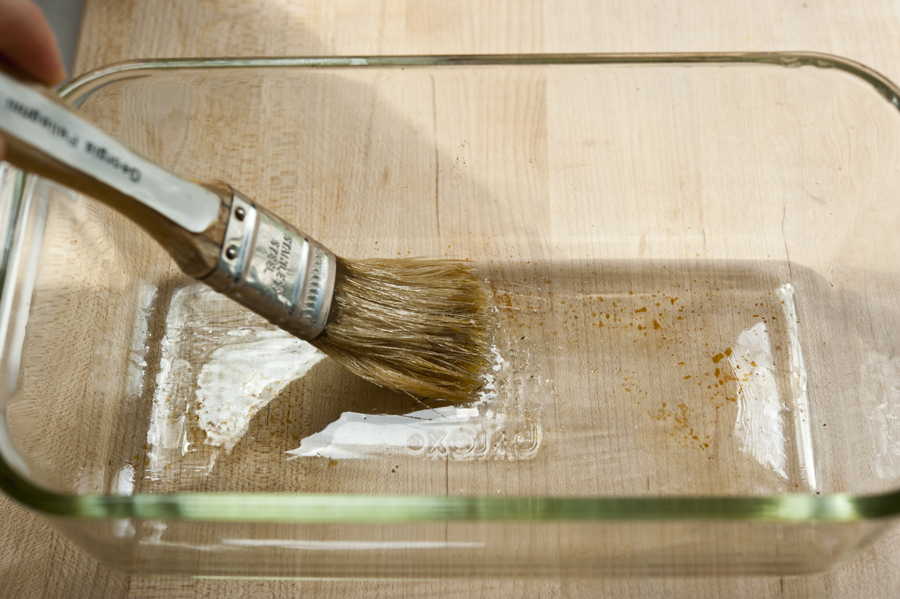
You can really use any sized dish with sides. It just serves as a mold out of which you will cut your marshmallows. You’ll need to coat the dish with a bit of oil.


Tasty Kitchen Blog: Homemade Marshmallows Carrot-Flavored. Guest post by Georgia Pellegrini, recipe submitted by Calamity Anne's Adventures.

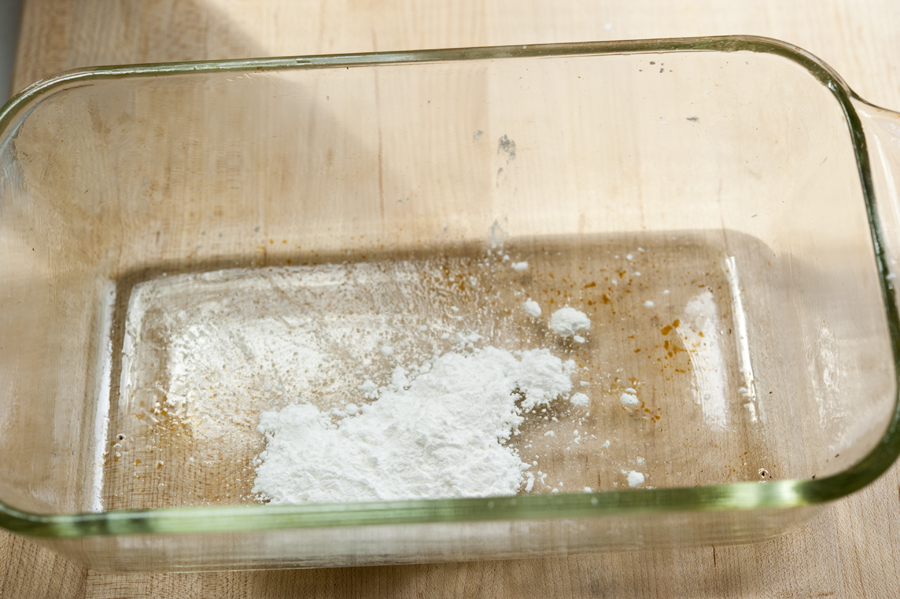
Then add a few tablespoons of the powdered sugar and cornstarch mixture.


Tasty Kitchen Blog: Homemade Marshmallows Carrot-Flavored. Guest post by Georgia Pellegrini, recipe submitted by Calamity Anne's Adventures.

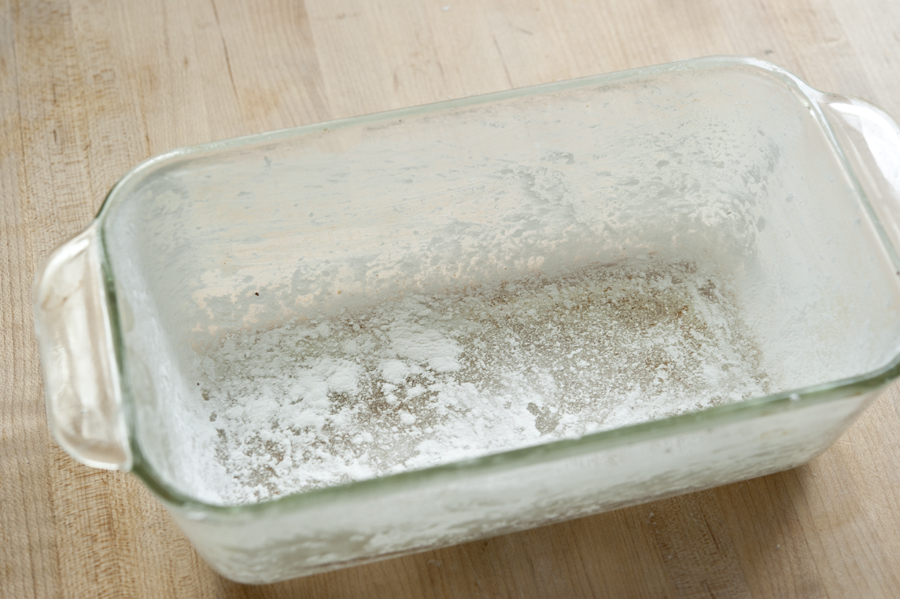
Shake the mixture around the pan until it is well coated. You can leave the excess mixture in the bottom of the dish.


Tasty Kitchen Blog: Homemade Marshmallows Carrot-Flavored. Guest post by Georgia Pellegrini, recipe submitted by Calamity Anne's Adventures.

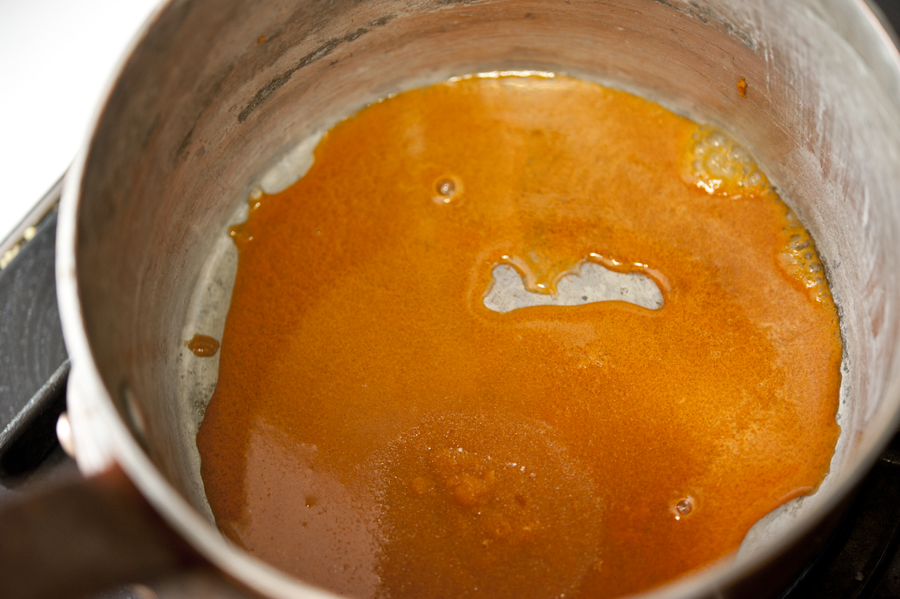
Next, let the gelatin and carrot juice mixture dissolve in a saucepan.


Tasty Kitchen Blog: Homemade Marshmallows Carrot-Flavored. Guest post by Georgia Pellegrini, recipe submitted by Calamity Anne's Adventures.

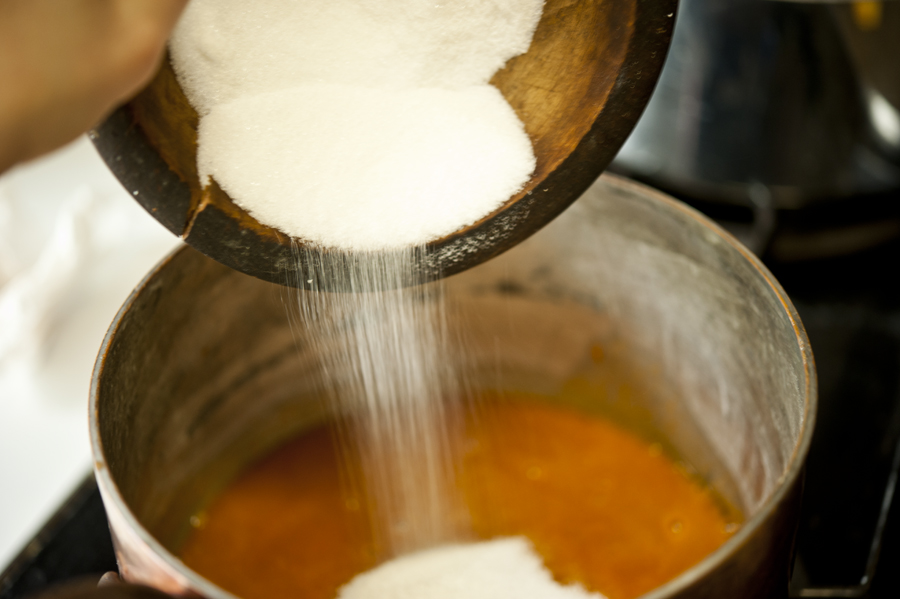
To that, add your granulated sugar.


Tasty Kitchen Blog: Homemade Marshmallows Carrot-Flavored. Guest post by Georgia Pellegrini, recipe submitted by Calamity Anne's Adventures.

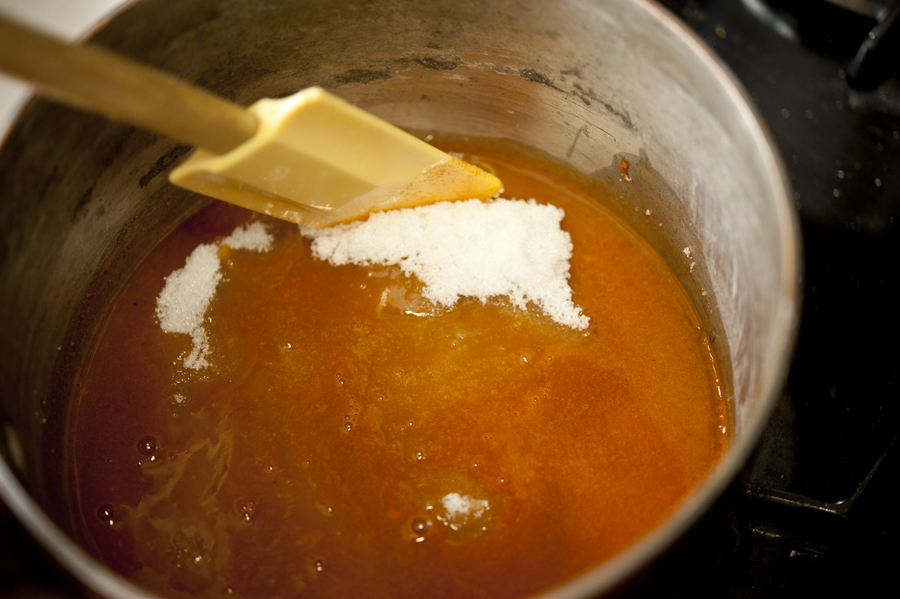
Give it a stir and let it dissolve completely, then turn off the heat.


Tasty Kitchen Blog: Homemade Marshmallows Carrot-Flavored. Guest post by Georgia Pellegrini, recipe submitted by Calamity Anne's Adventures.

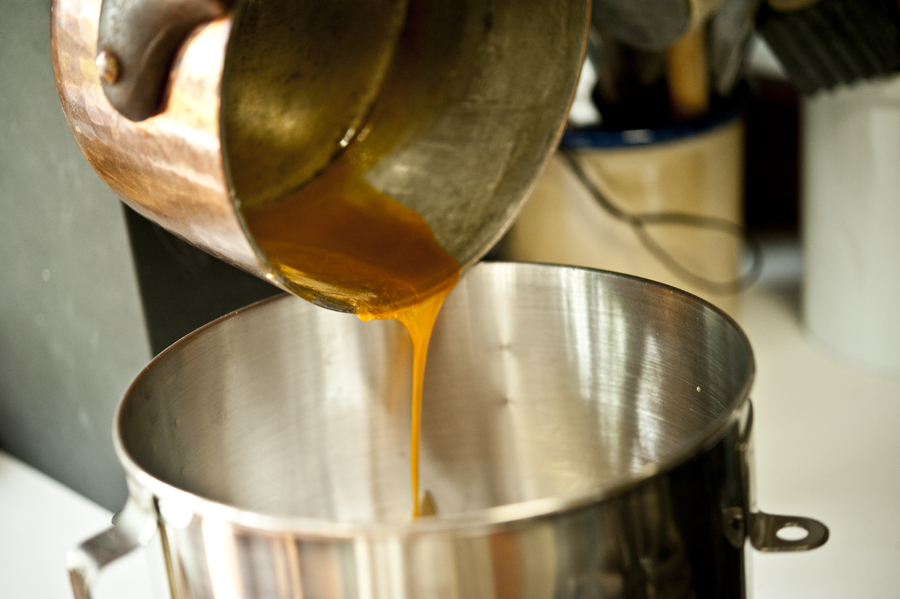
Pour the mixture into a mixing bowl that will fit to an electric mixer with a whisk attachment. You’ll need to scrape the liquid out of the saucepan since it’s very sticky.


Tasty Kitchen Blog: Homemade Marshmallows Carrot-Flavored. Guest post by Georgia Pellegrini, recipe submitted by Calamity Anne's Adventures.

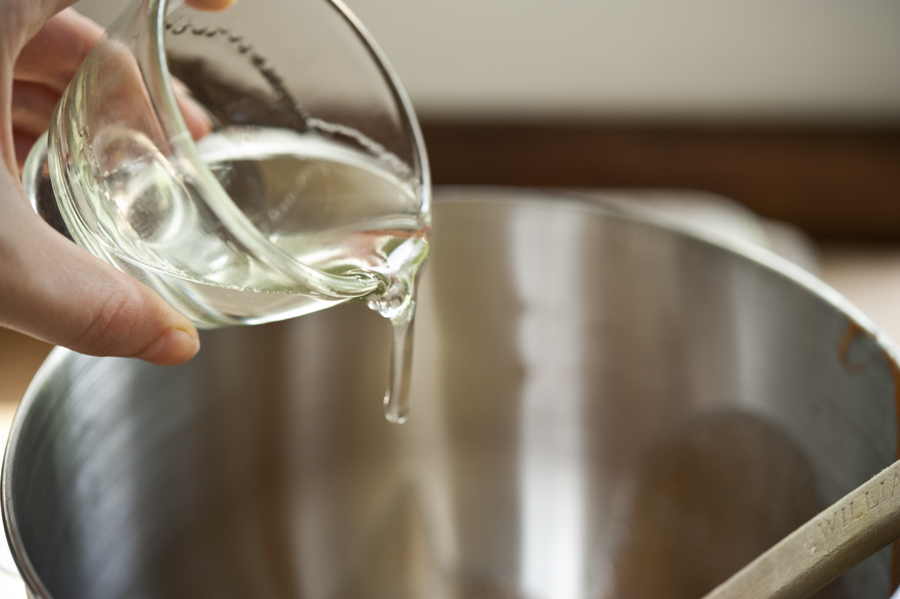
To the bowl, add the corn syrup.


Tasty Kitchen Blog: Homemade Marshmallows Carrot-Flavored. Guest post by Georgia Pellegrini, recipe submitted by Calamity Anne's Adventures.

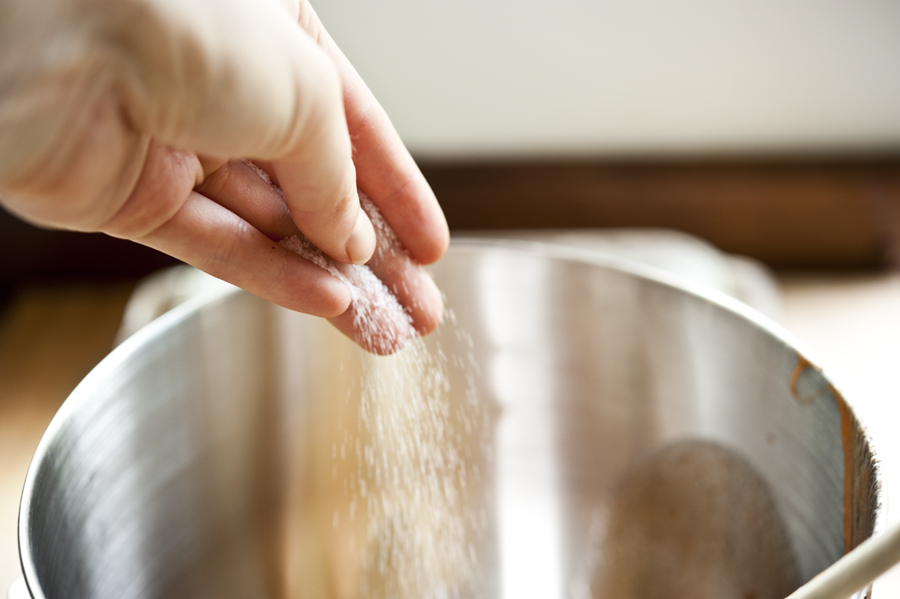
And the salt.


Tasty Kitchen Blog: Homemade Marshmallows Carrot-Flavored. Guest post by Georgia Pellegrini, recipe submitted by Calamity Anne's Adventures.

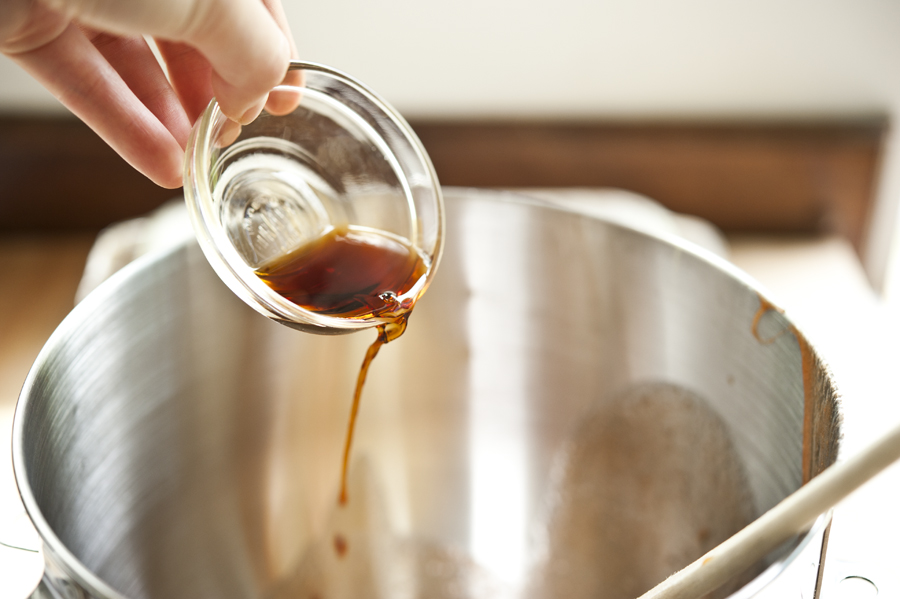
And the vanilla.


Tasty Kitchen Blog: Homemade Marshmallows Carrot-Flavored. Guest post by Georgia Pellegrini, recipe submitted by Calamity Anne's Adventures.

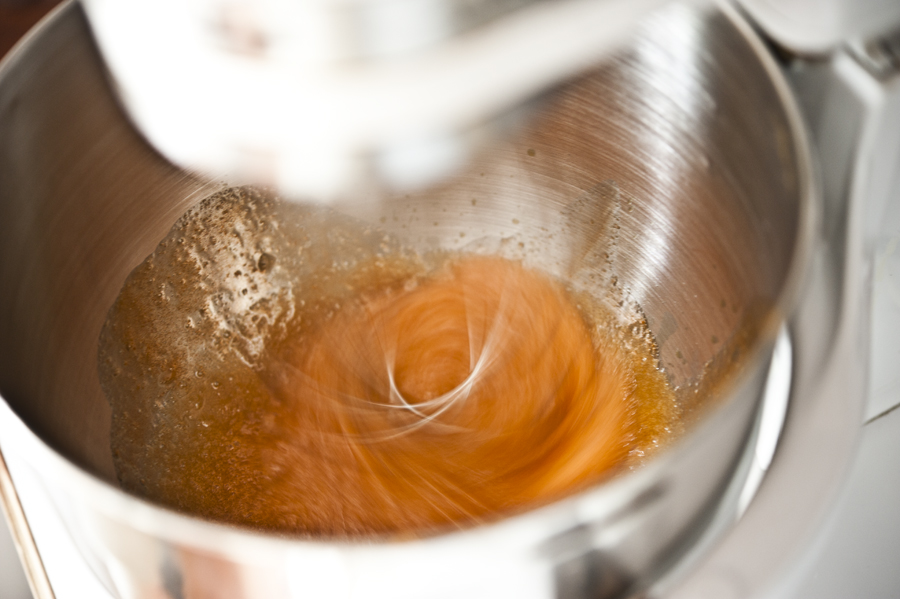
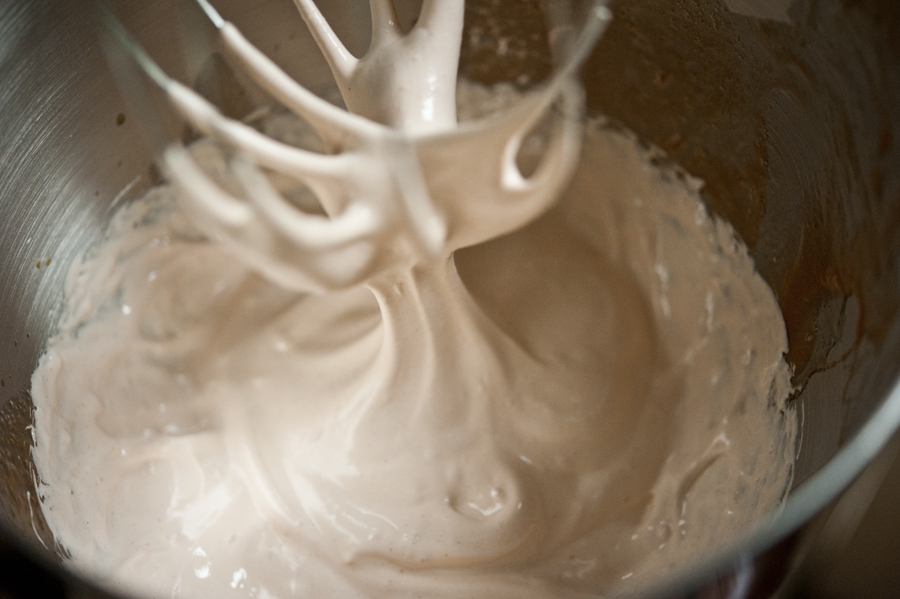
Whisk away for a while, and watch the mixture completely transform itself!


Tasty Kitchen Blog: Homemade Marshmallows Carrot-Flavored. Guest post by Georgia Pellegrini, recipe submitted by Calamity Anne's Adventures.

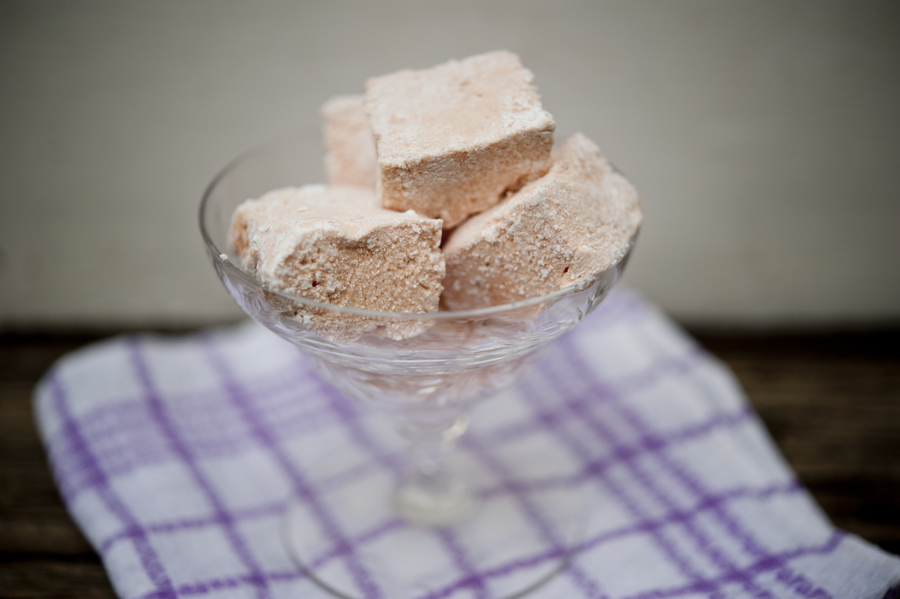
In about 15 minutes, it will be light and fluffy like, well, marshmallow fluff.


Tasty Kitchen Blog: Homemade Marshmallows Carrot-Flavored. Guest post by Georgia Pellegrini, recipe submitted by Calamity Anne's Adventures.

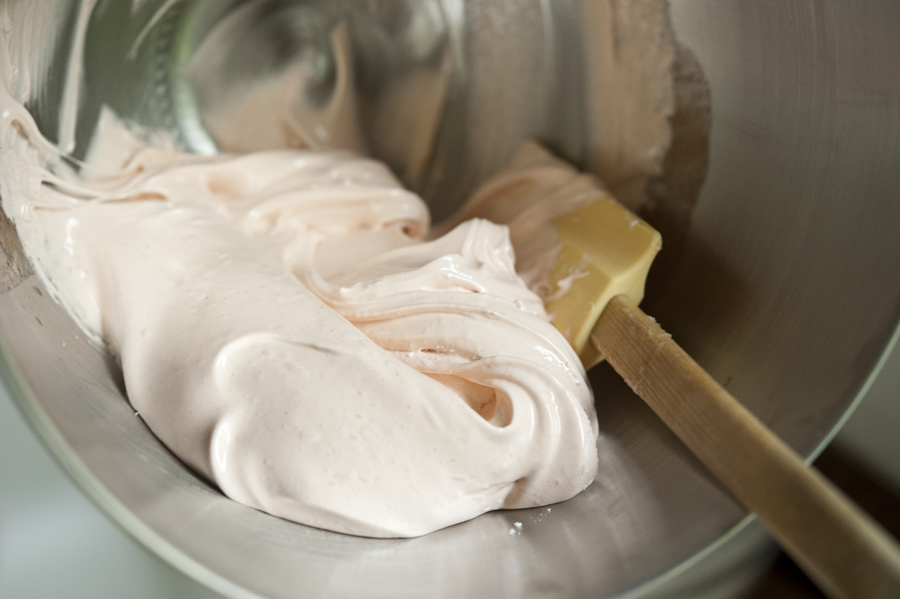
With a spatula, coax it out of the bowl. This is a sticky situation as well.


Tasty Kitchen Blog: Homemade Marshmallows Carrot-Flavored. Guest post by Georgia Pellegrini, recipe submitted by Calamity Anne's Adventures.

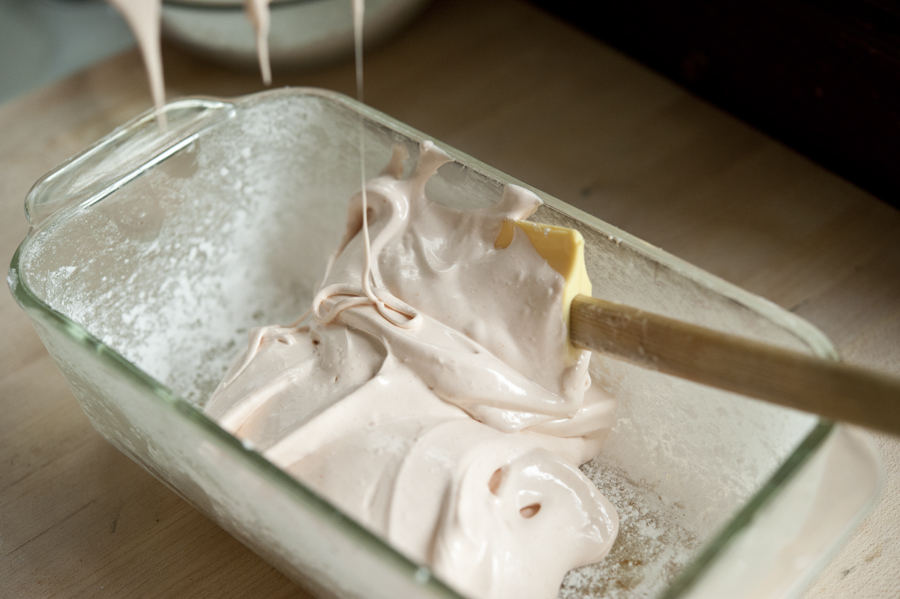
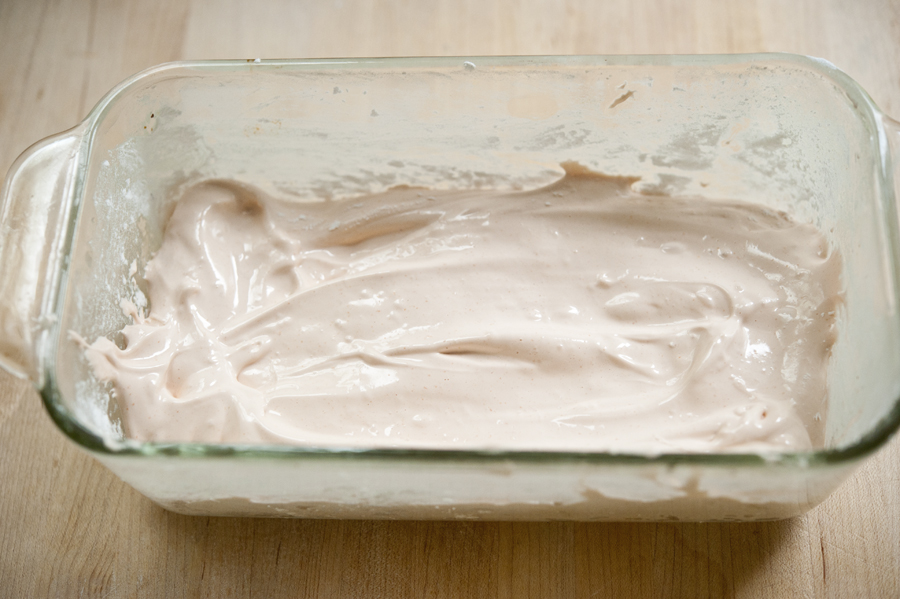
Spoon it into your coated baking dish…


Tasty Kitchen Blog: Homemade Marshmallows Carrot-Flavored. Guest post by Georgia Pellegrini, recipe submitted by Calamity Anne's Adventures.

And smooth it out with a spatula.

Now let it sit for about 2 hours so that it sets.


Tasty Kitchen Blog: Homemade Marshmallows Carrot-Flavored. Guest post by Georgia Pellegrini, recipe submitted by Calamity Anne's Adventures.

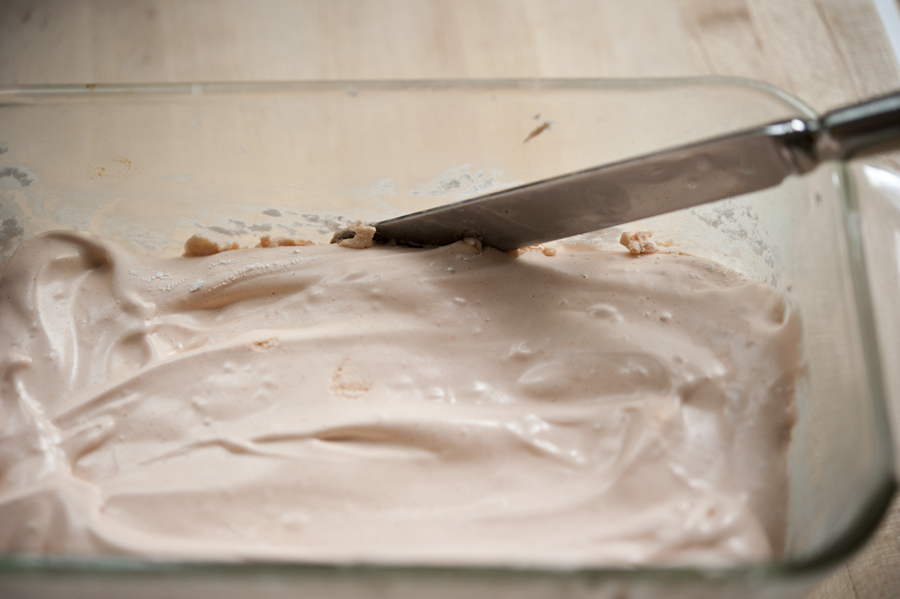
Once it is set, wet a knife and loosen the outsides of the marshmallow from the sides of dish.


Tasty Kitchen Blog: Homemade Marshmallows Carrot-Flavored. Guest post by Georgia Pellegrini, recipe submitted by Calamity Anne's Adventures.

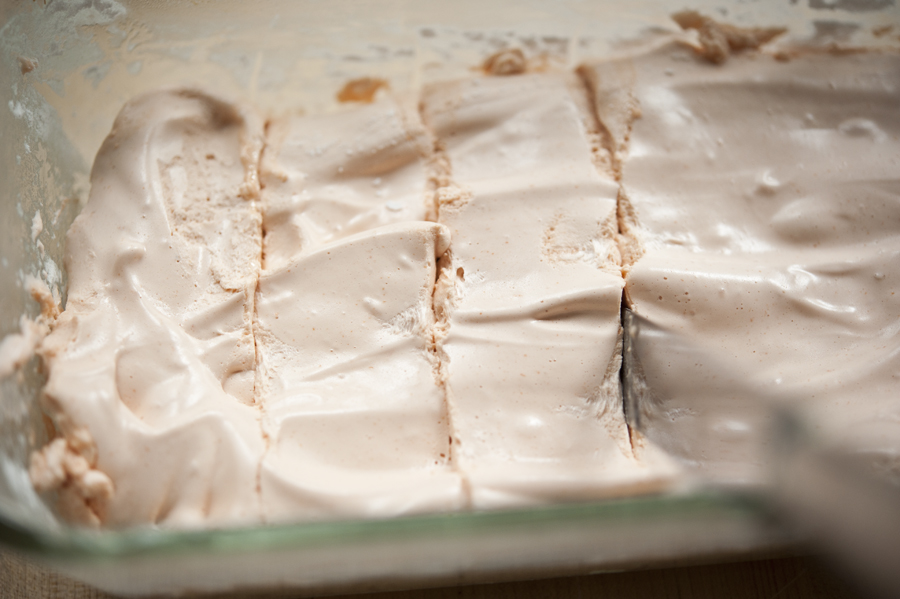
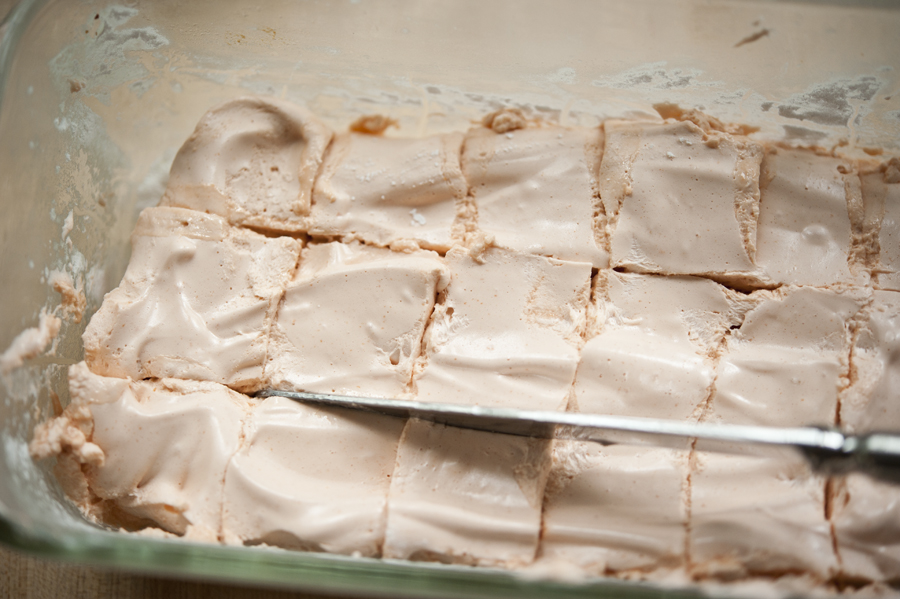
Then you can cut them into any shape you please, wetting your knife every so often to make smooth cuts.


Tasty Kitchen Blog: Homemade Marshmallows Carrot-Flavored. Guest post by Georgia Pellegrini, recipe submitted by Calamity Anne's Adventures.

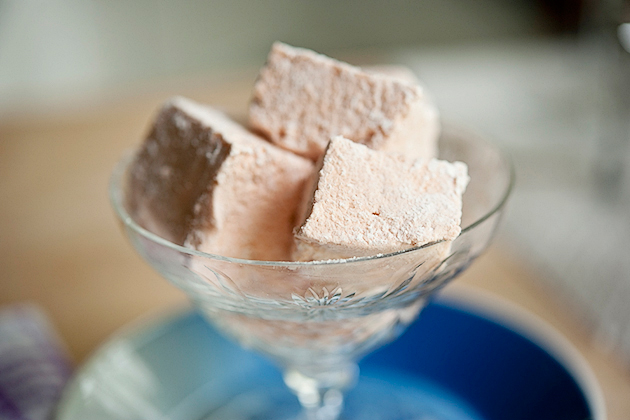
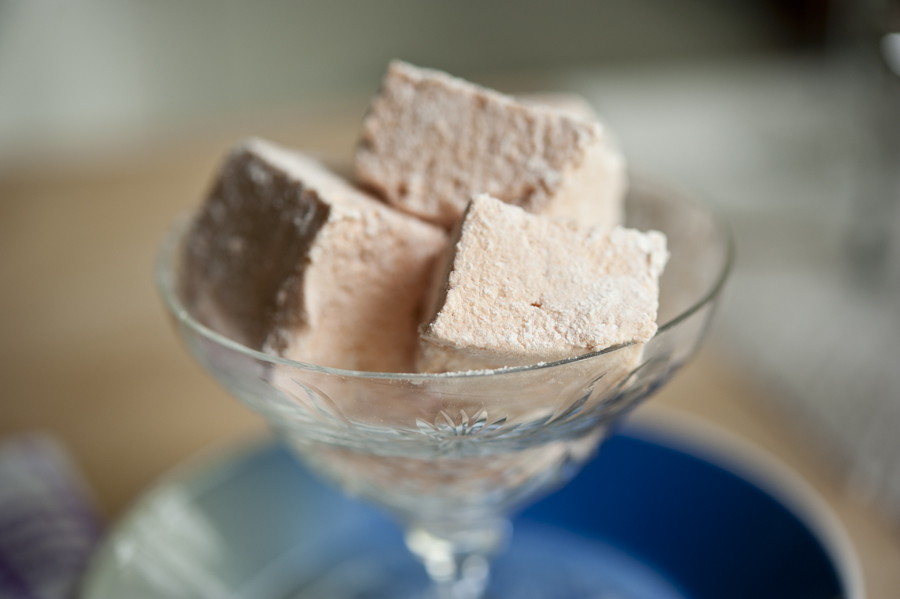
I went for the square look, but you could even use a cookie cutter if you’re feeling adventurous.


Tasty Kitchen Blog: Homemade Marshmallows Carrot-Flavored. Guest post by Georgia Pellegrini, recipe submitted by Calamity Anne's Adventures.

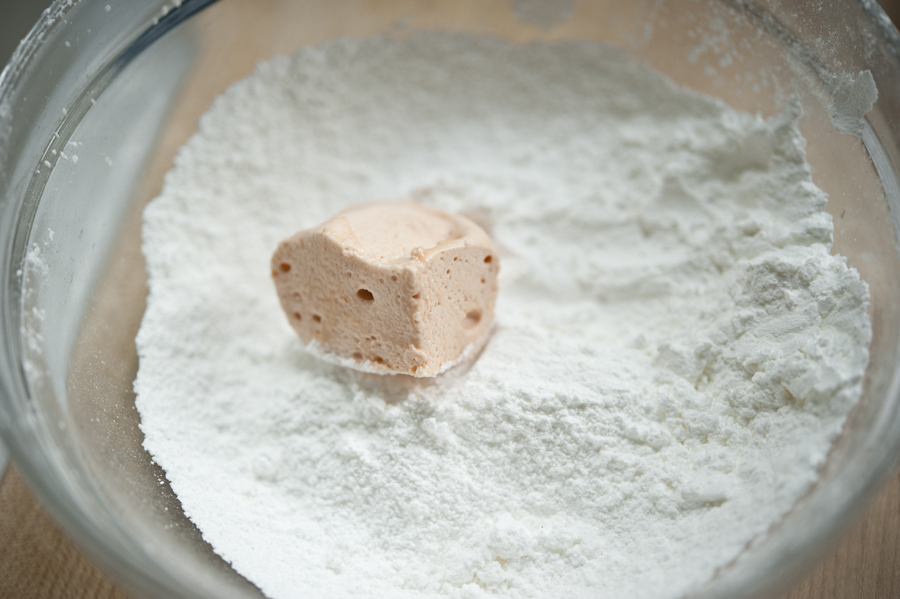
Toss each cube into the rest of your cornstarch and sugar mixture.


Tasty Kitchen Blog: Homemade Marshmallows Carrot-Flavored. Guest post by Georgia Pellegrini, recipe submitted by Calamity Anne's Adventures.

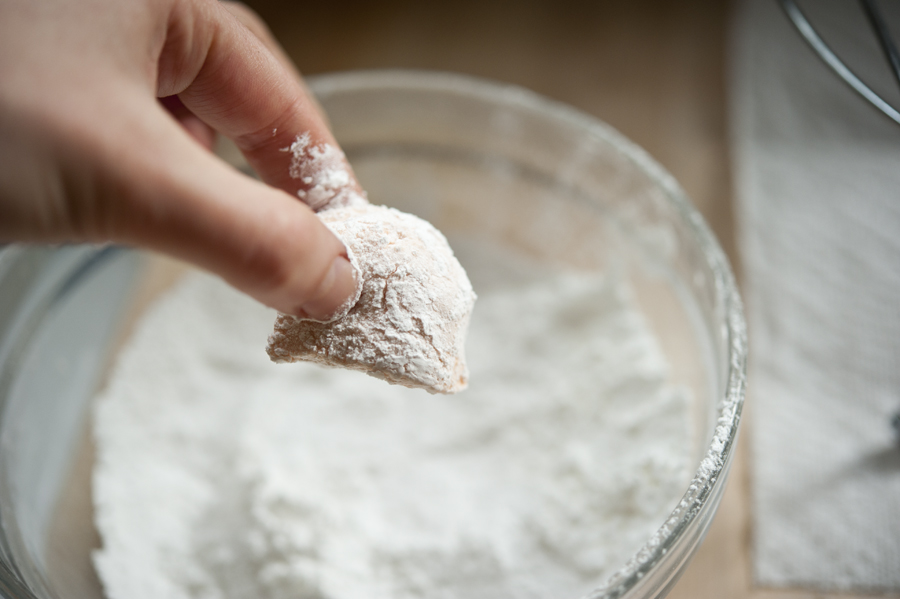
Pull them out one by one and give them a shake to remove any excess powder.


Tasty Kitchen Blog: Homemade Marshmallows Carrot-Flavored. Guest post by Georgia Pellegrini, recipe submitted by Calamity Anne's Adventures.

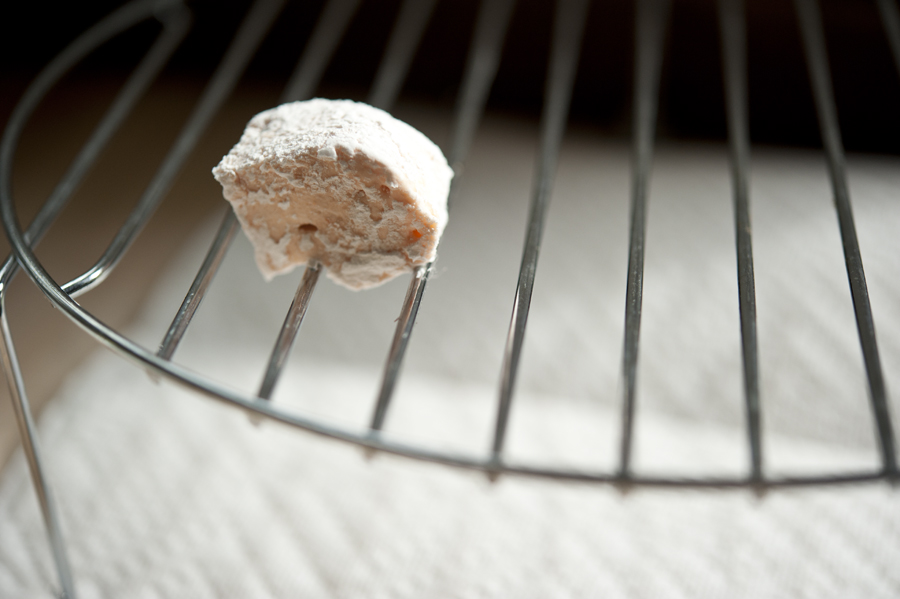
Set them on a wire rack, set over paper towels. This will help the outer skin dry out.


Tasty Kitchen Blog: Homemade Marshmallows Carrot-Flavored. Guest post by Georgia Pellegrini, recipe submitted by Calamity Anne's Adventures.

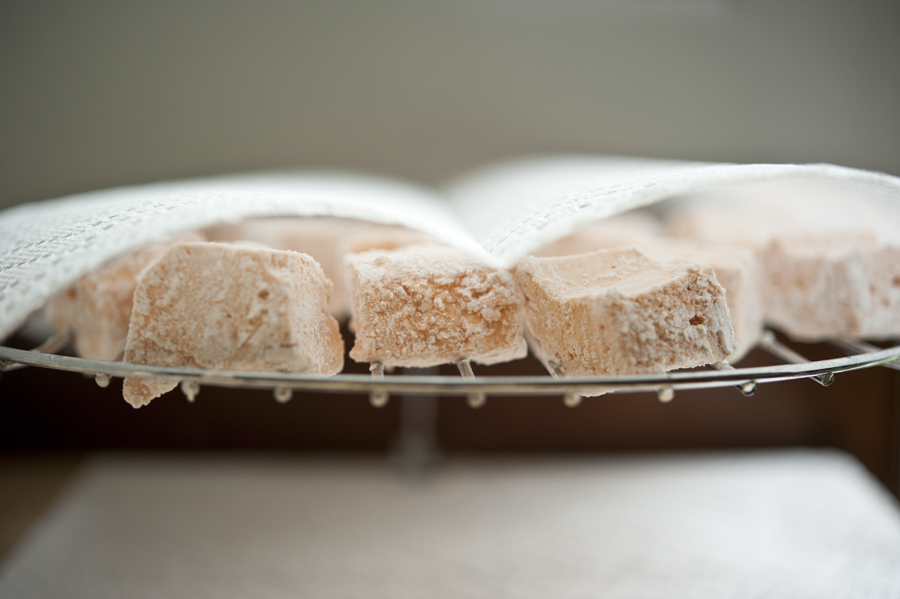
Then cover the whole affair with a paper towel and let them sit for up to 24 hours. If you’re feeling impatient you could skip this part, but it will help them store well and prevent them from sticking together.


Tasty Kitchen Blog: Homemade Marshmallows Carrot-Flavored. Guest post by Georgia Pellegrini, recipe submitted by Calamity Anne's Adventures.

Give these a try sometime! They’re a fun treat for a party or holiday. And think about the flavoring possibilities—they are endless! I’ve also tried lime juice and grapefruit juice, among others. Thanks to Calamity Anne for this great recipe! (Also check out this other marshmallow recipe from katydid.)


Tasty Kitchen Blog: Homemade Marshmallows Carrot-Flavored. Guest post by Georgia Pellegrini, recipe submitted by Calamity Anne's Adventures.

Visit Calamity Anne’s blog for her own step-by-step instructions and photos for these homemade marshmallows.


_______________________________________

There’s so much to say about Georgia, we don’t know where to start. Leaving Wall Street for the French Culinary Institute, followed by a stint at the Gramercy Tavern and La Chassagnette in France, her passion for food and food traditions are evident and inspiring. Visit her site at Georgia Pellegrini, where you’ll find more recipes, photos, learn all about her wonderful book Food Heroes, and enjoy her latest adventures.


Profile photo of georgiapellegrini

Homemade Nutella

Posted by in Step-by-Step Recipes

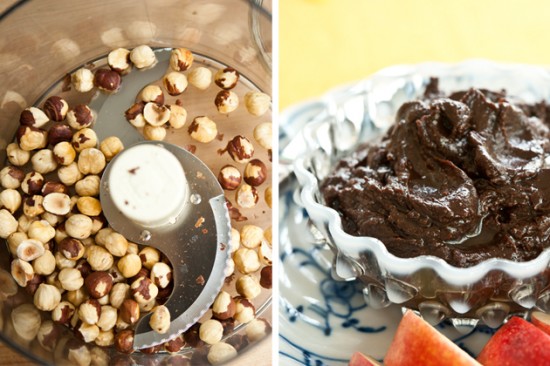
There’s something so wonderfully addictive about Nutella. I’m not sure what it is, really, maybe the aroma of the hazelnuts mixed with the soft texture of the chocolate, and the knowledge that you can spread it on your favorite foods and call it breakfast the way the Europeans do. Clearly, the Europeans are very intelligent […]

Profile photo of georgiapellegrini

Homemade Spaetzle

Posted by in Step-by-Step Recipes

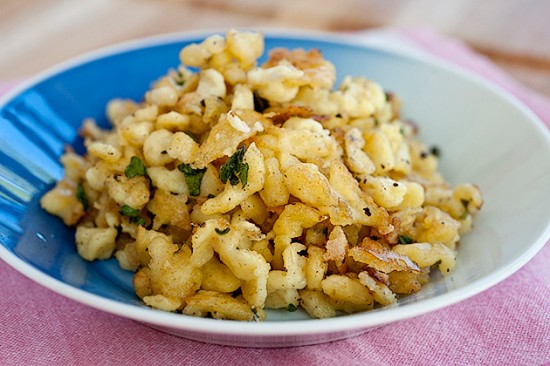
I love spaetzle. It’s so comforting and German. It’s pasta with a twist, with some crunch, with some extra butter, and some herbs when you feel like it. This recipe from TK member Candi reminded me how great and versatile spaetzle can be.       One of the things I like about her recipe […]

Profile photo of georgiapellegrini

Spicy Moroccan Chickpeas

Posted by in Step-by-Step Recipes

  I just love chickpeas. Or is it garbanzo beans? Well, I love them either way. Sometimes, when I’m in a rush, I just empty a can of them into a bowl, add some of my favorite dressing and any herbs I can find and it’s a meal. They are so versatile. I’ve noticed that […]
Profile photo of georgiapellegrini

Turkey Swedish Meatballs

Posted by in Step-by-Step Recipes

  I have fond memories of strolling a shopping cart around with my mother as a kid wandering through the living rooms of Ikea. It wasn’t that I loved Ikea per se, but I knew what was about to come just around the bend: the Ikea cafeteria. There, it was a Mecca for little Swedish […]