To me, eggnog is the iconic Christmas drink. When we were little, around Christmastime, Mom would carefully pour out mini glasses of the thick, wonderfully flavored beverage and cut it with a bit of milk. We savored what little we got from the small carton.
Now that I’ve learned to make it at home, I can enjoy it in much larger quantities. Which is a good thing, right? Right?!
“I would ask you to make eggnog more often, but then we would get fat,” Reuben informed me.
Let me show you how to make this scrumptious drink for yourself!
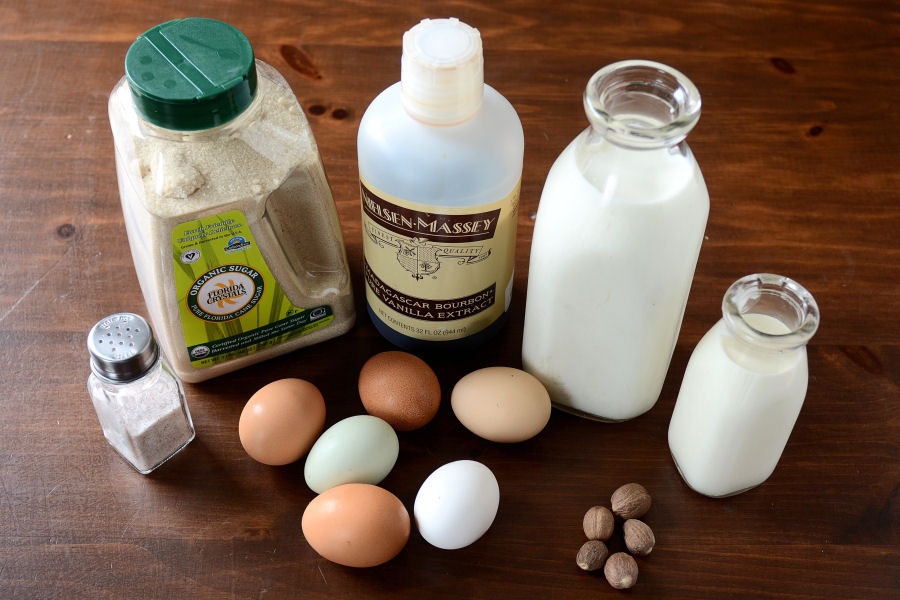
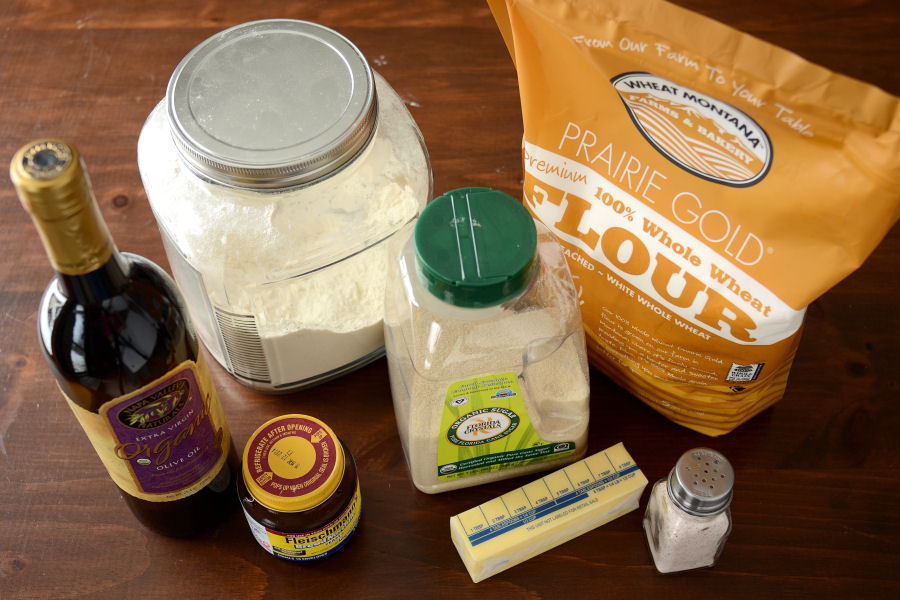
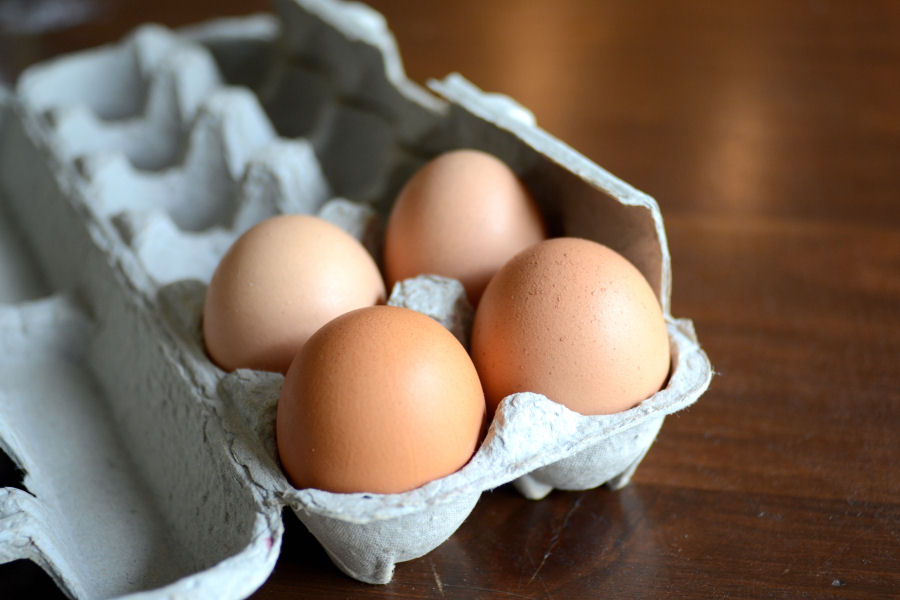
Here are the ingredients you’ll need: eggs (of course), sweetener of choice, salt, whole milk, vanilla extract, freshly grated nutmeg and heavy whipping cream.
Note: I made a half batch since it’s only the two of us.
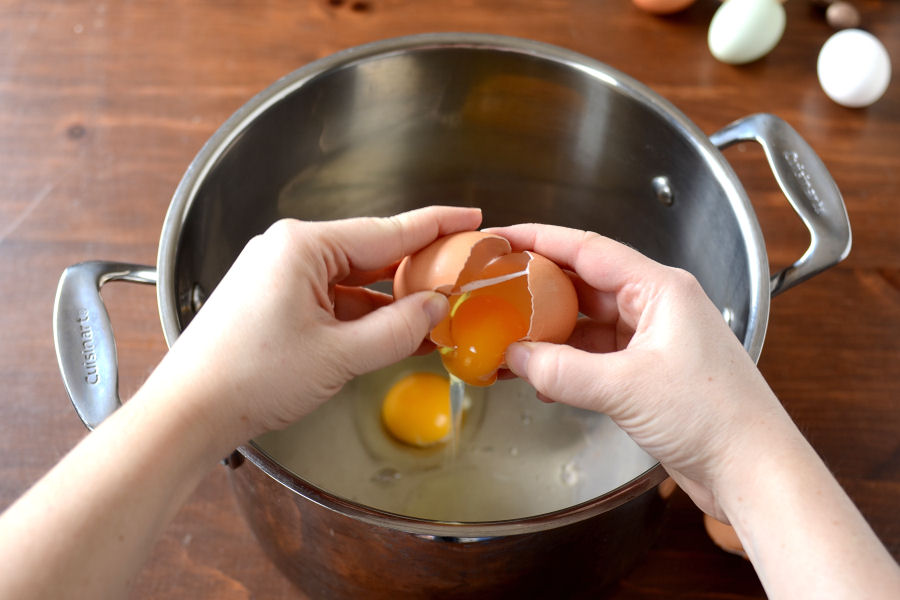
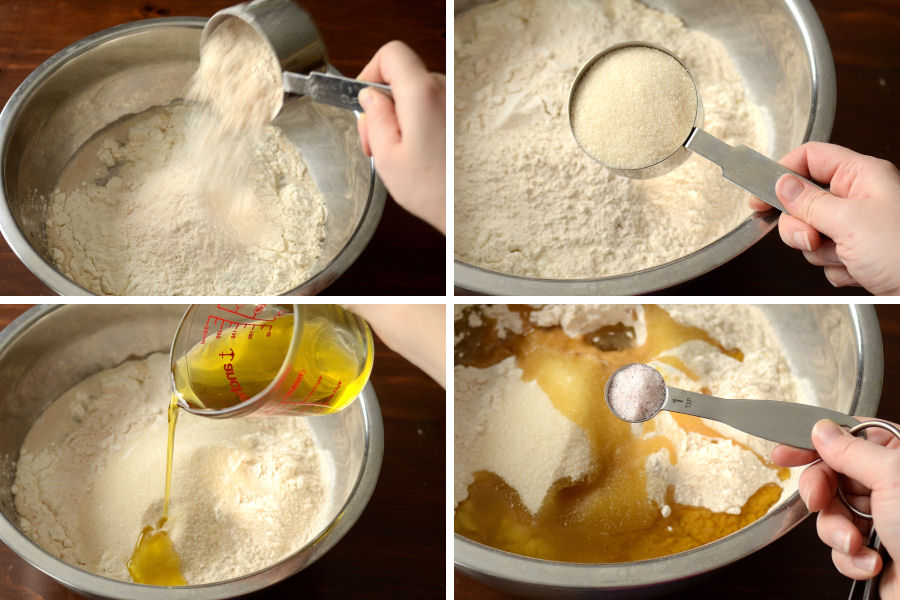
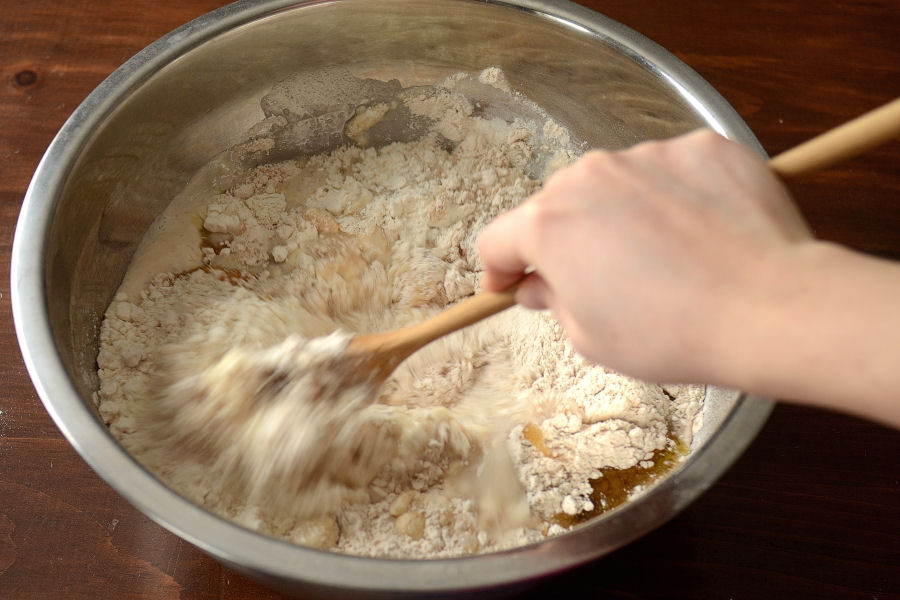
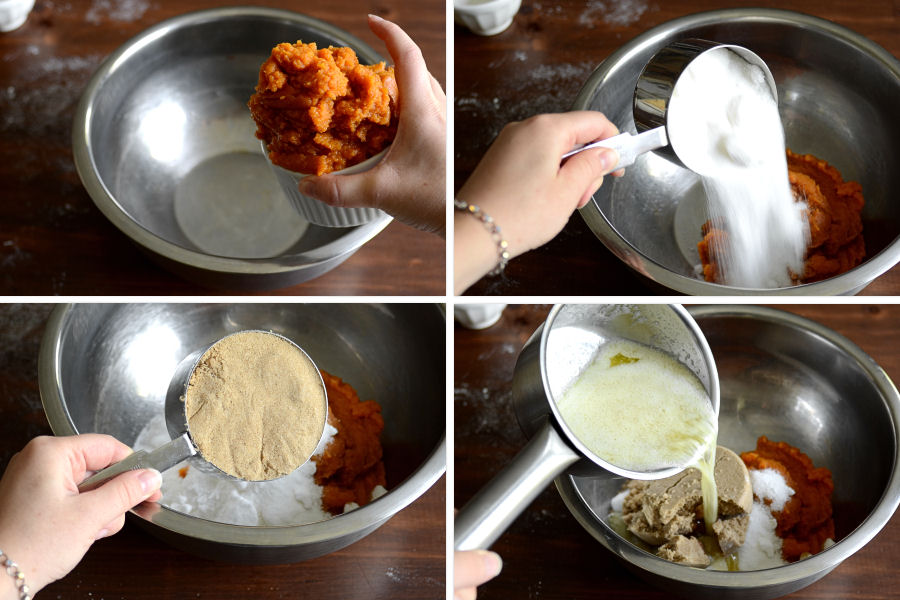
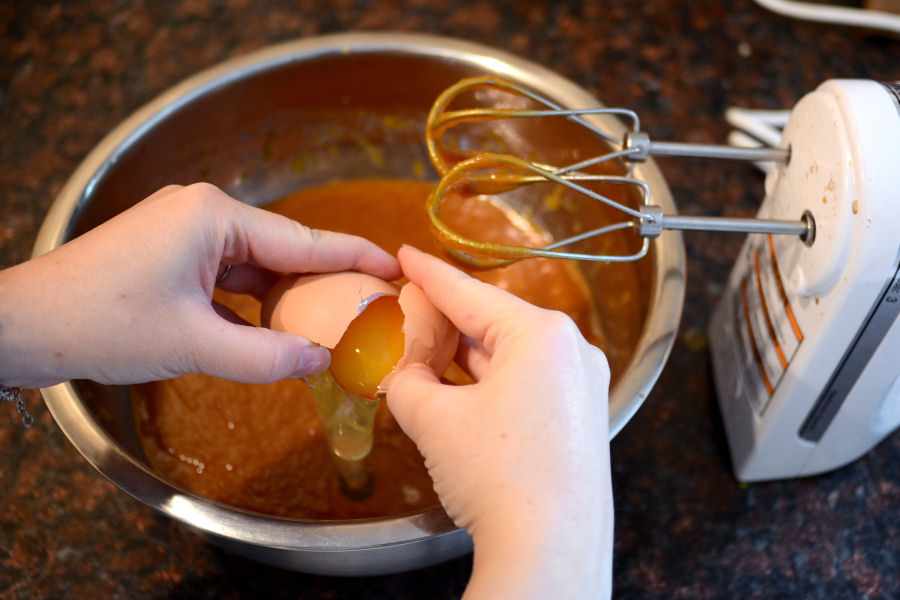
Crack your eggs into a pot.
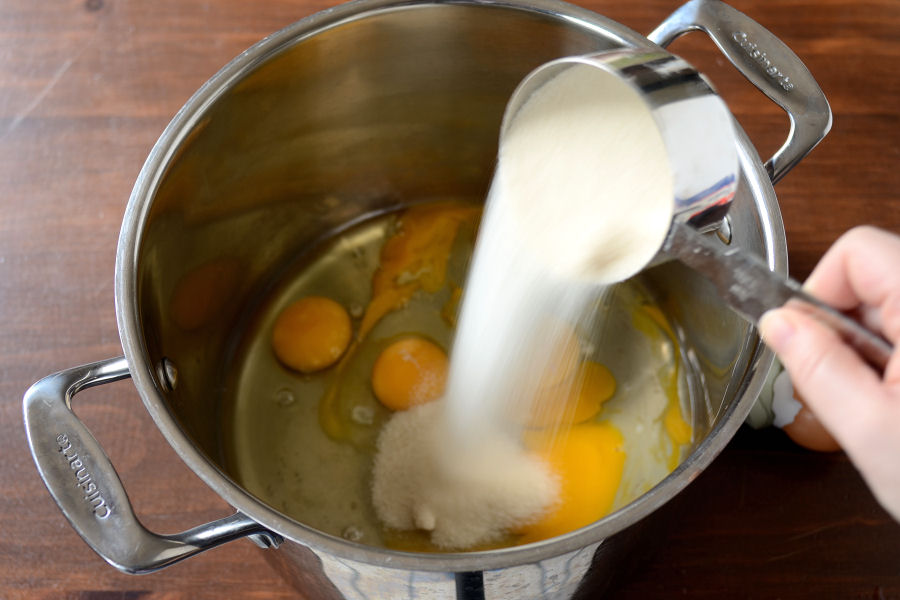
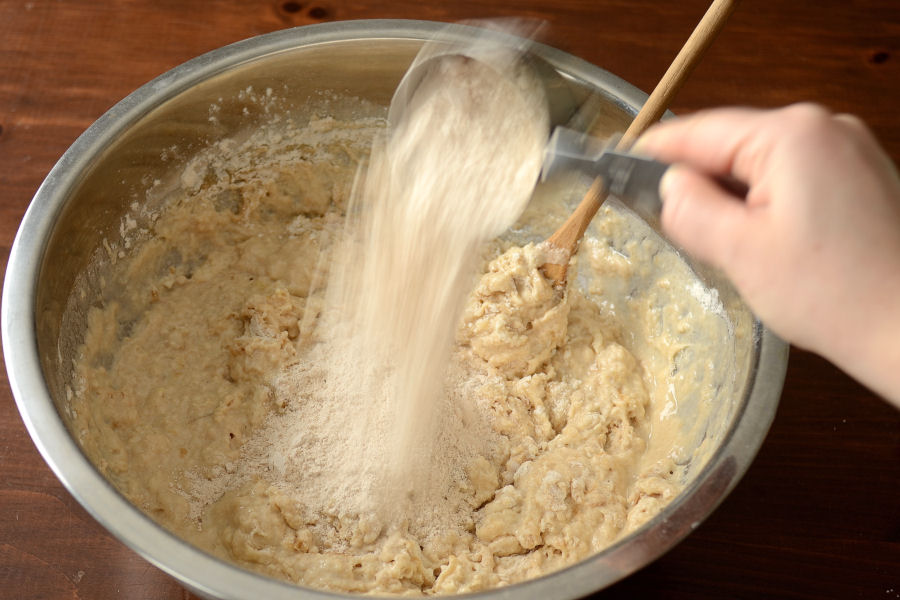
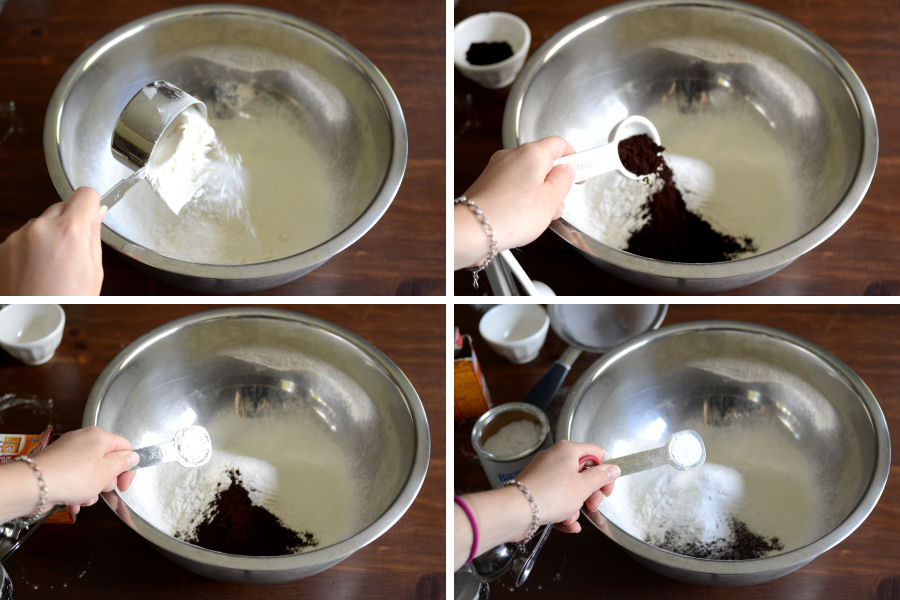
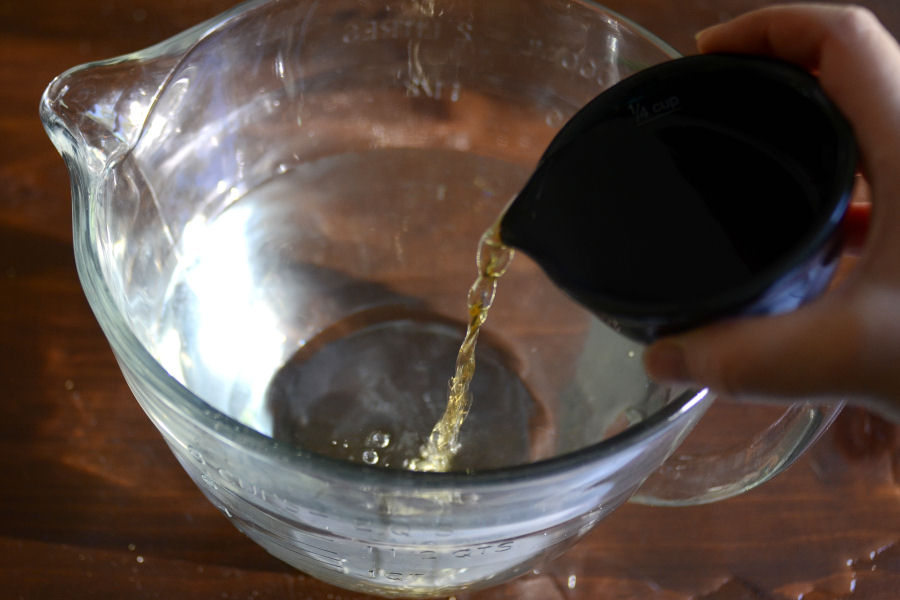
Add the sugar …
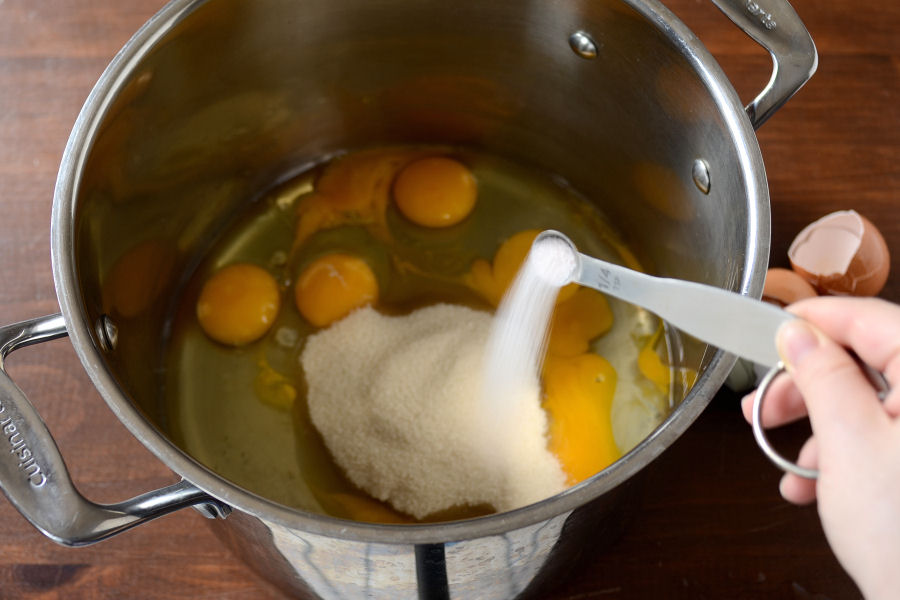
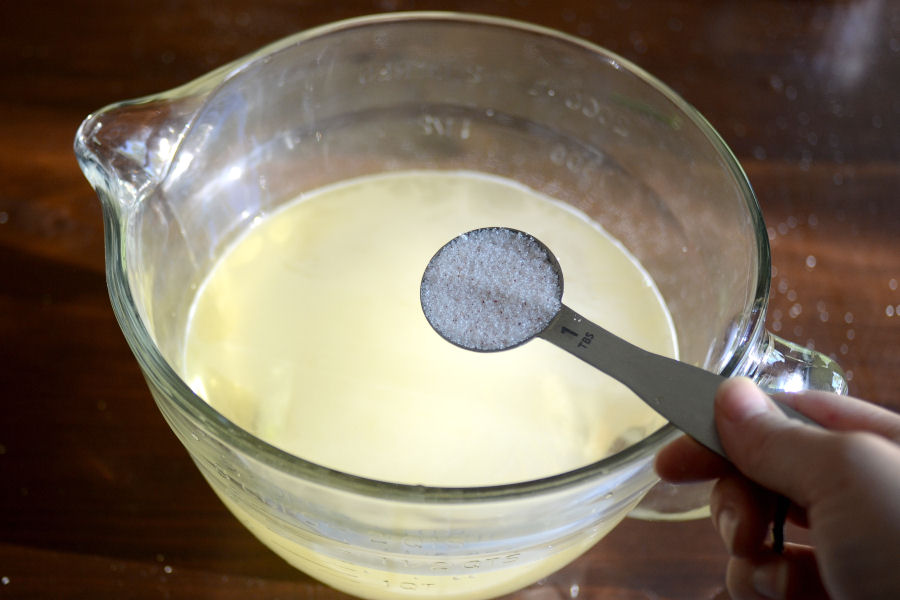
And salt …
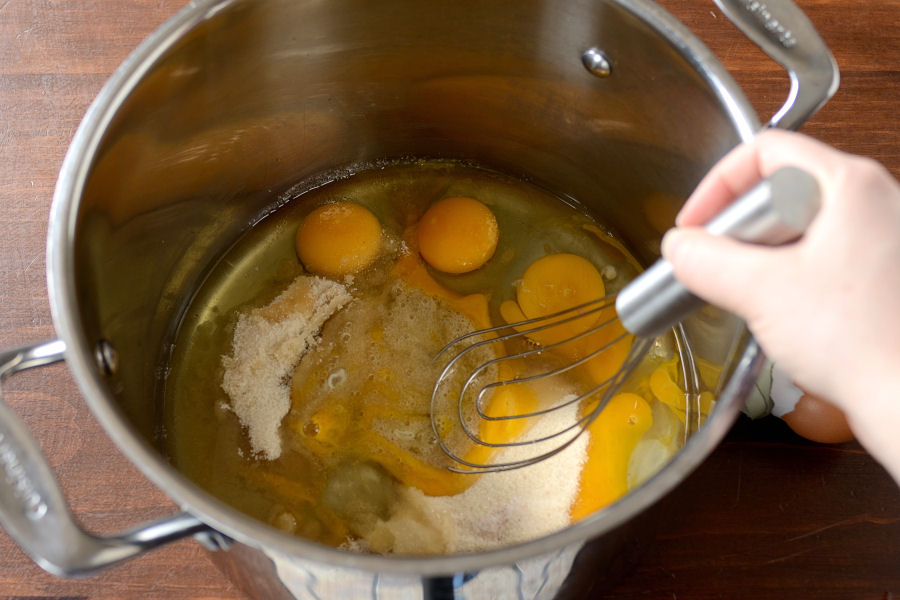
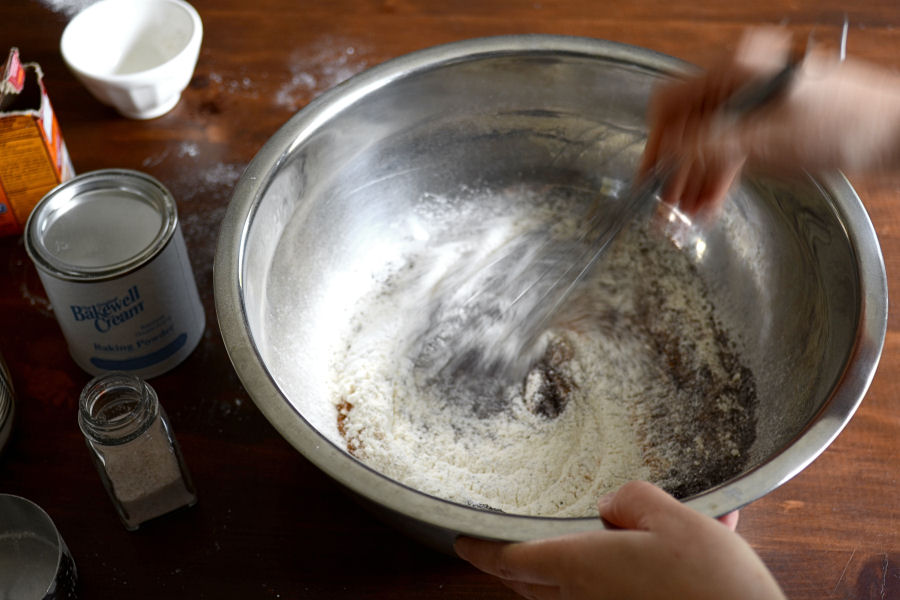
And whisk it all up.
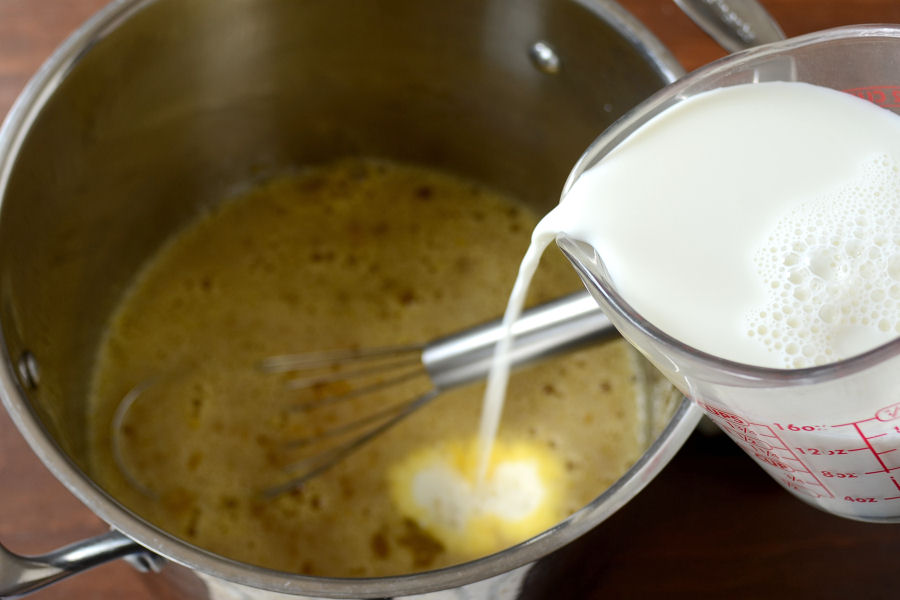
Sloooowly whisk in half of the milk.
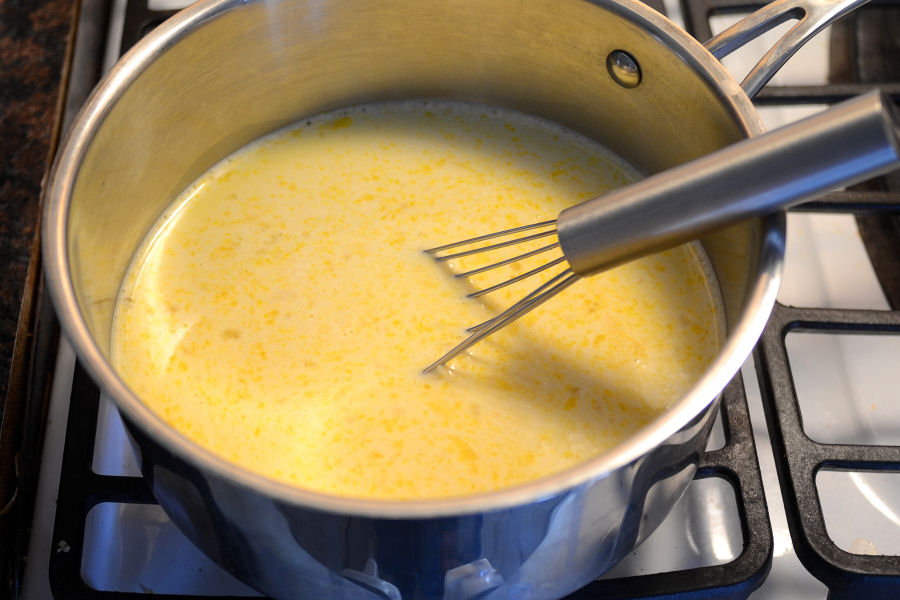
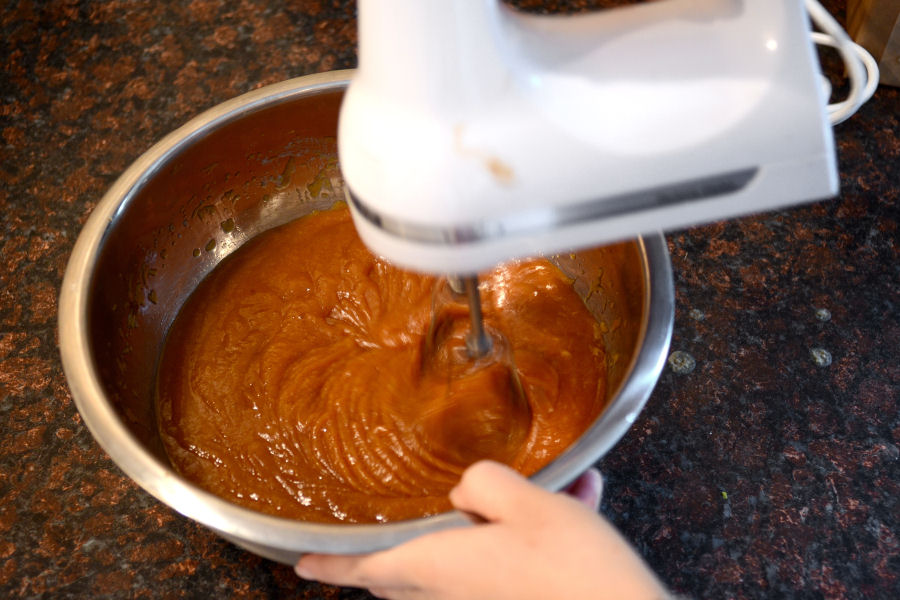
I switched to a smaller pan so it’d be easier to stir.
Cook over low heat, stirring constantly, until the mixture coats the back of a wooden spoon, about 25 minutes.
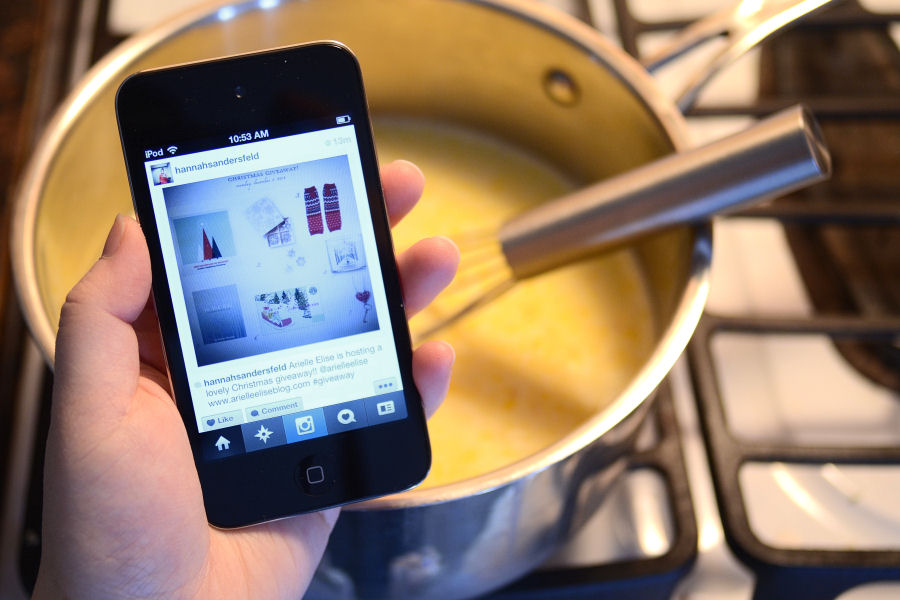
Now’s a good time to listen to music, flip through a favorite magazine, or fiddle with your smart device.
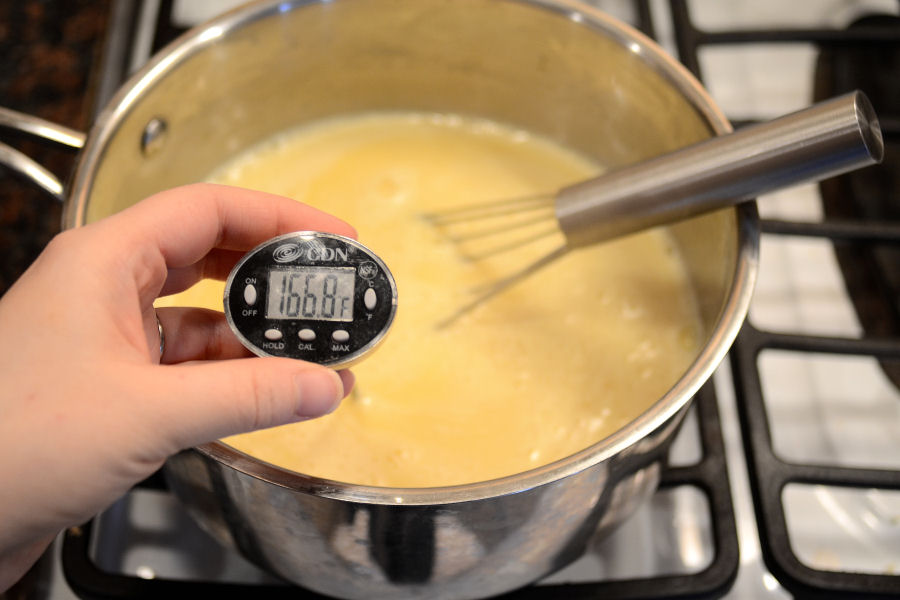
You can also check to see if the eggnog is finished cooking with an instant-read thermometer. It should be between 170 and 175° F. Do NOT boil.
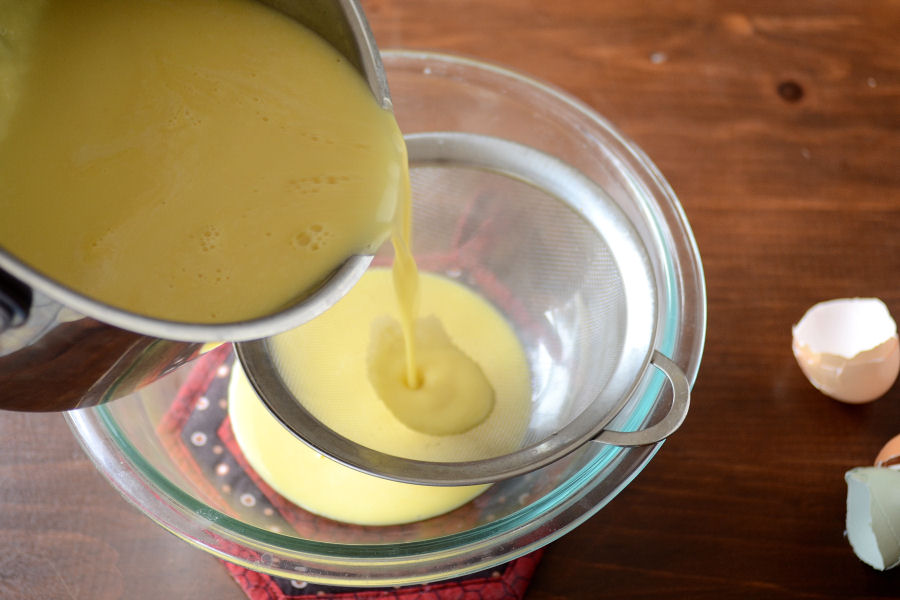
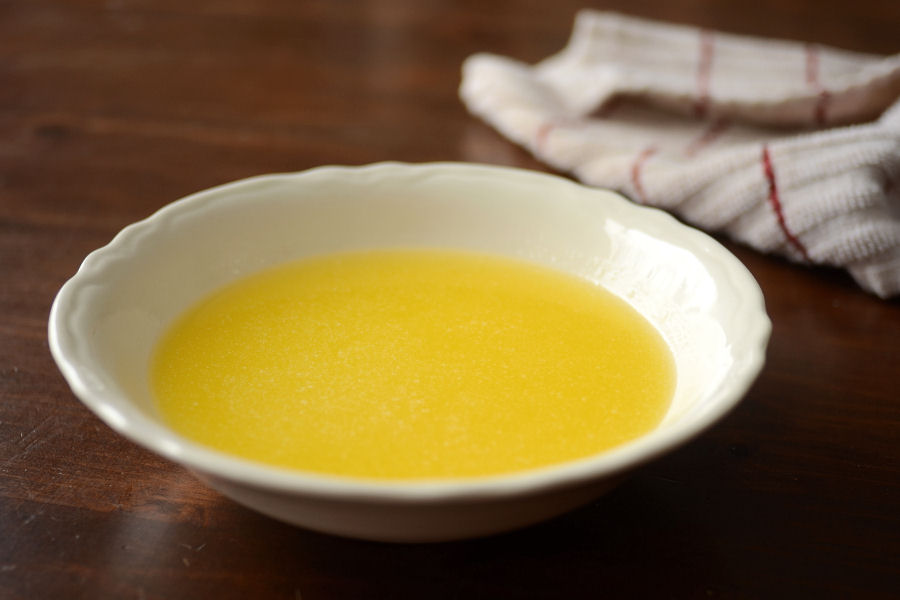
Once it’s finished cooking, pour the eggnog into a heat-proof bowl through a fine-mesh strainer.
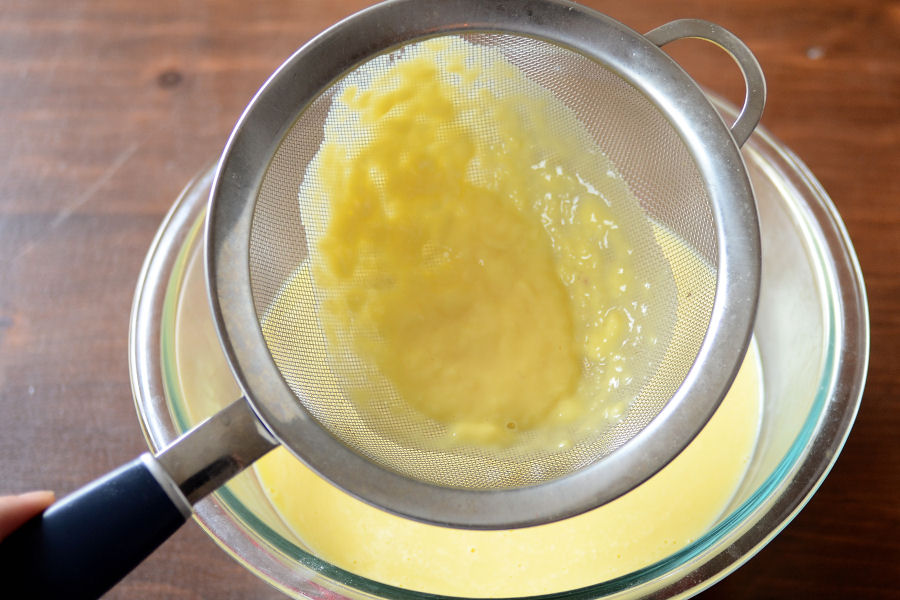
See all the thumpies the strainer saved me from?
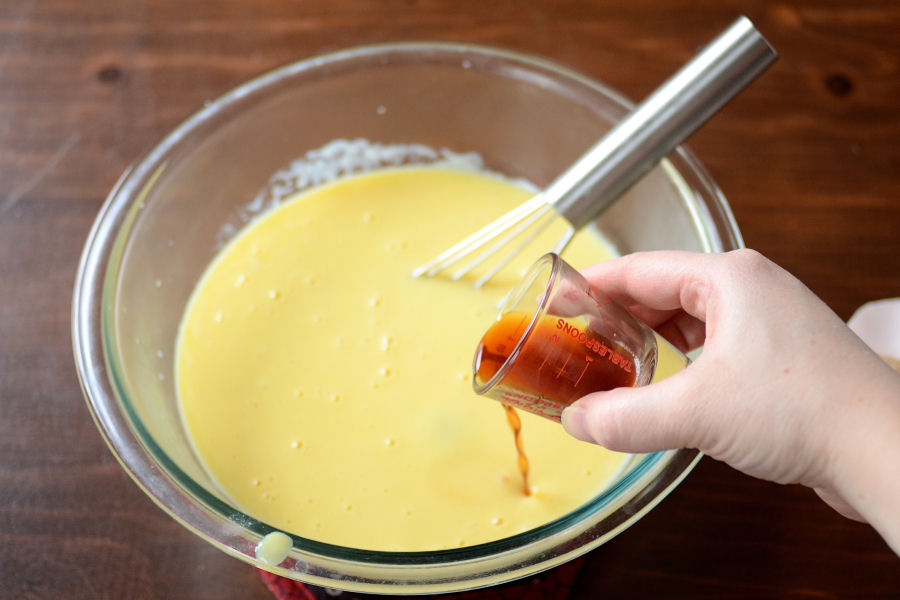
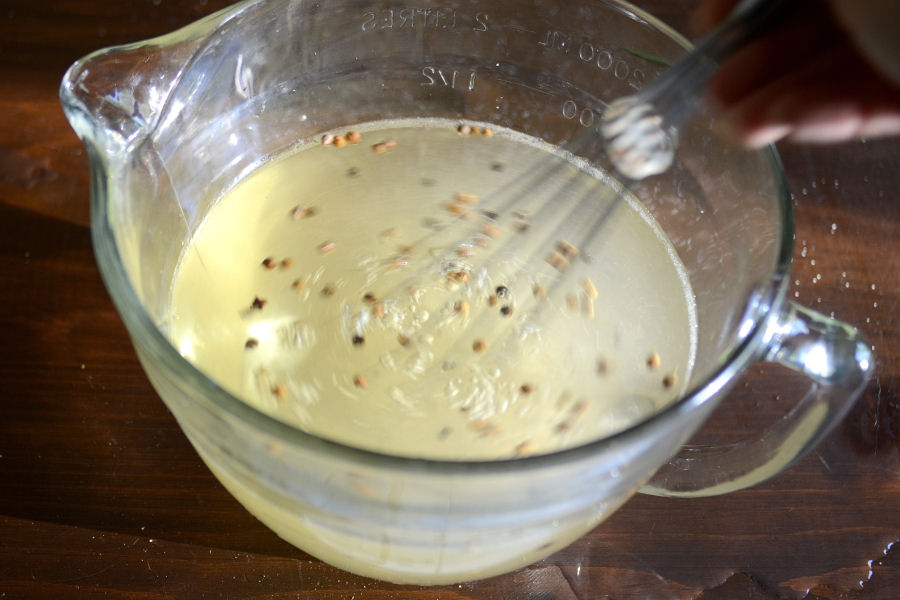
Whisk in the vanilla extract …
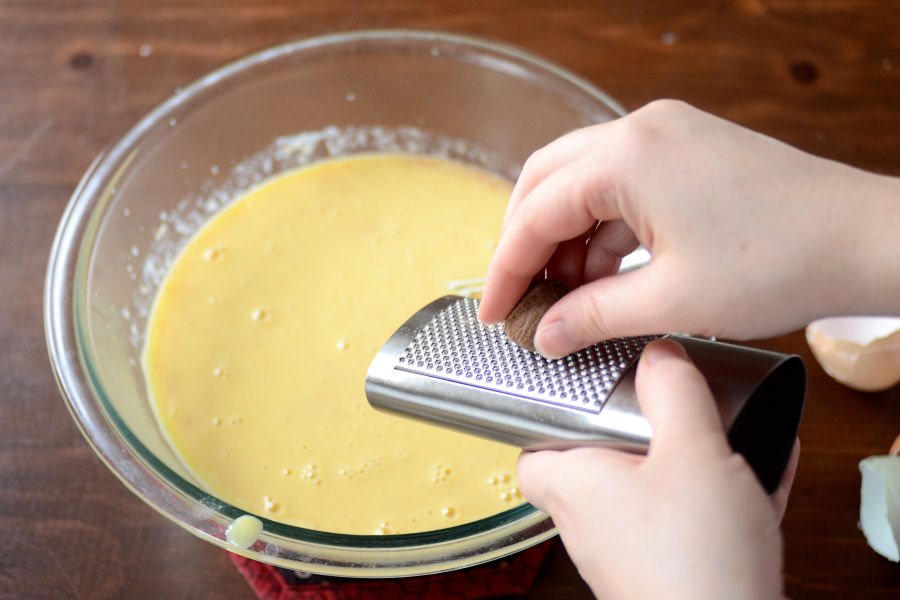
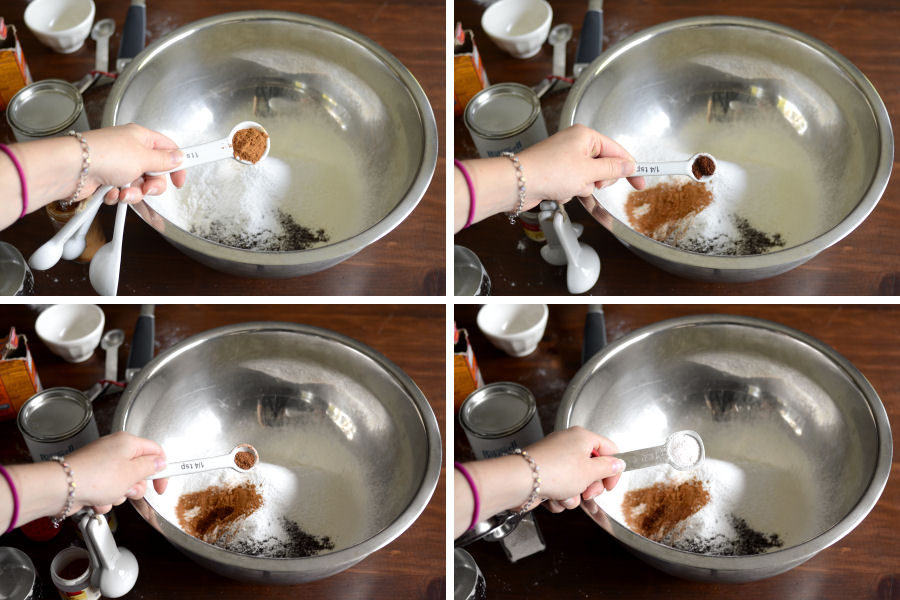
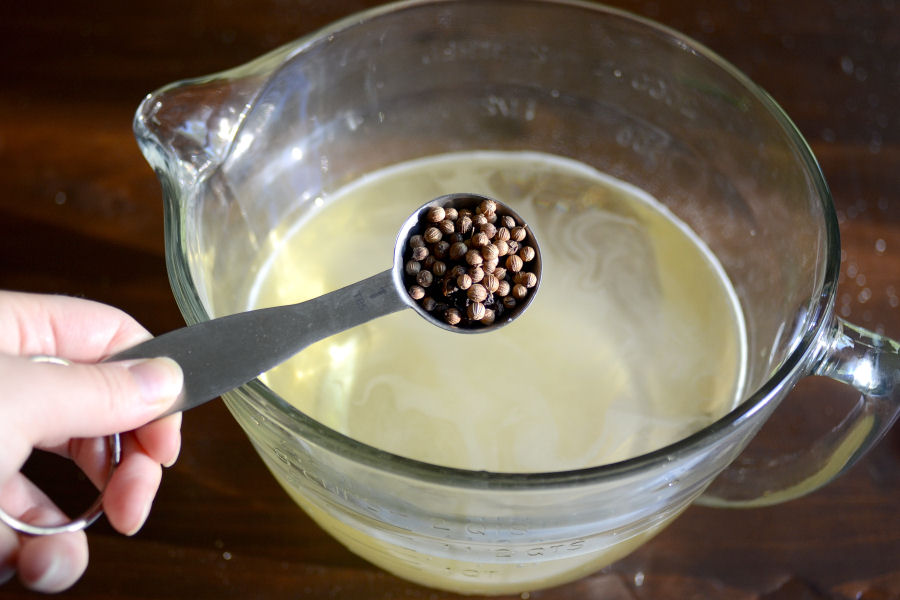
Freshly grated nutmeg (I’ll forgive you if you don’t use fresh) …
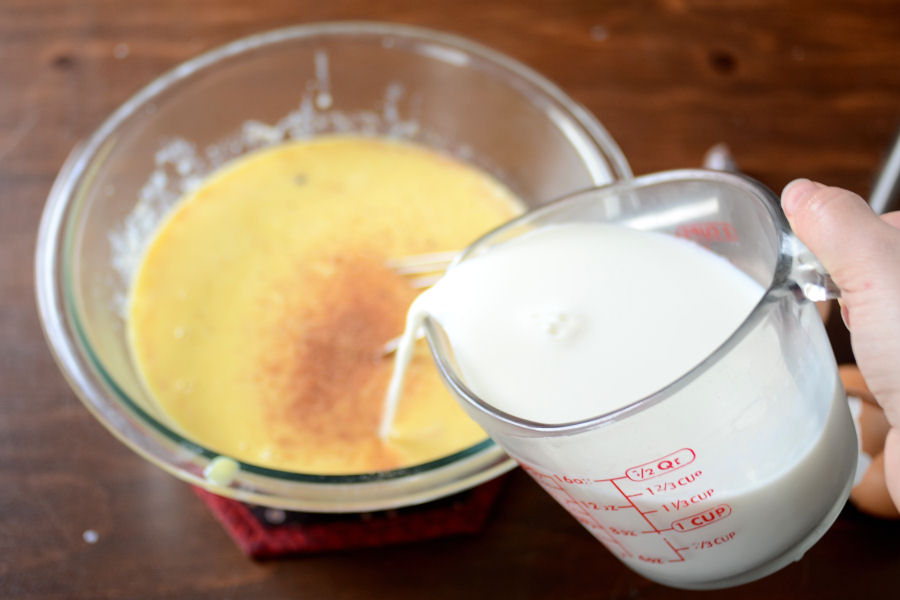
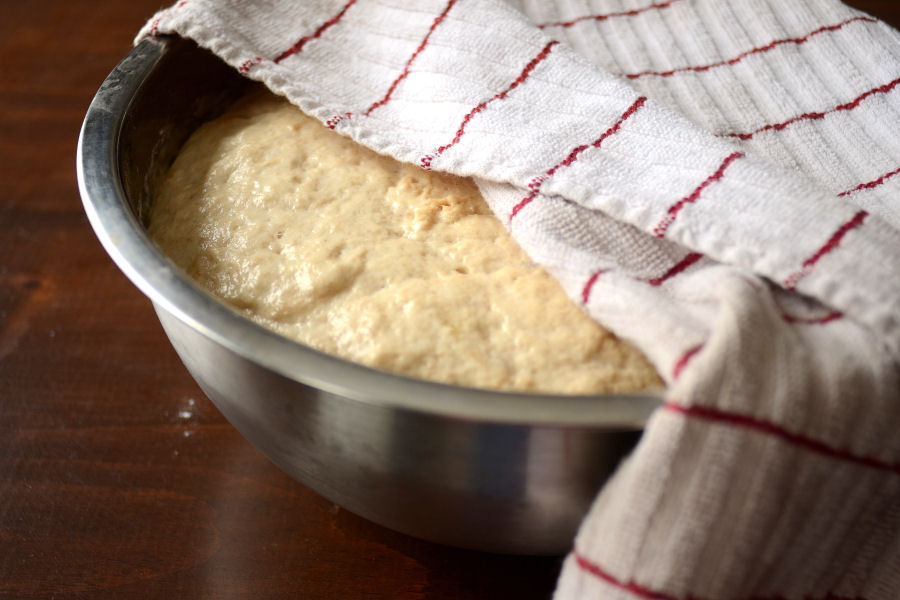
And the remaining milk. Cover and let chill in the refrigerator until completely cool, about 3 hours.
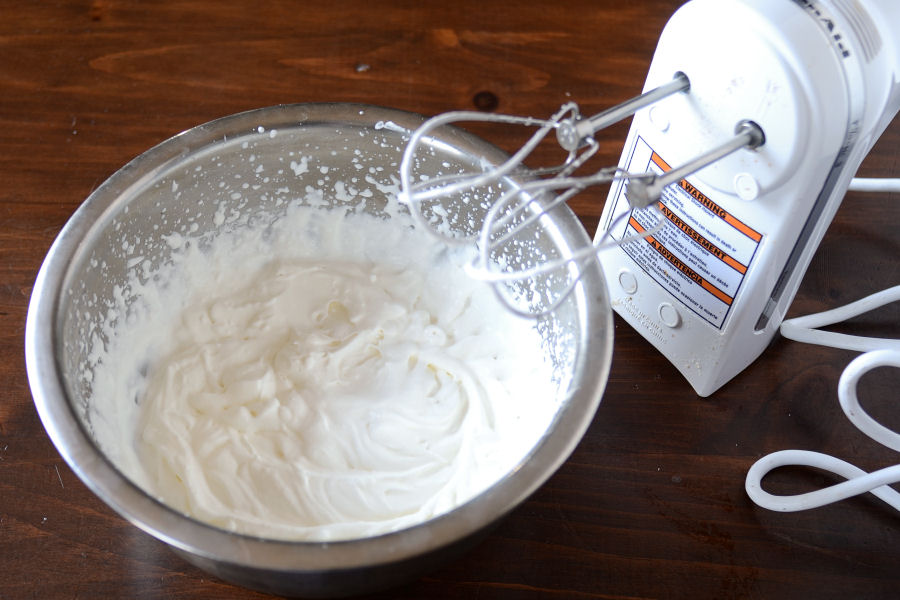
Just before serving, beat the cream until soft peaks form. Beautiful, soft cream …
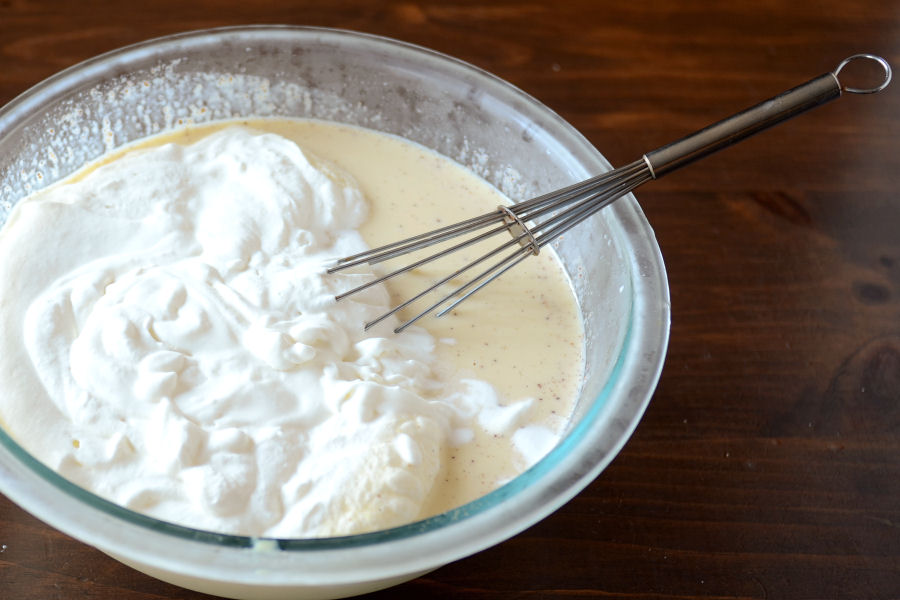
Gently fold the whipped cream into the eggnog with a wire whisk.
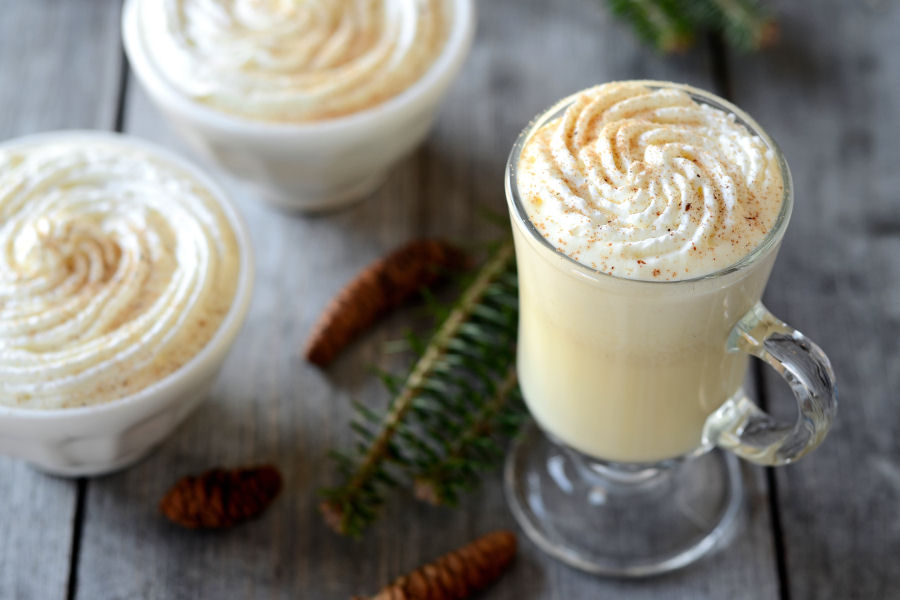
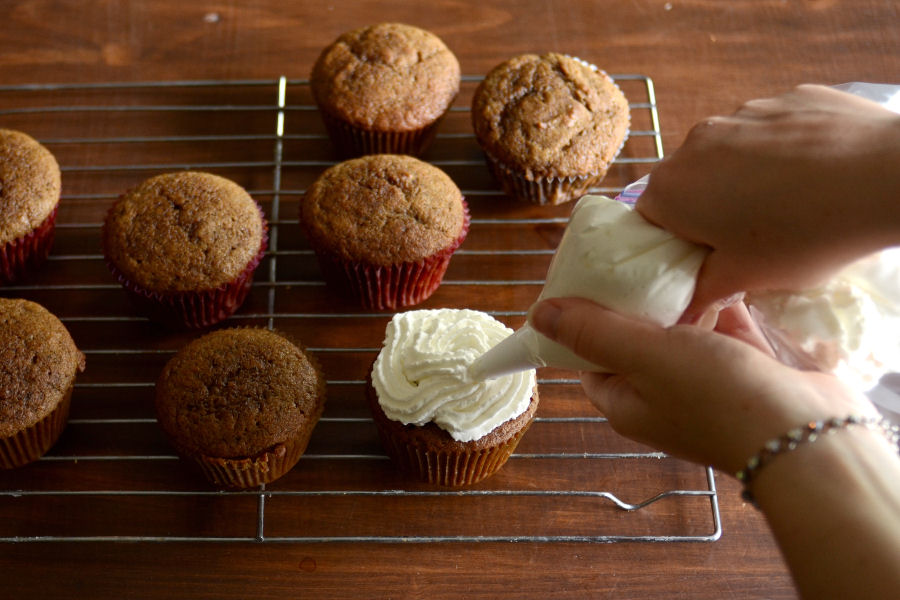
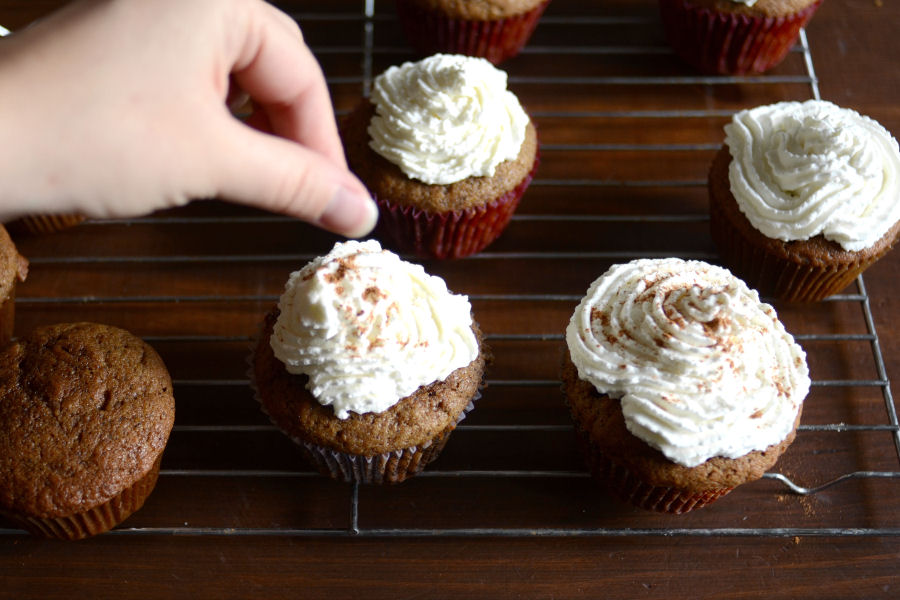
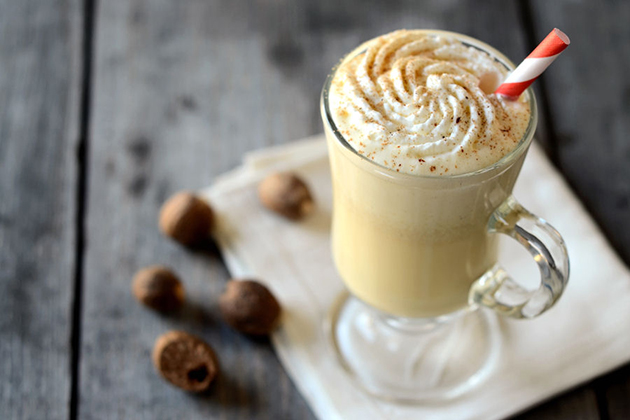
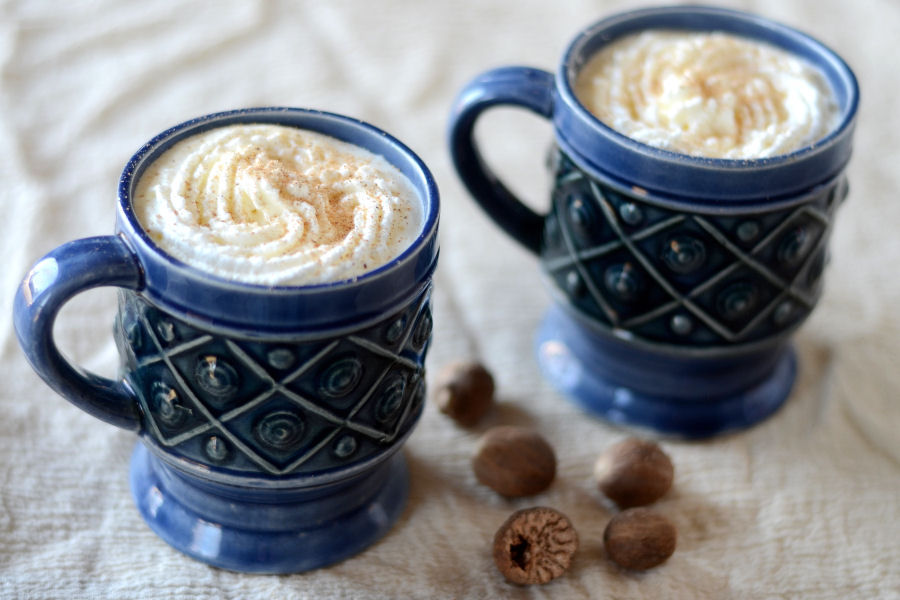
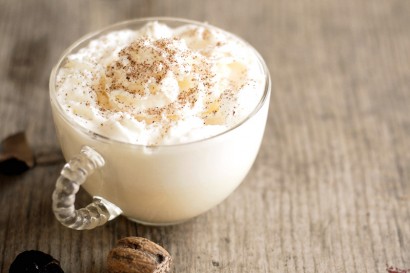
Serve with extra whipped cream, if desired, and a sprinkling of freshly grated nutmeg.
Recipe notes:
1. You can use whatever sweetener (within reason) you like to sweeten this drink. I have used maple syrup, granulated sugar and evaporated cane juice with good success.
2. If you like the flavor of rum in your eggnog, you can add a bit of rum extract (or real rum, if you don’t mind the alcohol).
3. I highly recommend using an instant read thermometer to gauge when your eggnog is done cooking. Just make sure you have it set to Fahrenheit—I once made scrambled eggnog because I accidentally switched the thermometer to Celsius.
Printable Recipe

Print Options
Description
An easy recipe for eggnog that does not include alcohol or uncooked eggs.
Ingredients
- 12 whole Large Eggs
- 1-½ cup Maple Syrup (or Granulated Sugar)
- ½ teaspoons Salt
- 2 quarts (8 Cups) Whole Milk
- 2 Tablespoons Vanilla Extract
- 1 teaspoon Freshly Grated Nutmeg + More For Garnish
- 2 cups Heavy Whipping Cream + More For Garnish
Preparation Instructions
1) In a heavy 4 quart saucepan, with the heat off, whisk the eggs, maple syrup, and salt until well blended. Gradually stir in half of the milk.
2) Cook over low heat, stirring constantly, until mixture thickens and coats the back of a spoon, about 25 minutes. (Mixture should be about 170 – 175 degrees F). Do not boil.
3) Pour custard into a large bowl. Stir in vanilla extract, 1 teaspoon of ground nutmeg and the remaining milk. Cover and refrigerate until well chilled, about 3 hours.
4) Just before serving, in a medium bowl, beat whipping cream until soft peaks form. With wire whisk, gently fold whipped cream into custard mixture. Serve with extra whipped cream on top and a sprinkle of freshly grated nutmeg.
Store in the refrigerator up to 3 days.
_______________________________________
Newly-married Erica Kastner shares her wonderful recipes and amazing food photography on her blog, Cooking for Seven. She also writes about crafts and posts more of her beautiful photography in her personal blog, EricaLea.com. There really isn’t much that this amazing young lady can’t do, and we’re thrilled she does some of it here.