I finally made a pork tenderloin that I like! My problem in the past has been that it can be dry and lacking flavor. This Asian Pork Tenderloin recipe from TK member mags7461 (which she adapted from All Recipes) is flavorful and juicy all at once.
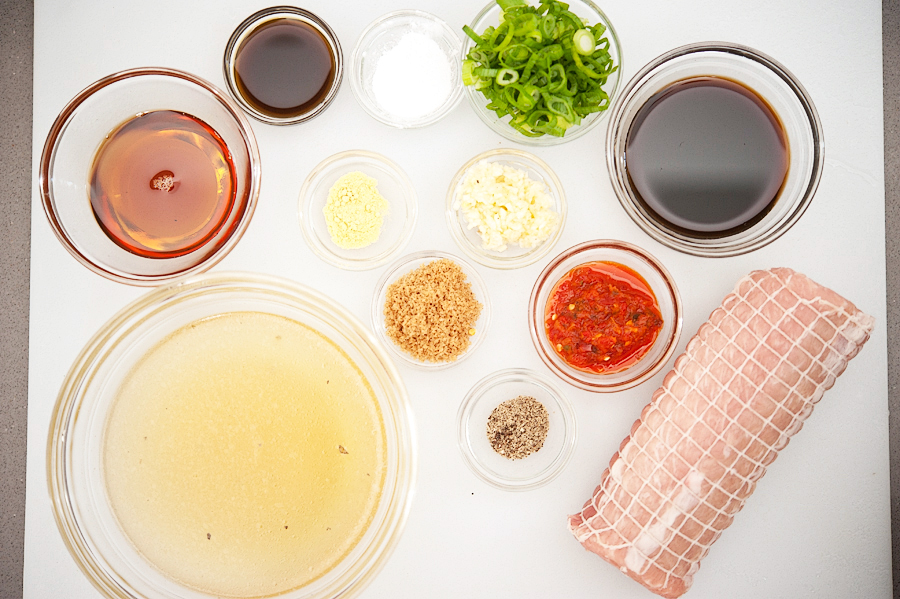
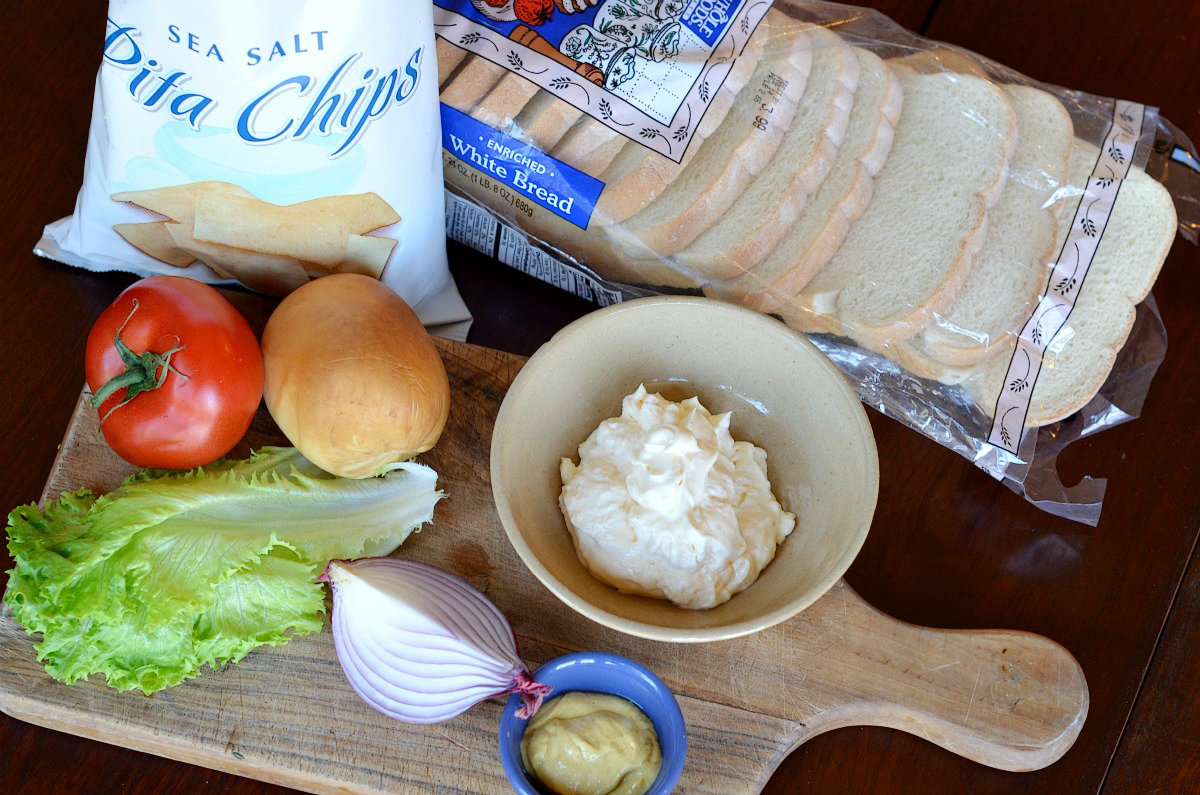
You will need: pork tenderloin, soy sauce, sesame oil, Worcestershire sauce, minced garlic, brown sugar, onion powder, freshly cracked black pepper, chili garlic sauce, cornstarch, chicken broth and green onions.

To start, you’ll take a large gallon-sized Ziploc bag and pour in the soy sauce …

The Worcestershire sauce …
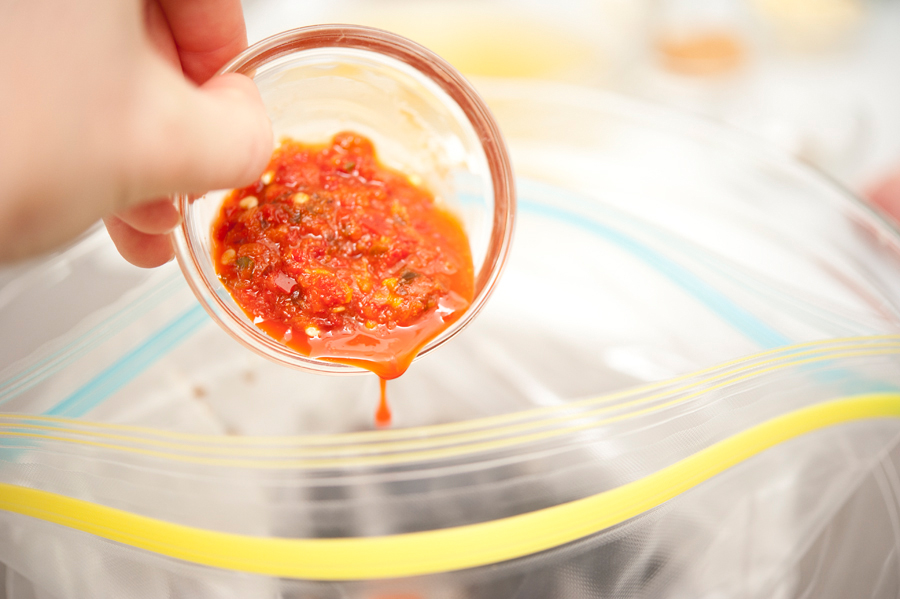
The chili garlic sauce …

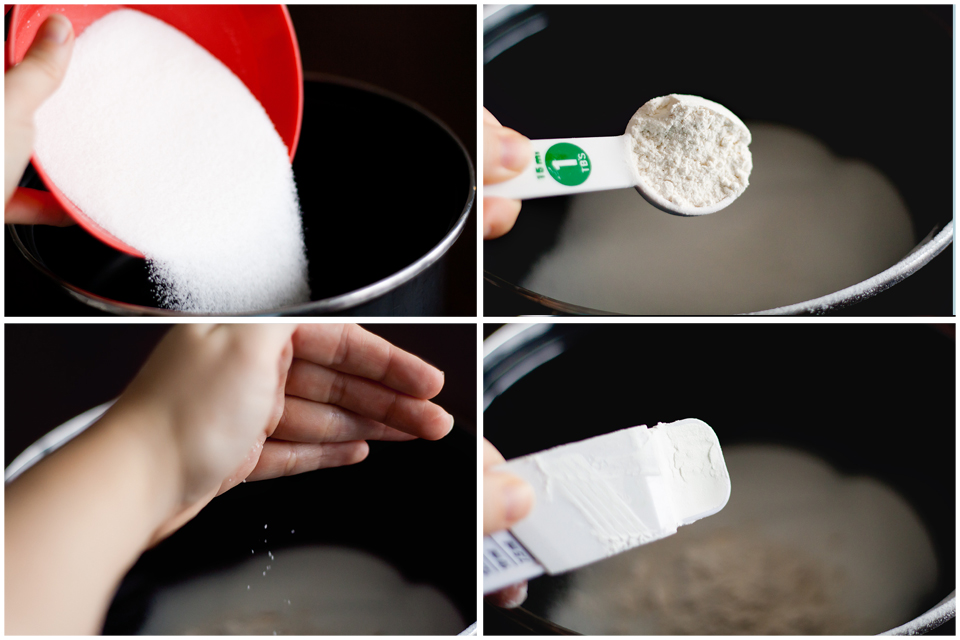
The brown sugar …

The onion powder …
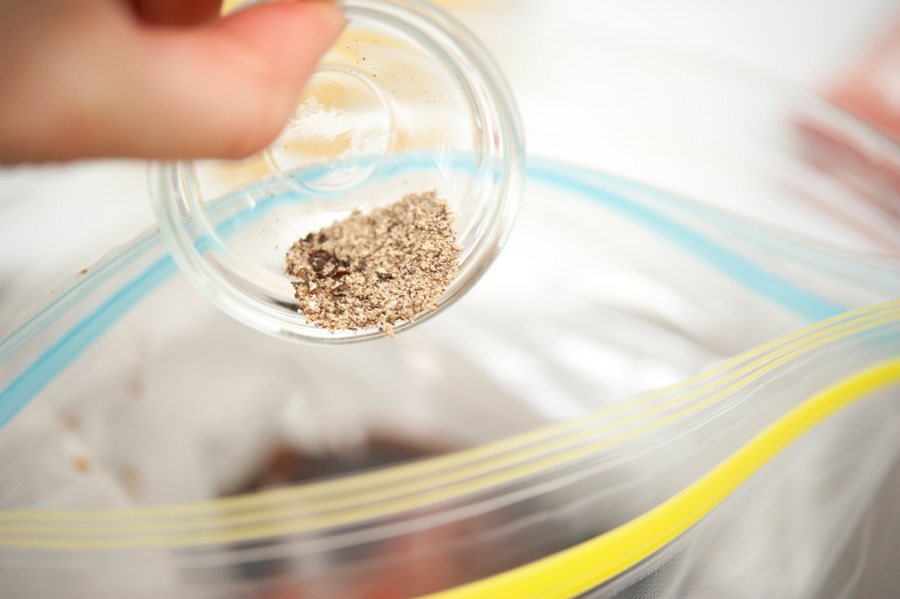
The black pepper …

The minced garlic …

And the sesame oil.
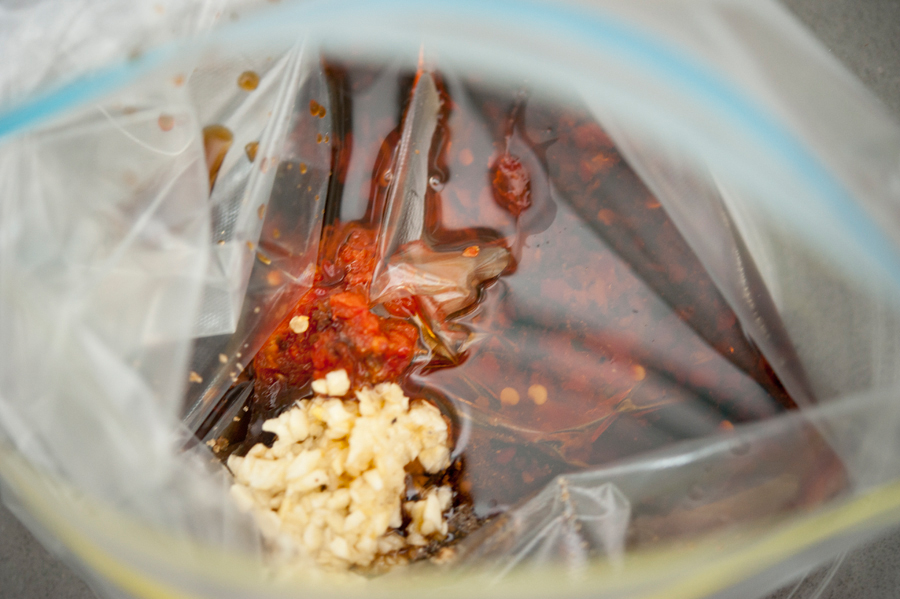
This will be your marinade!
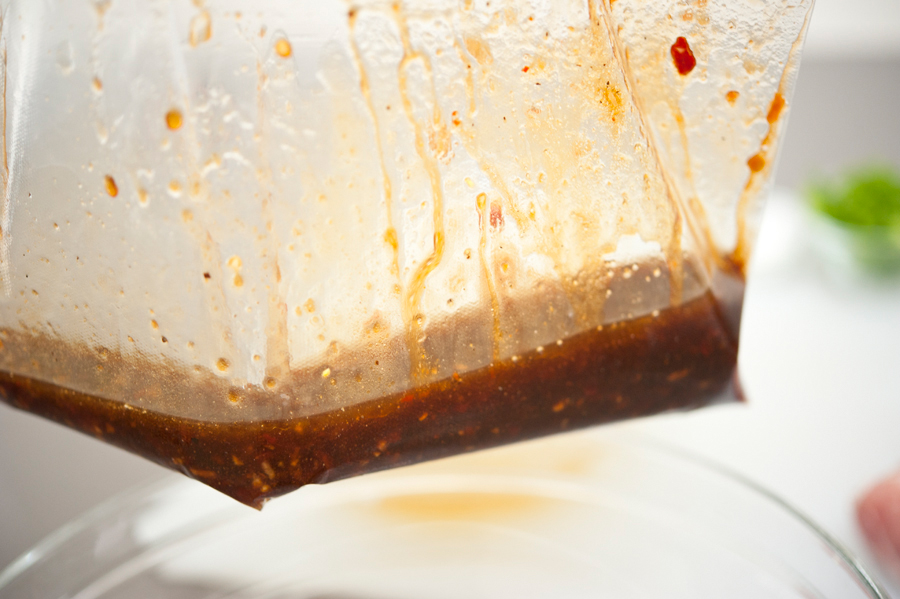
You’ll seal the bag and shake up the contents.
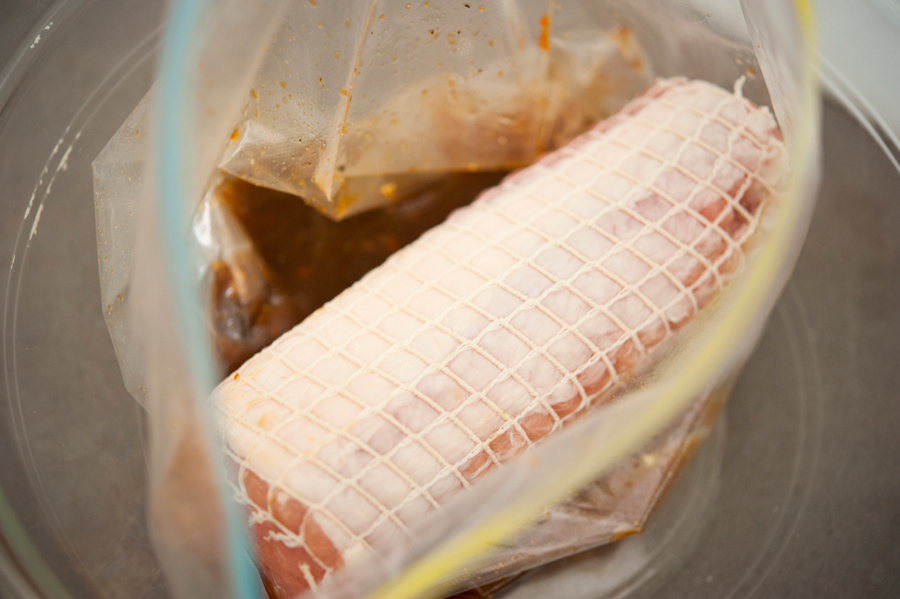
Then you’ll add your pork tenderloin.
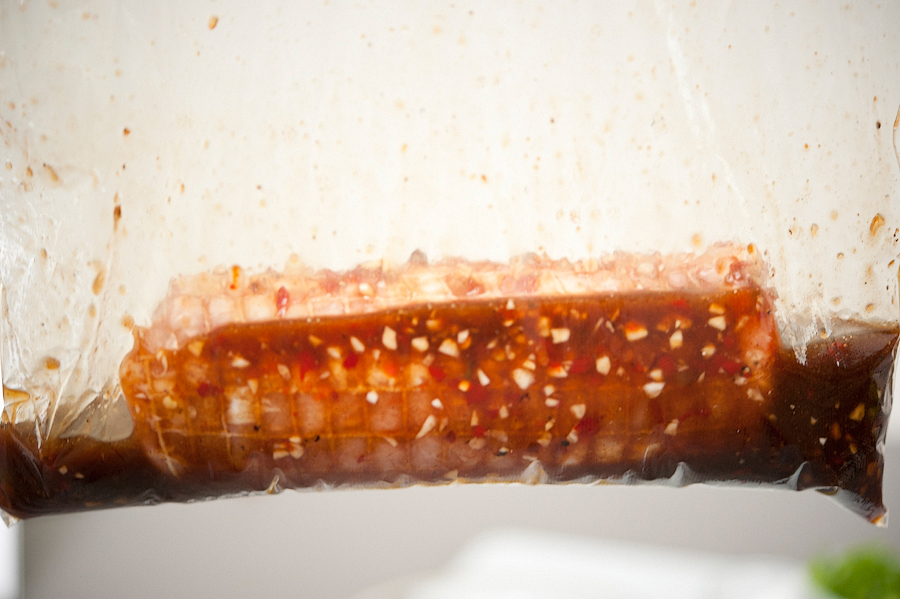
Shake it around to coat it nicely. Then put it in the refrigerator to marinate for 6 hours or so. It will help if you turn it every so often so that all sides soak evenly.
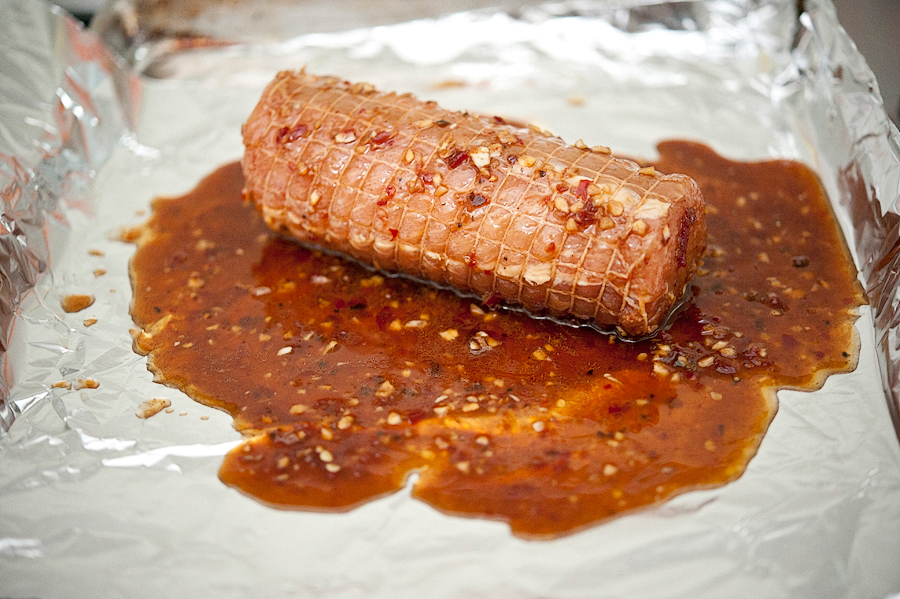
When you’re ready to cook it, line a sheet tray with foil and add the loin and some of the juice. I would recommend holding back some of the juice in order to make the sauce, since you may not end up with enough pan juice after it cooks.
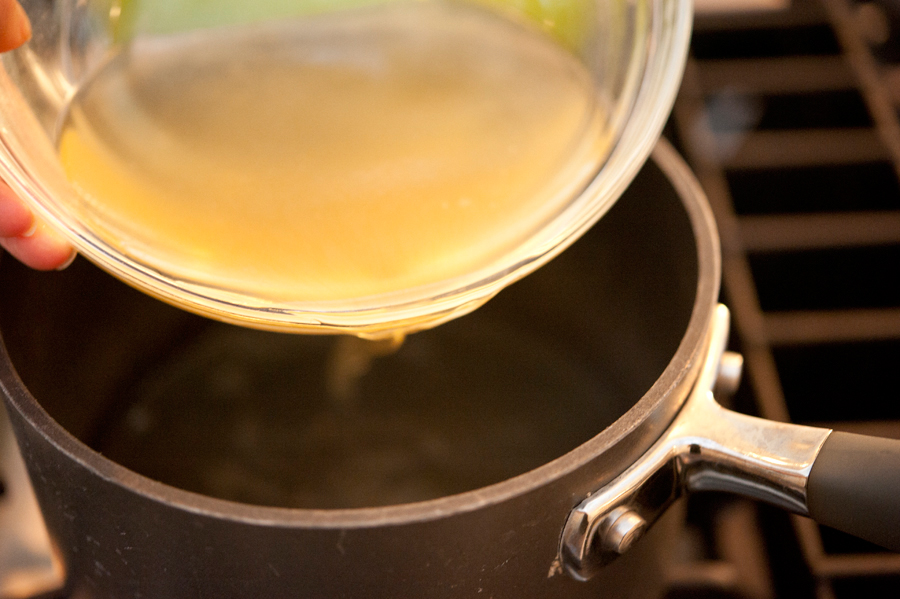
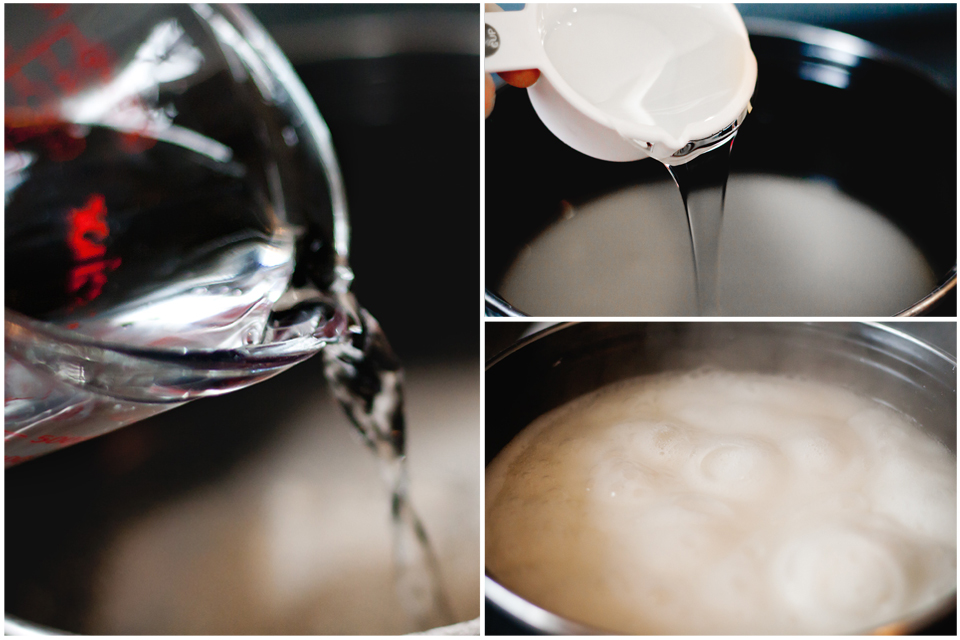
To make the sauce, heat up the chicken broth in a small saucepan.
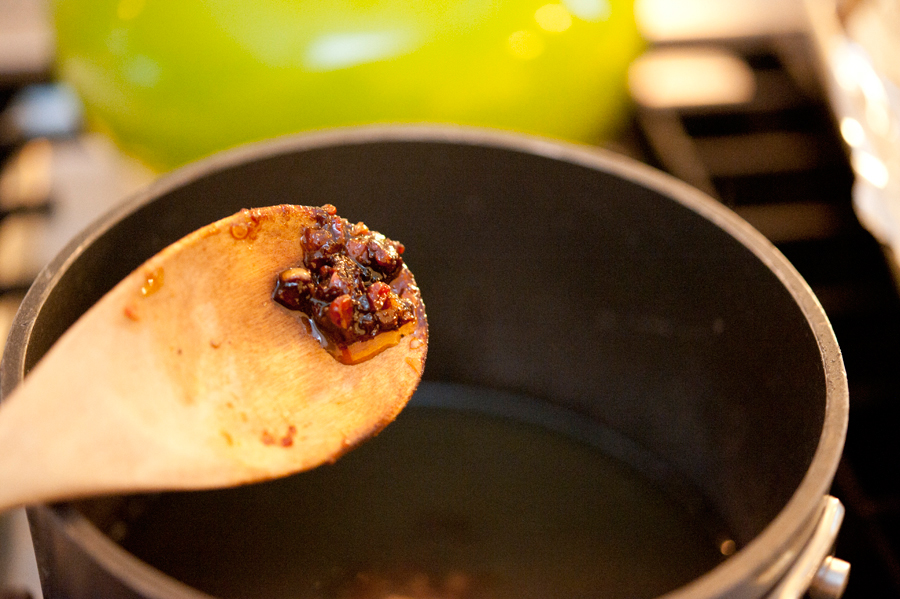
Add any pan drippings and leftover marinade.

And whisk in a bit of cornstarch to help thicken it.
Let it bubble and simmer, and whisk it along the way.

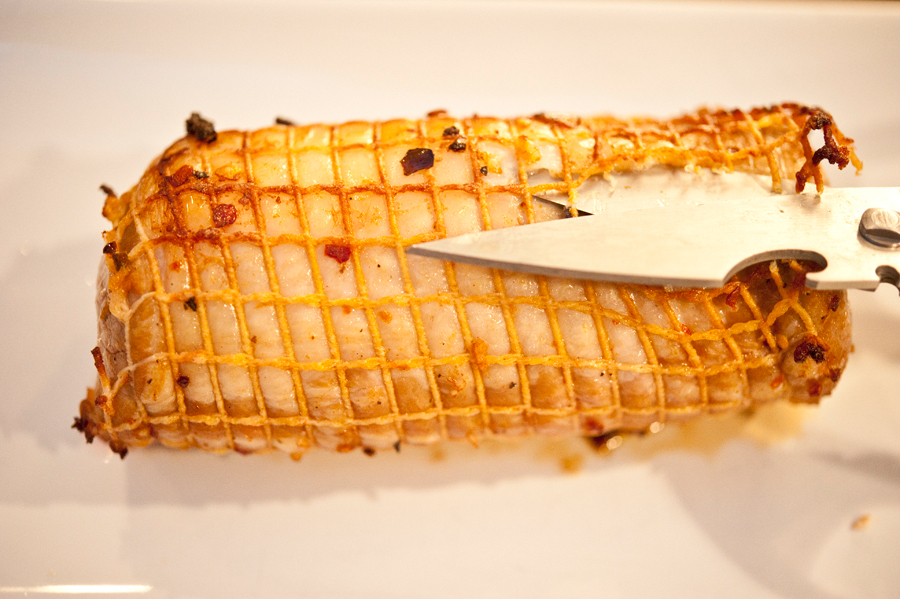
Remove the pork from the oven and let it rest for 15 minutes or so, covered, to let the juices retreat back into the meat.
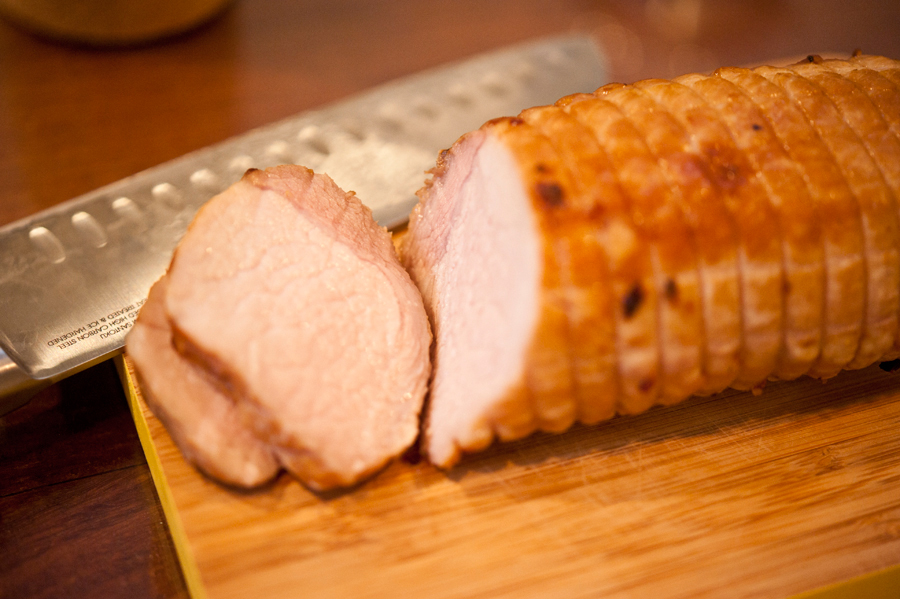
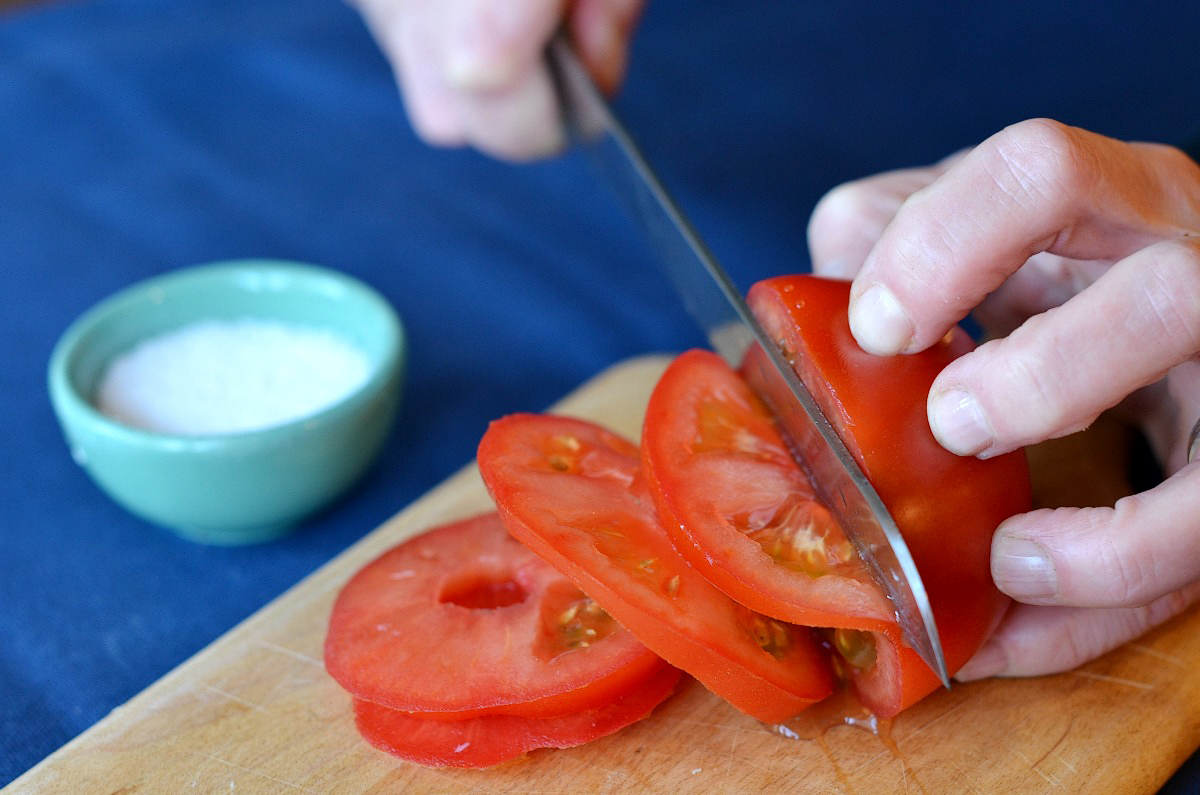
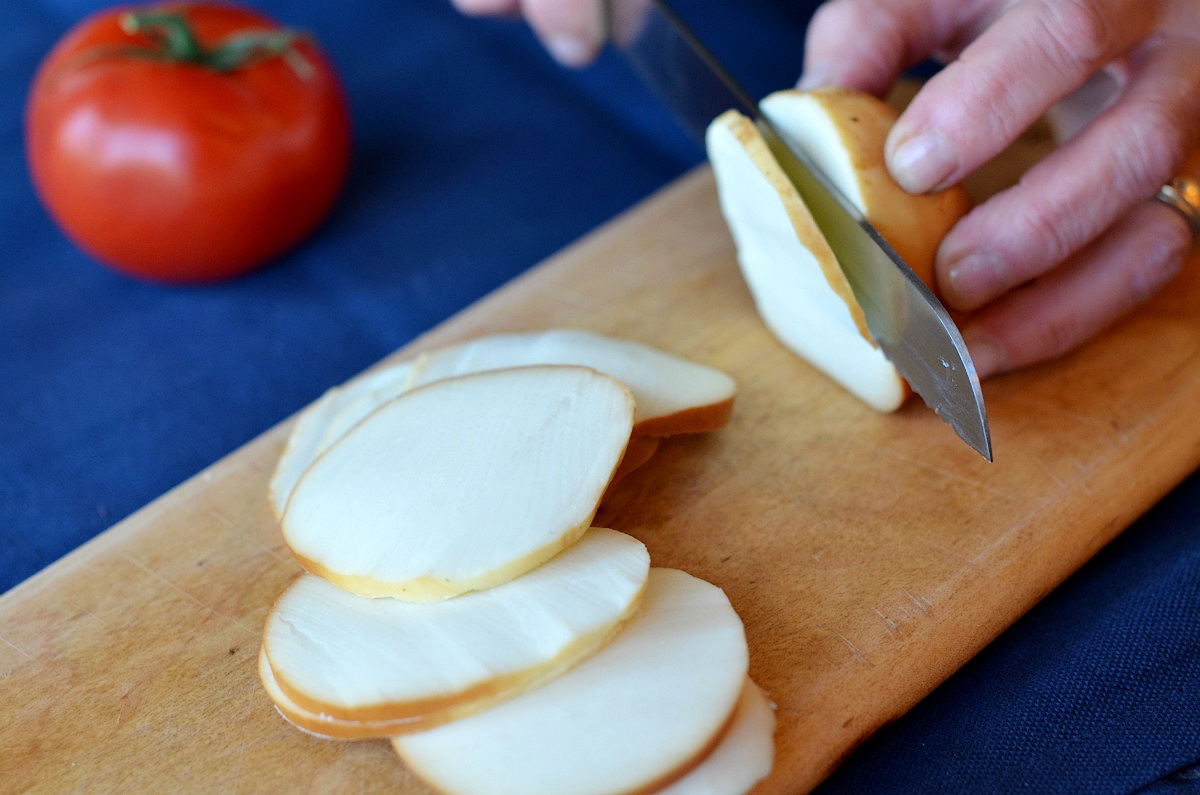
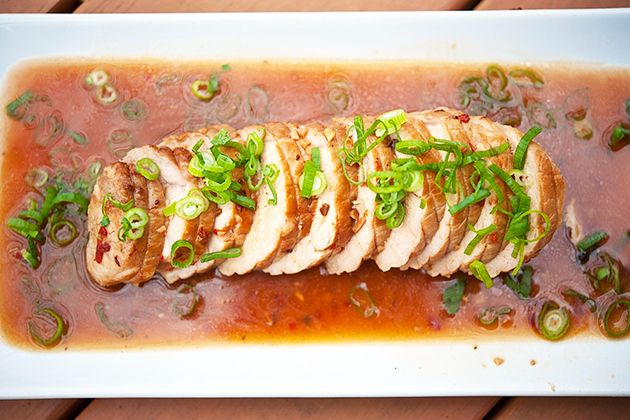
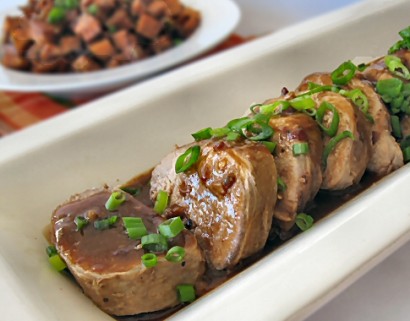
Slice it into juicy pieces …
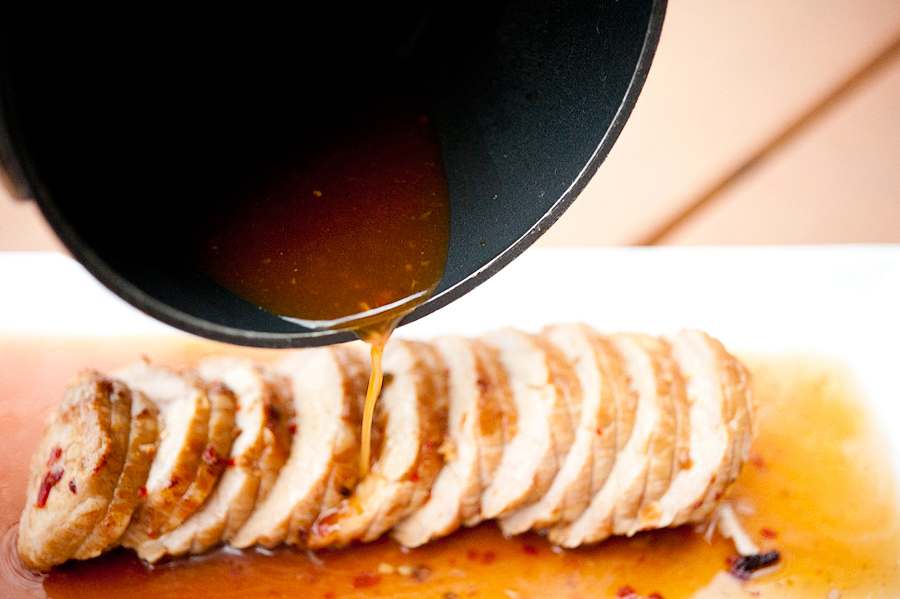
Then lay it out on a platter and drizzle the sauce over it.

Chop up some green onions as a garnish. This really adds a nice flavor.

The dish looks as lovely as it tastes. And it will be a real dinner crowd pleaser. I now have a renewed interest in domestic pork loin! Of course, this would also work wonderfully with wild hog loin. Thanks so much to mags7461 for the recipe! Check out her great blog, The Other Side of Fifty, for more inspiration!
Printable Recipe


Print Options
Description
This marinated and baked Asian pork tenderloin is from my “lick your plate clean” series. And I’m serious, you WILL literally lick your plate clean.
Ingredients
- 2-½ pounds Whole Pork Tenderloin
- ⅓ cups Reduced Sodium Soy Sauce
- ¼ cups Sesame Oil
- 2 Tablespoons Worcestershire Sauce
- 2 cloves Garlic, Minced
- 2 Tablespoons Light Brown Sugar
- ½ teaspoons Onion Powder
- 1 teaspoon Freshly Cracked Black Pepper
- 2 Tablespoons Chili Garlic Sauce (found In The Asian Ethnic Foods Aisle At Your Grocery Store. If You're Not Into Foods With A Little Bit Of "kick" Cut Back On This Ingredient To 1 TBSP.
- 1 Tablespoon Cornstarch
- 1 cup Reduced Sodium Chicken Broth, At Room Temperature
- 2 whole Green Onions (green Parts Only) Diced, For Garnish
Preparation Instructions
Rinse and pat dry the pork loin.
In a gallon baggie, combine the soy sauce, sesame oil, Worcestershire sauce, garlic, brown sugar, onion powder, pepper and chili garlic sauce. Seal, squeeze and shake the baggie to combine the ingredients well. Place pork loin in baggie, squeeze out air, seal baggie and refrigerate for 6-8 hours.
Preheat oven to 400ºF. Line a 9×11 baking dish with nonstick foil or use regular foil and spray with cooking spray.
Using tongs, transfer the pork loin to the prepared baking dish. Pour the marinade over the pork loin. Bake for 1 hour, turning pork loin every 20 minutes, or until internal temperature reaches 145-150ºF. Remove loin to serving plate, cover with foil, and let rest for 15-20 minutes while you finish the sauce.
Empty the pan drippings into a small sauce pan and heat over medium heat. Combine the cornstarch with room temperature chicken broth and whisk until smooth. Add the broth to the boiling pan drippings and cook for a minute or two. Remove from heat.
Slice pork loin and place on serving platter. Drizzle sauce over all before serving and place any extra sauce in an extra dish on the side. Garnish with sliced green onions if desired.
_______________________________________
There’s so much to say about Georgia, we don’t know where to start. Leaving Wall Street for the French Culinary Institute, followed by a stint at the Gramercy Tavern and La Chassagnette in France, her passion for food and food traditions are evident and inspiring. Visit her site at Georgia Pellegrini, where you’ll find more recipes, photos, learn all about her wonderful books Girl Hunter and Food Heroes, and enjoy her latest adventures.