


Really quick ice cream. Like, zero to sweet, frozen goodness in under 15 minutes. NOT too good to be true!
When I saw Ice Cream in a Bag by Tasty Kitchen member whatthedogate (Donna) I wondered why I had never tried this before. I thought it might be a fun project to do with my kids, so I gathered up the troops and got started.
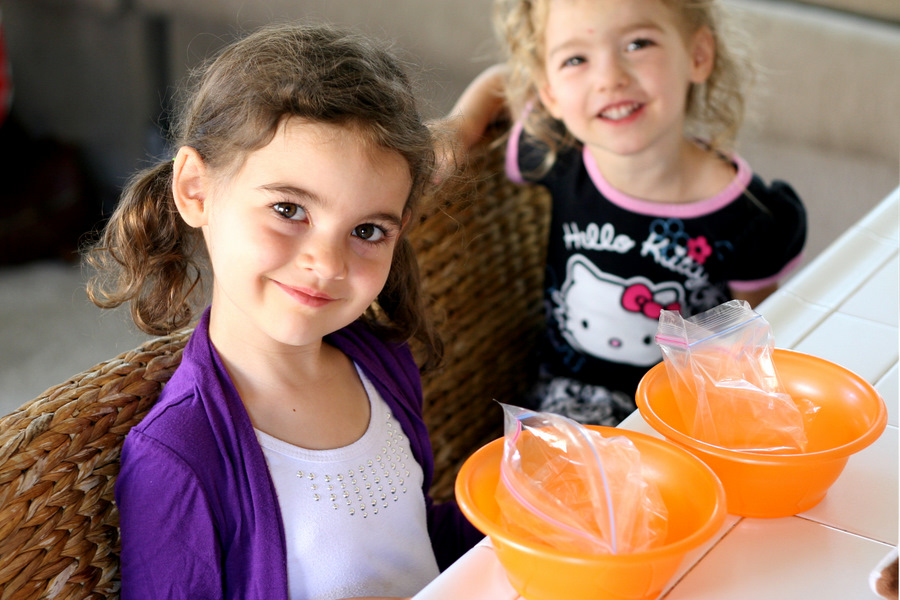
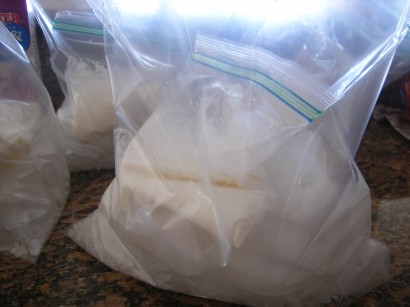
To make two servings of ice cream you’ll need two pint-sized zip top baggies, two bowls, and two willing helpers.

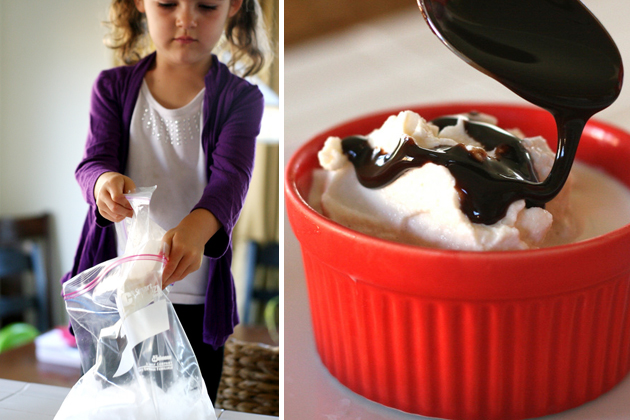
Pour a cup of half-and-half into each baggie. The bowl is there to help the little ones from spilling it all over the place.
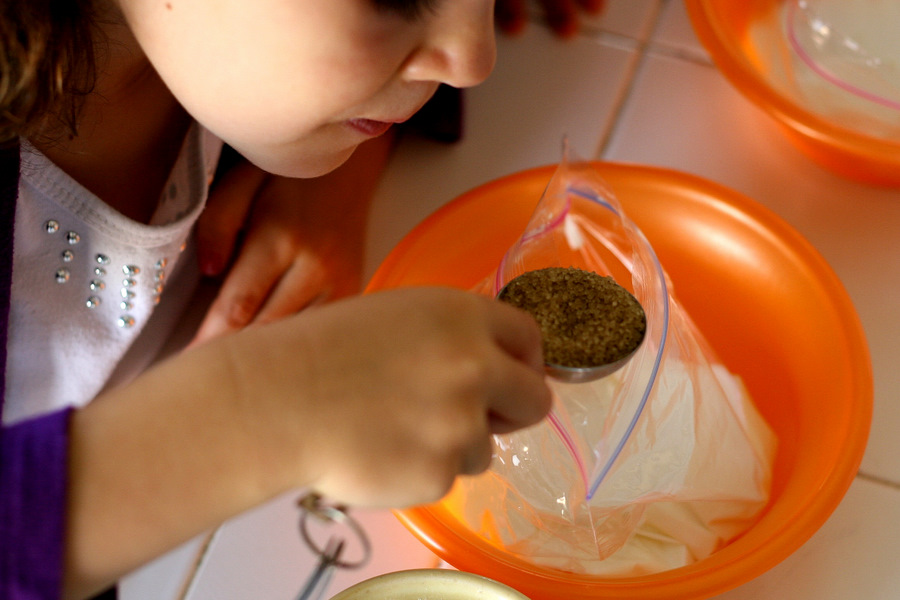
In each bag, add a tablespoon or two of sugar, depending on how sweet you want it. I used raw sugar, which worked nicely.
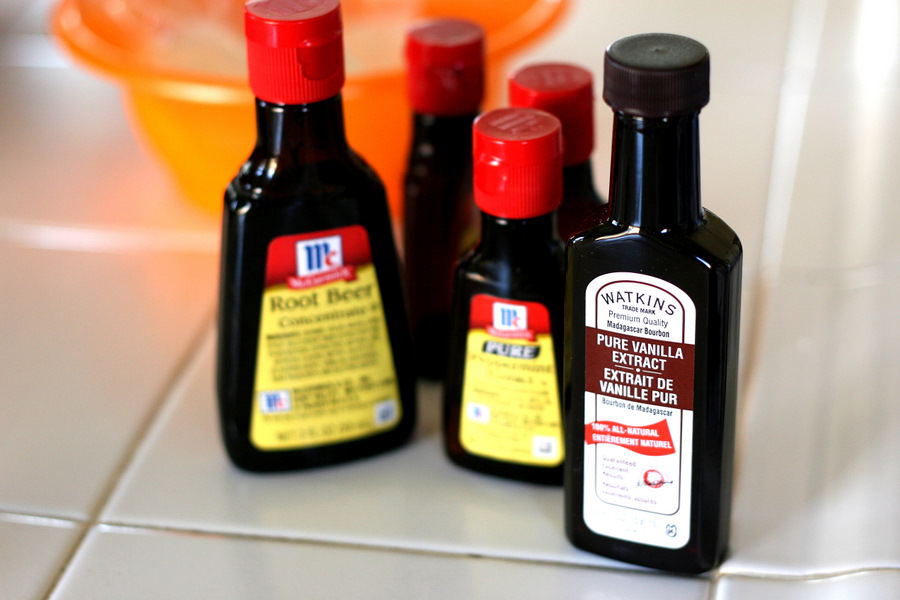
Now pull out all of your fancy extracts and flavorings. Let the kids pick whatever flavor their little hearts desire. (Only to have them both pick vanilla. I swear my kids have more personality than that.)
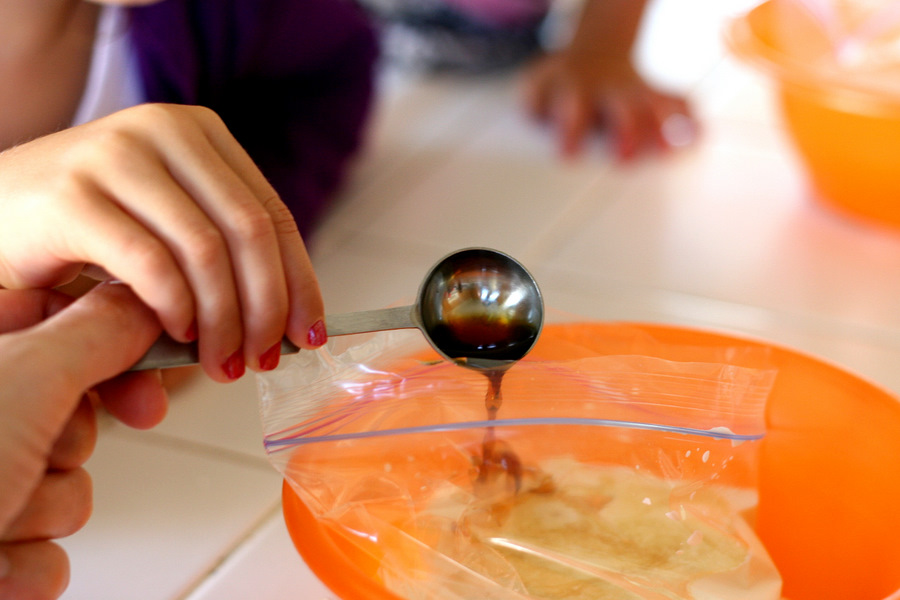
Add about two teaspoons of vanilla extract to the bag. (Measurements may differ depending on the flavor you use.)
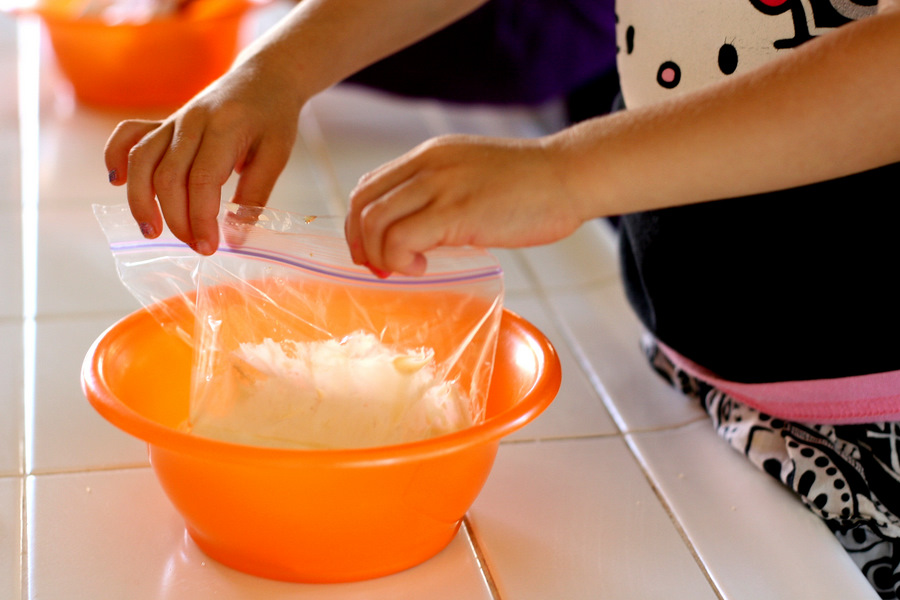
Zip it up tight! (Very important.)
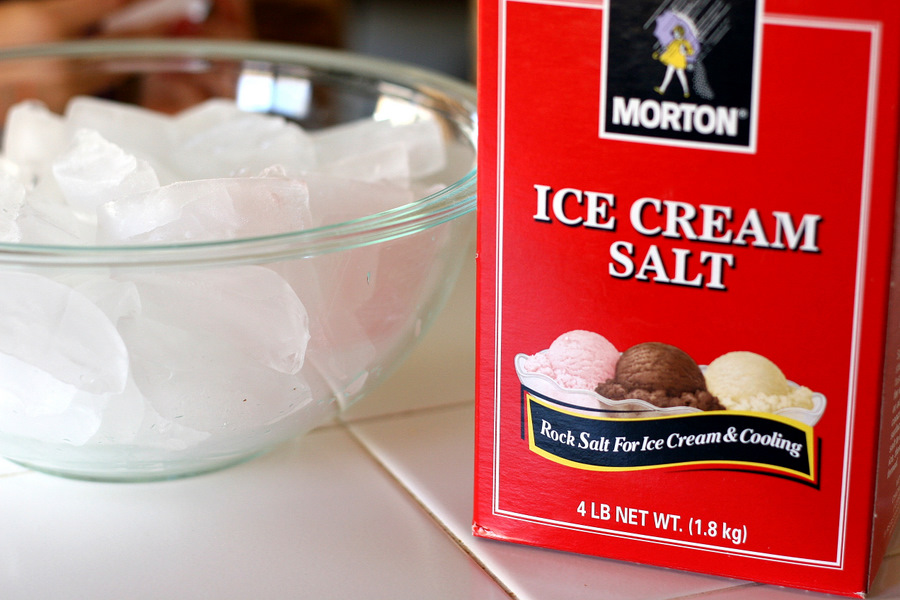
Next pull out a giant bowl of ice and some rock salt. You know, the kind you use in them old-fangled ice cream makers.
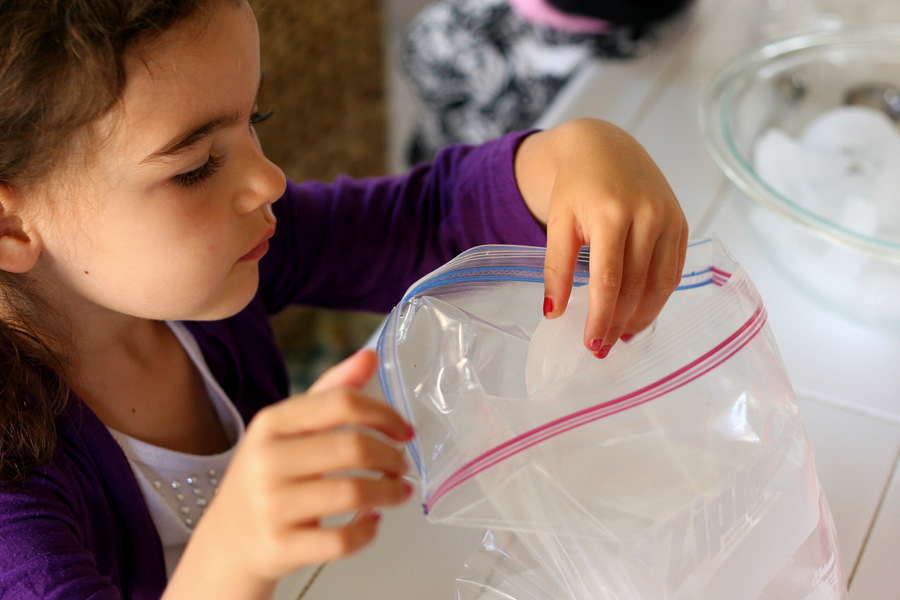
Grab a gallon-sized zip top bag for each small bag and fill them about 1/3 full of ice. (The recipe says 4 cups for each bag.)
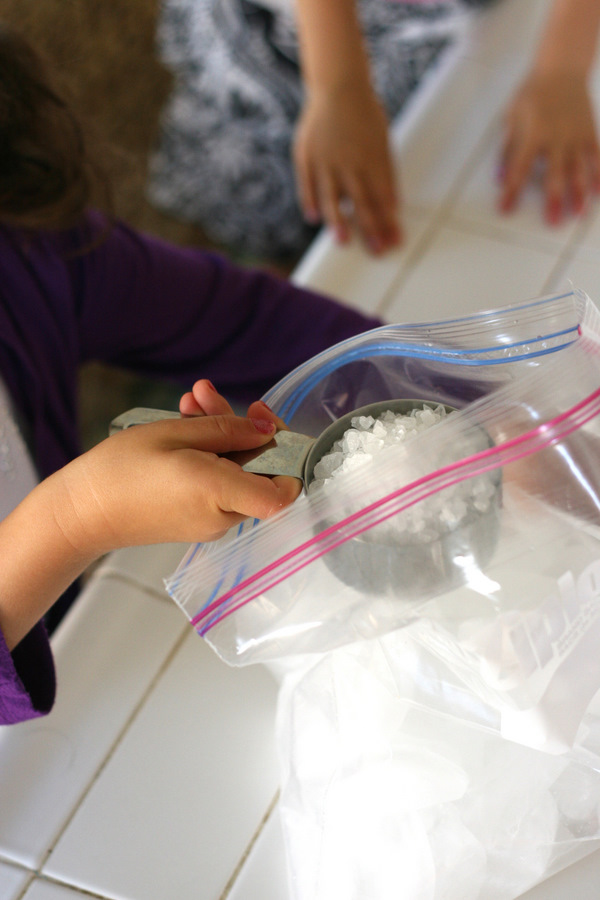
Add 1/2 cup of rock salt to each bag of ice.
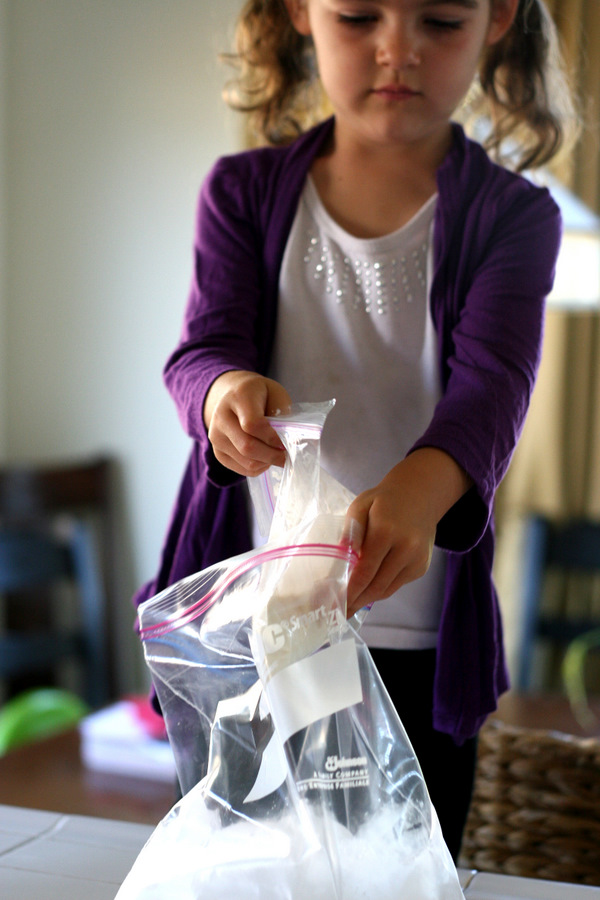
Now place one pint-sized bag into each gallon-sized bag. To go one step further, place that whole thing into another gallon-sized bag. If that seems a little wasteful, I’m sure they can be easily rinsed out and re-used.
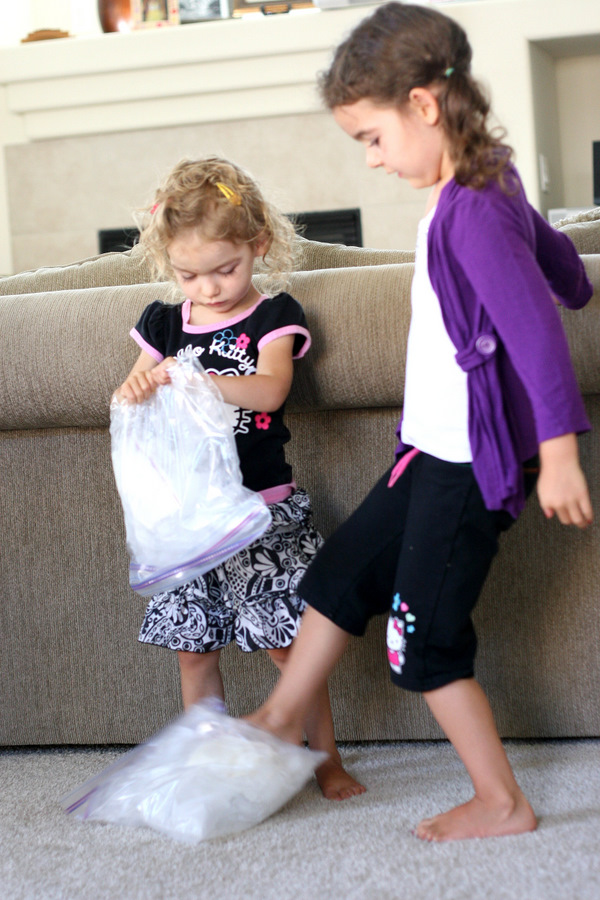
Now let those kids earn their ice cream. Shake, shake, shake! Or carefully kick it around on the floor.
May I take a moment to leave you with a mommy comment? I love my kids. A lot. Becoming a mother is one of the best decisions I’ve ever made. But motherhood has absolutely crushed my pre-baby dreams of being in charge and doing what I want all day long. Oh, and dressing my kids up everyday to look like Gap models. I have very little say in what they wear and how (or if) I do their hair. Luckily you caught them on a good day.
Back to the ice cream. The bag needs to be shaken for about 5 minutes straight.
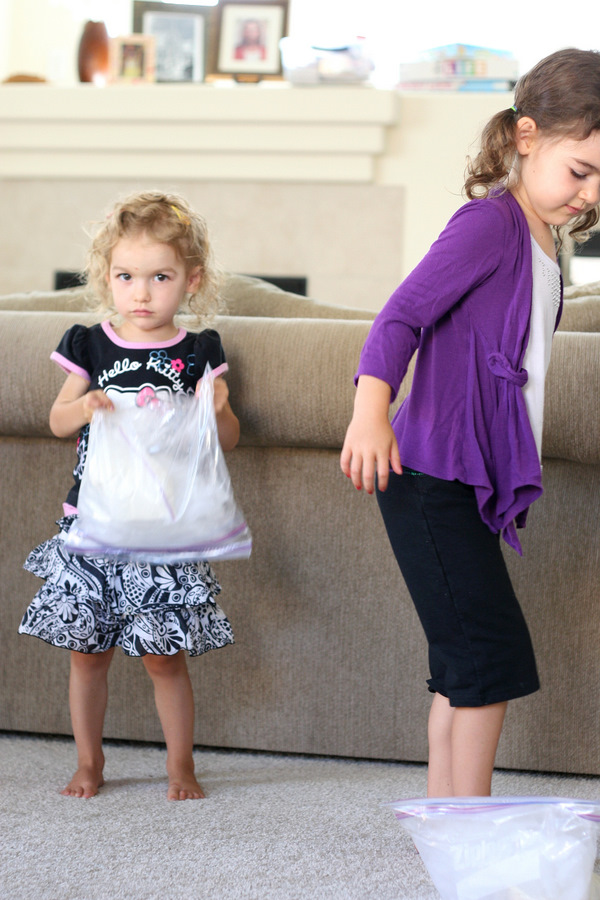
If after 45 seconds you start getting looks like this, you might want to step in and help. The recipe suggests sticking the bags in the washing machine through a couple of spin cycles. I tried it and it actually works!
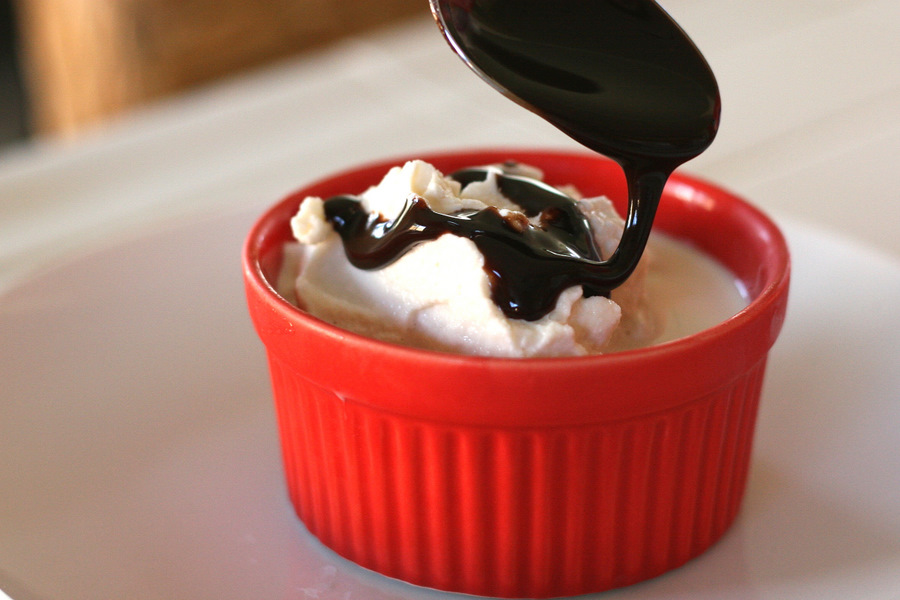
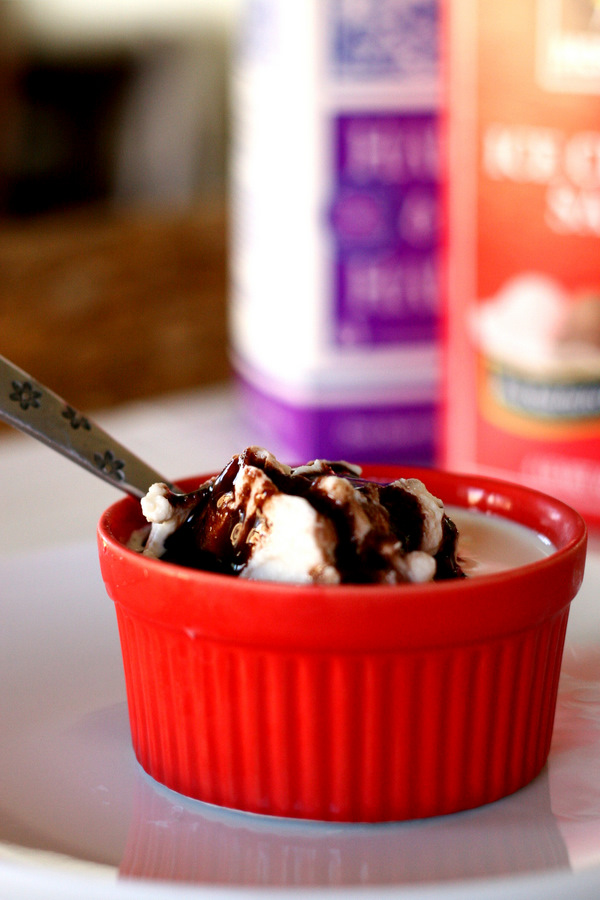
The result? Sweet, creamy, frozen goodness.
If you’re expecting Ben & Jerry’s to come out of that bag, you may be slightly disappointed. The ice cream isn’t gourmet quality, but it’s made with fresh ingredients and tastes like homemade ice cream (which is more than most store-bought brands can claim).
Plus, I have never met a kid who was picky about their ice cream.
Thank you Donna for a great activity to do with my kids! Check out Donna’s blog What the Dog Ate as well as her recipe box for more great recipes, including Edible Ice Cream Bowls and Homemade Microwave Popcorn!
One note about the recipe: If possible, use freezer bags for the ice cream. Both of my bags leaked a little, and I don’t know if it was due to my daughter kicking it around on the floor, putting it in the washer, or using a flimsy pint-sized bag.
Printable Recipe


Print Options
Description
In honor of summer, you must, must try Ice Cream in a Bag. It is such a fun, kid friendly activity. And it’s so yummy!
Ingredients
- 4 cups Half-and-half
- 8 Tablespoons Sugar
- 2 teaspoons Vanilla Extract
- 4 whole Pint Sized Zip Lock Baggies
- 16 cups Ice
- 8 whole Gallon Sized Zip Lock Type Baggies
- 2 cups Salt, Rock Salt Type
Preparation Instructions
Measure out 1 cup half and half into a pint sized baggie. Add 2 tablespoons of sugar and 1/2 teaspoon vanilla extract. Repeat for the remaining three pint sized baggies. I used a loaf pan to hold the baggies while I added the ingredients. No spills! Seal the baggies and place them in the freezer while you assemble the gallon sized baggies.
Fill each of four gallon sized baggies half-way full of ice. For me this was about 4 cups of ice for each of the four gallon sized baggies. Add 1/2 cup of ice cream salt to each gallon sized baggie of ice. Now double bag those puppies. That’s where you get the 8 gallon sized baggies from.
Remove the ice cream mixtures from the freezer. Recheck the seal on the ice cream mixture to make sure they are well sealed, and place one pint sized baggie into one gallon sized ice set up. Seal each of the gallon baggies.
Shake, shake, shake for at least 5 minutes. For my little ones, this proved to be a little challenging, so I helped out. Then it got a bit cold for my hands. You could try wearing oven mitts to insulate your hands from the cold. Me? I put all four set-ups in my front-loader washing machine and set it to spin. Three minutes did the trick!
This project would make a great summer time scientific inquiry for the kiddos. “Which agitation method produces an ice-cream like consistency in the fastest time?” I fully expect everyone to try this out and report your results in the comments section. Now get shakin’!
_______________________________________
Be sure to check out Natalie’s own beautiful food blog, Perrys’ Plate, where you can see her growing collection of lovely recipes. There’s always something new to see there. Go visit now!

67 Comments
Comments are closed for this recipe.
jackie on 9.20.2011
Back in the day we did this in girl scouts. We used a coffee can instead of plastic bag. Rolled it on the ground until it was ready.
Natalie | Perry's Plate on 9.20.2011
Richard – Thanks for clarifying that. I must have had a mommy-brains moment! I loved the strong vanilla flavor, though, but I wouldn’t recommend doing that with other extracts!
Richard Curtis on 9.18.2011
DON’T use 2 tsps of vanilla! That was for the original recipe, which made 4 servings. Use 1/2 tsp per bag.
andrea on 9.16.2011
hi. i know it really works!
Patti Tappel on 9.16.2011
My kids did this before, but we put the ice cream bag inside a coffee can and rolled it back and forth.
Kristina on 9.16.2011
Hi,
This looks great. Would heavy whipping cream work also?
Thanks,
Kristina
Natalie | Perry's Plate on 9.16.2011
Kristina – I’m sure whipping cream would work as well. The ice cream will be really rich, though
epb on 9.15.2011
Love, love, love your models!!
Jill on 9.15.2011
We make this every year to culminate our study of matter. I teach first grade, and it is the perfect activity to wrap up what we learned about the changing states of matter.
linda on 9.15.2011
what a great idea – we’ll be putting that on the list for the upcoming rainy weekend. thanks for sharing!
texasphotochick on 9.15.2011
We did this at a Cub Scout campout. I didn’t think it would work, but it totally rocks. And if you put mittens or gloves on the kids and they will complain a little less about the cold.
Cindy King on 9.15.2011
My oldest daughter did this in 5th grade as a classroom science project. Thankfully her teacher was a wonderful woman who went out of her way to include our then 3 yr. in playtime time and projects. We all had the joy of ice cream in baggies, and Mrs. Schultz helped instill a love of education in both our daughters….lol…Sorry, one of my most treasured memories from that year. It’s so hard to find teachers like Wendy….
Randi on 9.15.2011
My Daughter did this with her children when they were Camping in July. They had great fun, and said the Ice Cream was good. Not really any clean-up either. As long as you do not Puncture the inner bag…it can be eaten out of the bag…they just throw it all away. Good Luck All…..
Katy H. on 9.15.2011
My siblings and I made this when we were younger, except when we got tired after 45 seconds we jumped on the trampoline with it. So much fun!
Patti Ann on 9.15.2011
Too fabulous. The ice cream looks like it has a great consistency. I can’t wait to get the half and half to try it.
amalgro on 9.15.2011
I just read a novel that had this recipe in it. They made it out by the campfire!
Laquawana on 9.15.2011
I work at being my grandkid’s favorite gramma, and I think this just might do the trick!! Thank you!!! I can’t wait till I get a house full of them again! I had some from 3 families in my car the other day, and they started talking about why they like to go to gramma’s house. One, they like the garage full of castle & Barbie dolls, I have a sweet doggie that they play with, I have skate boards & scooters, I take them to the dollar store, I have LOTS of makeup that they play with, I have a basket full of nail polish, I have 6 channels of cartoons, I take them to McD’s and the play park, I have a cupboard of “kid food”….you get the idea! This will get added to the list I am sure, and I can’t wait!! Thank you for sharing!
Michelle Staley on 9.15.2011
My kiddo loves ice cream and so does his Momma! I had him come over and look at the pictures and he is so excited! I think we are going to try it this weekend! Thanks for sharing such a fun idea.
Susan B on 9.15.2011
This is an awesome activity to do with 1st graders. Partnering them up together, they had to cooperate to get the job done! Just need to really seal the bags so the salty water doesn’t contaminate the ice cream =)
Lindsay on 9.15.2011
We used to make this when we were camping! We would put the ice and bag in an old coffee can and push it down the hill! Then we would take turns carrying it back up the hill! Tons of fun! and such a simple tasty treat!
Melissa G. on 9.15.2011
I’ve done this before but in the winter using snow! As a kindergarten teacher the kids would get restless with no recess on the really cold days so for some activity we’d get them in their gear and go outside with their ice cream bags. We would fill the outside bag up with snow and some salt and then let them go. It’s amazing how much energy they can use making some tasty treats! lol.
Added bonus is it was a REALLY quiet rest time
Norma aka Kitty on 9.15.2011
Oh that looks like fun can’t wait to try it
Michelle Croft on 9.15.2011
My kids loved doing this. We have them wear gloves or wrap a towel around the bag. I also learned my lesson and now double bag the cream. Salted cream water isn’t as good as ice cream!
Martha on 9.15.2011
Yes! Such a nifty idea! I tried it several years ago and loved it!
korine on 9.15.2011
We did this for a Science Night at school last year. We actually had the parents and kids toss it back and forth to each other. That way it didn’t get too cold on their hands and it was always ‘in motion’. When we pulled the small bag out – we had a towel ready to wipe it off so none of the salt water would accidentally get in the ice cream. It is yummy!
Cathie on 9.15.2011
I did this with my cub scouts, using the 2 different size coffee can method. We made both chocolate and vanilla. I thought it would be a great way to use up some boy-energy, but they tuckered out after about 3 minutes, and we had Akela-shaken ice cream.
EatLiveRun on 9.15.2011
Such a fun idea!!! Thank you for sharing!
Mara on 9.15.2011
we used to do this when i was a kid but instead of using the gallon bag with the ice in it we would use an empty coffee can and then just roll that around on the floor. it’s a lot more fun when you can roll it back and forth between 2 people!
Swati on 9.15.2011
Wow! This is superb way to have some great fun with kids. Unusual. Cheerful.
marla on 9.14.2011
Now this is so inventive & super fun!
Mrs. Zoo on 9.14.2011
I did this with a classroom full of pre-schoolers, and it was a hit!
Sandi on 9.14.2011
This post was hilarious………hil-ar-i-ous………
Ann on 9.14.2011
What a FUN post! I bet the kids had a GREAT time! I’m definitely going to make this the next time the grandkids are visiting! Thanks SO Much!
Amy on 9.14.2011
baggies seem like a better idea, we always did a small coffee can inside of a large coffee can, first in Girl Scouts and then we would also take this fun yummy treat camping! gotta love the idea of putting the bags in the washing machine
Chris M. on 9.14.2011
I make this with my teenager except I use heavy cream and I add about 1/2 cup canned pumpkin puree, some cinnamon, nutmeg, ginger, cloves and allspice and vanilla and sugar. It is so creamy and delish! My kid loves pumpkin so we try to stock up on the puree when it hits stores in the fall. I guess I should make my own and can it, maybe I’ll do that this year if Pioneer Woman will help with directions on how to cook and can pumpkin, hint-hint
Barb on 9.14.2011
Love, love, love! I have done this as a first grade activity in every elementary school in my county for 12 years. That is a lot of ice cream. It was used for our Ag Festivals to teach students about agriculture. Agriculture is all about great food. I agree, use freezer bags but double bag the ice and salt. The first graders hands would get cold so I would always have them pair up with a partner and take turns. The other student would be making butter in a condiment cup. Cream in a plastic condiment cup with a lid and shake, shake, shake! The best butter ever! Great way to have fun and a wonderful teachable lesson.
Lisa Cater on 9.14.2011
I have always liked mixing orange soda with sweetened condensed milk for our mix to make Ice Cream in a Bag. It tastes like orange sherbert.
Alie C on 9.14.2011
We did this at my school when I was in 5th grade, but instead of a gallon ziplock bag, we used coffee cans ducktaped shut and just rolled them across the floor to one another!
Jessiker @ Jessiker Bakes on 9.14.2011
That is amazing!!! Love the idea; may try with my little brother and his friends
Dana on 9.14.2011
Your kids are adorable and I love this idea! Thanks:)
Laura R. on 9.14.2011
We had all the bage pre-made and placed in a cooler. While waiting in the middle of nowhere for the Fourth of July fireworks, my sister and I pulled these out and made ice cream! We ate it right out of the bags! Fun treat!
Tina H on 9.14.2011
We did this with Cub Scouts (minus the washing machine). haha
shabalaba on 9.14.2011
I have never tried it.
Natalie | Perry's Plate on 9.14.2011
Thanks for all of the suggestions!! I can see how a can would be easier to handle.
Aggie – I agree with you. I can’t believe it really worked, too! And so quickly…
Amy- Arizona on 9.14.2011
This is perfect! I have a niece and nephew coming into town next week, and it’s a great activity/dessert for all. Thanks.
Heather of Kitchen Concoctions on 9.14.2011
I’ve made ice cream this way before and it is so much fun with kids. The washing machine trick is new to me though so I am curious to try that out!
The Mrs @ Success Along the Weigh on 9.14.2011
Cool recipe! I’m totally going to count that as an upper body workout!
Sarah M. on 9.14.2011
So fun! And delicious
The Domestic Lady on 9.14.2011
I remember doing this as a child for a food science project. So fun!
Diana on 9.14.2011
My grand-daughters and I will be doing this on a weekend very soon! Love the idea and what a fun time we will have!
Michelle on 9.14.2011
We have done this and kids love it. We didn’t use rock salt though, just plain table salt and it worked just fine.