


Really quick ice cream. Like, zero to sweet, frozen goodness in under 15 minutes. NOT too good to be true!
When I saw Ice Cream in a Bag by Tasty Kitchen member whatthedogate (Donna) I wondered why I had never tried this before. I thought it might be a fun project to do with my kids, so I gathered up the troops and got started.
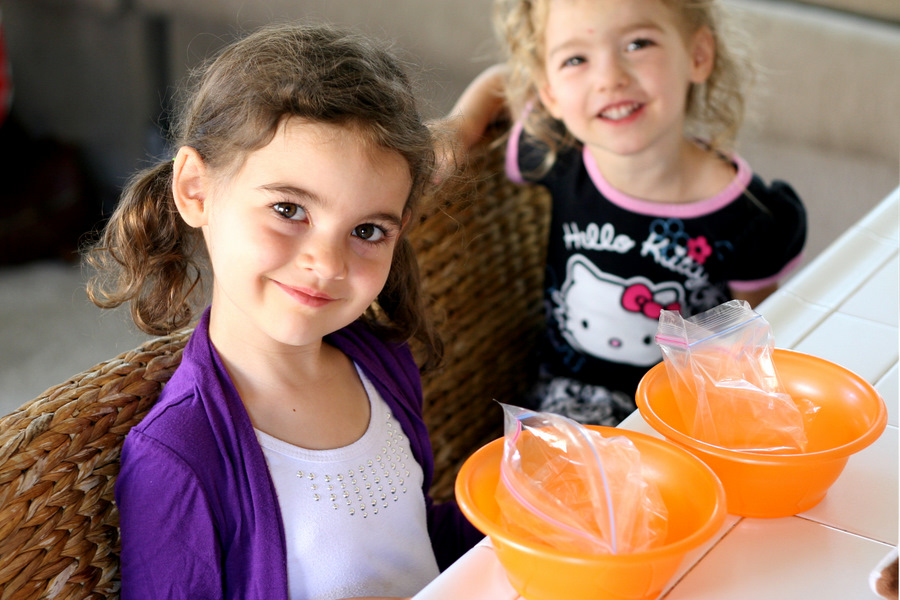
To make two servings of ice cream you’ll need two pint-sized zip top baggies, two bowls, and two willing helpers.

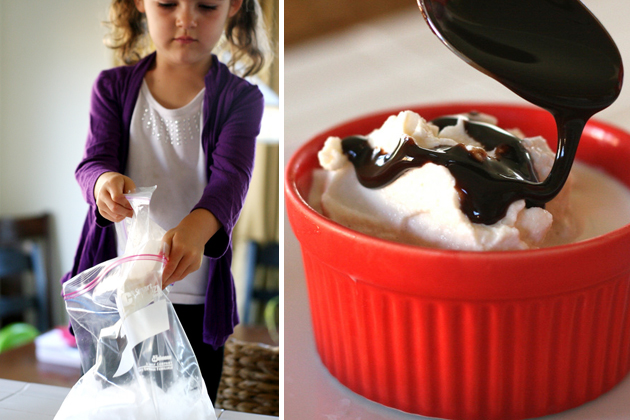
Pour a cup of half-and-half into each baggie. The bowl is there to help the little ones from spilling it all over the place.
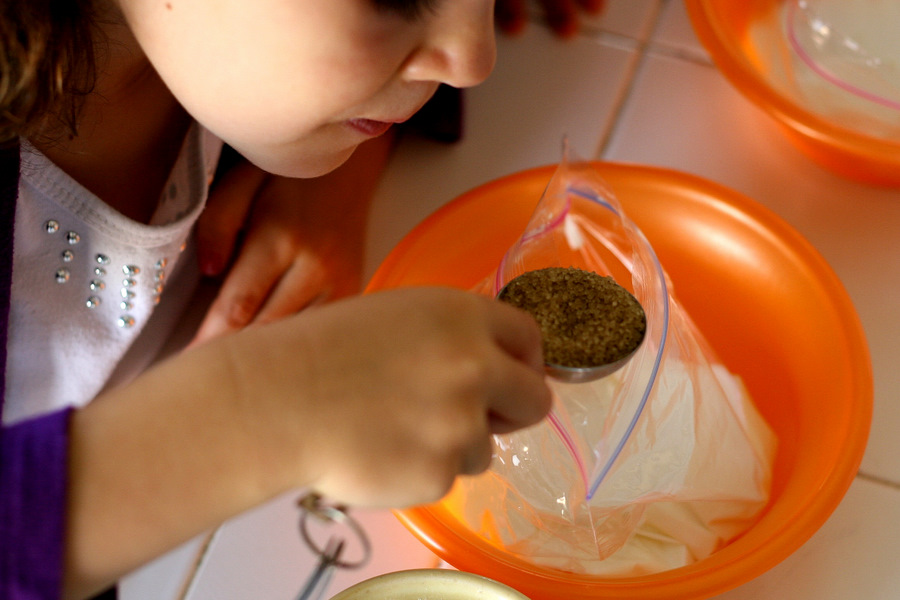
In each bag, add a tablespoon or two of sugar, depending on how sweet you want it. I used raw sugar, which worked nicely.
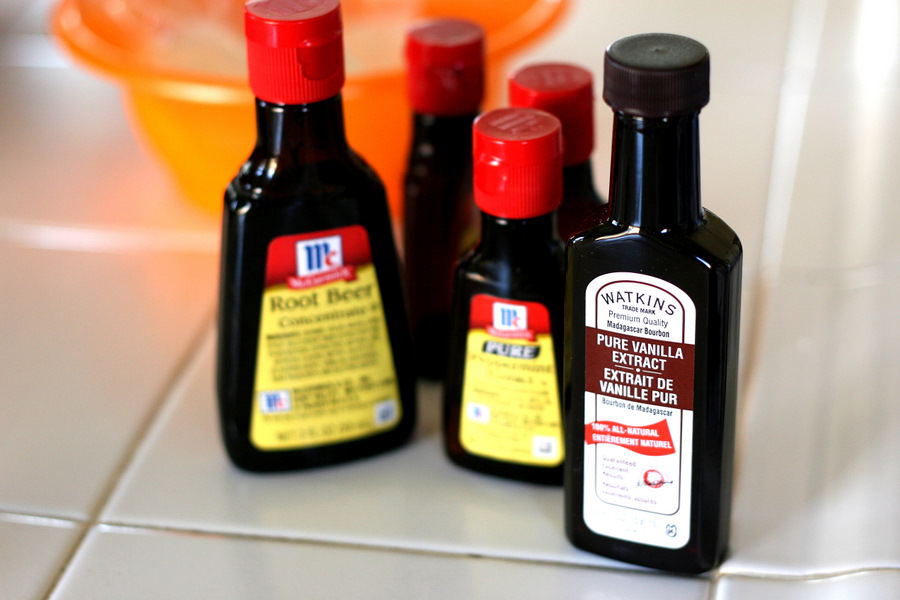
Now pull out all of your fancy extracts and flavorings. Let the kids pick whatever flavor their little hearts desire. (Only to have them both pick vanilla. I swear my kids have more personality than that.)
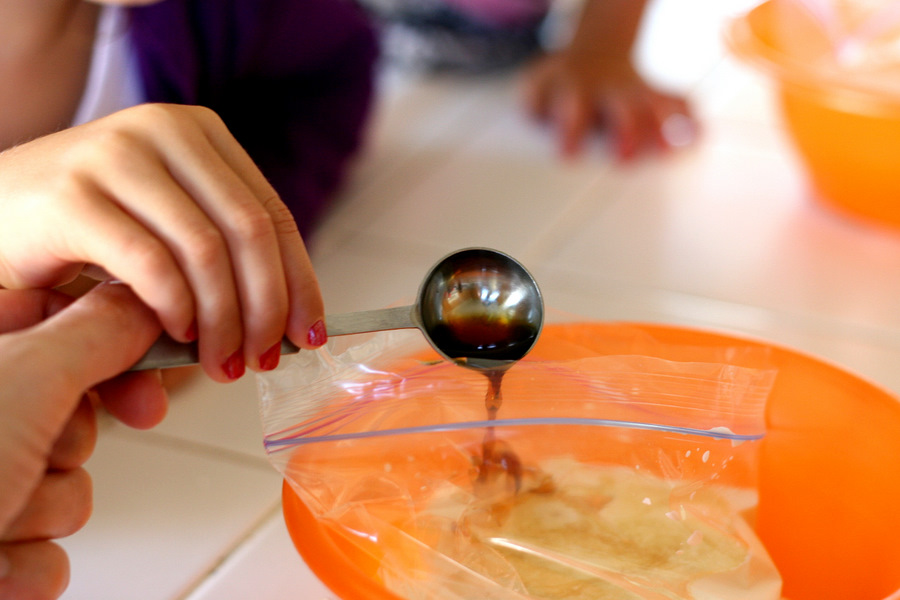
Add about two teaspoons of vanilla extract to the bag. (Measurements may differ depending on the flavor you use.)
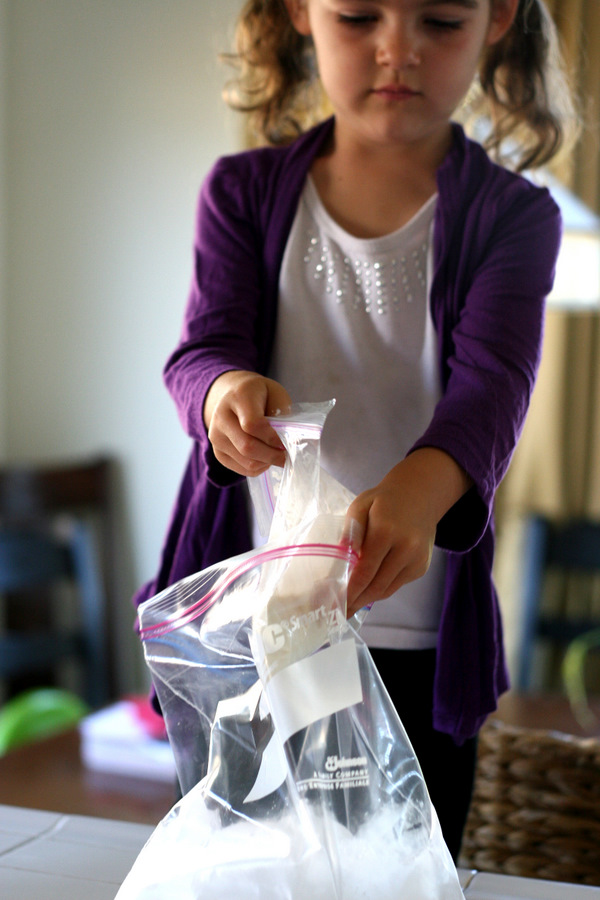
Zip it up tight! (Very important.)
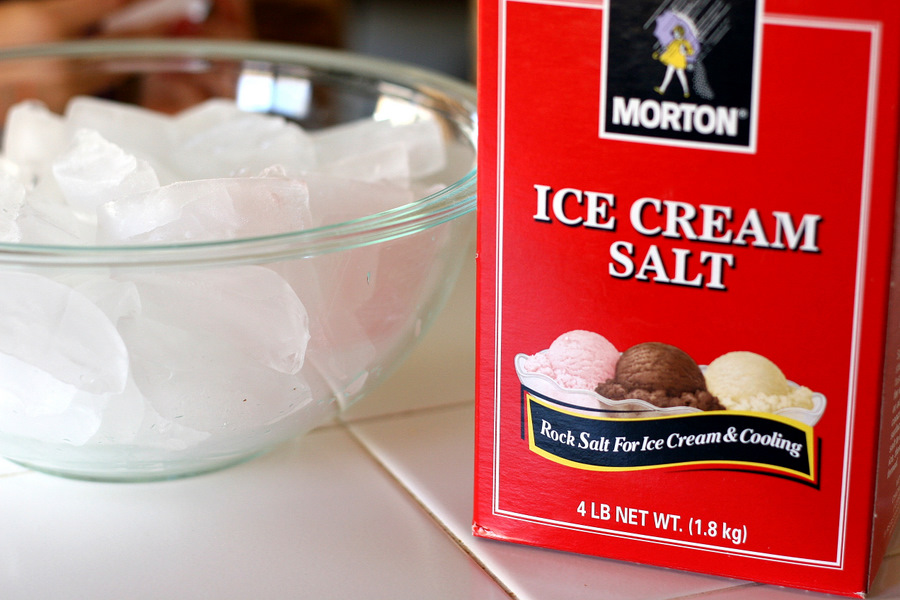
Next pull out a giant bowl of ice and some rock salt. You know, the kind you use in them old-fangled ice cream makers.
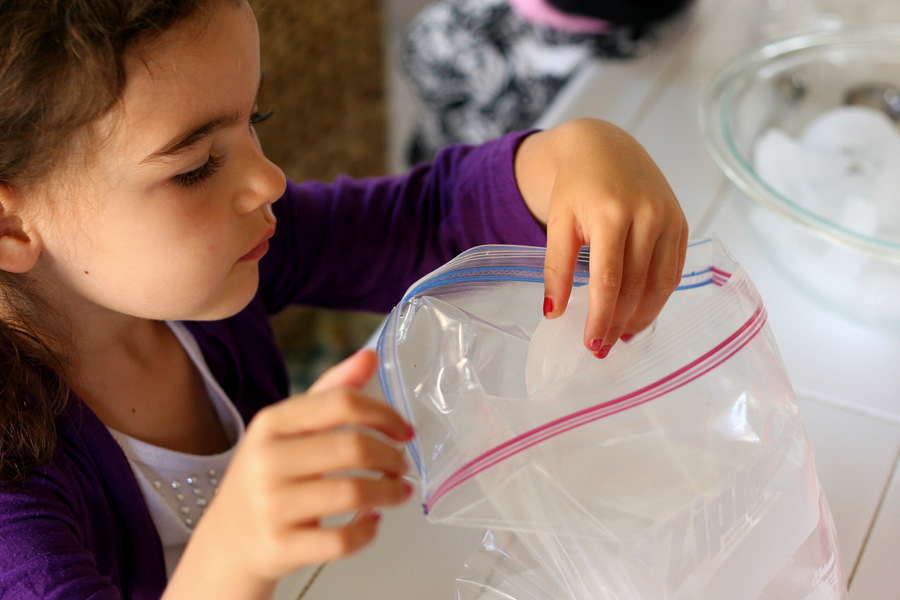
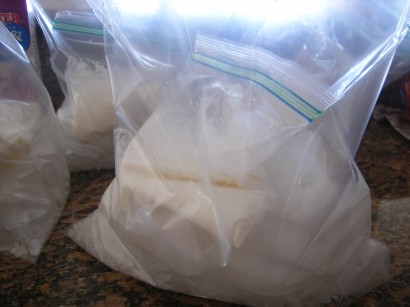
Grab a gallon-sized zip top bag for each small bag and fill them about 1/3 full of ice. (The recipe says 4 cups for each bag.)
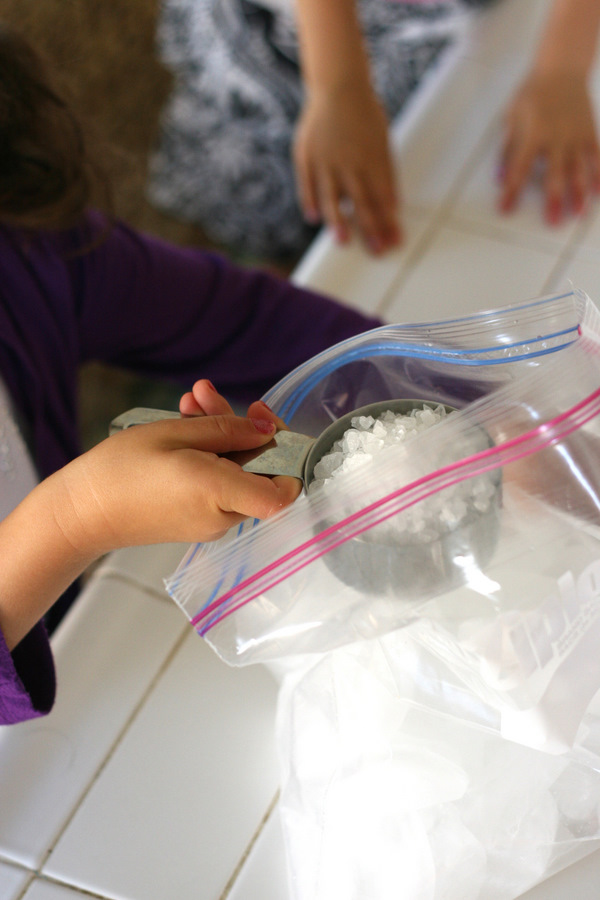
Add 1/2 cup of rock salt to each bag of ice.
Now place one pint-sized bag into each gallon-sized bag. To go one step further, place that whole thing into another gallon-sized bag. If that seems a little wasteful, I’m sure they can be easily rinsed out and re-used.
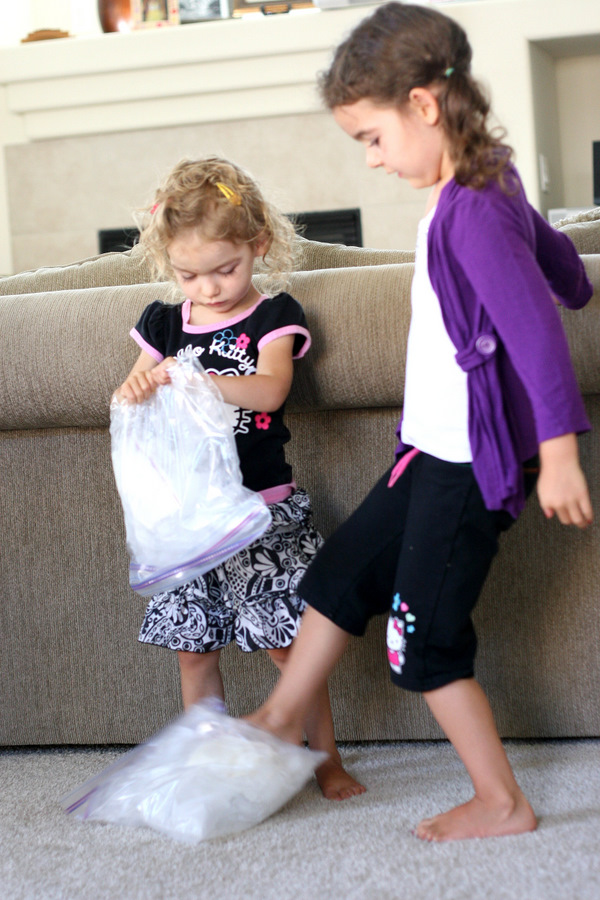
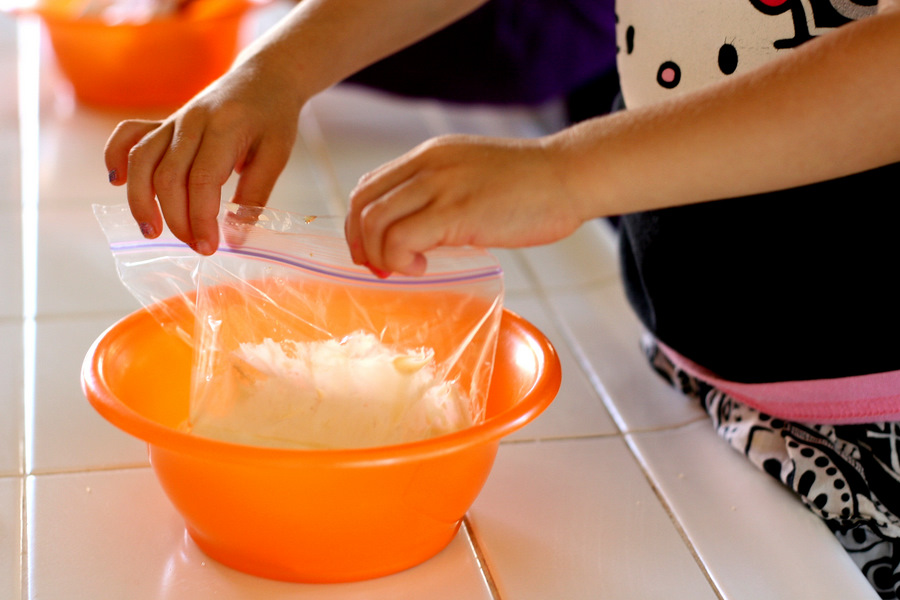
Now let those kids earn their ice cream. Shake, shake, shake! Or carefully kick it around on the floor.
May I take a moment to leave you with a mommy comment? I love my kids. A lot. Becoming a mother is one of the best decisions I’ve ever made. But motherhood has absolutely crushed my pre-baby dreams of being in charge and doing what I want all day long. Oh, and dressing my kids up everyday to look like Gap models. I have very little say in what they wear and how (or if) I do their hair. Luckily you caught them on a good day.
Back to the ice cream. The bag needs to be shaken for about 5 minutes straight.
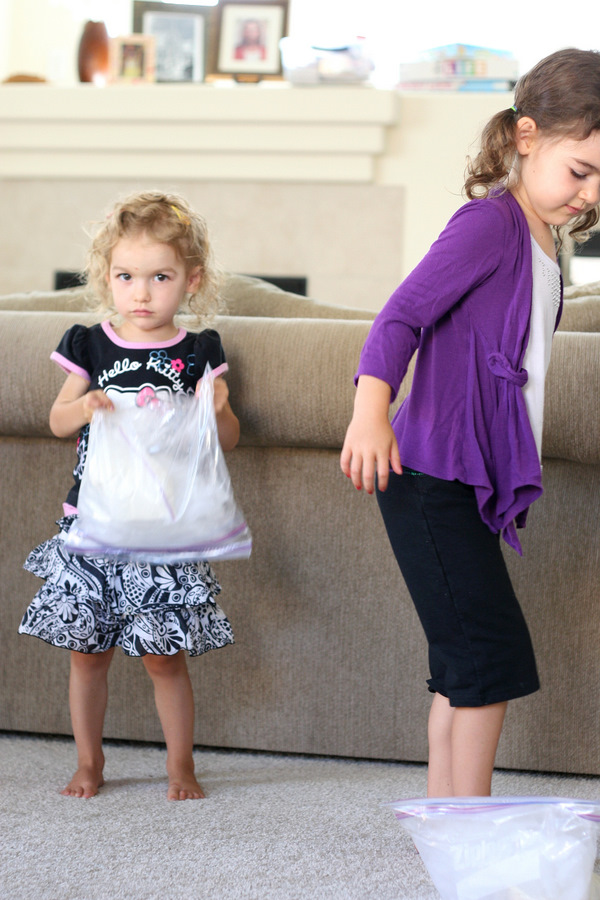
If after 45 seconds you start getting looks like this, you might want to step in and help. The recipe suggests sticking the bags in the washing machine through a couple of spin cycles. I tried it and it actually works!
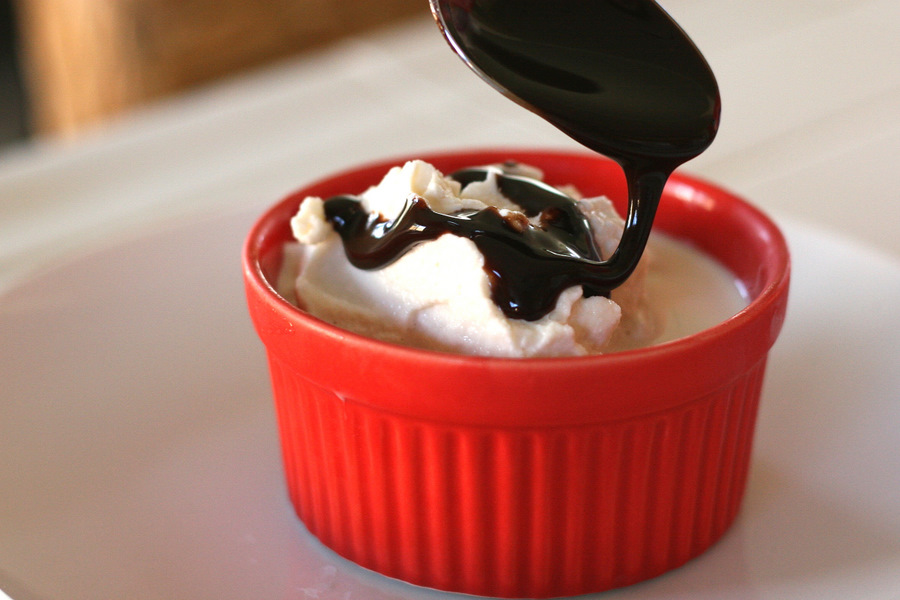
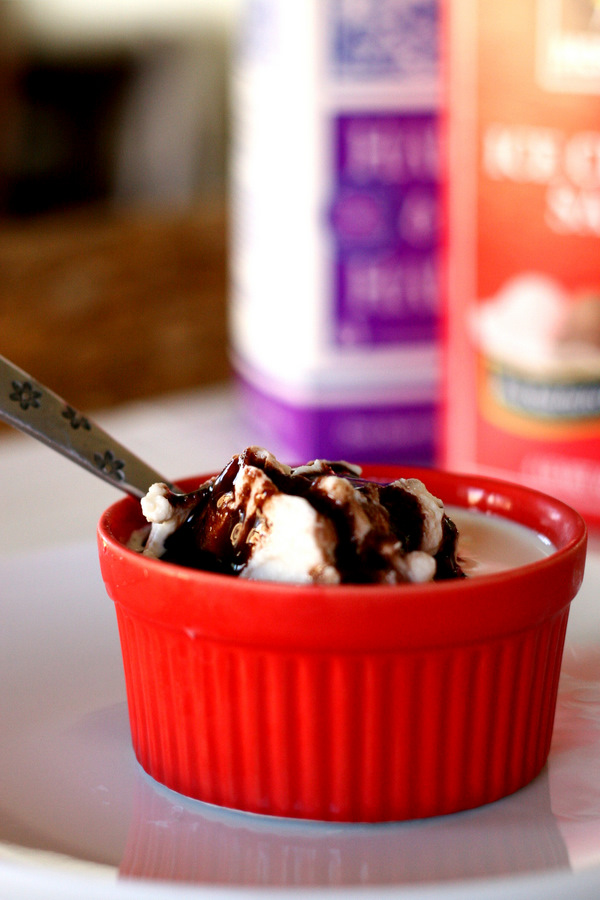
The result? Sweet, creamy, frozen goodness.
If you’re expecting Ben & Jerry’s to come out of that bag, you may be slightly disappointed. The ice cream isn’t gourmet quality, but it’s made with fresh ingredients and tastes like homemade ice cream (which is more than most store-bought brands can claim).
Plus, I have never met a kid who was picky about their ice cream.
Thank you Donna for a great activity to do with my kids! Check out Donna’s blog What the Dog Ate as well as her recipe box for more great recipes, including Edible Ice Cream Bowls and Homemade Microwave Popcorn!
One note about the recipe: If possible, use freezer bags for the ice cream. Both of my bags leaked a little, and I don’t know if it was due to my daughter kicking it around on the floor, putting it in the washer, or using a flimsy pint-sized bag.
Printable Recipe


Print Options
Description
In honor of summer, you must, must try Ice Cream in a Bag. It is such a fun, kid friendly activity. And it’s so yummy!
Ingredients
- 4 cups Half-and-half
- 8 Tablespoons Sugar
- 2 teaspoons Vanilla Extract
- 4 whole Pint Sized Zip Lock Baggies
- 16 cups Ice
- 8 whole Gallon Sized Zip Lock Type Baggies
- 2 cups Salt, Rock Salt Type
Preparation Instructions
Measure out 1 cup half and half into a pint sized baggie. Add 2 tablespoons of sugar and 1/2 teaspoon vanilla extract. Repeat for the remaining three pint sized baggies. I used a loaf pan to hold the baggies while I added the ingredients. No spills! Seal the baggies and place them in the freezer while you assemble the gallon sized baggies.
Fill each of four gallon sized baggies half-way full of ice. For me this was about 4 cups of ice for each of the four gallon sized baggies. Add 1/2 cup of ice cream salt to each gallon sized baggie of ice. Now double bag those puppies. That’s where you get the 8 gallon sized baggies from.
Remove the ice cream mixtures from the freezer. Recheck the seal on the ice cream mixture to make sure they are well sealed, and place one pint sized baggie into one gallon sized ice set up. Seal each of the gallon baggies.
Shake, shake, shake for at least 5 minutes. For my little ones, this proved to be a little challenging, so I helped out. Then it got a bit cold for my hands. You could try wearing oven mitts to insulate your hands from the cold. Me? I put all four set-ups in my front-loader washing machine and set it to spin. Three minutes did the trick!
This project would make a great summer time scientific inquiry for the kiddos. “Which agitation method produces an ice-cream like consistency in the fastest time?” I fully expect everyone to try this out and report your results in the comments section. Now get shakin’!
_______________________________________
Be sure to check out Natalie’s own beautiful food blog, Perrys’ Plate, where you can see her growing collection of lovely recipes. There’s always something new to see there. Go visit now!

67 Comments
Comments are closed for this recipe.
Katrina on 9.14.2011
This sounds wicked!
Aggie on 9.14.2011
This is awesome!! What a treat…my kids will love this! I can’t believe this actually works, honestly, lol.
Lori on 9.14.2011
I love making ice cream in a bag! Its a classic with most early childhood teachers. Another great idea is to use two round containers. I like using a small coffee can inside a larger one. Same concept, except you can then play “soccer” with it! Perfect for toddlers.
carlyklock on 9.14.2011
so fun! can grown-up kids do this, too?
TiffH on 9.14.2011
Thanks for sharing. What a fun way for my little guy to make his own ice cream. I think he would love it!
Jenny E. on 9.14.2011
This sounds like so much fun! I’m going to try it w/ my 2 1/2 year old very soon! Thank you for posting!!
Ryan on 9.14.2011
Thanks for featuring this recipe! Sounds fun. I also enjoyed your comment on motherhood. Very true. Although my two year old can walk quite well I still carry him or use a stroller most of the time because he and I have different ideas on where we should go next.
Cheryl on 9.14.2011
I did this as a kid. Last year I taught 8th grade science and actually used this as a lab activity with my students as part of our lessons on phase changes. Liquid to solid, discussion of heat loss, the condensation that occurs on the outside of the bag, etc. It was a lot of fun (although with 20 kids shaking those bags at the same time, it was LOUD) and the kids really seemed to get the connection with the science. Other classes were definitely jealous when they heard that my students got to make ice cream. Several of my students even told me they tried it again at home with their siblings.
I used whole milk for ours because half and half was too expensive for 100+ students, it also works fine, the resulting ice cream just has more ice particles in it. You can also make it with whole cream. That has less water content that half and half, so the ice cream will be even creamier.
Danielle R. on 9.14.2011
We used to make this all the time as a kids. You can also use two different sizes of containers with tight fitting lids.
Melissa L. on 9.14.2011
When I was in college I was an upperclass mentor to freshmen, and was in charge of arranging activities for them on a fairly regular basis. I organized an ice cream making social and we used this exact method! It made for a lot of fun and interaction between the new freshmen, plus they were super happy to get their ice cream at the end. We put out a topping bar so they could make legitimate sundaes afterwards. I don’t know if I’d go through the trouble otherwise, but it’s certainly fun to do as a group activity!
missamy on 9.14.2011
So fun! I think my teenagers may even enjoy this one!
Melissa H from So. Fla. on 9.14.2011
I can hear it now….”Oh just making ice cream in the washing machine” ha ha. Looks like a lot of fun. Especially for the kiddos.
KariAnnM on 9.14.2011
Thank you so much for this! The kids and I will be doing this soon! How fun!
Amber on 9.14.2011
I’ve seen this idea bouncing around a bit lately, so for my daughter’s third birthday this summer we went a step further and got a couple of the big Ice Cream Balls – same idea, where the ingredients go on the inside and the ice and rock salt go in an outer chamber, then the kids kick and roll the ball around until you get ice cream. It actually worked, but the large balls were a bit too heavy for the younger kids to keep moving, and it was a lot of work, so I don’t see us using them very often. I actually think the individual plastic bags work just as well, and are way cheaper!
Allyn on 9.14.2011
I so remember doing this as a kid! I’m pretty sure my mom learned the recipe from an episode of Regis and Kathie Lee.
Oh, the good ol days.
chandra on 9.14.2011
Thank you so much for sharing this! I can’t wait to doit with my kids.