


Oh my goodness. You know when you have one of those desserts that completely knocks your socks off? This is it. And it’s simple, too. It’s like the new Holy Grail of treats!
It’s not very often that I get to bake with ricotta because my husband swears that he dislikes it. Even though—of course—he’s eaten it in multiple dishes and I’ve watched him enjoy a full meal where ricotta is involved, but whatever. I can occasionally slip in a tablespoon or so here and there without him noticing, but an entire dessert made from the stuff? This would be tricky.
However, tricky as it was, it actually worked. After seeing this Cannoli Tart from The Seaside Baker, I knew I had to make it immediately. And immediately I did—like nearly one day later. Not only did it pass my sweet tooth test with flying colors, the ricotta-hater loved it too. You know what that means. You must must must try it!
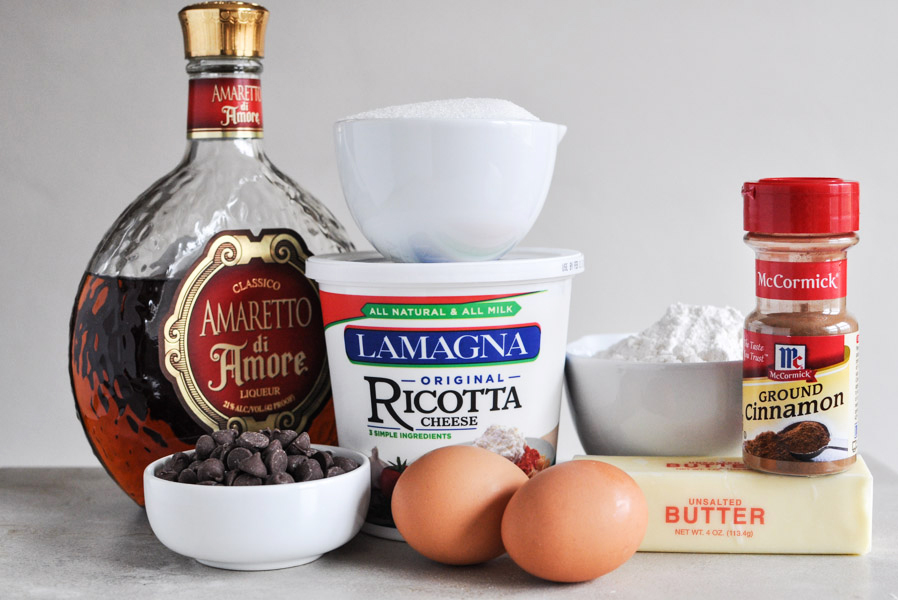
For the crust and the tart filling, all you need is some amaretto, ricotta cheese, eggs, cold butter, flour, sugar, cinnamon, salt and chocolate chips. Oh, you also need a little milk. About one tablespoon. This is, like, the easiest dessert ever!

Begin by making the crust. First, give the flour, sugar, salt and cinnamon a good whirl in your food processor.
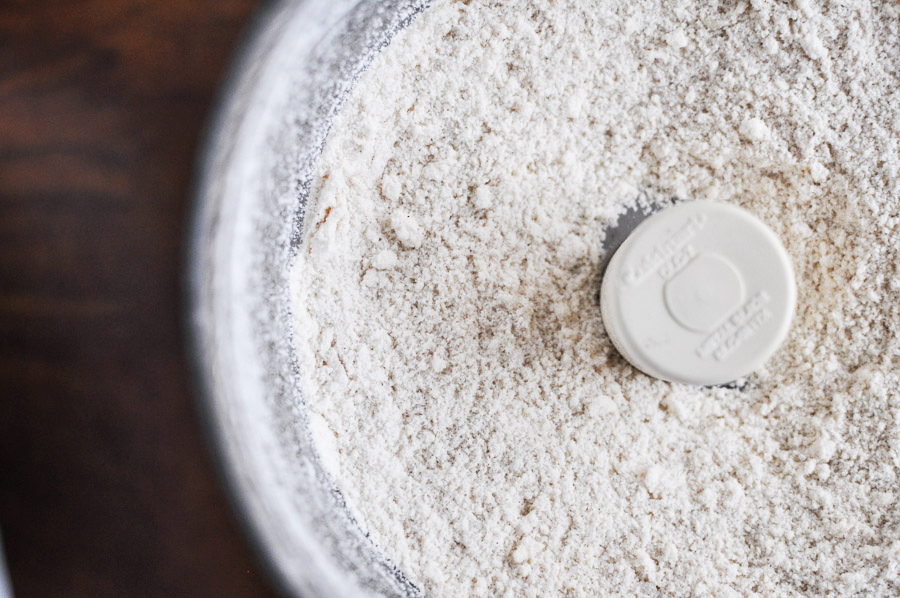
Then add the cold butter and pulse until it forms little crumbs. Can you see the slight difference here from the picture above? There are some pea-sized, flour-coated butter chunks! Yum.
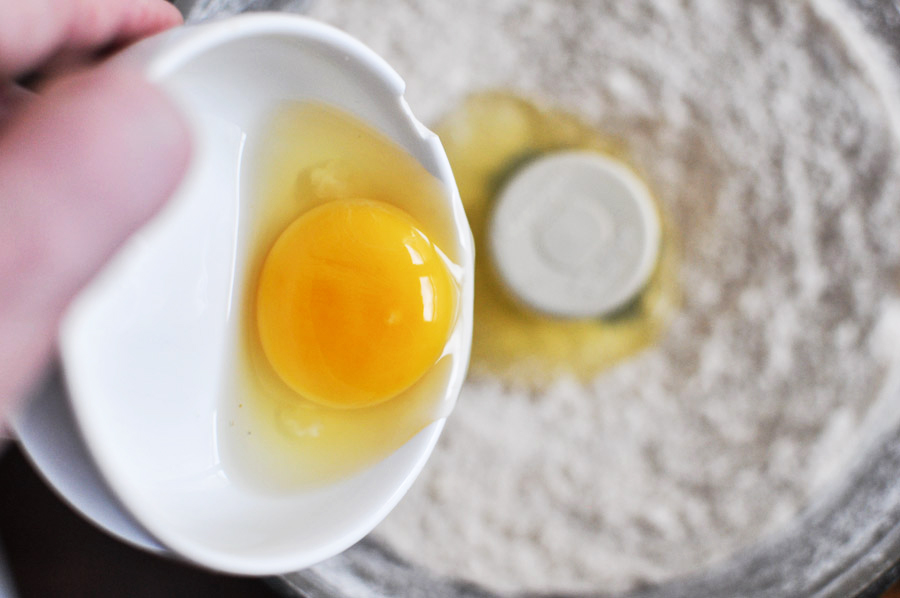
Add the egg and milk, then process until the dough comes together …
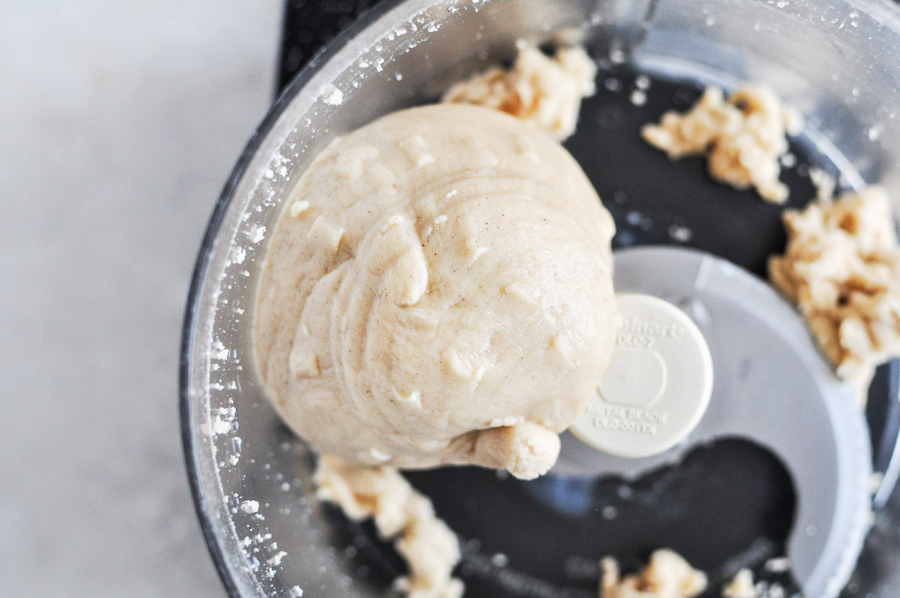
… and forms a ball like so. Pretty cool, huh? If there are a few crumbs left, just press them into the dough ball with your hands.
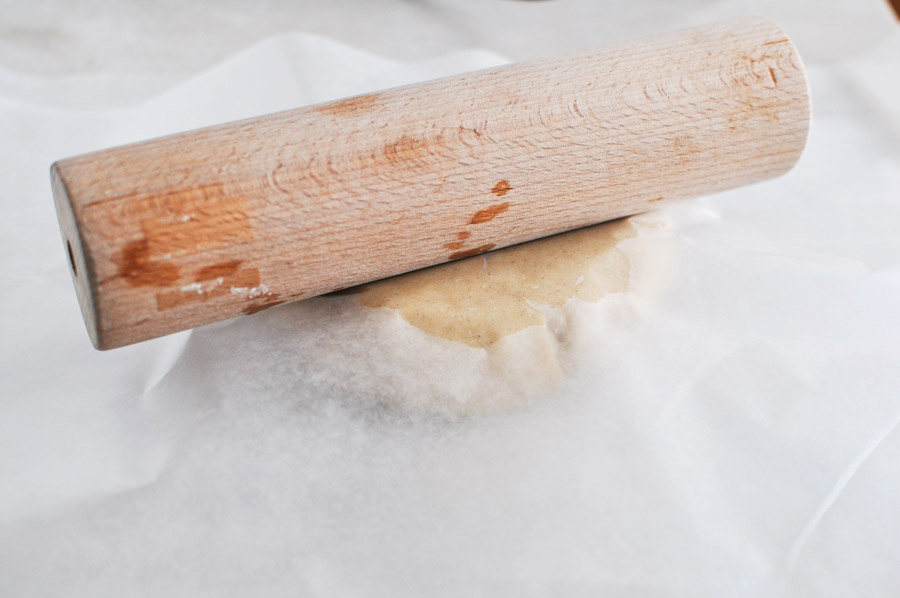
Next, place the dough ball between two sheets of parchment paper. I actually used wax paper because I never seem to have parchment when I need it. Also, stop laughing at my mess of a rolling pin. It lost its arms. I keep meaning to buy a new one but then … I forget.
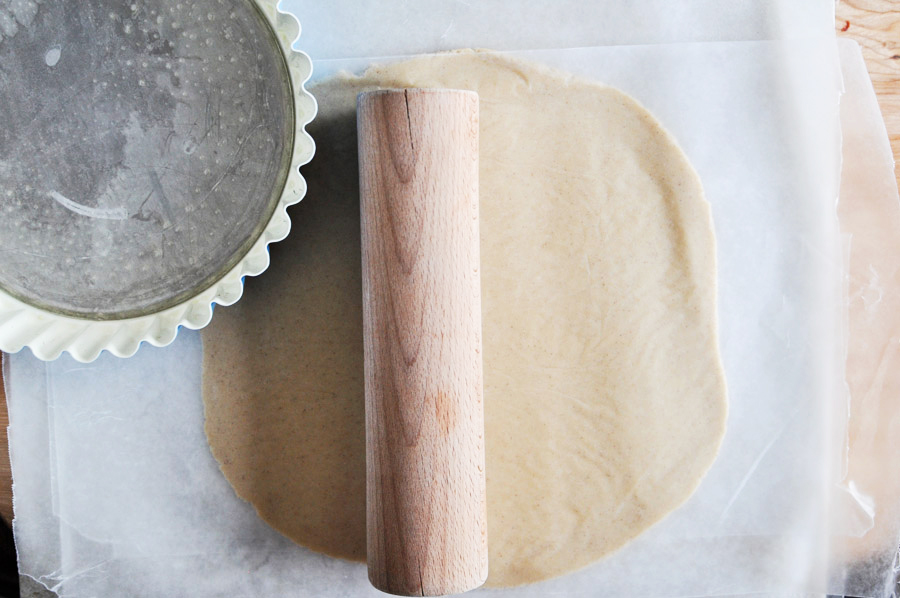
Use the rolling pin (or something similar, like say, a bottle of wine?) to roll the dough out to fit your tart pan or pie plate. Gently lift it up and place it over the pan.
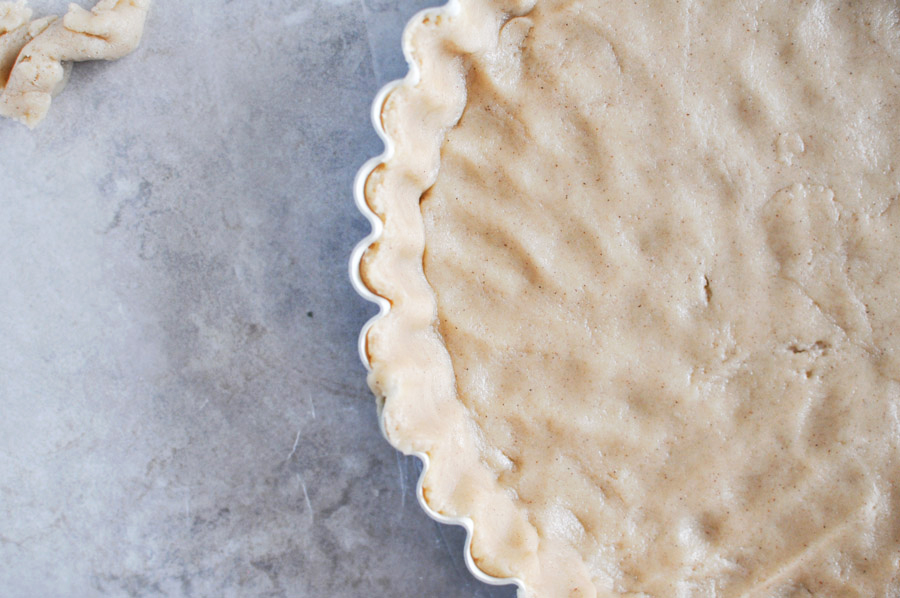
Press the dough into the pan or plate with your fingers. Clearly, pie-like dough is not one of my strengths. I have many pie crust issues. But this just proves that it doesn’t have to be perfect. Just get it in there, then refrigerate while you make the filling.
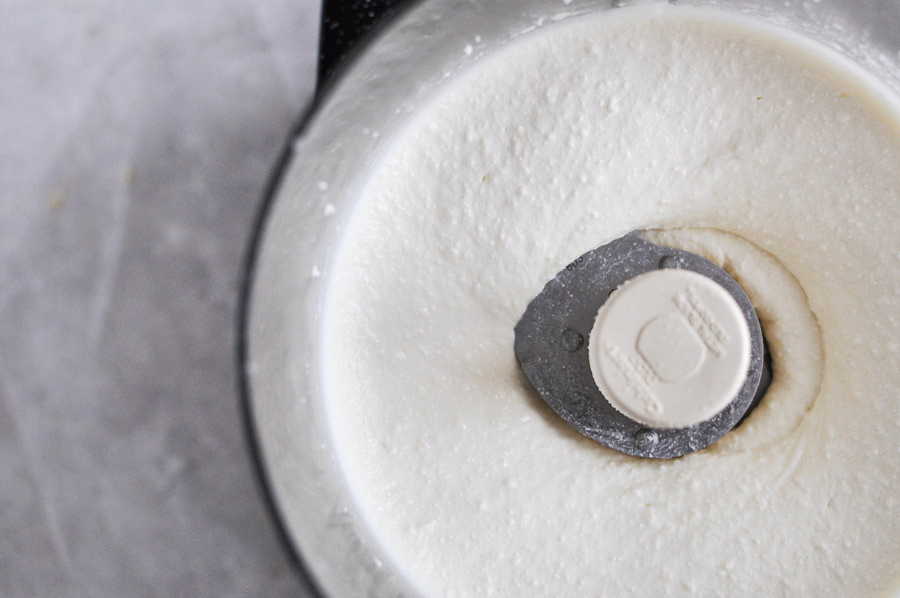
For the filling, I simply gave my food processor a quick wipe down since it was already out. All you have to do is add the ricotta, sugar, egg and amaretto and blend until just combined. So creamy.
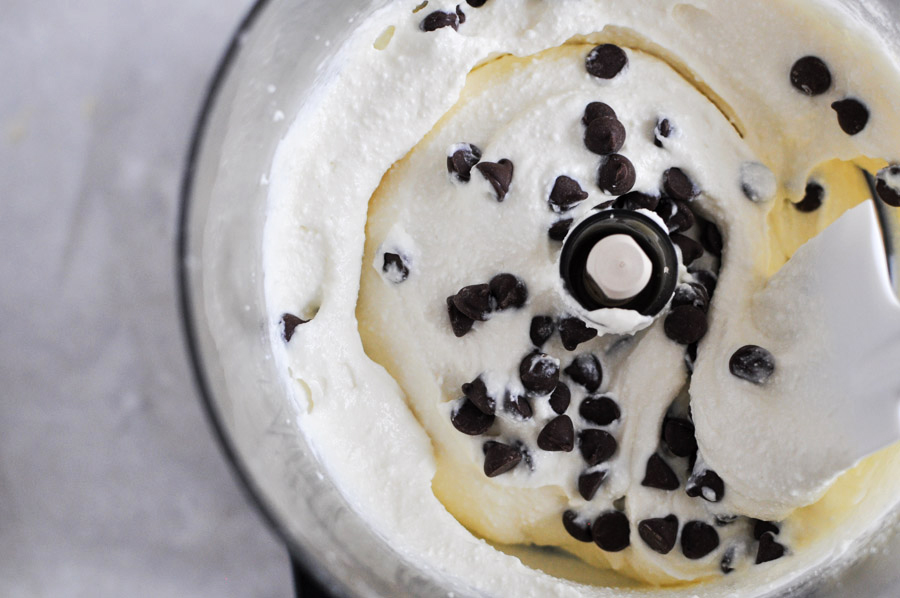
Then fold in the chocolate chips.
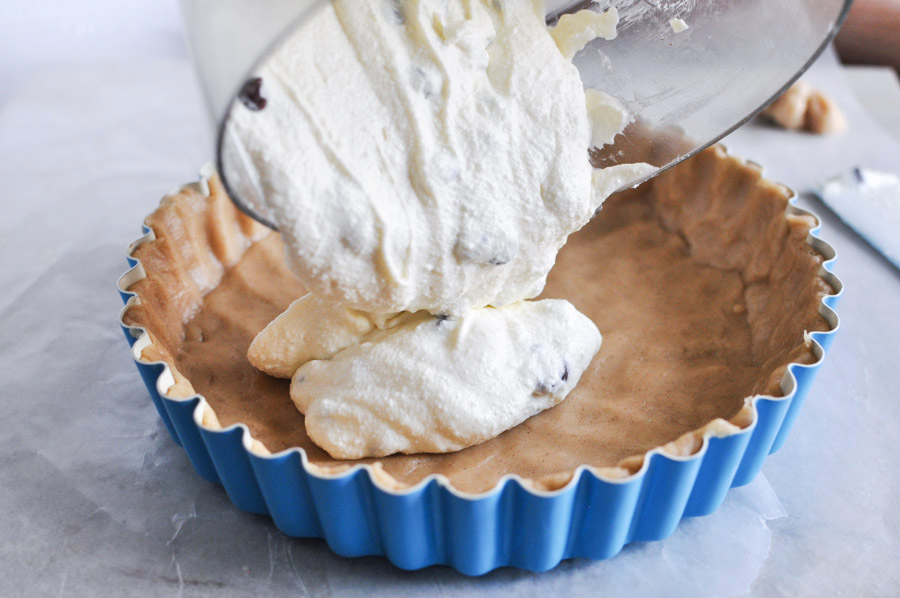
Pour the filling in the tart pan …
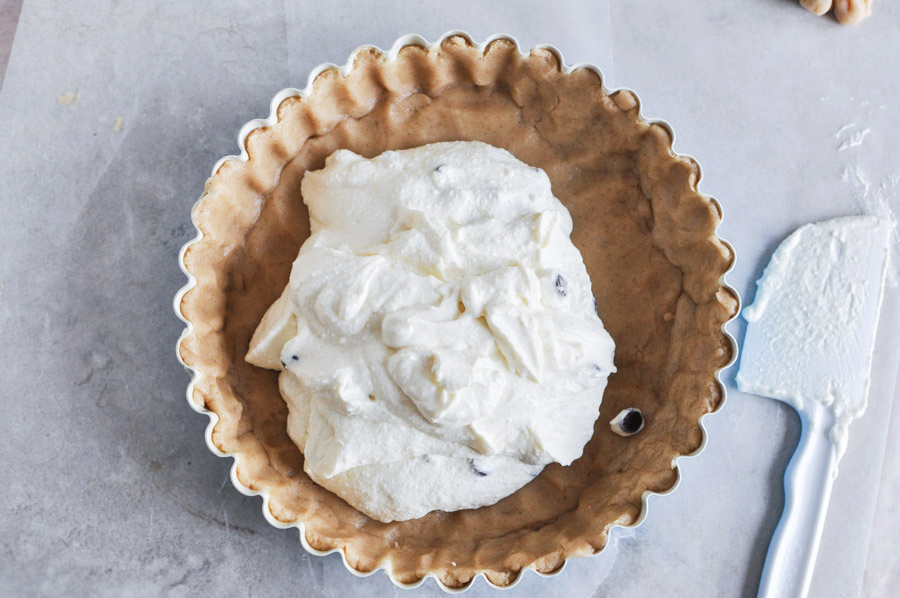
… then spread it out evenly and bake for about 35 minutes.
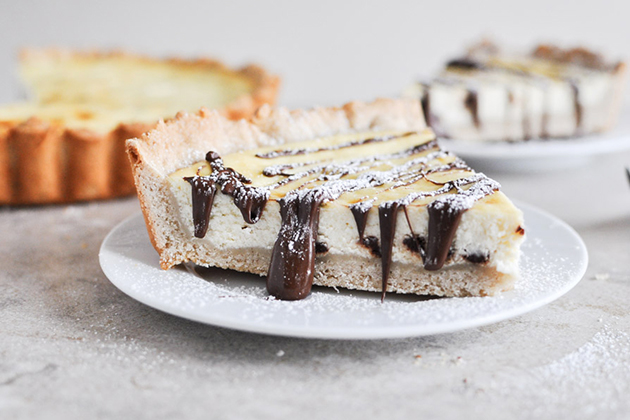
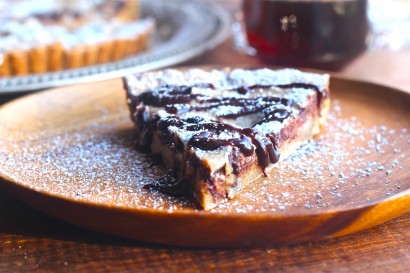
Once you remove the tart, you want it to cool completely. You can place it in the fridge. Trust me, I was skeptical too, but it is totally worth it. I served the tart chilled and holy cow, it was incredible.
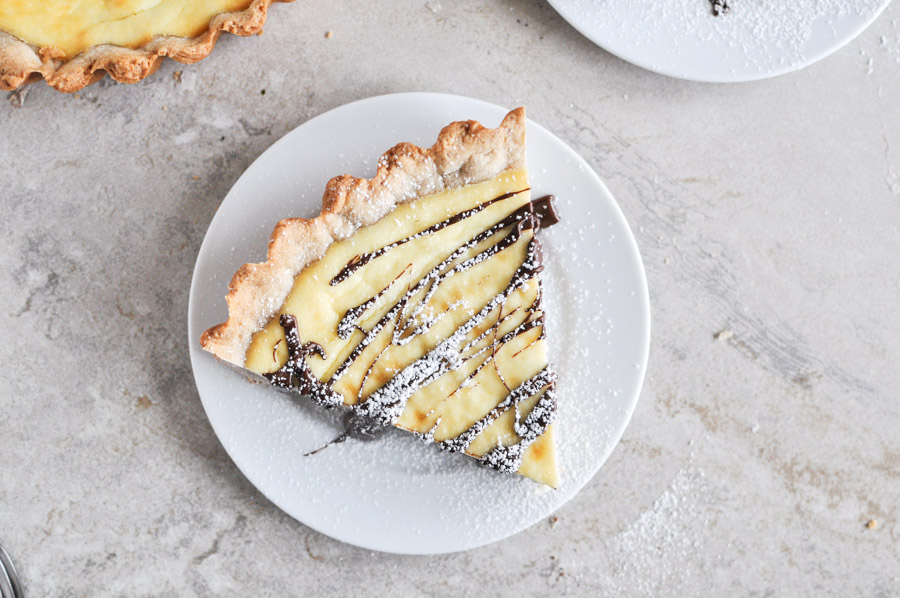
After chilling and right before serving, add a drizzle of chocolate and a shake of powdered sugar.
Can you even handle this?
To say this tart far exceeded my expectations would be an understatement. It was out of this world. It isn’t super sweet either, which makes me think it is highly versatile for even those (crazy folks?) who don’t love sweet dishes. You gotta try it.
Thanks so much to The Seaside Baker for the recipe. Be sure to check out her blog for even more tempting and delicious dishes.
Printable Recipe

Print Options
Description
A delicious creamy cannoli in tart form.
Ingredients
- FOR THE CRUST:
- 2 cups Sifted Flour
- ½ cups Plus 1 Tablespoon Sugar
- ½ teaspoons Salt
- 1 teaspoon Cinnamon
- ⅓ cups Cold Butter
- 1 whole Egg
- 1 Tablespoon Milk
- FOR THE FILLING:
- 2-¼ cups Ricotta
- 1 whole Egg
- 2 teaspoons Sugar
- 2 teaspoons Amaretto
- ½ cups Chocolate Chips Or Chunks
Preparation Instructions
For the crust:
If using a food processor, add flour, sugar, salt and cinnamon and pulse a few times. Add butter, and pulse until butter and flour have formed pea-sized crumbles. Add egg and milk and pulse until a large ball is formed.
If mixing by hand, in a bowl combine flour, sugar, salt and cinnamon. Whisk a few times to mix up. Cut in butter until the mixture forms pea-sized crumbles. With your hands, mix in egg and milk and knead into a ball.
Place the dough ball in between 2 pieces of parchment paper. Roll dough out large enough to fit a deep dish pie pan or deep dish tart pan. Grease pan with butter or nonstick cooking spray. Gently place the dough into pan. Refrigerate while you make your filling and your oven is preheating.
For the filling:
In a food processor or mixer, blend ricotta, egg, sugar, and amaretto until just combined. Stir in chocolate chips. Pour into crust.
Bake at 350ºF for around 25-35 minutes, or until your crust has slightly browned and the filling has puffed a bit. Serve cold or at room temp sprinkled with powdered sugar or drizzled with chocolate.
_______________________________________
Jessica Merchant is a personal trainer turned food writer and blogger. Her blog, How Sweet Eats, is where she proclaims her love for all things sweet, all things bacon, and everything else in between. She works her magic in her Pittsburgh kitchen, which she shares with her husband of 2 years.

27 Comments
Comments are closed for this recipe.
Jen on 4.12.2013
Looks fantastic!! Putting this on my queue. Though might add some candied orange peel or maraschino cherry
rosemary (@nycstylecannoli) on 2.17.2013
Looks great as I have an old italian recipe for something similar and the dough is so simple you just press it in the pan. A really great idea and easy way to taste cannoli without the hassel of frying the shells. Lovely website!!
Joy on 2.14.2013
I just finished making this and it’s chilling in the fridge. Can not wait to enjoy this beauty!
Raquel on 1.20.2013
Hi! i am portuguese, so, sorry for any english mistake i can make… i would like to know the diameter of the tart pan… sometimes i think my pies have the filling very thin because the pan is bigger than should be… thank you
Michelle on 1.19.2013
These look absolutely heavenly! I’m always craving cannolis, but without cannoli shells on hand, I find it difficult to make them. These would definitely satisfy my cannoli cravings!
Lois S. on 1.13.2013
Well, I’m getting ready to put this in the oven and so far I am not thrilled. The piecrust is more like a cookie dough and just as difficult to roll. It stuck to the parchment, and I could only get it off after refrigerating it and even then at least a quarter of it had to be scraped off with a spoon. The rest fell apart. It was so sticky that I had to constantly wet my fingers to piece it together. The filling tastes good, but I have no confidence in this coming out of the tart pan easily. I may try another one and use a little more flour in the crust.
Katie | GoodLife Eats on 1.3.2013
Oh my goodness! I wish I had heard of this recipe earlier. We are Italian and had a big Italian dinner for our Christmas feast. This would have stolen the show as our dessert. Saving this for next year for sure!
Dorie on 1.1.2013
I just made this and it is sitting on the counter waiting to go in the oven. My crust was also darker than it looked in the picture, and I am assuming it is because of the cinnamon. The dough totally fell apart as I tried to get it from parchment to tart pan so I just pieced it together. I’m sure it will taste great! Can’t wait to eat it!!! Thanks!
Kai on 1.1.2013
I’m fairly certain the dough looks darker when filling is simply a photographic matter.
When she took a picture of just the dough, the photo was exposed for the dough, and it looks light.
When she took the later photo with the filling, the filling is very white, so she had to expose for it – which led to a darker-looking crust. Notice the well-lit parts still look plenty nice.
Liz @ The Lemon Bowl on 12.30.2012
My husband is from Boston and we desperately miss all of the Italian bakeries!! I love this alternative to the traditional cannoli!! Thank you!
Adam on 12.30.2012
Very tasty and easy alternative to homemade cannoli. Used rum instead of amaretto. Did not have any parchment so I struggled with the dough. It fell apart and was very sticky. I was able to work with it a little after refrigeration. Next time I will parbake the crust for a few minutes and maybe add a half teaspoon of sugar to the filling.
Mary Hall on 12.30.2012
My mouth is water at this recipe. I will have to try it SOON. Unfortunately, I’m gluten free, so I’ll have to tweak the use of flour a bit.
Karen Langell on 12.30.2012
Did you use whole ricotta or part skim?
Jan Lillemo on 12.30.2012
OMG you have the exact same rolling pin as my 87 year old Mom! Her rolling pin has never had arms – at least not during my lifetime! Only special people have armless rolling pins This looks awesome, I’m going to make it very soon!
Tara on 12.30.2012
I also was wondering about why the crust looks pre-baked…..
Hilary on 12.30.2012
Hi,
This looks fab will have to make it sooooon!
Uk Hils
Katrina on 12.30.2012
I can’t wait to try!!
Marilyn on 12.30.2012
Rolling pins are much better without the sides the recipe looks great!
Paloma on 12.30.2012
I am glad you asked about the baking of the crust before the pouring of the filling ’cause I have been wondering the exact same thing and my eyes were watering from staring so closely at the comp’s screen… LOL. A firm answer to that one would be great…
Rosalie on 12.29.2012
Made this today–it’s lovely :D. I didn’t have amaretto around so I used kirsch & some orange blossom water, and used chopped dark chocolate over chips. Such an easy recipe
Katie–I think the brown color is simply a result of the cinnamon in the crust recipe.
Katie on 12.29.2012
I cannot wait to make this! Quick question: in looking at the pictures, it appears that the crust is browned when you put the filling in the pie plate. Did you bake it a bit before adding the filling or did it just turn brown by virtue of being in the fridge?
Forgive me if this is a dumb question. I’m a novice pie maker and usually (gasp!) use frozen store-bought pie crust. I *am* trying to overcome my fear of making dough; this recipe seems like a perfect place to start!
Jayne on 12.29.2012
Cannoli is like the best dessert ever but this? This is unbelievable! Something good made even better.
JulieD on 12.28.2012
Love this!! It looks amazing!!
Mandie @ Oh So Decadent on 12.28.2012
My mom is obsessed with cannoli and would die over this tart. I definitely have to make it for her soon!
Sadie on 12.28.2012
I want a blue pie plate!
Heather (Heather's Dish) on 12.28.2012
WHY is this not in my face right this second?!
Jackie {theseasidebaker} on 12.28.2012
How cool is that! Thanks for featuring my recipe! I am so glad you liked it. I too loved how easy it was.