


When it comes to making homemade fruit leather, I will confess that I have been totally and completely intimidated. I mean, how does one even accomplish such a task? How does fruit go from actual fruit to … leather?
With that being said, I spent half of my youth chewing fruit roll-ups and consequently trying to rot my teeth, so I knew that this fruit leather had to be mastered. My mom would stock up on different flavors of fruit leather and it would often disappear within the week. When I came across Georgia’s recipe for Homemade Fruit Leather, I just couldn’t resist. It seemed foolproof. And delicious. And so enticing that I immediately bought more strawberries than one should ever need and got to work.
While the entire recipe is a bit time-consuming, it is quite easy. The majority of the time is downtime anyway. You can make this while you sleep!
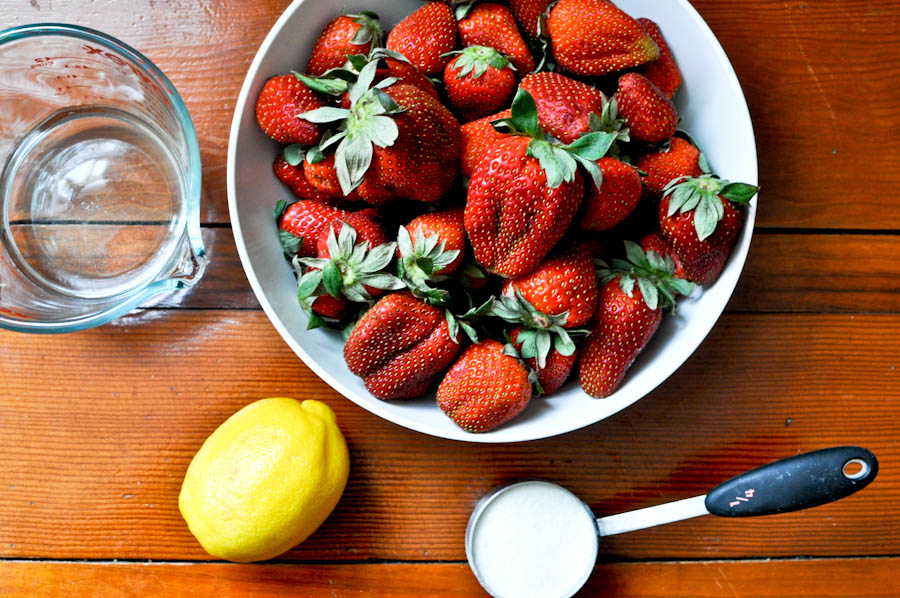
These are the only ingredients you need: strawberries (or fruit of your choice), a lemon, water and sugar. Yes, it’s that simple!
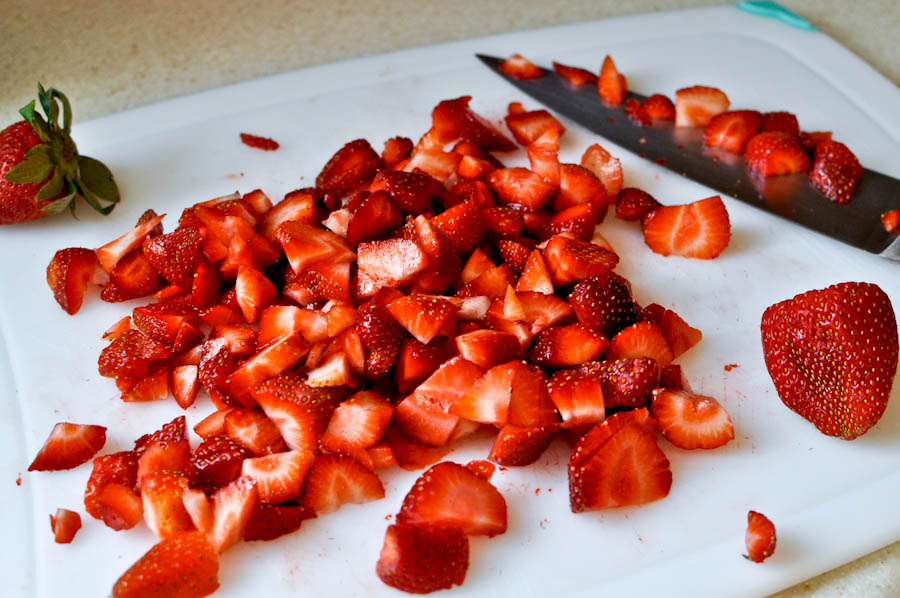
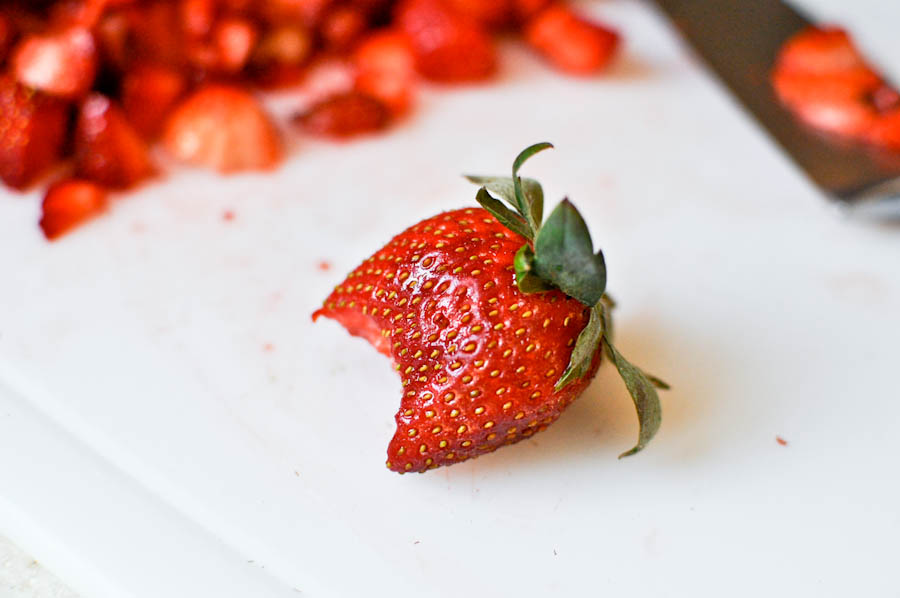
The first step is to cut the fruit into small pieces. Don’t be concerned about them being uniform in size. Just do a rough chop so we can add them to a saucepan. I ended up with 2 1/2 cups of strawberries.
Make sure you taste test your fruit to see how sweet it is. This will give you a rough idea of how much sugar you need or want to add.

Slice your lemon and grab a bowl for juicing purposes.
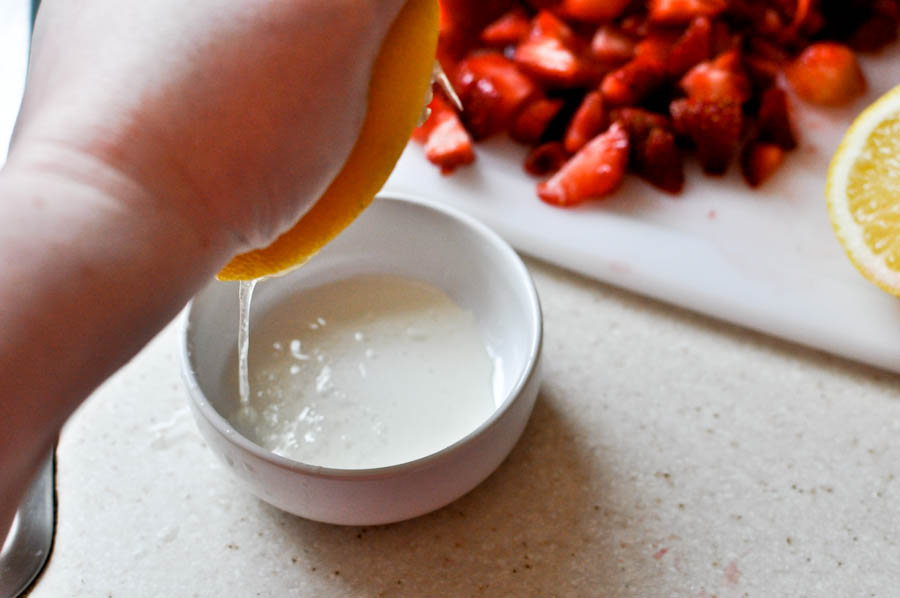
Squeeze your lemon to extract the juice. You only need about one tablespoon. Fresh is best!
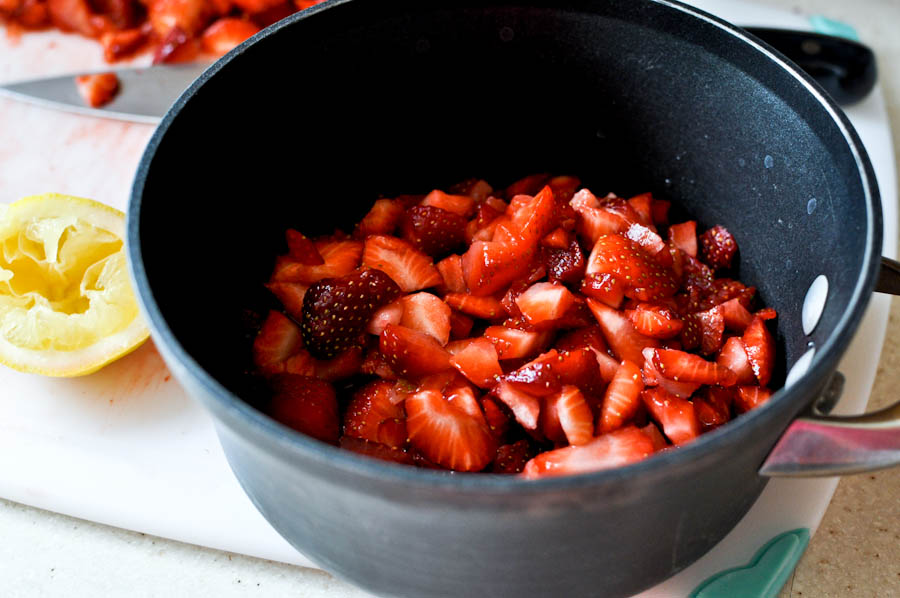
In a small saucepan, combine the chopped fruit, water and lemon juice. Heat it over medium heat and stir, then cover. Let the fruit stew for a few minutes until the berries begin to break down. I let mine go for about 5–6 minutes.
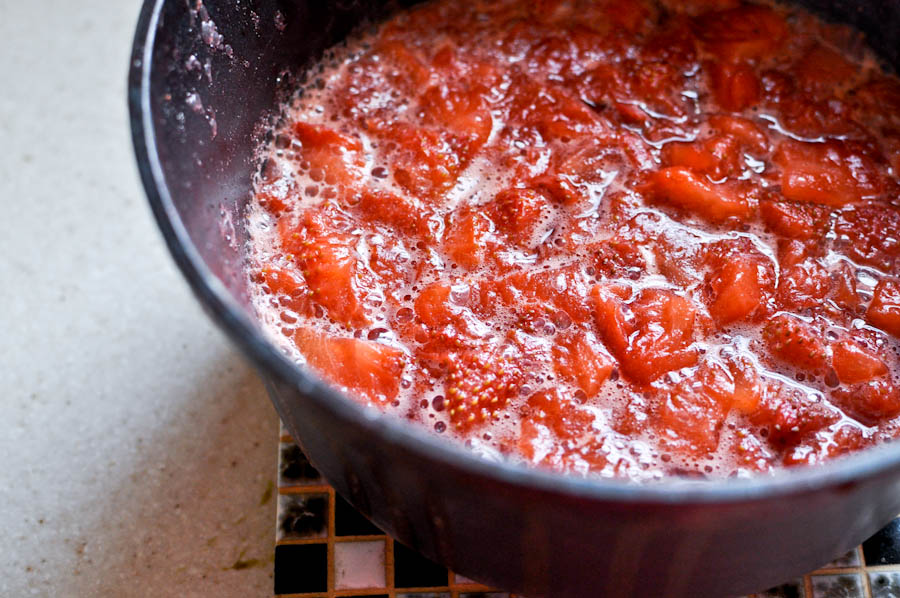
It should come out looking saucy. Now would be a good time to preheat your oven, so turn it on to 170 degrees F, or the lowest temperature it will go. It should heat up quickly.
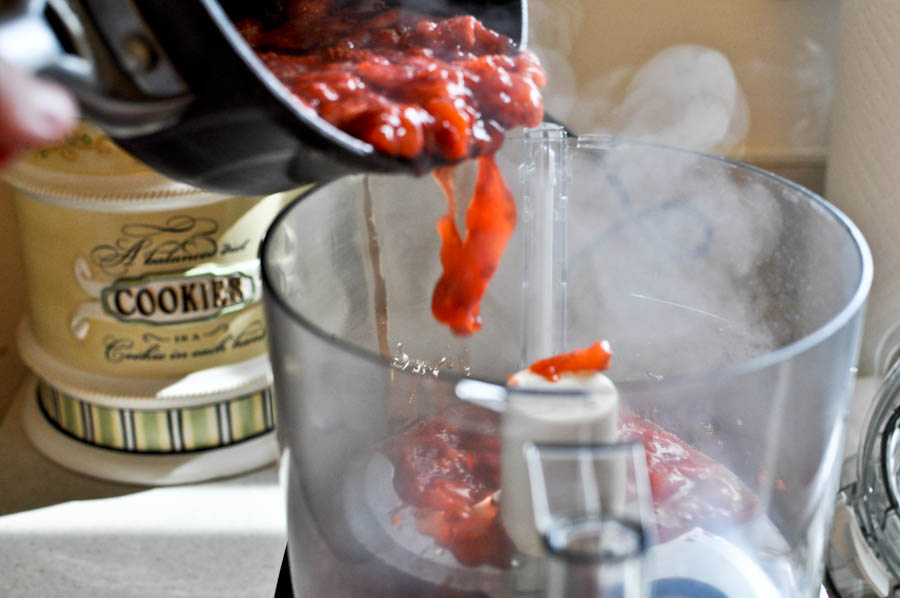
Now it’s time to add the pureed fruit to the food processor. You can see that I lack patience judging from the steam rising out of the saucepan. Notice the cookie jar in the back. Sometimes (read: every single day) I get distracted by that (full) jar.
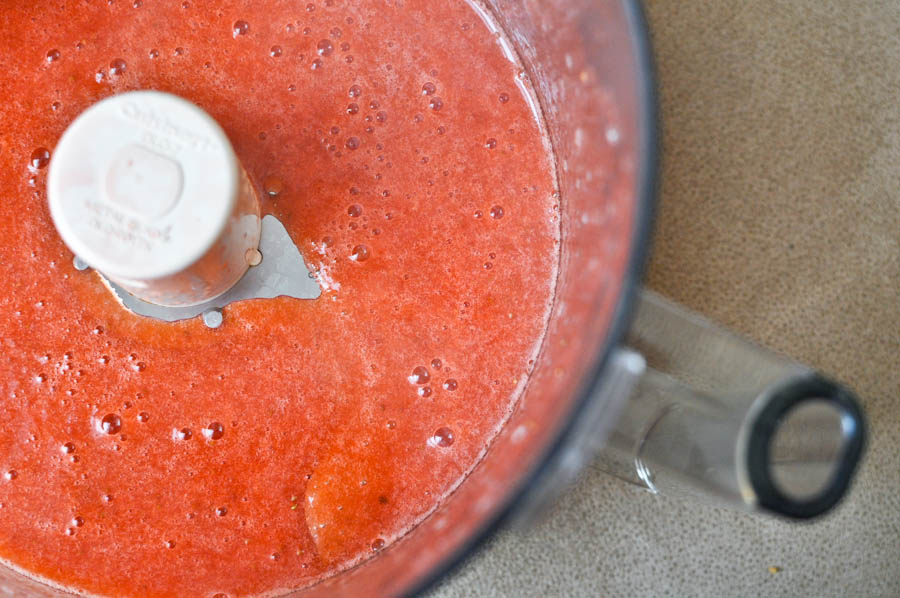
Give the fruit mixture a good whirl. You want it completely blended. Speaking of blended, you can also use a blender if you do not have a food processor. (In Georgia’s blog post, she uses a blender.)
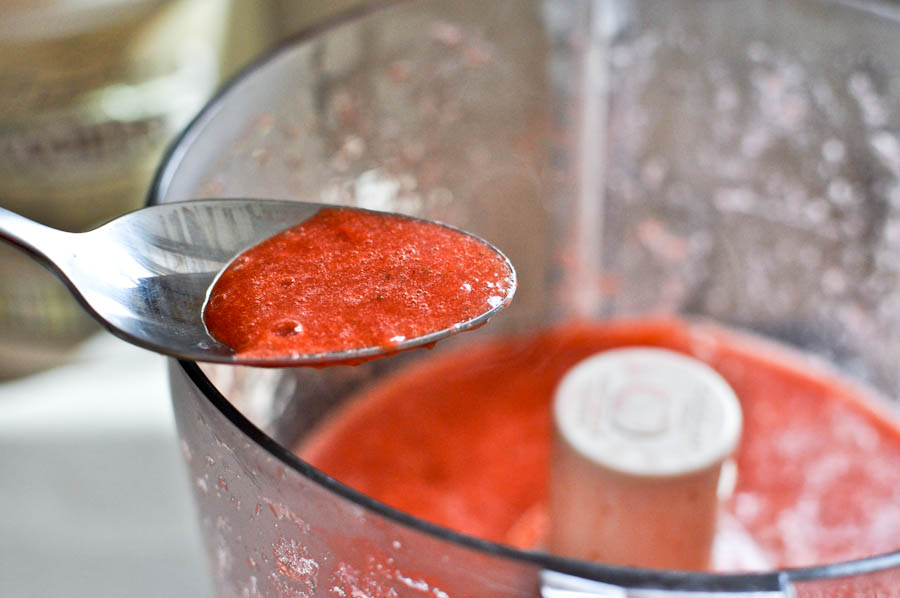
Taste testing time! Try a bit more of the pulp before adding the sugar. I am warning you: this stuff is good to enough to drink. I nearly slurped it all up and had to start over.
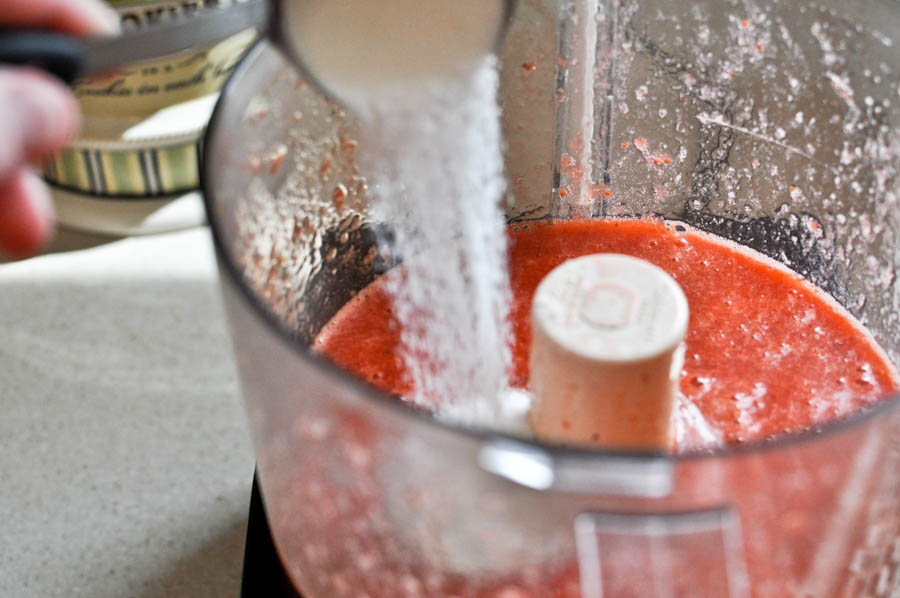
Add your sugar. I’m assuming that you could also make this recipe sugar-free if you’d like. I went with the entire 1/4 cup of sugar because I have very sweet teeth. If you have extraordinarily sweet fruit or would like it mild in sweetness, add the sugar one teaspoon at a time, blend, then taste test and go from there. Easy as pie.
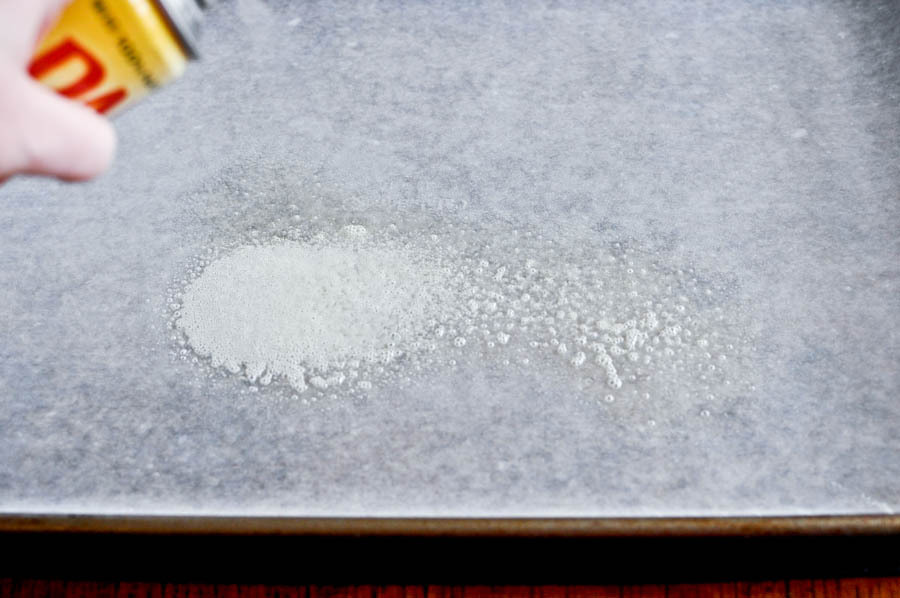
Lay some parchment paper on a sheet pan, and give it a very thorough coating of non-stick spray. Don’t miss any spots! You can also brush the paper with vegetable oil. Whatever works for you.
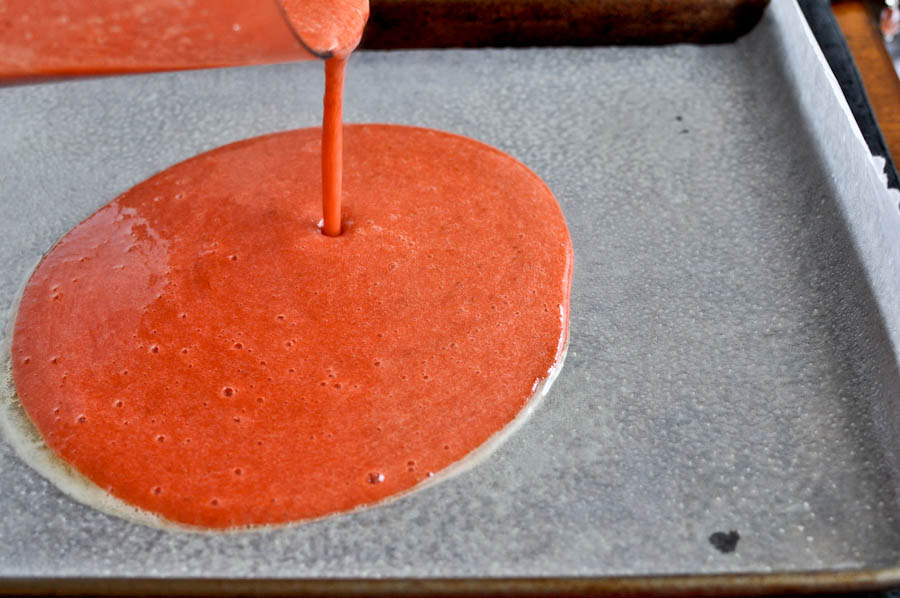
Pour the fruit mixture onto the paper-lined sheet pan. Try not to drool.
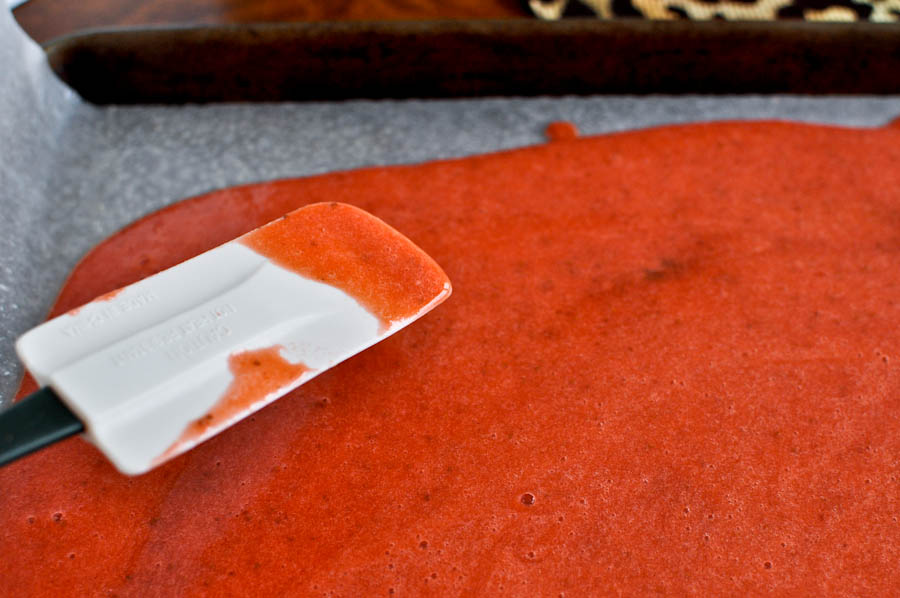
Spread it out with a spatula so it is evenly distributed. Then place it in the oven.
Now it’s time to wait! And wait … and wait … and wait. This recipe takes about 12–15 hours total. Don’t fret—I was concerned too! But I am convinced that it is completely worth it now. If you do not have 15 consecutive hours to be at home with the oven on, you can also sit the fruit mixture near a sunny window where it will be warm. I first stuck mine in the oven at 3 pm. I let it go for 7 hours, checking it occasionally. The only downside is that I realized halfway in that I could not use my oven for dinner! Oh well. Pizza it was.
During the “dehydrating” process, I did notice the mixture was getting a bit brittle. I followed Georgia’s instructions and brushed the leather with some water using a pastry brush. It worked like a charm! At 10 pm, I inverted the leather onto another oiled, paper-lined baking sheet. I gave it a good brushing of water since I would not be checking it for 6-7 hours. I also left the oven open a crack to ensure it would not get too warm. Then I went to bed dreaming of homemade strawberry fruit roll-ups. It was like Christmas Eve!
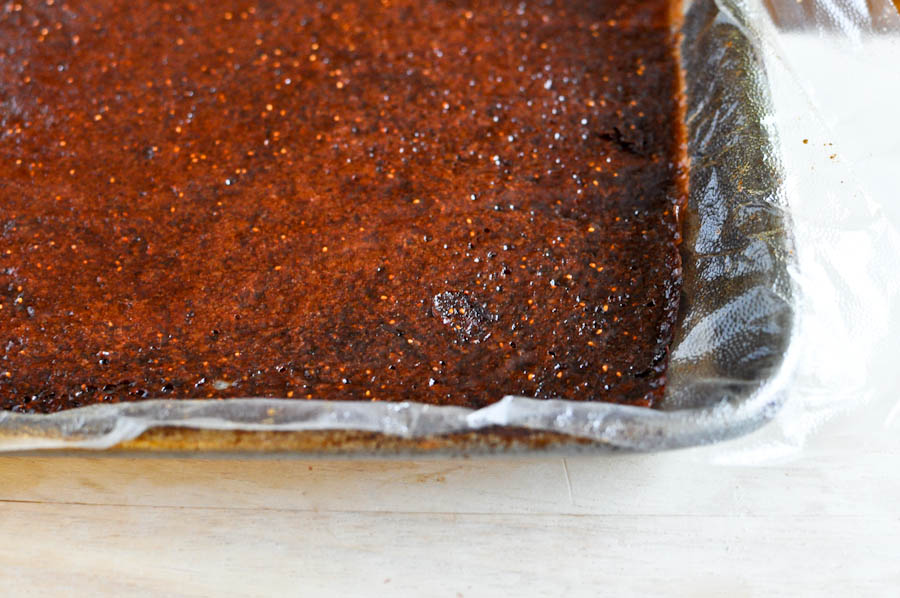
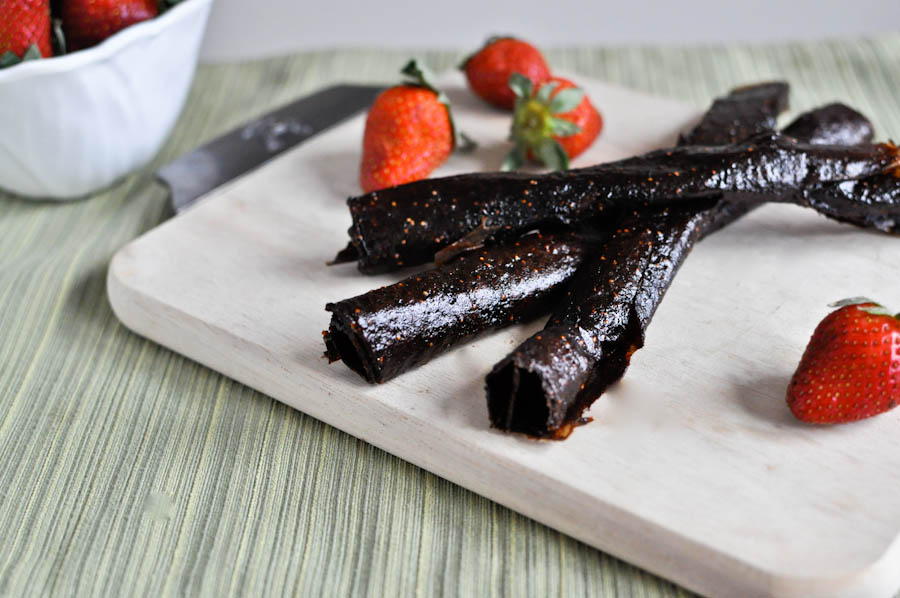
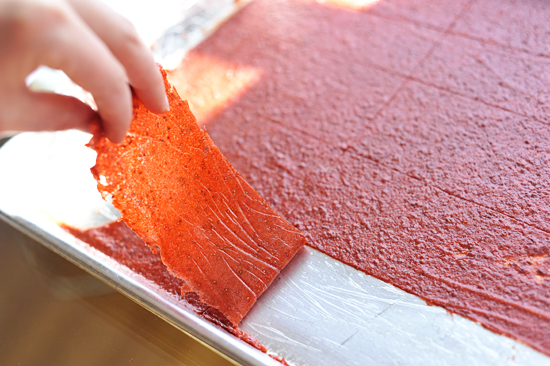
In the morning, the fruit leather looked like this. I love the little seeds.
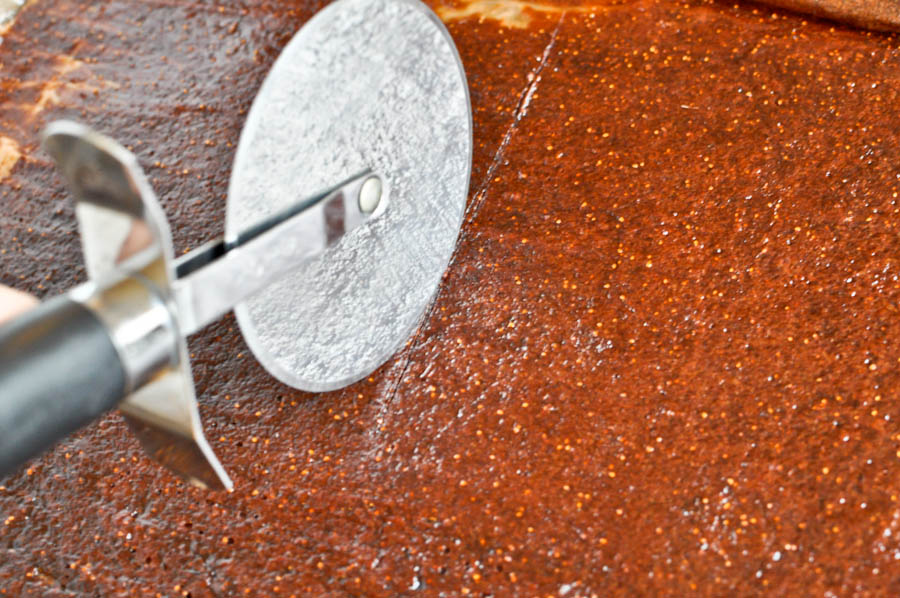
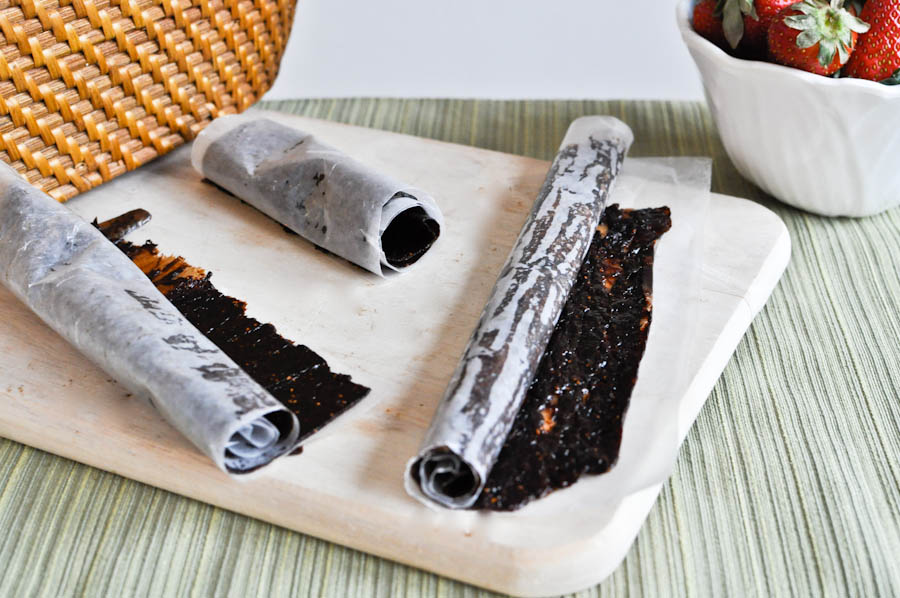
Using a pizza cutter, I cut it into strips.

Like a kid in a candy store, I couldn’t stop tasting it. It was so delicious. And so easy! I couldn’t believe that I could make fruit leather at home. I rolled it up just like the old school fruit roll-ups.
I sense a new obsession coming on. Since last week, I’ve been envisioning every flavor of fruit leather known to man. I am quite anxious to try peach leather. And how about fig leather? Or mango leather? Kiwi leather? I would love those crunchy little seeds. Or how about this kumquat and tangerine fruit leather by acharlestonkitchen? Could one make a cantaloupe and fresh mint leather? I think we all know what I’m going to be doing for the next 3 months.
This is probably one of my favorite recipes to date. It’s delicious and makes for a perfect snack. It’s much healthier than the processed fruit leather since you can determine exactly what goes into it. And it is so much easier than I previously thought. Thanks so much for the recipe, Georgia! (If you don’t know her yet, you should! Visit her blog, Georgia Pellegrini and enjoy all her other wonderful recipes and posts.)
Printable Recipe


Print Options
Description
An easy way to make dried fruit leather at home with any fresh fruit.
Ingredients
- 2 cups Strawberries Or Other Fresh Fruit, Chopped Into Small Pieces
- ¼ cups Water
- 1 Tablespoon Lemon Juice
- ¼ cups Sugar (optional, Depending On The Sweetness Of Your Fruit)
- 1 Tablespoon Vegetable Oil
Preparation Instructions
1. Preheat the oven to 150 -170 degrees F.
2. Place the fruit in a medium saucepan with the water and lemon juice. Simmer on medium heat, mostly covered, until they are very soft and mushy. Stewing the fruit helps it retain its color.
3.Transfer the fruit pulp mixture to a food processor or blender and blend until smooth. If it is a fruit with seeds, a food mill will remove the seeds more easily than a food processor and strainer. Taste the fruit at this point, and add the sugar if it is not sweet enough. Keep in mind that as the fruit leather dries, it will concentrate the natural sugars in the fruit and become sweeter on its own. Add a small amount of water to the mixture if necessary so that it has a pourable consistency.
4. Cover a baking sheet with plastic or a silicon baking pad. The temperature of the oven is low enough not to affect the plastic.
5. Spray or brush your baking sheet with the vegetable oil, then spread the fruit puree onto the sheet tray with an offset spatula or knife to 1/8-1/4 inch thickness. Place it in the oven for 6-8 hours. Make sure there is air circulating to prevent scorching. Alternatively place it in the sun for 6-8 hours.
6. Invert the fruit leather onto another baking sheet that has been covered in plastic or silicon baking pad and oiled, and remove the first lining. Place in the oven or sun for another 6-8 hours. If it becomes too brittle at any point, simply brush on water with a pastry brush to rehydrate it.
7. Cool the sheet tray and cut the fruit leather into desired sizes. Dust with corn starch to prevent sticking, cover in plastic and store in a cool place in a sealed container.
_______________________________________
Jessica Merchant is a personal trainer turned food writer and blogger. Her blog, How Sweet Eats, is where she proclaims her love for all things sweet, all things bacon, and everything else in between. She works her magic in her Pittsburgh kitchen, which she shares with her husband of 2 years.

81 Comments
Comments are closed for this recipe.
timeandspaceandfood on 3.31.2011
This sounds amazing! Defiantly going to try this.
theunexpectedcook on 3.27.2011
For those who don’t like how dark or burnt looking they are…My ‘Ball Blue Book of Preserving’ recommends 135* for 12-14 hours. Another fruit leather recipe I’ve had success with recommends 140* for 10-12 hours. Also if you have a convection feature on your oven, that will work best and you not have to cook it as long.
Fruit leather is ready when the it becomes pliable. Be SURE to check the center of the leather for stickiness. If it is sticky, it is not done.
No oil is necessary!
Hope this helps. Give it another try.
healthnutali on 3.25.2011
If you have a Vitamix you can blend this up finely enough that the seeds will be pulverized. Watch out though, it can get foamy (from blending at such a high speed), so you might want to let it settle a bit and then mix on a low speed to get all the foam out before pouring in the pan. Can’t wait to try it this summer when I am sick of canning, have no more freezer space, and can’t eat another bite of fruit!
Amanda on 3.25.2011
The mixture when you first laid it on the paper looks soo good! I wonder how it would freeze? I don’t like fruit leather, but am wonder what else I could do with this recipe. hmm ..
Jessica on 3.24.2011
Mine came out crunchy =(
Did I spread it too thin?
Shugary Sweets on 3.24.2011
I tried this last night. Followed your recipe to the letter. Unfortunately this morning, it was completely black and crispy. After a total of 12 hours. What a bummer, not sure what went wrong. Last night before bed, I flipped it, spritzed it with water, left the oven door open, and dreamed about fruit leather.
Sadly this was a fail. In all honesty, I’m not sure what I would do differently? Thoughts?
Christina on 3.23.2011
Holy smokes! I grew up by Stretch Island, home of Stretch Island Fruit Leather, and it wasn’t until I saw this that made me realize, I don’t remember the last time I had fruit leather. I think I’m going to try to make a tropical, pineapple-mango leather.
Cassie on 3.23.2011
Ummm yum!
Hillary on 3.22.2011
This looks great and all… But I am sure at the end of the process I would end up wanting the real fruit roll up.
Angela on 3.22.2011
I tried this and all the juices/steam leaked out all over the oven and floor when we woke up. The best we can think is that the evaporated juices created condensation and made a mess! All that work. Any suggestions anyone?
Erica D on 3.22.2011
What temperature did you turn your oven to? I didn’t see that anywhere in the article.
Heahter L on 3.22.2011
I am making this right now and it has only been in the oven for 4 hours and i would say that it looks done. Instead of using a pastry brush for water I used a spray bottle and spritzed. Much easier. I’m curious to hear from those that have experience with dehyrdrating via window sill.
Also … will I missing something if I call it done in 5 hrs or should I dehyrdate it for 15? I have spritzed several times to keep the fruit moist.
Nicole on 3.22.2011
How long does it usually take in the sun? I don’t want to run propane for that many hours for my stove. The hot car idea is great!
on 3.21.2011
I’m sorry it looked delicious up until the last few pics. It looks like black tar. I could not eat it. Sorry I love the fruit leather from costco. Mmm
Amanda (onceuponarecipe) on 3.21.2011
This looks so delicious! I used to make fruit letter out of store bought applesauce, but I bet real fruit tastes 100 times better. Yum!
Cher on 3.21.2011
It’s great that people are finally realizing that they can make many of the snacks their children consume which allows them to control cost and content.
However, I would recommend some changes to make this healthier. First of all, do not cook the fruit. The cooking destroys many of the nutrients, especially the vitamin C. The key is to keep any heat under 115 degrees. Also, do not add sugar. Dehydrating fruit concentrates the sugar content, and the resultant fruit leather is plenty sweet. The lemon juice is not necessary but does no harm. Finally, do not spray the parchment paper with oil. It is not necessary and adds unhealthy chemicals and oil to your snack. The fruit leather peels off the parchment very easily.
Other tips: I put a battery powered fan on the lower rack of my oven. The circulating air helps the fruit dry more quickly and evenly.
Silicone baking sheets such as Silpat work even better than parchment paper if you have them. Try adding very finely chopped up nuts or seeds to your puree to make a more balanced snack.
Suzanne on 3.21.2011
My mom used to make fruit leather out of the bottled fruit we had that didn’t look so pretty anymore, you know when I starts to darken from sitting on the shelf for a while. She would just dump the entire jar into the blender, blend, and then pour it out onto pans to dehydrate. I think she would freeze it, that way it would last for a long time without spoiling. I do think I need to make some for my family…
Marla Meridith on 3.21.2011
I am so on this recipe! Looks amazing & so much better than store bought
sal! on 3.21.2011
why do you cook the fruit?
i have been making fruit leather for years; just clean it and pop it into the food processor (skip the cooking and maintain more of the healthy nutrients in the fruit!).
Happy When Not Hungry on 3.20.2011
What a great idea! I love fruit leather, but have never though to make it. Definitely have to try! Love your photos too!
sana on 3.20.2011
oh yeah i forgot to ask, if i try this recipe with a food dehydrator, how long would i keep it in there for? what should it look like when its finished?
sana on 3.20.2011
oh my goodness…my mouth is watering…i cant believe it’s this easy!! I am so trying this, and when I have kids, this will definitely beat store bought, processed, sugar filled, fruit roll-ups!!! Thanks for this recipe!!!
Lizi on 3.20.2011
I love making fruit leather! If you don’t have 10-15 hours to allow it to dehydrate in the oven, try this trick I use all the time: after blending the fruit, put it back in the pan and cook over low heat until a substantial amount of liquid has evaporated. Then, place in the oven and it usually only takes me 2-3 hours to dehydrate.
Lee @ Fit Foodie Finds on 3.20.2011
Jessica! This recipe is genius! I am definitely going to try this, I will keep you posted!
Audrey on 3.20.2011
I would never have thought I could make this at home! I can’t wait to try.
Baking 'n' Books on 3.20.2011
Looks great. I don’t think I would add any sugar. The Fruit alone would be enough!
Yum!
Shannon on 3.20.2011
This is a fantastic idea! Thanks for the pictures and reassurance about the length of time in the oven. I really appreciate that, because I would doubt myself. YUM!
Jenn (Cookies Cupcakes Cardio) on 3.20.2011
I was never allowed to have fruit leather as a kid….I think the fruit roll up time, and of course being a kid who hated fruit, I never wanted the real kind. My palate has changed (thank goodness) and that looks delicious!
Jae on 3.20.2011
OH.NO.YOU.DIDNT
 because those look like they could kill
I think my parents would kill me though if I left the oven on for that long.
Darn you Jessica!
Jessica @ How Sweet It Is on 3.20.2011
Amy – I’m sure you could add a substitute, but the amount of sugar you want is up to you, and it really doesn’t have to be much. You could probably add 1 teaspoon or tablespoon and it would be good, it just depends on the sweetness of the fruit.
AngelStreetMom on 3.20.2011
My mom used to make homemade fruit leather was I was a kid! This brings back memories! Now I need to make this with my kids. Thanks for sharing!
Tamara on 3.20.2011
I make a variation of this all the time. So good and easy and healthy! I use apple sauce as a base and add the other fruits to it for different flavours. I don’t add any sugar for most fruits. I put it right on the parchment paper or even the cookie sheet and do not put any extra oil or cooking spray. It usually only takes 6-7 hours for mine to dehydrate in the oven.
Natalie | Perry's Plate on 3.20.2011
I’ve never attempted fruit leather! Thanks for a fabulus tutorial, Jessica, and a delicious recipe, Georgia!
Adrianne on 3.19.2011
Having made every flavor of fruit leather, the best we made were with little black (mission?) plums. I never added any sugar, but I am a health nut.
I love my dehydrator. And it came with teflon sheets, which make peeling the leather away from the protective surface a snap. I also used it to make jerky which was especially handy for those of us on the GFCF diet.
Esther on 3.19.2011
My grandparents used to make fruit leather in a dehydrator. Maybe you need one of those, Ree. That way you will have your oven available for dinner, and could make 3 or 4 batches at once.
laura @ alittlebarefoot on 3.19.2011
i had no idea it was so simple to make fruit leather! i love that stuff. definitely need to try this.
Amy at TheSceneFromMe on 3.19.2011
I wonder how it would work using some sort of sugar subsitute to cut calories?
JMay on 3.19.2011
Holy hotpants, this sound delicious. I making this TODAY. And the timing is perfect because I went shopping on an empty tummy last week and bought an unreasonable amount of mangoes. So, this will be a fun and yummy way to use some of those up, all my neighbors are getting mango leather this weekend. THANKS for the recipe!
Sarah @ The Pajama Chef on 3.19.2011
wow, looks great! i would be too nervous to leave the oven on all night though, so i’d probably start it early in the day
Aviva on 3.19.2011
Bacon leather? LOL!
callimakesdo on 3.19.2011
I love this. I always thought you needed a dehydrator to make fruit leather. A dehydrator is on my wish list… but now I don’t have to wait. My kids love fruit leather! I would love to make the mango… my favorite.
Sarena (The Non-Dairy Queen) on 3.19.2011
This looks amazing and I can’t wait to try it out with my kids!
Muriel on 3.19.2011
Mango leather are the best… my grandma would dry them in the sun over a course of a few days since we didn’t have an oven.
Jessica @ How Sweet It Is on 3.18.2011
girliefriend – as long as you wrap them in plastic wrap, you can store in a cool, dry place in a sealed contained. I would think they’d last about a week or so?
Muriel @cookbakeanddecorate on 3.18.2011
Can’t wait to try this! My little one loves fruit roll-ups and so do I! I too was always too intimidated to even try to make these.
Mary on 3.18.2011
We used to make plum fruit leather a lot and used honey instead of sugar. Liz you asked about using your canned applesauce…..Go for it, it’s great to use especially when half the work is already done. Just pour it on your pan or dehydrator trays and let it dry.
stuckinmypedals on 3.18.2011
Yum! I think even I could manage making this!
S Richards on 3.18.2011
My mother in law used to makeh this but after she spread it out (and because she lived in Arizona where it get REALLY hot inside of parked cars), she would dry it in the window of the back seat of the car. It took almost as long but didn’t waste the energy of the oven. My kids loved visiting her and eating this.
Stacy @ CreatingSweetSmiles.blogspot.com on 3.18.2011
Wow, this is amazing, thanks for the step by step, it really does look simple.
Stacy @ CreatingSweetSmiles.blogspot.com
andrea on 3.18.2011
If you’ve got a dehydrator, you can make it in there too…they have special little trays and you don’t have to monitor it