The Pioneer Woman Tasty Kitchen
Profile photo of cookincanuck

Perfect Pumpkin Cheesecake

Posted by in Baking, Step-by-Step Recipes

Tasty Kitchen Blog: Perfect Pumpkin Cheesecake. Guest post by Dara Michalski of Cookin' Canuck, recipe submitted by TK member Brenda of A Farmgirl's Dabbles.

 
While living in New York City, I made every effort to stay hush-hush about my apathy for cheesecake. Getting a decent apartment in Manhattan was difficult enough. I certainly wasn’t going to ‘fess up to my dessert inadequacies when it came to one of the pride and joys of my adopted city. To compensate for my shortcoming, I made a big show of folding my slice of pizza in half, honking the car horn at least once every 3 blocks, and talking about walking my dawg while drinking my cawffee. I had them fooled, right up until the point when I told someone to “Take off, eh?”

My Canadian roots gave me away every time.

It wasn’t until I moved west again that my acceptance, and eventual affection, for cheesecake blossomed. As much as I came to appreciate the silky, tangy filling that defines this dessert, there was nary a homemade cheesecake to be found in my kitchen. To be honest, I was intimidated as heck to make one. So I started with the easy stuff: cheesecake bars. They turned out to be some of my family’s favorite desserts.

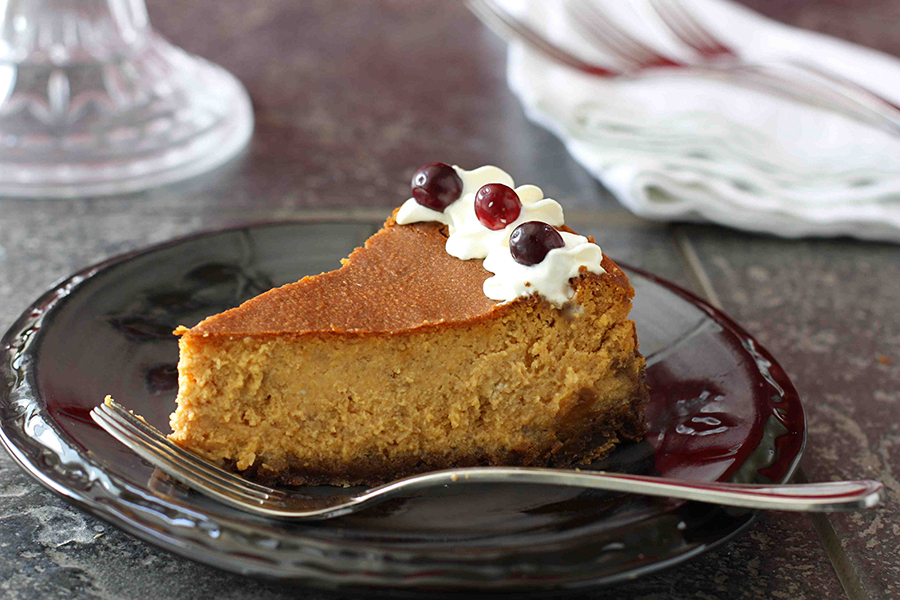
When I saw this recipe for Perfectly Perfect Pumpkin Cheesecake by Tasty Kitchen member Brenda (afarmgirldabbles), I knew it was time to step out of my comfort zone for the sake of some serious Thanksgiving indulgence. Did it turn out as beautifully as the one in afarmgirlsdabbles’ photo? Nope. Was it irresistibly creamy and worthy of a place in my holiday feast? Heck yeah. I strongly encourage you to give this recipe a shot because if a Canuck can do it, then so can you.


Tasty Kitchen Blog: Perfect Pumpkin Cheesecake. Guest post by Dara Michalski of Cookin' Canuck, recipe submitted by TK member Brenda of A Farmgirl's Dabbles.

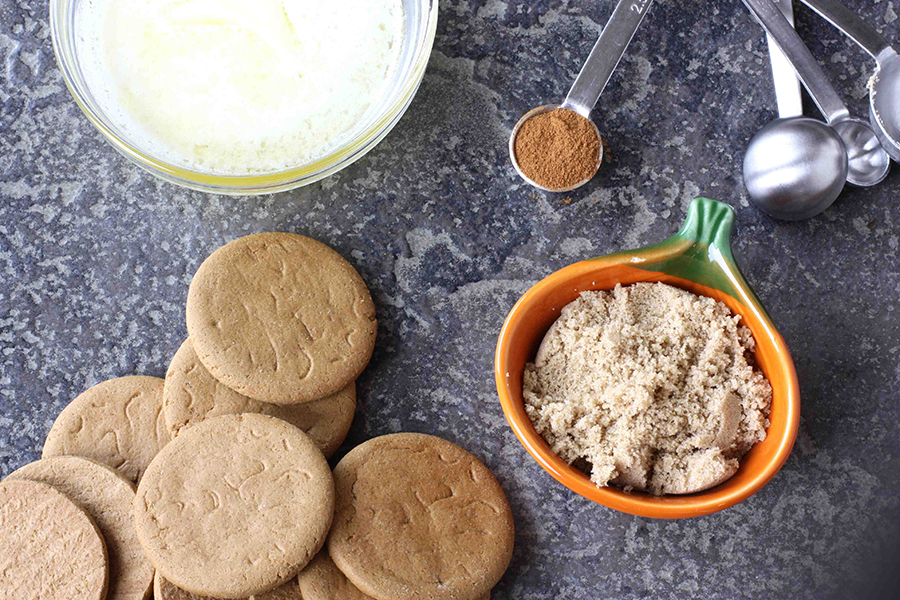
First, let’s make the crust.

Preheat oven to 350 degrees F. Prepare a 9″ springform pan by lightly spraying with cooking spray.


Tasty Kitchen Blog: Perfect Pumpkin Cheesecake. Guest post by Dara Michalski of Cookin' Canuck, recipe submitted by TK member Brenda of A Farmgirl's Dabbles.

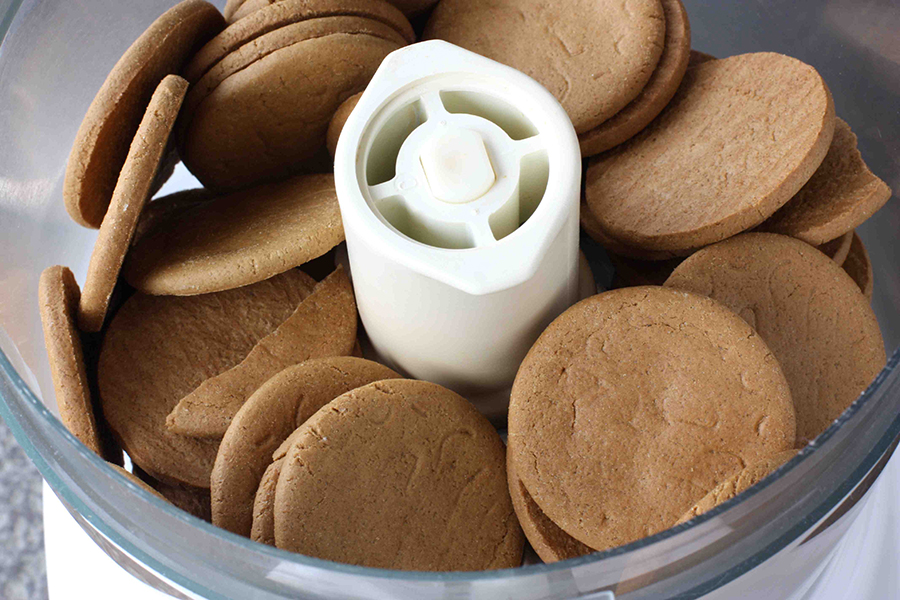
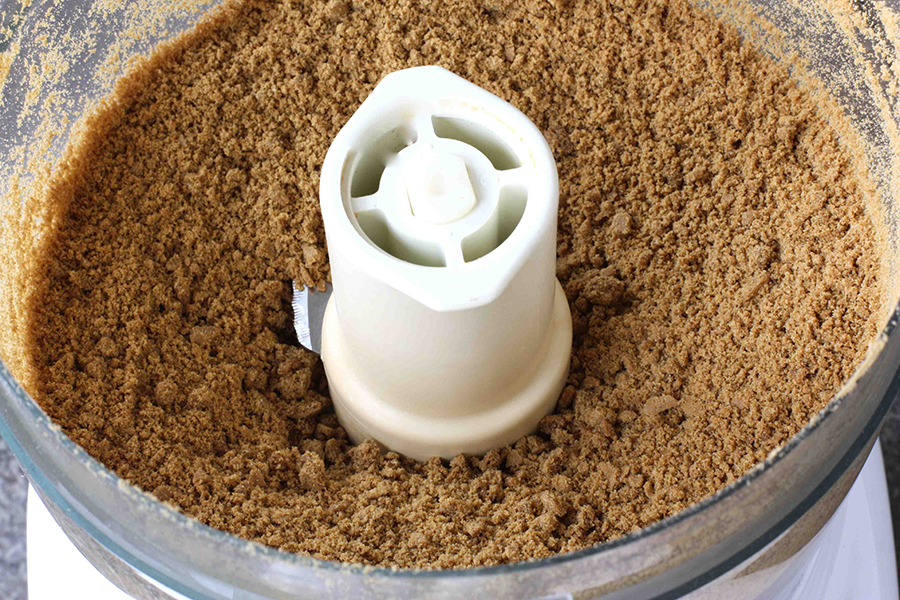
Place gingersnap cookies in the bowl of a food processor and pulse until the crumbs are uniform.


Tasty Kitchen Blog: Perfect Pumpkin Cheesecake. Guest post by Dara Michalski of Cookin' Canuck, recipe submitted by TK member Brenda of A Farmgirl's Dabbles.

Add brown sugar, cinnamon, and salt. Pulse to combine.


Tasty Kitchen Blog: Perfect Pumpkin Cheesecake. Guest post by Dara Michalski of Cookin' Canuck, recipe submitted by TK member Brenda of A Farmgirl's Dabbles.

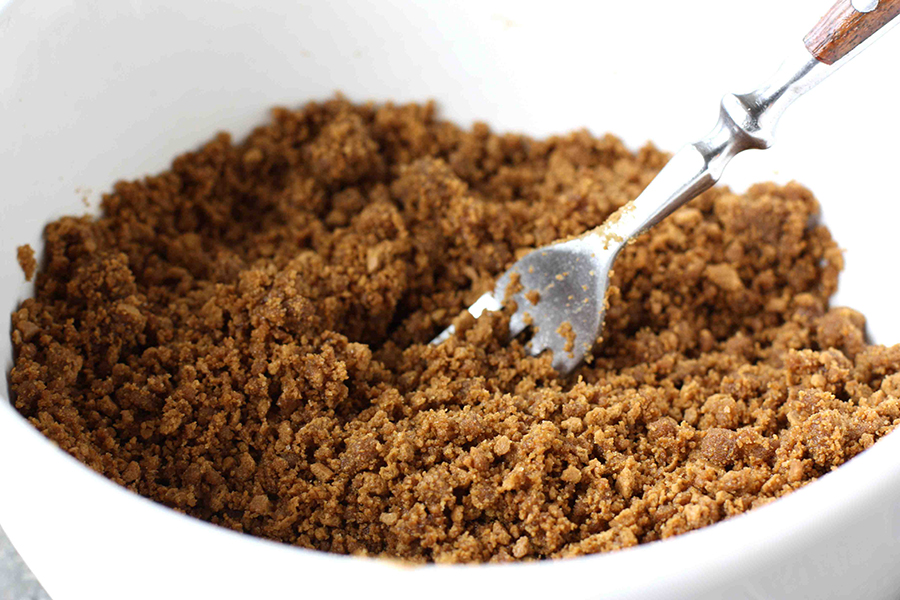
Pour the crumbs into a medium bowl and toss with melted butter.


Tasty Kitchen Blog: Perfect Pumpkin Cheesecake. Guest post by Dara Michalski of Cookin' Canuck, recipe submitted by TK member Brenda of A Farmgirl's Dabbles.

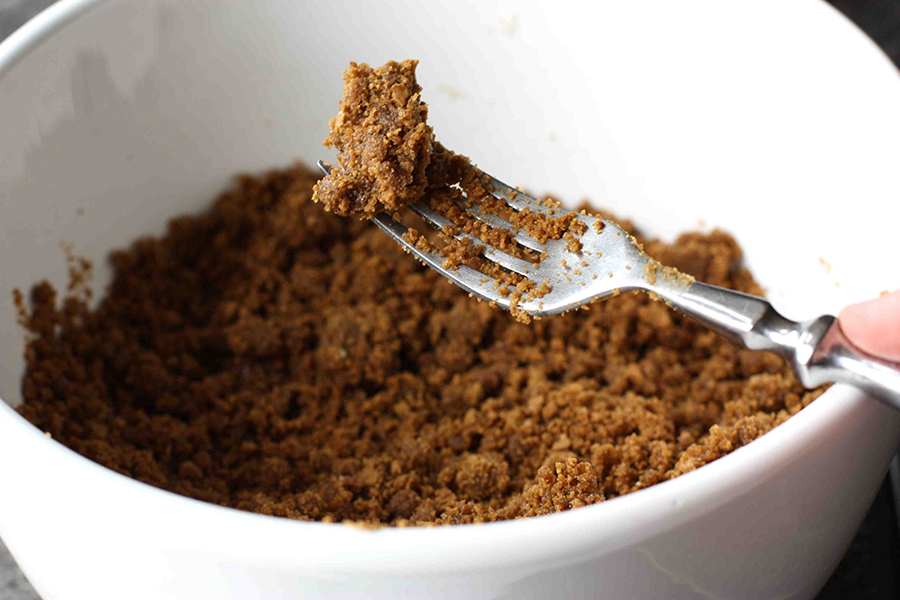
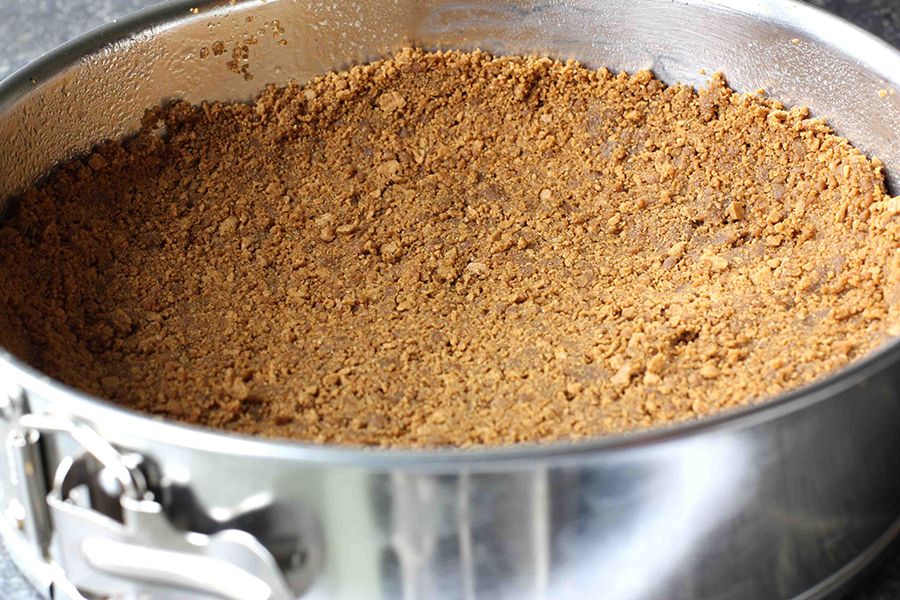
Toss until the mixture is evenly moist and clumps together when squeezed between your fingers. It is dry as the Sahara where I live, so I had to add 2 additional tablespoons of melted butter to coax the crumbs to stick together.


Tasty Kitchen Blog: Perfect Pumpkin Cheesecake. Guest post by Dara Michalski of Cookin' Canuck, recipe submitted by TK member Brenda of A Farmgirl's Dabbles.

Press the crumbs into the bottom and slightly up the sides of the springform pan. Chill for 5 minutes, then bake for 10 minutes. Cool completely on a wire rack.

While the crust is cooling, prepare a water bath. Bring a pot of water to a gentle boil and have a large baking or roasting pan ready to place the springform pan in when it is time.

When the crust is cooled, place the springform pan on a double thickness of heavy duty aluminum foil and wrap the foil around the outside of the pan.

Now let’s make the filling.


Tasty Kitchen Blog: Perfect Pumpkin Cheesecake. Guest post by Dara Michalski of Cookin' Canuck, recipe submitted by TK member Brenda of A Farmgirl's Dabbles.

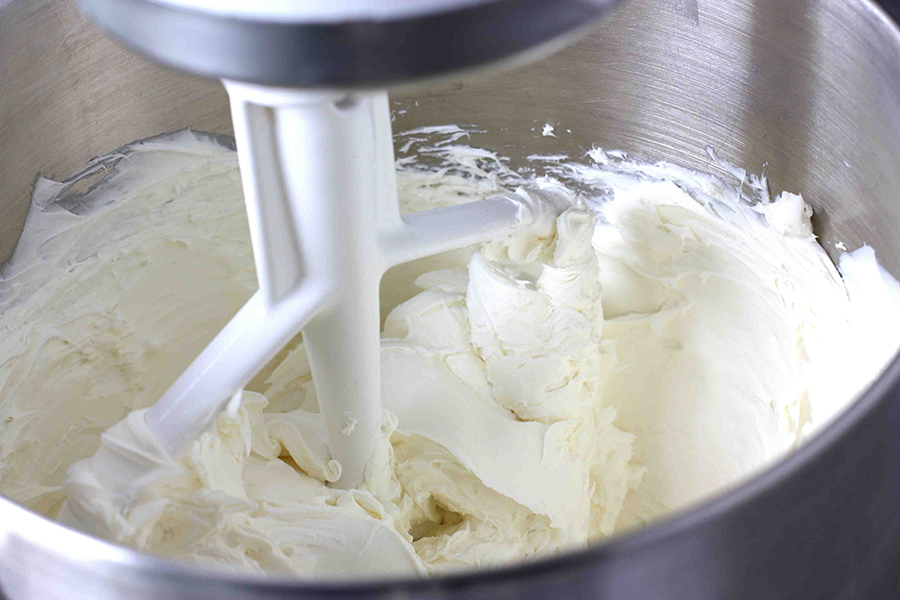
In a large bowl, or the bowl of a mixer, beat the cream cheese until light and smooth.


Tasty Kitchen Blog: Perfect Pumpkin Cheesecake. Guest post by Dara Michalski of Cookin' Canuck, recipe submitted by TK member Brenda of A Farmgirl's Dabbles.

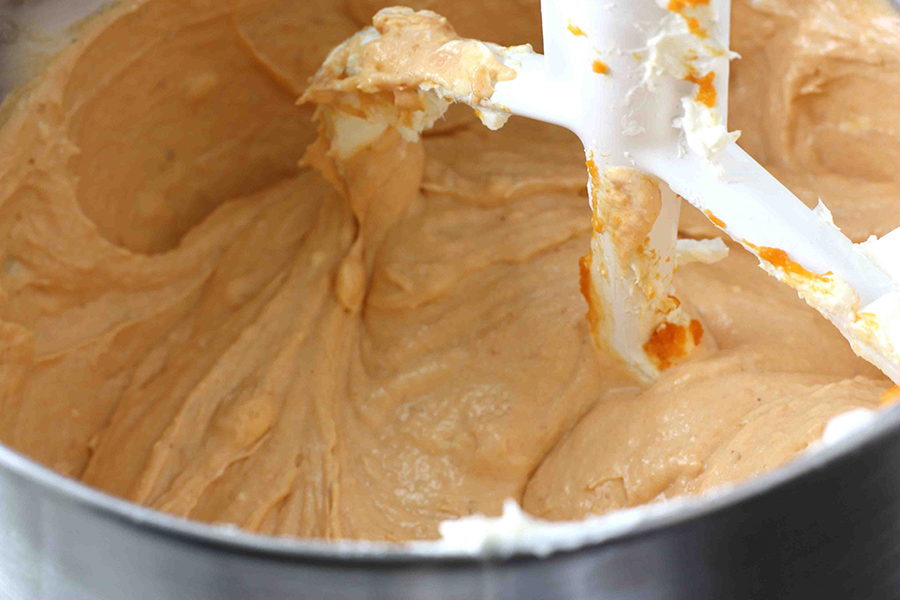
Add pumpkin puree and beat to combine. Is everyone as messy as I am when baking? I could have wiped off the mixer blade for the photo, but I was going for the au naturel look. That’s the story I’m sticking to.

Add eggs and egg yolk, one a time, beating and scraping down the sides between each addition.


Tasty Kitchen Blog: Perfect Pumpkin Cheesecake. Guest post by Dara Michalski of Cookin' Canuck, recipe submitted by TK member Brenda of A Farmgirl's Dabbles.

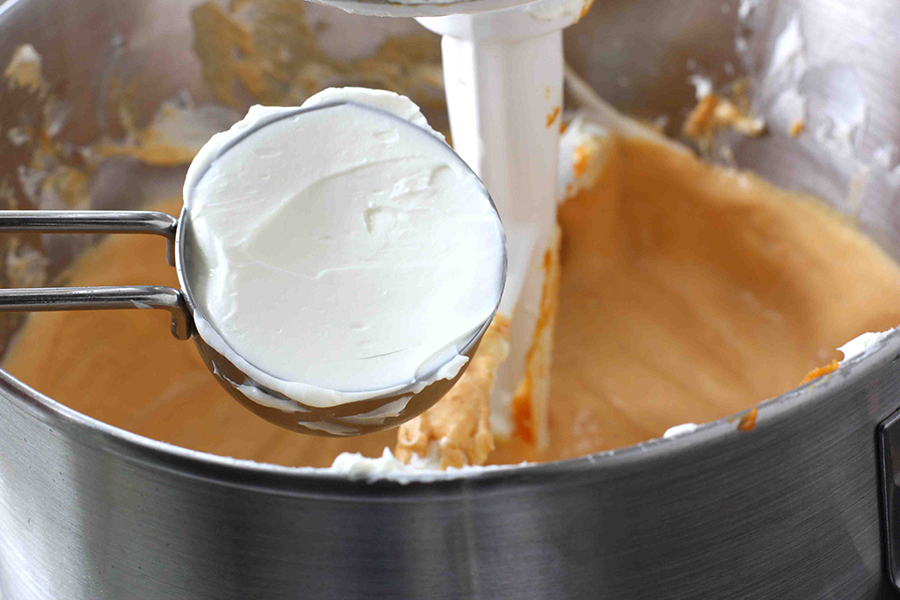
Add sour cream and beat to combine.


Tasty Kitchen Blog: Perfect Pumpkin Cheesecake. Guest post by Dara Michalski of Cookin' Canuck, recipe submitted by TK member Brenda of A Farmgirl's Dabbles.

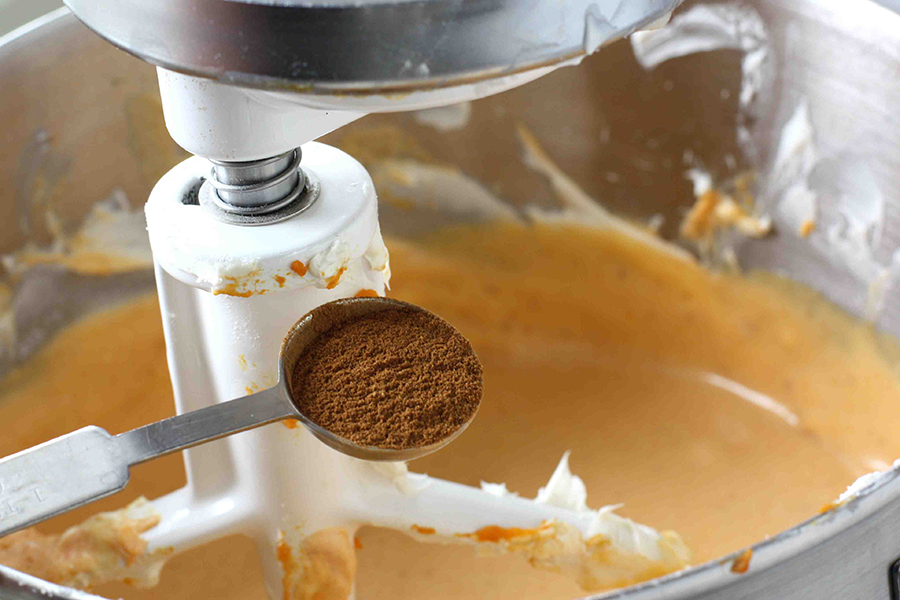
Add sugar, cinnamon, ginger, nutmeg, cloves, salt, and flour. Beat until just combined, then mix in the vanilla.

Scrape the filling into the cooled crust. Do not miss any of this creamy goodness.
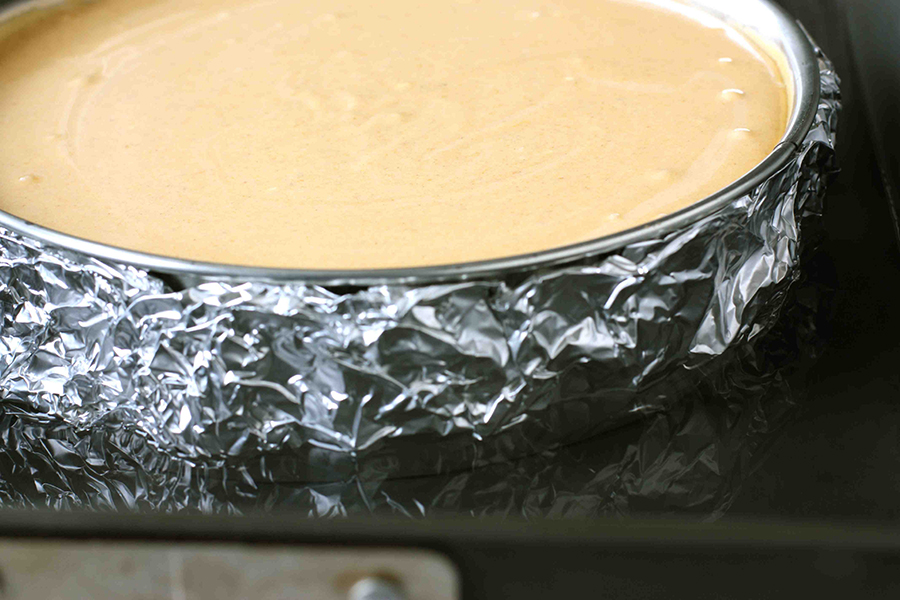


Tasty Kitchen Blog: Perfect Pumpkin Cheesecake. Guest post by Dara Michalski of Cookin' Canuck, recipe submitted by TK member Brenda of A Farmgirl's Dabbles.

Place the springform pan into the roasting pan and pour hot water into the pan until it reaches halfway up the sides of the springform pan.

Bake until the top of the cheesecake is a deep golden brown and the center is set, about 1 hour 30 minutes to 1 hour 40 minutes. I don’t know if my oven was having issues on this day, but it took an additional 30 minutes to reach this stage. So, focus on the consistency of the filling, rather than the cooking time.

As afarmgirlsdabbles reminds us in the recipe, it is okay if there is still a slight jiggle to the filling. The lady knows what she’s talking about.

Remove the cheesecake from the water bath and run a small, sharp knife between the cheesecake and the pan to avoid cracking. Okay, so I will admit that I had cracking problems while the cheesecake was baking. Cut this first-timer some slack!
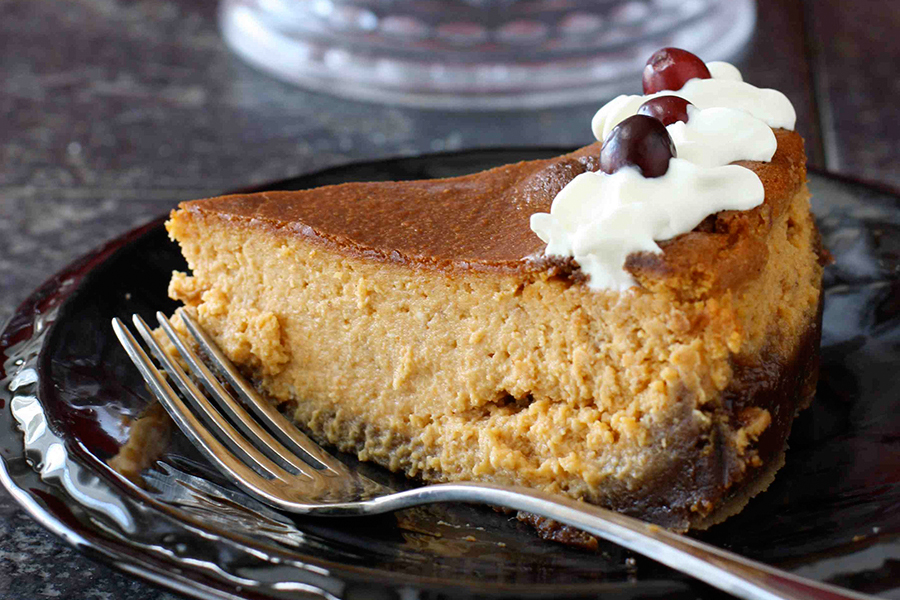


Tasty Kitchen Blog: Perfect Pumpkin Cheesecake. Guest post by Dara Michalski of Cookin' Canuck, recipe submitted by TK member Brenda of A Farmgirl's Dabbles.

Let the cheesecake cool in the pan, set on a wire rack. Cover and chill for at least 4 hours or overnight. Do not skip this step. It is torture to wait, but delayed gratification can be a very good thing.


Tasty Kitchen Blog: Perfect Pumpkin Cheesecake. Guest post by Dara Michalski of Cookin' Canuck, recipe submitted by TK member Brenda of A Farmgirl's Dabbles.

Perfect indeed.

Thank you to Brenda (who blogs at A Farmgirl’s Dabbles) for this truly addictive cheesecake. It will certainly be gracing my Thanksgiving table this year.


Printable Recipe
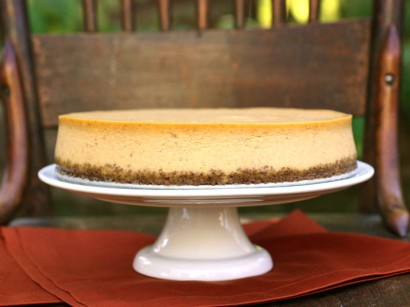
Perfectly Perfect Pumpkin Cheesecake

See post on afarmgirlsdabbles’s site!
4.90 Mitt(s) 22 Rating(s)22 votes, average: 4.90 out of 522 votes, average: 4.90 out of 522 votes, average: 4.90 out of 522 votes, average: 4.90 out of 522 votes, average: 4.90 out of 5

Prep Time:

Cook Time:

Difficulty: Intermediate

Servings: 16

16
x

Print Options

Page size Letter 3x5 4x6
Text Size Small Medium Large
Content Include description
Include prep time, etc.
Show image

Description

With a crisp gingersnap crust and a creamy pumpkin spice filling, this pumpkin cheesecake is perfectly perfect!

Ingredients

  • FOR THE CRUST:
  • 1-¾ cup Gingersnap Cookie Crumbs (from About 40 Gingersnap Wafers)
  • 3 Tablespoons Brown Sugar
  • ½ teaspoons Ground Cinnamon
  • ½ teaspoons Salt
  • 4 Tablespoons Unsalted Butter, Melted And Slightly Cooled Down
  • _____
  • FOR THE FILLING:
  • 24 ounces, weight Regular Cream Cheese (not Low Fat Or Nonfat), At Room Temperature
  • 15 ounces, weight Pureed Pumpkin (not Pumpkin Pie Filling)
  • 3 whole Large Eggs
  • 1 whole Egg Yolk
  • ¼ cups Sour Cream
  • 1-½ cup Sugar
  • 1 teaspoon Ground Cinnamon
  • ½ teaspoons Ground Ginger
  • ⅛ teaspoons Ground Nutmeg
  • ⅛ teaspoons Ground Cloves
  • ¼ teaspoons Salt
  • 2 Tablespoons All-purpose Flour
  • 1 teaspoon Vanilla

Preparation Instructions

Preheat oven to 350°. Prepare a 9″ springform pan by lightly spraying with cooking spray.

For the crust, pulse the cookies in a food processor until the crumbs are uniform. Add the brown sugar, cinnamon, and salt and pulse to combine. Transfer to a medium bowl and add the melted butter. Combine thoroughly with a fork. When the mixture is evenly moist, crumbly, and holds together when you squeeze a handful, it’s ready. Press the mixture evenly over the bottom, and very slightly up the sides, of your springform pan. Chill for 5 minutes, then bake for 10 minutes. Let cool completely.

Prepare a water bath while the crust cools. Heat a kettle or pan of water to a soft boil. Have a larger baking dish or roasting pan ready to set the springform pan inside it. Once the crust is cooled, set the springform pan on a double layer of heavy duty aluminum foil and wrap the foil up around the outside of the pan.

For the filling, beat the cream cheese until smooth. Add the pumpkin puree and combine. Add the eggs and egg yolk, one at a time, incorporating each egg thoroughly before adding the next, and scraping down the sides of the bowl after each one. Beat in the sour cream. Then add the sugar, cinnamon, ginger, nutmeg, cloves, salt, and flour. Beat just until combined, then beat in the vanilla.

Scrape the filling into the cooled crust and spread evenly. Set the springform pan in the larger roasting pan and add enough hot water from the kettle to come about halfway up the sides of the springform pan.

Bake until the top of the cheesecake is a deep golden color and the center is set, about 1 hour 30 minutes to 1 hour 40 minutes. It’s ok if there is a slight jiggle to the filling. Remove the cheesecake from the oven and run a thin-bladed knife between the crust and the pan sides, to prevent the cake from cracking as it cools. Let the cheesecake cool to room temperature in the pan on a wire rack. Cover and chill for at least four hours or overnight before serving. Top individual slices with fresh whipped cream.


_______________________________________

Dara Michalski is a doll and a sweetheart who clearly knows her way around the kitchen. She blogs at Cookin’ Canuck, where she shares her flavor-packed recipes and fun, engaging writing. The photography’s pretty incredible, too.


Profile photo of Natalie | Perry's Plate

Burnt Sugar Almonds

Posted by in Holidays, Step-by-Step Recipes

Tasty Kitchen Blog: Burnt Sugar Almonds. Guest post by Natalie Perry of Perry's Plate, recipe submitted by TK member Birgit Kerr of Scrapalicious Bytes.

 
These Burnt Sugar Almonds (Gebrannte Mandeln), in my opinion, are the only redeeming quality of a crowded shopping mall during the holidays. Luckily, they’re a cinch to make at home and will put all of your scented candles to shame. This recipe was submitted by Tasty Kitchen member Birgit Kerr, who is originally from Germany. These almonds are found roasting at the Christmas markets in Germany as well as Austria, where I spent about 18 months (a long time ago). I about fell out of my chair when I saw this recipe.

There are other variations of these almonds which use beaten egg whites, but I really liked this non-fussy approach. Plus, I didn’t have to turn on my oven.


Tasty Kitchen Blog: Burnt Sugar Almonds. Guest post by Natalie Perry of Perry's Plate, recipe submitted by TK member Birgit Kerr of Scrapalicious Bytes.

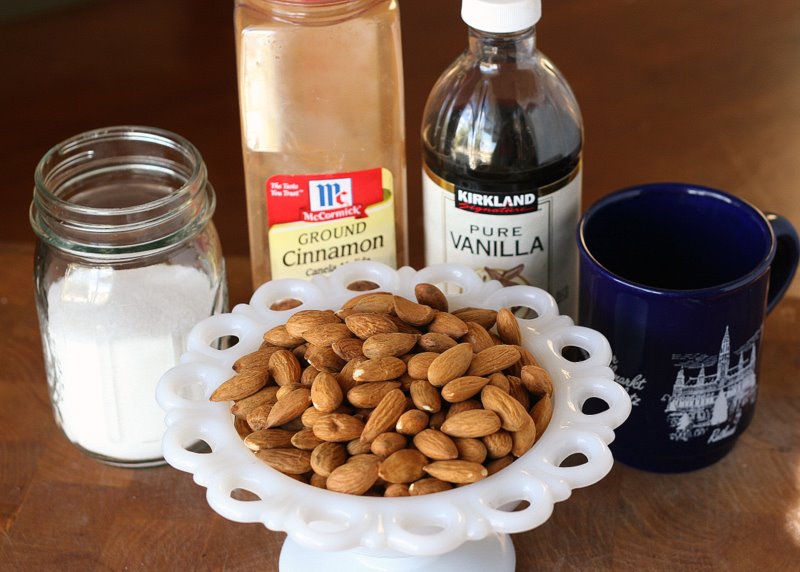
Five ingredients is all you need: raw almonds, sugar, cinnamon, vanilla, and water. For real.


Tasty Kitchen Blog: Burnt Sugar Almonds. Guest post by Natalie Perry of Perry's Plate, recipe submitted by TK member Birgit Kerr of Scrapalicious Bytes.

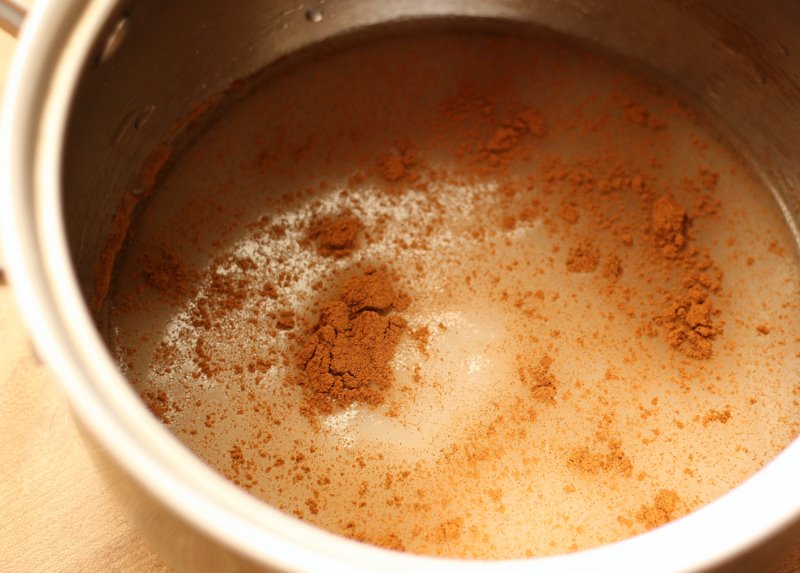
To start, grab a medium-sized pot (not non-stick) and a big wooden spoon. Add the water, cinnamon, and 1 cup of sugar. Bring to a boil over medium heat.


Tasty Kitchen Blog: Burnt Sugar Almonds. Guest post by Natalie Perry of Perry's Plate, recipe submitted by TK member Birgit Kerr of Scrapalicious Bytes.

Add the almonds, crank up the heat, then stir. And stir. And stir. And . . . stir. Don’t stop stirring. Especially to take pictures.


Tasty Kitchen Blog: Burnt Sugar Almonds. Guest post by Natalie Perry of Perry's Plate, recipe submitted by TK member Birgit Kerr of Scrapalicious Bytes.

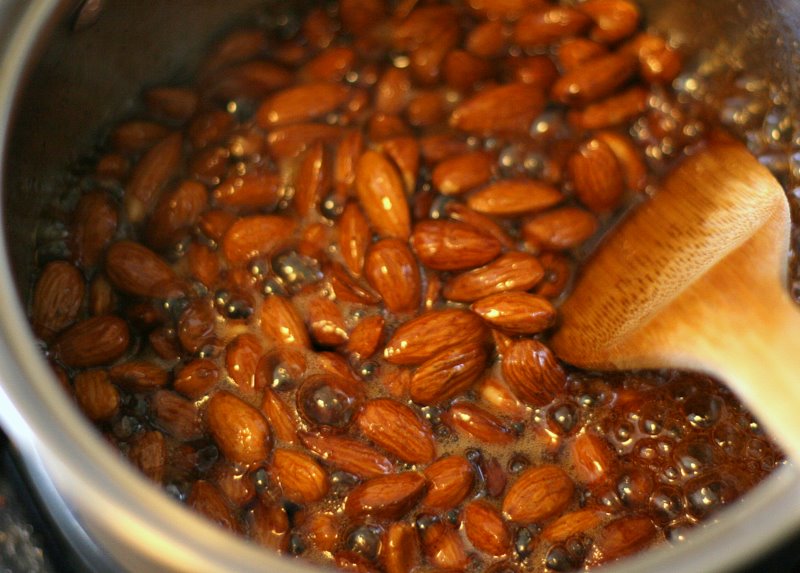
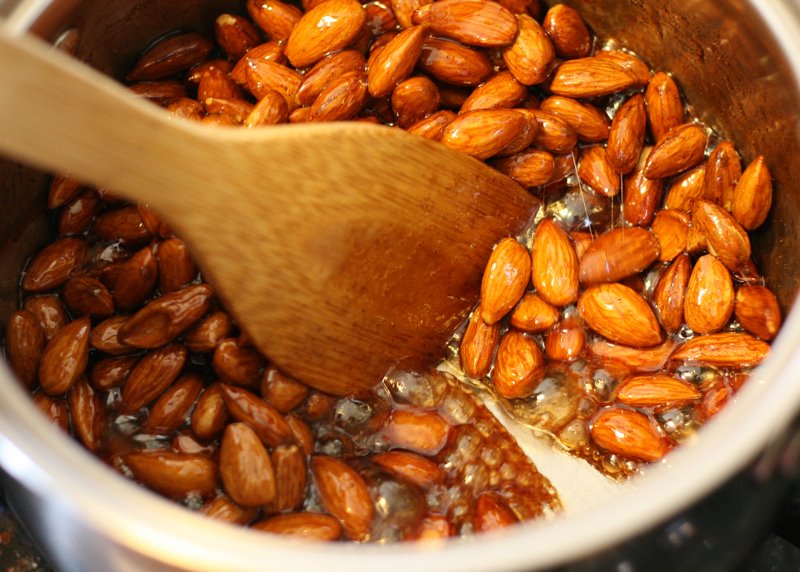
After about 5-7 minutes of constant stirring, the water will have begun to noticeably evaporate. It’ll start to look like the almonds are swimming in syrup, and when you drag your spoon across the bottom, you’ll be able to see the bottom of your pot. When it looks like this . . .


Tasty Kitchen Blog: Burnt Sugar Almonds. Guest post by Natalie Perry of Perry's Plate, recipe submitted by TK member Birgit Kerr of Scrapalicious Bytes.

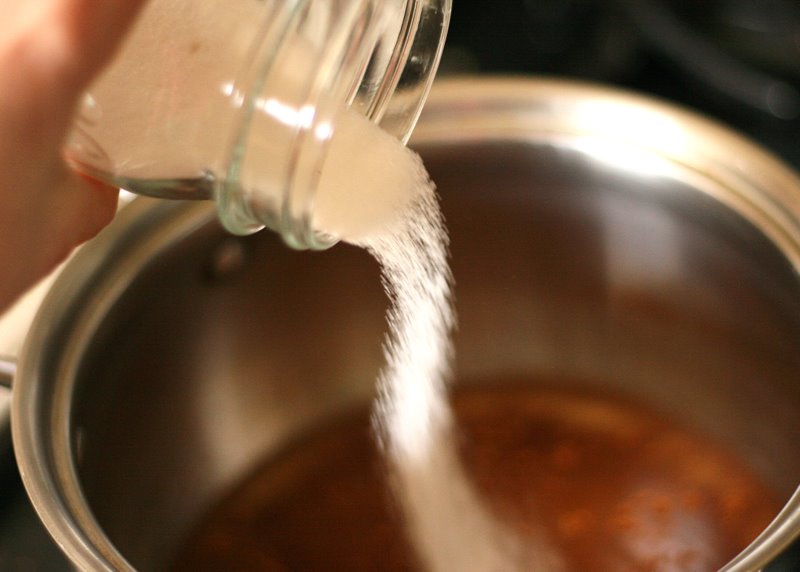
Lower the heat, then add the vanilla and the remaining sugar. Because, despite what you may think, there isn’t enough sugar.


Tasty Kitchen Blog: Burnt Sugar Almonds. Guest post by Natalie Perry of Perry's Plate, recipe submitted by TK member Birgit Kerr of Scrapalicious Bytes.

Stir it around to get it incorporated. Yep, keep stirring.


Tasty Kitchen Blog: Burnt Sugar Almonds. Guest post by Natalie Perry of Perry's Plate, recipe submitted by TK member Birgit Kerr of Scrapalicious Bytes.

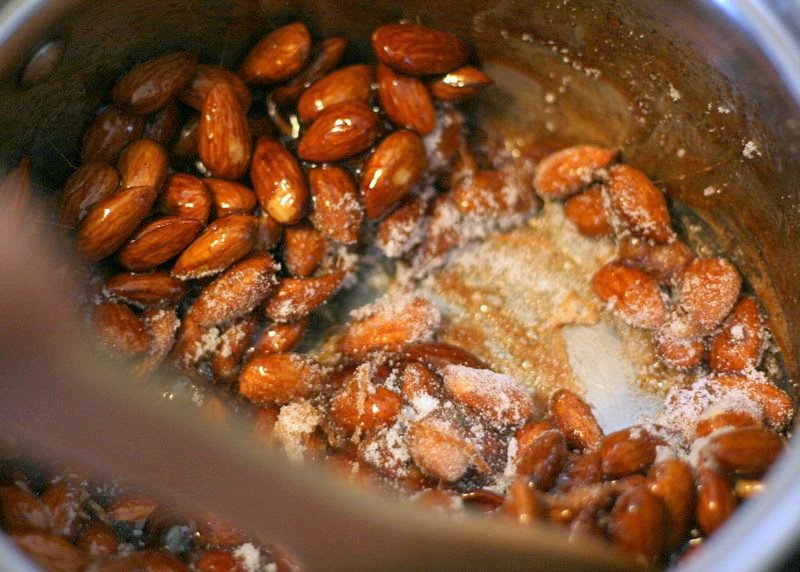
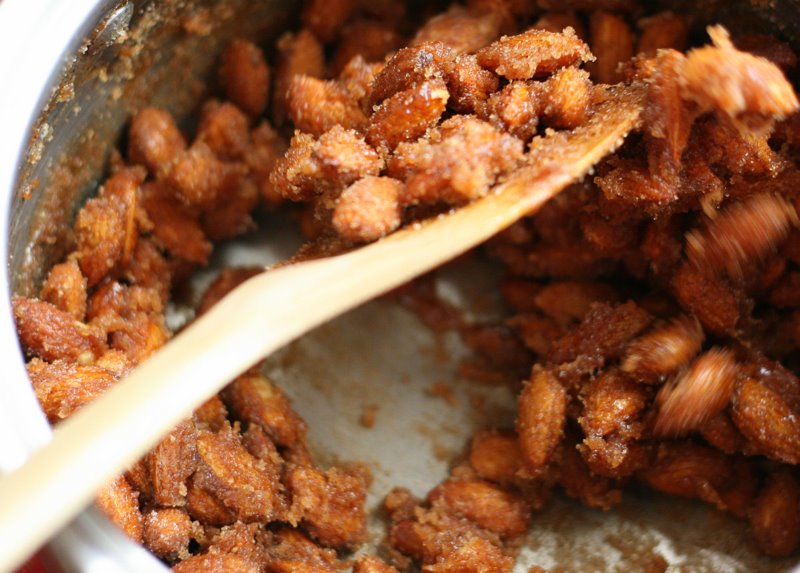
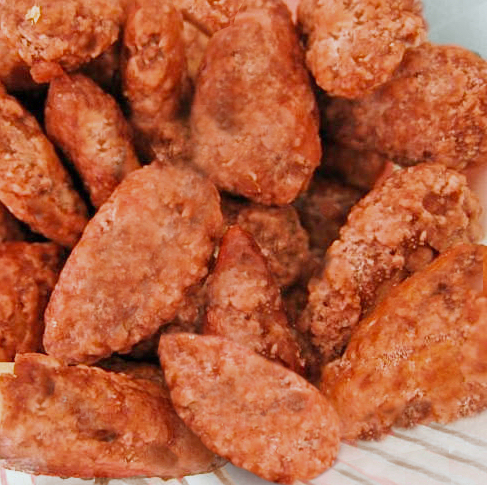
After a minute or so, the almonds will be coated in a sandy-looking sugar mixture and the pot will appear very dry.


Tasty Kitchen Blog: Burnt Sugar Almonds. Guest post by Natalie Perry of Perry's Plate, recipe submitted by TK member Birgit Kerr of Scrapalicious Bytes.

After three batches of these nuts, I can testify to you that now is the time to remove them from the pot. If you stir any longer, the sugar clumps will fall off the almonds and there may be some tears involved. We need that sugar.


Tasty Kitchen Blog: Burnt Sugar Almonds. Guest post by Natalie Perry of Perry's Plate, recipe submitted by TK member Birgit Kerr of Scrapalicious Bytes.

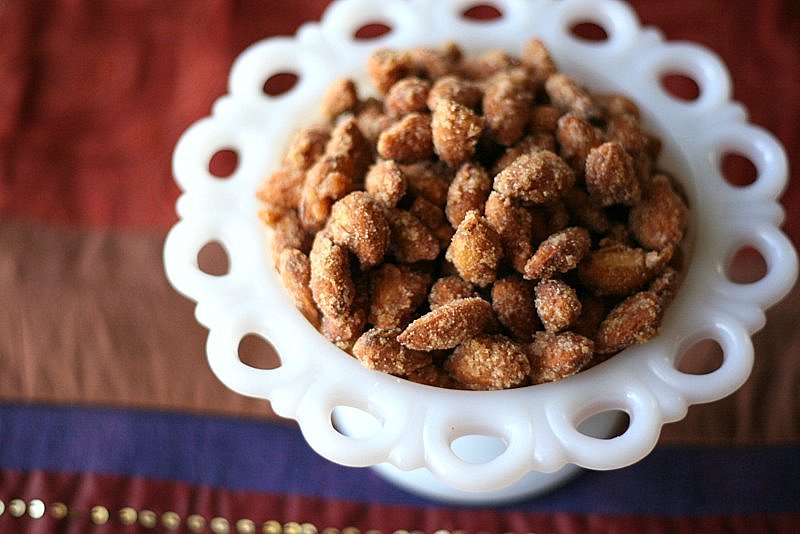
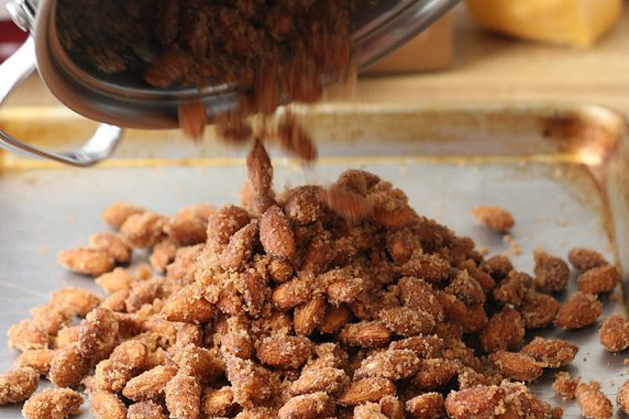
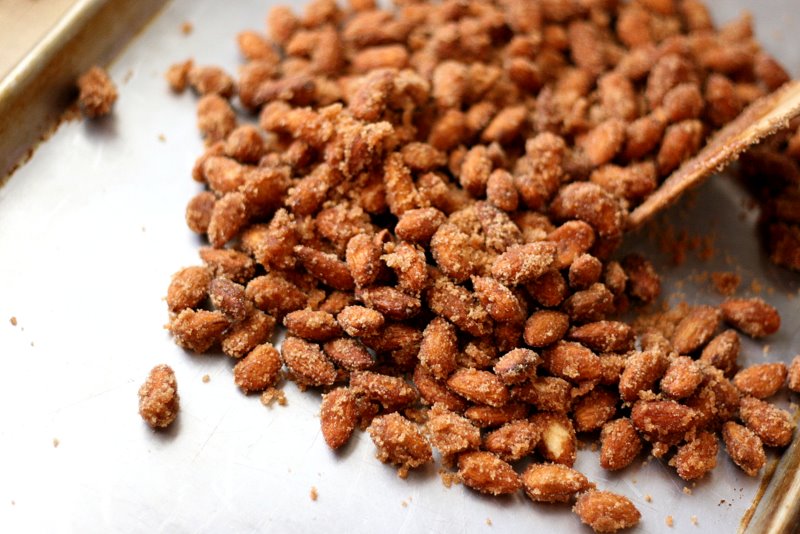
Spread the almonds out on a cookie sheet and let them cool. Chances are they’ll cool just long enough for you to pop one in your mouth and only wince slightly.


Tasty Kitchen Blog: Burnt Sugar Almonds. Guest post by Natalie Perry of Perry's Plate, recipe submitted by TK member Birgit Kerr of Scrapalicious Bytes.

They taste even better than they smell (especially while they’re still warm!), and you’ll soon be surrounded by snitching fingers and whining children and/or husbands.


Tasty Kitchen Blog: Burnt Sugar Almonds. Guest post by Natalie Perry of Perry's Plate, recipe submitted by TK member Birgit Kerr of Scrapalicious Bytes.

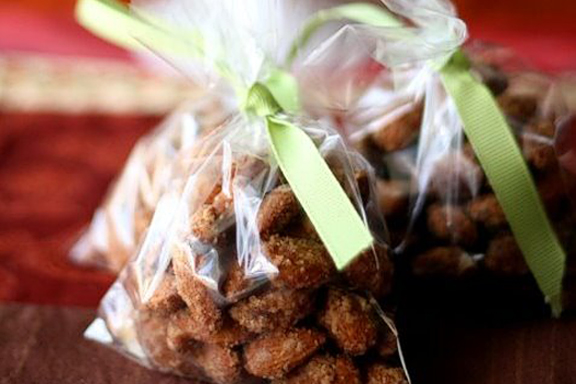
If you happen to have a few leftover (or if you were smart and made a triple batch), wrap some up and give them away. You’ll make some new friends. Maybe even a few best friends. Perhaps a stalker or two, but they may be peeking in your windows just to get a better whiff.

Many thanks to Birgit Kerr (who blogs at Scrapalicious Bytes) for a wonderful recipe!

Recipe notes: I used this recipe as a starting point and reduced the amount of sugar to 1 1/3 cups. I also added the remaining sugar into the almonds when the mixture looked syrupy instead of dry, and I only cooked it for another minute or two before I spread them out to cool.


Printable Recipe

Burnt Sugar Almonds (Gebrannte Mandeln)

4.97 Mitt(s) 42 Rating(s)42 votes, average: 4.97 out of 542 votes, average: 4.97 out of 542 votes, average: 4.97 out of 542 votes, average: 4.97 out of 542 votes, average: 4.97 out of 5

Prep Time:

Cook Time:

Difficulty: Intermediate

Servings: 4

4
x

Print Options

Page size Letter 3x5 4x6
Text Size Small Medium Large
Content Include description
Include prep time, etc.
Show image

Description

There are many things I associated with Advent/Christmas time growing up in Germany. But none more than the deliciously enticing smell of fresh “burnt” almonds walking through a Christkindlmarkt (German Christmas markets). They are actually quite easy to make at home, and presented in cute little cellophane or paper cone bags, they make lovely favors or hostess gifts around this time of year, too!

Ingredients

  • ⅓ cups Water, Plus 2 Tablespoons
  • 1-⅓ cup Sugar, Divided
  • 1 teaspoon Cinnamon, Ground
  • 2 cups Raw Almonds
  • 1 teaspoon Vanilla Extract

Preparation Instructions

Use a heavy saucepan (NOT the nonstick kind) and a wooden spoon.

First add the water, 1 cup of sugar and the cinnamon and stir. Bring it to a boil over medium heat. Add the almonds to the mix, raise the temperature to high heat and stir CONSTANTLY until the water is boiled away.

The sugar will dry out a little but start to stick to the almonds. Keep stirring them around, so that the almonds don’t burn on the bottom of the pan.

Turn the heat under the pan to medium-low, to keep the sugar from browning too fast. Keep stirring until the almonds start having an even shiny coat.

Don’t be distracted by the heavenly aroma that is enveloping your kitchen—you need your full concentration on the task!

Now dump in the rest of your sugar. Keep stirring, and add your vanilla. At this point, I like to mention that if you have vanilla sugar or a powdered type of vanilla flavoring, do feel free to use that over the liquid kind. It tends to work better. If you do, mix it with the 1/3 of a cup of sugar you are using for the second lot of sugar.

At this point, there might be quite some noise ensuing from your pan. Some crackling and popping, but hopefully no snapping. It depends on how fresh your almonds were. Really fresh almonds will make a popping noise and the coat may start to crack. That’s the water in the almonds escaping. If the almonds are older, there won’t be as much of that!

Keep stirring until the almonds are fairly shiny, but still a bit lumpy. You don’t want them completely smooth. The best ones are the ones that are shiny in some areas with some delicious lumps of cinnamon sugar on other parts of the almond.

As soon as you see that happening, take them off the heat and transfer the almonds to a sheet of parchment paper. Spread them apart as much as you can, but don’t worry about some of them sticking together initially. BE CAREFUL, however. These are extremely hot, so only use a spoon. These babies can really burn you!

While they are cooling down, keep on breaking them apart with your spoon(s) until they are all separated. Fair warning: these are totally divine when they are still ever-so-slightly warm. There, you’ve been warned!

Once they are cooled, hide (ahem, I meant store) them in a dry, closed container. Theoretically, they keep for several weeks. I’ve never had an opportunity to test that theory.


_______________________________________

Be sure to check out Natalie’s own beautiful food blog, Perrys’ Plate, where you can see her growing collection of lovely recipes. There’s always something new to see there. Go visit now!


Profile photo of fujimama

Itadakimasu! Okinawan Takoraisu (Taco Rice)

Posted by in Step-by-Step Recipes

Welcome to Fujimama, longtime Tasty Kitchen member and new contributor to the TK Blog. So happy to see you here! (And I’ve never wanted taco rice as much as I do right now. And it’s 6:53 am.) Take it away, Fujimama! –PW

 
Tasty Kitchen Blog: Tasty Kitchen Blog: Okinawan Takoraisu (Taco Rice). Guest post and recipe from Rachael of La Fuji Mama.

 
When you hear the words “Taco Rice” I suspect that Japan is not the first country that pops into your mind. But Taco Rice, or Takoraisu as it’s called in Japan, is a popular Okinawan dish invented in the 1960s by a Japanese chef who took the idea of tacos, so popular among the American military stationed on Okinawa, and combined it with rice, a staple item in the Okinawan diet. The dish has since become, ironically enough, one of the most well-known Okinawan dishes. Its popularity has also spread into other parts of Japan.

 
Tasty Kitchen Blog: Okinawan Takoraisu (Taco Rice). Guest post and recipe from Rachael of La Fuji Mama.

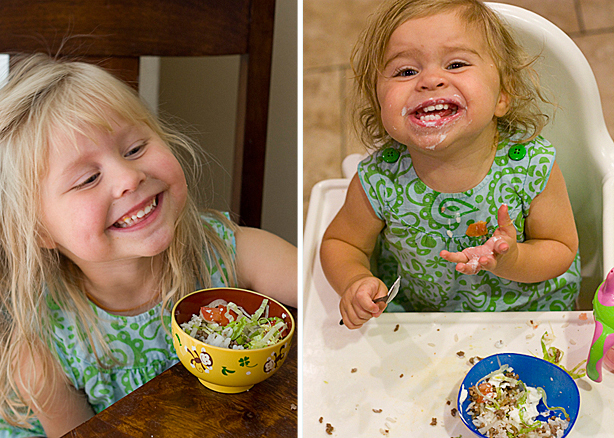
When I lived in Tokyo there were many cafes that offered it on their lunch menus. One of the last meals I ate before moving back to the US was takoraisu. I was pregnant with my second child and takoraisu totally hit the spot. I’m not surprised, as takoraisu is total comfort food. Not only do you not have to worry about handling any awkward taco shells or worry about them going soggy, but takoraisu is traditionally eaten with a spoon, so all you have to do is shovel it in.

Even better? Takoraisu is so easy to make.


Tasty Kitchen Blog: Okinawan Takoraisu (Taco Rice). Guest post and recipe from Rachael of La Fuji Mama.

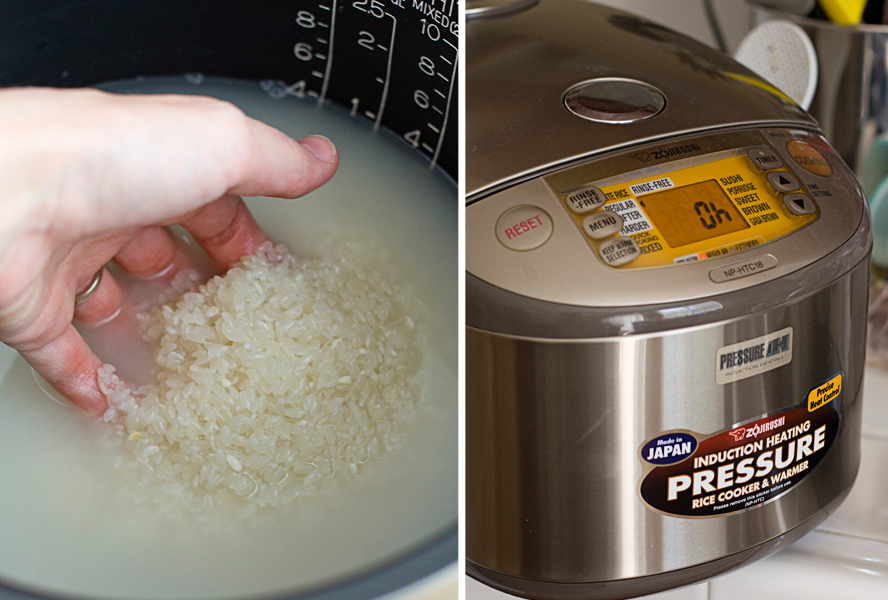
You start by steaming some Japanese white rice (a short grain rice, often labeled as “sushi rice” here in the US). If you want your rice to be less sticky, you will need to rinse it before cooking it. This removes the powdery starch that builds up around the grains during transport. To rinse rice, put the rice in a bowl, fill it with cold water, and swish the rice gently around with your fingers. Pour the water out (keeping the rice in the pan with your hand), and repeat the process until the water is clear.

I make things even easier by cooking my rice in a rice cooker. (I’m lazy, what can I say?)


Tasty Kitchen Blog: Okinawan Takoraisu (Taco Rice). Guest post and recipe from Rachael of La Fuji Mama.

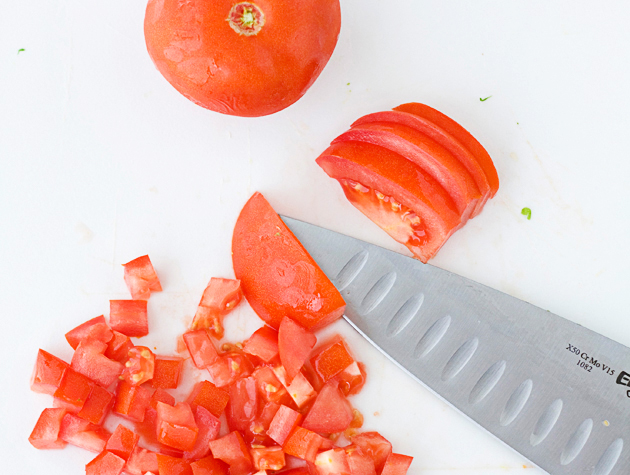
Once you’ve got your rice cooking, chop some tomatoes …


Tasty Kitchen Blog: Okinawan Takoraisu (Taco Rice). Guest post and recipe from Rachael of La Fuji Mama.

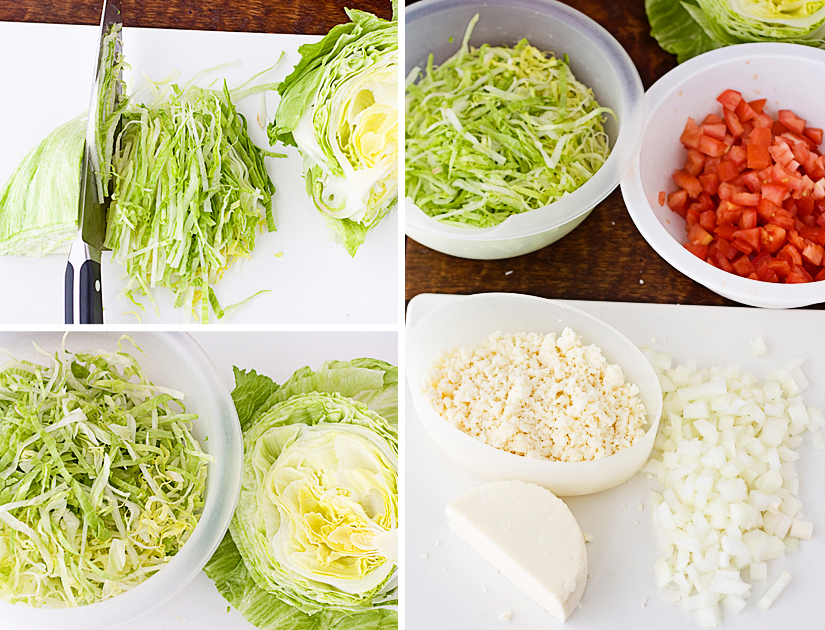
And shred some lettuce.

Then prepare your cheese. In Japan, recipes for takoraisu usually call for “pizza cheese,” a mild white cheese similar to mozzarella. You can use shredded mozzarella, but I like using crumbled queso blanco, a delicious and affordable Mexican cheese.


Tasty Kitchen Blog: Okinawan Takoraisu (Taco Rice). Guest post and recipe from Rachael of La Fuji Mama.

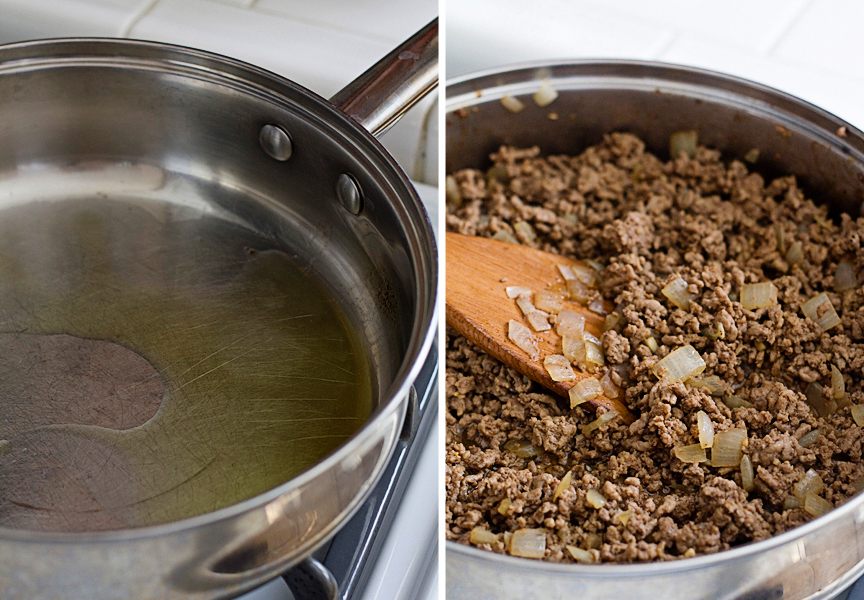
Then you make some seasoned beef by first heating some oil in a saute pan. Sauté onions, garlic, ground beef, and seasonings until everything is cooked through and fragrant.


Tasty Kitchen Blog: Okinawan Takoraisu (Taco Rice). Guest post and recipe from Rachael of La Fuji Mama.

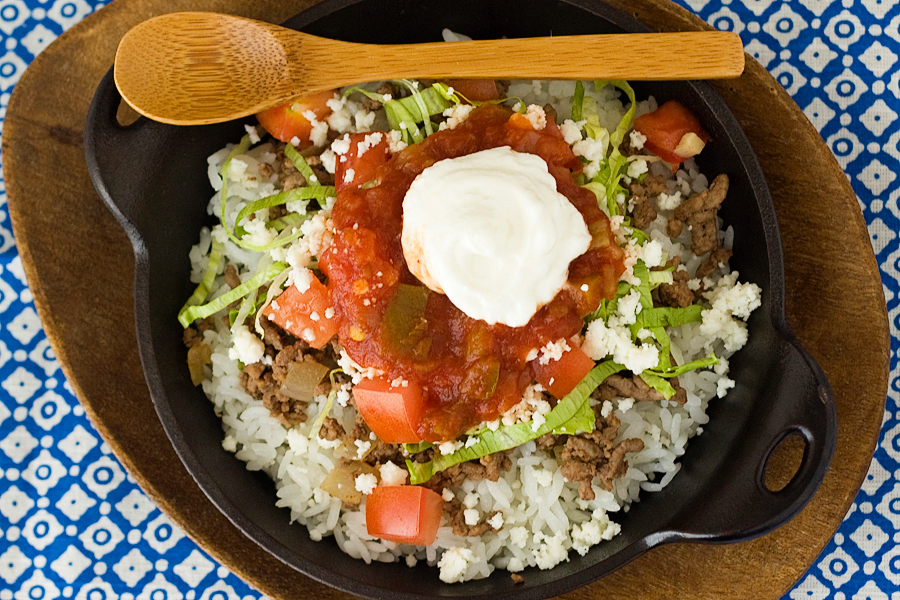
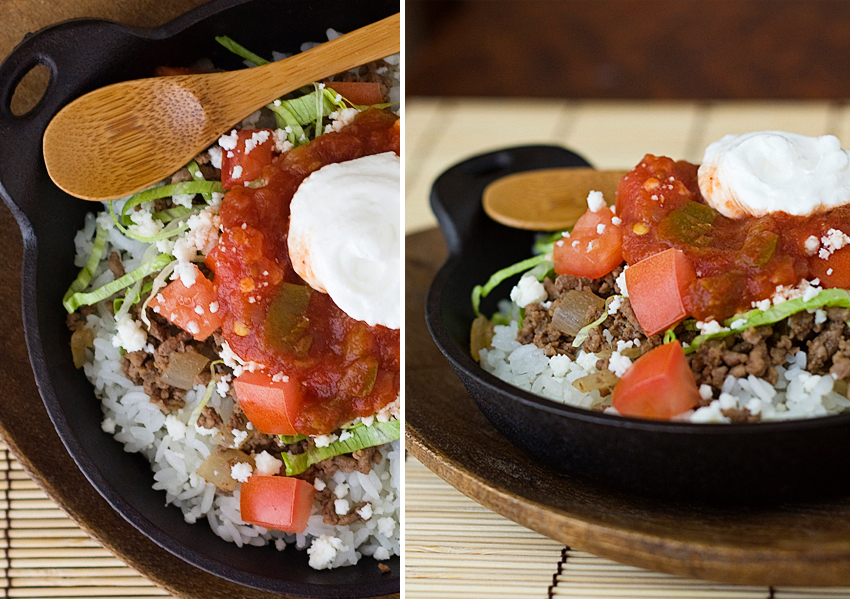
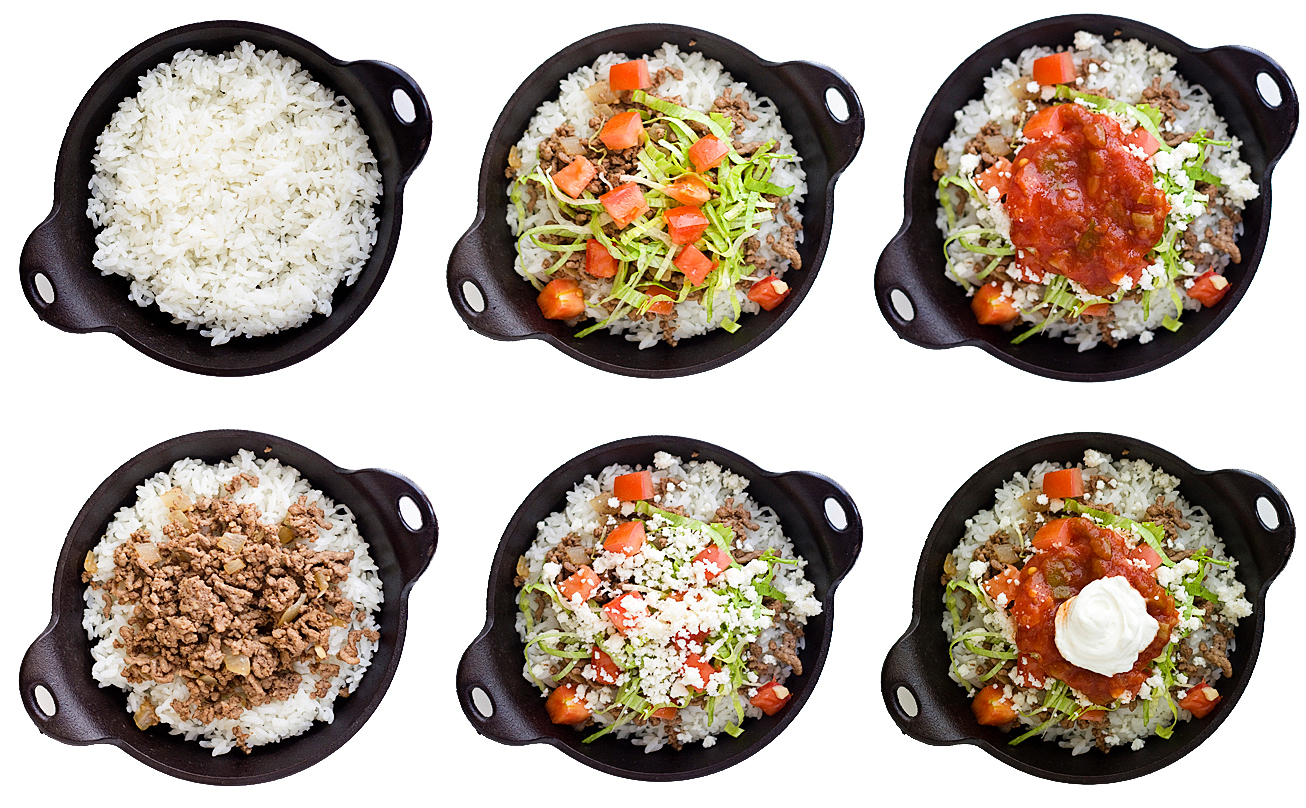
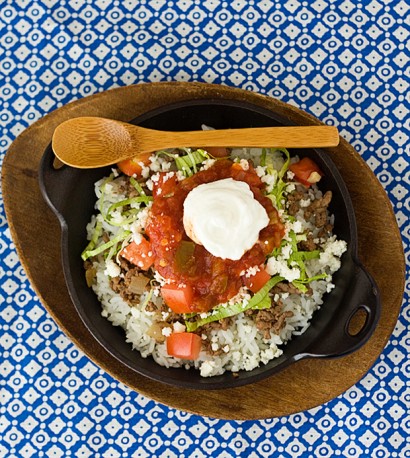
All that’s left to do is build your takoraisu! Start with a bed of hot steamed rice, and layer the seasoned beef, shredded lettuce, chopped tomatoes, cheese, some salsa, and a dollop of sour cream on top.


Tasty Kitchen Blog: Okinawan Takoraisu (Taco Rice). Guest post and recipe from Rachael of La Fuji Mama.

Now comes the best part: EATING!


Tasty Kitchen Blog: Okinawan Takoraisu (Taco Rice). Guest post and recipe from Rachael of La Fuji Mama.

Itadakimasu!


Printable Recipe

Okinawan Takoraisu (aka “Taco Rice”)

4.94 Mitt(s) 32 Rating(s)32 votes, average: 4.94 out of 532 votes, average: 4.94 out of 532 votes, average: 4.94 out of 532 votes, average: 4.94 out of 532 votes, average: 4.94 out of 5

Prep Time:

Cook Time:

Difficulty: Easy

Servings: 5

5
x

Print Options

Page size Letter 3x5 4x6
Text Size Small Medium Large
Content Include description
Include prep time, etc.
Show image

Description

Taco Rice, or “Takoraisu” as it’s called in Japan, is a popular Okinawan dish invented in the 1960s by a Japanese chef who took the idea of tacos, so popular among the American military stationed on Okinawa, and combined it with rice, a staple item in the Okinawan diet. The dish has since become, ironically enough, one of the most well-known Okinawan dishes.

Ingredients

  • 1 Tablespoon Vegetable Oil
  • 3 cloves Garlic, Minced
  • 1 cup Onion, Chopped
  • 1 pound Ground Beef
  • 3 Tablespoons Soy Sauce
  • 1 Tablespoon Chili Powder
  • 1 teaspoon Ground Cumin
  • 1 teaspoon Table Salt
  • 1 teaspoon Freshly Ground Black Pepper
  • 4 cups Steamed Japanese Rice (sometimes Labeled "sushi Rice")
  • 2 cups Lettuce, Shredded
  • 2 cups Tomatoes, Chopped
  • 12 ounces, weight Queso Blanco, Crumbled OR 2 Cups Shredded Mozzarella Cheese
  • 1 cup Salsa
  • 4 Tablespoons Sour Cream

Preparation Instructions

1. Heat the vegetable oil in a saute pan over medium heat. Add the garlic and onion and saute until the onions are barely soft. Add the ground beef and break it into small chunks. Once the meat is cooked, add the soy sauce, chili powder, cumin, salt, and pepper. Let this simmer until the liquid reduces.

2. Spread 1/2 to 1 cup of the steamed rice on each plate. Top with the seasoned beef.

3. Then top with the shredded lettuce, tomatoes, queso blanco (or mozzarella), and salsa, and finish it off with a dollop of sour cream.


_______________________________________

Visit Rachael’s blog, La Fuji Mama, where she shares more than just her vast knowledge of Japanese cuisine. She has great travel photos, product reviews, and all sorts of food ninja-ness. You’ll also enjoy seeing more photos of her adorable girls, Squirrel and Bug. (And no, those aren’t their real names.)


Profile photo of Erica Lea

A Family Recipe: Yankee Cornbread

Posted by in Baking, Step-by-Step Recipes

Tasty Kitchen Blog: Yankee Cornbread. Guest post and recipe from Erica Kastner of Cooking for Seven.

 
Ever since I can remember, I have eaten my cornbread like a Yank: generously spread with butter and drizzled with maple syrup. You southerners may disagree, but that’s the way I like it. Slightly sweet, barely savory.

This is the recipe that our family loves and uses again and again.


Tasty Kitchen Blog: Yankee Cornbread. Guest post and recipe from Erica Kastner of Cooking for Seven.

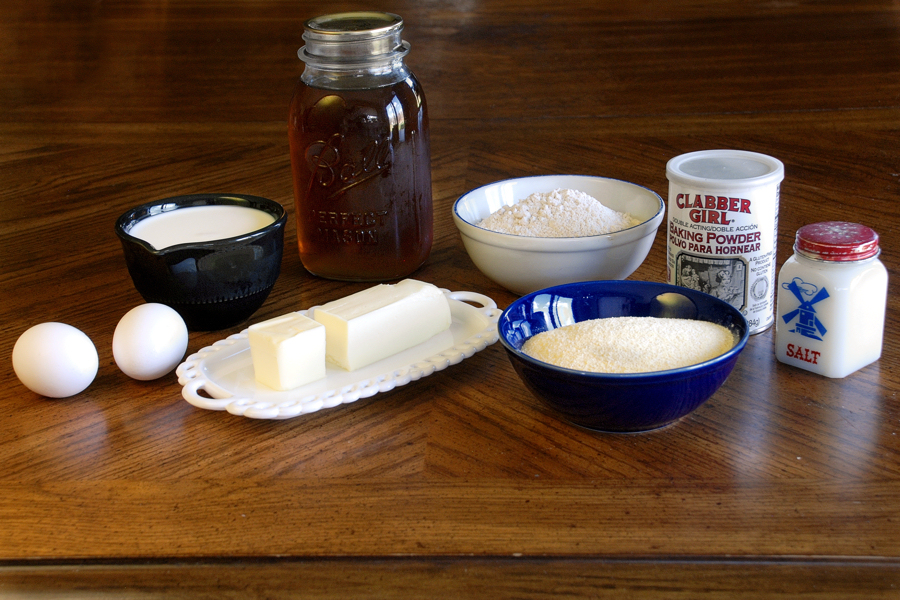
You only need eight ingredients: whole wheat flour, cornmeal (stone ground or yellow), baking powder, salt, milk, butter, eggs, and maple syrup.


Tasty Kitchen Blog: Yankee Cornbread. Guest post and recipe from Erica Kastner of Cooking for Seven.

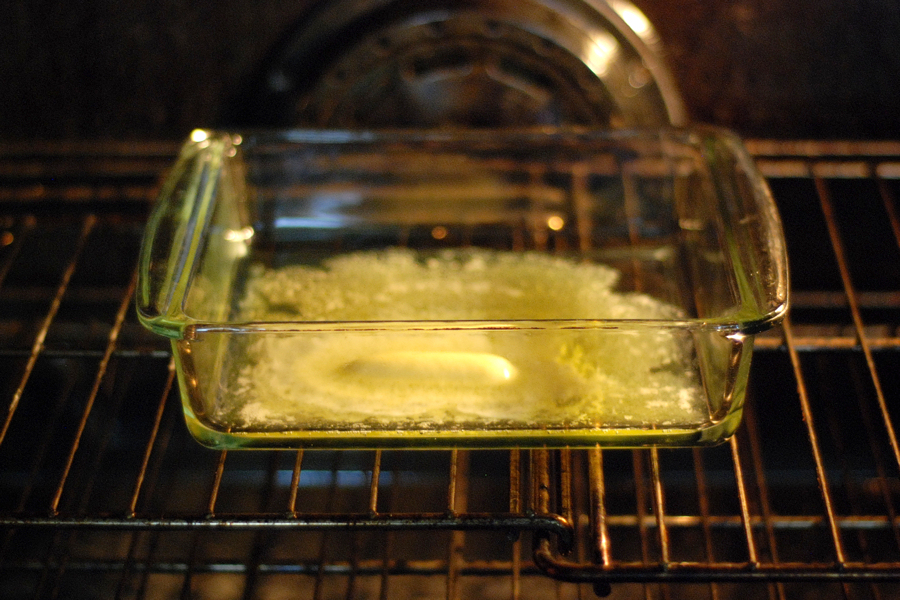
Start by preheating your oven to 425° F. Put the butter in a square baking dish and place in the oven until the butter has melted.


Tasty Kitchen Blog: Yankee Cornbread. Guest post and recipe from Erica Kastner of Cooking for Seven.

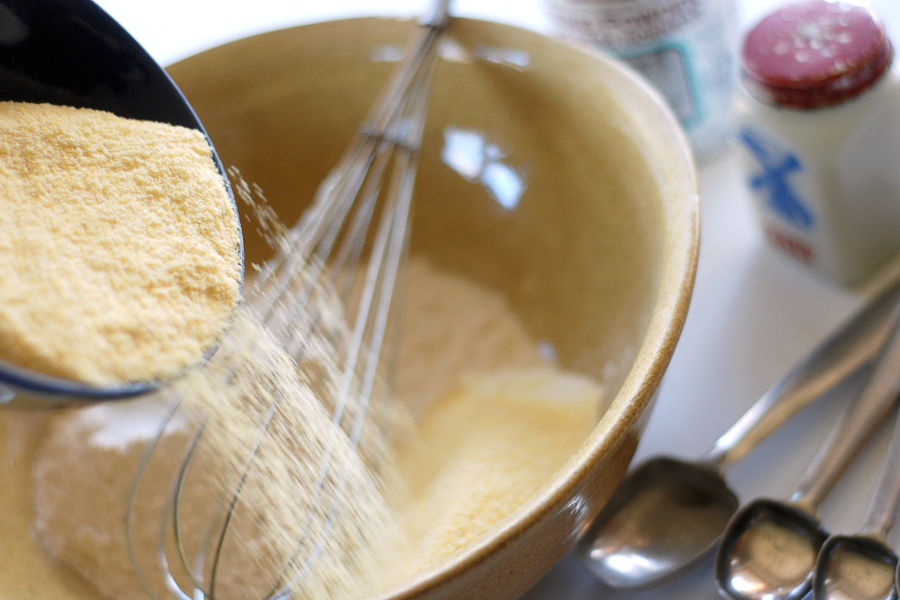
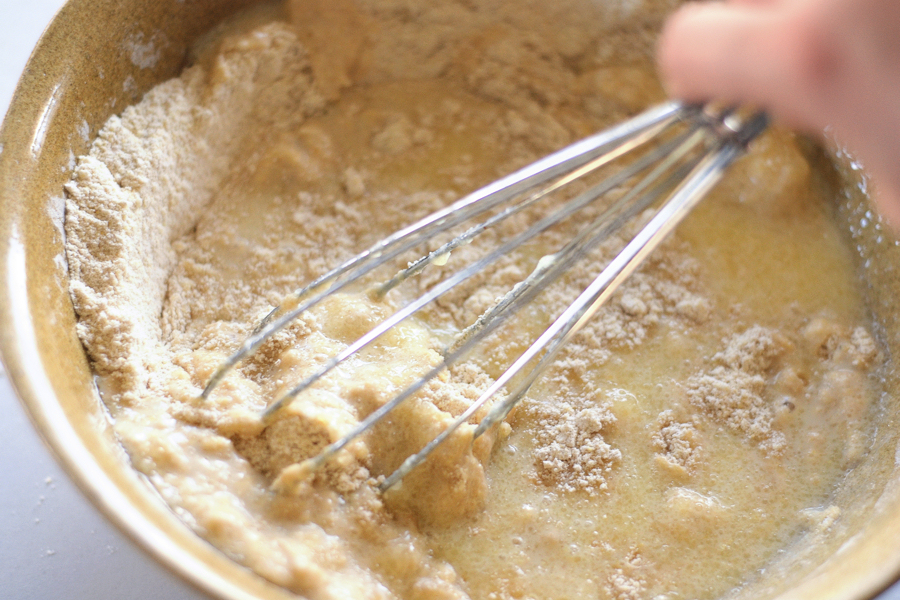
In a large bowl, whisk together the whole wheat flour, cornmeal, baking powder, and salt.


Tasty Kitchen Blog: Yankee Cornbread. Guest post and recipe from Erica Kastner of Cooking for Seven.

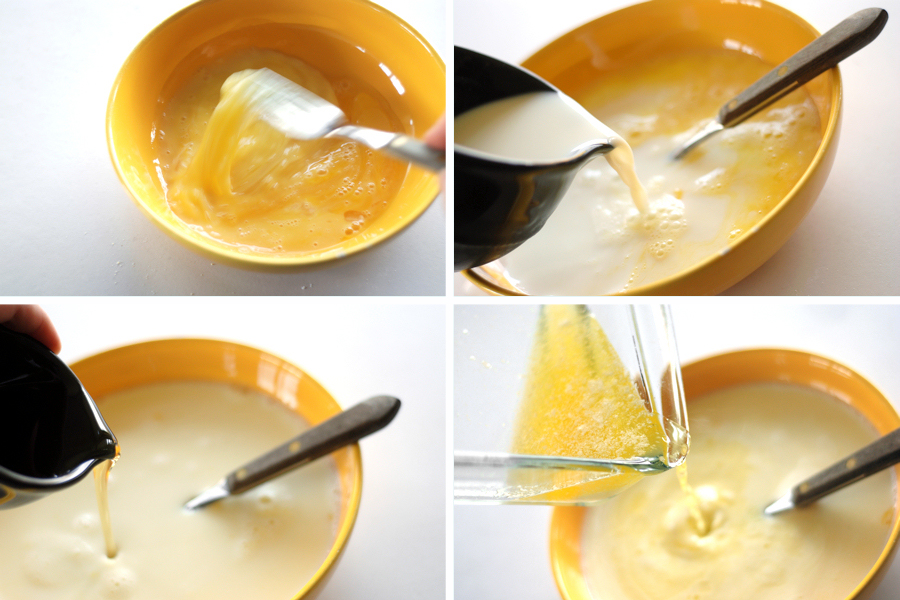
In a medium bowl, lightly beat the eggs. Add the milk and maple syrup. Pour all but a few tablespoons of the melted butter into the bowl. You want to leave some in the pan to grease it.


Tasty Kitchen Blog: Yankee Cornbread. Guest post and recipe from Erica Kastner of Cooking for Seven.

Add the wet ingredients to the dry ingredients and whisk just until moistened.


Tasty Kitchen Blog: Yankee Cornbread. Guest post and recipe from Erica Kastner of Cooking for Seven.

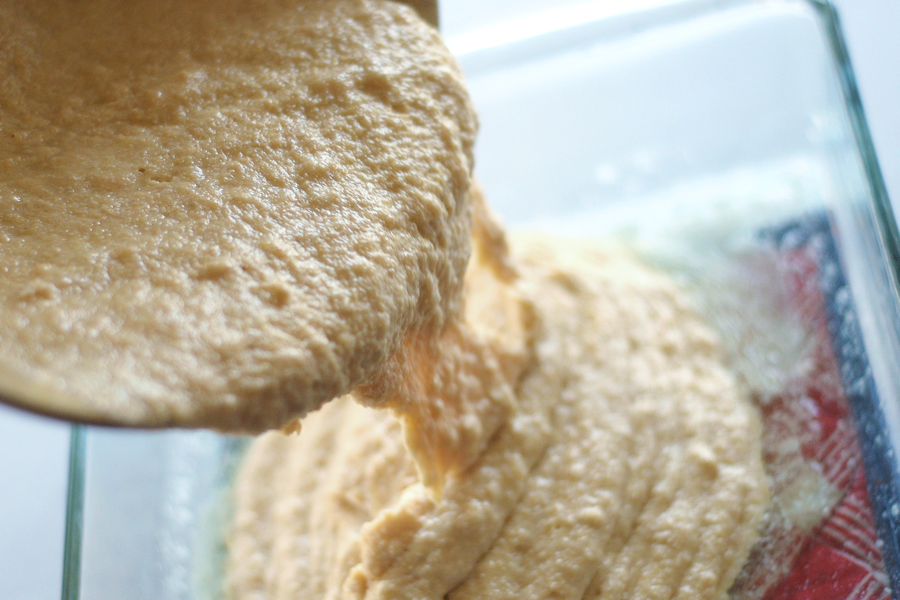
Pour into the prepared pan.


Tasty Kitchen Blog: Yankee Cornbread. Guest post and recipe from Erica Kastner of Cooking for Seven.

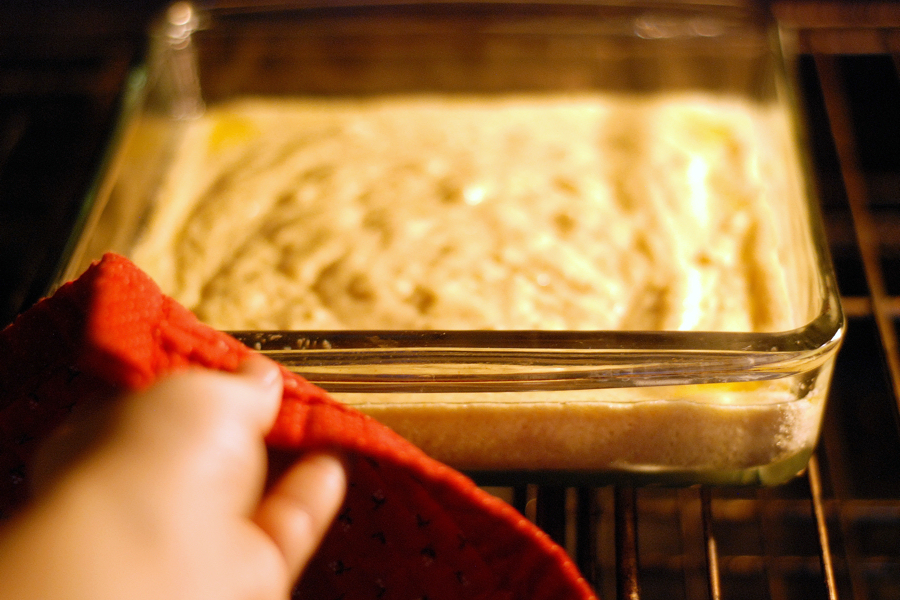
Bake in the preheated oven for 20-25 minutes or until golden brown and a toothpick inserted in the center comes out clean.


Tasty Kitchen Blog: Yankee Cornbread. Guest post and recipe from Erica Kastner of Cooking for Seven.

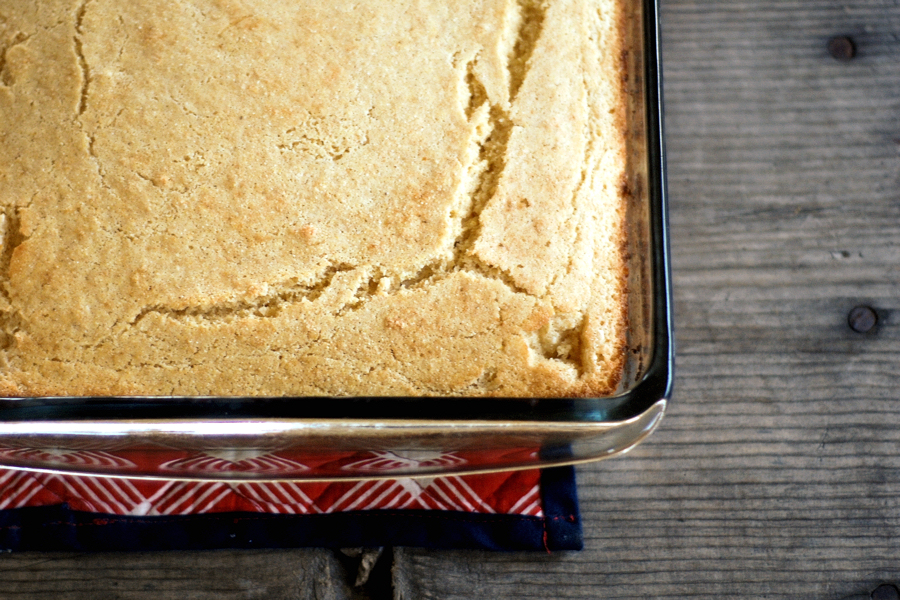
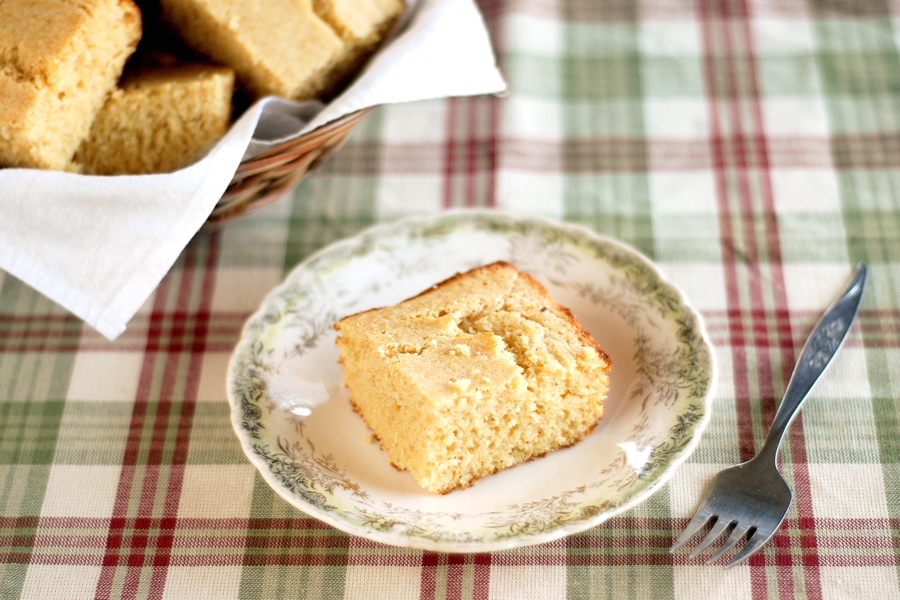
Look at that crunchy golden goodness.


Tasty Kitchen Blog: Yankee Cornbread. Guest post and recipe from Erica Kastner of Cooking for Seven.

At this point you could do whatever you want with this cornbread: crumble into chili, spread with jam, drizzle with honey, etc. Here’s the way we like our cornbread:


Tasty Kitchen Blog: Yankee Cornbread. Guest post and recipe from Erica Kastner of Cooking for Seven.

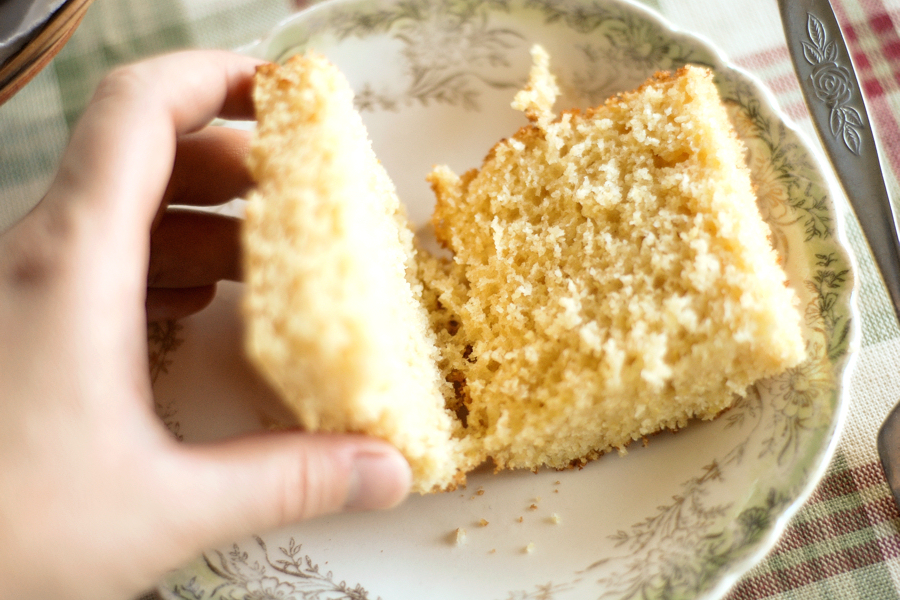
Slice a square in half horizontally.


Tasty Kitchen Blog: Yankee Cornbread. Guest post and recipe from Erica Kastner of Cooking for Seven.

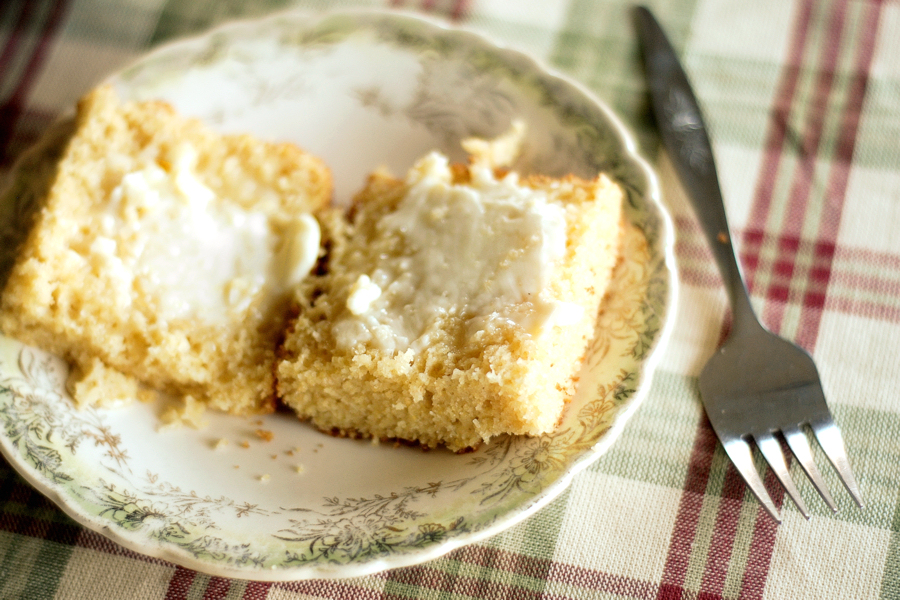
Spread (read: slather) with butter. Wait for it to melt a little.


Tasty Kitchen Blog: Yankee Cornbread. Guest post and recipe from Erica Kastner of Cooking for Seven.

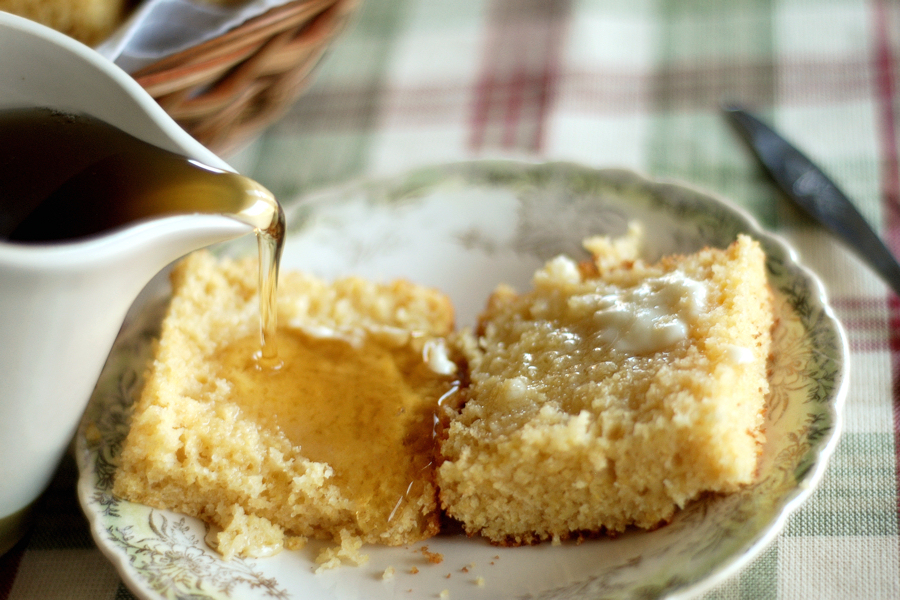
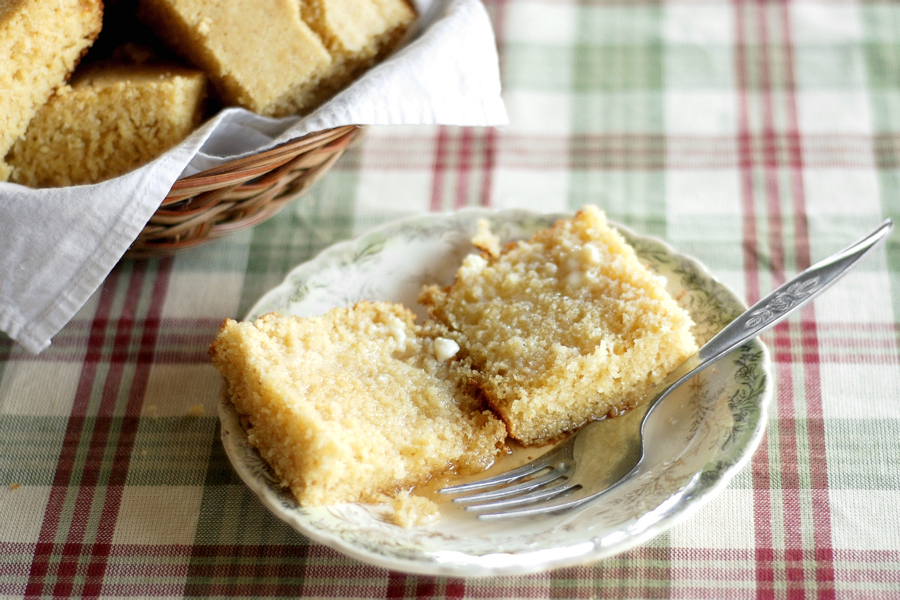
Now for my favorite part: pour maple syrup over all.


Tasty Kitchen Blog: Yankee Cornbread. Guest post and recipe from Erica Kastner of Cooking for Seven.

The cornbread will soak up the syrup and become saturated with buttery sweet goodness. And that’s how a Yankee eats cornbread. As my southern mom would say: larrupin’.


Printable Recipe

Maple Cornbread

See post on Erica Lea’s site!
4.40 Mitt(s) 5 Rating(s)5 votes, average: 4.40 out of 55 votes, average: 4.40 out of 55 votes, average: 4.40 out of 55 votes, average: 4.40 out of 55 votes, average: 4.40 out of 5

Prep Time:

Cook Time:

Difficulty: Easy

Servings: 9

9
x

Print Options

Page size Letter 3x5 4x6
Text Size Small Medium Large
Content Include description
Include prep time, etc.
Show image

Description

Sweet Yankee cornbread made with the goodness of whole wheat and pure maple syrup.

Ingredients

  • 1 cup Whole Wheat Pastry Flour
  • 1 cup Stone Ground Or Yellow Cornmeal
  • 1 Tablespoon Baking Powder
  • ½ teaspoons Salt
  • 1 cup Whole Milk
  • ¼ cups Maple Syrup
  • 6 Tablespoons Butter, Melted
  • 2 whole Eggs, Lightly Beaten

Preparation Instructions

1. Preheat the oven to 425° F. Pour 2 tablespoons of the melted butter into an 8 or 9-inch square or round baking pan.

2. In a medium mixing bowl, whisk the flour, cornmeal, baking powder, and salt. In a small bowl, whisk the milk, maple syrup, remaining butter, and eggs. Add the liquid ingredients to the dry ingredients and gently stir together just until moistened.

3. Pour the batter into the prepared pan and bake for 20-25 minutes, or until golden brown and a toothpick inserted in the middle comes out clean. Serve warm with butter and maple syrup.

Makes 9 servings.


_______________________________________

Erica Berge shares her wonderful recipes and amazing food photography on her blog, Cooking for Seven. She also writes about crafts and posts more of her beautiful photography in her personal blog, EricaLea.com. There really isn’t much that this amazing young lady can’t do, and we’re thrilled she does some of it here.


Profile photo of twopeasandtheirpod

Oreo Cheesecake Cookies

Posted by in Baking, Step-by-Step Recipes

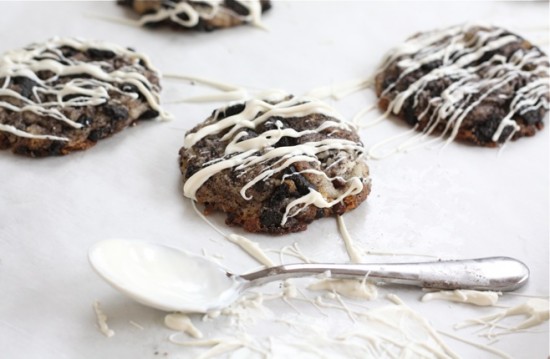
I first met Maria at Two Peas and Their Pod in Salt Lake City about a year ago, and she’s as lovely in person as she is on her blog. Since then, she’s been a prolific contributor on Tasty Kitchen and I’m so excited to have her join the ranks as a contributor here on […]

Profile photo of ThreeManyCooks

Thai Honey Peanut Chicken

Posted by in Step-by-Step Recipes

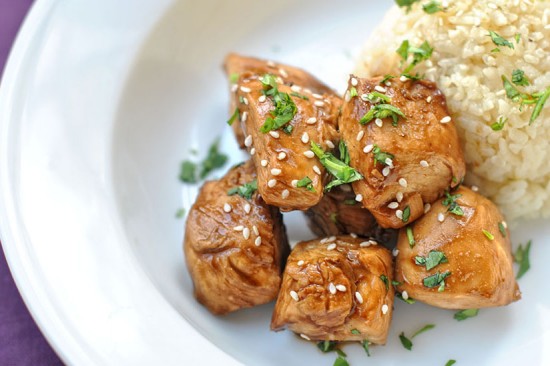
  Getting dinner on the table can be a royal struggle. Sometimes it’s exhaustion and an empty fridge, other times it’s a lack of inspiration or time. In any event, one hand starts gravitating towards the phone and the other starts reaching for the take-out menu drawer. Then come the pangs of guilt. It’s expensive. […]