The Pioneer Woman Tasty Kitchen
Profile photo of HowSweetEats

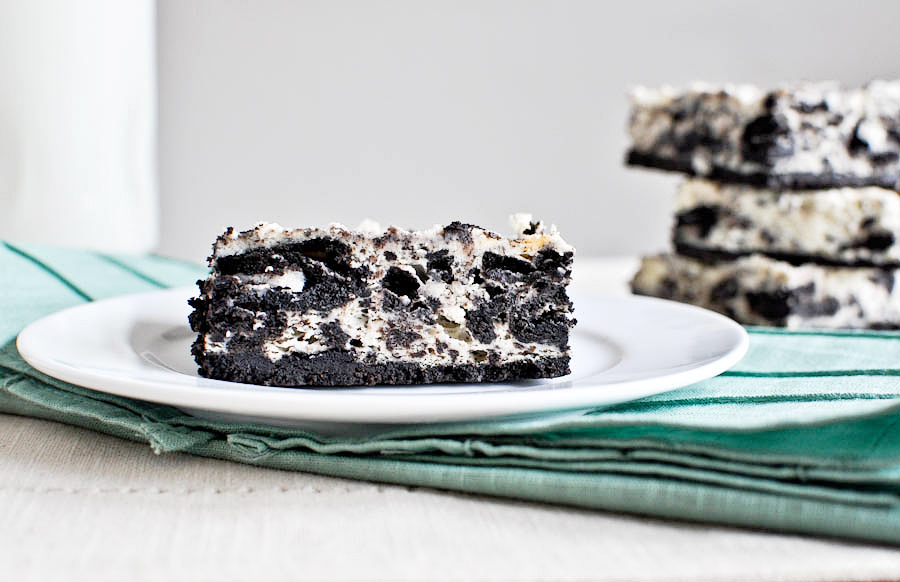
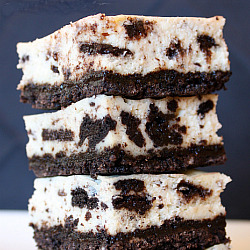
Cookies and Cream Cheesecake Bars

Posted by in Baking, Step-by-Step Recipes

Tasty Kitchen Blog: Cookies and Cream Cheesecake Bars. Guest post by Jessica Merchant of How Sweet It Is, recipe submitted by TK member Lori Lange of Recipe Girl.

 
If you asked me what my all-time favorite dessert is, the answer would most likely be cheesecake. Cheesecake is not only creamy and delightful but it can also take on almost any flavor, making the options limitless. I love every bite of the delectable treat, from chocolate ganache-topped fluffy sour cream, to the dense, cold cake in the middle, all the way down to the slightly sweet, slightly salty, always buttery crust. If we’re being honest, it doesn’t get much better than cheesecake.

When I spied these Cookies and Cream Cheesecake Bars from Lori of Recipe Girl , my heart skipped a beat. Actually, it nearly fluttered out of my chest. Cheesecake in bar form … portable slices I could eat with my hands … sweet, chocolate crust … sold. Before I knew it, I was dragging out my stand mixer, finding the bag or Oreos that I knew I saved for a reason, and cutting my cream cheese into cubes so it could quickly come to room temperature. If you haven’t noticed, patience isn’t one of my strong points. It took everything in my being to not devour the entire pan of these incredible cheesecake slices. Check them out below.


Tasty Kitchen Blog: Cookies and Cream Cheesecake Bars. Guest post by Jessica Merchant of How Sweet It Is, recipe submitted by TK member Lori Lange of Recipe Girl.

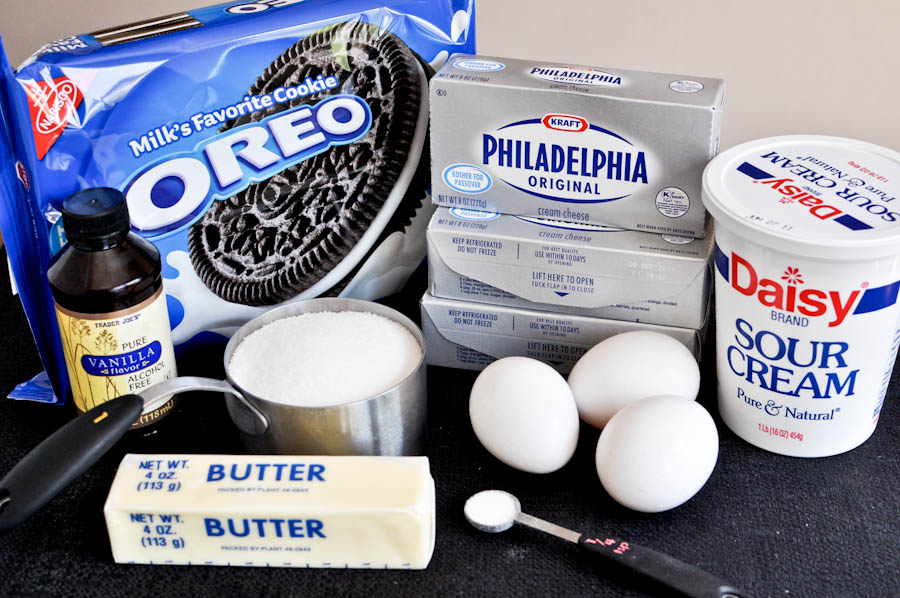
You only need a few ingredients to create these mouth watering bars: one package of Oreos, three packages of room temperature cream cheese, sour cream at room temperature, butter, room temperature eggs, sugar, salt and vanilla extract. Simple and tasty. Let’s get started!


Tasty Kitchen Blog: Cookies and Cream Cheesecake Bars. Guest post by Jessica Merchant of How Sweet It Is, recipe submitted by TK member Lori Lange of Recipe Girl.

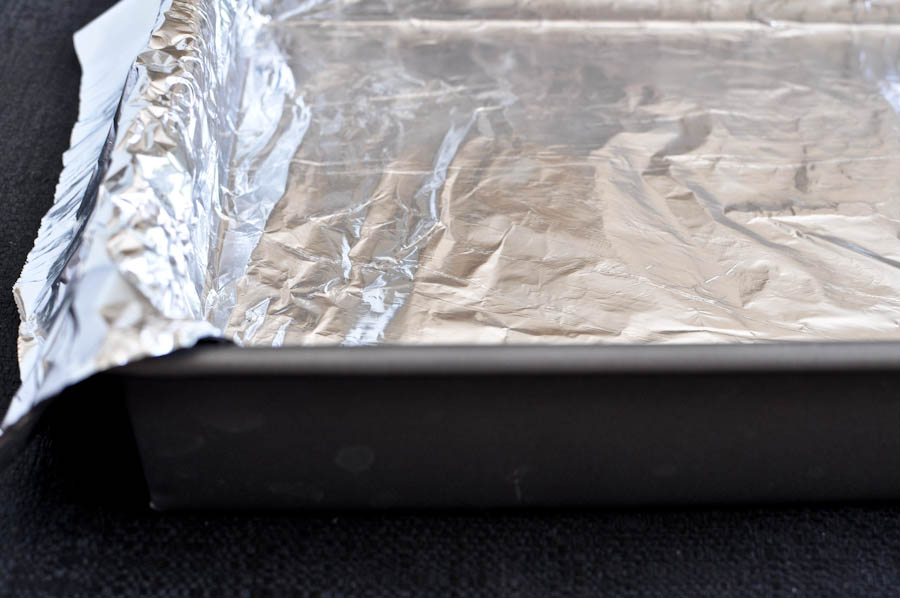
Preheat your oven to 325 degrees F. Line a 9 x 13 pan with aluminum foil and spray with non-stick spray.


Tasty Kitchen Blog: Cookies and Cream Cheesecake Bars. Guest post by Jessica Merchant of How Sweet It Is, recipe submitted by TK member Lori Lange of Recipe Girl.

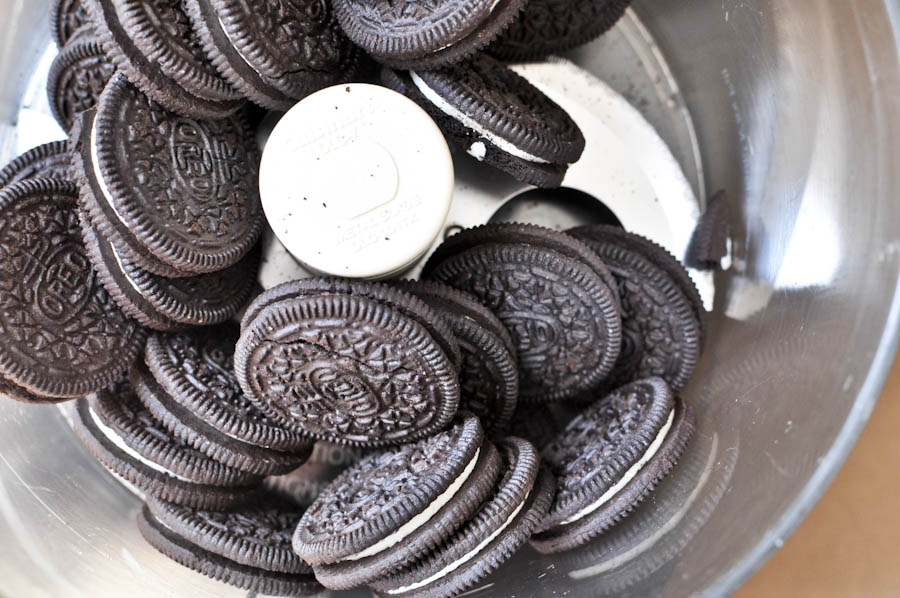
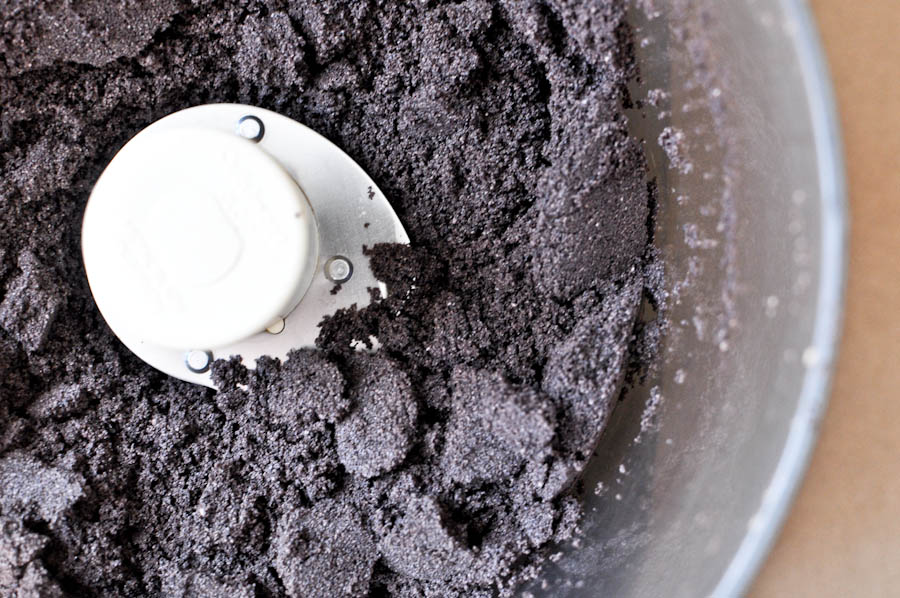
Begin with the crust. Add exactly 28 Oreos to your food processor. This is two sleeves of Oreos.


Tasty Kitchen Blog: Cookies and Cream Cheesecake Bars. Guest post by Jessica Merchant of How Sweet It Is, recipe submitted by TK member Lori Lange of Recipe Girl.

Process until the cookies become fine crumbs.


Tasty Kitchen Blog: Cookies and Cream Cheesecake Bars. Guest post by Jessica Merchant of How Sweet It Is, recipe submitted by TK member Lori Lange of Recipe Girl.

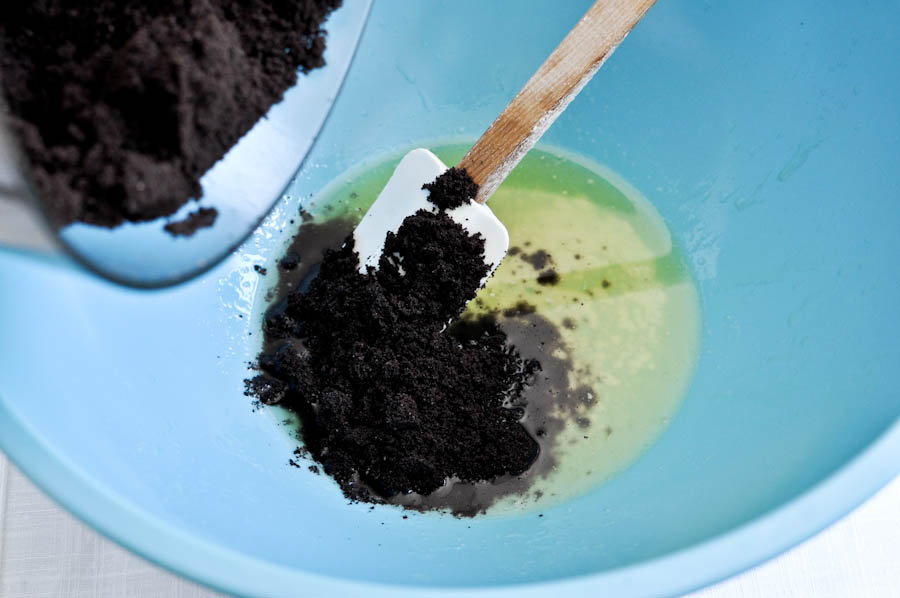
Melt four tablespoons of butter and add it to a large bowl. Pour in Oreo crumbs and using a flexible spatula, mix until moistened and combined.


Tasty Kitchen Blog: Cookies and Cream Cheesecake Bars. Guest post by Jessica Merchant of How Sweet It Is, recipe submitted by TK member Lori Lange of Recipe Girl.

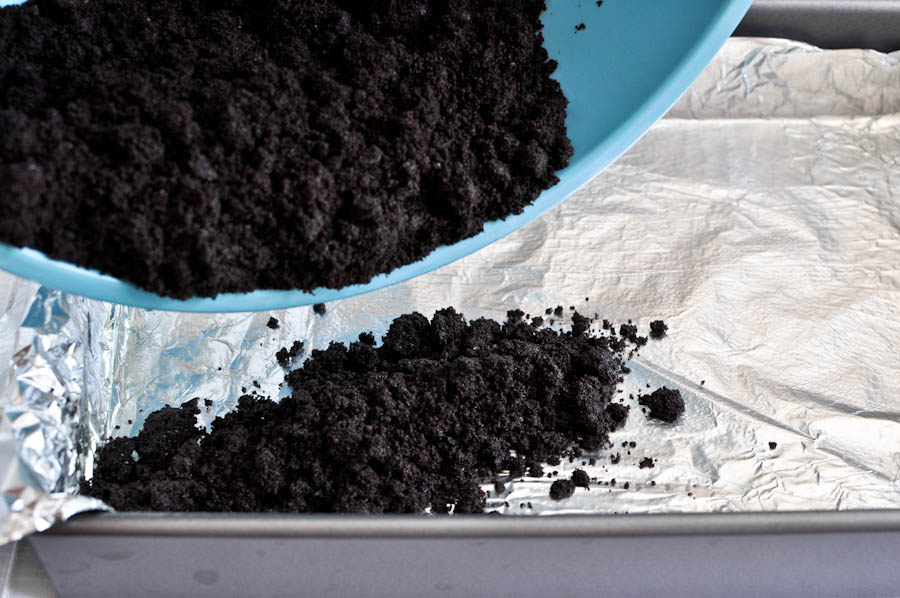
Pour the crumbs into the foil-lined pan.


Tasty Kitchen Blog: Cookies and Cream Cheesecake Bars. Guest post by Jessica Merchant of How Sweet It Is, recipe submitted by TK member Lori Lange of Recipe Girl.

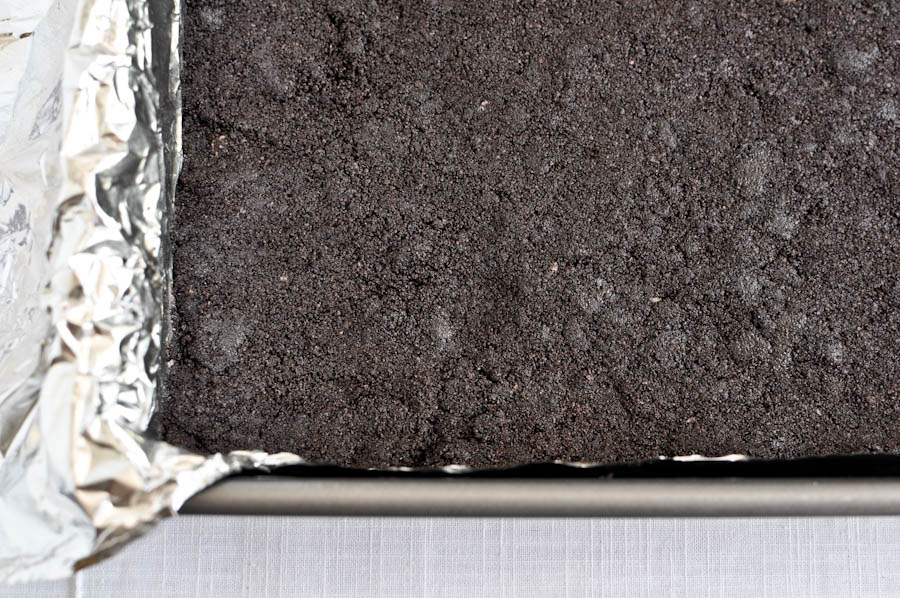
Distribute the crumbs evenly and press down with your fingers to flatten the crust. Place the pan in the oven and bake the crust for 10 minutes. After 10 minutes, remove the pan and let it cool. Leave the oven on because the cheesecake is going right back in.


Tasty Kitchen Blog: Cookies and Cream Cheesecake Bars. Guest post by Jessica Merchant of How Sweet It Is, recipe submitted by TK member Lori Lange of Recipe Girl.

While the crust is baking, start on your filling. First, break the remaining Oreos in half and add to the food processor. Pulse a few times just to break them apart; you still want some big cookie chunks. I pulsed my processor about five or six times.


Tasty Kitchen Blog: Cookies and Cream Cheesecake Bars. Guest post by Jessica Merchant of How Sweet It Is, recipe submitted by TK member Lori Lange of Recipe Girl.

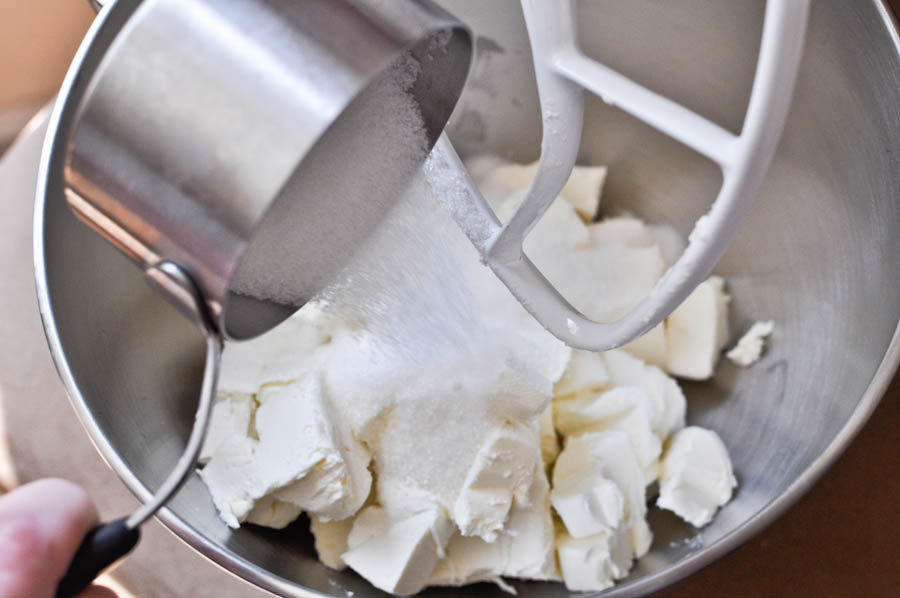
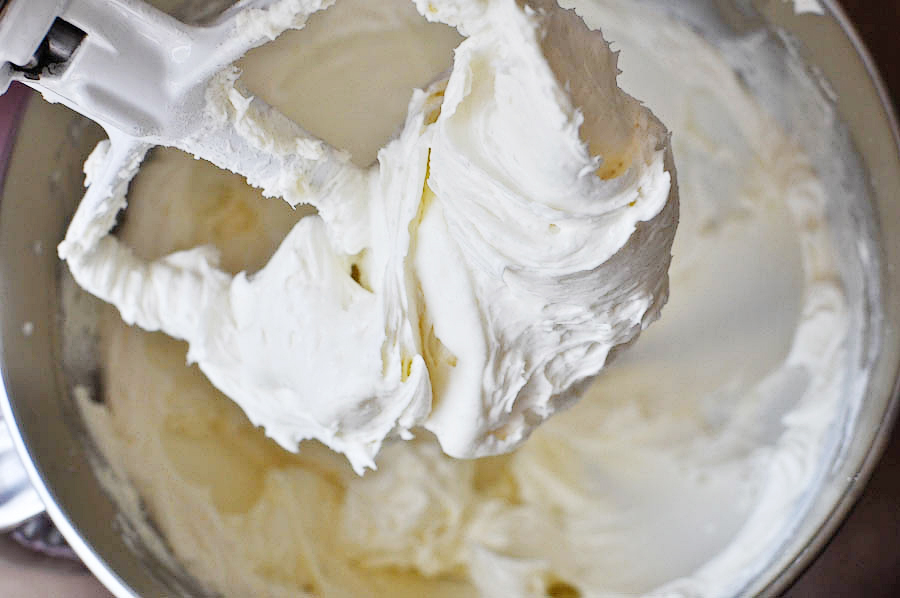
In the bowl of your electric mixer, add your softened cream cheese and sugar. Beat until the mixture is smooth and fluffy, about two minutes. Make sure to scrape down the sides and beat until it is uniformly thick.


Tasty Kitchen Blog: Cookies and Cream Cheesecake Bars. Guest post by Jessica Merchant of How Sweet It Is, recipe submitted by TK member Lori Lange of Recipe Girl.

It should look like this. Great. Now I’m hungry!


Tasty Kitchen Blog: Cookies and Cream Cheesecake Bars. Guest post by Jessica Merchant of How Sweet It Is, recipe submitted by TK member Lori Lange of Recipe Girl.

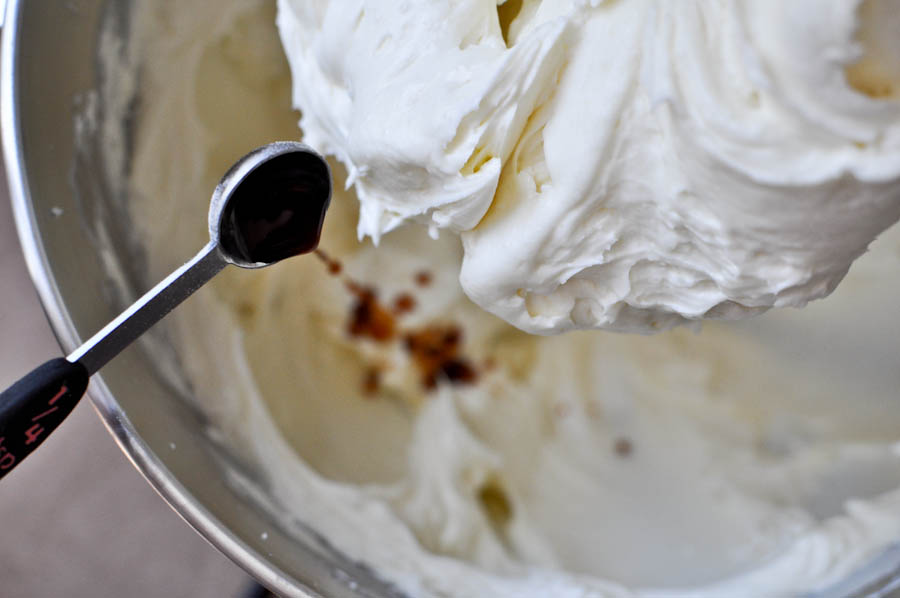
Beat in your sour cream, salt and vanilla extract, again making sure to scrape down the sides of the bowl.


Tasty Kitchen Blog: Cookies and Cream Cheesecake Bars. Guest post by Jessica Merchant of How Sweet It Is, recipe submitted by TK member Lori Lange of Recipe Girl.

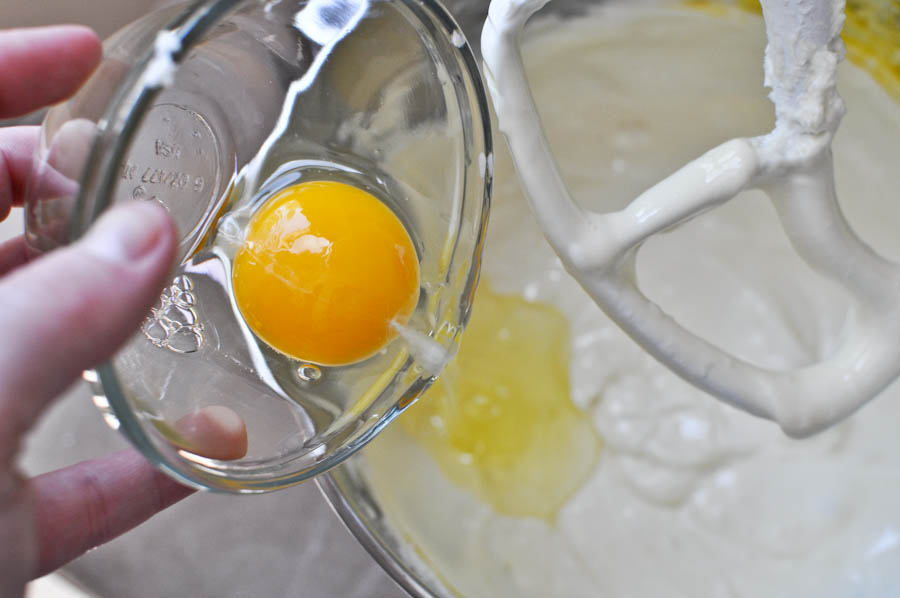
Add your eggs one at a time, beating after each addition. Make sure the eggs are completely mixed in and scrape down the sides of the bowl one last time to make sure everything is combined.


Tasty Kitchen Blog: Cookies and Cream Cheesecake Bars. Guest post by Jessica Merchant of How Sweet It Is, recipe submitted by TK member Lori Lange of Recipe Girl.

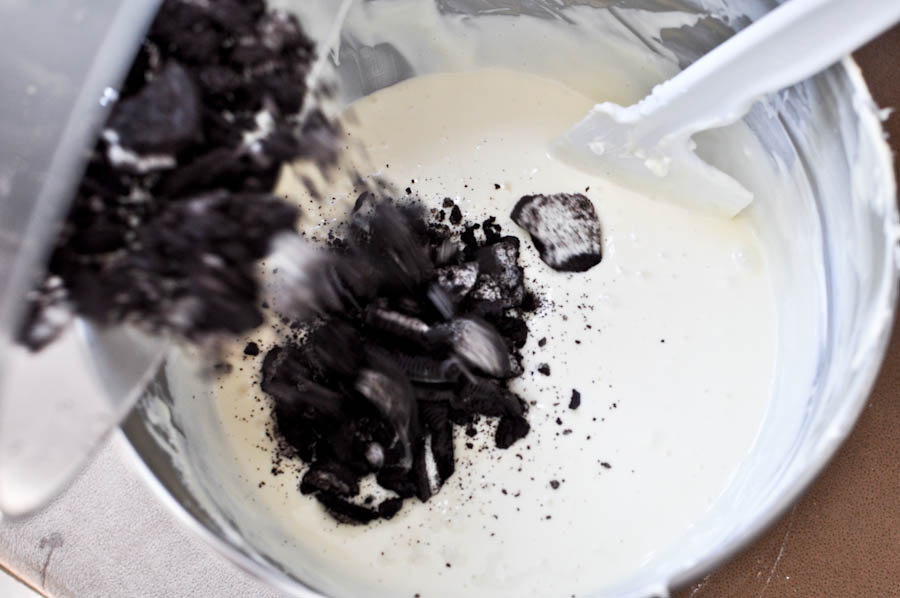
Add your chopped Oreos into the filling.


Tasty Kitchen Blog: Cookies and Cream Cheesecake Bars. Guest post by Jessica Merchant of How Sweet It Is, recipe submitted by TK member Lori Lange of Recipe Girl.

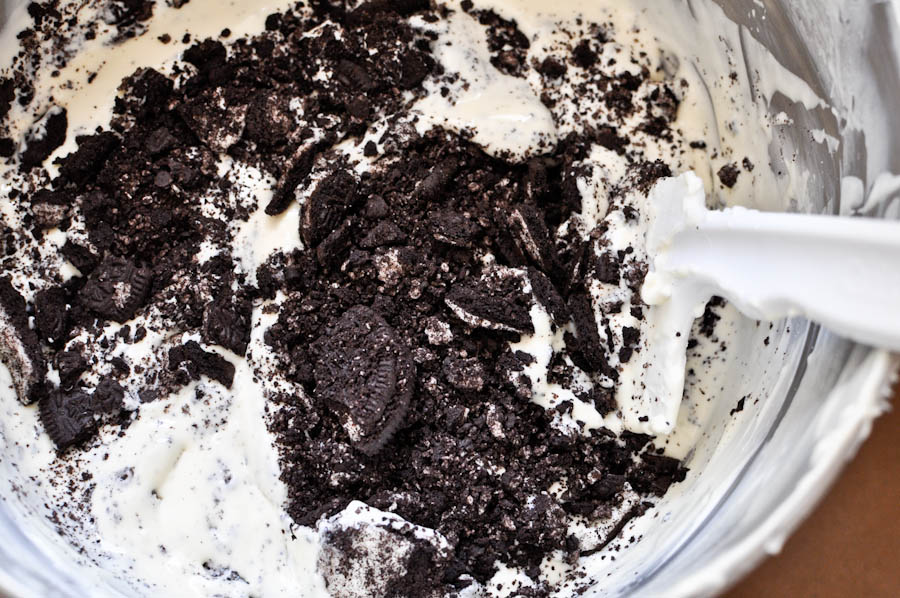
Fold the Oreos in with your spatula and try not to drool. I was unsuccessful.


Tasty Kitchen Blog: Cookies and Cream Cheesecake Bars. Guest post by Jessica Merchant of How Sweet It Is, recipe submitted by TK member Lori Lange of Recipe Girl.

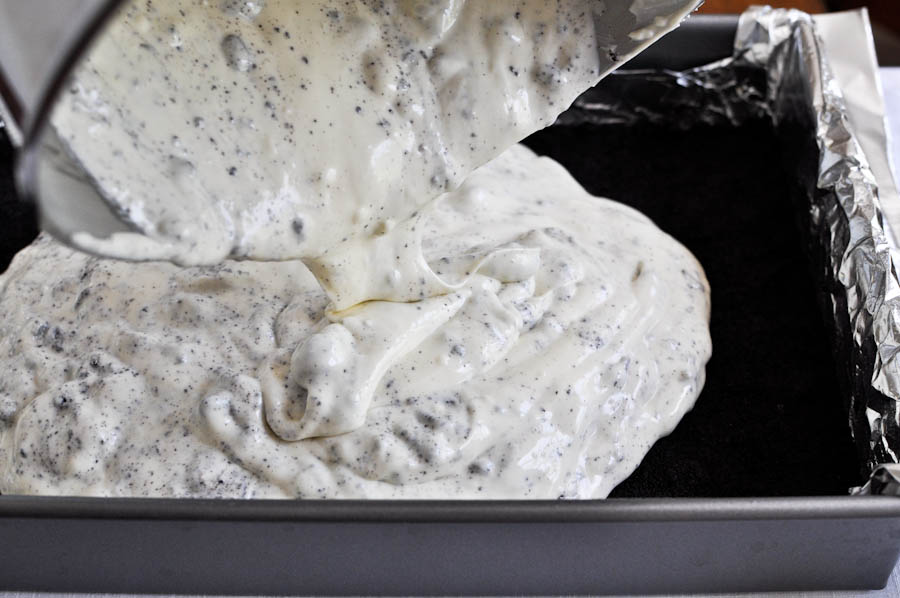
Pour the mixture on top of the crust and spread evenly with a spatula to distribute the filling.

Bake for 40 minutes, or until the outside is set but the middle is still a bit jiggly. Remove the pan and set aside on a cooling rack to cool completely. Once cool, cover it with foil and place it in the fridge to chill for a few hours, or overnight.

Wait … and wait … and wait … and dream about cookies and cream cheesecake.

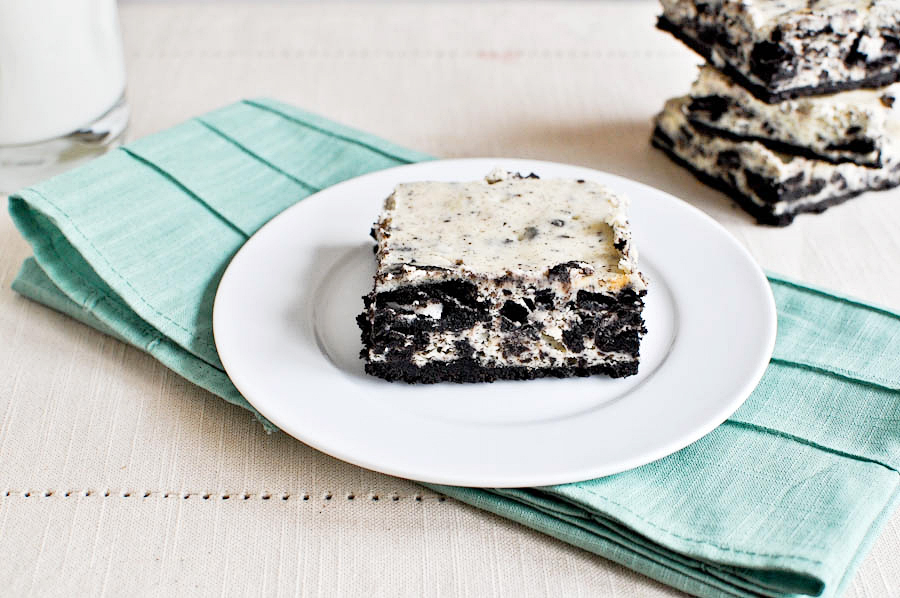
One the bars have chilled, lift the foil overhang out of the pan and place it on a cutting board. Using a large knife, cut the cheesecake into uniform squares, rinsing the knife with warm water between each slice.


Tasty Kitchen Blog: Cookies and Cream Cheesecake Bars. Guest post by Jessica Merchant of How Sweet It Is, recipe submitted by TK member Lori Lange of Recipe Girl.

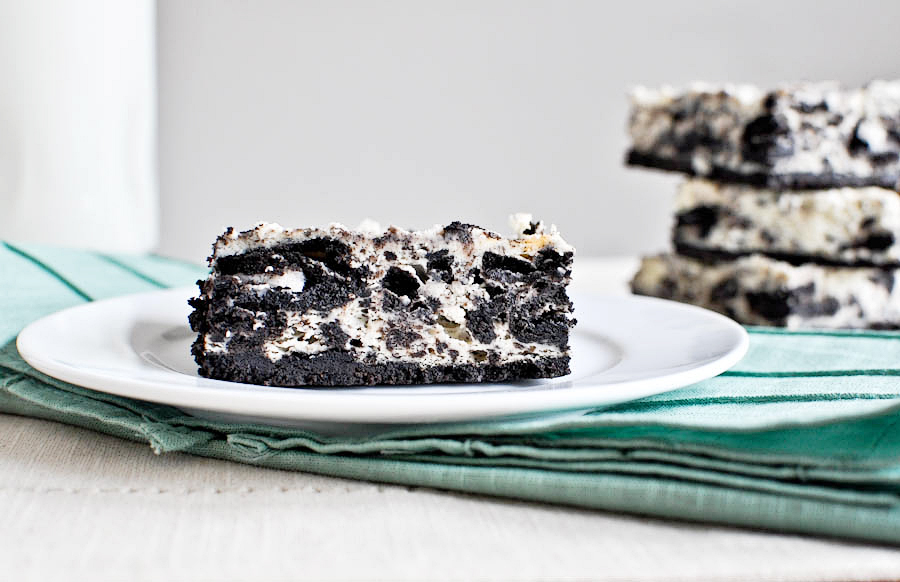
Serve yourself a big slice. Or two.


Tasty Kitchen Blog: Cookies and Cream Cheesecake Bars. Guest post by Jessica Merchant of How Sweet It Is, recipe submitted by TK member Lori Lange of Recipe Girl.

And enjoy!

These bars surpassed my expectations and tasted like heaven on a plate. I am already plotting my second go-round and can’t wait to share them at a few summer barbecues. Thanks so much for the recipe, Lori! Be sure to check out Lori’s website Recipe Girl. It’s loaded with hundreds of delicious recipes. Her site is one of my go-to sites for easy dinner ideas!


Printable Recipe
Cookies and Cream Cheesecake Bars

See post on RecipeGirl’s site!
4.75 Mitt(s) 20 Rating(s)20 votes, average: 4.75 out of 520 votes, average: 4.75 out of 520 votes, average: 4.75 out of 520 votes, average: 4.75 out of 520 votes, average: 4.75 out of 5

Prep Time:

Cook Time:

Difficulty: Intermediate

Servings: 24

24
x

Print Options

Page size Letter 3x5 4x6
Text Size Small Medium Large
Content Include description
Include prep time, etc.
Show image

Description

Oreo cookie fans everywhere will delight in these delicious cheesecake bars. :)

Ingredients

  • 1 pound Oreo Cookies
  • 4 Tablespoons Unsalted Butter, melted
  • 24 ounces, weight Cream Cheese, At Room Temperature
  • ¾ cups Granulated Sugar
  • ¾ cups Sour Cream At Room Temperature
  • 1 teaspoon Vanilla Extract
  • ½ teaspoons Salt
  • 3 whole Large Eggs, At Room Temperature

Preparation Instructions

1. Preheat oven to 325°F. Line a 9 x 13-inch pan with foil, leaving a 2-inch overhang on two sides (I spray mine with cooking spray).

2. Make the crust: place 28 Oreos in a food processor and process until finely ground. Pour into a large bowl, add the melted butter, and stir with a flexible spatula until all crumbs are moistened. Place the cookie-crumb mixture in the lined pan and, using your fingers, press the mixture firmly and evenly into the bottom. Bake for 10 minutes, then remove to a wire cooling rack (leave the oven on) while you make the filling. Snap the remaining Oreos in half, put them in the food processor, and turn on and off quickly a few times, just until the cookies are roughly chopped.

3. Make the filling: In a large bowl, using an electric mixer on medium speed, beat the cream cheese and sugar until well blended, about 2 minutes. Scrape down the sides and bottom of the bowl with a flexible spatula and beat again until uniform. Beat in sour cream, vanilla and salt. Scrape down the bowl and mix again. Add the eggs, one at a time, beating well after each. After beating in the last egg, scrape down the sides and bottom of the bowl and beat one more time, to make sure the mixture is fully combined. Stir in chopped Oreos with the same spatula.

4. Pour the cream cheese mixture over the baked cookie crust, smooth the top with the spatula, and bake for 40 minutes, until the filling is set around the edges but still slightly wobbly in the center when you gently shake the pan. Remove the pan to a wire rack to cool to room temperature, about 1 hour. When cool, cover it with foil and refrigerate until well chilled, at least 3 hours. (I chill mine overnight.)

5. To cut, use the foil overhang to lift the cheesecake out of the pan and place on a large cutting board. Use a sharp chef’s knife to cut the cheesecake into bars, rinsing off the knife with hot water and wiping it dry between each cut. Keep refrigerated until ready to serve.

Yield: 24 bars

Cooking Tips:
These work best served on flattened out cupcake papers with a fork stuck on top.


_______________________________________

Jessica Merchant is a personal trainer turned food writer and blogger. Her blog, How Sweet Eats, is where she proclaims her love for all things sweet, all things bacon, and everything else in between. She works her magic in her Pittsburgh kitchen, which she shares with her husband of 2 years.


Profile photo of HowSweetEats

Pretzel Rolls

Posted by in Baking, Step-by-Step Recipes

Tasty Kitchen Blog: Pretzel Rolls. Guest post by Jessica Merchant of How Sweet It Is, recipe submitted by TK member Erin Raatjes of The Misadventures of Myrtle Grace.

 
From the moment I took a big bite of a soft pretzel at a baseball game when I was seven years old, I’ve been in love. That also happened to be the same baseball game where I sat in a bowl full of nacho cheese sauce and ruined my favorite white jean shorts that I rolled up at the knees. No wonder I like soft pretzels so much better than nachos.

Pretzels have since been a favorite snack of mine. A fat, fluffy pretzel coated with salt and dipped in mustard? Nothing beats it. Except maybe a fat, fluffy pretzel dipped in warm, smoked cheddar sauce. Or the cinnamon sugared version of said pretzels. The minute my teeth plunge into that spongy dough, I’m in heaven. Bring on the carb coma.

When I stumbled across TK member erinraatjes’s recipe for Pretzel Rolls, I immediately knew I had to try them. I’ve eyed a similar recipe by Alton Brown for months, and this gave me the push to finally test it out. All I could think of was bacon cheeseburgers on pretzel rolls and tuna melts of pretzel rolls and BLTs on pretzel rolls. And toasted marshmallows with chocolate sauce on pretzel rolls, but I’m a little scared to admit that out loud.

The rolls were everything I could have dreamed and more. They really are as easy as the recipe specifies and came out just as I hoped. Take a look!


Tasty Kitchen Blog: Pretzel Rolls. Guest post by Jessica Merchant of How Sweet It Is, recipe submitted by TK member Erin Raatjes of The Misadventures of Myrtle Grace.

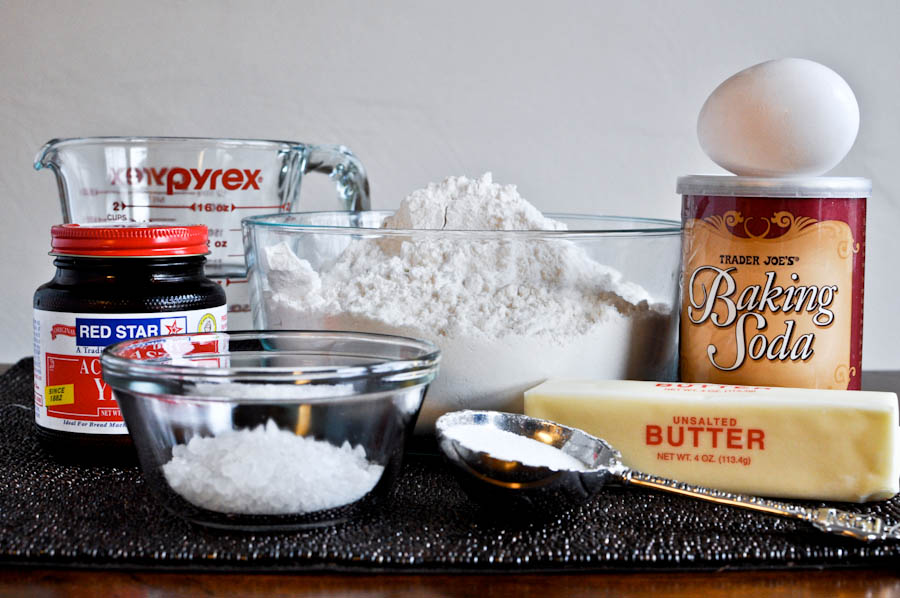
You probably have all of the ingredients in your kitchen. Super easy and affordable, all you need is flour, active dry yeast, water, salt, sugar, baking soda, butter and one egg. How simple is that?


Tasty Kitchen Blog: Pretzel Rolls. Guest post by Jessica Merchant of How Sweet It Is, recipe submitted by TK member Erin Raatjes of The Misadventures of Myrtle Grace.

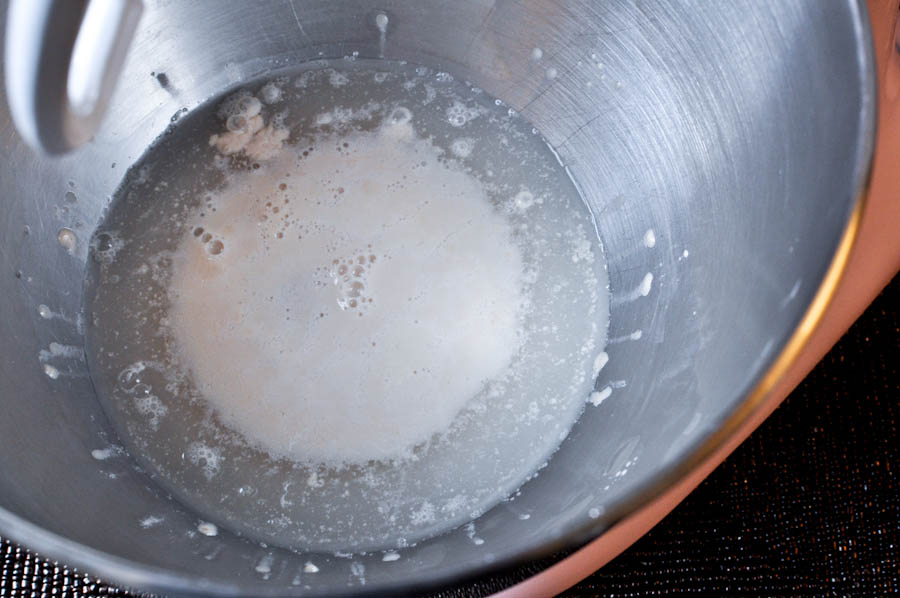
First combine the water and the yeast together, and let it sit until it gets foamy. It should take about 15 minutes.


Tasty Kitchen Blog: Pretzel Rolls. Guest post by Jessica Merchant of How Sweet It Is, recipe submitted by TK member Erin Raatjes of The Misadventures of Myrtle Grace.

Once you see some bubbles, it’s time to add the other ingredients.


Tasty Kitchen Blog: Pretzel Rolls. Guest post by Jessica Merchant of How Sweet It Is, recipe submitted by TK member Erin Raatjes of The Misadventures of Myrtle Grace.

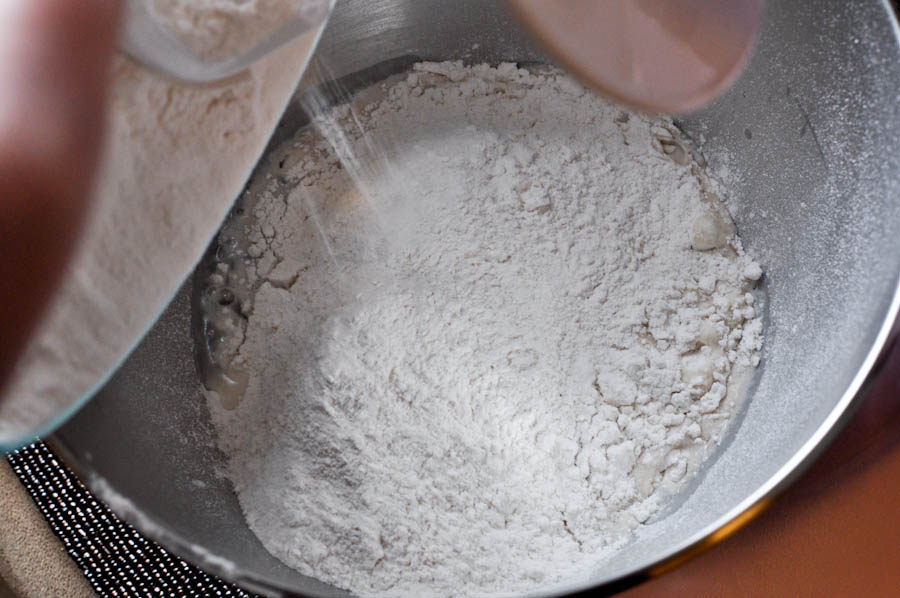
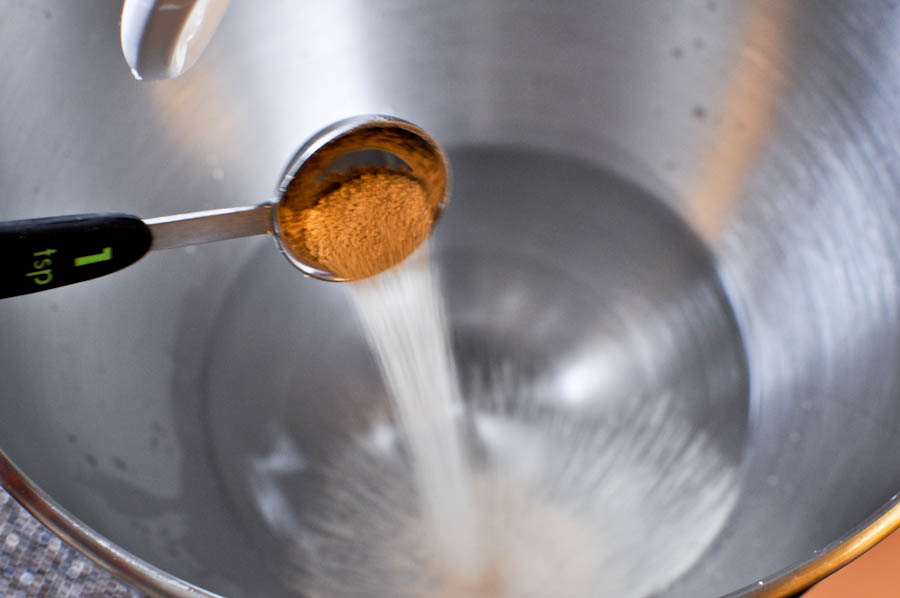
Add the flour, salt, and sugar, mixing on low speed.


Tasty Kitchen Blog: Pretzel Rolls. Guest post by Jessica Merchant of How Sweet It Is, recipe submitted by TK member Erin Raatjes of The Misadventures of Myrtle Grace.

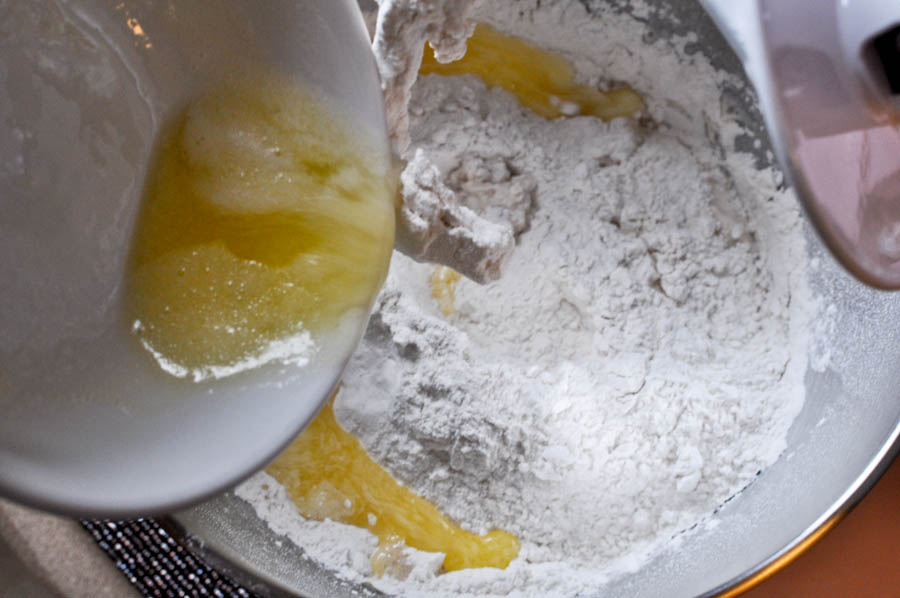
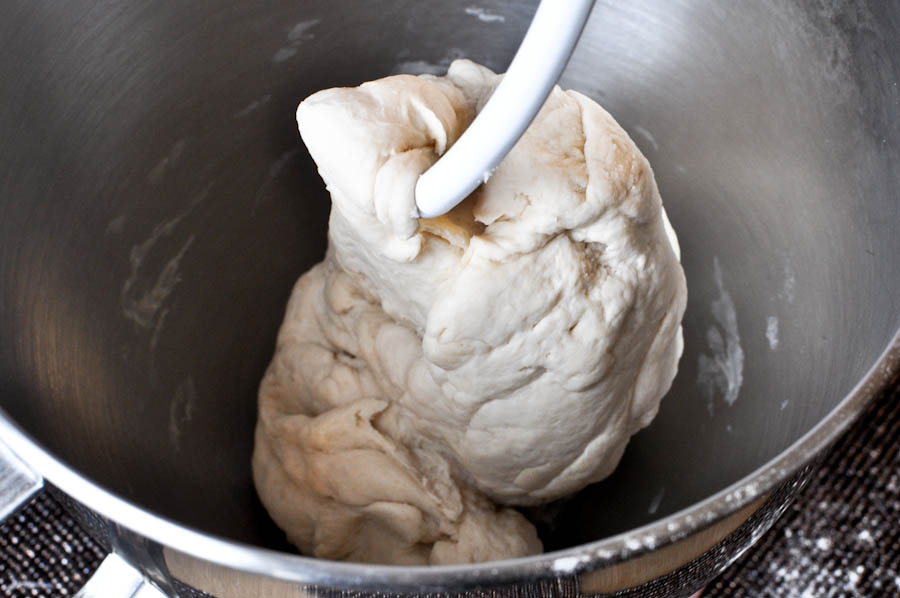
Add the butter, increasing the speed a bit to bring the dough together.


Tasty Kitchen Blog: Pretzel Rolls. Guest post by Jessica Merchant of How Sweet It Is, recipe submitted by TK member Erin Raatjes of The Misadventures of Myrtle Grace.

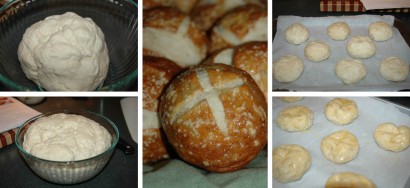
Once the dough looks like this, you’re good to go!


Tasty Kitchen Blog: Pretzel Rolls. Guest post by Jessica Merchant of How Sweet It Is, recipe submitted by TK member Erin Raatjes of The Misadventures of Myrtle Grace.

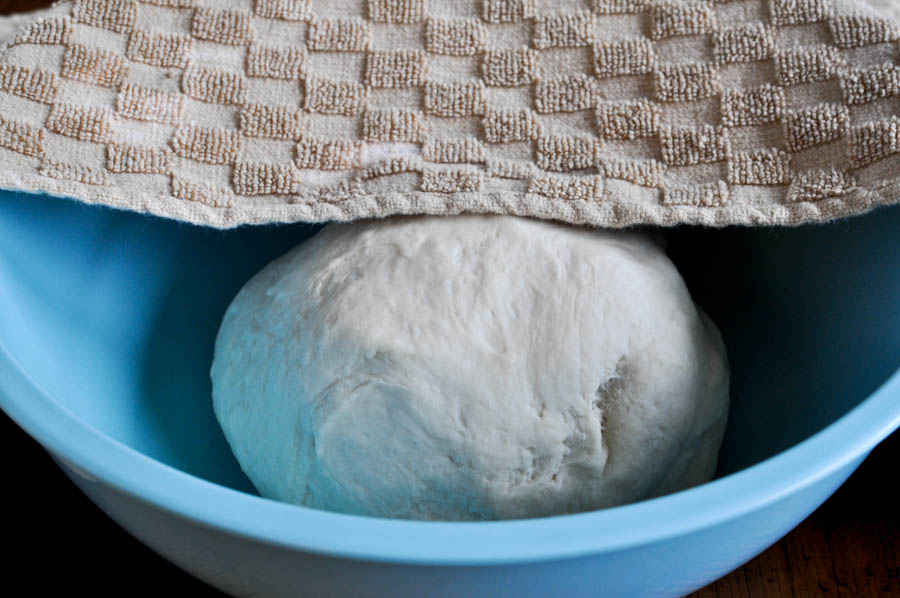
Place it in an oiled bowl and cover it with a towel, setting it in a warm place. I turn on my oven and set it on top for one hour. Since the oven is on, you might as well bake some cookies. That’s what I do.


Tasty Kitchen Blog: Pretzel Rolls. Guest post by Jessica Merchant of How Sweet It Is, recipe submitted by TK member Erin Raatjes of The Misadventures of Myrtle Grace.

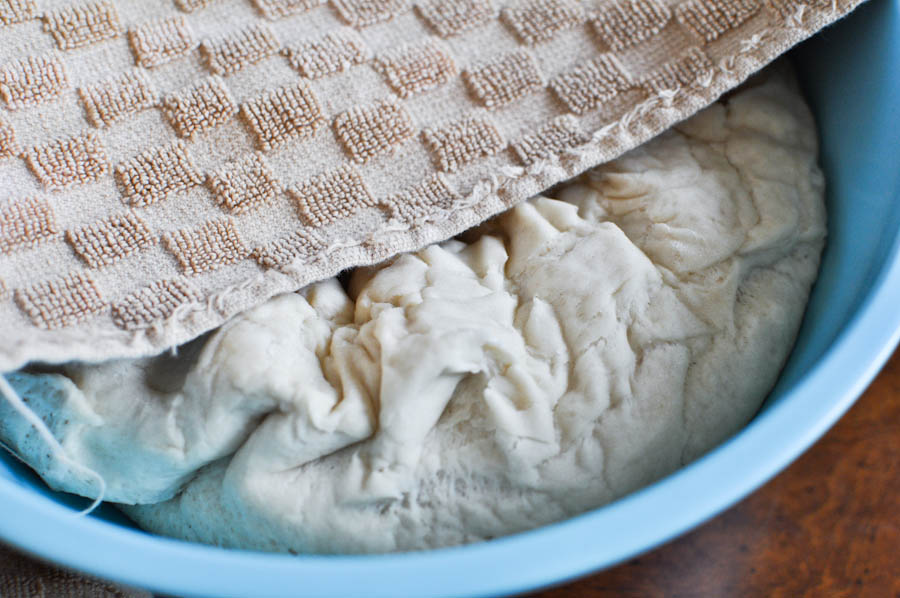
After an hour, the dough will have risen and will look somewhat like this. Set it on a floured workspace and knead a few times. Line a baking sheet with parchment paper, too.


Tasty Kitchen Blog: Pretzel Rolls. Guest post by Jessica Merchant of How Sweet It Is, recipe submitted by TK member Erin Raatjes of The Misadventures of Myrtle Grace.

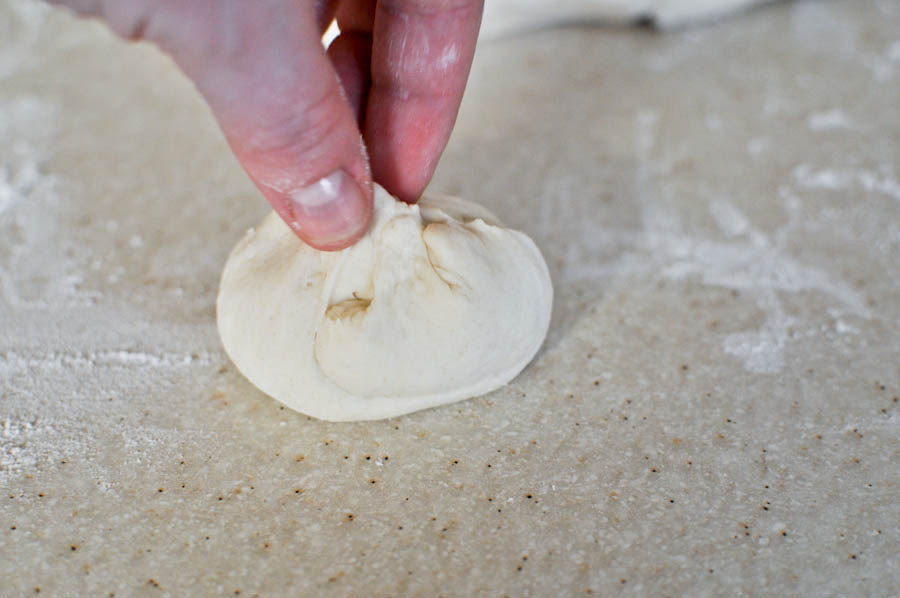
Cut the dough into about 18 pieces that are 2 ounces each. I used my handy dandy kitchen scale to ensure all of the pieces were 2 ounces, but that really isn’t necessary. Just make sure they are uniform in size. Pull the sides up on each piece of dough and bring to the middle, pinching together to create a small ball of dough.


Tasty Kitchen Blog: Pretzel Rolls. Guest post by Jessica Merchant of How Sweet It Is, recipe submitted by TK member Erin Raatjes of The Misadventures of Myrtle Grace.

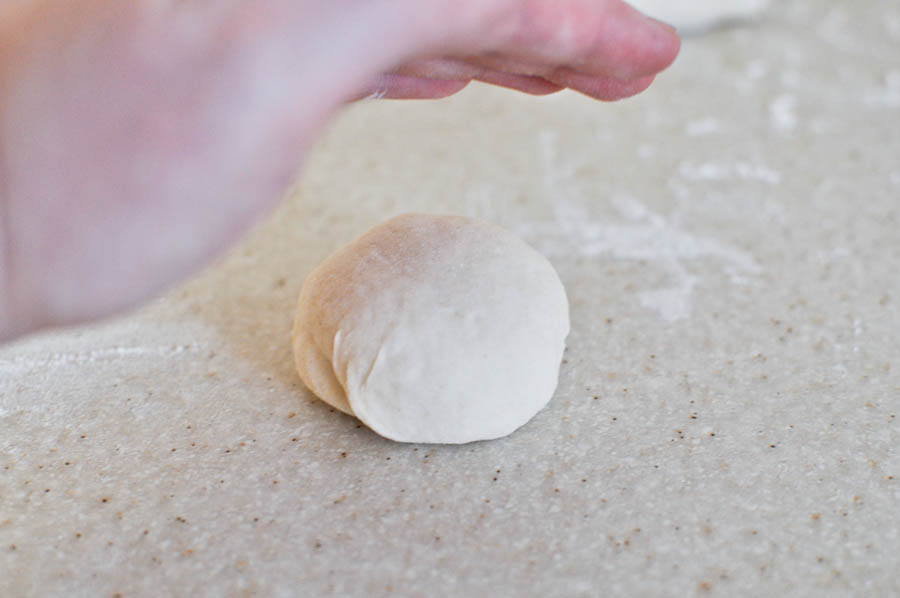
Flip the ball over, pinched-side down, and cup your hand over the dough, rolling it into a smooth ball between your hand and your workspace. It sounds complicated, but once you do it, it’s easy.

Set the dough balls on the baking sheet and cover them. Let rise for 30 minutes. I set mine on top of the stove again.

After 15 minutes, heat two quarts of water in a large saucepan until it comes to a boil.


Tasty Kitchen Blog: Pretzel Rolls. Guest post by Jessica Merchant of How Sweet It Is, recipe submitted by TK member Erin Raatjes of The Misadventures of Myrtle Grace.

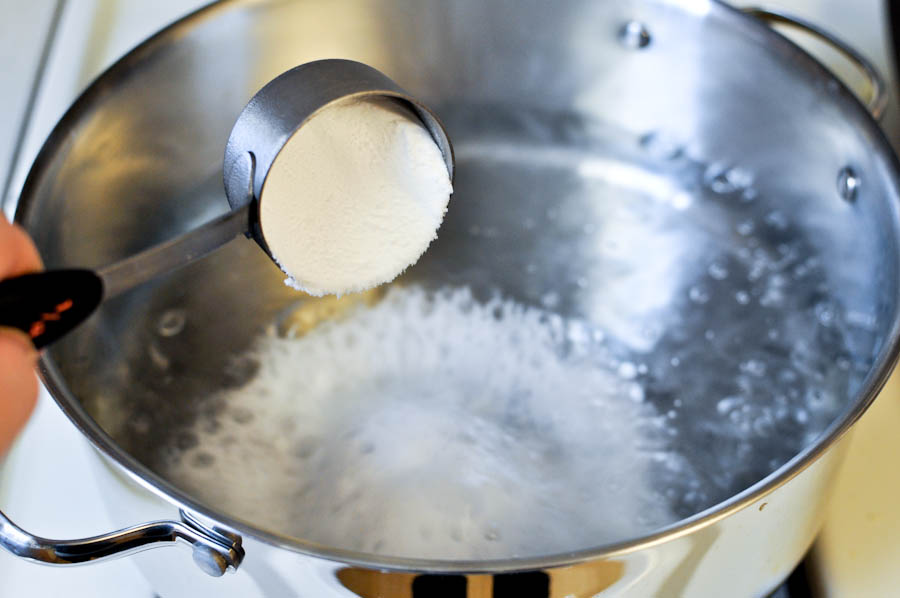
Once the 30 minutes are up and your water is boiling, add ¼ cup of baking soda to the water and turn it down to simmer. It’s sort of like a science experiment. One that I finally didn’t fail.


Tasty Kitchen Blog: Pretzel Rolls. Guest post by Jessica Merchant of How Sweet It Is, recipe submitted by TK member Erin Raatjes of The Misadventures of Myrtle Grace.

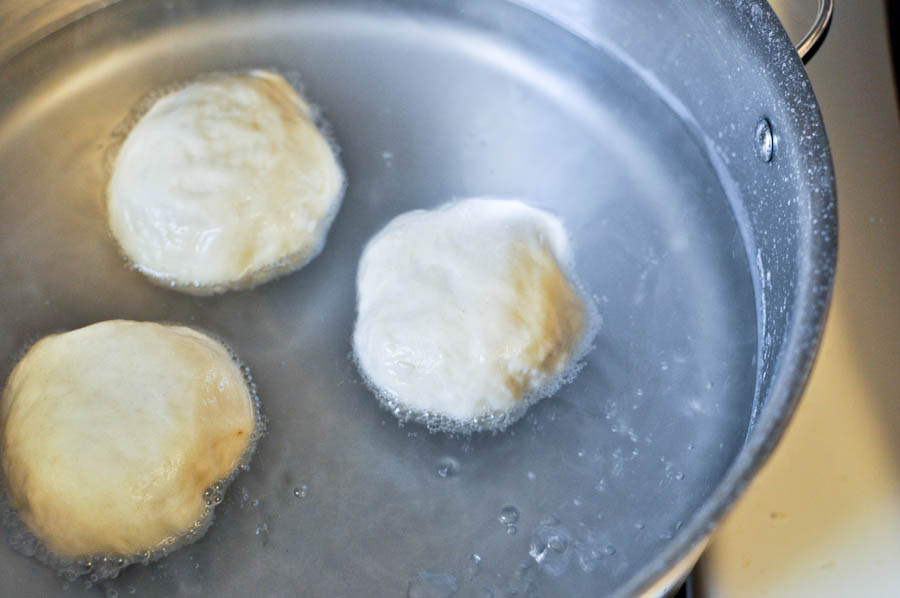
Drop the risen rolls in the water for 30 seconds, and then flip for 30 seconds more. Remove with a slotted spoon and set back on the baking sheet.


Tasty Kitchen Blog: Pretzel Rolls. Guest post by Jessica Merchant of How Sweet It Is, recipe submitted by TK member Erin Raatjes of The Misadventures of Myrtle Grace.

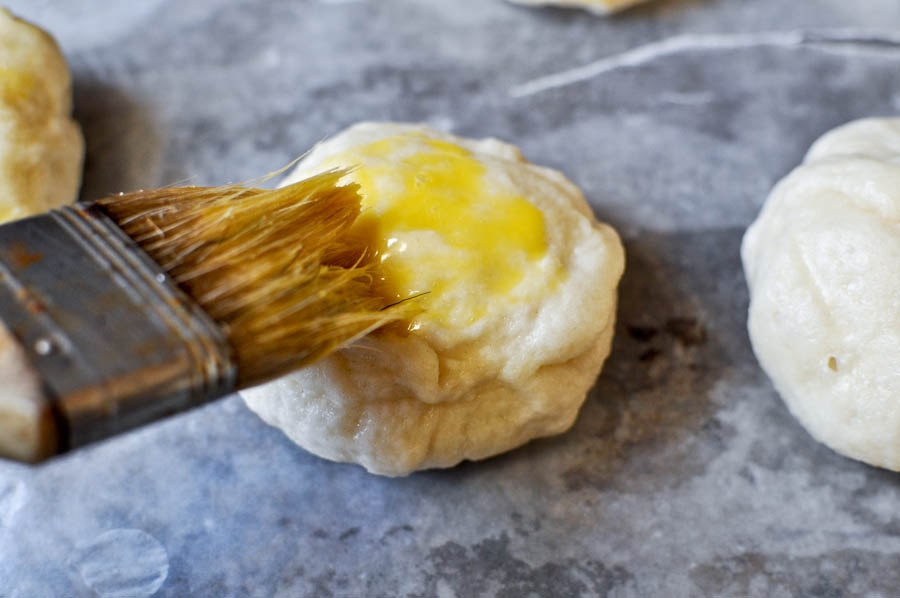
Once all of the dough balls have taken a bath, brush each with some lightly beaten egg. You can also slice a little “x” in the top and cover them with salt.

Throw them in the oven and bake for 15 minutes. They may not look pretty now, but just wait until you see what happens.


Tasty Kitchen Blog: Pretzel Rolls. Guest post by Jessica Merchant of How Sweet It Is, recipe submitted by TK member Erin Raatjes of The Misadventures of Myrtle Grace.

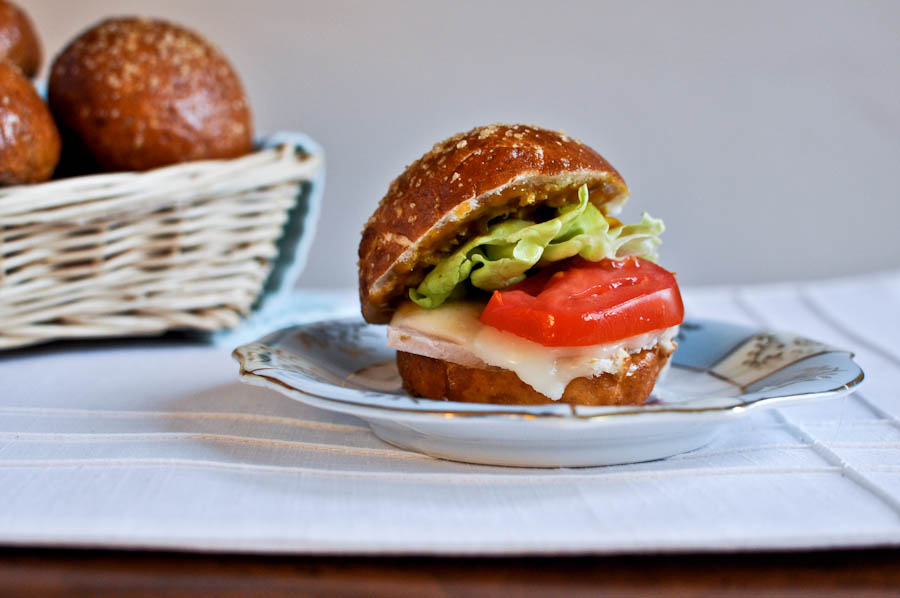
Voila! Pretzel rolls.


Tasty Kitchen Blog: Pretzel Rolls. Guest post by Jessica Merchant of How Sweet It Is, recipe submitted by TK member Erin Raatjes of The Misadventures of Myrtle Grace.

Do they look too pretty to eat? I thought so too, but that didn’t stop me. What I love about these is that you can make them into whatever size your little heart desires. Quarter pound burgers? Done. Tiny sliders? Done and done. Easily customizable and incredibly delicious.

Thanks so much to Erin for the fabulous recipe! Check out her beautiful blog The Misadventures of Myrtle Grace, too!


Printable Recipe

Pretzel Rolls

See post on erinraatjes’s site!
5.00 Mitt(s) 14 Rating(s)14 votes, average: 5.00 out of 514 votes, average: 5.00 out of 514 votes, average: 5.00 out of 514 votes, average: 5.00 out of 514 votes, average: 5.00 out of 5

Prep Time:

Cook Time:

Difficulty: Intermediate

Servings: 16

16
x

Print Options

Page size Letter 3x5 4x6
Text Size Small Medium Large
Content Include description
Include prep time, etc.
Show image

Description

I’ve been dreaming about pretzel rolls ever since I had them at our local farmer’s market. They were so expensive, I was hesitant to buy them again. I’ve seen recipes, but this one is easy. WAY easy.

Ingredients

  • 1-½ cup Warm Water (110°F)
  • 1 package (1/4 Oz. Packet) Active Dry Yeast (not Quick Rise Yeast)
  • 2 teaspoons Sugar
  • 4-½ cups Unbleached All-purpose Flour
  • 2 teaspoons Kosher Salt
  • 4 Tablespoons Unsalted Butter, melted
  • ¼ cups Baking Soda
  • 1 whole Egg, Lightly Beaten
  • Pretzel Salt, To Sprinkle On Top

Preparation Instructions

In the bowl of a stand mixer, combine the water and the yeast and let rest 5 minutes until foamy.

Add the sugar, flour, salt, and butter; mix with the dough hook until thoroughly combined. Cover with a towel and let rise in a warm place for 1 hour or until doubled in bulk. Punch down and turn out onto a lightly floured surface.

Line two sheet pans with parchment paper.

Cut the dough into 18 pieces (2 ounces each). To shape, take a piece of dough and start forming a round, smooth ball by pulling the sides to the center and pinching to seal. Place, pinched side down, on a counter and lightly cupping your hand around the dough ball, rotate your hand in small circles lightly rolling the ball around the palm of your hand.

Place the ball on the baking sheet pinched seam side down, with at least 1” between each roll. Cover with a towel and let rise in a warm place for 30 minutes until doubled.

Preheat oven to 425°F and place oven racks on the lowest and middle positions.

In a large saucepan, bring 2 quarts of water to a low boil. Add the baking soda and lower heat to a simmer. Put the rolls into the poaching liquid, seam side down. Poach for 30 seconds then carefully turn the roll over in the liquid. Poach other side for 30 seconds then remove with a slotted spoon to the same prepared sheet pans, seam side down. Repeat with the remaining rolls.

With a pastry brush, glaze each roll with the lightly beaten egg, making sure to coat all sides completely. Top each roll with a sprinkle of pretzel salt. With a sharp straight edged knife, cut a slash or “X” in the top of each roll.

Bake the rolls in the preheated oven for 15-20 minutes.


_______________________________________

Jessica Merchant is a personal trainer turned food writer and blogger. Her blog, How Sweet Eats, is where she proclaims her love for all things sweet, all things bacon, and everything else in between. She works her magic in her Pittsburgh kitchen, which she shares with her husband of 2 years.

 

Profile photo of HowSweetEats

Homemade Fruit Leather

Posted by in Step-by-Step Recipes

Tasty Kitchen Blog: Homemade Fruit Leather. Guest post by Jessica Merchant of How Sweet It Is, recipe submitted by TK member Georgia Pellegrini.

 
When it comes to making homemade fruit leather, I will confess that I have been totally and completely intimidated. I mean, how does one even accomplish such a task? How does fruit go from actual fruit to … leather?

With that being said, I spent half of my youth chewing fruit roll-ups and consequently trying to rot my teeth, so I knew that this fruit leather had to be mastered. My mom would stock up on different flavors of fruit leather and it would often disappear within the week. When I came across Georgia’s recipe for Homemade Fruit Leather, I just couldn’t resist. It seemed foolproof. And delicious. And so enticing that I immediately bought more strawberries than one should ever need and got to work.

While the entire recipe is a bit time-consuming, it is quite easy. The majority of the time is downtime anyway. You can make this while you sleep!


Tasty Kitchen Blog: Homemade Fruit Leather. Guest post by Jessica Merchant of How Sweet It Is, recipe submitted by TK member Georgia Pellegrini.

These are the only ingredients you need: strawberries (or fruit of your choice), a lemon, water and sugar. Yes, it’s that simple!


Tasty Kitchen Blog: Homemade Fruit Leather. Guest post by Jessica Merchant of How Sweet It Is, recipe submitted by TK member Georgia Pellegrini.

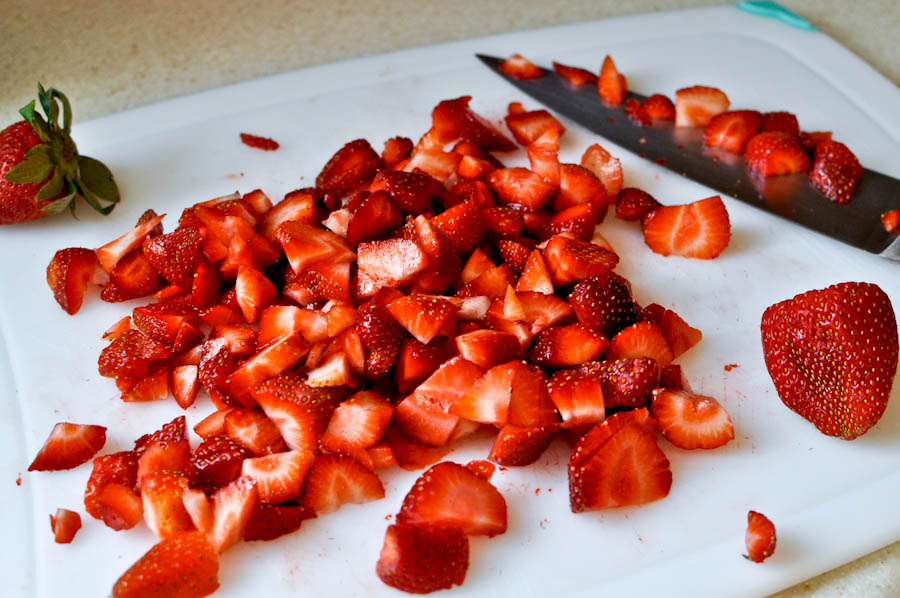
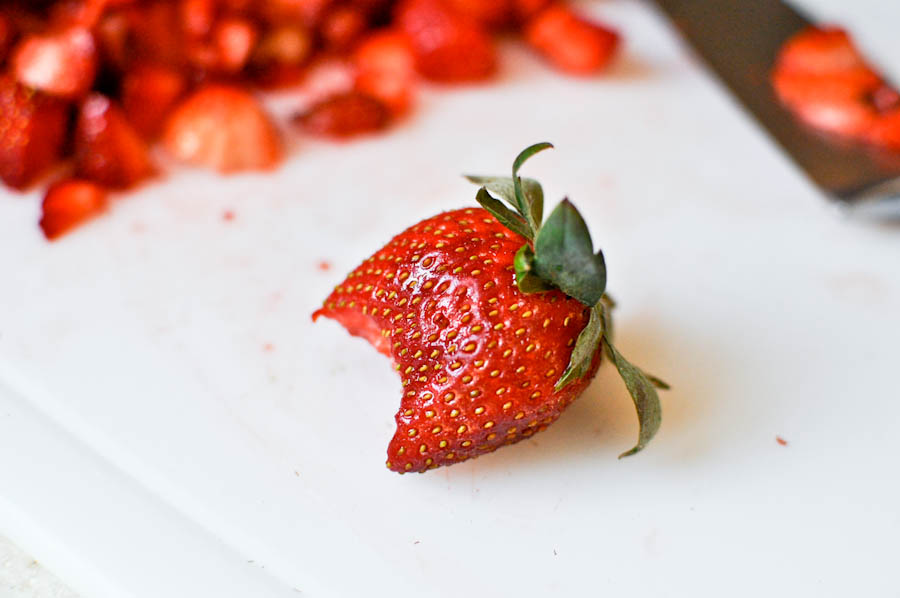
The first step is to cut the fruit into small pieces. Don’t be concerned about them being uniform in size. Just do a rough chop so we can add them to a saucepan. I ended up with 2 1/2 cups of strawberries.


Tasty Kitchen Blog: Homemade Fruit Leather. Guest post by Jessica Merchant of How Sweet It Is, recipe submitted by TK member Georgia Pellegrini.

Make sure you taste test your fruit to see how sweet it is. This will give you a rough idea of how much sugar you need or want to add.


Tasty Kitchen Blog: Homemade Fruit Leather. Guest post by Jessica Merchant of How Sweet It Is, recipe submitted by TK member Georgia Pellegrini.

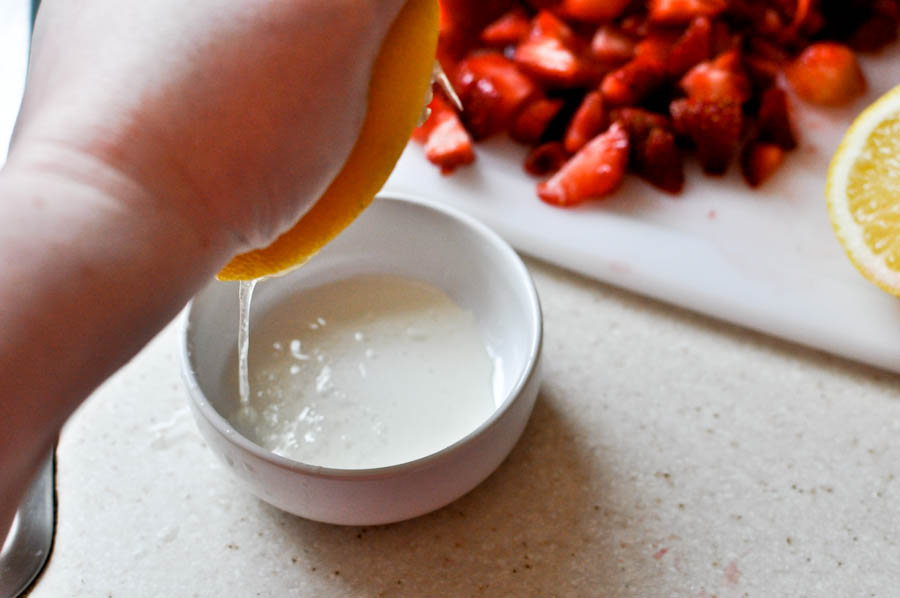
Slice your lemon and grab a bowl for juicing purposes.


Tasty Kitchen Blog: Homemade Fruit Leather. Guest post by Jessica Merchant of How Sweet It Is, recipe submitted by TK member Georgia Pellegrini.

Squeeze your lemon to extract the juice. You only need about one tablespoon. Fresh is best!


Tasty Kitchen Blog: Homemade Fruit Leather. Guest post by Jessica Merchant of How Sweet It Is, recipe submitted by TK member Georgia Pellegrini.

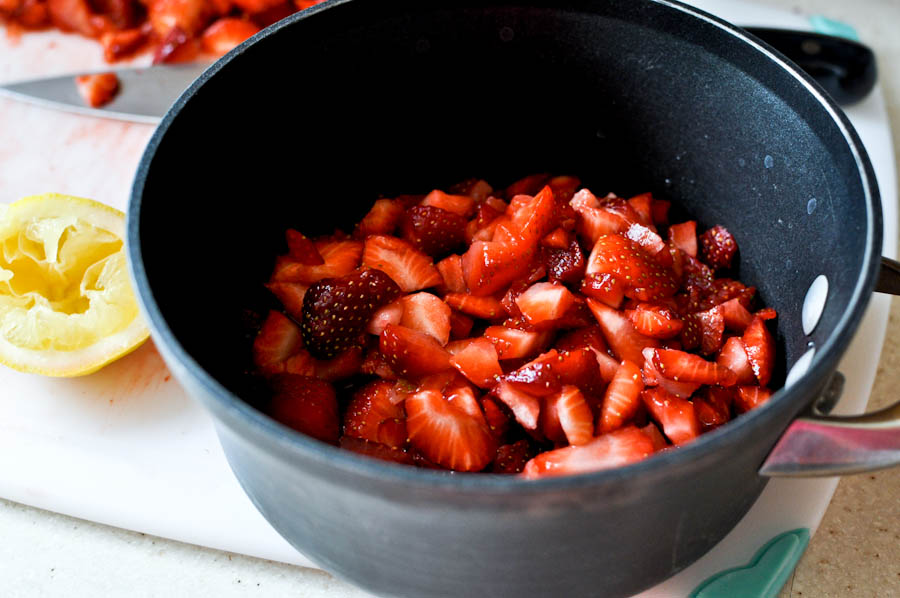
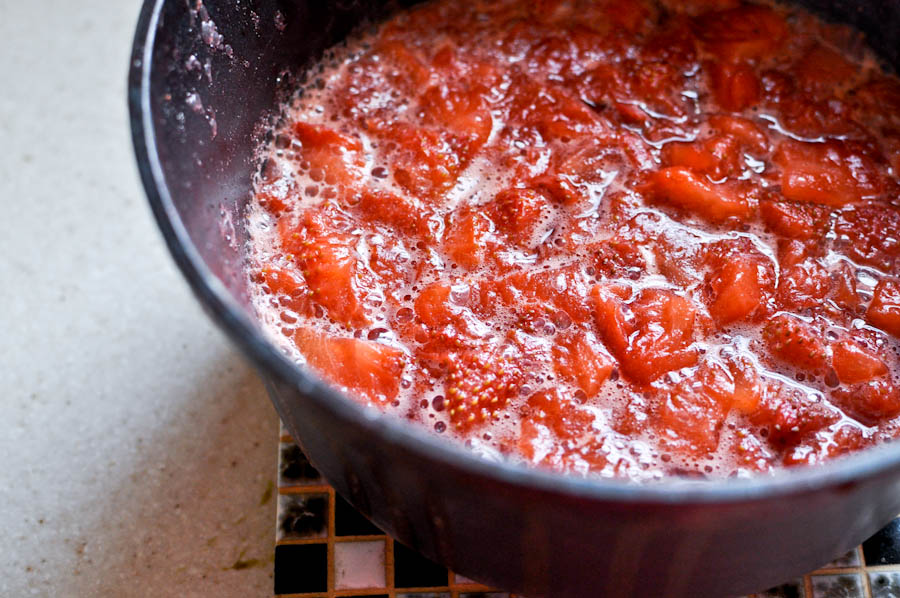
In a small saucepan, combine the chopped fruit, water and lemon juice. Heat it over medium heat and stir, then cover. Let the fruit stew for a few minutes until the berries begin to break down. I let mine go for about 5–6 minutes.


Tasty Kitchen Blog: Homemade Fruit Leather. Guest post by Jessica Merchant of How Sweet It Is, recipe submitted by TK member Georgia Pellegrini.

It should come out looking saucy. Now would be a good time to preheat your oven, so turn it on to 170 degrees F, or the lowest temperature it will go. It should heat up quickly.


Tasty Kitchen Blog: Homemade Fruit Leather. Guest post by Jessica Merchant of How Sweet It Is, recipe submitted by TK member Georgia Pellegrini.

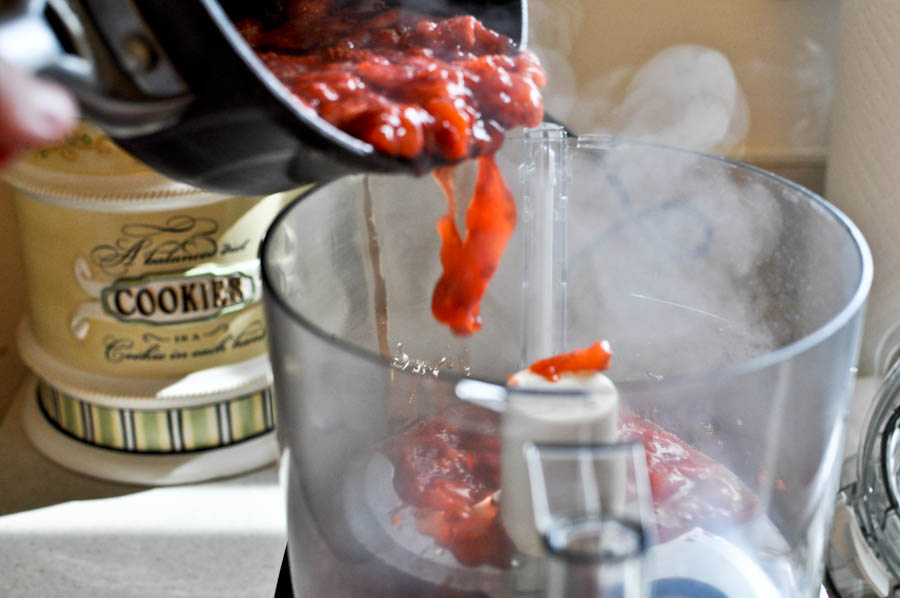
Now it’s time to add the pureed fruit to the food processor. You can see that I lack patience judging from the steam rising out of the saucepan. Notice the cookie jar in the back. Sometimes (read: every single day) I get distracted by that (full) jar.


Tasty Kitchen Blog: Homemade Fruit Leather. Guest post by Jessica Merchant of How Sweet It Is, recipe submitted by TK member Georgia Pellegrini.

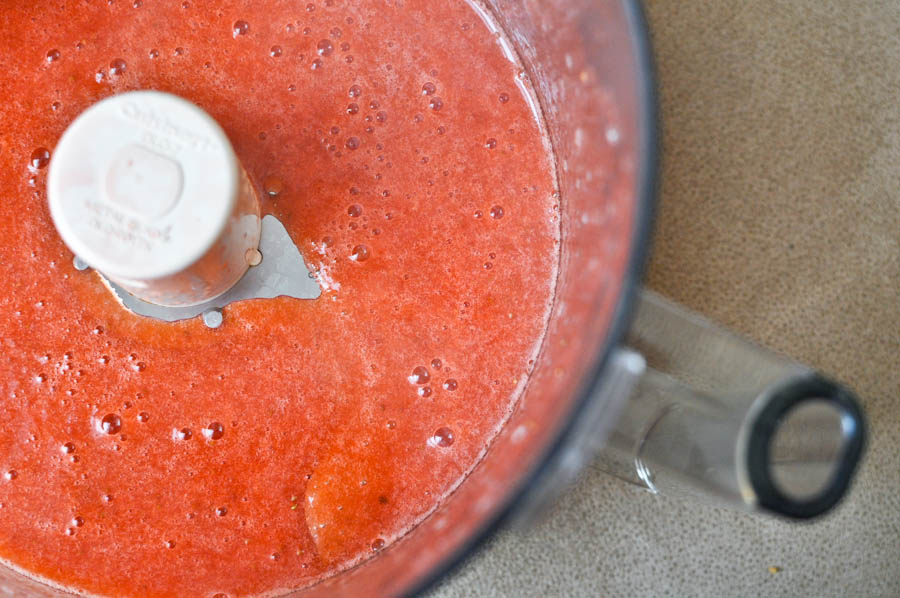
Give the fruit mixture a good whirl. You want it completely blended. Speaking of blended, you can also use a blender if you do not have a food processor. (In Georgia’s blog post, she uses a blender.)


Tasty Kitchen Blog: Homemade Fruit Leather. Guest post by Jessica Merchant of How Sweet It Is, recipe submitted by TK member Georgia Pellegrini.

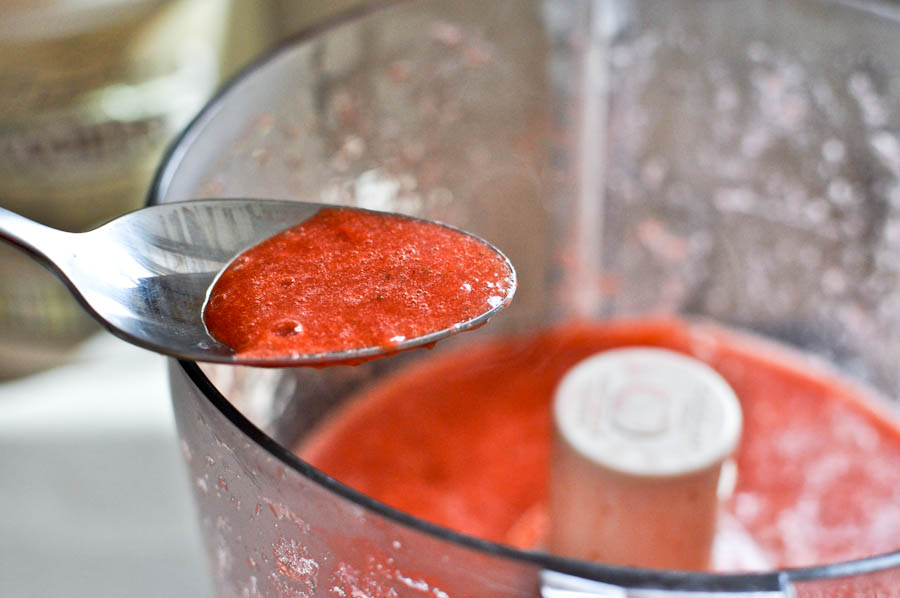
Taste testing time! Try a bit more of the pulp before adding the sugar. I am warning you: this stuff is good to enough to drink. I nearly slurped it all up and had to start over.


Tasty Kitchen Blog: Homemade Fruit Leather. Guest post by Jessica Merchant of How Sweet It Is, recipe submitted by TK member Georgia Pellegrini.

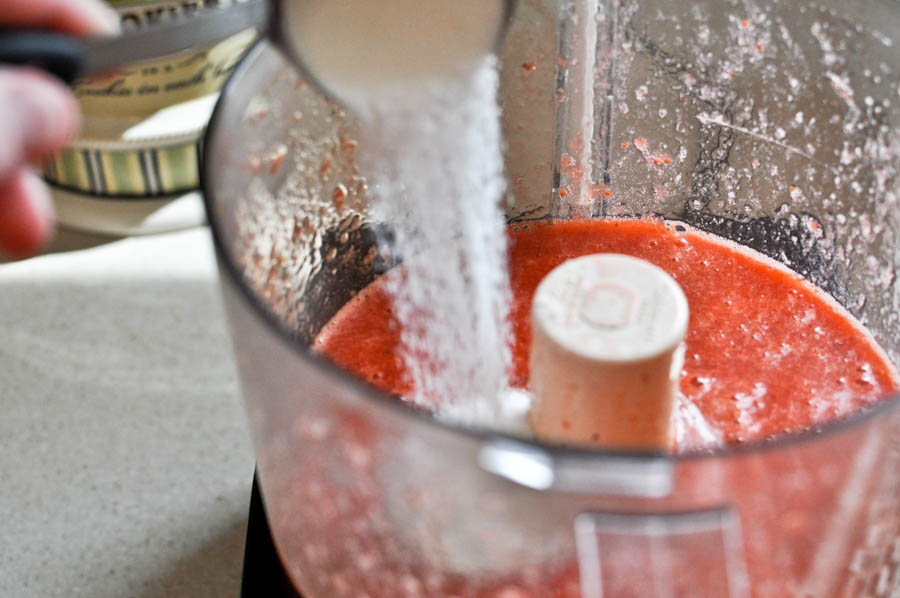
Add your sugar. I’m assuming that you could also make this recipe sugar-free if you’d like. I went with the entire 1/4 cup of sugar because I have very sweet teeth. If you have extraordinarily sweet fruit or would like it mild in sweetness, add the sugar one teaspoon at a time, blend, then taste test and go from there. Easy as pie.


Tasty Kitchen Blog: Homemade Fruit Leather. Guest post by Jessica Merchant of How Sweet It Is, recipe submitted by TK member Georgia Pellegrini.

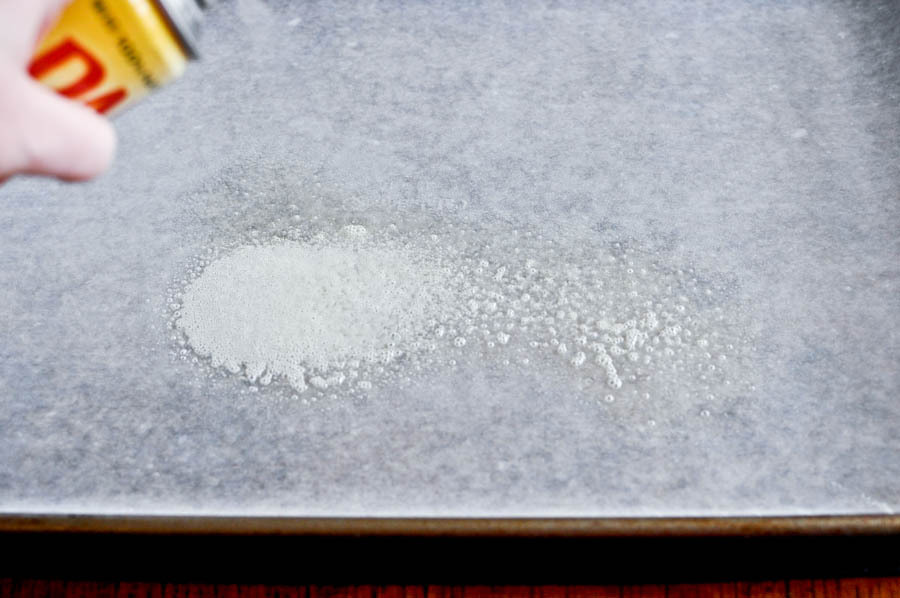
Lay some parchment paper on a sheet pan, and give it a very thorough coating of non-stick spray. Don’t miss any spots! You can also brush the paper with vegetable oil. Whatever works for you.


Tasty Kitchen Blog: Homemade Fruit Leather. Guest post by Jessica Merchant of How Sweet It Is, recipe submitted by TK member Georgia Pellegrini.

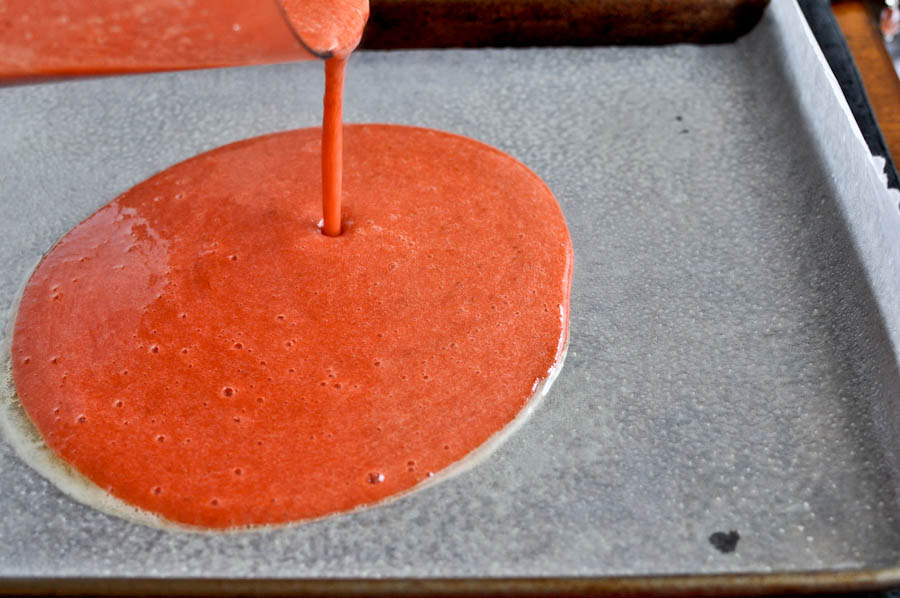
Pour the fruit mixture onto the paper-lined sheet pan. Try not to drool.


Tasty Kitchen Blog: Homemade Fruit Leather. Guest post by Jessica Merchant of How Sweet It Is, recipe submitted by TK member Georgia Pellegrini.

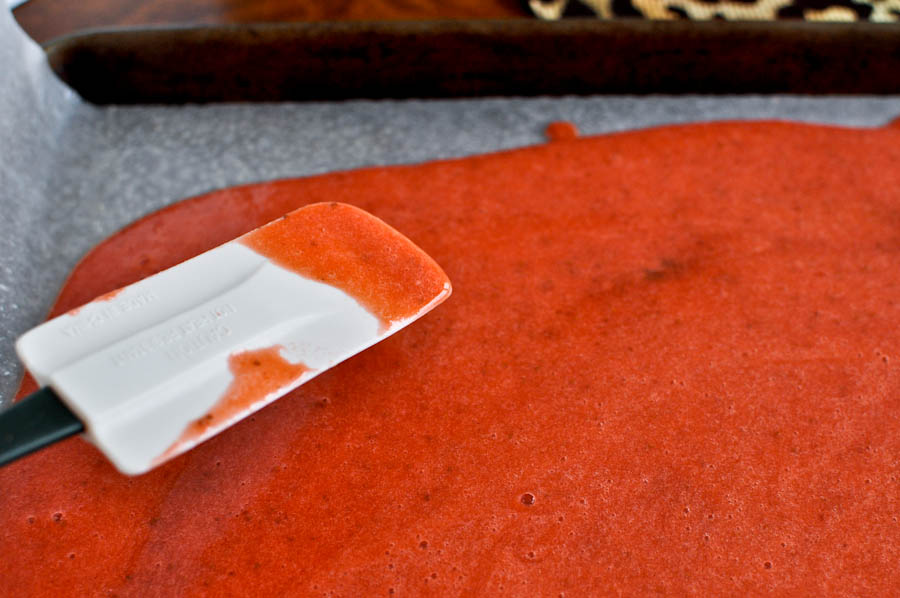
Spread it out with a spatula so it is evenly distributed. Then place it in the oven.

Now it’s time to wait! And wait … and wait … and wait. This recipe takes about 12–15 hours total. Don’t fret—I was concerned too! But I am convinced that it is completely worth it now. If you do not have 15 consecutive hours to be at home with the oven on, you can also sit the fruit mixture near a sunny window where it will be warm. I first stuck mine in the oven at 3 pm. I let it go for 7 hours, checking it occasionally. The only downside is that I realized halfway in that I could not use my oven for dinner! Oh well. Pizza it was.

During the “dehydrating” process, I did notice the mixture was getting a bit brittle. I followed Georgia’s instructions and brushed the leather with some water using a pastry brush. It worked like a charm! At 10 pm, I inverted the leather onto another oiled, paper-lined baking sheet. I gave it a good brushing of water since I would not be checking it for 6-7 hours. I also left the oven open a crack to ensure it would not get too warm. Then I went to bed dreaming of homemade strawberry fruit roll-ups. It was like Christmas Eve!


Tasty Kitchen Blog: Homemade Fruit Leather. Guest post by Jessica Merchant of How Sweet It Is, recipe submitted by TK member Georgia Pellegrini.

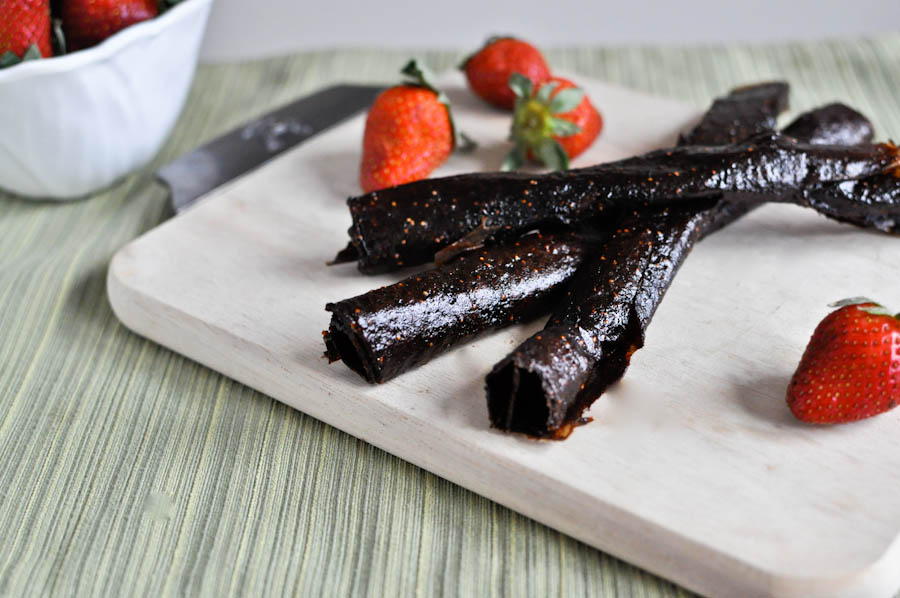
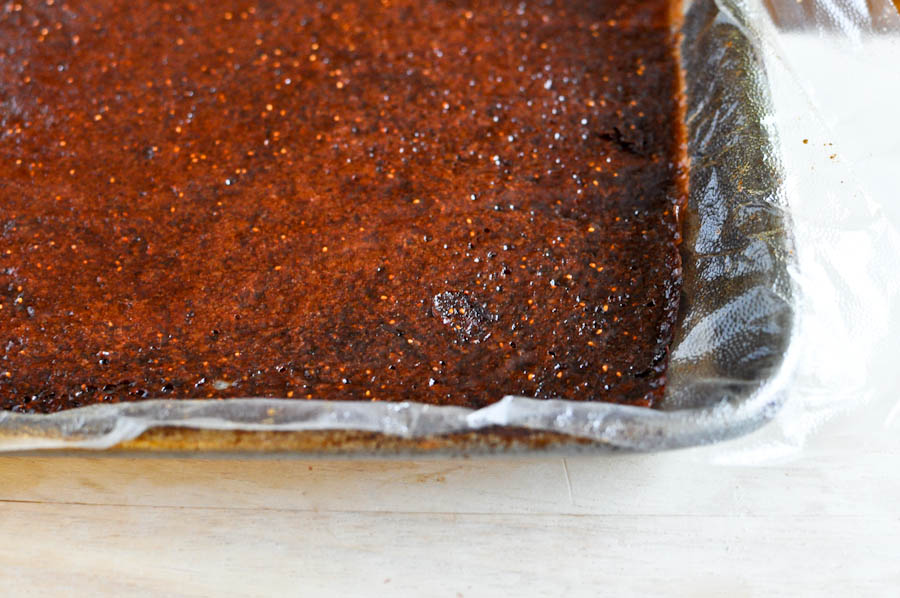
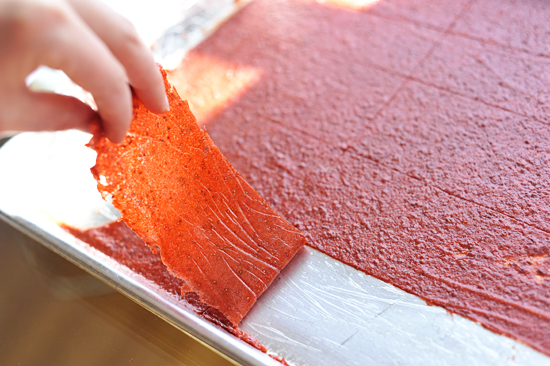
In the morning, the fruit leather looked like this. I love the little seeds.


Tasty Kitchen Blog: Homemade Fruit Leather. Guest post by Jessica Merchant of How Sweet It Is, recipe submitted by TK member Georgia Pellegrini.

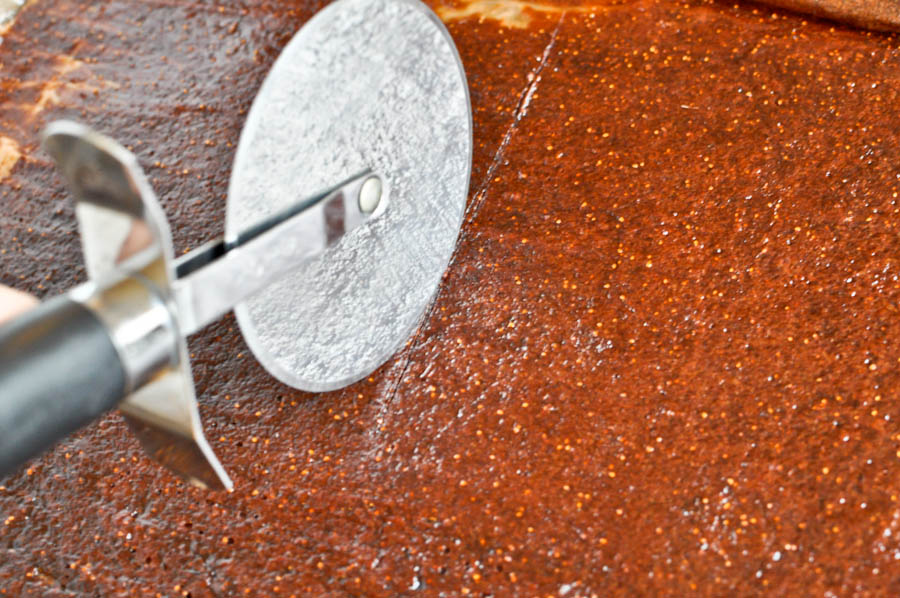
Using a pizza cutter, I cut it into strips.


Tasty Kitchen Blog: Homemade Fruit Leather. Guest post by Jessica Merchant of How Sweet It Is, recipe submitted by TK member Georgia Pellegrini.

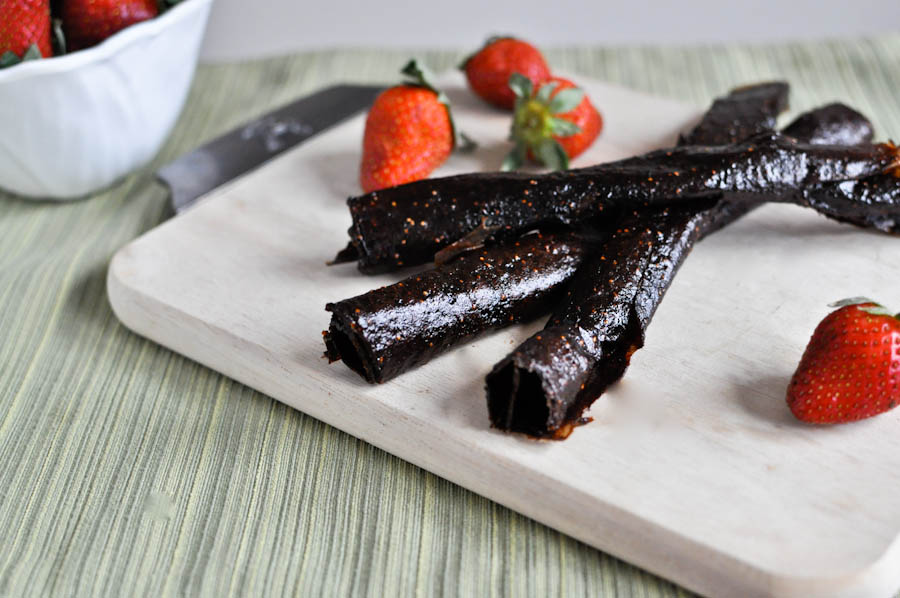
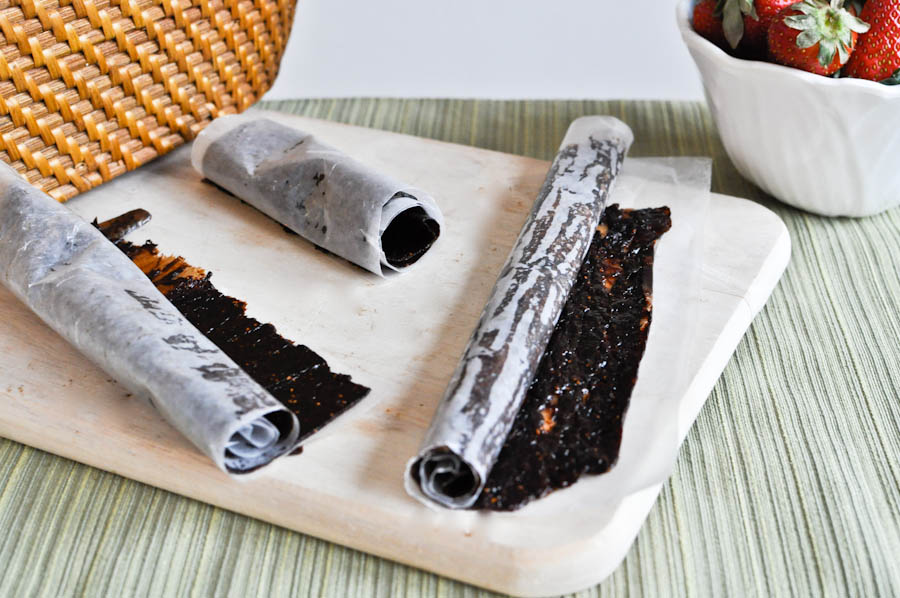
Like a kid in a candy store, I couldn’t stop tasting it. It was so delicious. And so easy! I couldn’t believe that I could make fruit leather at home. I rolled it up just like the old school fruit roll-ups.

I sense a new obsession coming on. Since last week, I’ve been envisioning every flavor of fruit leather known to man. I am quite anxious to try peach leather. And how about fig leather? Or mango leather? Kiwi leather? I would love those crunchy little seeds. Or how about this kumquat and tangerine fruit leather by acharlestonkitchen? Could one make a cantaloupe and fresh mint leather? I think we all know what I’m going to be doing for the next 3 months.


Tasty Kitchen Blog: Homemade Fruit Leather. Guest post by Jessica Merchant of How Sweet It Is, recipe submitted by TK member Georgia Pellegrini.

 
This is probably one of my favorite recipes to date. It’s delicious and makes for a perfect snack. It’s much healthier than the processed fruit leather since you can determine exactly what goes into it. And it is so much easier than I previously thought. Thanks so much for the recipe, Georgia! (If you don’t know her yet, you should! Visit her blog, Georgia Pellegrini and enjoy all her other wonderful recipes and posts.)


Printable Recipe

Homemade Fruit Leather

See post on georgiapellegrini’s site!
3.25 Mitt(s) 4 Rating(s)4 votes, average: 3.25 out of 54 votes, average: 3.25 out of 54 votes, average: 3.25 out of 54 votes, average: 3.25 out of 54 votes, average: 3.25 out of 5

Prep Time:

Cook Time:

Difficulty: Easy

Servings: 15

15
x

Print Options

Page size Letter 3x5 4x6
Text Size Small Medium Large
Content Include description
Include prep time, etc.
Show image

Description

An easy way to make dried fruit leather at home with any fresh fruit.

Ingredients

  • 2 cups Strawberries Or Other Fresh Fruit, Chopped Into Small Pieces
  • ¼ cups Water
  • 1 Tablespoon Lemon Juice
  • ¼ cups Sugar (optional, Depending On The Sweetness Of Your Fruit)
  • 1 Tablespoon Vegetable Oil

Preparation Instructions

1. Preheat the oven to 150 -170 degrees F.

2. Place the fruit in a medium saucepan with the water and lemon juice. Simmer on medium heat, mostly covered, until they are very soft and mushy. Stewing the fruit helps it retain its color.

3.Transfer the fruit pulp mixture to a food processor or blender and blend until smooth. If it is a fruit with seeds, a food mill will remove the seeds more easily than a food processor and strainer. Taste the fruit at this point, and add the sugar if it is not sweet enough. Keep in mind that as the fruit leather dries, it will concentrate the natural sugars in the fruit and become sweeter on its own. Add a small amount of water to the mixture if necessary so that it has a pourable consistency.

4. Cover a baking sheet with plastic or a silicon baking pad. The temperature of the oven is low enough not to affect the plastic.

5. Spray or brush your baking sheet with the vegetable oil, then spread the fruit puree onto the sheet tray with an offset spatula or knife to 1/8-1/4 inch thickness. Place it in the oven for 6-8 hours. Make sure there is air circulating to prevent scorching. Alternatively place it in the sun for 6-8 hours.

6. Invert the fruit leather onto another baking sheet that has been covered in plastic or silicon baking pad and oiled, and remove the first lining. Place in the oven or sun for another 6-8 hours. If it becomes too brittle at any point, simply brush on water with a pastry brush to rehydrate it.

7. Cool the sheet tray and cut the fruit leather into desired sizes. Dust with corn starch to prevent sticking, cover in plastic and store in a cool place in a sealed container.


_______________________________________

Jessica Merchant is a personal trainer turned food writer and blogger. Her blog, How Sweet Eats, is where she proclaims her love for all things sweet, all things bacon, and everything else in between. She works her magic in her Pittsburgh kitchen, which she shares with her husband of 2 years.
 

Profile photo of HowSweetEats

Homemade Naan

Posted by in Step-by-Step Recipes

Tasty Kitchen Blog: Homemade Naan. Guest post by Jessica Merchant of How Sweet It Is, recipe submitted by TK member Prerna of Indian Simmer.

 
One of my resolutions for New Year was to make more homemade bread. I couldn’t think of a better place to begin than with one of my favorites: fluffy naan.

To be honest, naan has always intimidated me a bit. It is so delicious that I assumed it must be complicated. Luckily, I stumbled upon Prerna’s recipe for Homemade Naan and can say that is has single-handedly changed my life. Long gone are the days that I have to run to the store and purchase naan to satisfy a craving. Now I can make it at home!

Not only that, but I can’t believe how simple it really is. I promise it is even easier than it looks.

I followed Prerna’s recipe exactly, and loved it so much that I also made a second batch with whole wheat pastry flour. It came out great too! Now my only problem is that I can’t stop eating naan with loads of butter. Send help!


Tasty Kitchen Blog: Homemade Naan. Guest post by Jessica Merchant of How Sweet It Is, recipe submitted by TK member Prerna of Indian Simmer.

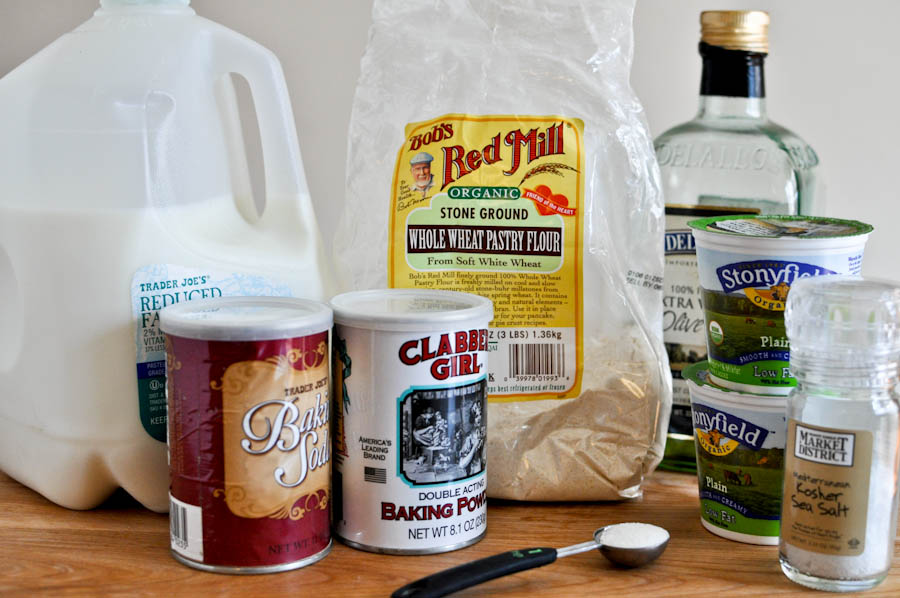
Here’s everything you need for the dough: milk, plain yogurt, baking soda, baking powder, sugar, salt, olive oil and either whole wheat pastry flour or all-purpose flour. You probably have all the ingredients in your kitchen! In fact, I think you should head on in there right now and whip some up.


Tasty Kitchen Blog: Homemade Naan. Guest post by Jessica Merchant of How Sweet It Is, recipe submitted by TK member Prerna of Indian Simmer.

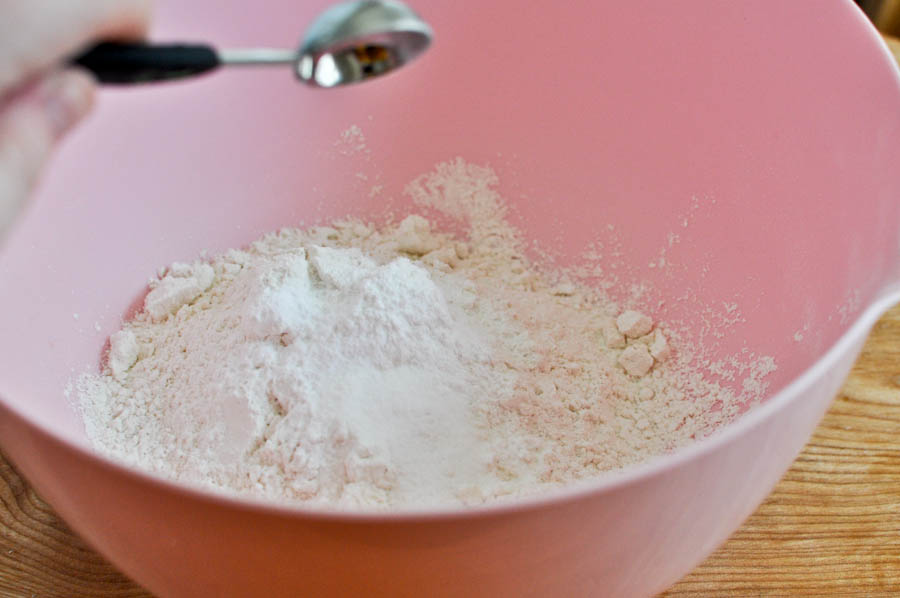
Begin by combining all of your dry ingredients—the flour, baking soda, baking powder, sugar and salt—into a bowl. Mix them up well.


Tasty Kitchen Blog: Homemade Naan. Guest post by Jessica Merchant of How Sweet It Is, recipe submitted by TK member Prerna of Indian Simmer.

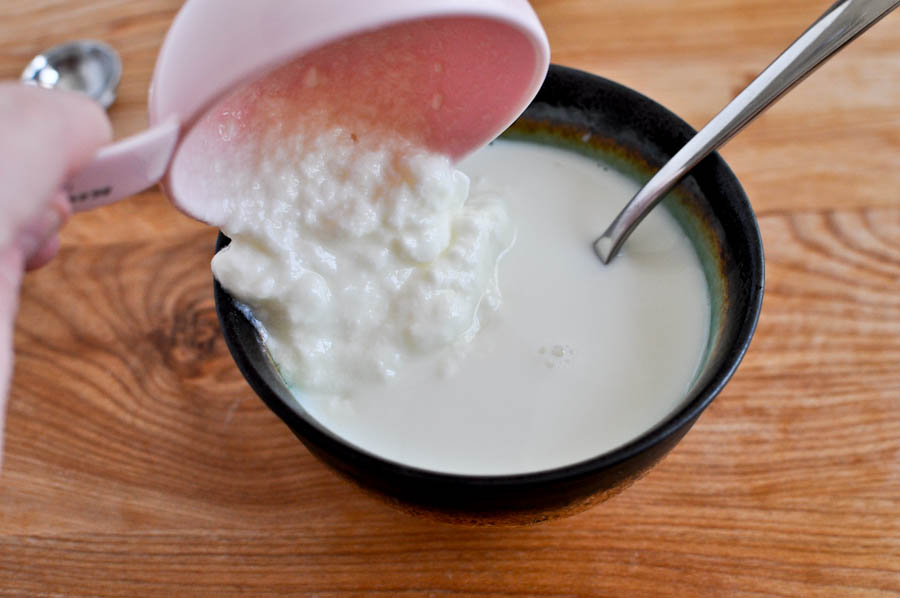
In a separate bowl, warm the milk (I used the microwave and heated mine for about 25 seconds) with the plain yogurt. I let my yogurt sit out for about 15–20 minutes just to take the chill off. It may look a little funky, but just follow the rules. Prerna knows her stuff.


Tasty Kitchen Blog: Homemade Naan. Guest post by Jessica Merchant of How Sweet It Is, recipe submitted by TK member Prerna of Indian Simmer.

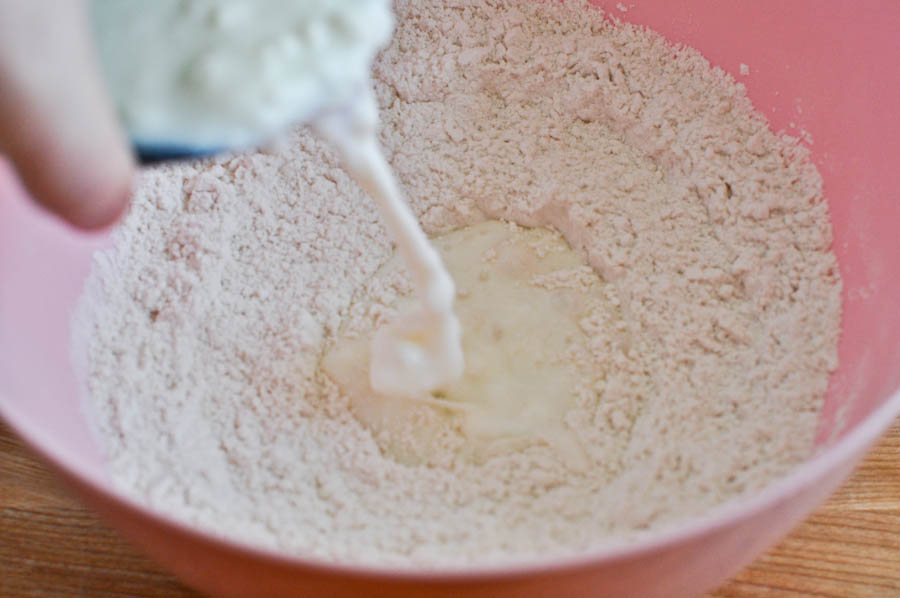
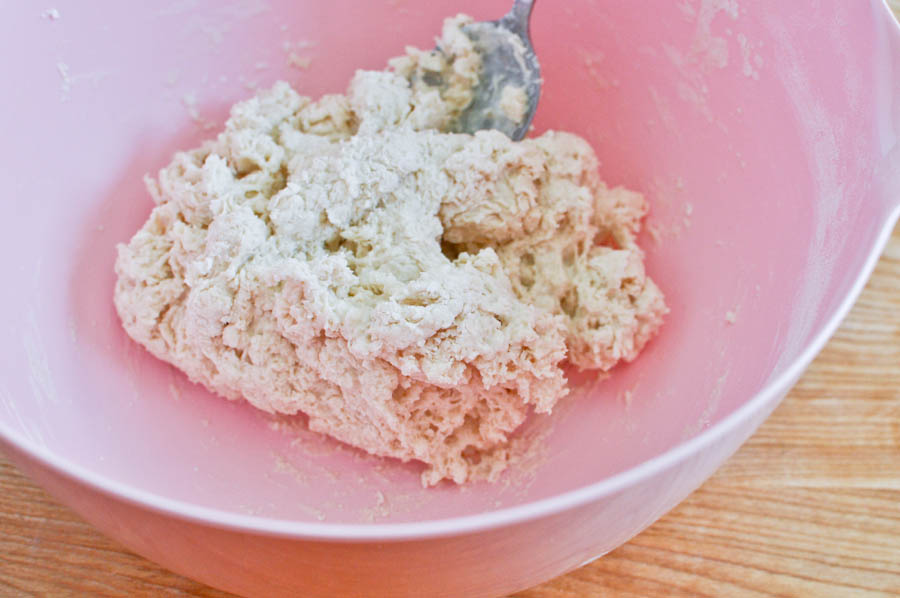
Make a well in the center of the dry ingredients and slowly add half of the yogurt and milk mixture. Right here is where I fell in love with Prerna’s recipe because of her honest instructions: she does not believe that there is one exact liquid measurement to mix with one exact flour measurement to form the perfect dough. I believe the same! While that theory may take a bit of practice and getting used to, it is nearly foolproof when it comes to this naan. After adding half of the mixture, gradually add a bit more until the dough comes together. I ended up using the entire milk and yogurt mixture with the all-purpose flour. However, I only used about 3/4 of the mixture when using the whole wheat pastry flour.


Tasty Kitchen Blog: Homemade Naan. Guest post by Jessica Merchant of How Sweet It Is, recipe submitted by TK member Prerna of Indian Simmer.

Mix the dough with a spoon until it comes together. Use a bit of oil to grease your hands and form the dough into a ball. No kneading at this stage!


Tasty Kitchen Blog: Homemade Naan. Guest post by Jessica Merchant of How Sweet It Is, recipe submitted by TK member Prerna of Indian Simmer.

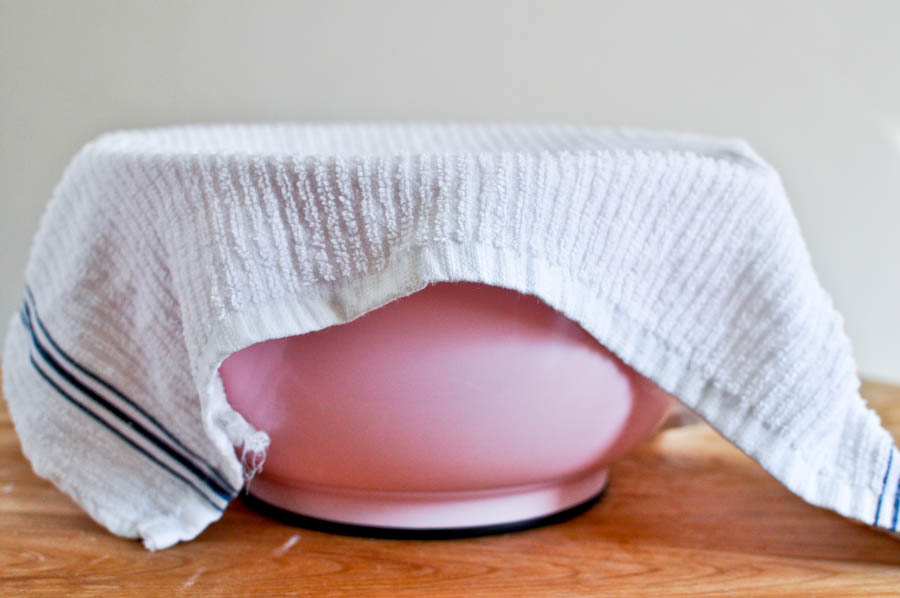
Now it’s time to let the dough work its magic. Cover it with a damp cloth and let it sit for at least 2 hours. In this time, go do something fun like bake cookies or walk the dog. I took this moment to scrub my kitchen floor, which is very out of character for me. I hope I’m not falling ill.


Tasty Kitchen Blog: Homemade Naan. Guest post by Jessica Merchant of How Sweet It Is, recipe submitted by TK member Prerna of Indian Simmer.

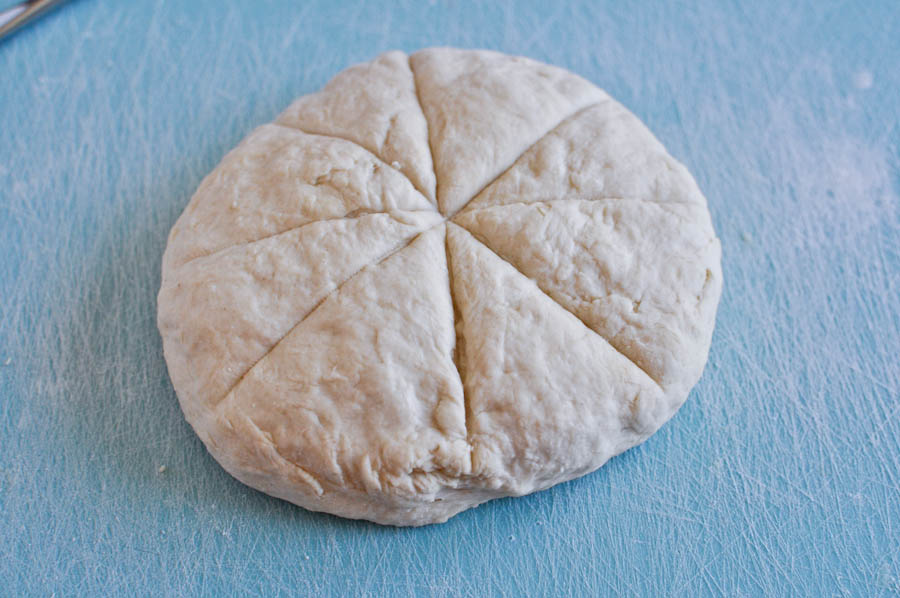
After the two hours have passed, dust your work space with flour and knead the dough for 2-3 minutes. It should be soft and pliable. Form it into a circle. I actually scored my dough to make it easier to get uniform pieces.


Tasty Kitchen Blog: Homemade Naan. Guest post by Jessica Merchant of How Sweet It Is, recipe submitted by TK member Prerna of Indian Simmer.

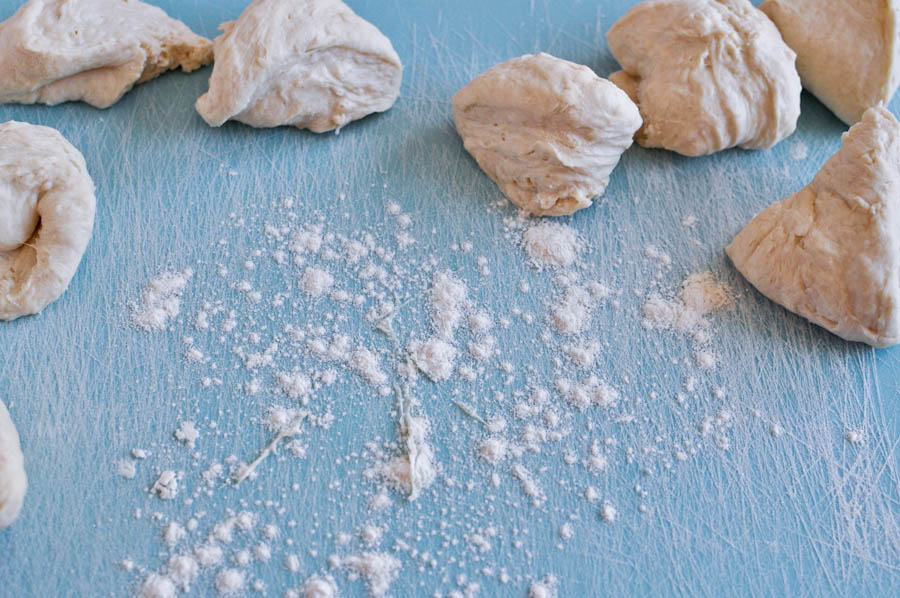
Separate the dough into eight pieces. Sprinkle some flour on your workspace again and flatten each piece of dough. It should still be slightly thick and somewhat elongated.


Tasty Kitchen Blog: Homemade Naan. Guest post by Jessica Merchant of How Sweet It Is, recipe submitted by TK member Prerna of Indian Simmer.

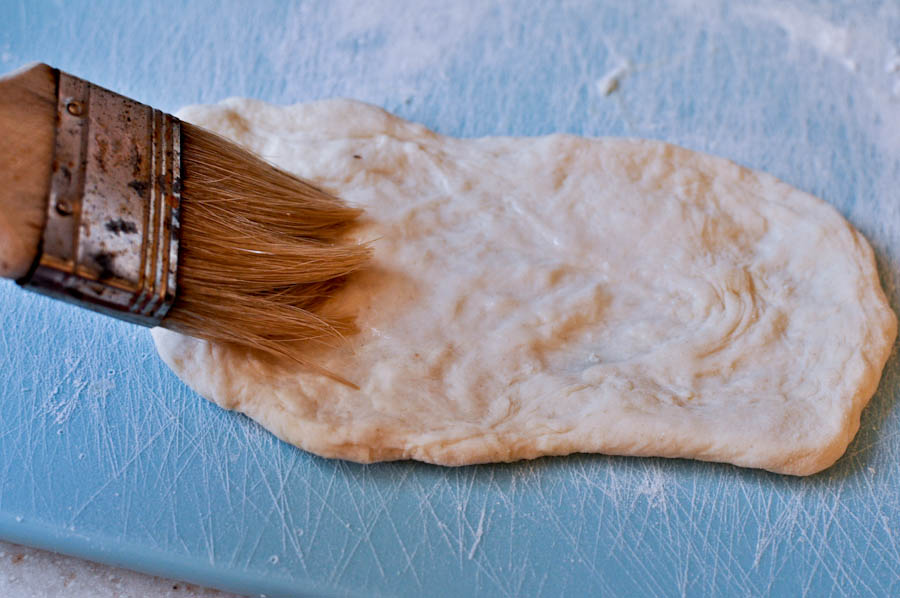
The time has come to season your naan! You want to season one side with your flavor of choice; I chose garlic and a bit of smoked paprika. But there is a world of possibilities out there. Get creative! In the meantime, brush the opposite side with water.


Tasty Kitchen Blog: Homemade Naan. Guest post by Jessica Merchant of How Sweet It Is, recipe submitted by TK member Prerna of Indian Simmer.

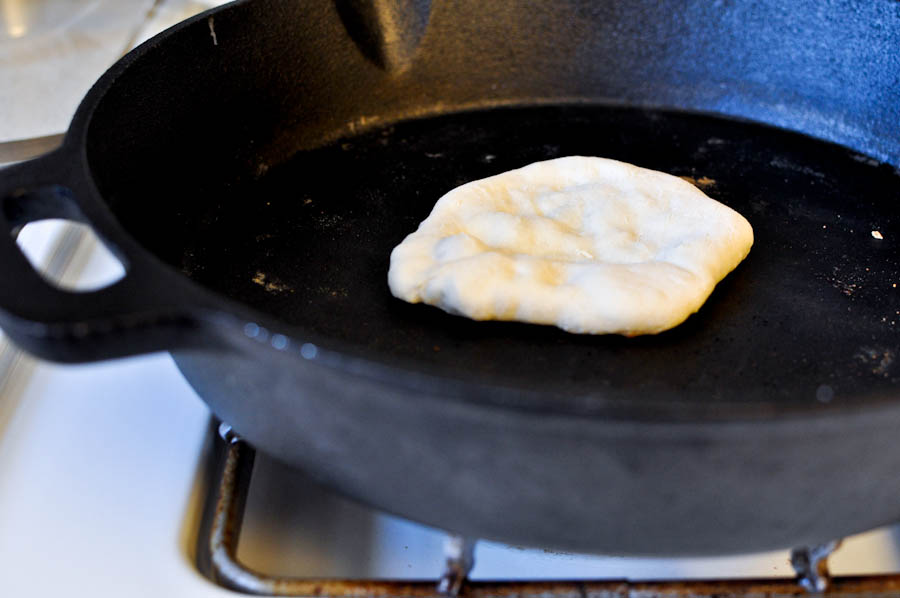
Heat a skillet on medium heat. I used my dandy, trust old cast iron. I couldn’t live without it. Place your dough water-side down in the skillet. It will stick. Cook the naan for about 30-60 seconds. You know it’s time to flip it when you can see the dough bubbling. If it is still sticking, give it another 15 seconds and try again. Gently lift it up with kitchen tongs.

This is where you have two options. You can flip the naan in the skillet and cook the other side just like you did the first. I did this with a handful of my dough and each came out beautifully.


Tasty Kitchen Blog: Homemade Naan. Guest post by Jessica Merchant of How Sweet It Is, recipe submitted by TK member Prerna of Indian Simmer.

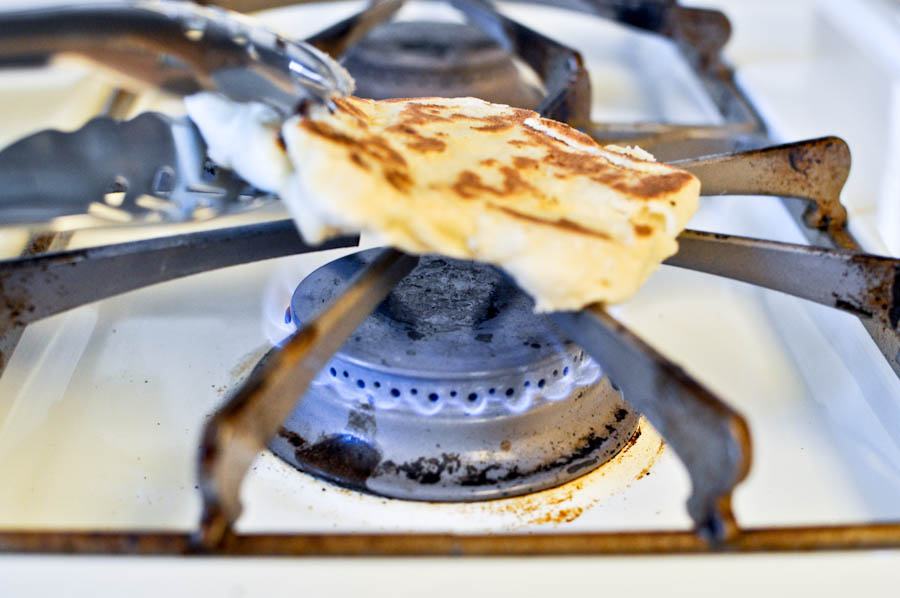
Prerna’s recipe calls for heating the other side of the naan over an open flame to achieve an authentic naan look and taste. I was hesitant at first, but I lit my burner next to my cast iron skillet and got to work.

I absolutely loved this result!

I used kitchen tongs and held the naan over the flame for about 30 seconds, rotating it constantly. The timing worked perfectly since the other naan was toasting in the skillet, and it became natural to get into a routine: move naan from the skillet to the flame, place the next naan in the skillet, rotate the naan over the open flame, then set aside on a plate to cool. Repeat!

I highly recommend this option for those of you with a gas stove. Just be careful! Make sure there is nothing flammable nearby (such as towels or napkins) and give your full attention to the naan.

And remember, the other option of completing the naan in the skillet yields an excellent result as well.


Tasty Kitchen Blog: Homemade Naan. Guest post by Jessica Merchant of How Sweet It Is, recipe submitted by TK member Prerna of Indian Simmer.

I ended up with a tall, fluffy stack of regular and whole wheat naan. I hope there is naan in Heaven.


Tasty Kitchen Blog: Homemade Naan. Guest post by Jessica Merchant of How Sweet It Is, recipe submitted by TK member Prerna of Indian Simmer.

Regardless of how you choose to flavor your naan, I recommend brushing it with tons of melted butter. Why would you do anything else?

Of course, you also have the option of making naan pizzas (a favorite in our house) or peanut butter and jelly naan or even dessert naan. Naan topped with peanut butter, honey, bananas and chocolate chips? Sign me up!


Tasty Kitchen Blog: Homemade Naan. Guest post by Jessica Merchant of How Sweet It Is, recipe submitted by TK member Prerna of Indian Simmer.

I promise you won’t ever want to buy store-bought naan again. Enjoy!

Thanks to Prerna for her fabulous recipe and for helping me step out of my comfort zone in the kitchen. She made my first naan experience quite enjoyable and extremely delicious. Check out her wonderful blog, Indian Simmer, which is chock full of beautiful photography and mouth watering recipes.


Printable Recipe

Homemade Naan

See post on indiansimmer’s site!
4.53 Mitt(s) 19 Rating(s)19 votes, average: 4.53 out of 519 votes, average: 4.53 out of 519 votes, average: 4.53 out of 519 votes, average: 4.53 out of 519 votes, average: 4.53 out of 5

Prep Time:

Cook Time:

Difficulty: Easy

Servings: 4

4
x

Print Options

Page size Letter 3x5 4x6
Text Size Small Medium Large
Content Include description
Include prep time, etc.
Show image

Description

Naan is one of the most popular Indian breads. It is a flat bread made with fermented dough, traditionally cooked in a clay oven called tandoor.

Ingredients

  • 2 cups All Purpose Flour Or Wheat Flour
  • ¾ teaspoons Baking Powder
  • ½ teaspoons Baking Soda
  • ½ teaspoons Sugar
  • ¼ teaspoons Salt
  • ½ cups Warm Milk
  • ½ cups Yogurt
  • ½ Tablespoons Oil, As Needed
  • Additional Optional Herbs And Seasonings To Flavor The Naan (See Note)

Preparation Instructions

Note: The ingredient list includes the ingredients for the dough. You can flavor your naan with all kinds of herbs. I made cumin naan, garlic naan, butter naan, and some topped with cilantro.

Mix all the dry ingredients together and make a well of flour.

Mix milk and yogurt together and pour half of it into the well and slowly combine it together.

I don’t think there’s an exact amount of liquid that should be added to the exact amount of flour to make a perfect dough. So what I do is continue adding liquid slowly and combining it all together slowly until a soft dough is made. The dough should be soft enough for you to be able to dig your finger into it without applying any pressure. If dough sticks to your hand too much, then use little bit of oil on your hands and then punch into the dough.

Cover with a damp cloth and let it sit in a warm place for at least 2 hours.

After a few hours, dust your working board, take out the dough and knead it for about 2-3 minutes. Divide the dough into smaller balls (in this case you should get about 8 balls to make naans).

Dust the board again and flatten the balls to make bread that is a little thick and elongated.

Now sprinkle one side of the bread with your desired flavor. I made cumin, minced garlic, chopped cilantro and some simple butter naans.

Brush the other side with water.

Heat a thick-bottomed skillet or a wok or any heavy-bottomed pan with a lid. Once it is nicely hot, place the naan wet side down (it will stick) and cover it with a lid.

Let it cook for about 30 seconds or until you see bubbles on it. Now cook the other side of the naan over a direct flame on the burner with the help of tongs. When you see some charred brown spots then you know that the naan is done.

Smother a good amount of butter on your naans and when you taste them, you’ll know what a peaceful life means!


_______________________________________

Jessica Merchant is a personal trainer turned food writer and blogger. Her blog, How Sweet Eats, is where she proclaims her love for all things sweet, all things bacon, and everything else in between. She works her magic in her Pittsburgh kitchen, which she shares with her husband of 2 years.
 

Profile photo of HowSweetEats

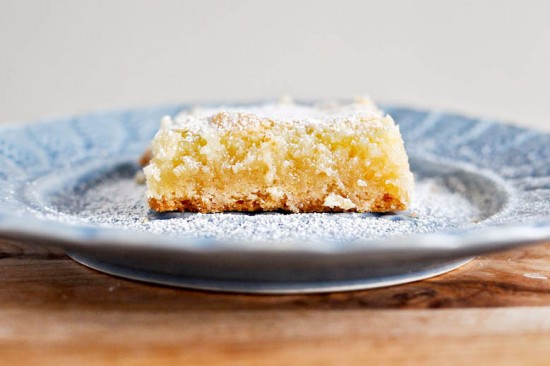
Gooey Butter Cake

Posted by in Baking, Step-by-Step Recipes

Note from Ree: I’m so excited to welcome Jessica from HowSweetEats as a new contributor here on Tasty Kitchen. Jessica’s bulging recipe box (149 recipes, anyone?) is a goldmine of deliciousness, and a testament to Jessica’s love for cooking and baking. For her inaugural post, Jessica brings us the step-by-step instructions for this Gooey Butter…