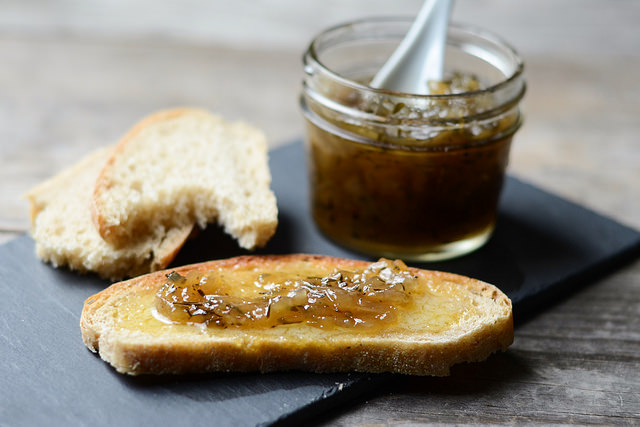
I have to admit that canning is one of my biggest cooking fears. I’m probably the world’s biggest canning baby. The thought of putting food in a pot that builds pressure that could potentially blow slightly terrifies me. I know this is highly unlikely, but the complication of the process also scares me.
While I was reading over Veronica’s recipe for this Maple and Onion Jam, I noticed that she used the water bath method. Right away my apprehension was greatly reduced. All that’s required is processing the jam for 10 minutes in boiling water. It really is that simple.
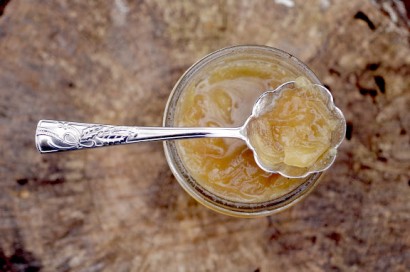
The flavor of this jam is kind of amazing. I definitely wouldn’t say it’s strictly savory because it is quite sweet; it’s jam, after all. And it’s amazing on toast. Or grilled cheese. But I’ll get to that later.
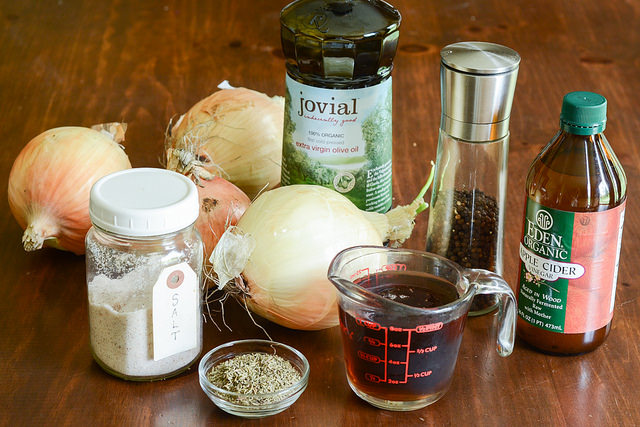
Here are all of the lovely ingredients you’ll need: olive oil, sweet onions (I used some local Walla Walla onions), salt, pepper, thyme, maple syrup, and apple cider vinegar.
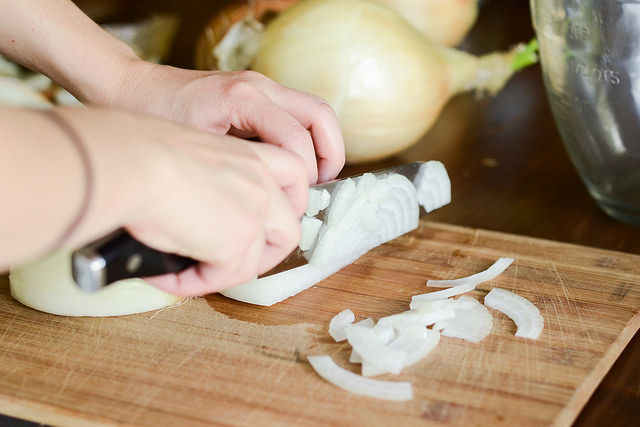
Step one: If you’re wearing mascara, make sure it’s waterproof, because we’re gonna chop a lot of onions. Does anyone else roll their eyes and do a little dance when their eyes start to smart? I’m pretty certain it helps.
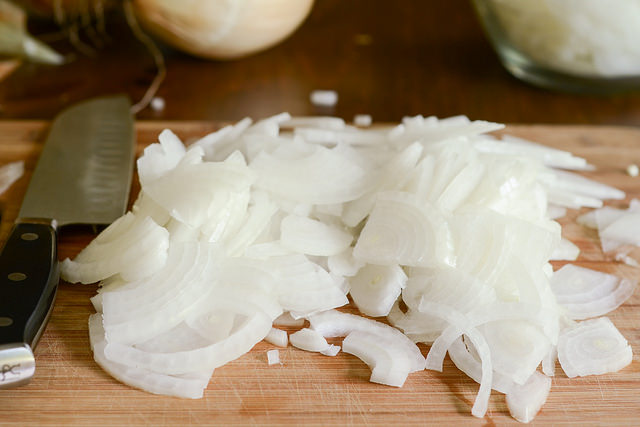
I actually only needed two large onions to get the required eight cups of chopped onions. If you’re using small or medium onions, you will, of course, need more.
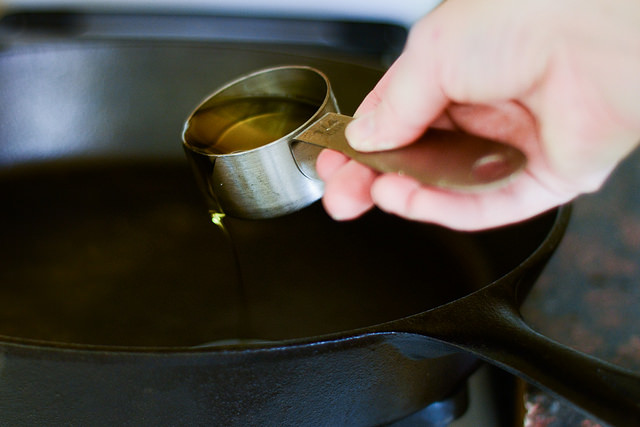
Now it’s time to cook down your onions. Heat the olive oil in a large skillet.
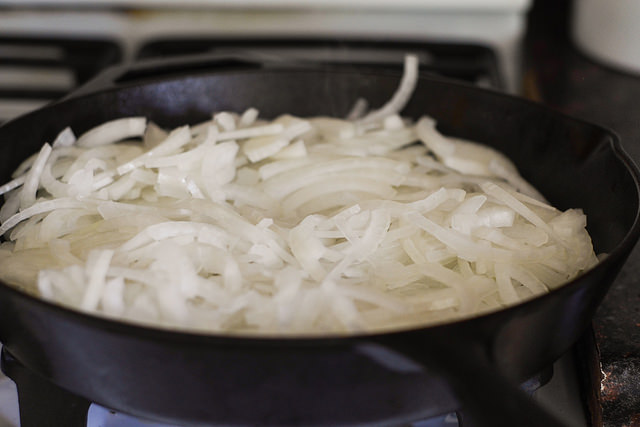
Add your chopped onions and cook until the onions become translucent, about 10 minutes or so.
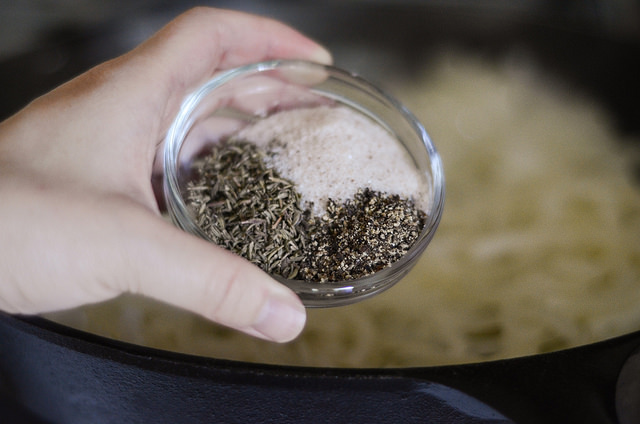
Add the salt, pepper, and thyme.
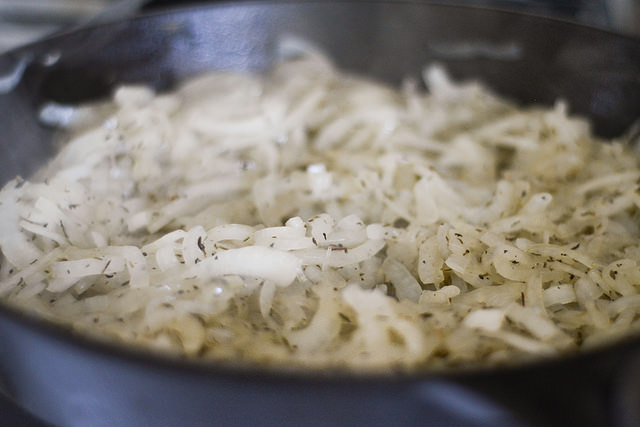
Isn’t it pretty?
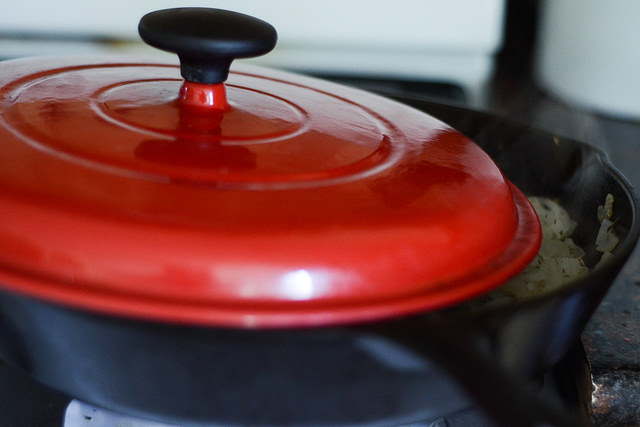
Turn down the heat and cover your skillet. I don’t have a lid for my cast iron skillet, so I improvised and used the largest lid I had.
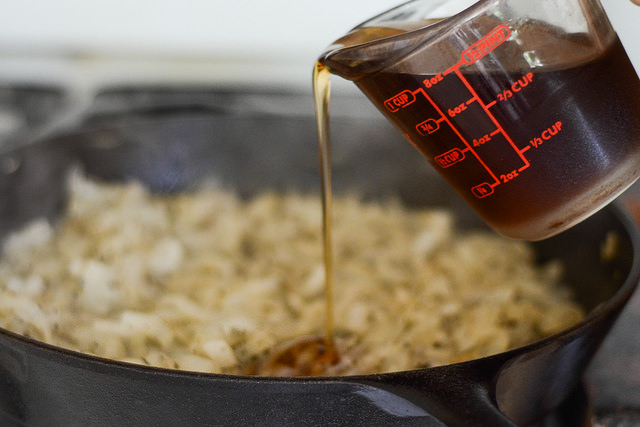
Once the onions have cooked for another 10 minutes or so, pour in the maple syrup. Oh yeah.
Cook uncovered for another 15 minutes, or until most of the liquid has evaporated. I had to cook mine for at least an extra 10 minutes.
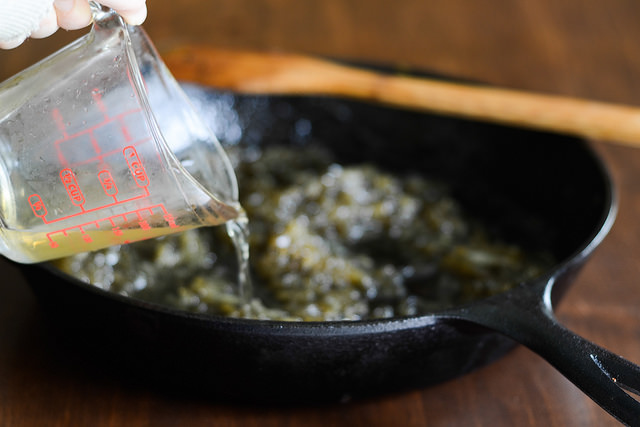
Remove from heat and stir in the vinegar.
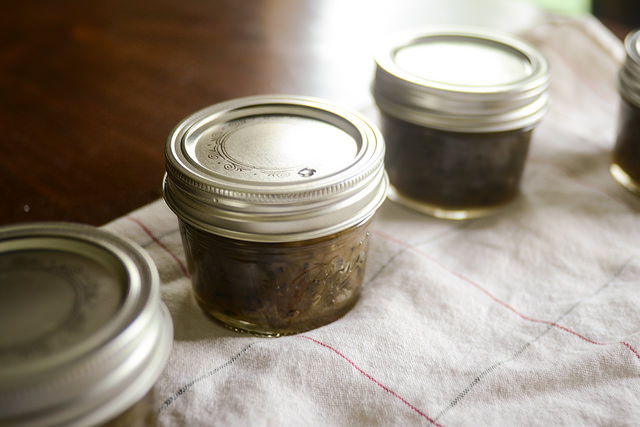
Ladle the jam into (sterilized) jars and screw on the lids.
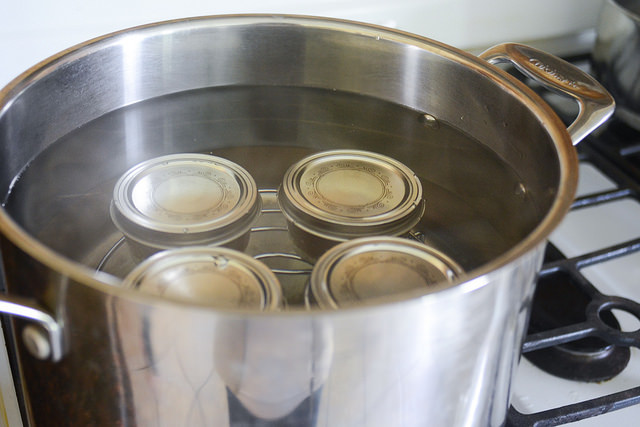
Process in a (boiling) water bath for 10 minutes. Carefully remove the jars and allow to cool. I say, “Another one bites the dust!” when I hear the ping of the jars sealing. My toddler probably thinks I’m crazy.
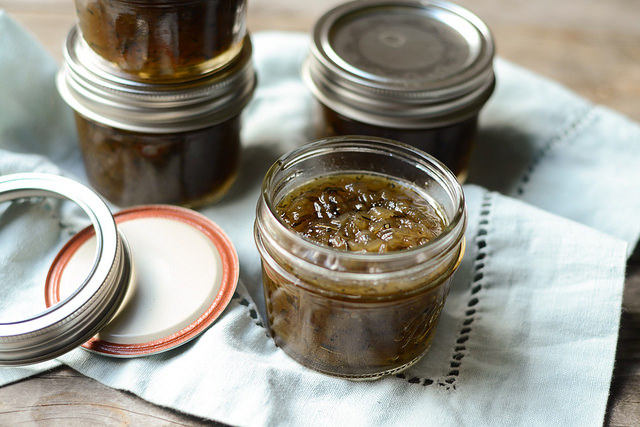
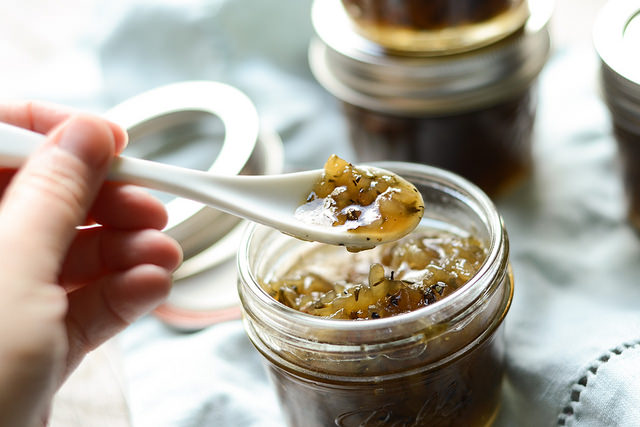
I think this is the tastiest jam I’ve ever made. As soon as I open a jar, my kitchen smells wonderful. There are so many potential uses: on burgers, toast, as a relish for meat (pork pairs well), or fancy grilled cheese.
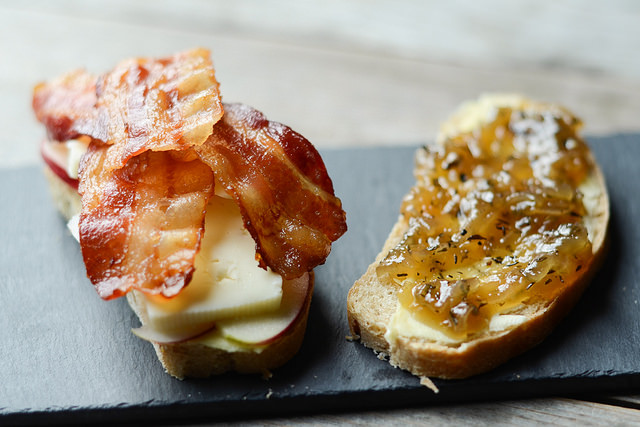
I made a grown-up grilled cheese with butter, thinly sliced apples, Havarti, bacon, and the onion jam. It’s one of the best things I’ve created in a while.
Notes:
- I recommend filling your canning pot with water and turning on the heat first thing. It takes FOREVER for a large pot of water to boil.
- As I mentioned before, you don’t need a special canning pot for water bath canning. All you need is a large, deep pot and a round rack to keep the jars off the bottom of the pan. I’ve heard that you can even use lid rings!
Many thanks to Veronica for sharing her recipe here on Tasty Kitchen. If you want to see more of her comfort-food recipes, stop by her blog, My Catholic Kitchen. Her Caramel Apple Bread and Butter Pudding sounds really good right now.
Printable Recipe
Print Options
Description
Maple and onion jam is sweet and savory. It makes a great foodie gift. You probably have all the ingredients in your pantry.
Ingredients
- ¼ cups Olive Oil
- 8 cups Sweet Onion, Quartered And Sliced Thin
- 2 teaspoons Kosher Salt
- 1 Tablespoon Thyme
- 1 teaspoon Black Pepper
- 1 cup Maple Syrup
- ¼ cups Cider Vinegar
- 5 jars 4-ounce Size Canning Jars With Lids And Rings, Sterilized According To Standard Safe Canning Practices
Preparation Instructions
In an 8 inch skillet (I use my cast iron) heat the olive oil and add the onions. Cook over medium heat for 10 minutes or until the onions become translucent. Reduce the heat to medium low and add salt, thyme and pepper. Cover the skillet and cook for another 10 minutes. Increase heat to medium and add maple syrup. Bring to a boil and lower heat just a bit so you keep it at a simmer. Cook uncovered another 15 minutes. At this point most of the liquid should have evaporated. Remove the skillet from the heat and add the vinegar.
Ladle the mixture into hot sterilized canning jars (I used the 4 ounce kind) leaving a 1/4 inch head space. Wipe off the jar rims with a damp clean towel and adjust the lids. Process in a water bath for 10 minutes. Remove from the water bath and cool. Wait for the lovely ping of the lid when it seals.
This makes about five 4 ounce jars.
_______________________________________
Erica Kastner has always been one of our most cherished members of the Tasty Kitchen community. She shares her wonderful recipes and amazing food photography on her blog, Buttered Side Up, and she also writes about crafts and posts more of her beautiful photography in her personal blog, Simple Days. There really isn’t much that this amazing young wife and mother can’t do, and we’re thrilled she does some of it here.


4 Comments
Comments are closed for this recipe.
a on 11.15.2014
I’m no expert, but this doesn’t look safe to can, to me. I only use canning recipes from a few trusted sources because there are serious safety issues at play. Please use caution when making and promoting canning recipes. Just because someone has done it doesn’t mean it is safe.
Cait on 11.12.2014
This looks absolutely delicious. We’re on a pretty restricted diet right now, and this even looks like I can have everything in it! So excited.
Veronica @ My Catholic Kitchen on 10.28.2014
Oh my gosh! I am beyond happy that you featured this. Such a wonderful surprise! Way to rock it Erica.
Marcia on 10.28.2014
Sounds delicious. I’ll give it a try this weekend. I’m thinking over some baked Brie, yum.