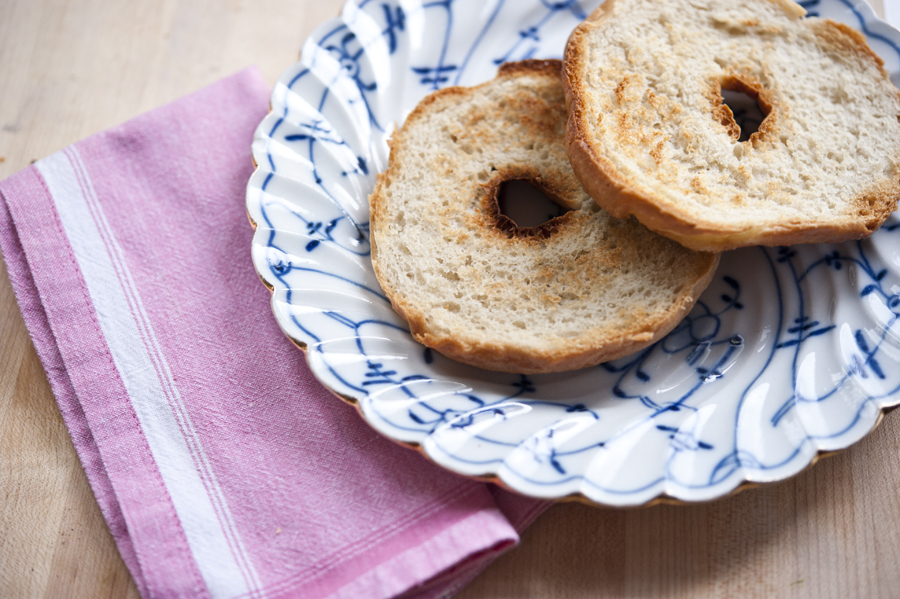
I was visiting a friend recently and she casually offered me bagels for breakfast—she just had to finish baking them, she said.
Baking them? You see, she let them rise overnight, then finished them off in the morning so they’d be warm and crusty for breakfast. She made them from scratch.
If that isn’t impressive, I don’t know what is. I asked her to move in with me. She said she’d have to ask her husband first.
But it got me to wondering. I’m a New Yorker. Shouldn’t bagel-making abilities be part of my DNA?
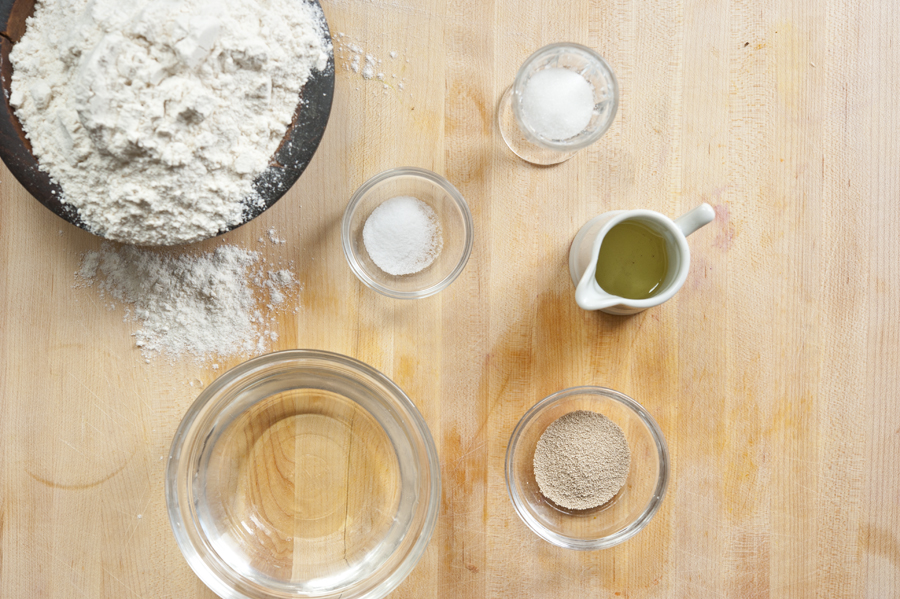
When I saw Meredith’s recipe for homemade bagels, I was inspired to give it a try. It only has these simple ingredients after all: flour, water, sugar, salt, yeast, and oil.
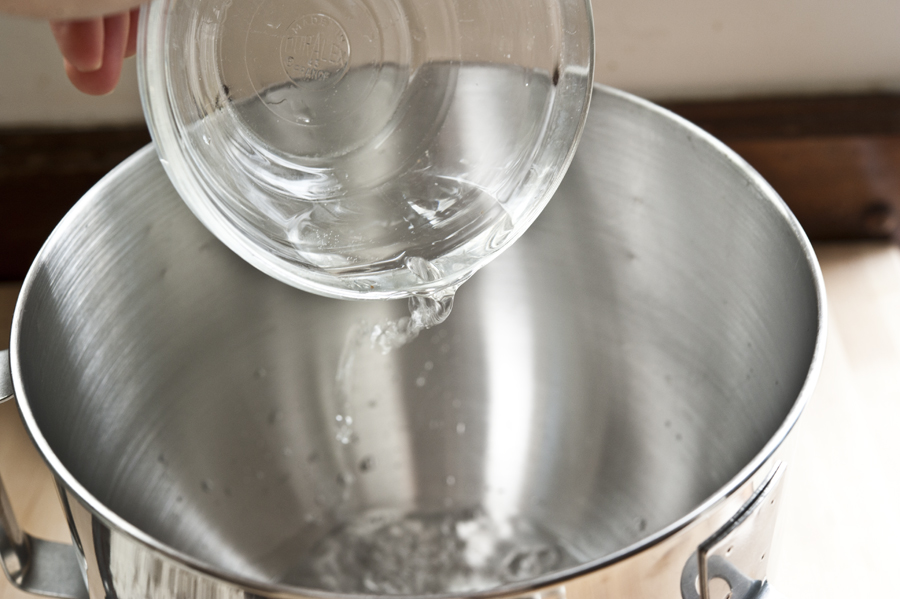
You start by adding warm water to a mixing bowl. The bowl from a stand mixer works best if you have one, so that you can mix it with the paddle attachment.
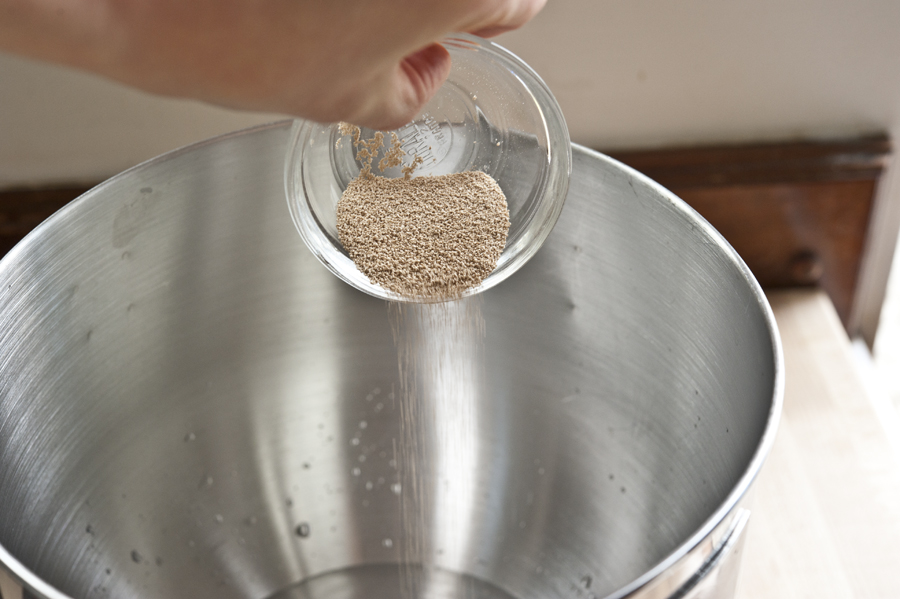
You add the yeast to the warm water…
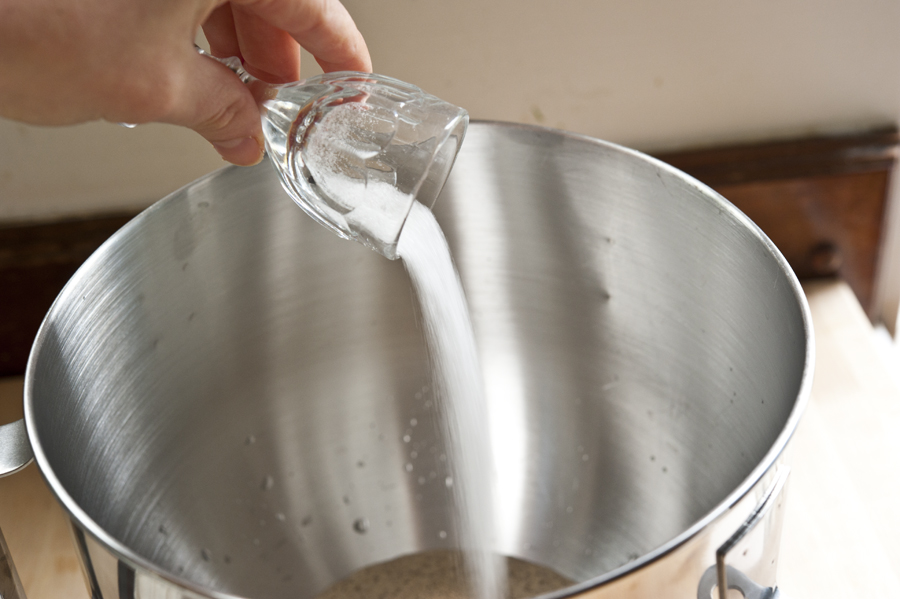
…along with the sugar. Sugar and warm water are the best things to activate yeast quickly. Mix those together and let the yeast begin to bubble.
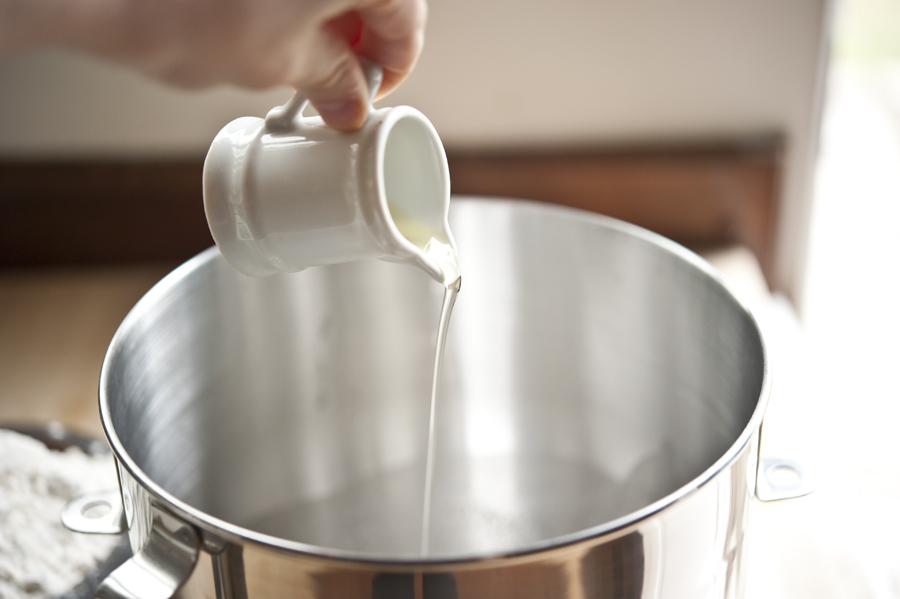
Once the yeast doubles, you add the oil.
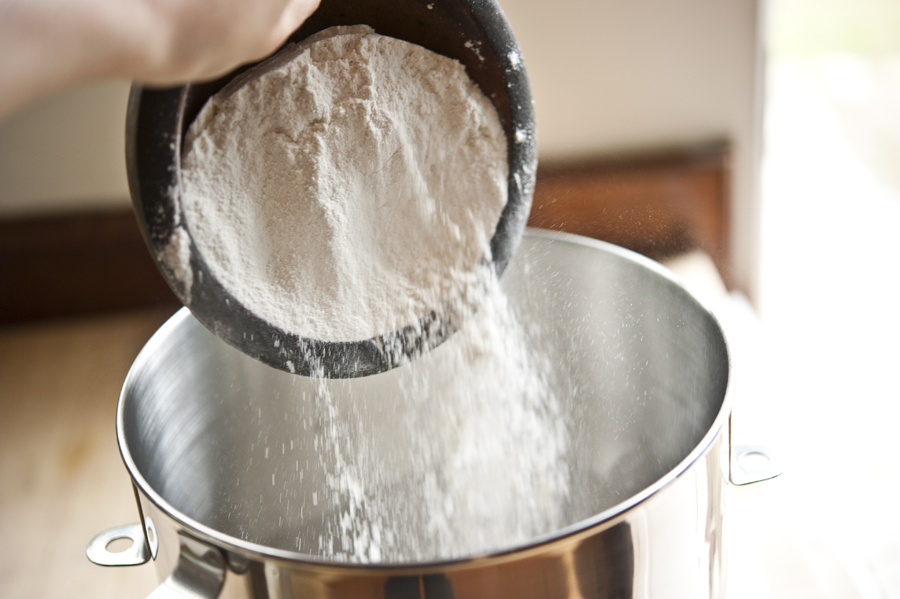
Then comes the flour and salt and the whole thing gets placed into the mixer with the paddle attachment.
You could also simply do this in a heavy glass bowl and use your hands to mix. They are the best tools in the kitchen, after all.
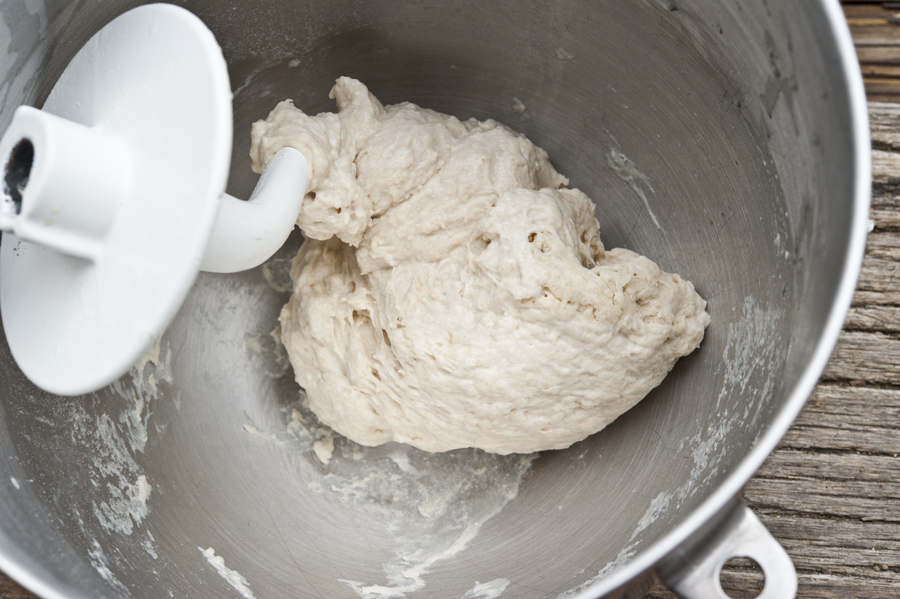
But if you have a mixer, you use the paddle attachment until it all comes together. (I know. That’s not my paddle attachment. Don’t be like me.) Like Meredith recommended, I used a sprinkling of water along the way and scraped down the sides of the bowl a few times.
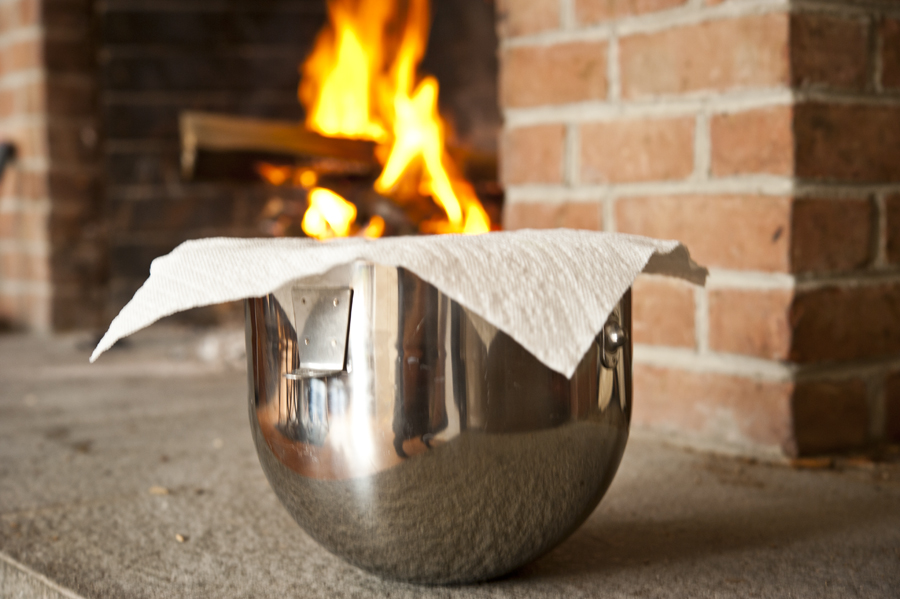
Then you cover the bowl and put it in a warm place to help it rise.
Now at this time of year, it can be hard to find a warm place, depending on which part of the country or world you are in. Where I am in New York, it’s still snowing, so I opted for a spot near the fireplace. You could also put it near the stove or a heater.
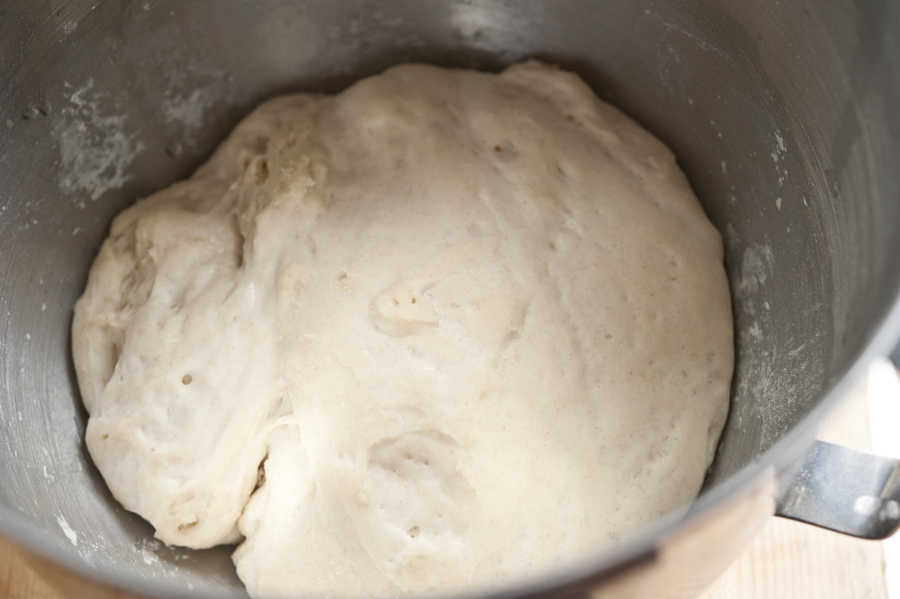
The varying conditions will affect how long it takes the dough to double. For me, it was about an hour.
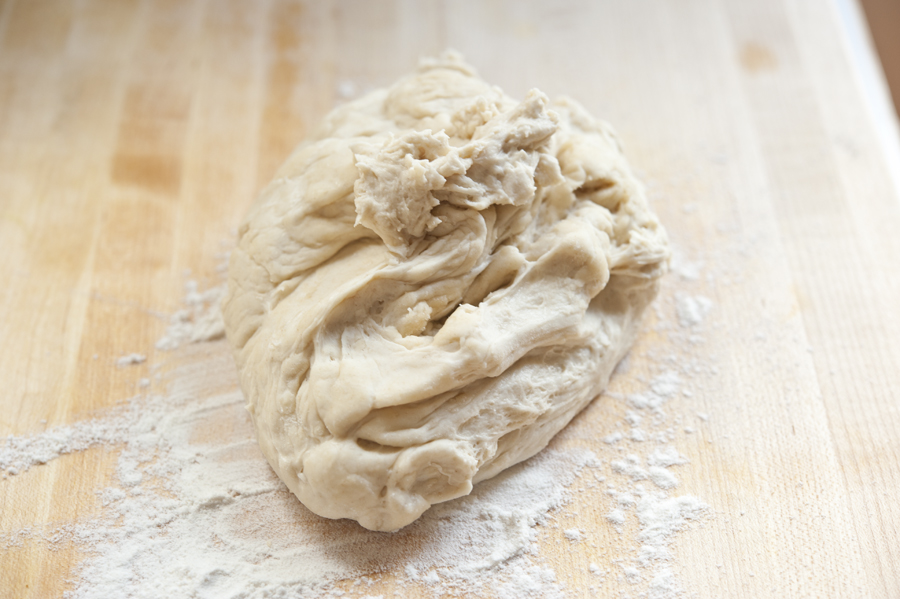
Once it has doubled, you punch it down and put it on a floured surface.
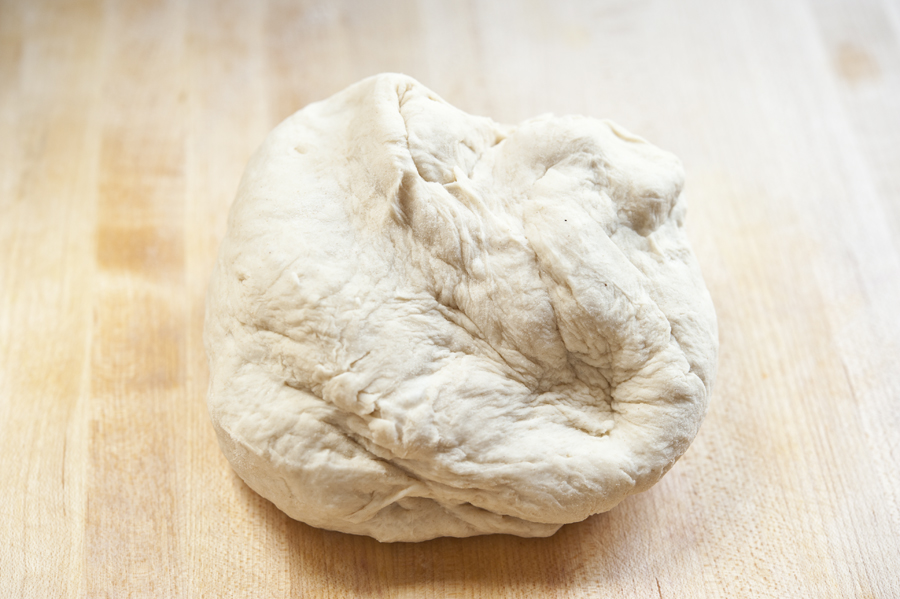
Then you knead it for a few minutes.
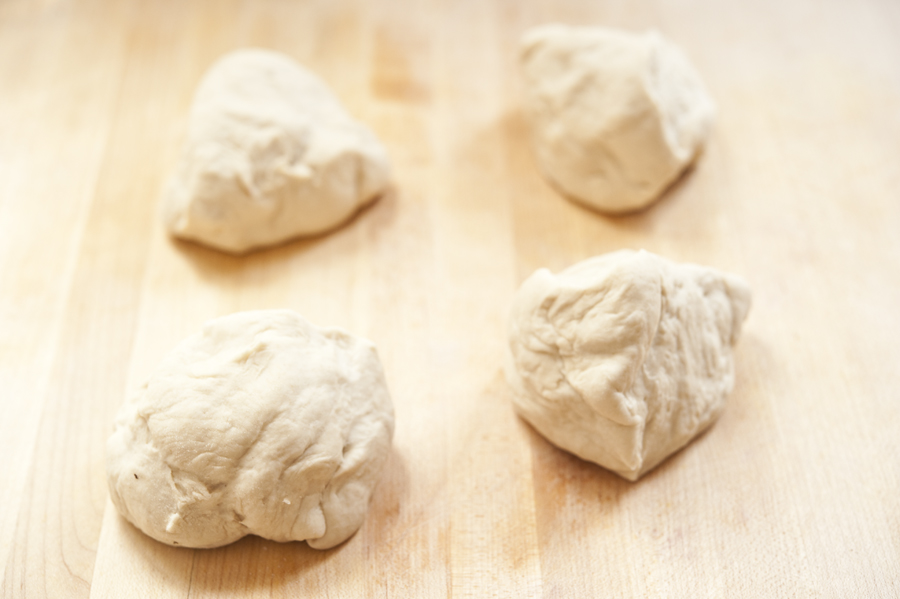
Then you cut it into portions. I cut mine into four since I wanted a bigger bagel, but you can also do six portions and it will work well.
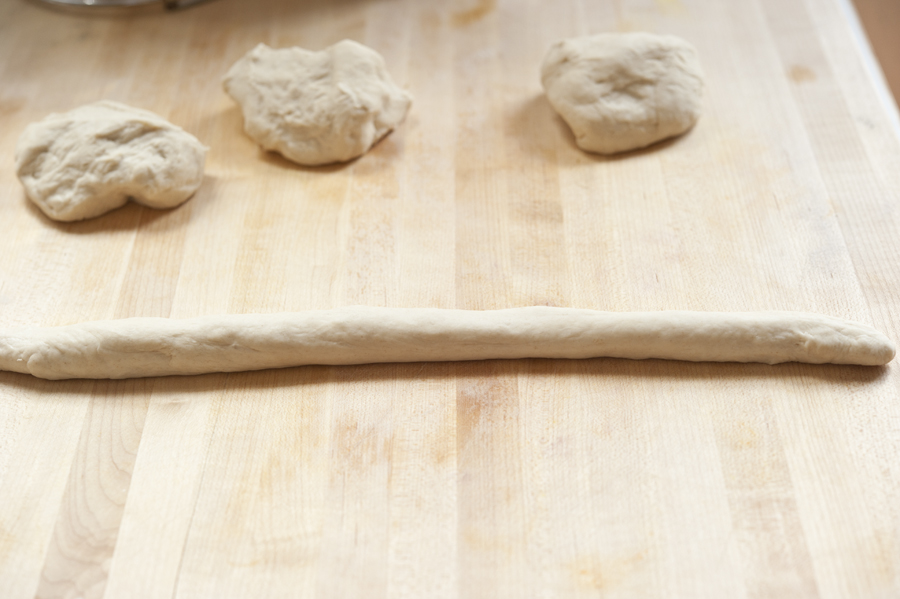
Roll each ball of dough into a long rope, long enough so that when you bring the edges together you have a nice circle in the center. Remember that the dough is still going to puff up again so the circle will become smaller!
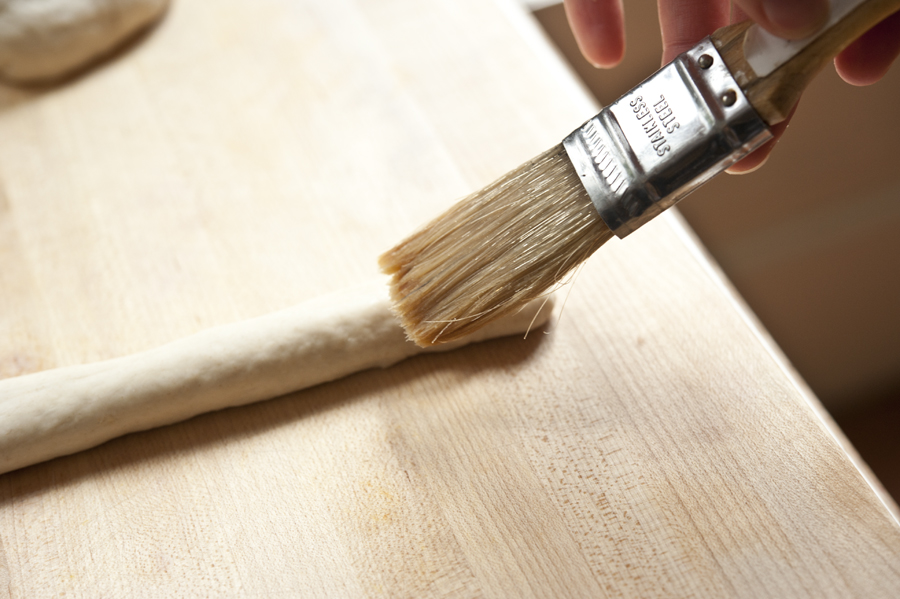
When you have it as long as you need, wet the edges a bit to make it easier to join them together.
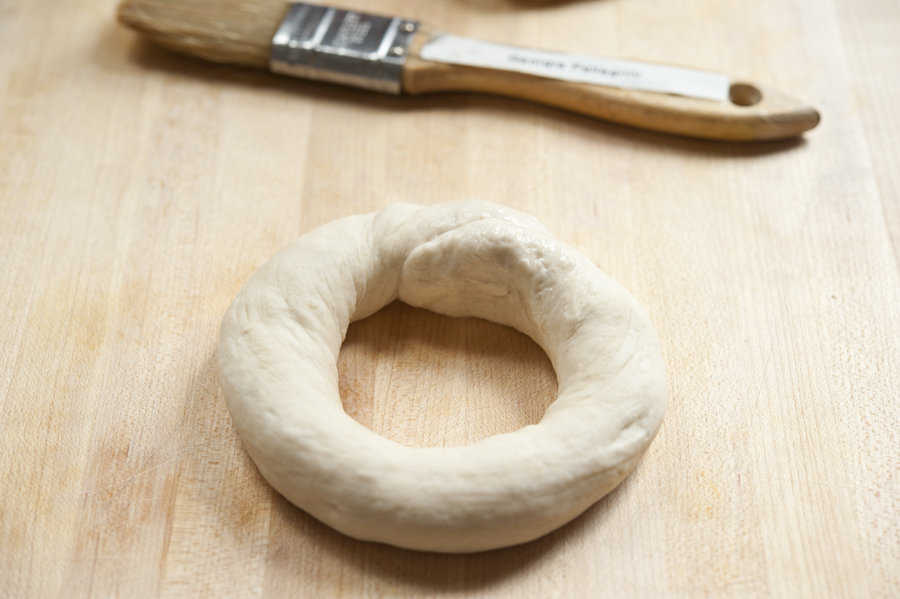
Your bagel will look something like this—skinny now, but with enough room so that it can puff up and still maintain its hole in the middle.
Now is also when you get to make fun of me for labeling my pastry brush with my name. Everyone in culinary school made fun of me for it but hey, look who still has her pastry brush from culinary school!
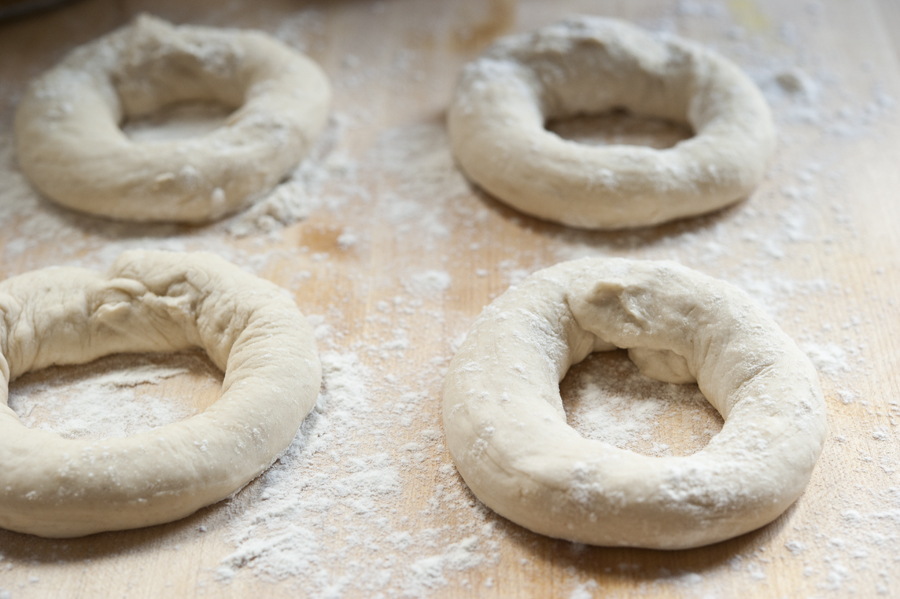
Now you lay the dough rings on a floured surface, cover them and let them rise and puff until they look as thick as a normal bagel.
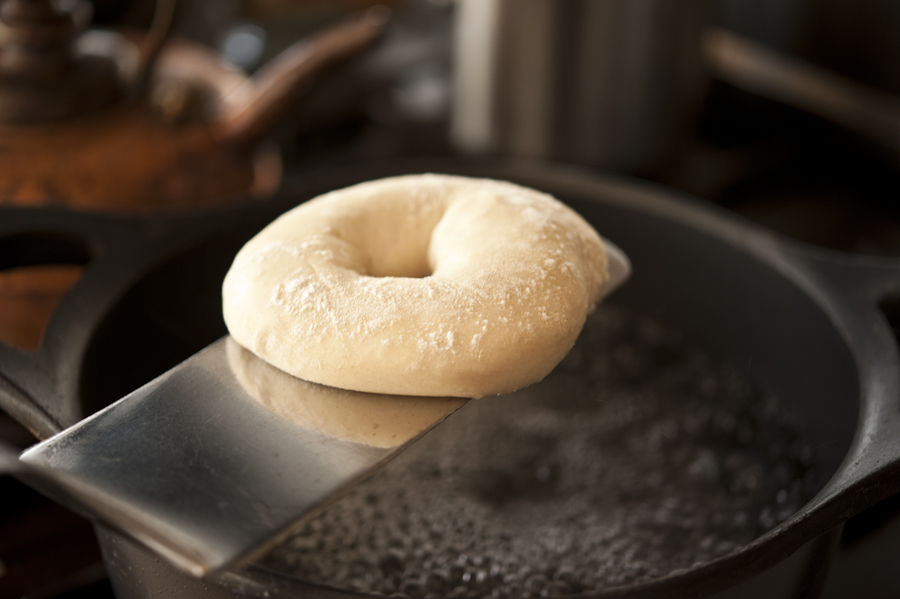
Get some water boiling and once the bagels are puffy, carefully lift them with a spatula and drop them in two at a time.
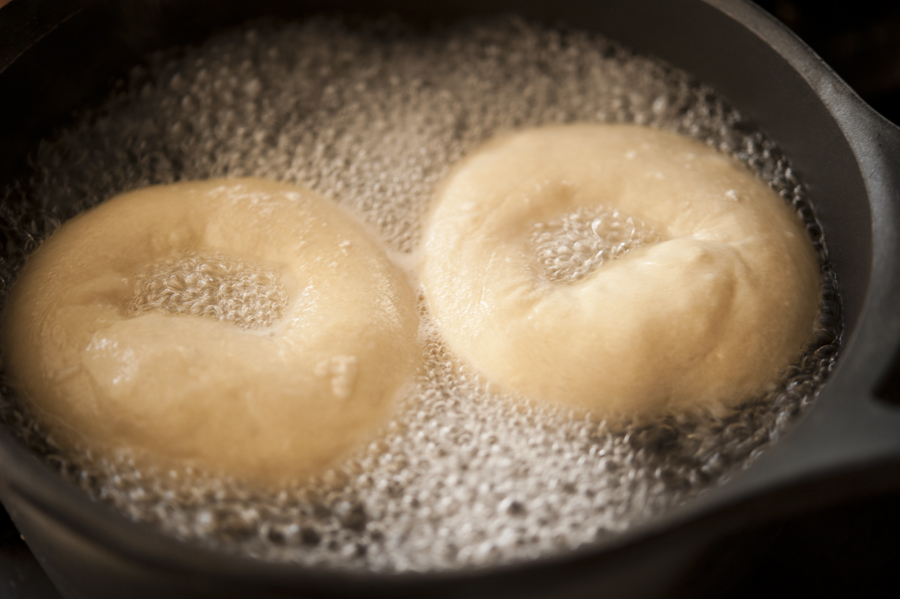
You’ll turn them over once to get both sides par boiled.
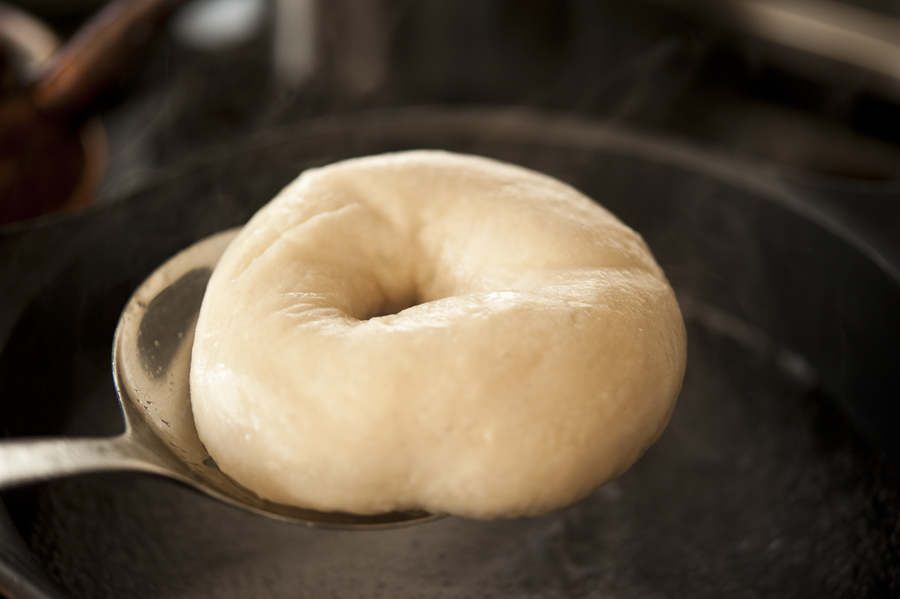
Then remove each one with a slotted spoon…
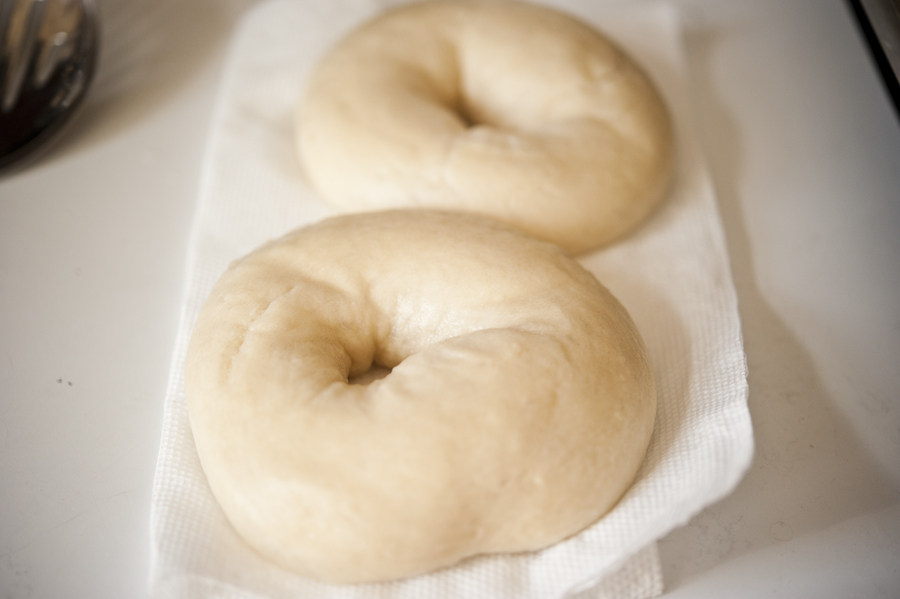
Transfer to a paper towel for just a few seconds to soak up the moisture…
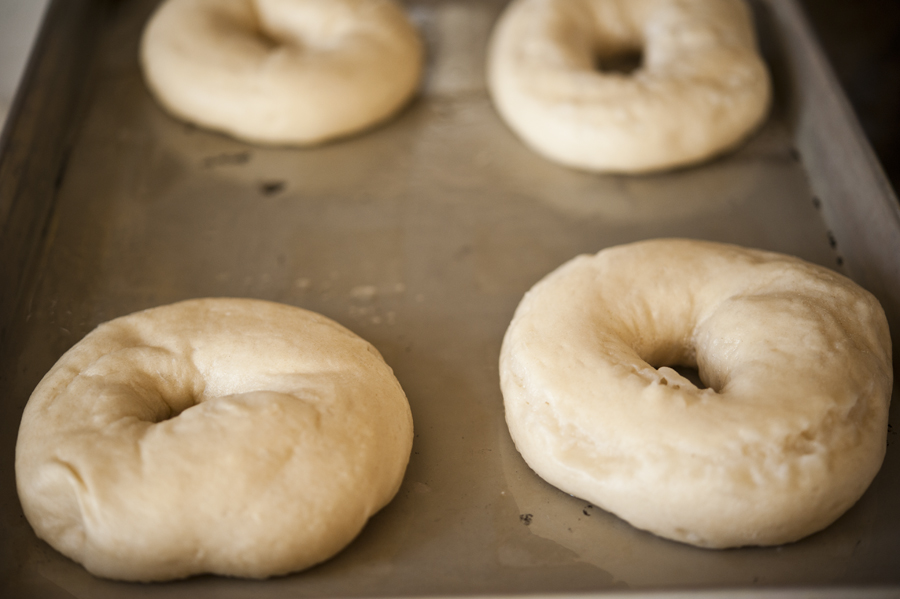
Then transfer them to a greased sheet tray.
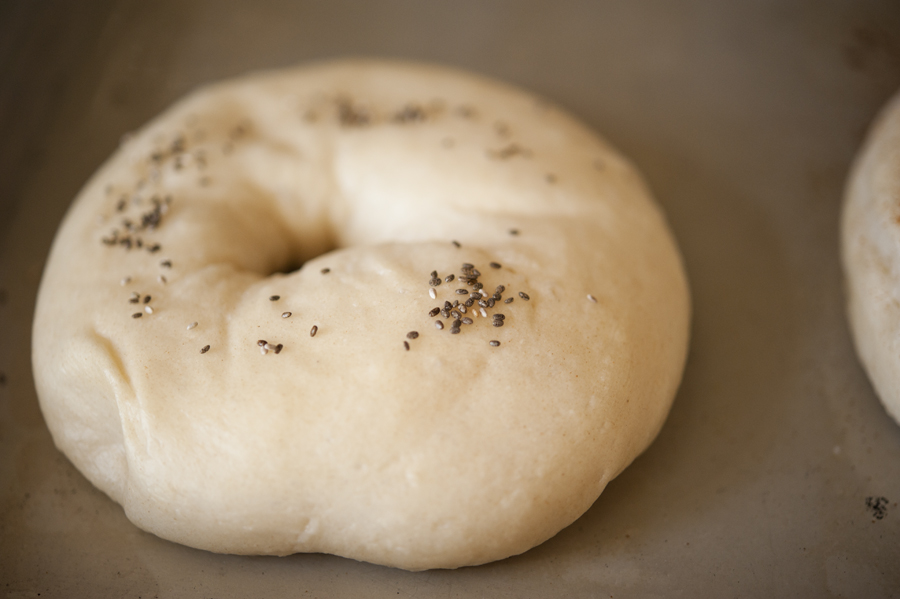
Now there is the option to get fancy along the way. You could sprinkle on some sesame seeds for example…
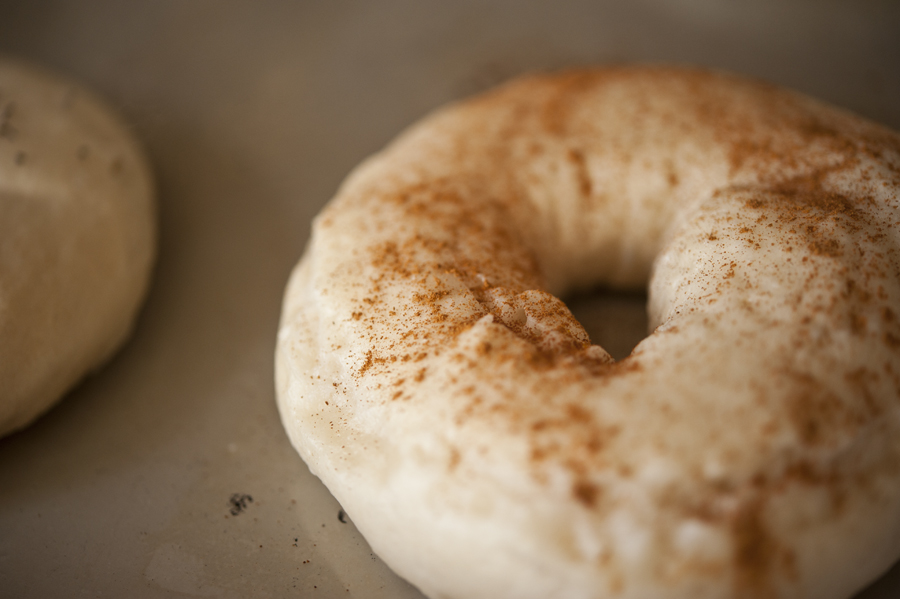
Or add some cinnamon on top…
Or, you could mix flavorings into the dough when you knead it. How about dried blueberries? Or sun-dried tomatoes and basil? Chocolate chips? The possibilities are exciting and endless.
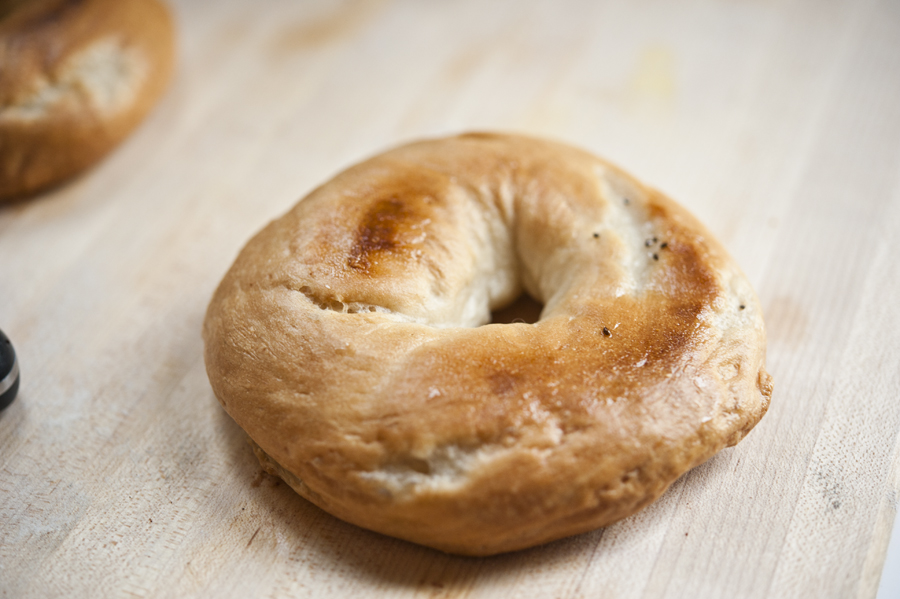
Once they have spent about 18 minutes in the oven and have been turned over once, this is what you will have.

Slice it in half and drop it in the toaster if you’d like, or just eat it warm and fresh out of the oven.
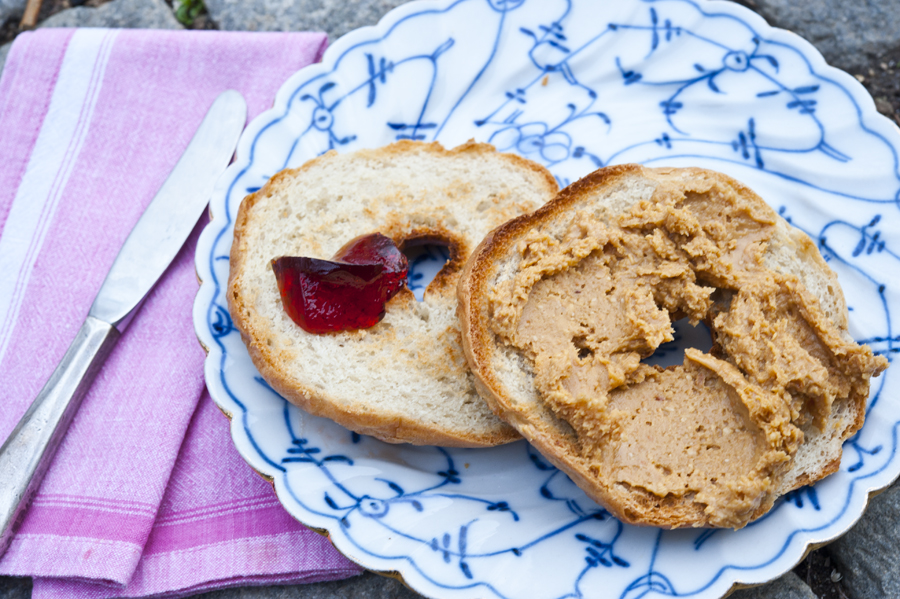
Then of course, add your favorite spreads on top. Enjoy!
And thanks to Meredith for this fun recipe. Check out her blog, An Epic Change, for more!
Also check out these other bagel recipes here on TK:
Homemade Everything Bagels by Heather Christo
Bread Machine Bagels by ThoroughlyModernHousewife
Bagels by CookingDunkinStyle
Multigrain Bagels by PuzzleHouse
Printable Recipe
Print Options
Description
Perfectly chewy yet soft plain bagels, from an East Coaster who knows her bagels.
Ingredients
- ⅔ cups Warm Water
- ½ Tablespoons Sugar
- 1-½ teaspoon Yeast
- 2 cups All-purpose Flour
- ½ Tablespoons Vegetable Oil
- ¾ teaspoons Salt
Preparation Instructions
In the bottom of your mixer bowl, combine the water, sugar, and yeast and let the yeast develop for about 5 minutes. Add in flour, vegetable oil, and salt and mix with a dough hook (or by hand) until the dough is elastic and tough. You may need to add in a bit of extra water, but do it little by little. Let the dough sit and rise in a warm place for 20-30 minutes.
Turn dough out onto a floured surface and knead. Cut into 6 equal pieces. Roll each individual piece into a “snake” long enough to wrap around your palm. Dip each end of the dough in water and press together in your palm, forming a circle. Place the formed bagels on a floured board and allow to rise another 20-30 minutes.
Bring 6 cups of water to a boil in a heavy-bottomed pot. When the water is gently boiling, place 2-3 bagels into the water for 1 minute and then flip to boil on the other side for another minute. Remove the bagels, place them on paper towels to take off excess moisture, then place on a baking sheet. Repeat with the remaining bagels. Bake in the oven on 425ºF for 18 minutes, turning them over after 10 minutes. Enjoy!
Note: Substitute 1/2 cup wheat flour and 1 1/2 cup all-purpose flour for a wheat variation.
_______________________________________
There’s so much to say about Georgia, we don’t know where to start. Leaving Wall Street for the French Culinary Institute, followed by a stint at the Gramercy Tavern and La Chassagnette in France, her passion for food and food traditions are evident and inspiring. Visit her site at Georgia Pellegrini, where you’ll find more recipes, photos, learn all about her wonderful book Food Heroes, and enjoy her latest adventures.


58 Comments
Comments are closed for this recipe.
Heather @ Heather's Dish on 4.8.2011
I’ve always wanted to make homemade bagels…I think the boiling process is so glamorous!
Siddie on 4.8.2011
From other recipe suggestions, I have tried these with a little glug of molasses in the boiling water. It gives them a nice texture and a little added flavour.
funsizesarge on 4.8.2011
I am so so so excited to make bagels! I was going to make more English muffins this weekend (also super easy), but I have always wanted to make bagels! Thanks for sharing how easy it is!!
aimee c on 4.8.2011
At what point in the recipe did she let hers rise overnight? I would love to try these!
Amy @ A Little Nosh on 4.8.2011
I never knew it was that easy to make bagels! And I’m Jewish!
Suzanne @ Window On The Prairie on 4.8.2011
I’ve always wanted to make bagels, and with this tutorial, I’m ready to go. I’m thinking raisins and cinnamon will be added. Mmmmmm…… Suzanne
ahnkadragon on 4.8.2011
I think you have convinced me to make some bagels. I love Panera Bread’s Asiago cheese bagels and their cinnamon crunch ones too. They are so expensive though that I don’t buy them very often. But if I could get off my lazy bum and make my own…
Marilyn on 4.8.2011
those look so yummy.. I haven’t tried any recipes here but I might just have to give those a try .. thanks