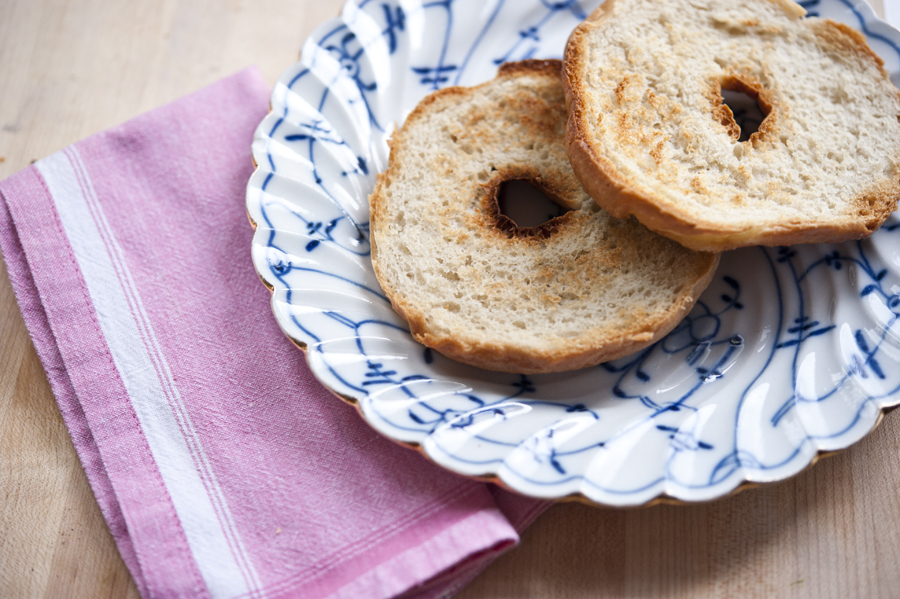
I was visiting a friend recently and she casually offered me bagels for breakfast—she just had to finish baking them, she said.
Baking them? You see, she let them rise overnight, then finished them off in the morning so they’d be warm and crusty for breakfast. She made them from scratch.
If that isn’t impressive, I don’t know what is. I asked her to move in with me. She said she’d have to ask her husband first.
But it got me to wondering. I’m a New Yorker. Shouldn’t bagel-making abilities be part of my DNA?
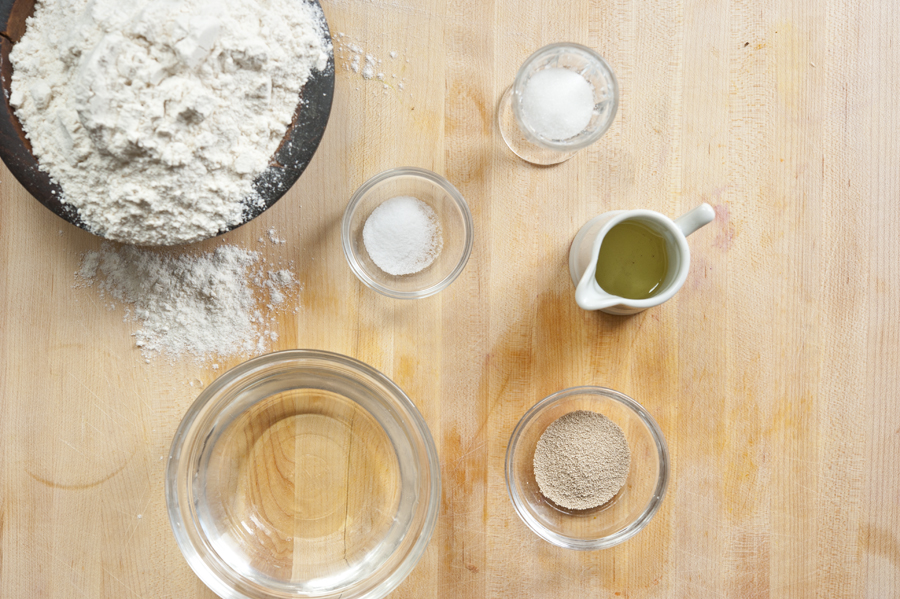
When I saw Meredith’s recipe for homemade bagels, I was inspired to give it a try. It only has these simple ingredients after all: flour, water, sugar, salt, yeast, and oil.
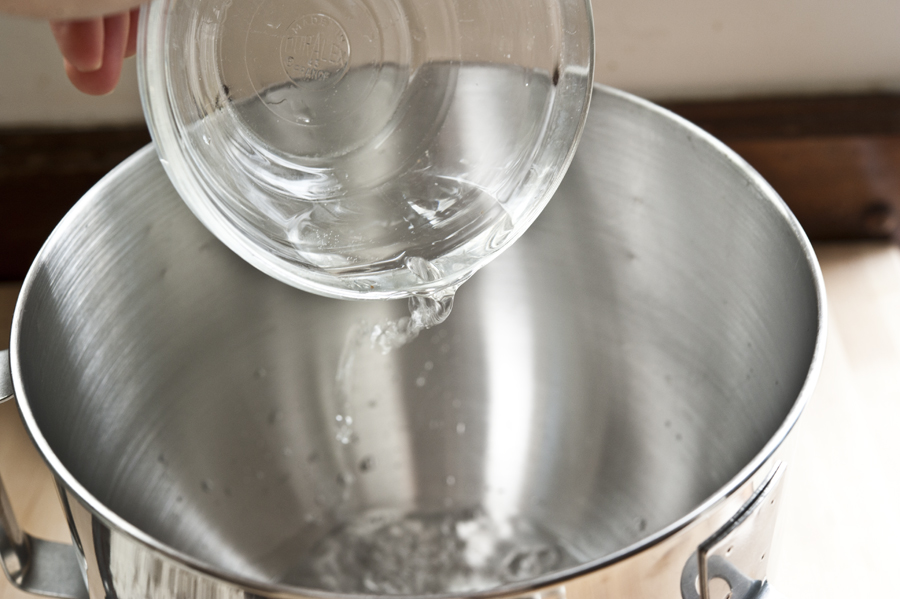
You start by adding warm water to a mixing bowl. The bowl from a stand mixer works best if you have one, so that you can mix it with the paddle attachment.
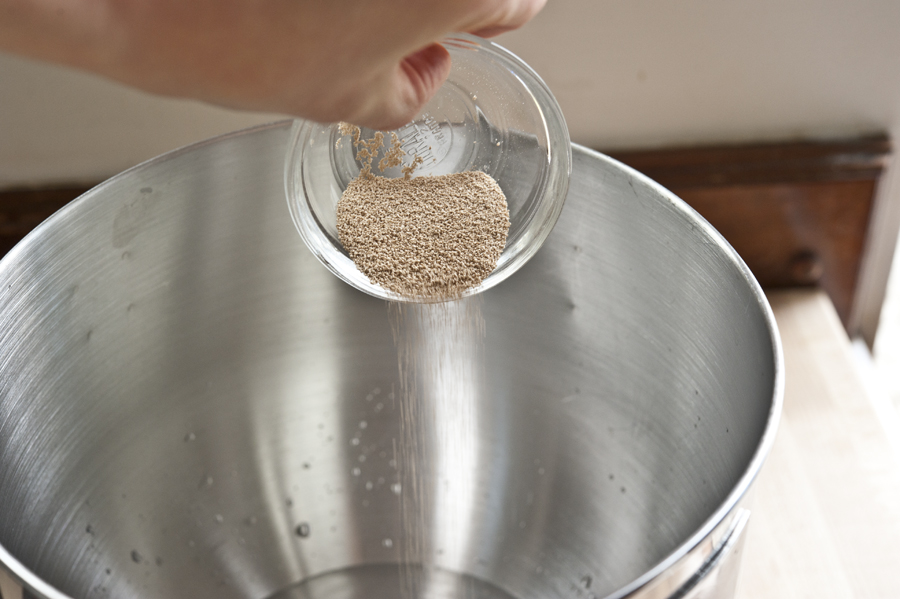
You add the yeast to the warm water…
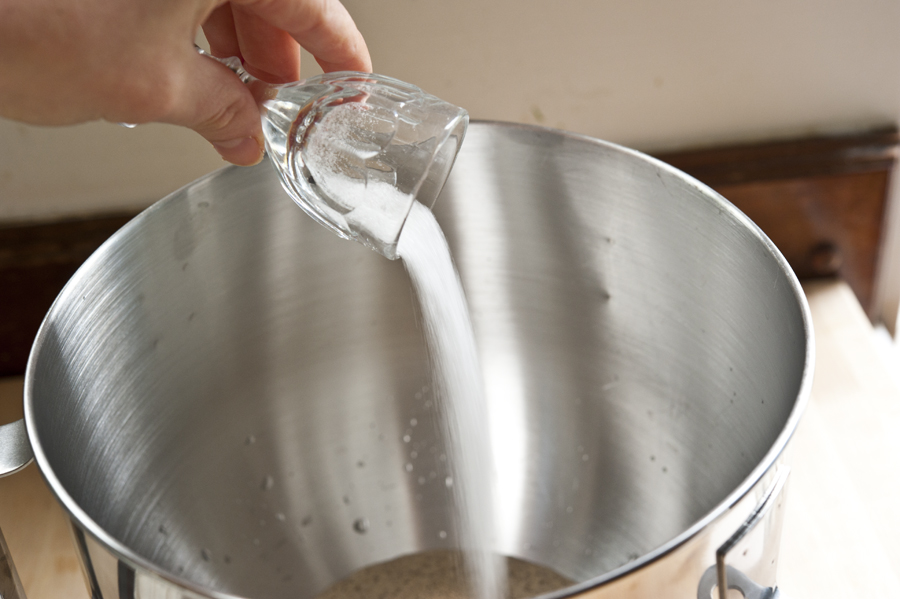
…along with the sugar. Sugar and warm water are the best things to activate yeast quickly. Mix those together and let the yeast begin to bubble.
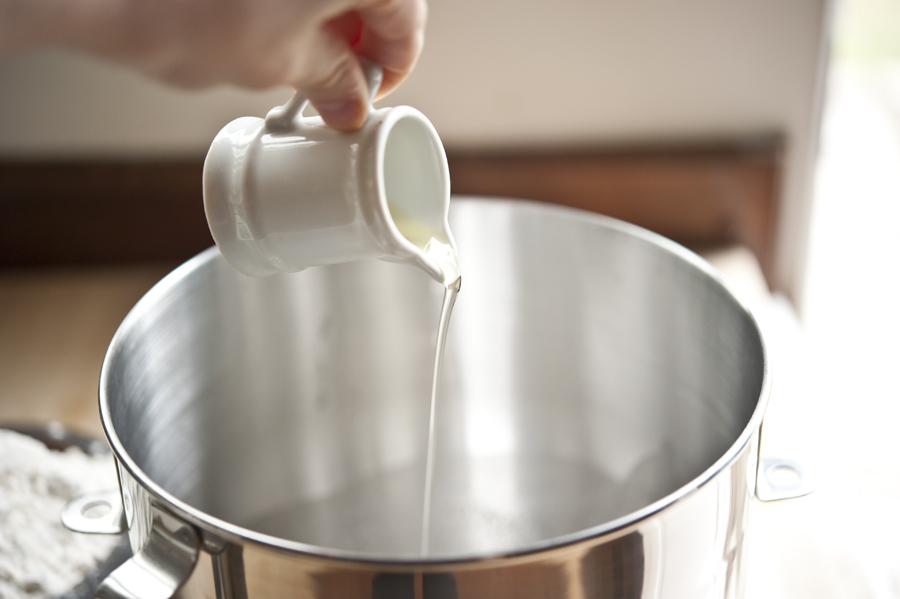
Once the yeast doubles, you add the oil.
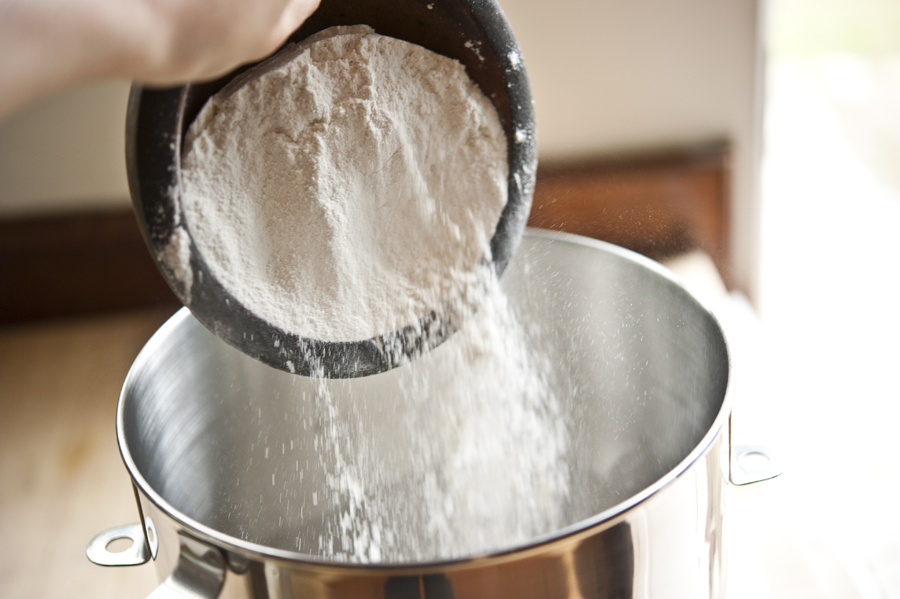
Then comes the flour and salt and the whole thing gets placed into the mixer with the paddle attachment.
You could also simply do this in a heavy glass bowl and use your hands to mix. They are the best tools in the kitchen, after all.
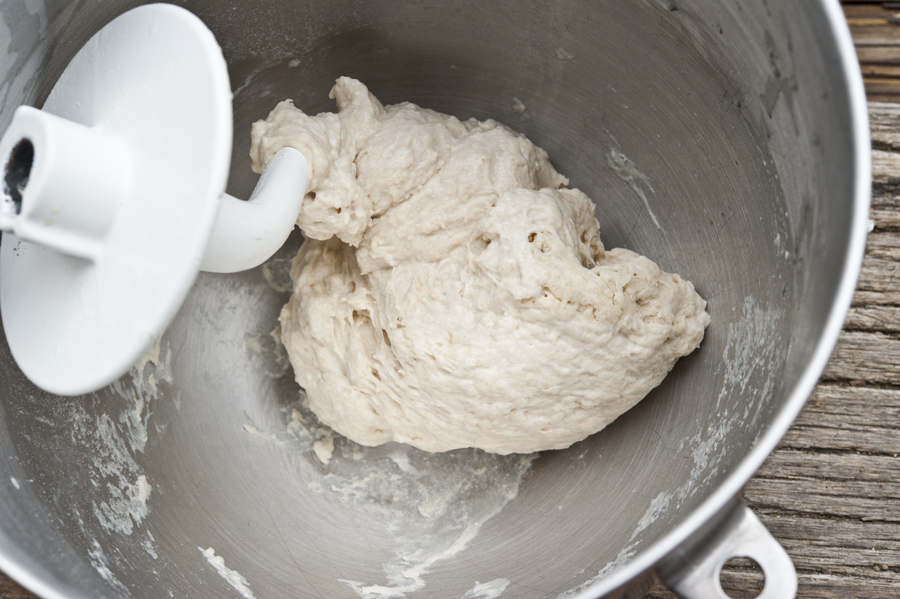
But if you have a mixer, you use the paddle attachment until it all comes together. (I know. That’s not my paddle attachment. Don’t be like me.) Like Meredith recommended, I used a sprinkling of water along the way and scraped down the sides of the bowl a few times.
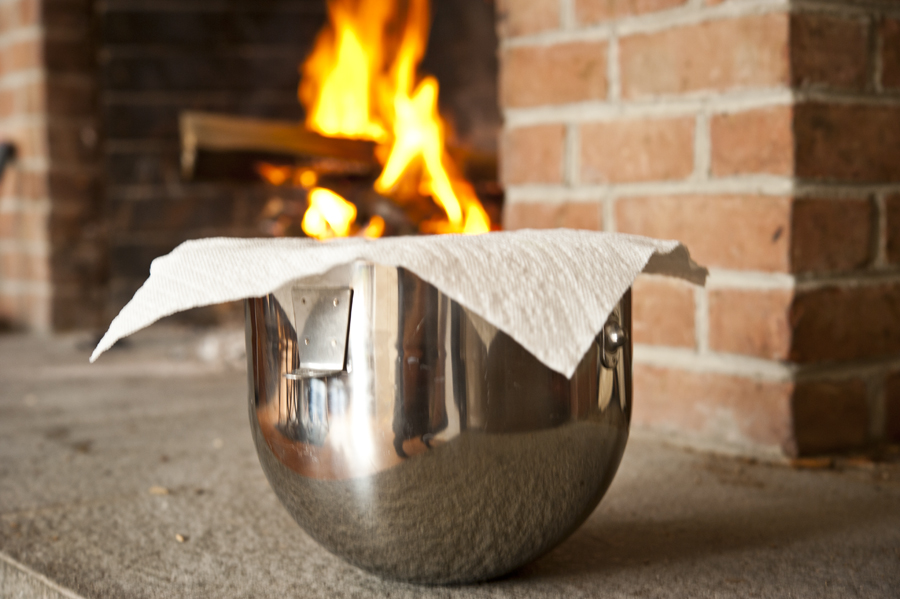
Then you cover the bowl and put it in a warm place to help it rise.
Now at this time of year, it can be hard to find a warm place, depending on which part of the country or world you are in. Where I am in New York, it’s still snowing, so I opted for a spot near the fireplace. You could also put it near the stove or a heater.
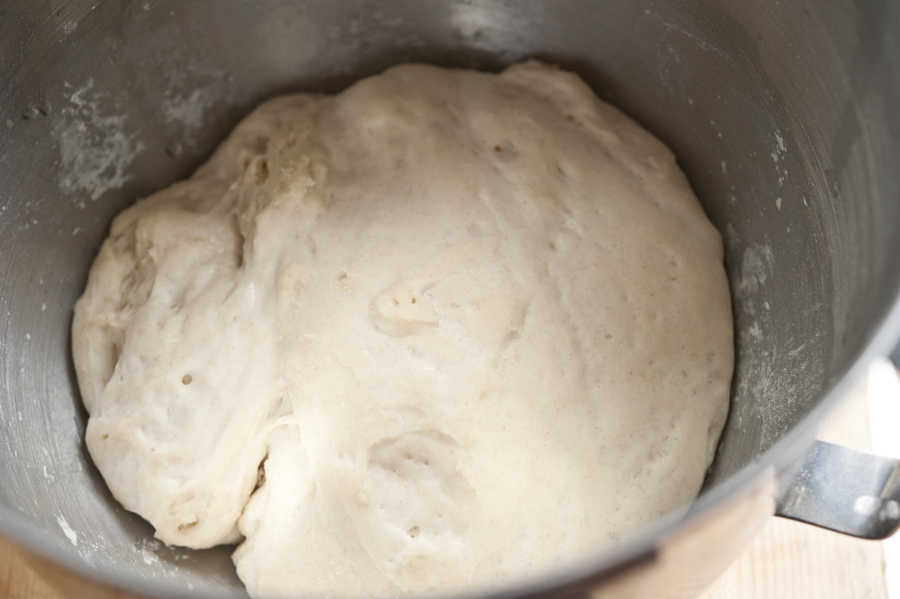
The varying conditions will affect how long it takes the dough to double. For me, it was about an hour.
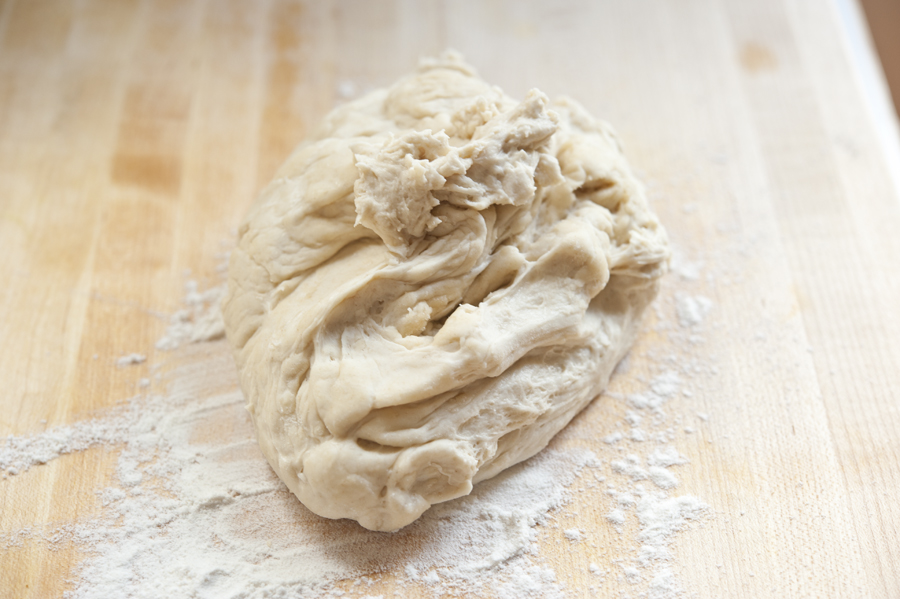
Once it has doubled, you punch it down and put it on a floured surface.
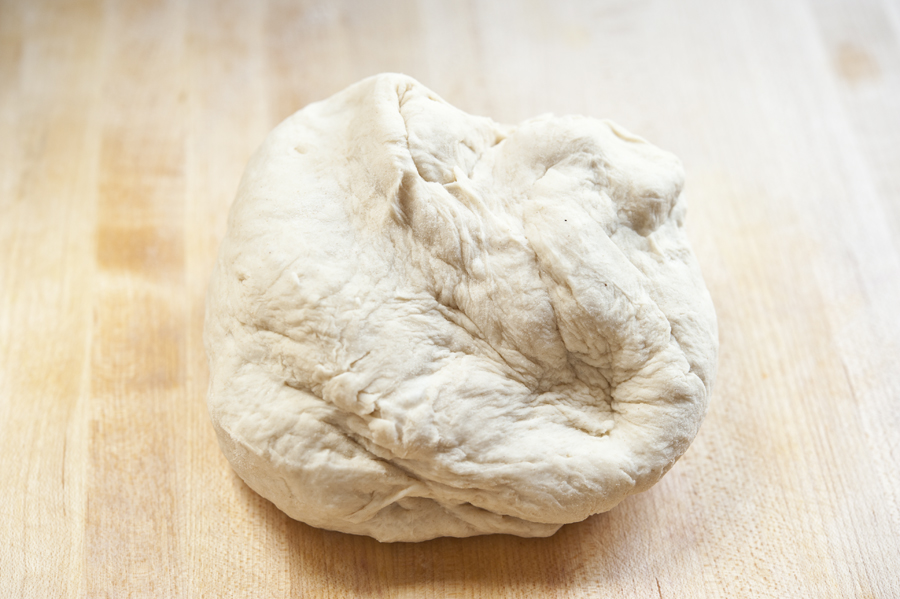
Then you knead it for a few minutes.
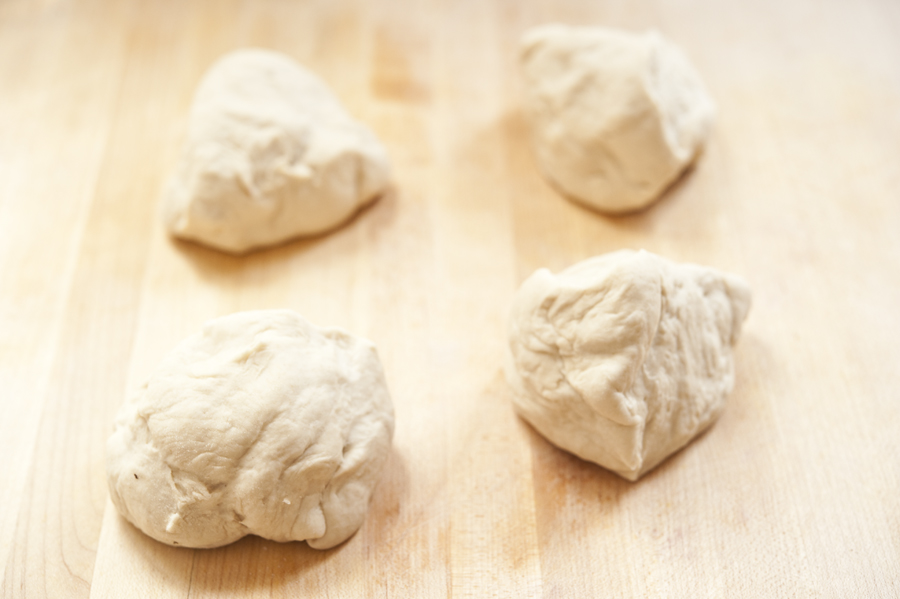
Then you cut it into portions. I cut mine into four since I wanted a bigger bagel, but you can also do six portions and it will work well.
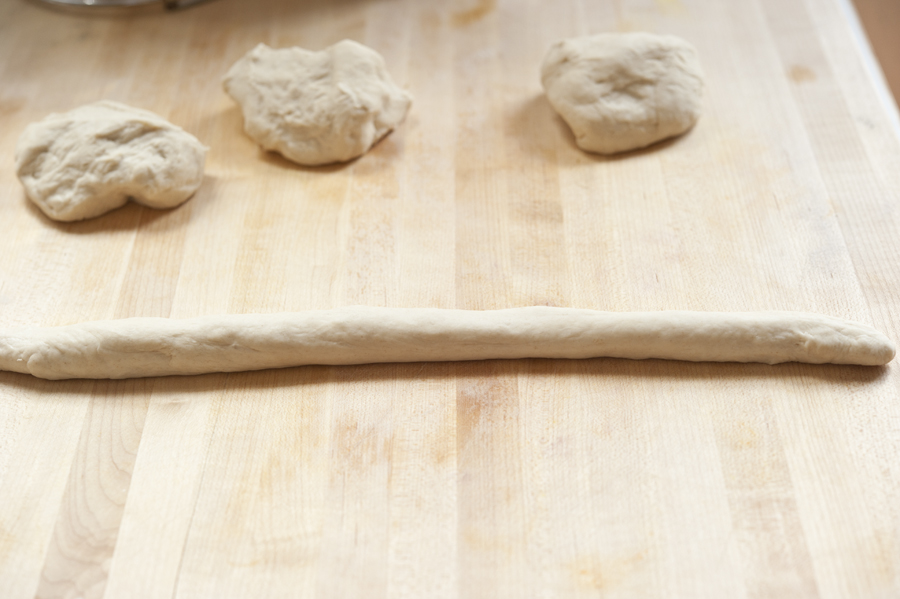
Roll each ball of dough into a long rope, long enough so that when you bring the edges together you have a nice circle in the center. Remember that the dough is still going to puff up again so the circle will become smaller!
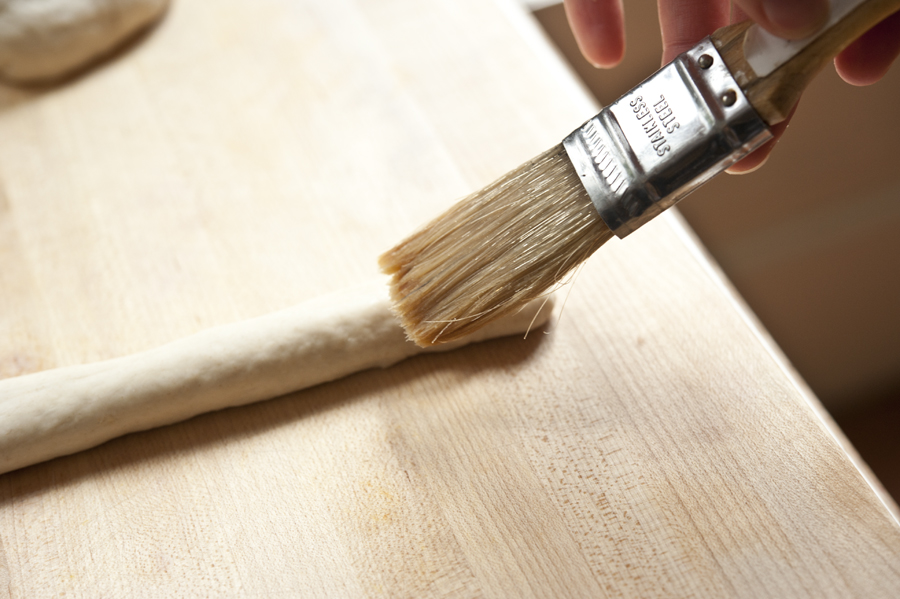
When you have it as long as you need, wet the edges a bit to make it easier to join them together.
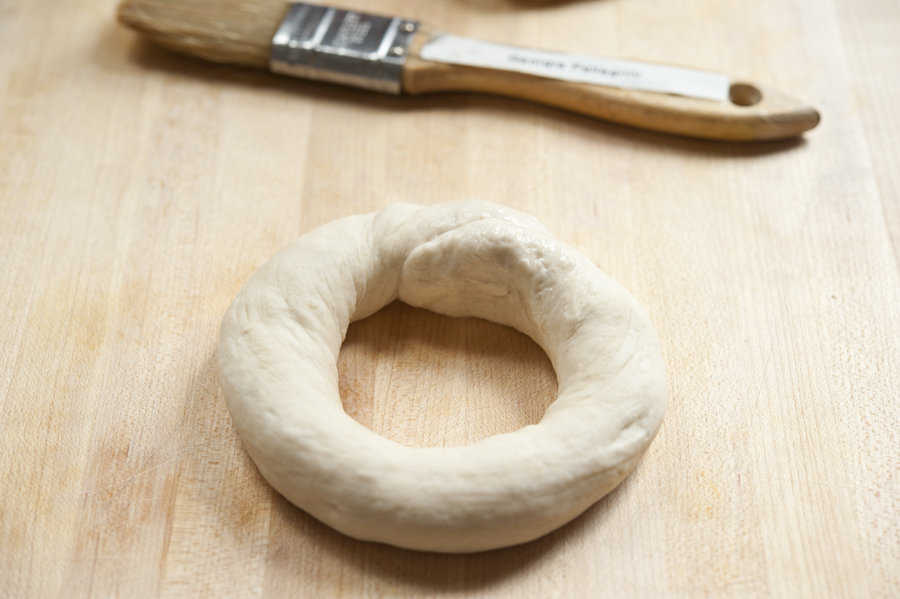
Your bagel will look something like this—skinny now, but with enough room so that it can puff up and still maintain its hole in the middle.
Now is also when you get to make fun of me for labeling my pastry brush with my name. Everyone in culinary school made fun of me for it but hey, look who still has her pastry brush from culinary school!
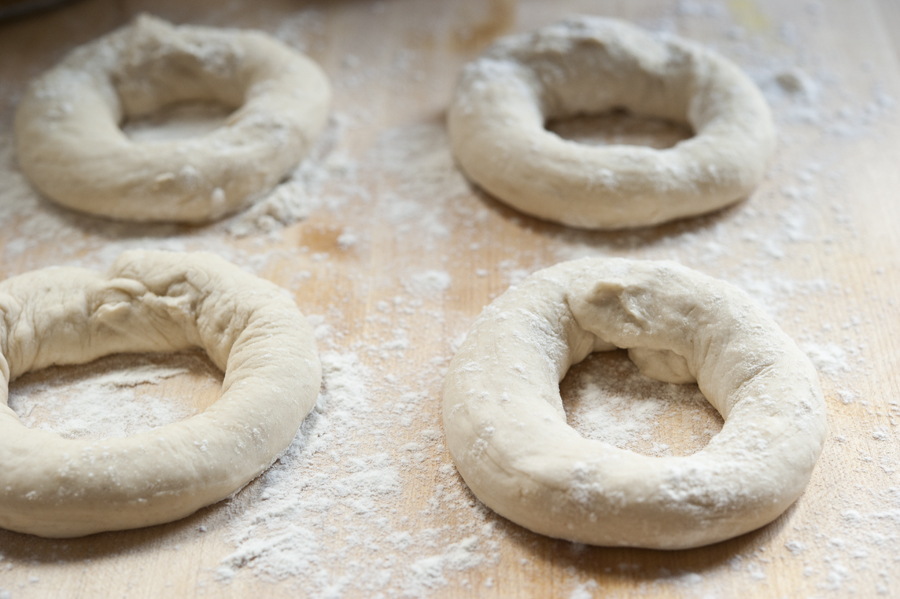
Now you lay the dough rings on a floured surface, cover them and let them rise and puff until they look as thick as a normal bagel.
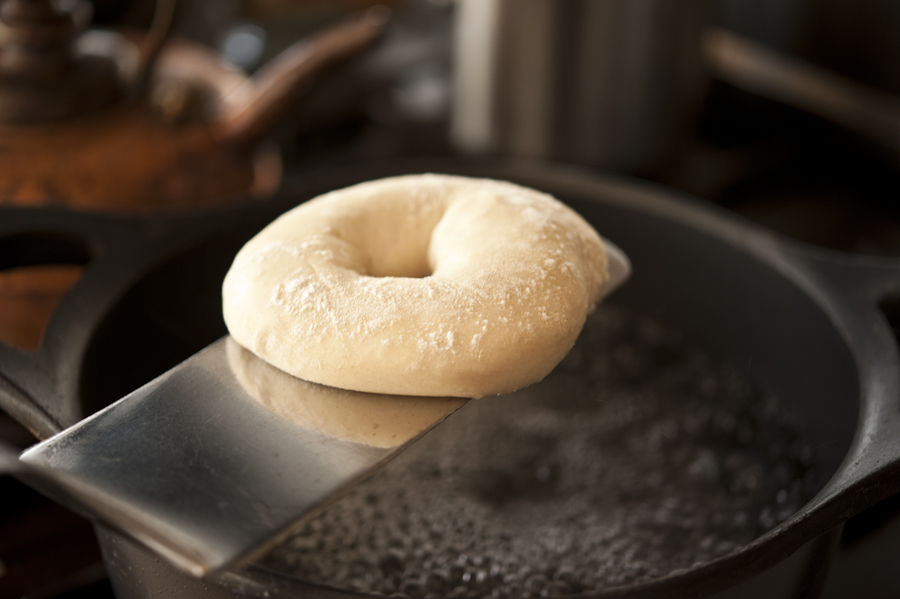
Get some water boiling and once the bagels are puffy, carefully lift them with a spatula and drop them in two at a time.
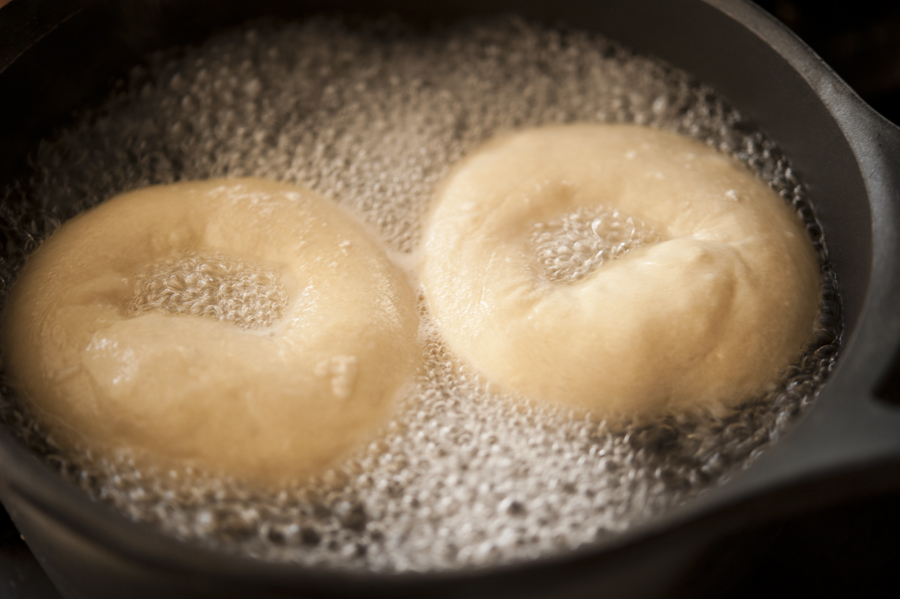
You’ll turn them over once to get both sides par boiled.
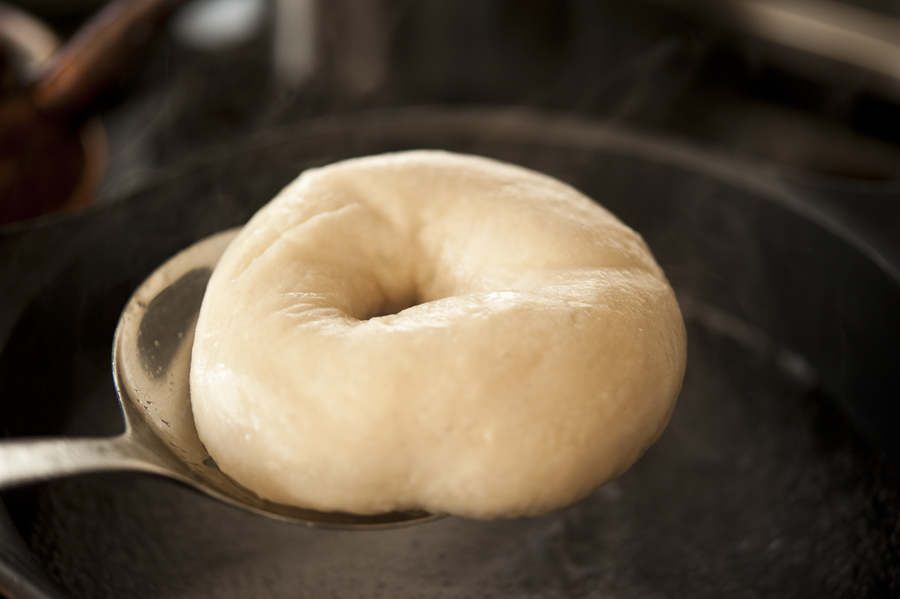
Then remove each one with a slotted spoon…
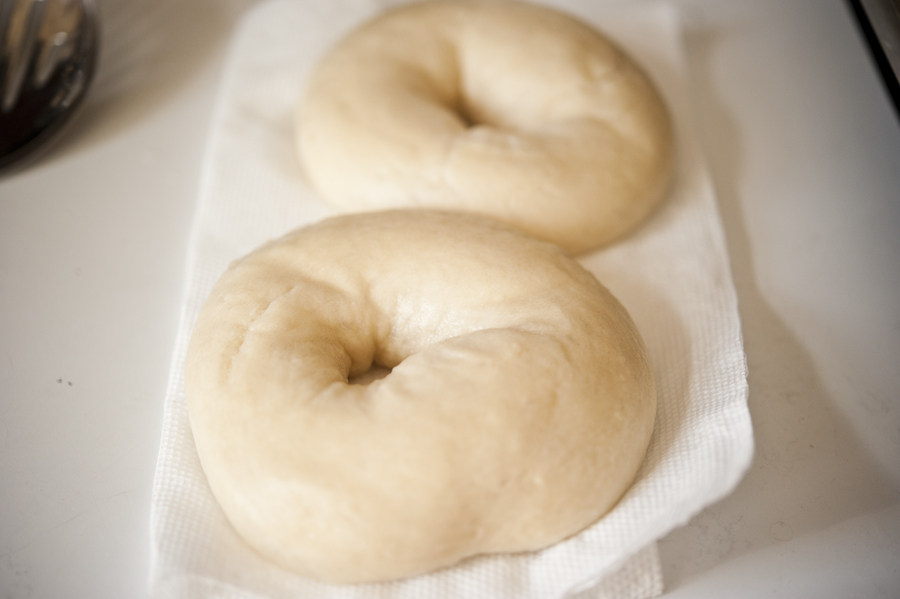
Transfer to a paper towel for just a few seconds to soak up the moisture…
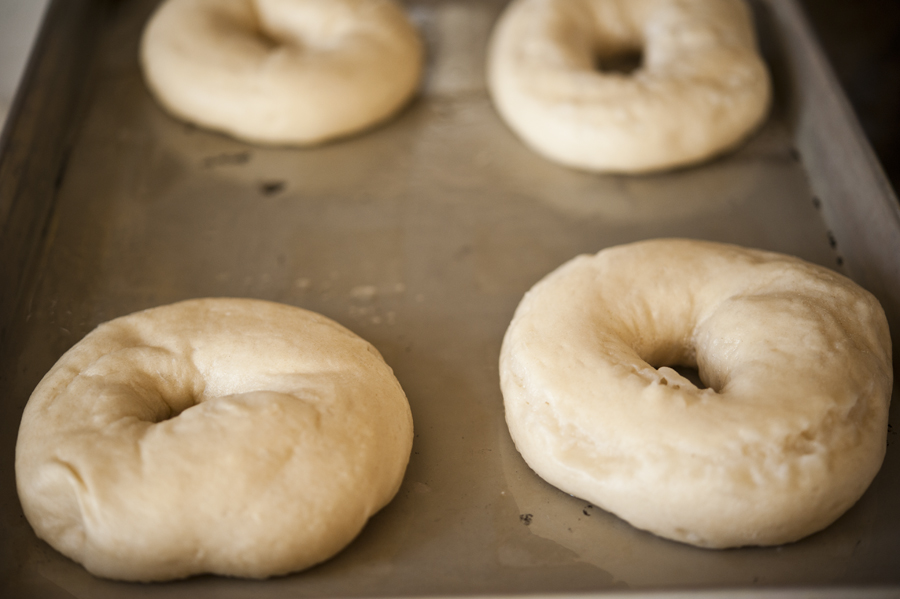
Then transfer them to a greased sheet tray.
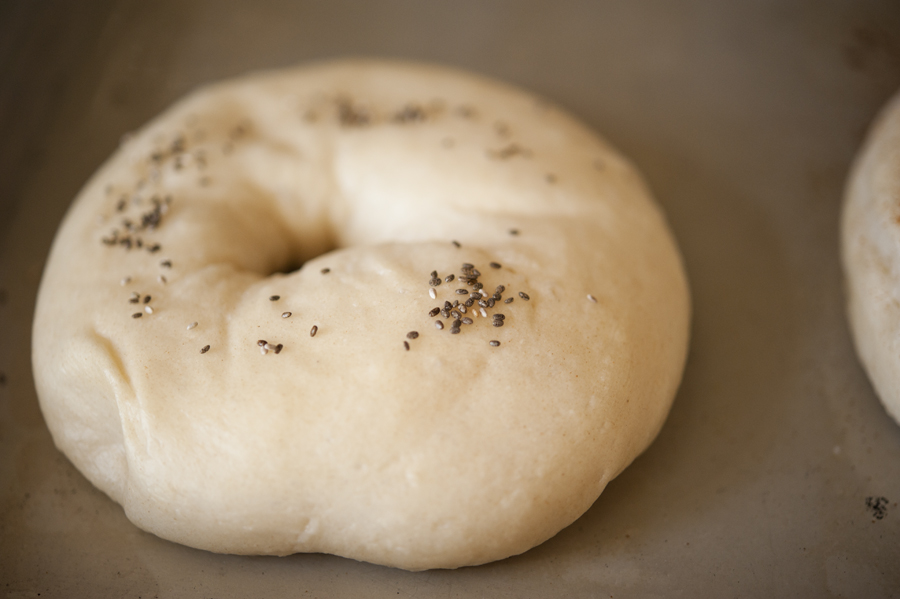
Now there is the option to get fancy along the way. You could sprinkle on some sesame seeds for example…
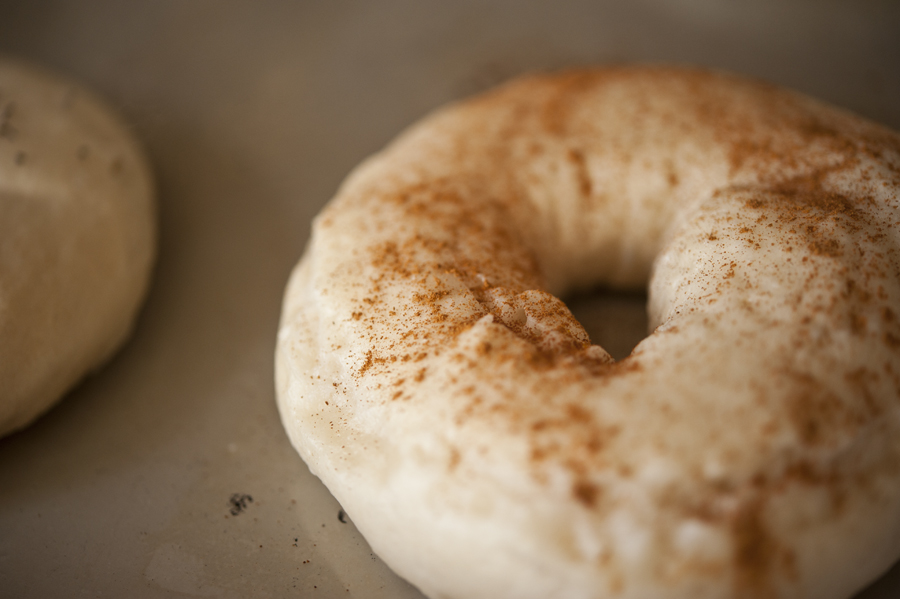
Or add some cinnamon on top…
Or, you could mix flavorings into the dough when you knead it. How about dried blueberries? Or sun-dried tomatoes and basil? Chocolate chips? The possibilities are exciting and endless.
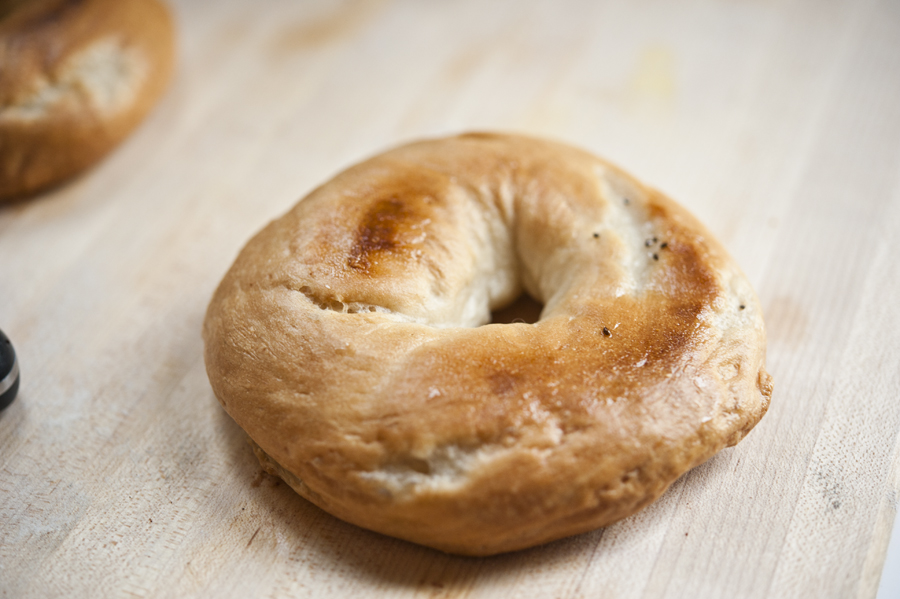
Once they have spent about 18 minutes in the oven and have been turned over once, this is what you will have.

Slice it in half and drop it in the toaster if you’d like, or just eat it warm and fresh out of the oven.
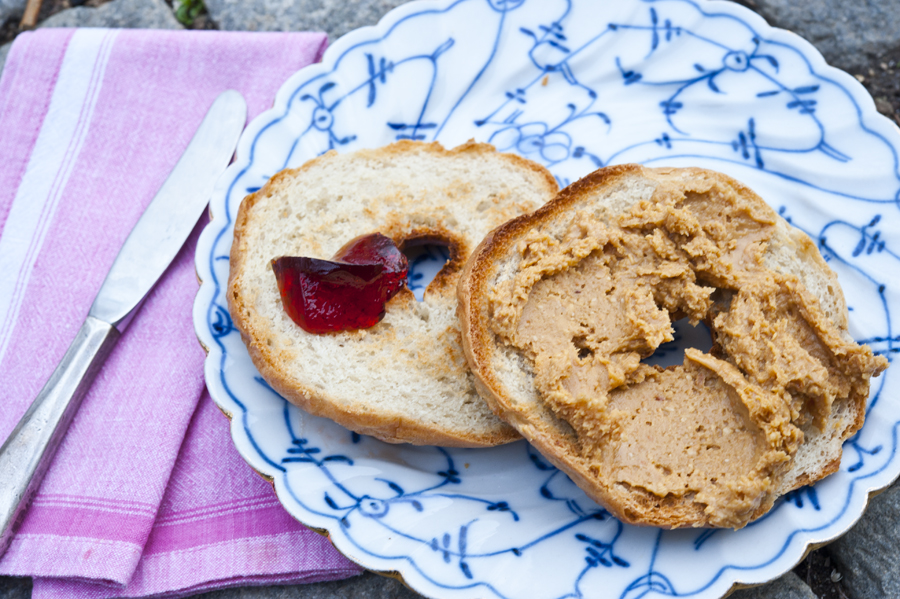
Then of course, add your favorite spreads on top. Enjoy!
And thanks to Meredith for this fun recipe. Check out her blog, An Epic Change, for more!
Also check out these other bagel recipes here on TK:
Homemade Everything Bagels by Heather Christo
Bread Machine Bagels by ThoroughlyModernHousewife
Bagels by CookingDunkinStyle
Multigrain Bagels by PuzzleHouse
Printable Recipe

Print Options
Description
Perfectly chewy yet soft plain bagels, from an East Coaster who knows her bagels.
Ingredients
- ⅔ cups Warm Water
- ½ Tablespoons Sugar
- 1-½ teaspoon Yeast
- 2 cups All-purpose Flour
- ½ Tablespoons Vegetable Oil
- ¾ teaspoons Salt
Preparation Instructions
In the bottom of your mixer bowl, combine the water, sugar, and yeast and let the yeast develop for about 5 minutes. Add in flour, vegetable oil, and salt and mix with a dough hook (or by hand) until the dough is elastic and tough. You may need to add in a bit of extra water, but do it little by little. Let the dough sit and rise in a warm place for 20-30 minutes.
Turn dough out onto a floured surface and knead. Cut into 6 equal pieces. Roll each individual piece into a “snake” long enough to wrap around your palm. Dip each end of the dough in water and press together in your palm, forming a circle. Place the formed bagels on a floured board and allow to rise another 20-30 minutes.
Bring 6 cups of water to a boil in a heavy-bottomed pot. When the water is gently boiling, place 2-3 bagels into the water for 1 minute and then flip to boil on the other side for another minute. Remove the bagels, place them on paper towels to take off excess moisture, then place on a baking sheet. Repeat with the remaining bagels. Bake in the oven on 425ºF for 18 minutes, turning them over after 10 minutes. Enjoy!
Note: Substitute 1/2 cup wheat flour and 1 1/2 cup all-purpose flour for a wheat variation.
_______________________________________
There’s so much to say about Georgia, we don’t know where to start. Leaving Wall Street for the French Culinary Institute, followed by a stint at the Gramercy Tavern and La Chassagnette in France, her passion for food and food traditions are evident and inspiring. Visit her site at Georgia Pellegrini, where you’ll find more recipes, photos, learn all about her wonderful book Food Heroes, and enjoy her latest adventures.


58 Comments
Comments are closed for this recipe.
Rachele Hejl on 5.26.2011
Haven’t had time to read everything yet, but so far i am loving it
Manuela Vanord on 5.26.2011
Great Website, very cool!!!!!
Tiffany on 5.15.2011
These look so good. Can’t wait to try them!
mynameisern on 4.17.2011
Made these bagels this weekend and I was pleasantly surprised at how (sort of) easy they were. I was disappointed that they didn’t keep their awesome rounded shape after rising…they looked so pretty but just touching them while picking them up to boil made them squish into flatter, less appealing shapes. Maybe it just takes practice? I plan to keep trying and hopefully get better.
For toppings, my favorite one just had a sprinkle of coarse salt on top! I might make these a regular weekend tradition!
MsMarmalade on 4.13.2011
It’s just not a bagel without malt!
Karen on 4.12.2011
I made them over the weekend. They were awesome and really easy. I didn’t add as much water as I should have in the mixing process. I think that they would have rolled out easier if I had. I would do that next time. They were super yummy hot out of the oven just with butter.
sarah on 4.12.2011
Jentri, I did the oiled sun dried tomatoes and noticed the oil caused a bit of separation when boiling. I only made two with the tomatoes in them(i tried asaigo cheese in two and left two plain for the kids) I will try leaving out the recipe oil next time since i only have the oiled ones in the house and make whole batch just of the sun dried tomatoes. Even with patting them down a bit it still happened. They taste great though.
elizabeth on 4.12.2011
I’ve made bagels before and they never turn out quite so picture perfect! Thanks for the great post : )
Jentri King on 4.12.2011
When you add Sun Dried tomatoes do they need to be the dry ones or can they be the ones packed in oil? What would you recommend?
Cassie on 4.12.2011
I love bagels so much! I’ve always been intimidated at the thought of making my own though. I’m bookmarking this recipe to try!
Kelly @ Mom's Kitchen Gadgets on 4.11.2011
Oh these look like so much fun to make. I love bagels! It’ll be fun to try new flavors and add-ins too.
Queenk on 4.11.2011
I made the mistake of following the recipes instead of the step-by-step. The recipe leaves out 3 important things-letting it double and punching it down; the kneading process; and using a greased pan-needless to say, I’ll add these 3 things to the recipe as this is a really good one. Even with no double/punch down, no kneading and having to scrape them off the pan, they still tasted great. I used dried minced onions on some, salt and jalapeños on some, and created an ‘everything’ blend using garlic salt, poppy seeds, and Weber’s Chicken seasoning-all were yummy!
Amy @ A Little Nosh on 4.10.2011
I made them this morning. What a great recipe!
http://alittlenosh.blogspot.com/2011/04/homemade-bagels-fail-sort-of.html
Courtney on 4.10.2011
The way we eat bagels in this house you’d think I made them daily. Now I can, hehe! Thanks for sharing
Debbie on 4.10.2011
I made these last night. It was super easy and they look and taste great! My 8-year-old daughter told me that they look “real” like the kind from the store
Judith Foldi on 4.10.2011
I found the best way to shape them is to divide the dough into little balls, then push my thumb through the middle and then squeeze the dough into the doughnut shape. This way, there is no join to come loose in the water. Home made bagels are wonderful!
Julie on 4.9.2011
I was having overnite company and decided to try them, how easy! I mixed in my bread maching and formed them, then put them in the fridge. I woke up about 4 am, took them out to raise and went back to bed. When I got up at 7 they were nicely raised, I boiled and baked and got rave reviews! The only thing I had problem with was I did not put enough flour on the sheet so had to pry them off so they sank a little. We are having company next weekend and I’m going to make them again, loved the chewyness!
Rivki Locker (Ordinary Blogger) on 4.9.2011
I make lots of breads but have never thought to try making bagels. You are an inspiration!
Mich G on 4.9.2011
Just had these for breakfast. Yum! Rolled them last night and let rise overnight. This morning they had obviously risen and then sunk back down again. It was a good first attempt, but I think not perfect. The were a bit salty and they took longer to brown up in the oven, and then were a little crispy on the outside and not totally cooked on the inside, so I don’t know if I did something wrong. Would try again though.
laura @ glutton for nourishment on 4.9.2011
these look so amazing and professional! i’ve always wanted to try making my own bagels.
AvaDJ on 4.9.2011
Wow, I bow down to your bagels, they look amazing and you make it look so easy. Fantastic tutorial.
@maddy…I always freeze my bagels, but I think it would be best if you bake them all the way first then freeze them. Whenever I get fresh bagels, I immediately slice them in half, put them back together and store snuggly in a bag. When you need a bagel, just pry apart with a butter knife they will pop open and are toaster ready.
Happy When Not Hungry on 4.9.2011
These look so fluffy and delicious! I’ve always been intimidated to make homemade bagels, but this recipe seems fairly straightforward. I will definitely be trying now. Thanks!
Marla Meridith on 4.9.2011
Forget about husbands – I just want to live with someone that could make me homemade bagels. Well don miss Georgia! xo
Katrina on 4.9.2011
I’ve never done this and always wanted to! Love this!
julia on 4.8.2011
Those look really good! I’ve tried making bagels before… and they didn’t really turn out. I’ll have to try this recipe! Wow, can’t believe its still cold enough for a fire! Here in OK it was in the upper 80’s today ;o)
Georgia Pellegrini on 4.8.2011
aimee c – you cold let them rise over night and then boil them the next morning!
fortuitouschange – these would be grrrreat as mini bagels.
maddy – I’m not sure about freezing…maybe freeze them after they are fully made?
Danita on 4.8.2011
oh my gosh! I think I can do this!!
Lisa on 4.8.2011
I have GOT to try this!
maddy on 4.8.2011
Regarding freezing them – can they be par baked and then frozen?
Or maybe frozen after you form them? Then when you take them out to defrost, let them do the second rise?
Or can they be boiled and then frozen, to be baked later?
If I’m going to make a big mess in my kitchen (and believe me, I will), I would like to make a double or triple batch so I can freeze some for later.
esavvymom on 4.8.2011
Homemade bagels are so simple to make, and DELICIOUS!!! It’s no wonder Breugger’s and Deli shops are so popular. However, they aren’t as good the next day, so don’t try making too many. And freezing them didn’t work well either.
  Awww …pooo. I tried it once…..ONCE.
DessertForTwo on 4.8.2011
Homemade bagels are popping up on blogs everywhere these days! I can’t wait to join in! Thanks for showing us how easy it is
brokenresolutions on 4.8.2011
Those don’t look too weight watcher friendly!! However, they still look delish! Too bad I’m trying to cut back on carbs.
sana on 4.8.2011
omg. ive been thinking about bagels for a few days and today i decided i shall try to make my own and started to search for recipes….i took a break and decided to look at pioneer woman and BAM! how awesome!! totally using this recipe!
maryfrancesellison on 4.8.2011
These look great … my son and daughter are bagel lovers, and I’m sure they would love to be able to make their own! I feel a weekend project coming on!
Great idea.
Zeba on 4.8.2011
Those look awesome !
I had the same question as aimee c. At what point can I let them
rise overnight ?
maddy on 4.8.2011
What I want is real chewy NY style bagels. I hope this recipe does it. Also, I think I want one with “everything” (dried onion flakes, poppy seeds, sesame seeds).
And at least now I can get a regular size bagel, not one that’s as large as a baseball mitt!
Going to be a bagel weekend.
KimK on 4.8.2011
At what point do you let them rise overnight? I wondered if you could parboil them, then put them in the fridge, then bake them the next morning. Any ideas?
Abbie on 4.8.2011
I LOVE to make bagels, and I am always looking for new recipes. I love to get creative with the toppings, I have found the the “sprinkles” and such from Pampered Chef work as great toppers for fresh bagels!!
RaVae Erickson on 4.8.2011
Can’t wait to try these! They look so good! And ENDLESS possibilities!
Diane on 4.8.2011
These look very appealing! I have made pretzels in a similar way and they used to disappear!
Wenderly on 4.8.2011
Those bagels and that fire look like quite the perfect combination. Le sigh. Can’t wait to try these these little pretties!
Natalie | Perry's Plate on 4.8.2011
Those look so great! Thanks Meredith and Georgia!
Meredith @ An Epic Change on 4.8.2011
Thanks so much for featuring my recipe — I’m so flattered!!
Megaen G on 4.8.2011
Oooohhhh….I’m gonna get so faaaaaat now that I don’t have to drive 20 minutes to get a bagel!!! My heart thanks you, but my butt does not!!!
Paula on 4.8.2011
looks awesome! I`d like to make such delicious – looking bagles someday
fortuitouschange on 4.8.2011
How do you think these would do as mini-bagels?
Thanks for sharing the recipe and showing how easy it is!
Amy | She Wears Many Hats on 4.8.2011
Oooooh … never ever thought about making my own bagels but now it seems like the thing to do. And all the fun additions to the batter that I can think of make the mind spin. Tasty!
Heather of Kitchen Concoctions on 4.8.2011
I have been wanting to make homemade bagels for quite sometime. I think it is ’bout time I did so!
Jessica @ How Sweet It Is on 4.8.2011
My husband has been begging me to make bagels. I gotta do it!
d.liff @ yelleBELLYboo on 4.8.2011
oh man, my mouth is watering! I cannot find a good bagel in DC…I might just have to make my own!!