The Pioneer Woman Tasty Kitchen
Profile photo of georgiapellegrini

Zesty Brussels Sprouts

Posted by in Step-by-Step Recipes

Tasty Kitchen Blog: Zesty Brussels Sprouts. Guest post by Georgia Pellegrini, recipe submitted by TK member Sally of Spontaneous Hausfrau.

 
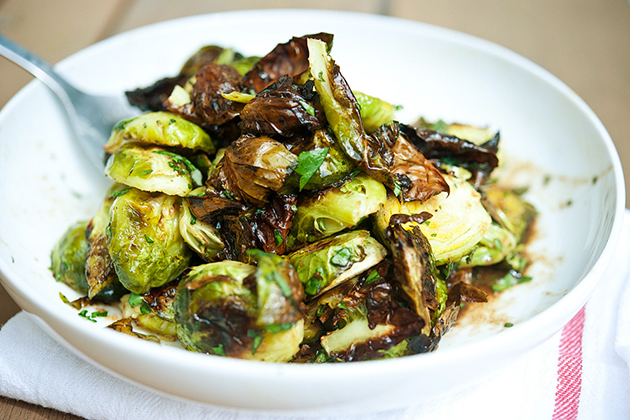
These Zesty Brussels Sprouts from Spontaneous Hausfrau were divine. They were crispy on the outside and the dressing gave them a special sort of tang.


Tasty Kitchen Blog: Zesty Brussels Sprouts. Guest post by Georgia Pellegrini, recipe submitted by TK member Sally of Spontaneous Hausfrau.

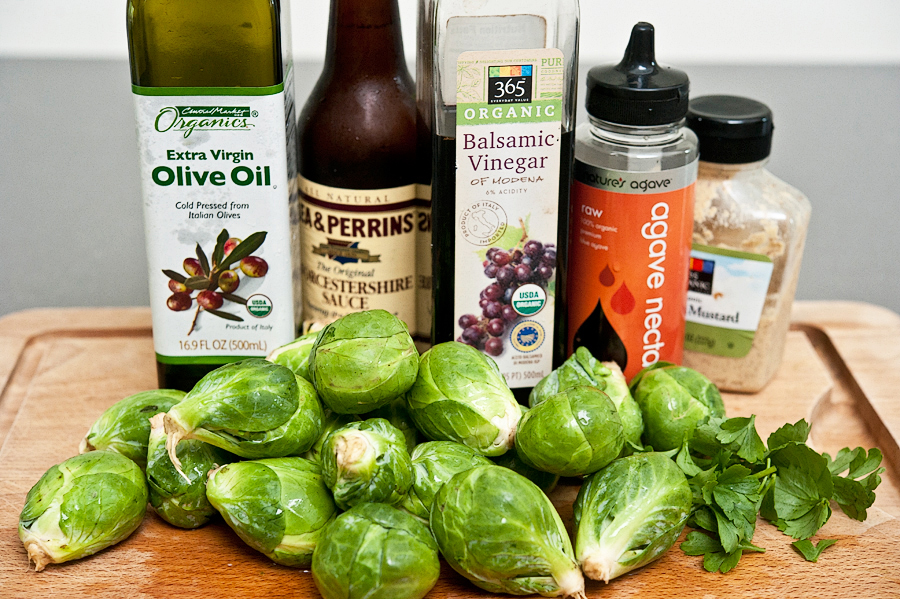
To make them, you will need: olive oil, Worcestershire sauce, balsamic vinegar, agave, mustard, parsley, and my friend the Brussels sprout.


Tasty Kitchen Blog: Zesty Brussels Sprouts. Guest post by Georgia Pellegrini, recipe submitted by TK member Sally of Spontaneous Hausfrau.

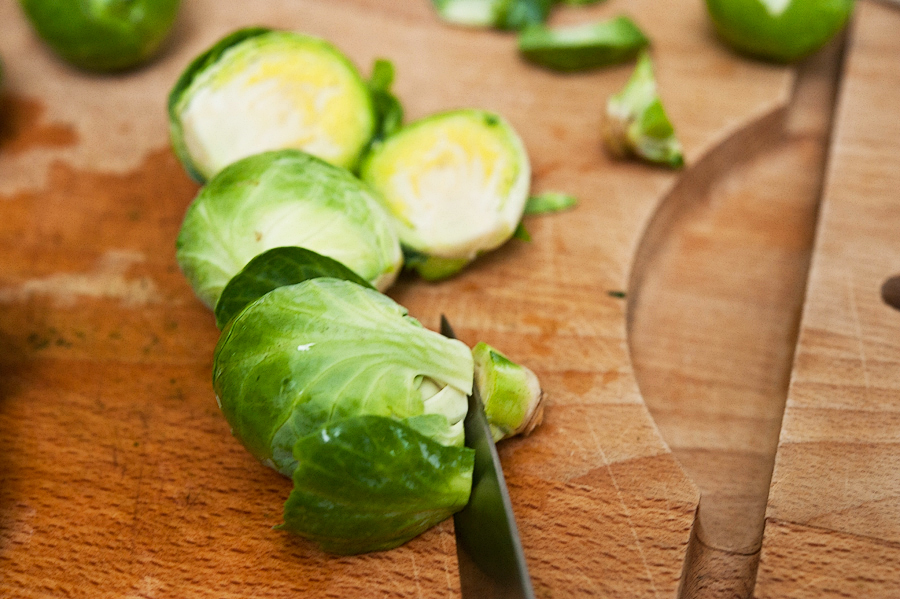
Start by trimming the bottoms of the Brussels sprouts and peeling off any spotty-looking outer leaves.


Tasty Kitchen Blog: Zesty Brussels Sprouts. Guest post by Georgia Pellegrini, recipe submitted by TK member Sally of Spontaneous Hausfrau.

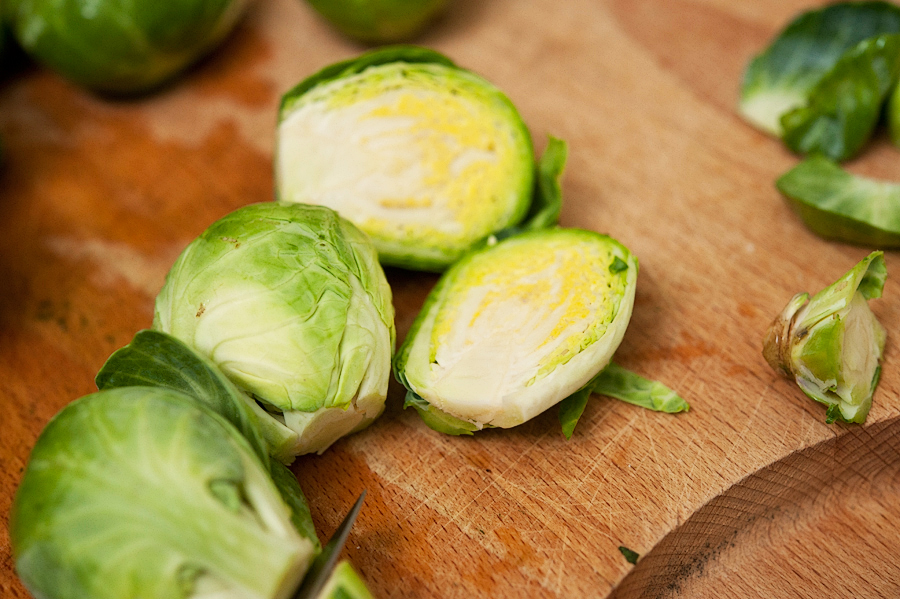
Then cut them in half. You could leave them whole if you desire, but they’d take a bit longer to cook.


Tasty Kitchen Blog: Zesty Brussels Sprouts. Guest post by Georgia Pellegrini, recipe submitted by TK member Sally of Spontaneous Hausfrau.

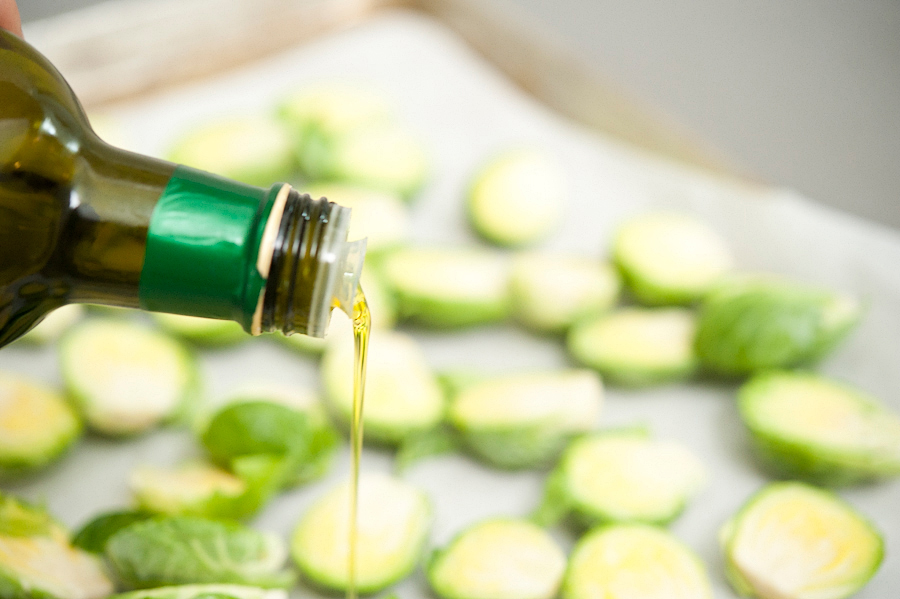
Lay out a sheet tray and line it with foil or parchment. Place the B-sprouts in a single layer and drizzle them with olive oil.


Tasty Kitchen Blog: Zesty Brussels Sprouts. Guest post by Georgia Pellegrini, recipe submitted by TK member Sally of Spontaneous Hausfrau.

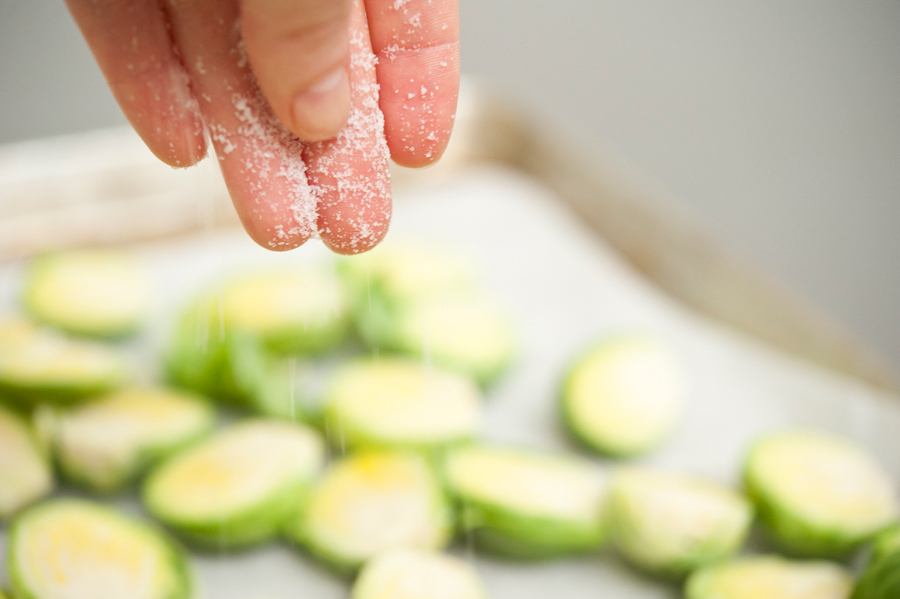
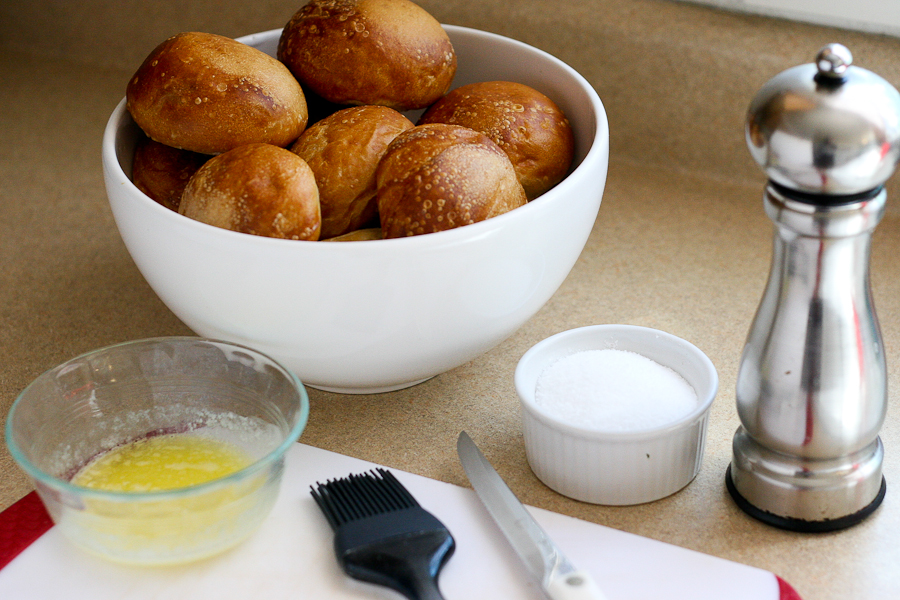
Give them a sprinkle of salt to help them crisp up in the oven.


Tasty Kitchen Blog: Zesty Brussels Sprouts. Guest post by Georgia Pellegrini, recipe submitted by TK member Sally of Spontaneous Hausfrau.

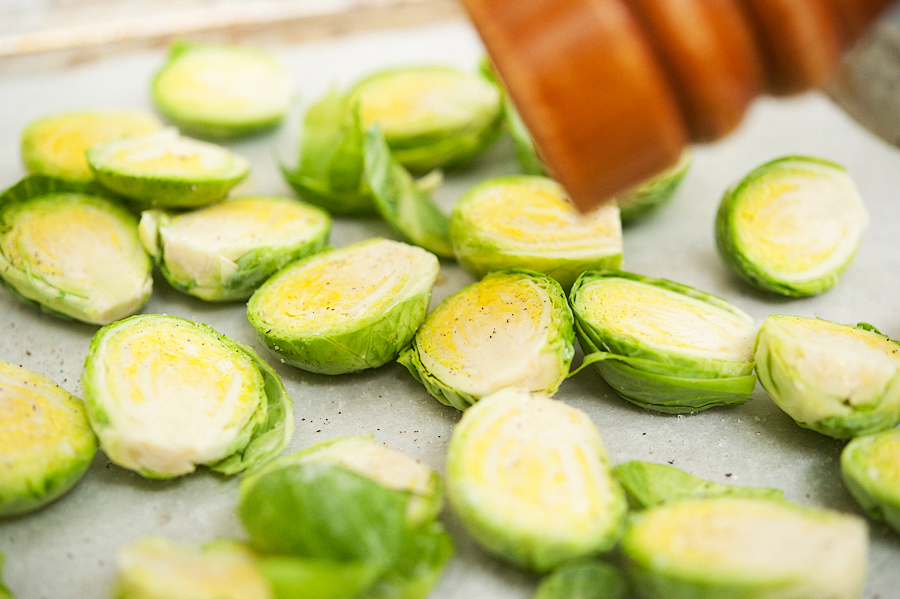
And add a dash of pepper for good measure.


Tasty Kitchen Blog: Zesty Brussels Sprouts. Guest post by Georgia Pellegrini, recipe submitted by TK member Sally of Spontaneous Hausfrau.

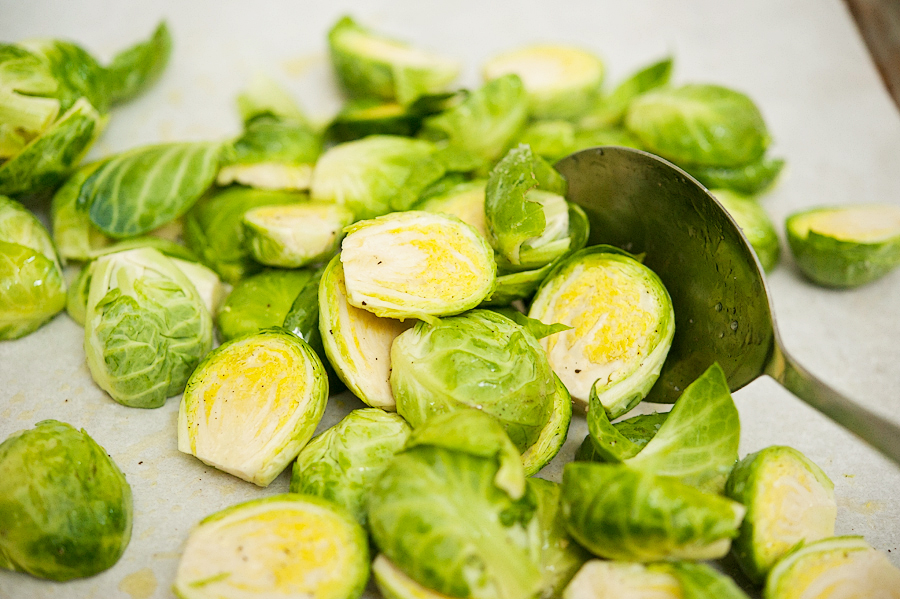
Toss them around so that they are evenly coated, then spread them out again into a single layer. Pop them into a 400ºF oven.


Tasty Kitchen Blog: Zesty Brussels Sprouts. Guest post by Georgia Pellegrini, recipe submitted by TK member Sally of Spontaneous Hausfrau.

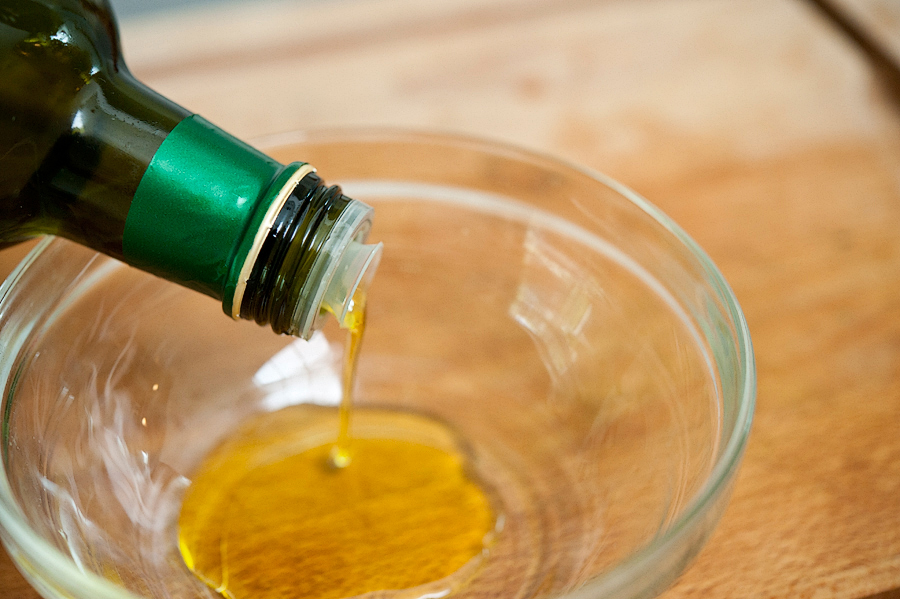
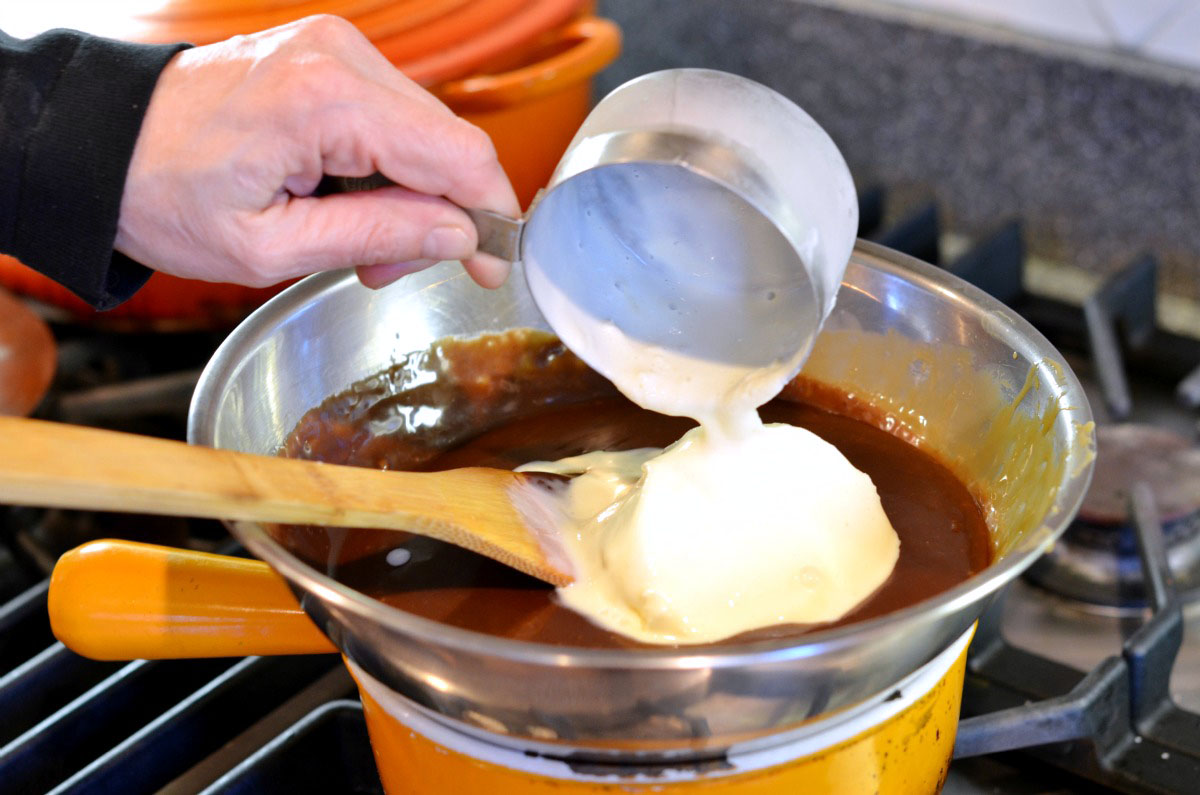
While they cook, make the dressing. In a small bowl, combine the olive oil …


Tasty Kitchen Blog: Zesty Brussels Sprouts. Guest post by Georgia Pellegrini, recipe submitted by TK member Sally of Spontaneous Hausfrau.

Mustard (you can use Dijon or your favorite kind here) …
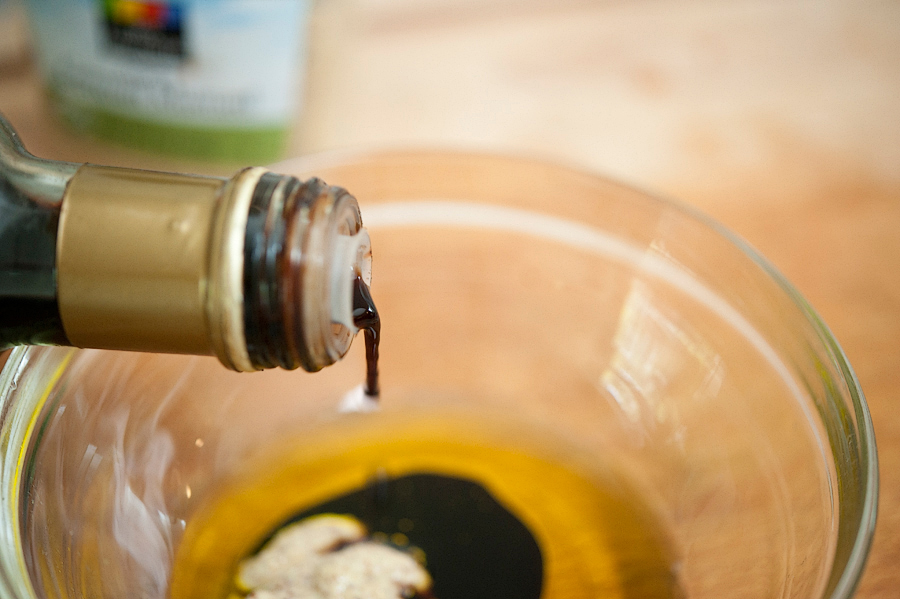


Tasty Kitchen Blog: Zesty Brussels Sprouts. Guest post by Georgia Pellegrini, recipe submitted by TK member Sally of Spontaneous Hausfrau.

Balsamic vinegar …


Tasty Kitchen Blog: Zesty Brussels Sprouts. Guest post by Georgia Pellegrini, recipe submitted by TK member Sally of Spontaneous Hausfrau.

A touch of agave (or honey or a pinch of sugar) …


Tasty Kitchen Blog: Zesty Brussels Sprouts. Guest post by Georgia Pellegrini, recipe submitted by TK member Sally of Spontaneous Hausfrau.

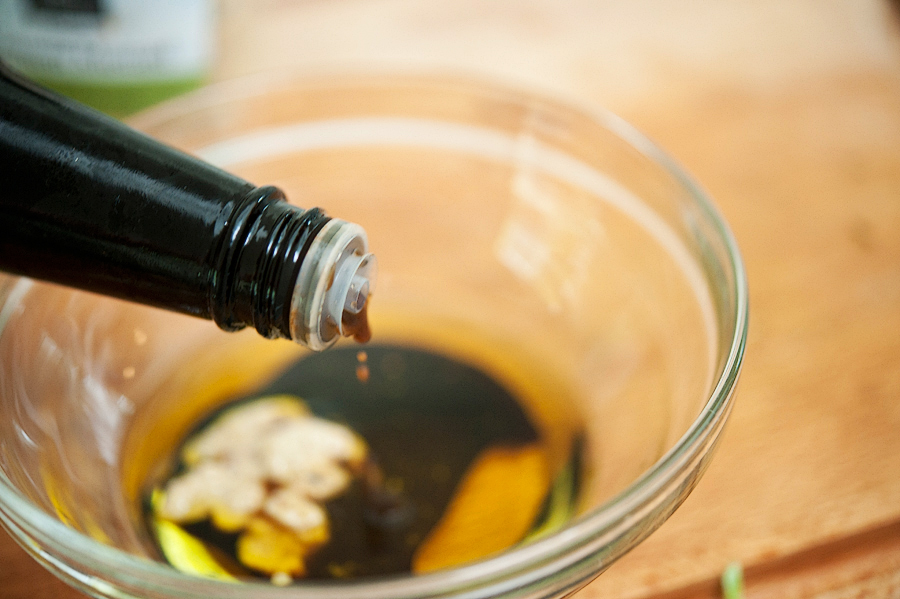
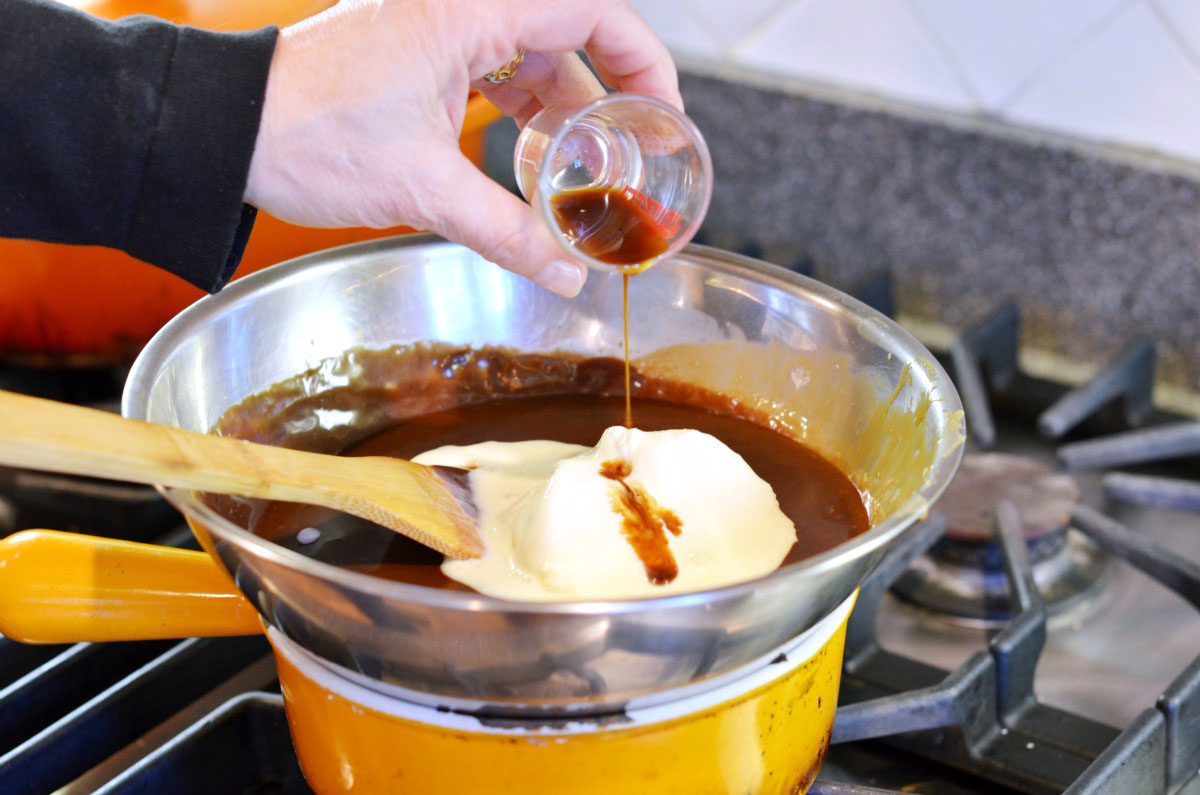
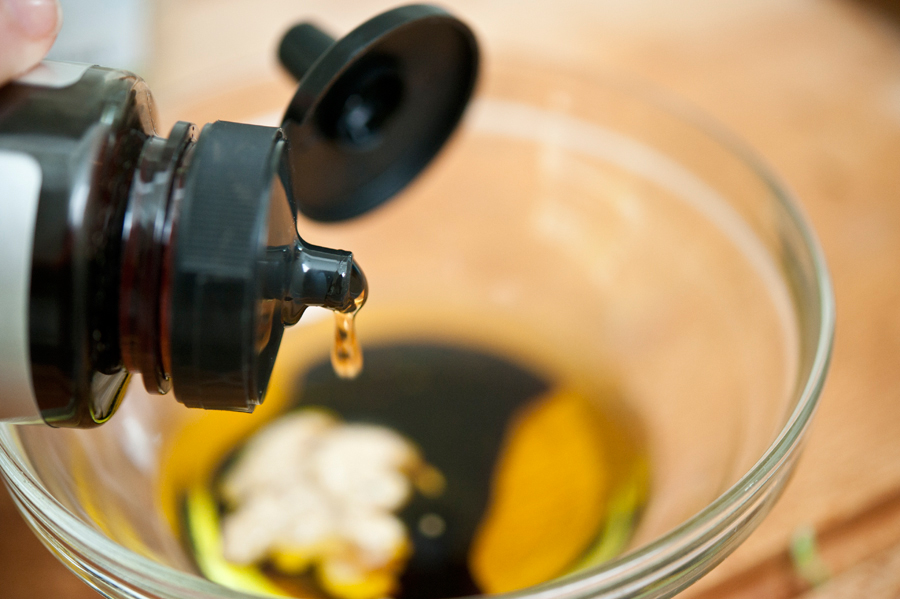
And the Worcestershire sauce.


Tasty Kitchen Blog: Zesty Brussels Sprouts. Guest post by Georgia Pellegrini, recipe submitted by TK member Sally of Spontaneous Hausfrau.

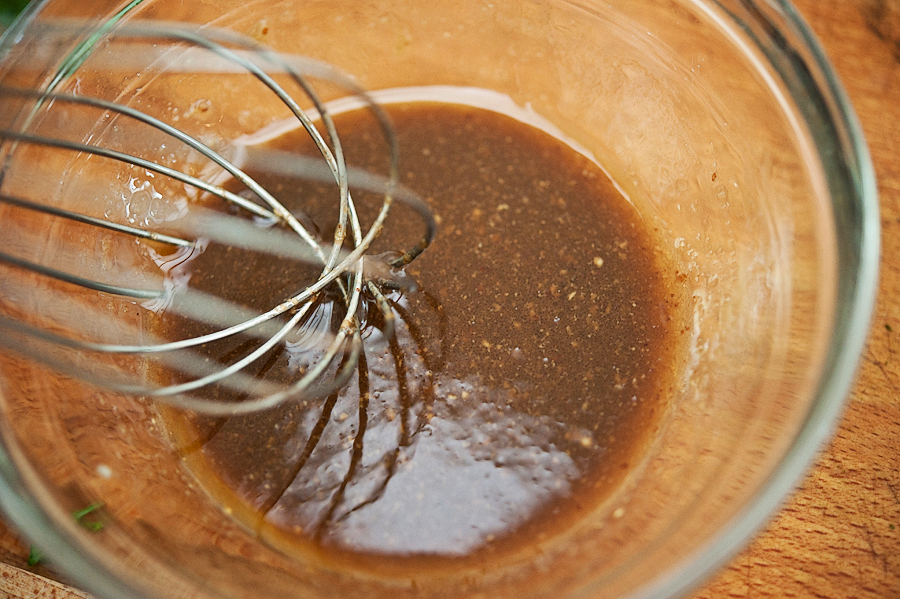
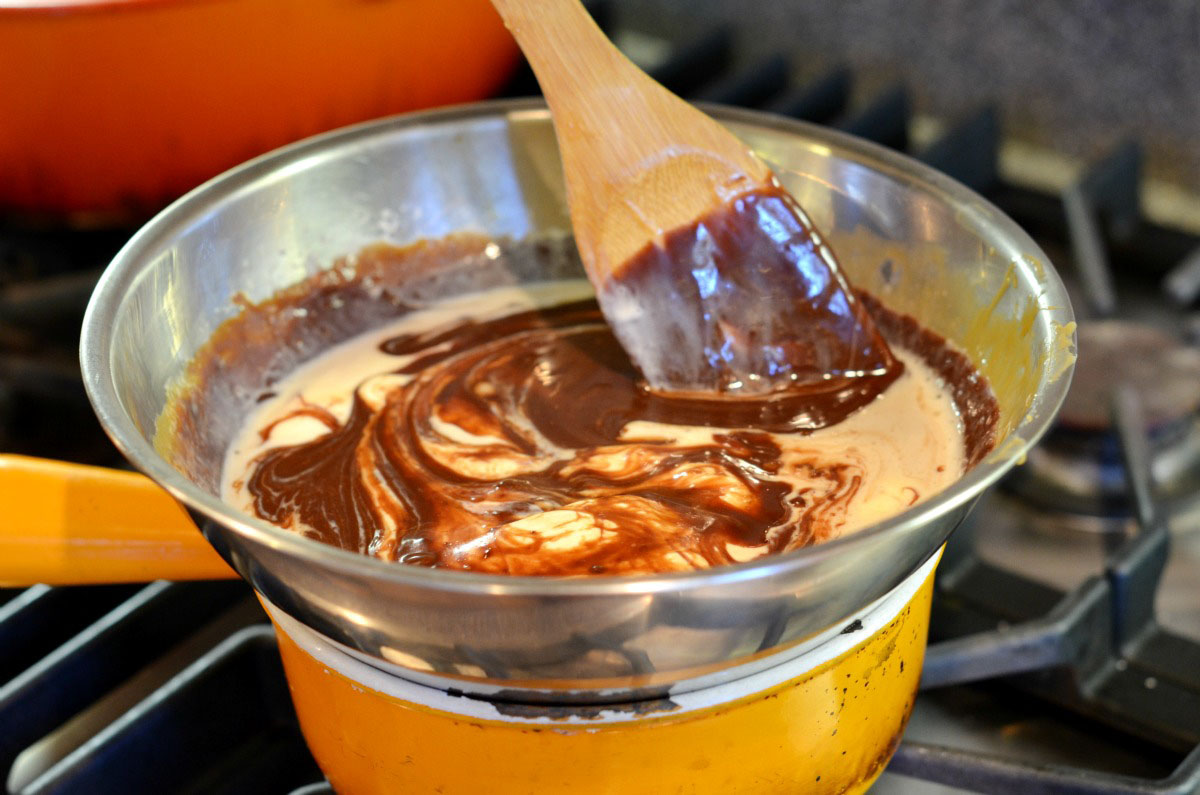
Whisk it all together until it is uniform and emulsified and set aside.


Tasty Kitchen Blog: Zesty Brussels Sprouts. Guest post by Georgia Pellegrini, recipe submitted by TK member Sally of Spontaneous Hausfrau.

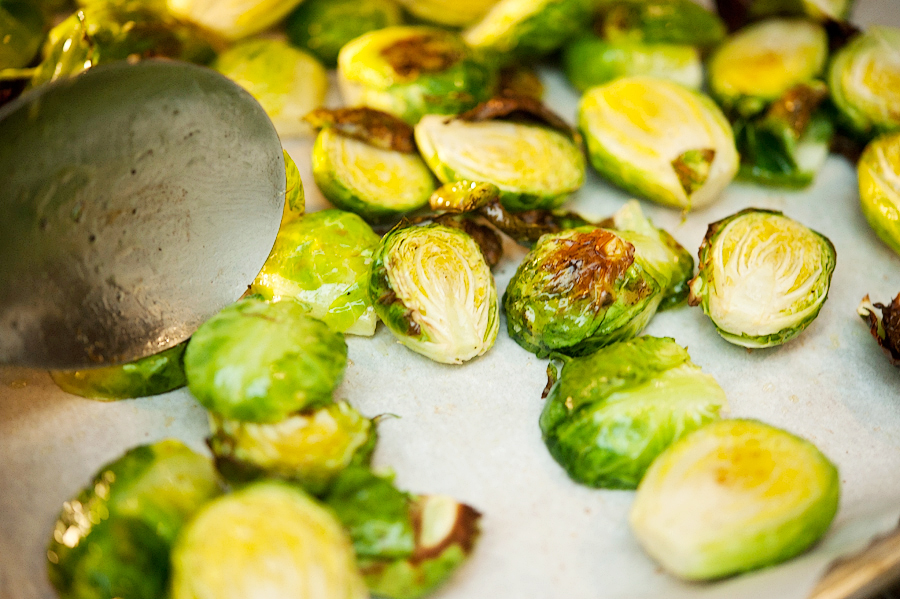
Check on the Brussels sprouts and give them a toss every so often while they’re in the oven to make sure they cook evenly.


Tasty Kitchen Blog: Zesty Brussels Sprouts. Guest post by Georgia Pellegrini, recipe submitted by TK member Sally of Spontaneous Hausfrau.

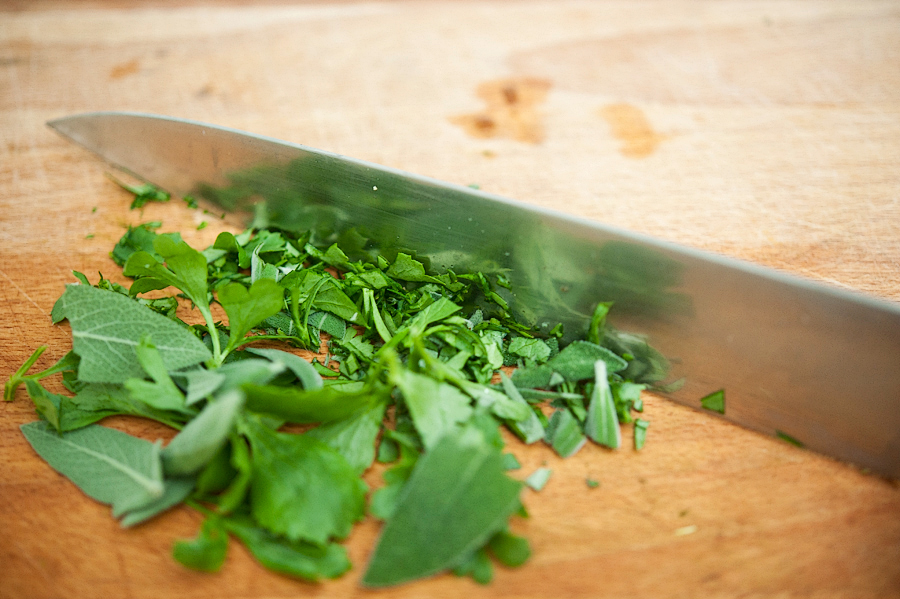
While they finish, coarsely chop some parsley. You can add some other herbs here too if you’d like. I added sage because I was in the mood and I happen to have a lot of it growing right now.


Tasty Kitchen Blog: Zesty Brussels Sprouts. Guest post by Georgia Pellegrini, recipe submitted by TK member Sally of Spontaneous Hausfrau.

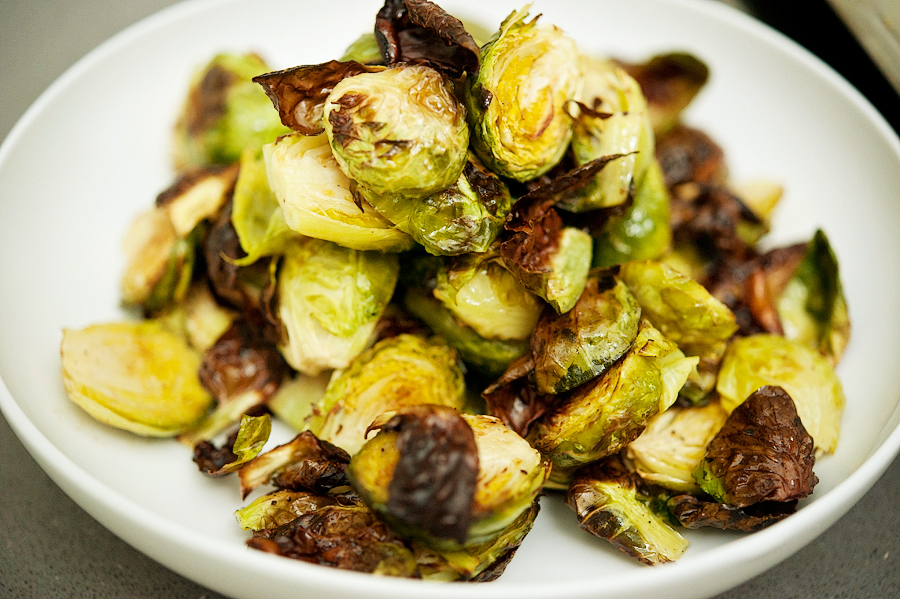
Gather the cooked, crispy Brussels sprouts in a serving bowl.


Tasty Kitchen Blog: Zesty Brussels Sprouts. Guest post by Georgia Pellegrini, recipe submitted by TK member Sally of Spontaneous Hausfrau.

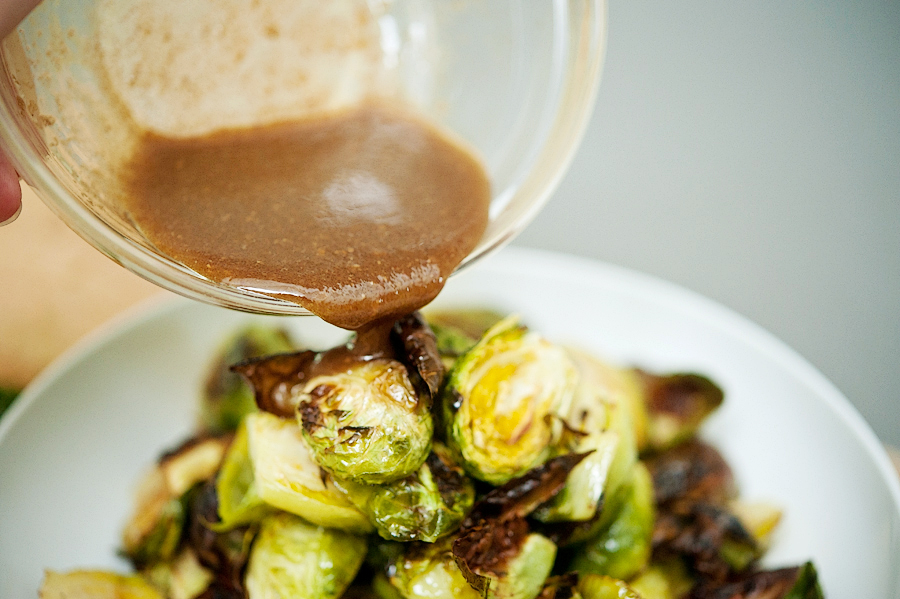
Pour the dressing over the top.


Tasty Kitchen Blog: Zesty Brussels Sprouts. Guest post by Georgia Pellegrini, recipe submitted by TK member Sally of Spontaneous Hausfrau.

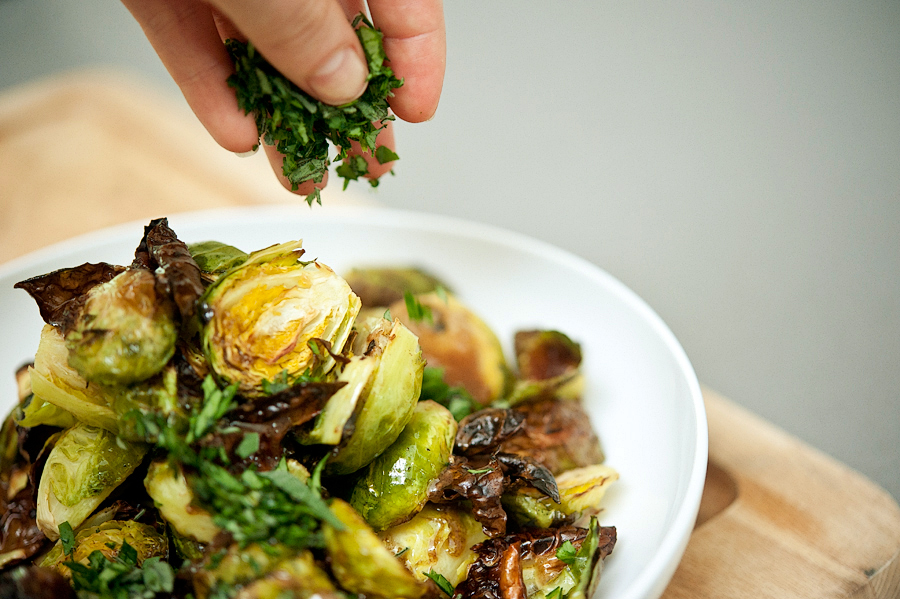
Sprinkle on the herbs.


Tasty Kitchen Blog: Zesty Brussels Sprouts. Guest post by Georgia Pellegrini, recipe submitted by TK member Sally of Spontaneous Hausfrau.

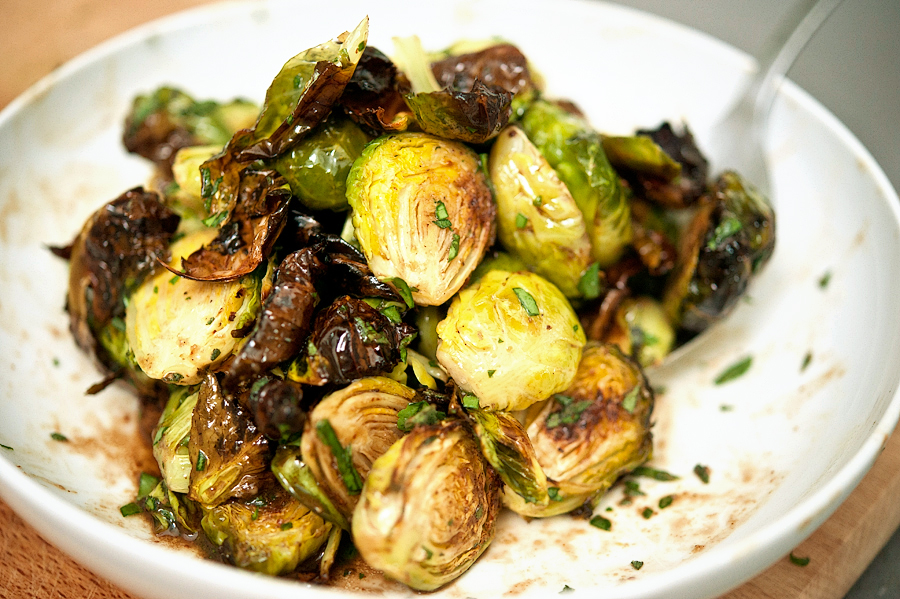
And give it all a nice toss!


Tasty Kitchen Blog: Zesty Brussels Sprouts. Guest post by Georgia Pellegrini, recipe submitted by TK member Sally of Spontaneous Hausfrau.

These were really special. They were warm and crispy, the dressing was sweet, and I wished I had made a triple batch because they were gone in a flash. They are the perfect healthy afternoon snack. Thanks so much to Spontaneous Hausfrau for this wonderful recipe. Check out her website for other great finds!


Printable Recipe

Zesty Brussels Sprouts

See post on Spontaneous Hausfrau’s site!
4.80 Mitt(s) 10 Rating(s)10 votes, average: 4.80 out of 510 votes, average: 4.80 out of 510 votes, average: 4.80 out of 510 votes, average: 4.80 out of 510 votes, average: 4.80 out of 5

Prep Time:

Cook Time:

Difficulty: Easy

Servings: 4

4
x

Print Options

Page size Letter 3x5 4x6
Text Size Small Medium Large
Content Include description
Include prep time, etc.
Show image

Description

Brussels sprouts are roasted until crisp and soft, then tossed in a tangy and slightly smoky vinaigrette.

Ingredients

  • 5 Tablespoons Extra Virgin Olive Oil, Divided
  • 1 Tablespoon Dijon Mustard
  • 1 Tablespoon Balsamic Vinegar
  • ½ teaspoons Agave Syrup
  • 1 teaspoon Worcestershire Sauce
  • 1 pound Brussels Sprouts
  • 2 Tablespoons Parsley, Chopped

Preparation Instructions

Preheat the oven to 400ºF.

In a small bowl, whisk together 3 tablespoons olive oil, Dijon mustard, balsamic vinegar, agave, and Worcestershire sauce until thickened and creamy. Set aside.

In a large bowl, toss the halved Brussels sprouts with the remaining 2 tablespoons olive oil. Arrange the sprouts in a single layer on a sheet pan and roast 25-30 minutes, stirring occasionally, until browned and crispy. Toss with the reserved vinaigrette and fold in the parsley before serving.


_______________________________________

There’s so much to say about Georgia, we don’t know where to start. Leaving Wall Street for the French Culinary Institute, followed by a stint at the Gramercy Tavern and La Chassagnette in France, her passion for food and food traditions are evident and inspiring. Visit her site at Georgia Pellegrini, where you’ll find more recipes, photos, learn all about her wonderful books Girl Hunter and Food Heroes, and enjoy her latest adventures.


Profile photo of Amber {Sprinkled With Flour}

Homemade Hotdog Buns

Posted by in Baking, Step-by-Step Recipes

Tasty Kitchen Blog: Homemade Hot Dog Buns. Guest post by Amber Potter of Sprinkled with Flour, recipe submitted by TK member Rebecca of Foodie with Family.

 
Hot dogs are a favorite at our house. Just thinking of a juicy hot dog loaded with every topping imaginable has my mouth watering. I do not, however, love hot dog buns. Until now. In the past, I’ve always pulled off the majority of the bun, not really wanting to sully my delicious dog with a mouthful of stale, musty flavored bread. When I spotted Rebecca’s recipe for Homemade Hot Dog Buns, I knew I had to see if it was possible to have a hot dog bun that was just as delicious as the star of the show.

These buns definitely fit the bill. They are soft, chewy and have a wonderful rich flavor that melts in your mouth. These buns are also sturdy, the kind of bun that lets you pile mountainous piles of topping on your hot dog, without turning into a soggy mess.


Tasty Kitchen Blog: Homemade Hot Dog Buns. Guest post by Amber Potter of Sprinkled with Flour, recipe submitted by TK member Rebecca of Foodie with Family.

For these buns you’ll need some milk, bread flour, an egg, butter, sugar, potato flakes, instant yeast, salt, and buttermilk.


Tasty Kitchen Blog: Homemade Hot Dog Buns. Guest post by Amber Potter of Sprinkled with Flour, recipe submitted by TK member Rebecca of Foodie with Family.

Put all ingredients except the buttermilk in the bowl of a stand mixer fitted with a dough hook.


Tasty Kitchen Blog: Homemade Hot Dog Buns. Guest post by Amber Potter of Sprinkled with Flour, recipe submitted by TK member Rebecca of Foodie with Family.

Mix on low speed for 10 minutes, or until a smooth, elastic dough is formed.


Tasty Kitchen Blog: Homemade Hot Dog Buns. Guest post by Amber Potter of Sprinkled with Flour, recipe submitted by TK member Rebecca of Foodie with Family.

Place the dough in a bowl.


Tasty Kitchen Blog: Homemade Hot Dog Buns. Guest post by Amber Potter of Sprinkled with Flour, recipe submitted by TK member Rebecca of Foodie with Family.

Cover bowl with a tea towel and place in a warm, draft-free place. I like to use my oven (turned off) while rising. 


Tasty Kitchen Blog: Homemade Hot Dog Buns. Guest post by Amber Potter of Sprinkled with Flour, recipe submitted by TK member Rebecca of Foodie with Family.

Let rise until double in bulk, about 1-2 hours. 


Tasty Kitchen Blog: Homemade Hot Dog Buns. Guest post by Amber Potter of Sprinkled with Flour, recipe submitted by TK member Rebecca of Foodie with Family.

Lightly grease an 11-inch by 13-inch baking sheet or line the pan with a Silpat or parchment paper. Set aside. Divide dough into 3 equally-sized pieces and form into logs.


Tasty Kitchen Blog: Homemade Hot Dog Buns. Guest post by Amber Potter of Sprinkled with Flour, recipe submitted by TK member Rebecca of Foodie with Family.

Divide each log into 5 equal pieces for standard sized rolls or 4 equal pieces for larger Italian sausage or hoagie rolls. Working with one piece at a time, pat each piece out into an oval.


Tasty Kitchen Blog: Homemade Hot Dog Buns. Guest post by Amber Potter of Sprinkled with Flour, recipe submitted by TK member Rebecca of Foodie with Family.

Press an indentation down the length of the center of the oval with the side of your hand.


Tasty Kitchen Blog: Homemade Hot Dog Buns. Guest post by Amber Potter of Sprinkled with Flour, recipe submitted by TK member Rebecca of Foodie with Family.

Roll the dough up around the indentation and pinch the seam together lightly.


Tasty Kitchen Blog: Homemade Hot Dog Buns. Guest post by Amber Potter of Sprinkled with Flour, recipe submitted by TK member Rebecca of Foodie with Family.

Roll the pieces gently seam side down until about 6-inches in length.


Tasty Kitchen Blog: Homemade Hot Dog Buns. Guest post by Amber Potter of Sprinkled with Flour, recipe submitted by TK member Rebecca of Foodie with Family.

Transfer the pieces of dough to the lined baking sheet, leaving about 1 inch between the pieces.


Tasty Kitchen Blog: Homemade Hot Dog Buns. Guest post by Amber Potter of Sprinkled with Flour, recipe submitted by TK member Rebecca of Foodie with Family.

Let rise in a warm, draft-free place until puffy, about 30 minutes.


Tasty Kitchen Blog: Homemade Hot Dog Buns. Guest post by Amber Potter of Sprinkled with Flour, recipe submitted by TK member Rebecca of Foodie with Family.

Preheat oven to 375°F. Brush the puffy dough generously with buttermilk.


Tasty Kitchen Blog: Homemade Hot Dog Buns. Guest post by Amber Potter of Sprinkled with Flour, recipe submitted by TK member Rebecca of Foodie with Family.

Bake for 18-22 minutes, or until deep golden brown. Cool the rolls on a rack for at least 10 minutes before slicing.


Tasty Kitchen Blog: Homemade Hot Dog Buns. Guest post by Amber Potter of Sprinkled with Flour, recipe submitted by TK member Rebecca of Foodie with Family.

Make a slice down the center of the top of the roll nearly through to the bottom. Gently pry open with your fingers to hold the hot dog or sausage. Now pile on those toppings!

Thanks Rebecca for sharing this delicious recipe with us. Don’t forget to stop by her blog, Foodie With Family, where she has so many yummy looking dishes!


Printable Recipe

Homemade Hot Dog Buns

See post on Rebecca’s site!
5.00 Mitt(s) 1 Rating(s)1 vote, average: 5.00 out of 51 vote, average: 5.00 out of 51 vote, average: 5.00 out of 51 vote, average: 5.00 out of 51 vote, average: 5.00 out of 5

Prep Time:

Cook Time:

Difficulty: Intermediate

Servings: 15

15
x

Print Options

Page size Letter 3x5 4x6
Text Size Small Medium Large
Content Include description
Include prep time, etc.
Show image

Description

Homemade Hot Dog Buns elevate an ordinary hot dog meal into an extraordinary experience. Soft, buttery, flavourful, and able to hold up to infinite toppings, these buns put all supermarket rolls to shame.

Ingredients

  • 1-¼ cup Milk, Lukewarm
  • 4 cups Bread Flour (You Can Substitute All-purpose Flour If Necessary.)
  • 1 whole Large Egg, Beaten
  • 6 Tablespoons Butter, Softened And Cut Into Pieces
  • 3 Tablespoons Sugar
  • 1 Tablespoon Gluten (can Be Omitted If Necessary)
  • 3 Tablespoons Instant Potato Flakes
  • 2 teaspoons Kosher Salt
  • 2 teaspoons Instant Yeast
  • ½ cups Cultured Buttermilk, For Brushing

Preparation Instructions

To mix dough in a bread machine:

Put all ingredients except for the buttermilk in the pan of your bread machine. Program bread machine for the dough cycle and hit start.

To mix dough in a stand mixer:

Put all ingredients except the buttermilk in the bowl of a stand mixer fitted with a dough hook. Mix on low speed for 10 minutes, or until a smooth, elastic dough is formed. Remove the bowl from the mixer, cover with a tea towel and let rise in a warm, draft-free place until doubled in bulk, about 1-2 hours.

To mix dough by hand:

Add all ingredients except for the buttermilk to a large mixing bowl. Use a sturdy wooden spoon or your hand to stir until a shaggy dough forms. Turn out onto a lightly floured surface and knead until a smooth, elastic dough forms, about 15 minutes. Place in an oiled bowl, cover with a tea towel and let rise in a warm, draft-free place until doubled in bulk, about 1-2 hours.

To form rolls:

1. Lightly grease an 11-inch by 13-inch baking sheet or line the pan with a silpat or parchment paper. Set aside.
2. Divide dough into 3 equally sized pieces and form into logs.
3. Divide each log into 5 equal pieces for standard sized rolls or 4 equal pieces for larger Italian sausage or hoagie rolls.
4. Working with one piece at a time, pat each piece out into an oval.
5. Press an indentation down the length of the center of the oval with the side of your hand.
6. Roll the dough up around the indentation.
7. Pinch the seam together lightly.
8. Roll the pieces gently seam side down until about 6-inches in length.
9. Transfer the pieces of dough to the lined baking sheet, leaving about 1 inch between the pieces, and let rise in a warm, draft-free place until puffy, about 30 minutes.
10. Preheat oven to 375°F.
11. Brush the puffy dough generously with buttermilk.
12. Bake for 18-22 minutes, or until deep golden brown.
13. Cool the rolls on a rack for at least 10 minutes before slicing.

To serve as a hot dog or sausage roll:

Make a slice down the center of the top of the roll nearly through to the bottom. Gently pry open with your fingers to hold the hot dog or sausage.

To serve as a hoagie or sandwich roll:

Lay the roll on its side and slice it in half about midway up the roll.

To store leftovers:

Wrap tightly and store at room temperature for up to two days. They can be wrapped tightly and frozen for storage up to a month.


_______________________________________

Amber is a stay at home mom who lives in the heart of the Missouri Ozarks. It’s a long way from where she grew up, in Wales (yes, way over in the U.K.). The recipes in her blog Sprinkled with Flour include her original creations as well as her family recipes. Go check them out!


Profile photo of ThreeManyCooks

Sander’s Hot Fudge Sauce

Posted by in Step-by-Step Recipes

Tasty Kitchen Blog: Sander’s Hot Fudge Sauce. Guest post by Maggy Keet of Three Many Cooks, recipe submitted by TK member Kathy Marie.

 
A bit of history in a recipe’s headnote always catches my eye. So when I stumbled upon Kathy Marie’s recipe for Sander’s Hot Fudge Sauce, a recipe passed down by her 82 year-old mother-in-law who grew up in Detroit, I figured it had t be great. Her mother-in-law recalled what a treat it was in high school to go Sander’s Ice Cream Parlor for a sundae.

I tend to glorify the past—what it would be like to live in another era (have you seen Midnight in Paris?). This image of a young woman sitting at the Sander’s counter, savoring her ice cream sundae, topped with this very hot fudge sauce in the 1940s made me feel nostalgic for a long lost era. So I made it, poured it liberally over my favorite ice cream, and savored each bite. Get ready for a chocolate blast from the past.


Tasty Kitchen Blog: Sander’s Hot Fudge Sauce. Guest post by Maggy Keet of Three Many Cooks, recipe submitted by TK member Kathy Marie.

You need just five ingredients to make this hot fudge sauce: caramels, milk, chocolate, vanilla ice cream and vanilla extract.


Tasty Kitchen Blog: Sander’s Hot Fudge Sauce. Guest post by Maggy Keet of Three Many Cooks, recipe submitted by TK member Kathy Marie.

It starts with a pound of caramels in a double boiler. Good start, right?


Tasty Kitchen Blog: Sander’s Hot Fudge Sauce. Guest post by Maggy Keet of Three Many Cooks, recipe submitted by TK member Kathy Marie.

Then we add the milk and stir continuously until smooth.


Tasty Kitchen Blog: Sander’s Hot Fudge Sauce. Guest post by Maggy Keet of Three Many Cooks, recipe submitted by TK member Kathy Marie.

Next mix in all that lovely chocolate.


Tasty Kitchen Blog: Sander’s Hot Fudge Sauce. Guest post by Maggy Keet of Three Many Cooks, recipe submitted by TK member Kathy Marie.

Stir to ensure it is melted and smooth.


Tasty Kitchen Blog: Sander’s Hot Fudge Sauce. Guest post by Maggy Keet of Three Many Cooks, recipe submitted by TK member Kathy Marie.

And this is where it gets interesting: you then stir in a cup of vanilla ice cream! This makes the sauce creamy.


Tasty Kitchen Blog: Sander’s Hot Fudge Sauce. Guest post by Maggy Keet of Three Many Cooks, recipe submitted by TK member Kathy Marie.

Then add a dash of vanilla for good measure.


Tasty Kitchen Blog: Sander’s Hot Fudge Sauce. Guest post by Maggy Keet of Three Many Cooks, recipe submitted by TK member Kathy Marie.

Mix until super-smooth.


Tasty Kitchen Blog: Sander’s Hot Fudge Sauce. Guest post by Maggy Keet of Three Many Cooks, recipe submitted by TK member Kathy Marie.

Then pour it liberally over your favorite sweet treat.


Tasty Kitchen Blog: Sander’s Hot Fudge Sauce. Guest post by Maggy Keet of Three Many Cooks, recipe submitted by TK member Kathy Marie.

I went with ice cream only because I’m wishing it was summer, but this would be to-die-for over a hot brownie sundae!

Kathy Marie, thank you (and your mother-in-law) for sharing this recipe with us.


Printable Recipe

Sander’s Hot Fudge Sauce

5.00 Mitt(s) 1 Rating(s)1 vote, average: 5.00 out of 51 vote, average: 5.00 out of 51 vote, average: 5.00 out of 51 vote, average: 5.00 out of 51 vote, average: 5.00 out of 5

Prep Time:

Cook Time:

Difficulty: Easy

Servings: 12

12
x

Print Options

Page size Letter 3x5 4x6
Text Size Small Medium Large
Content Include description
Include prep time, etc.
Show image

Description

My mother-in-law grew up in Detroit (she’s 82 now!) and told me it was a treat to go to Sander’s Ice Cream Parlor for a sundae when she was in high school. She got this recipe from an old friend and shared it with me. Oh, my! You’ve got to try this!

Ingredients

  • ½ cups Whole Milk
  • 1 pound Caramels
  • ½ pounds High Quality Milk Chocolate
  • ½ pints Vanilla Ice Cream
  • 1 teaspoon Vanilla Extract

Preparation Instructions

1. Place milk and caramels in a double bloiler, heat over medium heat and stir continuously until a hot smooth cream is formed. Remove from the heat.

2. Chop the chocolate into uniform small pieces and add to the above hot cream. Stir continuously until the chocolate is completely melted and incorporated into the hot cream.

3. Mix in the vanilla ice cream and vanilla extract and stir until completely melted and thoroughly combined.

4. Serve immediately over your favorite ice cream. Store any leftovers in a covered container in the refrigerator. Reheat in the microwave at 30-second intervals, stirring between heating times, until desired temperature is reached.


_______________________________________

Three Many Cooks is the always-entertaining food blog of Pam Anderson and her two daughters, Maggy and Sharon. Pam is a well-known and much-respected food writer and author, Maggy is a “hippy adventurer meets 1950s housewife,” and Sharon refers to herself as a recovering food snob learning to survive on a graduate student’s budget. Theirs is a strong relationship both inside and outside the kitchen, and it shows in the food they create and the stories they tell.


Profile photo of Natalie | Perry's Plate

Customizable Bread Bowl Breakfast

Posted by in Step-by-Step Recipes

Tasty Kitchen Blog Customizable Bread Bowl Breakfast. Guest post by Natalie Perry of Perry's Plate, recipe submitted by TK member Lindsay of Perfecting the Pairing.

 
If I ask my (almost) 5-year-old what cooking show she wants to watch with Mom, she always says, “Pioneer Woman!” She adores Ree’s show! After one recent episode where Ree made soup in bread bowls, my little girl was obsessed with the idea of eating her bowl when she finished her soup. (It IS pretty cool if you ask me.) She’s been hounding me to make them for several weeks now.

Since bread bowls are pretty substantial (especially for a 5-year-old) I was so excited when I saw a miniature version made from crusty rolls! The Customizable Bread Bowl Breakfast idea comes from TK member Lindsay.

I love recipes like this that are more conceptual than a strict-measurement recipe. You can literally go any direction with these bowls and simply use what you have on hand! They’d also be great to serve a crowd at brunch (perhaps an Easter brunch if you’re planning one?). If you have enough fillings, then there’s bound to be something that everyone will like!


Tasty Kitchen Blog Customizable Bread Bowl Breakfast. Guest post by Natalie Perry of Perry's Plate, recipe submitted by TK member Lindsay of Perfecting the Pairing.

To get started you’ll need some crusty dinner rolls, some melted butter, a sharp serrated knife, a pastry brush, salt, and pepper.


Tasty Kitchen Blog Customizable Bread Bowl Breakfast. Guest post by Natalie Perry of Perry's Plate, recipe submitted by TK member Lindsay of Perfecting the Pairing.

Slice off the very top of the roll.

(These are so easy. It kills me.)


Tasty Kitchen Blog Customizable Bread Bowl Breakfast. Guest post by Natalie Perry of Perry's Plate, recipe submitted by TK member Lindsay of Perfecting the Pairing.

Pull out as much of the inside of the roll as you can without breaking through the crust. My rolls had a pretty thick, crusty outside, so that’s about as far as I could go.


Tasty Kitchen Blog Customizable Bread Bowl Breakfast. Guest post by Natalie Perry of Perry's Plate, recipe submitted by TK member Lindsay of Perfecting the Pairing.

Brush the inside with butter.


Tasty Kitchen Blog Customizable Bread Bowl Breakfast. Guest post by Natalie Perry of Perry's Plate, recipe submitted by TK member Lindsay of Perfecting the Pairing.

Then sprinkle some salt and pepper inside.


Tasty Kitchen Blog Customizable Bread Bowl Breakfast. Guest post by Natalie Perry of Perry's Plate, recipe submitted by TK member Lindsay of Perfecting the Pairing.

Put them on a sheet pan or a platter for your hungry ones to grab and fill.


Tasty Kitchen Blog Customizable Bread Bowl Breakfast. Guest post by Natalie Perry of Perry's Plate, recipe submitted by TK member Lindsay of Perfecting the Pairing.

Here comes the fun part: gathering the fillings! I actually did this before I prepped my rolls, and you can even do it the night before breakfast. They don’t have to be hot because everything gets baked in the oven anyway. I began to “clean out” my fridge, so to speak, and ended up with WAY more fillings than we needed. Things got a bit heady with flavor combinations.

(By the way, if you don’t use all of the fillings, you have everything conveniently prepped for omelets later!)


Tasty Kitchen Blog Customizable Bread Bowl Breakfast. Guest post by Natalie Perry of Perry's Plate, recipe submitted by TK member Lindsay of Perfecting the Pairing.

I let my kids go at it, curious to see what they would put in their rolls. My 3-year-old went straight for the bacon. And the cheese. (She’s a momma’s girl.) One thing we learned through this is to fill the rolls sparingly and really push the fillings down and into the sides. You’ll see why in a second.


Tasty Kitchen Blog Customizable Bread Bowl Breakfast. Guest post by Natalie Perry of Perry's Plate, recipe submitted by TK member Lindsay of Perfecting the Pairing.

I told the 5-year-old to put an egg in hers. I should have been more specific. She figured out soon enough that meant cracking the egg. Silly girl.

I’m not sure if my rolls were on the small side or if my eggs were on the large side (yolks from pastured eggs tend to be larger), but we lost a good bit of the white down the side of the roll. No biggie.

You could also use the whites only or whisk together the eggs (for those who like things mixed up) and only pour as much as you need into each roll.


Tasty Kitchen Blog Customizable Bread Bowl Breakfast. Guest post by Natalie Perry of Perry's Plate, recipe submitted by TK member Lindsay of Perfecting the Pairing.

After you have your rolls filled and baked, you’re ready to eat! If you like your yolks runny, keep an eye on them closely so they don’t firm up in the oven.


Tasty Kitchen Blog Customizable Bread Bowl Breakfast. Guest post by Natalie Perry of Perry's Plate, recipe submitted by TK member Lindsay of Perfecting the Pairing.

Thanks to Lindsay for a fabulous brunch idea! Be sure to visit her TK recipe box as well as her own blog, Perfecting the Pairing, for more delicious recipes.


Printable Recipe

Customizable Bread Bowl Breakfast

See post on Lindsay’s site!
4.83 Mitt(s) 6 Rating(s)6 votes, average: 4.83 out of 56 votes, average: 4.83 out of 56 votes, average: 4.83 out of 56 votes, average: 4.83 out of 56 votes, average: 4.83 out of 5

Prep Time:

Cook Time:

Difficulty: Easy

Servings: 8

8
x

Print Options

Page size Letter 3x5 4x6
Text Size Small Medium Large
Content Include description
Include prep time, etc.
Show image

Description

Egg in a bread bowl is the perfect breakfast for a crowd because it is completely customizable!

Ingredients

  • 8 whole Crusty Bread Rolls
  • 2 Tablespoons Butter, Melted
  • Salt And Pepper
  • Assorted Fillings (See Suggestions In Instructions)
  • 8 whole Eggs

Preparation Instructions

Preheat your oven to 350ºF. Slice off the top of each roll and scoop out the soft bread inside, leaving the sides of the roll intact. Brush the inside of each roll with the melted butter and season with salt and pepper.

Let your guests fill the roll with their favorite toppings (see suggestions below). Crack an egg or egg white on top, season with salt and pepper, and place on a cookie sheet. Bake for 10-12 minutes and then cover the pan loosely with foil. Bake an additional 20-25 minutes, or until the egg is just set.

Suggested fillings: grape tomatoes, cilantro, parsley, thyme, shredded cheese, herbed goat cheese, caramelized onions, pre-cooked breakfast potatoes, spinach artichoke dip, deli ham, cooked sausage, crumbled bacon, onions, mushrooms, spinach, feta cheese.


_______________________________________

Be sure to check out Natalie’s own beautiful food blog, Perrys’ Plate, where you can see her growing collection of lovely recipes. There’s always something new to see there. Go visit now!


Profile photo of twopeasandtheirpod

Spinach and Edamame Salad

Posted by in Step-by-Step Recipes

  I love salads, but sometimes I get in a salad rut. I tend to make the same old salads, which can get boring. I was looking for some salad inspiration on Tasty Kitchen and came across Bev Weidner’s Spinach and Edamame Salad. Spinach salads are my favorite and this one is loaded with nutritious and […]