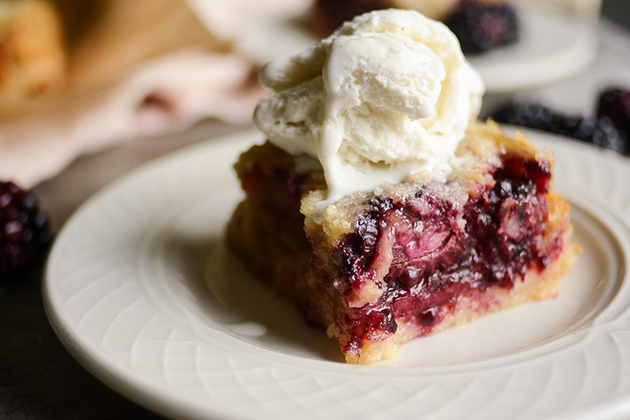
Raise your hand if you love cobblers!
Warm fruit surrounded by a cake or cookie-like topping accompanied by good-quality ice cream. I’ll have that any night of the week. Or for breakfast. Or lunch. Or a snack. Yeah, I’m a bit obsessed.
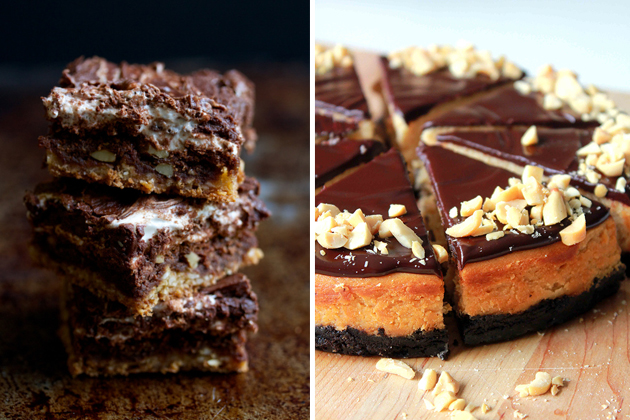
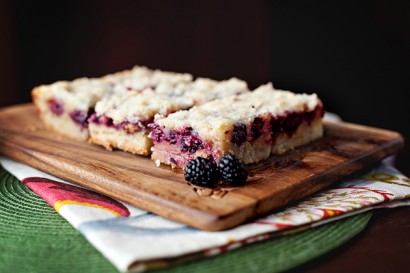
These Blackberry Cobbler Bars, brought to us by TK member Amber, is a delicious way to use those blackberries that you see around the grocery store this time of year. Confession: I had never baked with blackberries until I made this cobbler. This was a wonderful introduction.
Let me show you how to make it for yourself (and for your friends, if you decide to share):

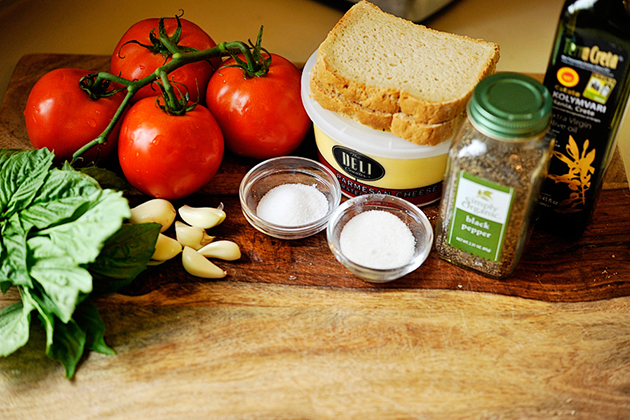
Here are all of the ingredients that you’ll need: flour, sugar, salt, butter, eggs, brown sugar, sour cream, an orange, vanilla extract and (of course) blackberries.
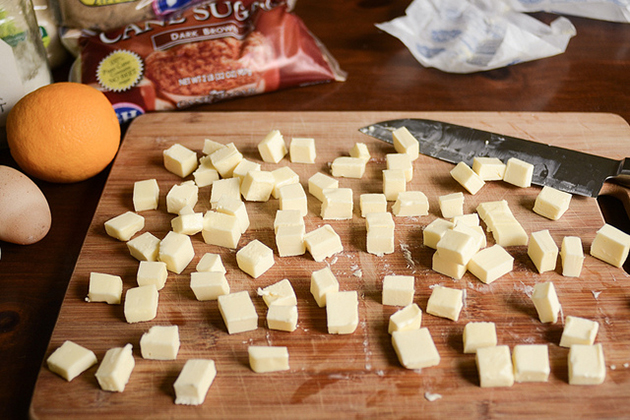
Begin by cutting your (cold!) butter into cubes. Then put it back into the refrigerator to chill while you work on the rest of the cobbler.
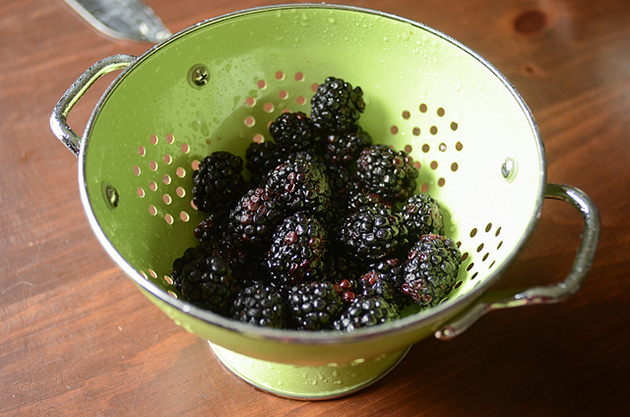
Wash and drain your blackberries.
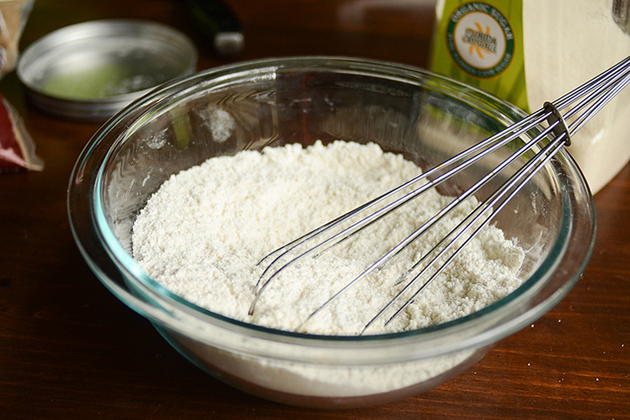
In a medium bowl, whisk together the dry ingredients for the topping: flour, sugar and salt.
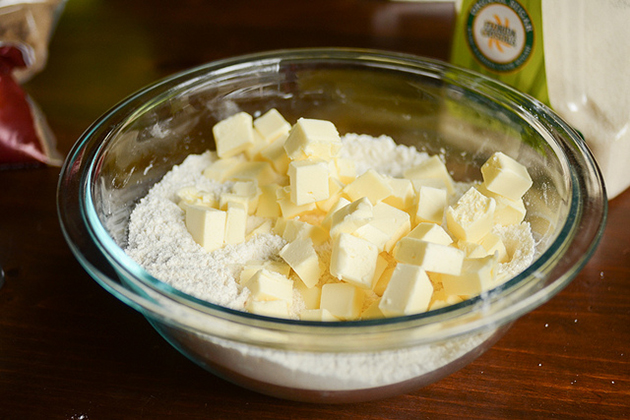
Throw in the chilled butter cubes and toss to coat with flour.
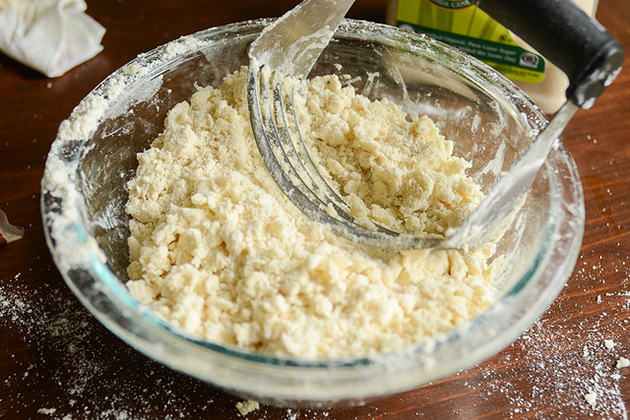
Cut the butter into the dry ingredients with a pastry cutter, two knives or your fingertips until it looks like coarse crumbs. Raise your hand if you dislike cutting butter into flour.
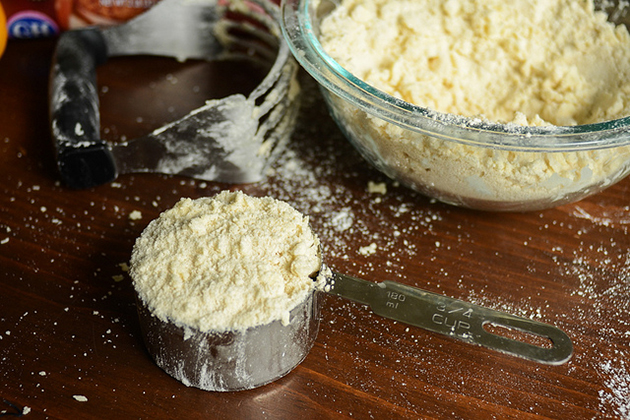
Reserve 3/4 cup of the mixture.
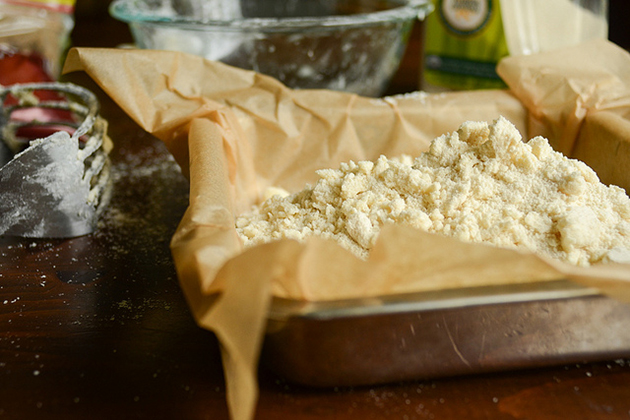
Dump the rest into a greased or parchment-lined square baking pan.

Pat it down with your fingertips.
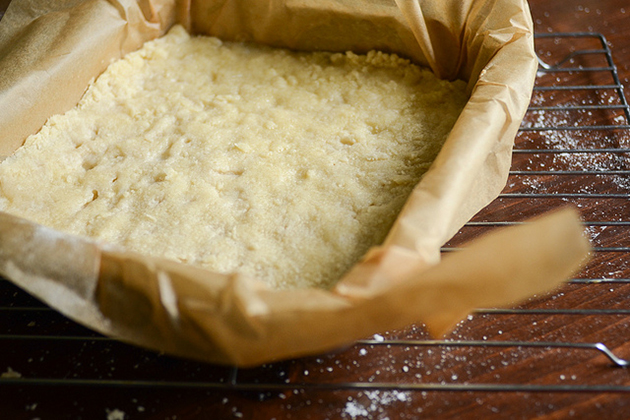
Bake in a 350ºF (175ºC) oven.
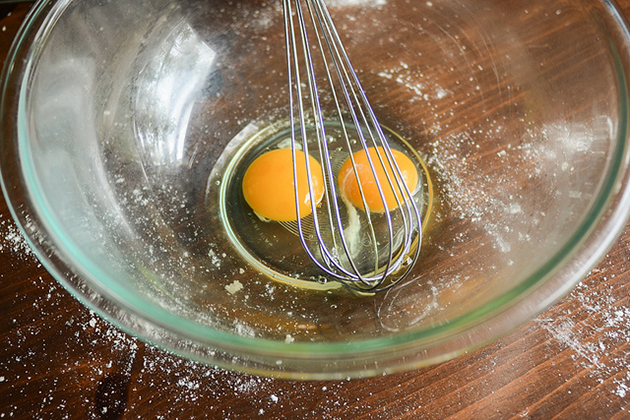
Now it’s time to make the filling. Start by beating a couple eggs in a large bowl.
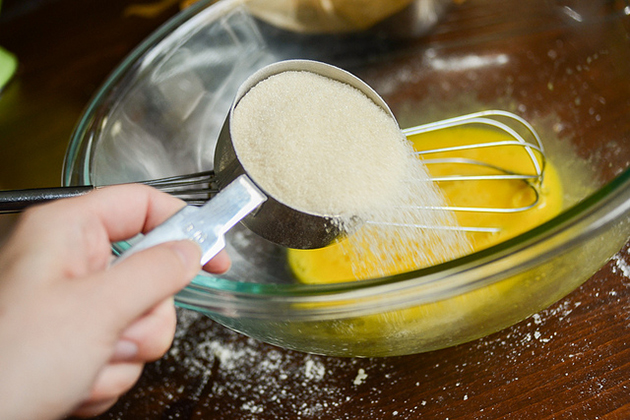
Add the sugar …
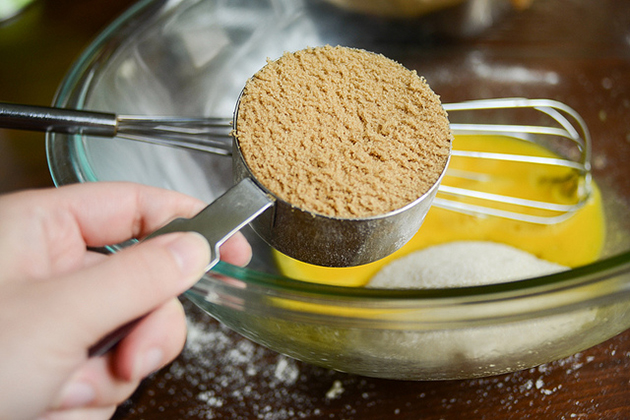
Brown sugar …
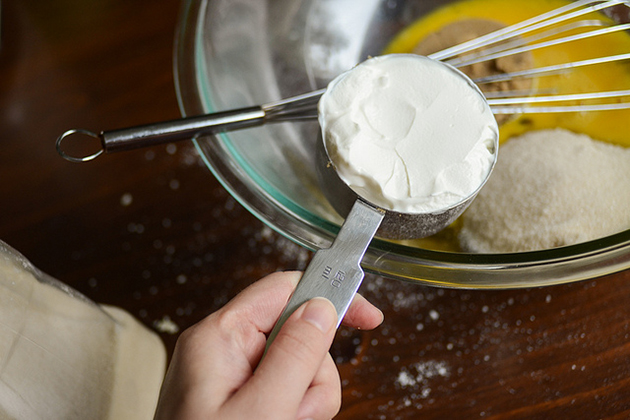
Sour cream…
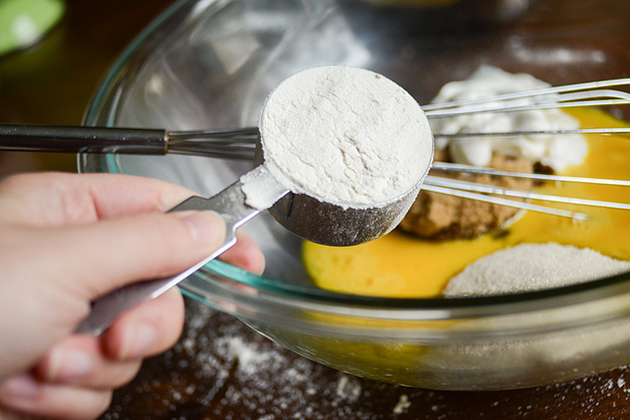
Flour…
Pinch of salt…
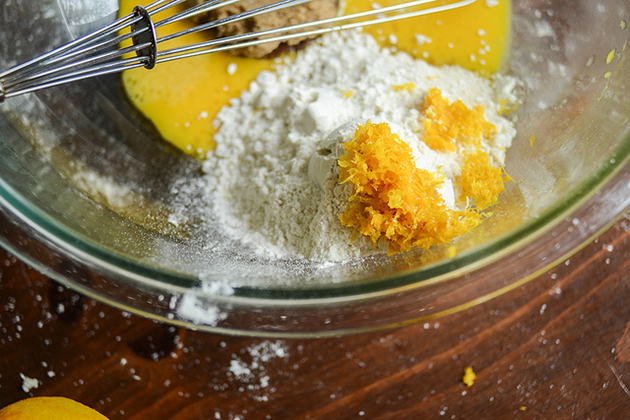
Orange zest…
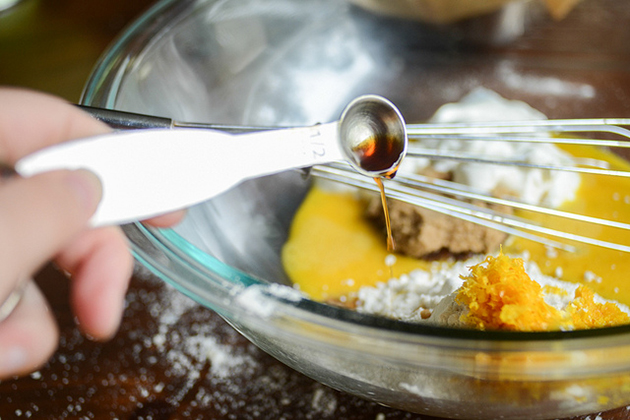
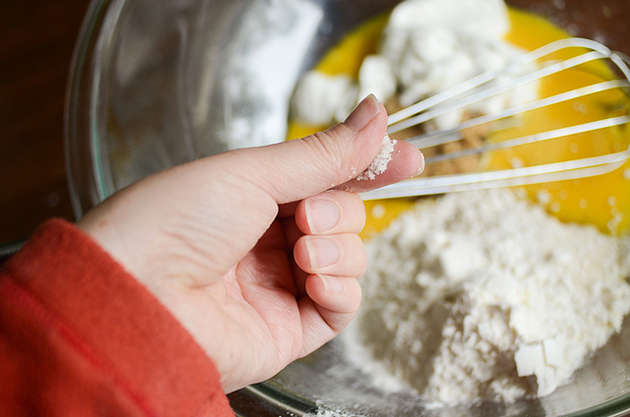
And vanilla extract. Give everything a good stir.

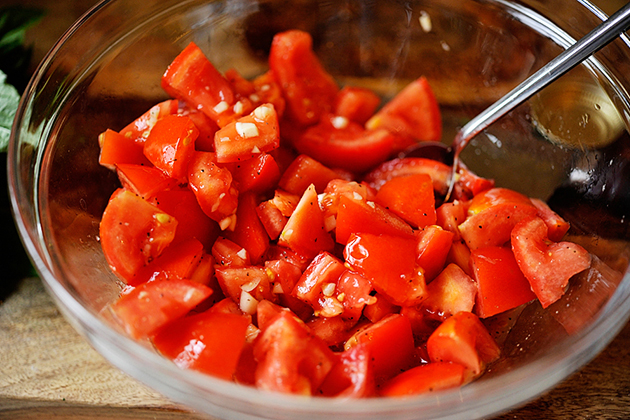
Toss in the blackberries and gently fold to combine.
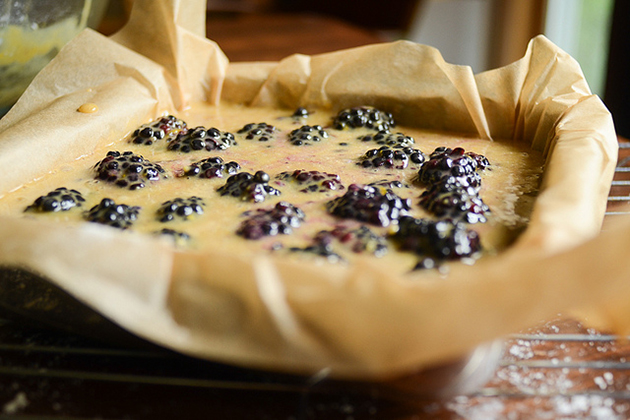
Pour over the baked crust.
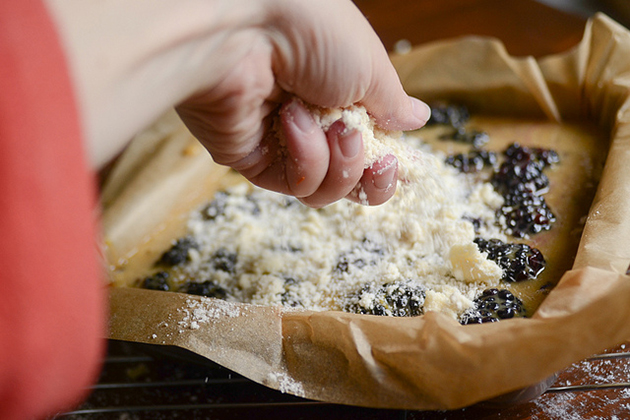
Sprinkle the reserved topping over the filling.
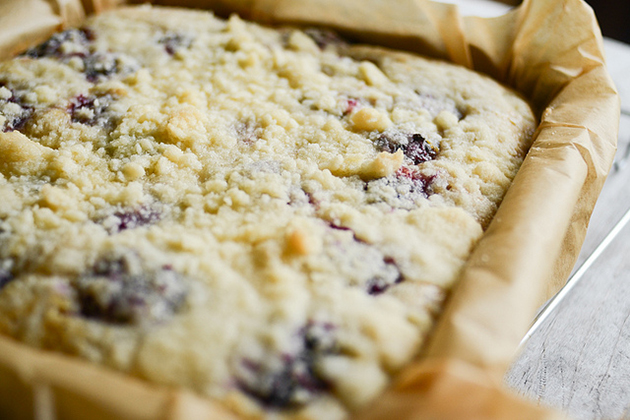
Bake until golden and just set in the middle. Now for the hardest part: let the cobbler cool for one whole hour. Torture!
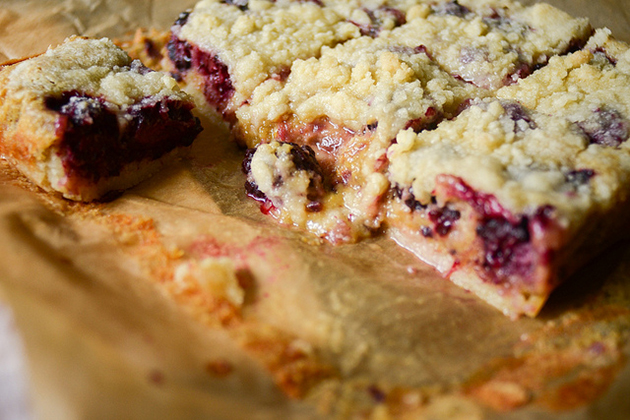
I didn’t bake mine long enough and the center was rather gooey. I returned it to the oven for a few minutes and it was fine.

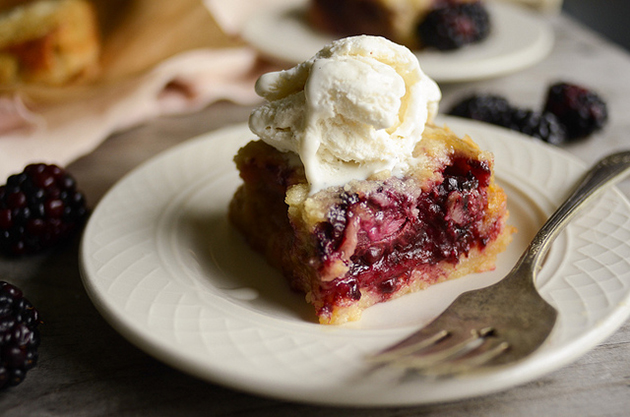
Now comes the best part. Serve with good-quality ice cream or cream (or my favorite: BOTH).
Notes:
• I loved this cobbler, but next time I might try reducing the sugar in the crust/topping just a hair.
• The orange flavor was awesome. I used the zest from the entire orange. You can use more or less according to your preference.
• Make sure you cook this cobbler long enough. I had to return mine to the oven for an extra 15 minutes or so. Then again, don’t overcook it—you want the filling to be a little gooey!
Thank you so much to Amber for sharing this recipe with us. You’ll definitely want to check our her blog, Sprinkled with Flour, for many more delicious recipes.
Printable Recipe


Print Options
Description
Blackberry Cobbler Bars, filled with fresh berries, brown sugar and orange zest.
Ingredients
- FOR THE CRUST AND TOPPING:
- 1-½ cup All-purpose Flour
- ¾ cups Sugar
- ⅛ teaspoons Salt
- 1-½ stick Butter, Chilled
- FOR THE FILLING:
- 2 whole Eggs
- ½ cups White Sugar
- ½ cups Brown Sugar
- ½ cups Sour Cream
- 6 Tablespoons All-purpose Flour
- ⅛ teaspoons Salt
- 1 teaspoon Orange Zest
- ½ teaspoons Vanilla Extract
- 8 ounces, weight Fresh Blackberries, Rinsed And Drained
Preparation Instructions
For the crust/topping: Preheat the oven to 350ºF. Grease a 9×9 inch baking pan. Combine the flour, sugar, and salt in a medium bowl. Cut the butter into 1/2-inch cubes, and add to the flour mixture. Using a fork for pastry cutter, cut the butter in until mixture resembles coarse crumbs. Reserve 3/4 cup of the mixture to use as the topping. Press the remaining mixture into the bottom of the pan, and bake for 10-12 minutes. Cool for 10-15 minutes.
For the filling: Whisk the eggs in a large bowl, then add the white and brown sugar, sour cream, flour, salt, orange zest and vanilla extract. Gently fold in the berries and pour the mixture over the crust. Scatter the remaining flour mixture evenly over the filling and bake 35-45 minutes.
Cool for 1 hour before cutting into bars. Serve with fresh whipped cream, cold ice cream, or just eat straight from the pan!
Recipe Note: I only added a small amount of orange zest, because I didn’t want to overpower the fresh berries. If you want more orange flavor, add more zest.
_______________________________________
Newly-married Erica Kastner shares her wonderful recipes and amazing food photography on her blog, Buttered Side Up. She also writes about crafts and posts more of her beautiful photography in her personal blog, Simple Days. There really isn’t much that this amazing young wife and mother can’t do, and we’re thrilled she does some of it here.