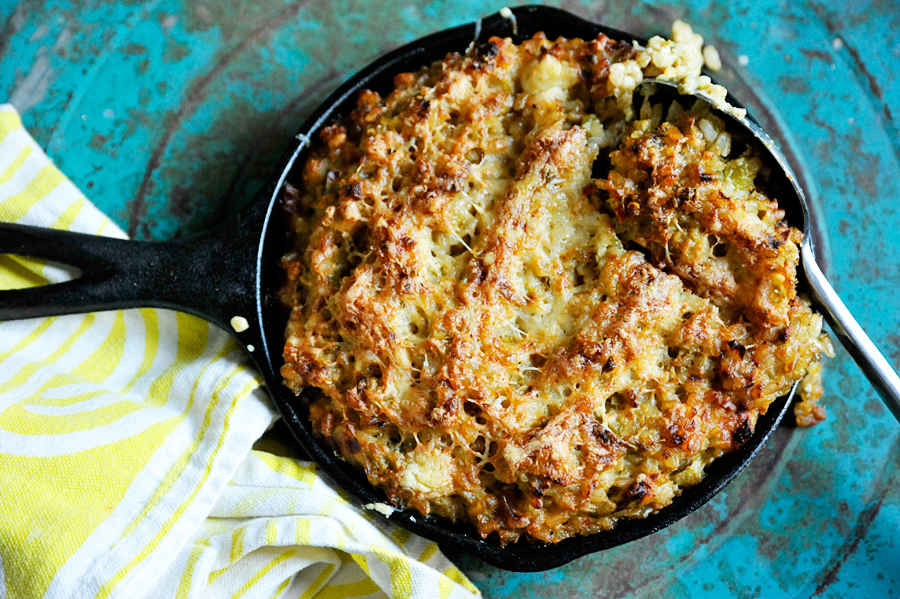
This recipe for Cheesy Baked Green Chile Rice from TK member Lindsay made my house smell so amazing that those passing by begged for a bite. It is a wonderful combination of cheesy, spicy, crunchy deliciousness. And you can make it in small or large skillets or a baking dish and serve it tableside.
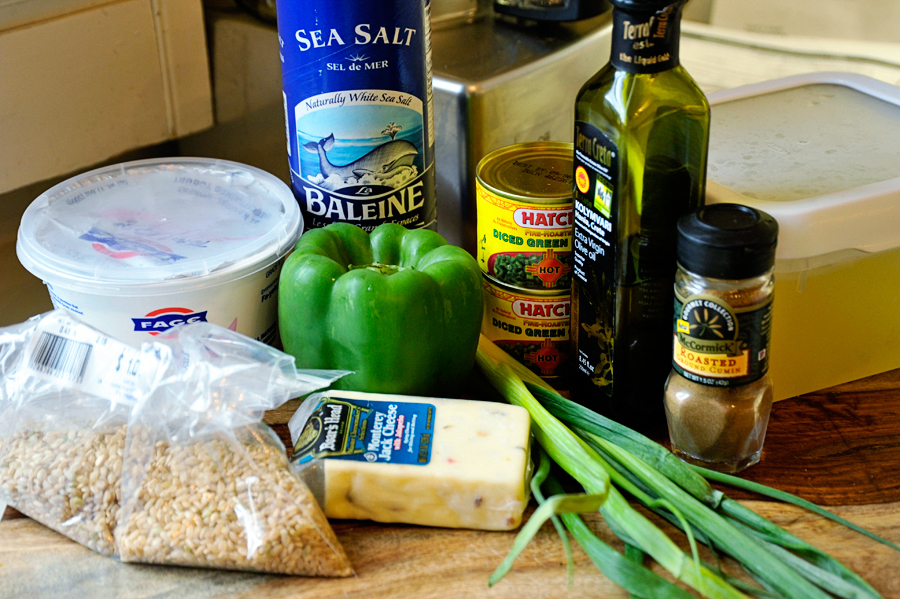
To make it you will need: brown or white rice, cheese, pepper, green onion, cumin, chicken stock, olive oil, green chiles, salt, and either sour cream and cream cheese. Or to make a lower calorie version, you could use Greek yogurt like I did.
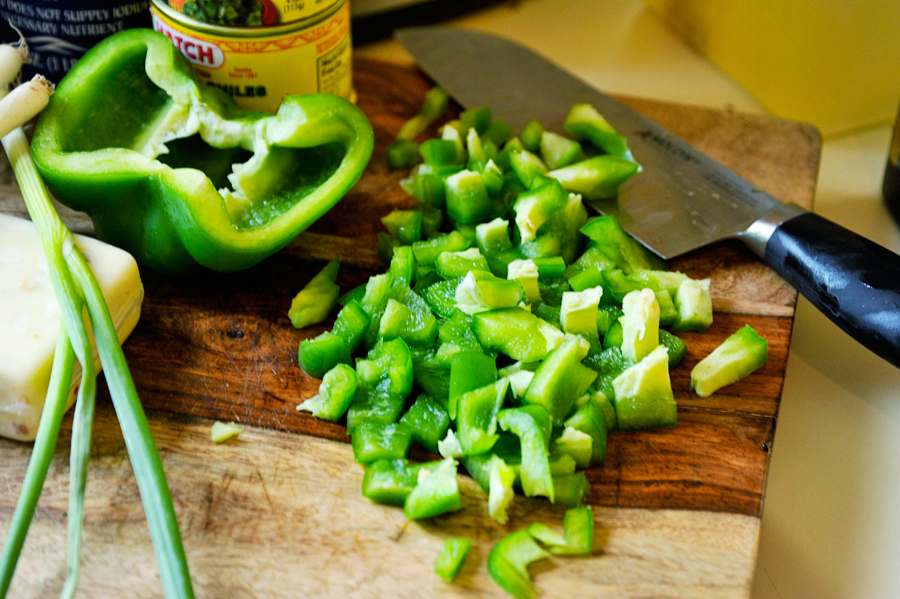
Dice your pepper finely to start.
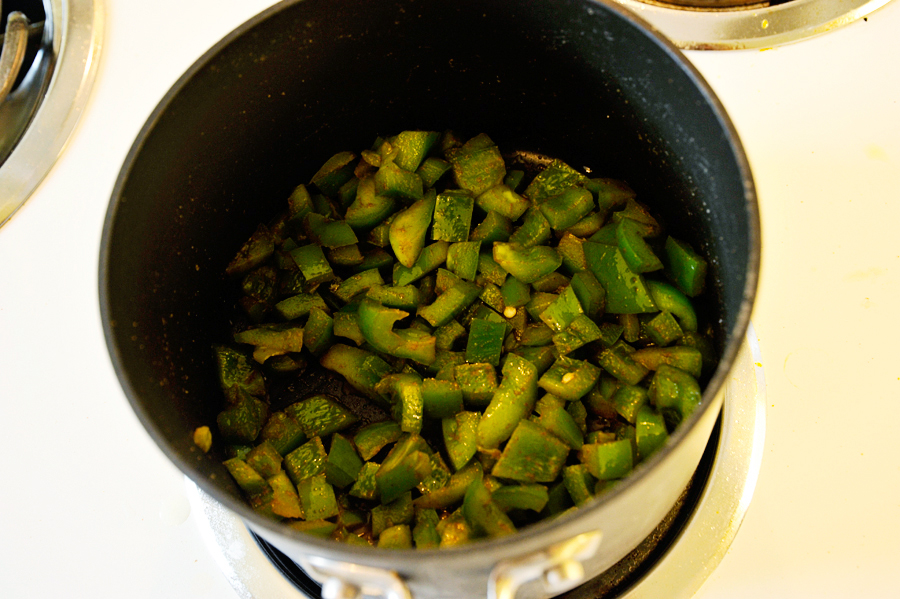
Then, in a pot, sauté the peppers in the oil until slightly softened.
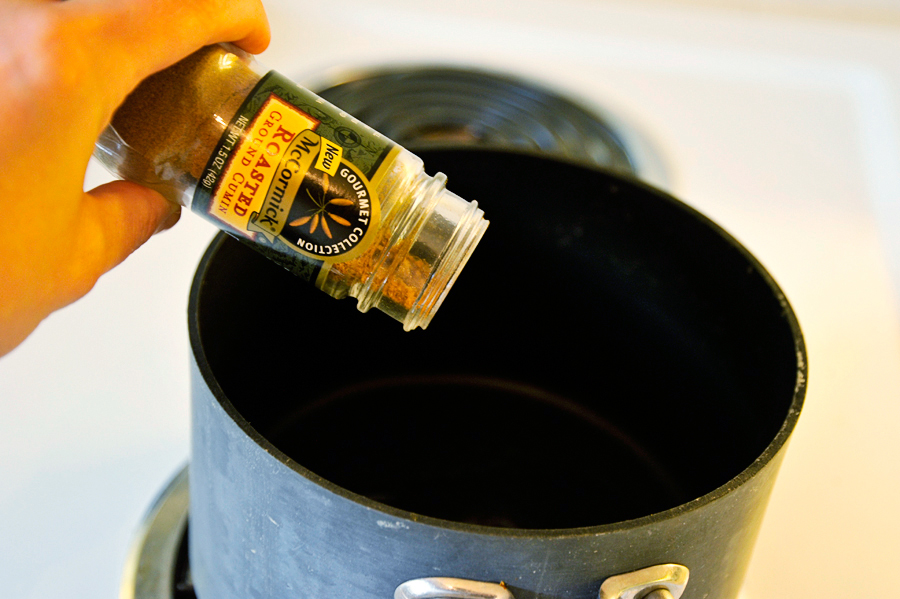
Add your cumin and stir …
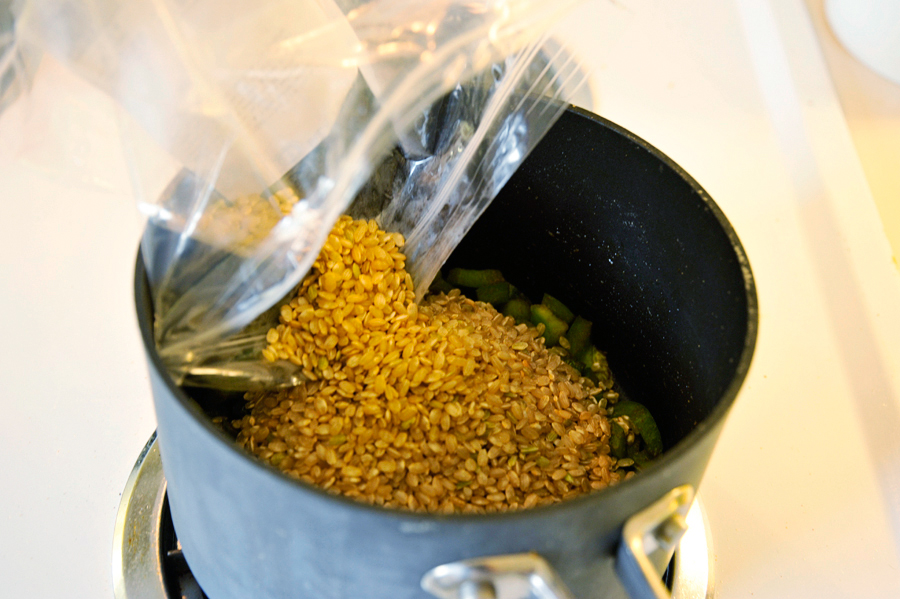
Then add your rice and stir for two minutes.
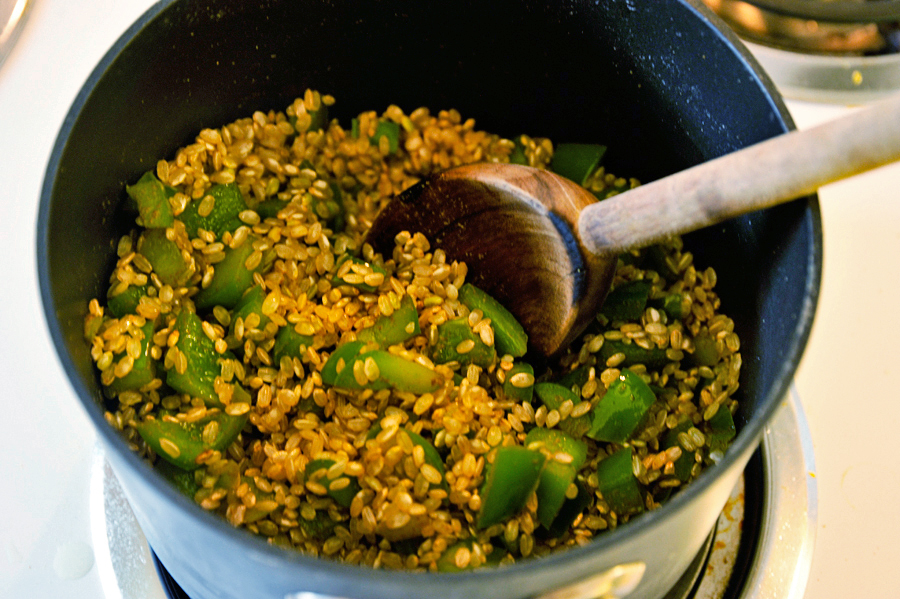
Once it is translucent …
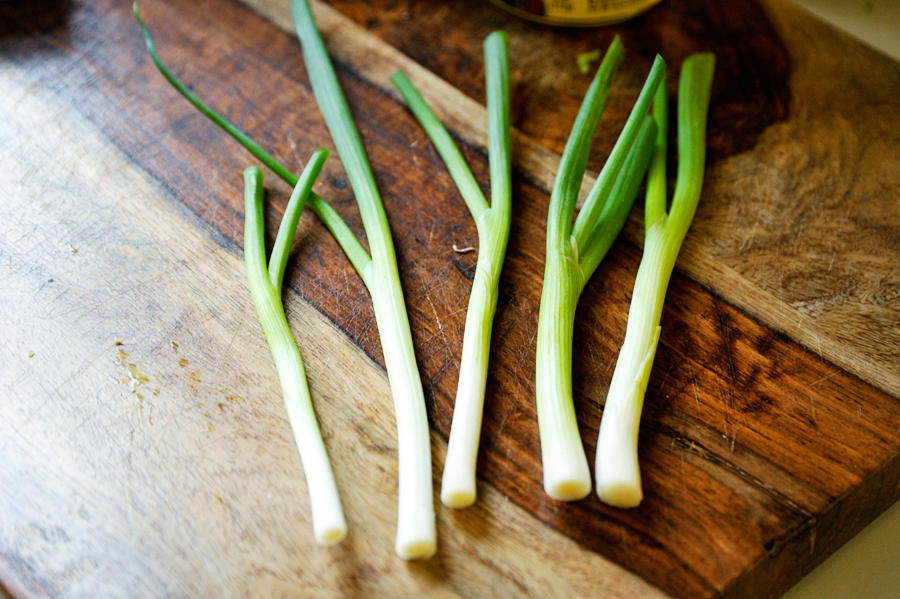
Take the white and green of the onions …
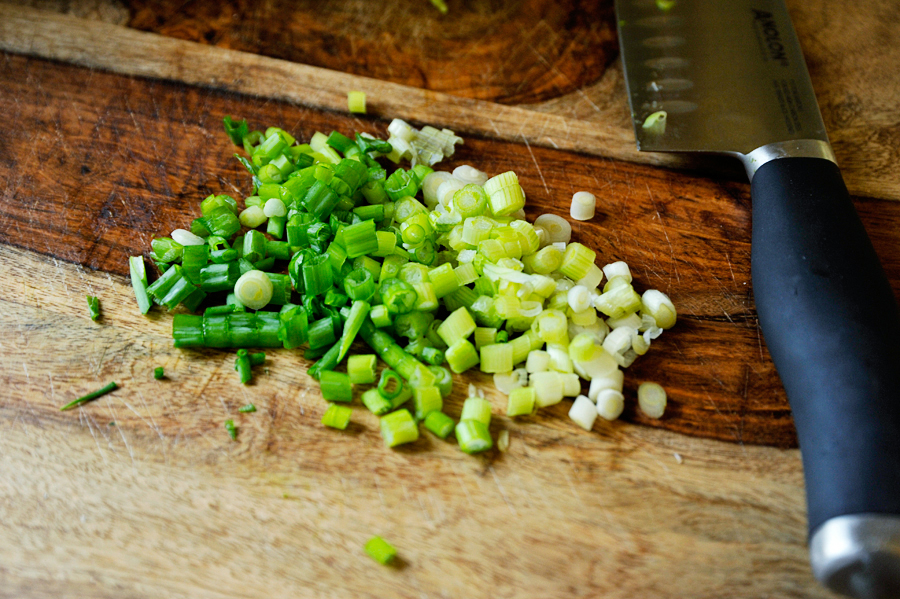
And dice finely.
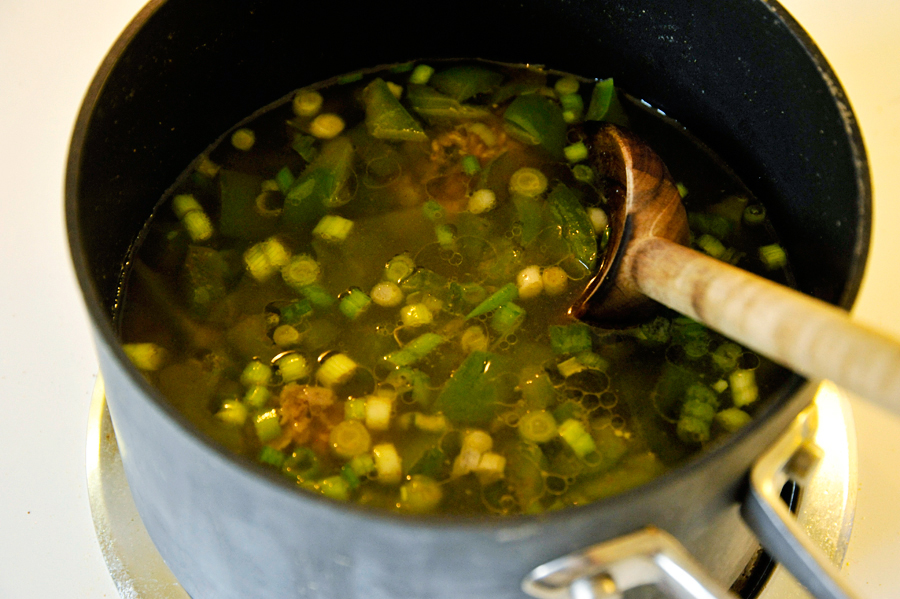
Add to the rice and then add the stock. Let simmer partly covered until cooked through.
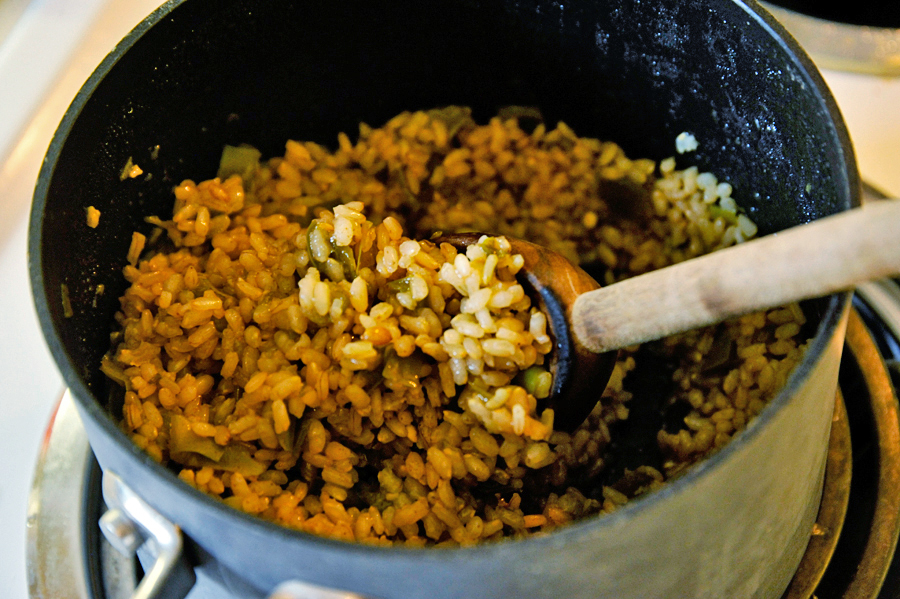
Once soft, taste and adjust seasoning with salt as needed.
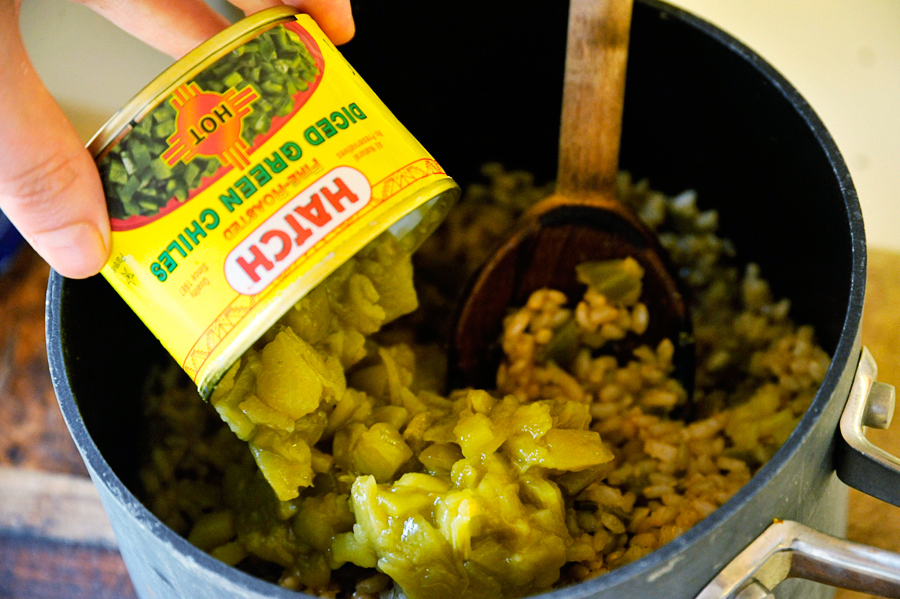
Add the green chiles …
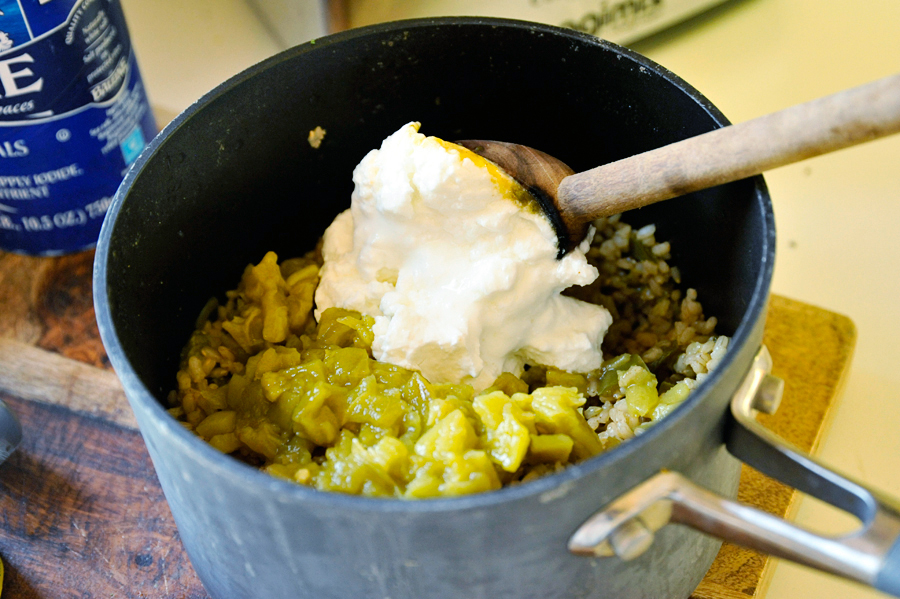
And the Greek yogurt (or sour cream and cream cheese).
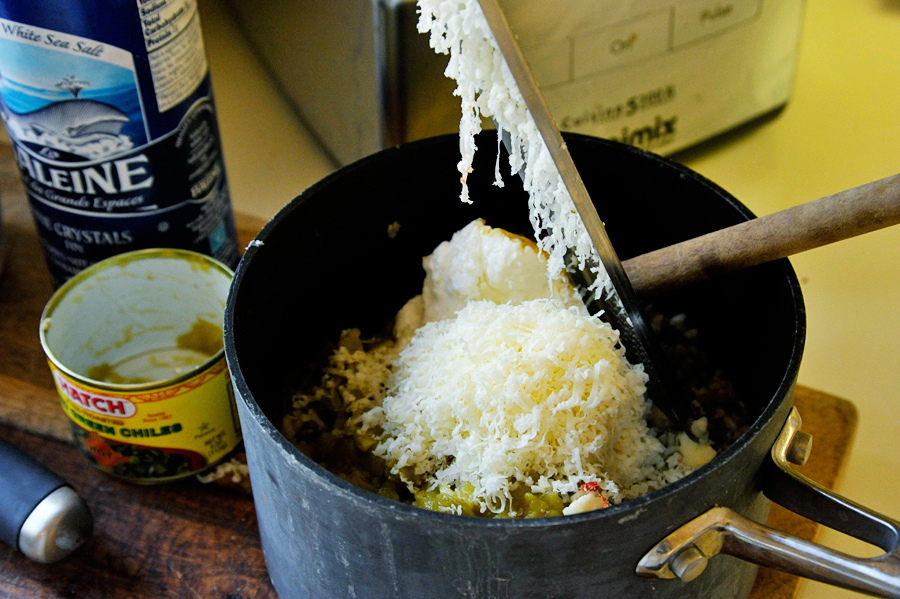
Add the cheese as well.
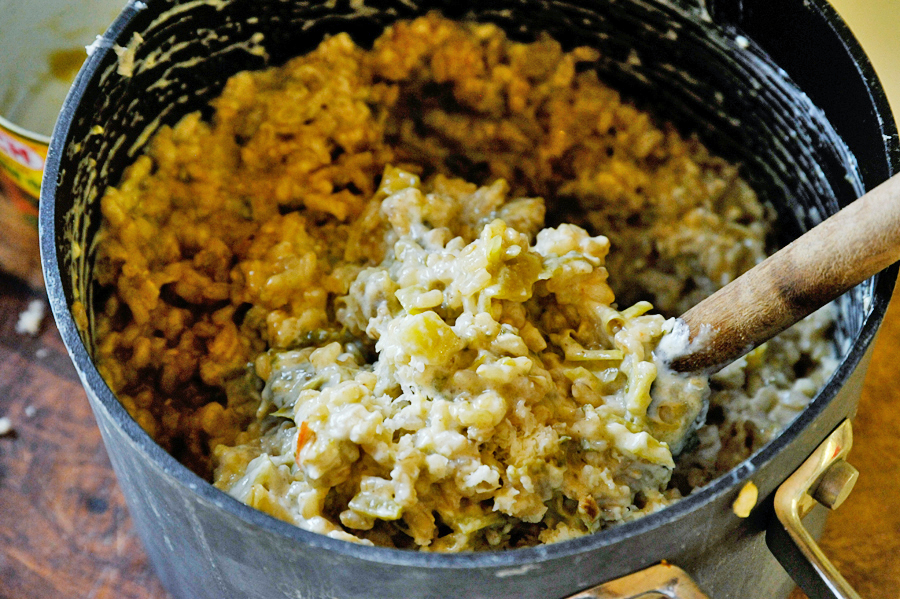
Stir it all together well and taste. Adjust the seasoning as needed.
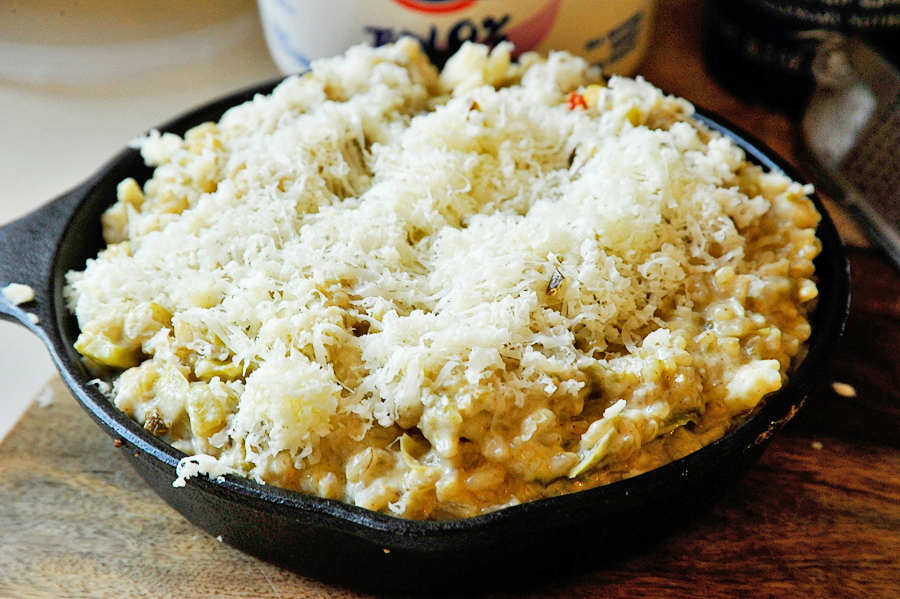
Pile it into a skillet or baking dish of your choosing and sprinkle more grated cheese on top. Bake in the oven, finishing it under the broiler for the last few minutes to get a browned top.
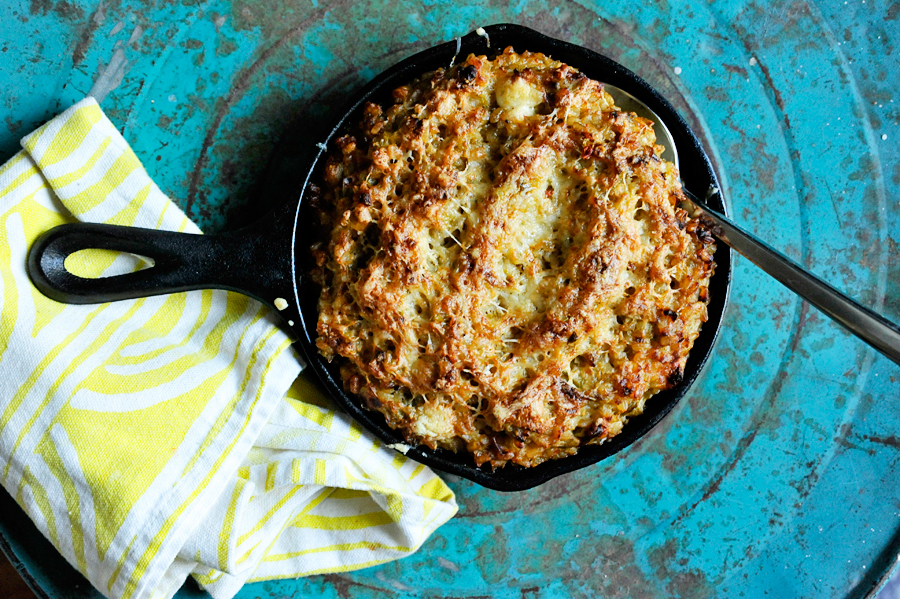
It will have a golden crust which will give it the perfect crunch.

You will love, love, love the flavor and smell of this dish! It is the perfect side and even great at room temperature. Thank you to Lindsay for this delicious recipe! Visit her website FunnyLove for other delectable treats.
Printable Recipe

Print Options
Description
What IS it about canned green chilies?
Ingredients
- 1 Tablespoon Olive Oil
- 1 teaspoon Cumin
- ½ whole Green Bell Pepper, Finely Chopped
- 1 cup Rice
- 1 whole Scallion, Thinly Sliced, White And Green Parts Separated
- 2 cups Vegetable Or Chicken Stock, Or Enough To Cook The Rice To Package Directions
- ¼ cups Sour Cream
- 2 Tablespoons Cream Cheese
- 8 ounces, fluid Canned Green Chilies In Their Juices
- 1 cup Shredded Cheese, Your Choice, Divided
- Salt To Taste
Preparation Instructions
Heat a pot to medium heat with a drizzle of olive oil. Add the cumin and green pepper. Cook for 3-5 minutes until slightly softened.
Add the rice. Stir for 2 minutes to coat the rice in the oil and lightly toast, then add the scallion whites and stock. Cover, reduce to a simmer, and cook the rice until done.
To the cooked rice, add the sour cream, cream cheese, canned chilies, and half the grated cheese. Stir, and taste. Add salt if you’d like.
Spread the rice mixture into a baking dish and top with the rest of the cheese.
To cook, broil the top (if the rice is still hot), or bake at 375ºF for 20-30 minutes until hot throughout and melty on top.
Note: Make this up to 3 days ahead and keep in the fridge. Bake whenever you’d like to eat it!
_______________________________________
There’s so much to say about Georgia, we don’t know where to start. Leaving Wall Street for the French Culinary Institute, followed by a stint at the Gramercy Tavern and La Chassagnette in France, her passion for food and food traditions are evident and inspiring. Visit her site at Georgia Pellegrini, where you’ll find more recipes, photos, learn all about her wonderful books Girl Hunter and Food Heroes, and enjoy her latest adventures.


4 Comments
Comments are closed for this recipe.
Ron on 8.6.2013
I wonder what kind of rice would be best? Looks kind of like bomba in the photos but I’m far from an expert.
Gail on 8.6.2013
Sounds amazing, but a printable version would be nice. I either must copy by hand, which is difficult when I cannot grip a pen, or waste a lot of paper copying it.
Erika (TK) on 8.6.2013
Hi Gail! As with all our step-by-step posts, the printable recipe is shown right below the post. Just click the “Print Recipe” link (to the right of the recipe photo, underneath Prep Time, Cook Time, etc.) and you’ll have options to print either in 3×5 cards, 4×6 cards, full page with no photo, or a full page with photo. Hope that helps!
Jayne on 8.5.2013
Cheese backed rice… I always loved those at the Italian restaurants. I must try this at home myself.