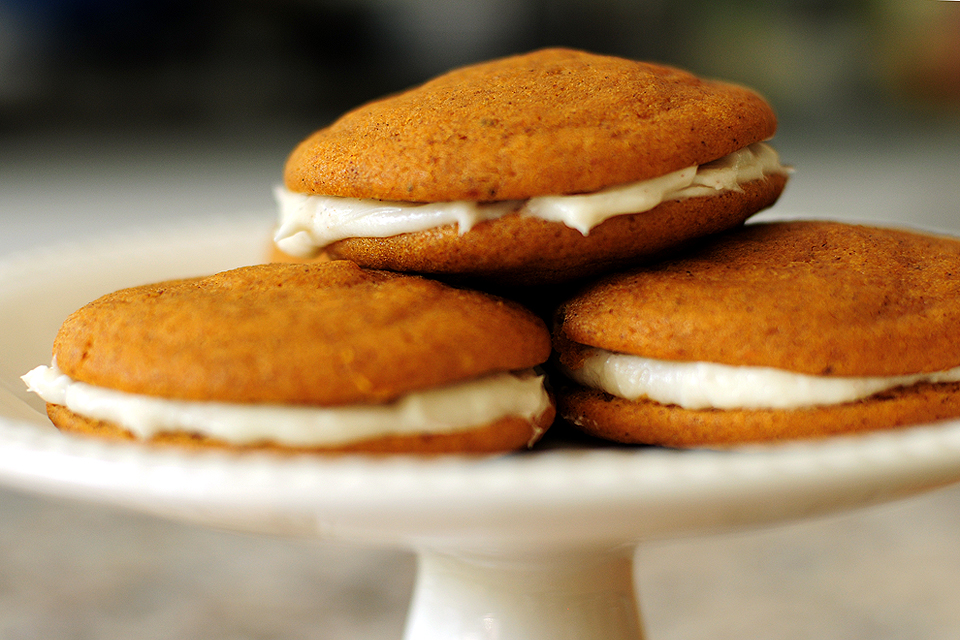
While searching for some goodies to bake during the upcoming holidays, I stumbled across this yummy recipe submitted by TK member The Deutsch Girl for Pumpkin Creme Pies, the perfect portable fall treat. I grew up eating Oatmeal Creme Pies, but never enjoyed a pumpkin version. This time of the year, pumpkin anything is good with me, but soft pumpkin cookies filled with a yummy cream cheese filling sounded over-the-top yum!
Now before we get started, don’t let the long list of ingredients and process scare you off from making these tasty pies. The ingredients are basic, most of which you probably have on hand. And the process may seem complicated, but it’s all very simple.
Here, let me show you.
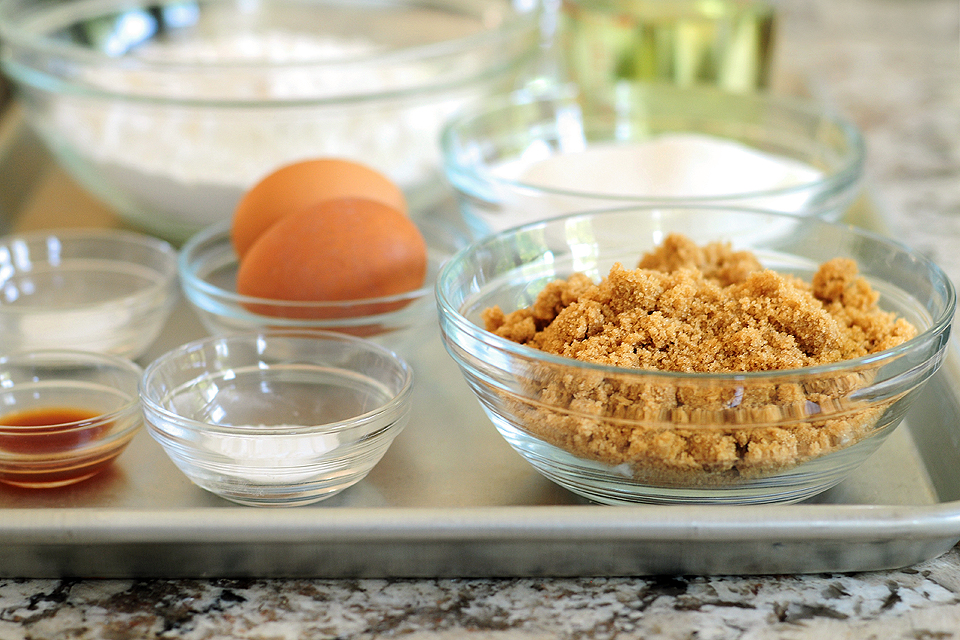
For the pies, you’ll need brown sugar, sugar, vegetable oil, eggs, vanilla extract, baking soda, and baking powder.
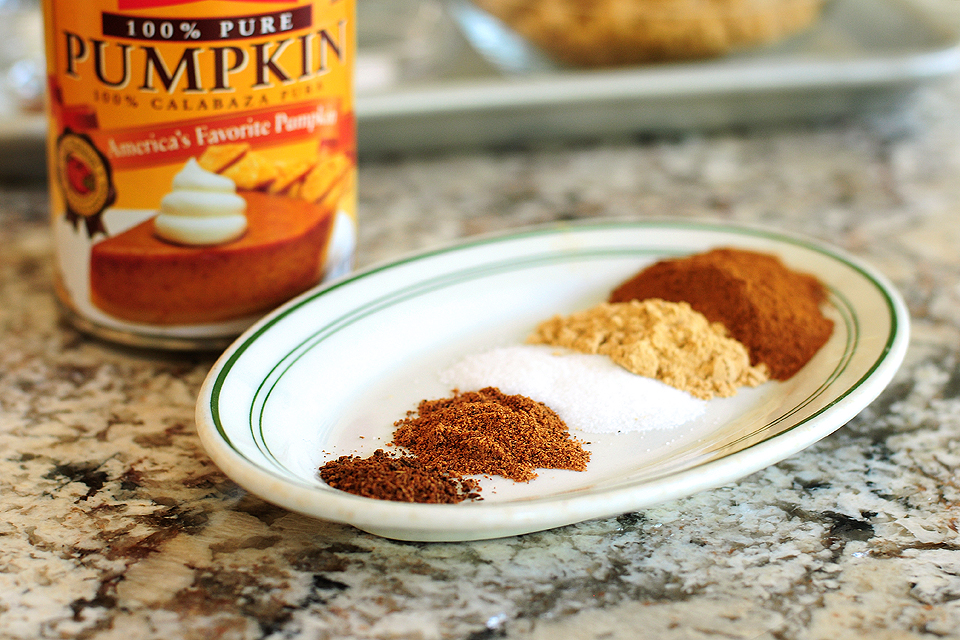
You’ll also need canned pumpkin, cinnamon, ginger, salt, ground nutmeg, and ground cloves.
(Remember: you can find the full recipe at the end of the post, with all ingredient measurements and instructions listed. And it’s printable too!)
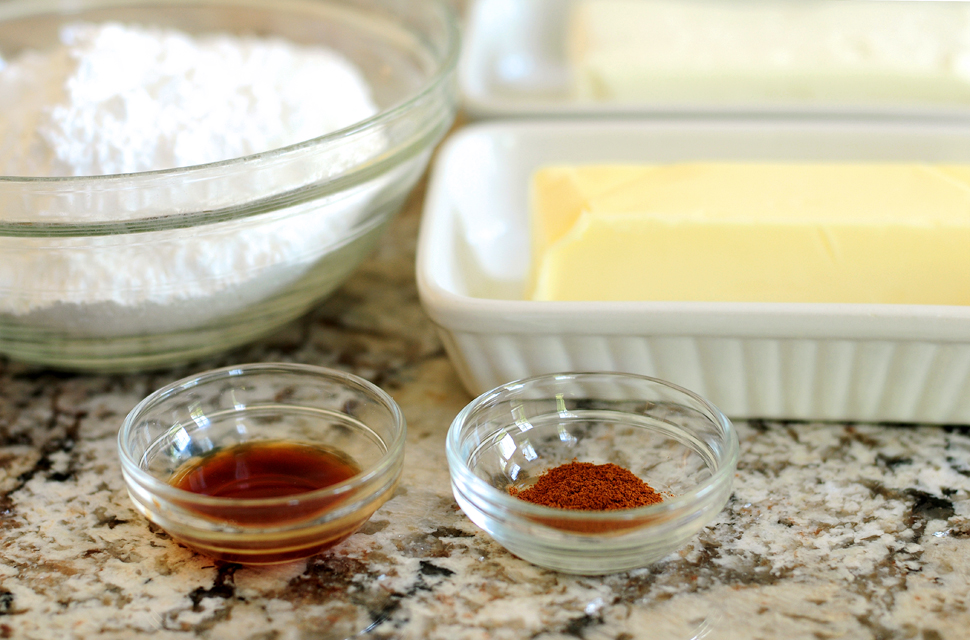
The creme filling ingredients are simple: cream cheese, butter, powdered sugar, vanilla extract and cinnamon.
Preheat your oven to 350° F.
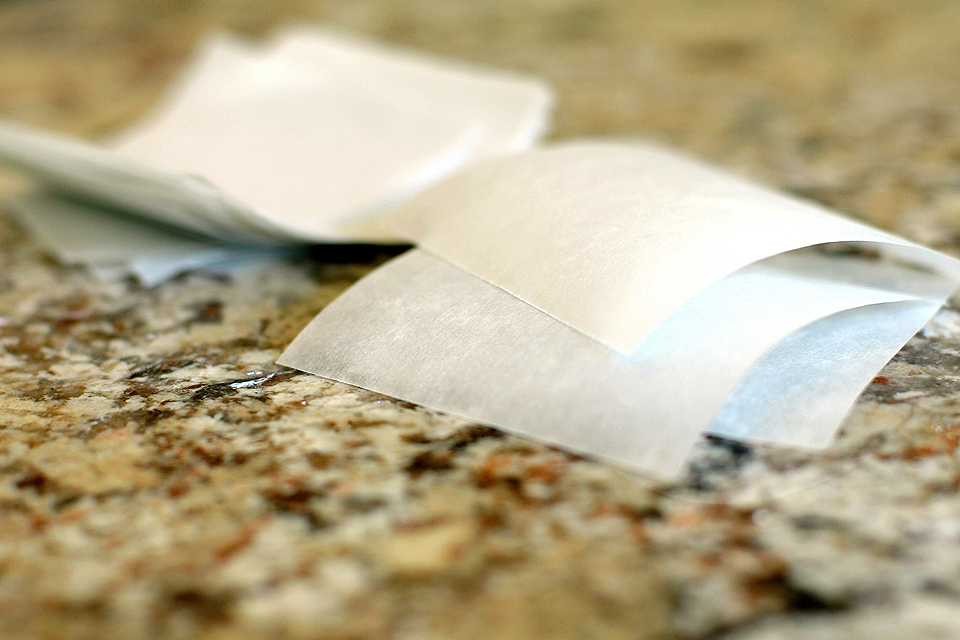
To make the job a little easier later on, individual parchment paper squares will come in handy. Go ahead and cut out 48 squares about 3″ wide. Line your baking sheet(s) so they’ll be ready when you need them.
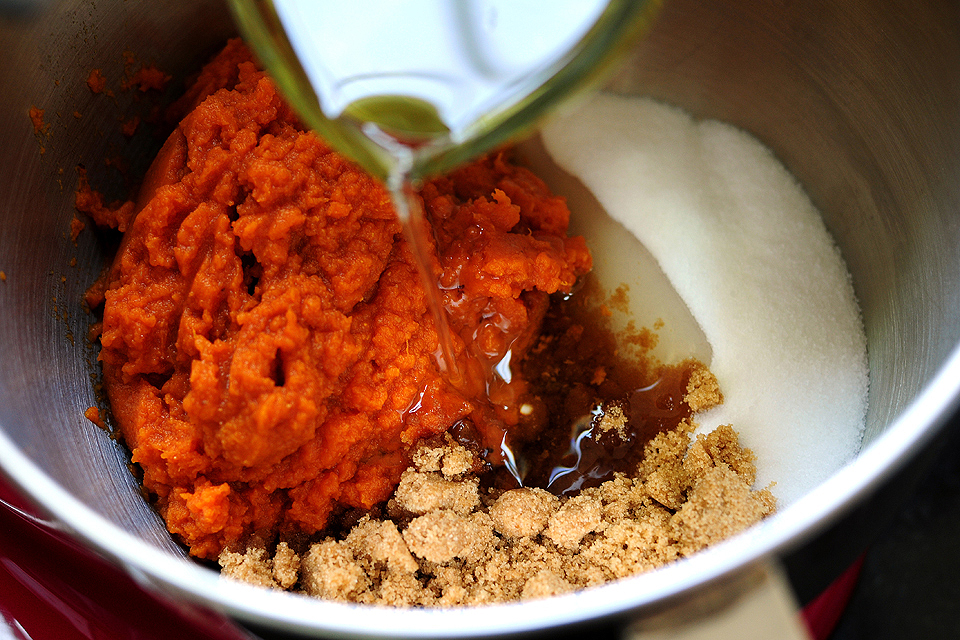
For the pumpkin pies, in a mixer bowl add the brown sugar, sugar, oil, and pumpkin.
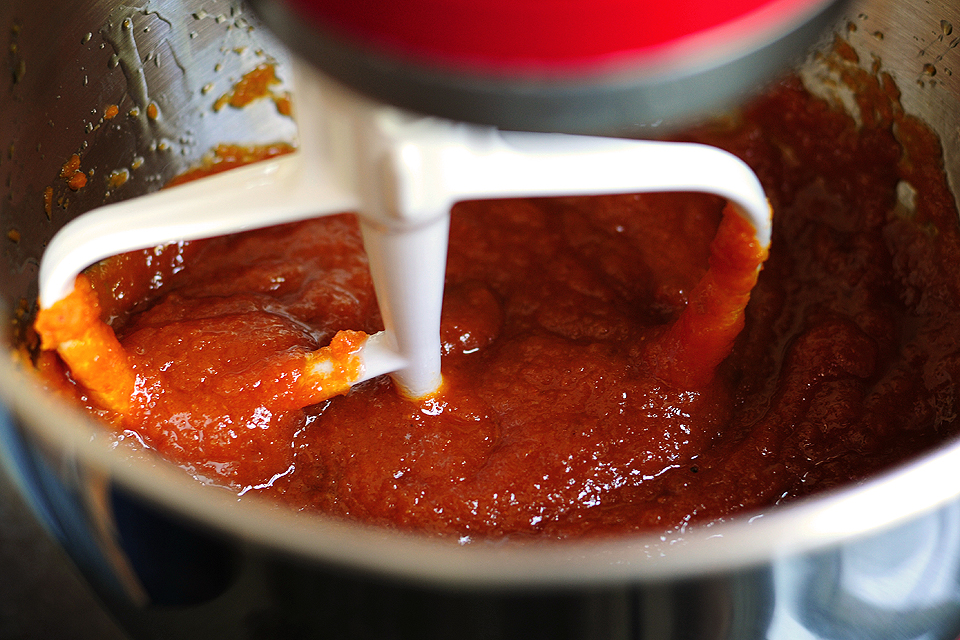
Beat together well.
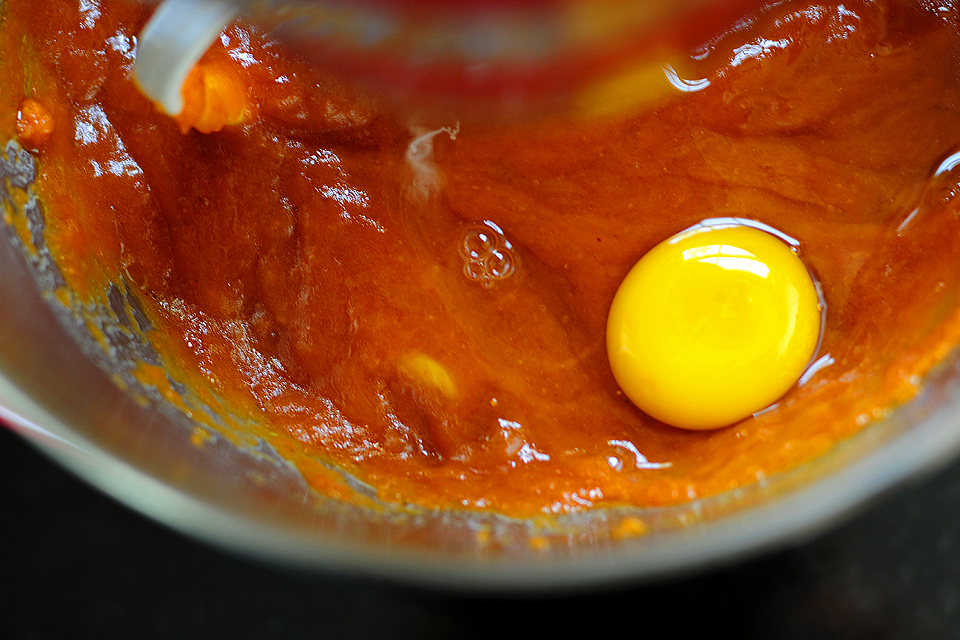
Then add eggs one at a time. Be sure to combine well after each egg is added.
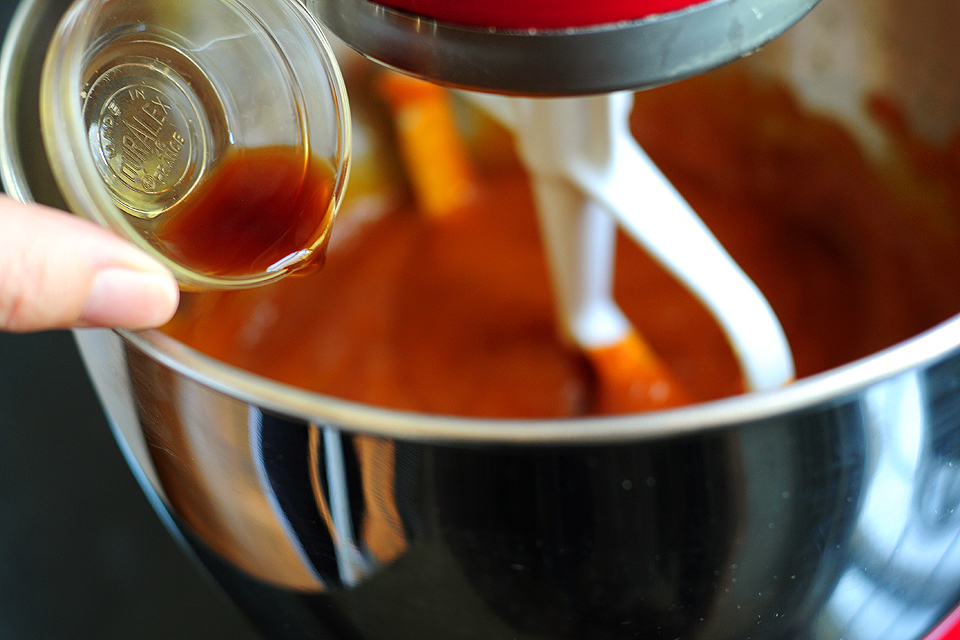
The vanilla goes in next. Mix it all up. Pretty color huh?
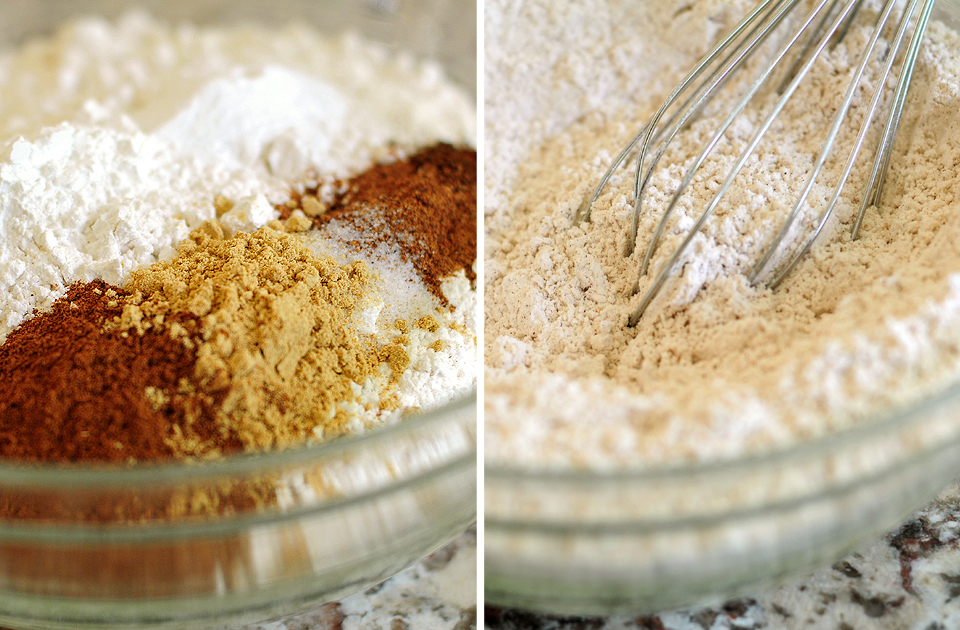
Now for the dry ingredients. In a separate bowl, mix together the flour, baking soda, baking powder, cinnamon, ground ginger, salt, ground nutmeg, and ground cloves. A whisk helps to incorporate the ingredients without compacting them.
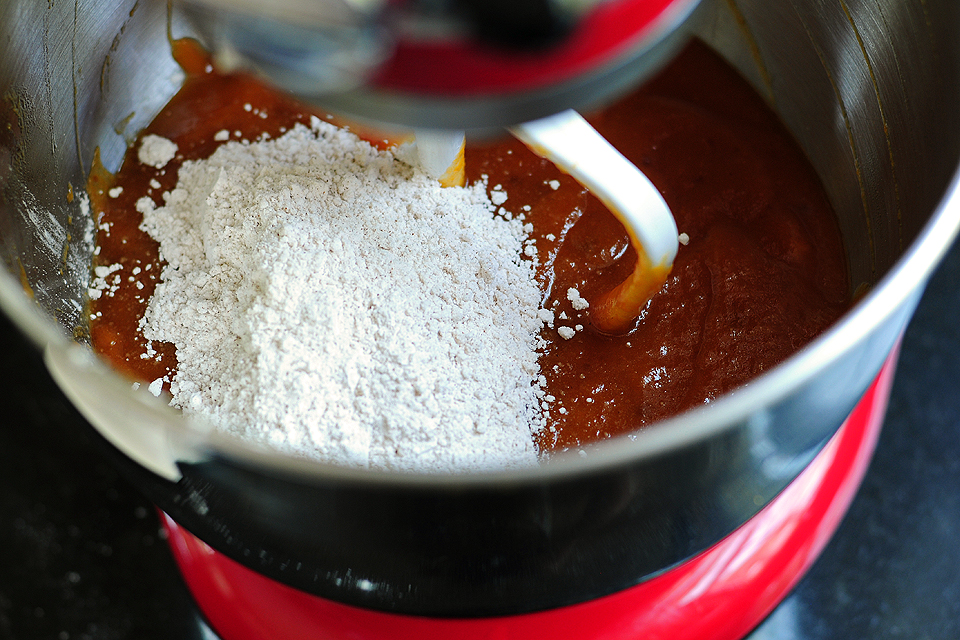
Add the dry ingredients into the wet pumpkin mixture.
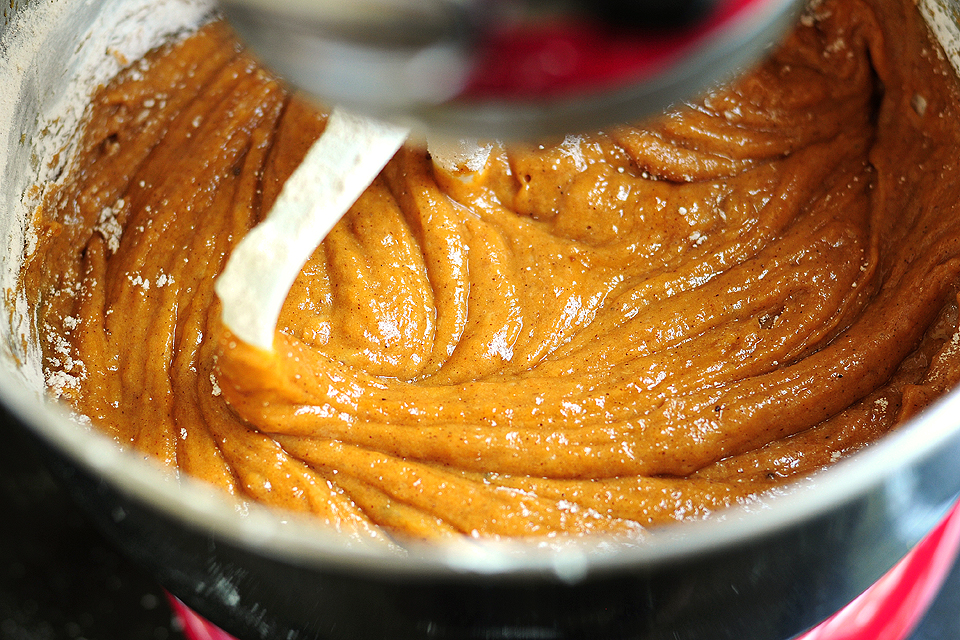
Mix together until just combined. Be sure not to over-mix. Scrape down the sides of the bowl when needed. Things should be starting to smell all warm and cozy and mouth-watery good right about now.
Okay, now for the part that may turn some of you off, but don’t go! Stick around. It’s not that difficult. It only looks like a pain. But it’s fun. Promise.
Using a pastry bag or large zipper plastic bag, the pumpkin pies will be piped out onto the parchment squares. It only looks tedious. It goes very quickly, or I would’ve dropped the whole thing and headed for the box of Little Debbies.
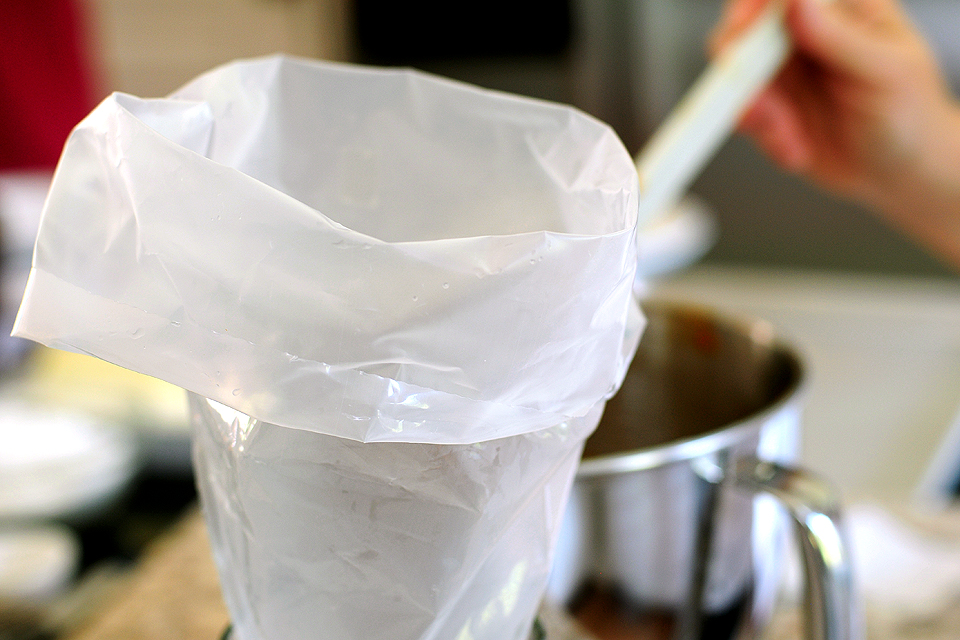
This is how I do it; stand the pastry bag (or plastic zip top bag) in a tall sturdy glass, and fold the sides down a bit.
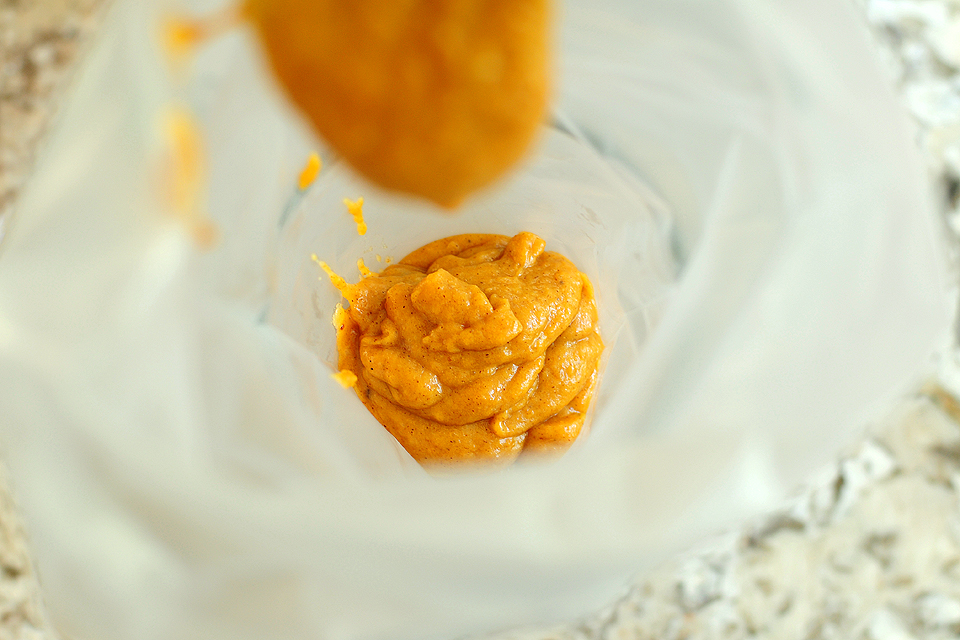
Then fill the bag with a portion of the batter. Roll the sides of the bag back up and twist closed, to keep batter from coming out. Snip about 3/8-1/2″ off the end of the bag. Once the end is clipped, the batter will be ready to flow, so be careful to keep bag tip pinched closed until ready to pipe.
Now, let the piping begin. This is the fun part—the ultimate in kitchen play. Easy stuff y’all.
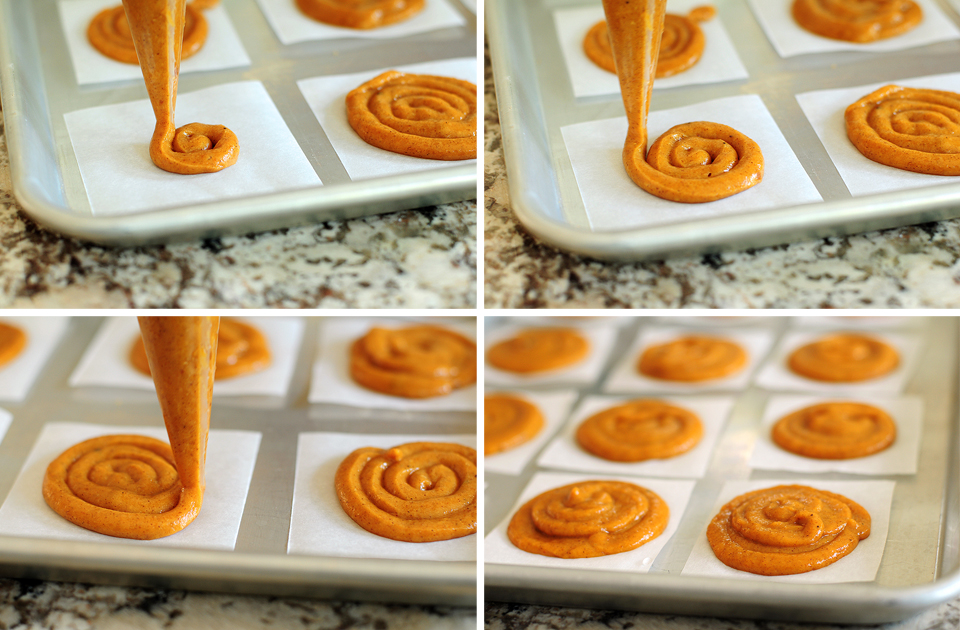
Begin in the middle of the 3″ square and pipe a spiral. Go around … and around … and around until you make a circle about 2″ wide. You’ll notice in order to make the pies turn out a little mounded, instead of totally flat, I went back and topped the spiral circles with some extra batter. Just a little, not too much.
Bake the pies for about 11 minutes, or until firm.
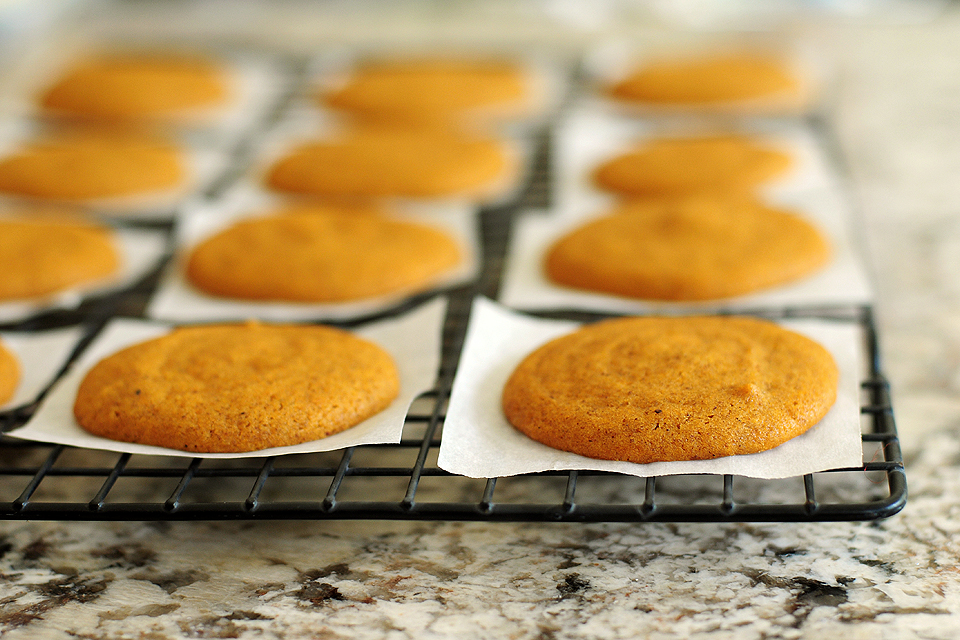
When they’re done baking, carefully transfer the parchment squares to a cooling rack to let the pies completely cool.
Here’s where I think the parchment helped the most: when the pies are cool, you can peel the parchment off the back of each pie. The pies are a little soft, so trying to lift them with a spatula could mess them up. The parchment paper works like a charm.
Now for the cream cheese filling.
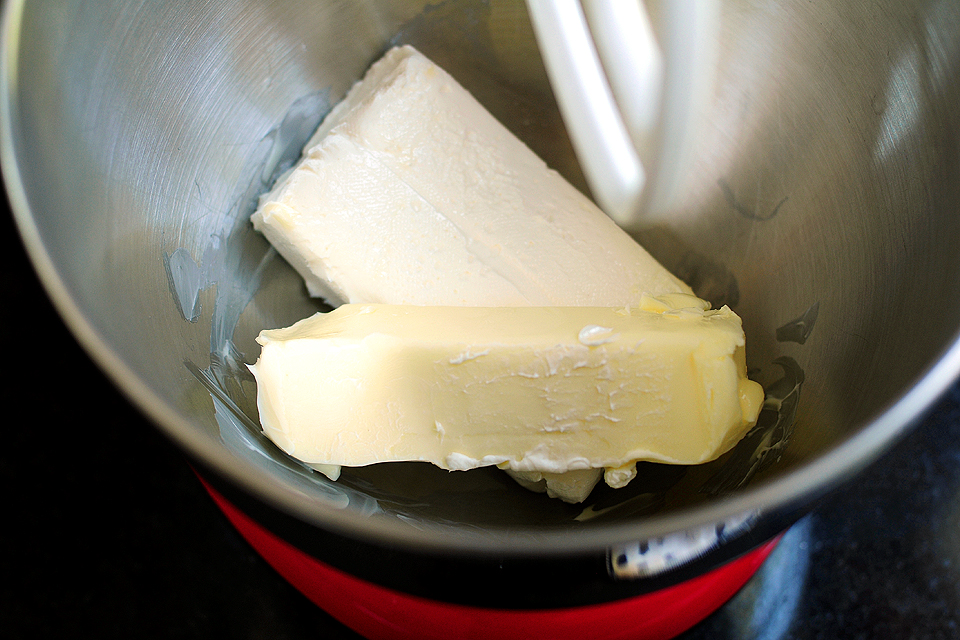
Add the cream cheese and butter to a mixing bowl.
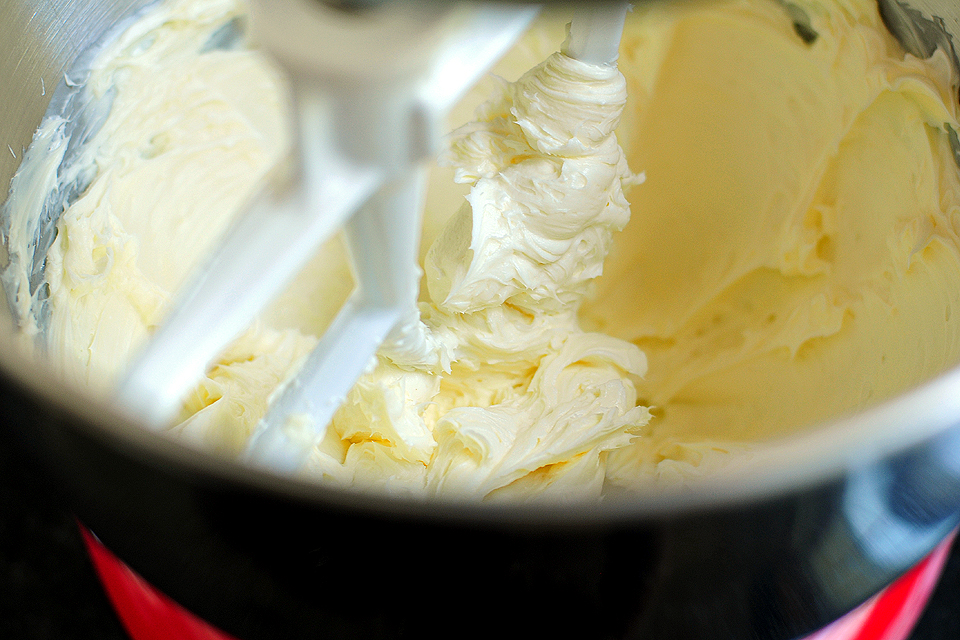
Beat together the cream cheese and butter until well incorporated.
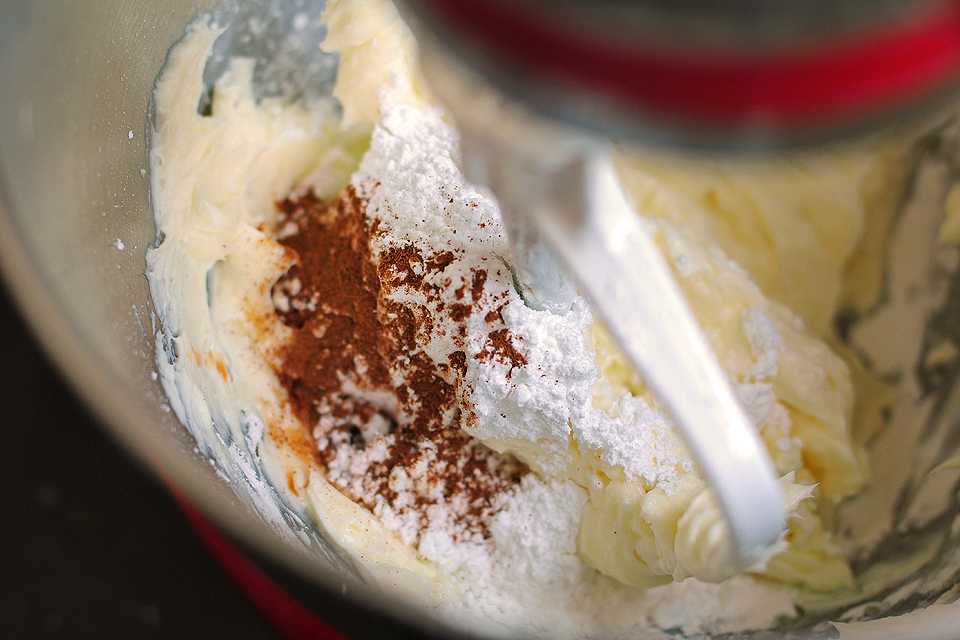
Next add the powdered sugar, vanilla and cinnamon and mix well.
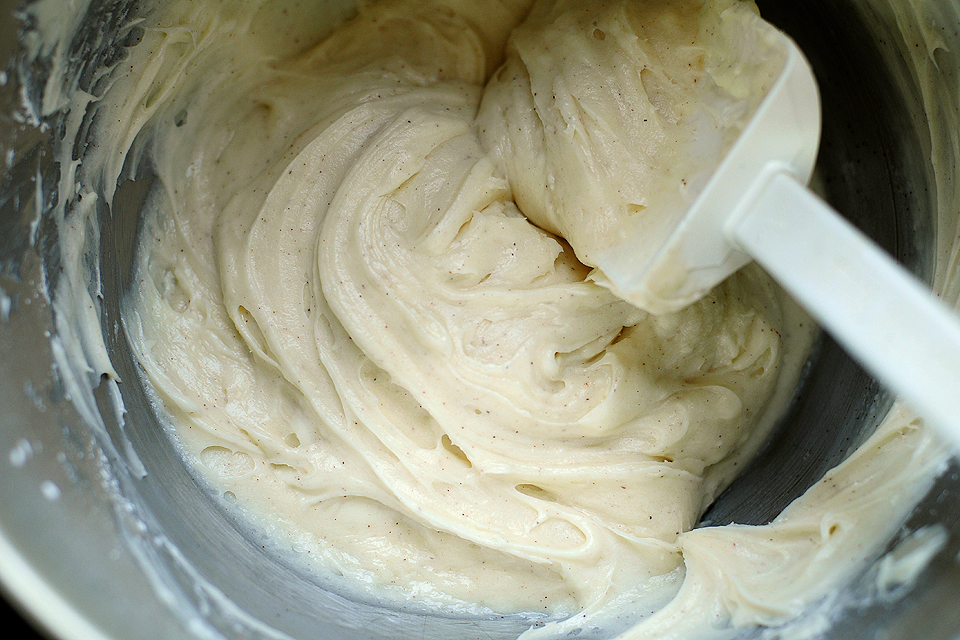
Please note: this filling is the bomb. It just is. It should definitely be kept in your arsenal for other baked goods.
Yum. Yum. Yum.
Enough of that. Moving right along.
But don’t forget that y’all.
Don’t. It’s good stuff.
For realz.
Okay, really. I’m finished now. Now for building the finished product.
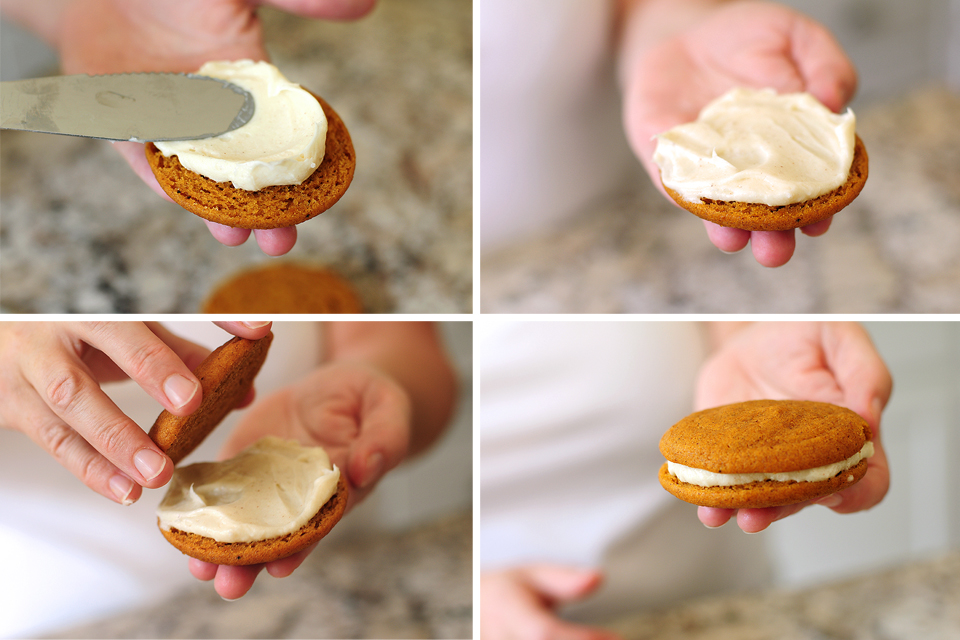
Frost the flat side of a pie with the yummy, delicious, make-you-drool filling. Top with another pie, flat side down.
And there you have it. A cute, tasty Pumpkin Creme Pie.
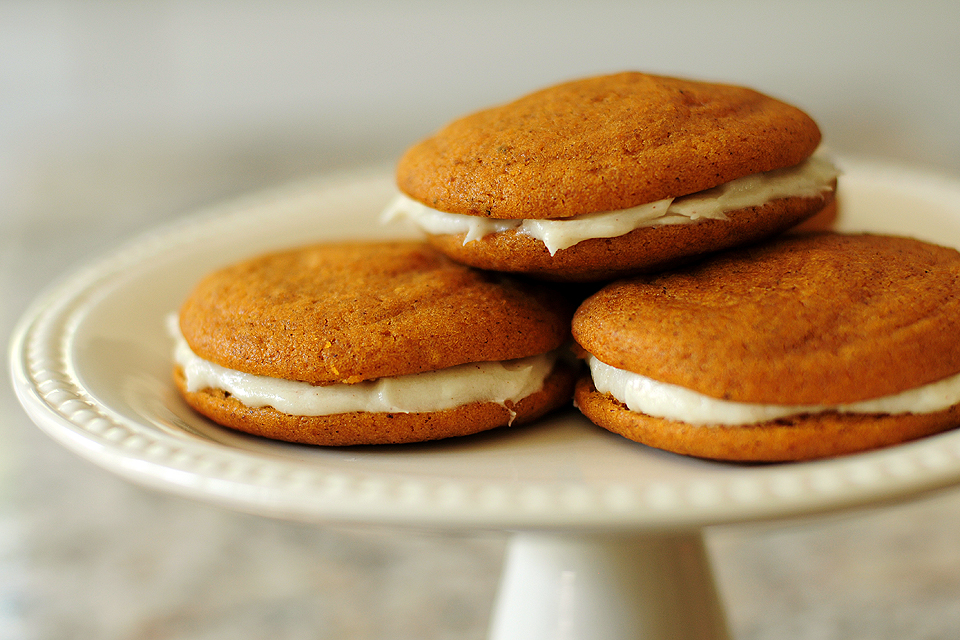
You’ll want to enjoy right away or chill, up to a couple of days, covered on parchment or waxed paper. The pies can be a tad bit sticky so the parchment paper or waxed paper is definitely recommended. These are such a treat and didn’t last long around here. This recipe makes about 24 finished Pumpkin Creme Pies. Mini versions of these would be so cute, wouldn’t they?
Enjoy! And again, a big thanks to The Deutsch Girl for sharing this one. Mighty fine indeed.
Printable Recipe
Print Options
Description
A delicious twist on the traditional oatmeal creme pie. Very easy to make, looks professional, and has the perfect amount of pumpkin flavor without overpowering. Add to your Thanksgiving dinner for a non-traditional pumpkin flavored dessert!
Ingredients
- For Creme Pies
- 1 cup Brown Sugar
- 1 cup Sugar
- 1 cup Vegetable Oil
- 1 can Pumpkin (15 Oz.)
- 2 whole Eggs
- 1 teaspoon Vanilla Extract
- 3 cups All-purpose Flour
- 1 teaspoon Baking Soda
- 1 teaspoon Baking Powder
- 1 Tablespoon Cinnamon
- 1 teaspoon Ground Ginger
- ½ teaspoons Salt
- ½ teaspoons Ground Nutmeg
- ¼ teaspoons Ground Cloves
- _____
- FOR FILLING:
- 1 package Cream Cheese Softened (8 Oz.)
- 1 stick Unsalted Butter, Room Temperature
- 1 package Powdered Sugar (16 Oz.)
- 3 drops Vanilla Extract
- 2 dashes Cinnamon
Preparation Instructions
Preheat oven to 350 degrees.
Pumpkin Creme Pies: Beat together brown sugar, sugar, oil and pumpkin. Add eggs one at time, mixing well after each addition, followed by the vanilla.
In a separate bowl, mix together the dry ingredients.
Slowly incorporate the dry ingredients into the wet until just combined.
Cut 3 inch squares of parchment paper, about 24. Using a pastry bag with a round tip, or a big zip top plastic bag with one corner snipped, squeeze out concentric circles of batter, starting from the middle and working outward until the circles are about 2 inches in diameter. (Note that the squares allow the baker to move the square while keeping the bag in the same spot. Just squeeze for easy circle making!)
Transfer each square to a baking sheet. Bake for 11 minutes, or until firm, and cool on a rack.
Cream Cheese Filling: Beat together cream cheese and butter. Add powdered sugar, vanilla and cinnamon. Frost flat side of half the pies and top with another piece.
Enjoy right away, or chill overnight. These keep very nicely in the fridge for at least a few days.
_______________________________________
Amy Johnson is a blogger who writes about food, travel, the home (both inside and out), and various observations and random musings about anything and everything. Visit her blog She Wears Many Hats for a dose of deliciousness, practicality, hilarity, or just plain fun. She lives in South Carolina with her husband and two children.


107 Comments
Comments are closed for this recipe.
Wendy on 10.11.2010
These sound wonderful, but why not just use a scoop with a lever instead of a pastry bag and having to pipe out each one?
Alisonjoy on 10.11.2010
Cool! We make a slightly jazzed up version of these at our family bakery. The secret ingredient? ground black walnuts. They add so much flavor.
Tabitha (FromSingletoMarried) on 10.11.2010
Wow. Just wow. These look amazingly perfect!
Jean F on 10.11.2010
:: drool!! ::
Nicole Bojtos on 10.11.2010
Those look divine – and I’m glad you chose today to post it. Happy Thanksgiving to my fellow Canadians!
Jessica @ How Sweet It Is on 10.11.2010
I have wanted to make these – they look incredible!
Cheryl on 10.11.2010
What a clever idea.