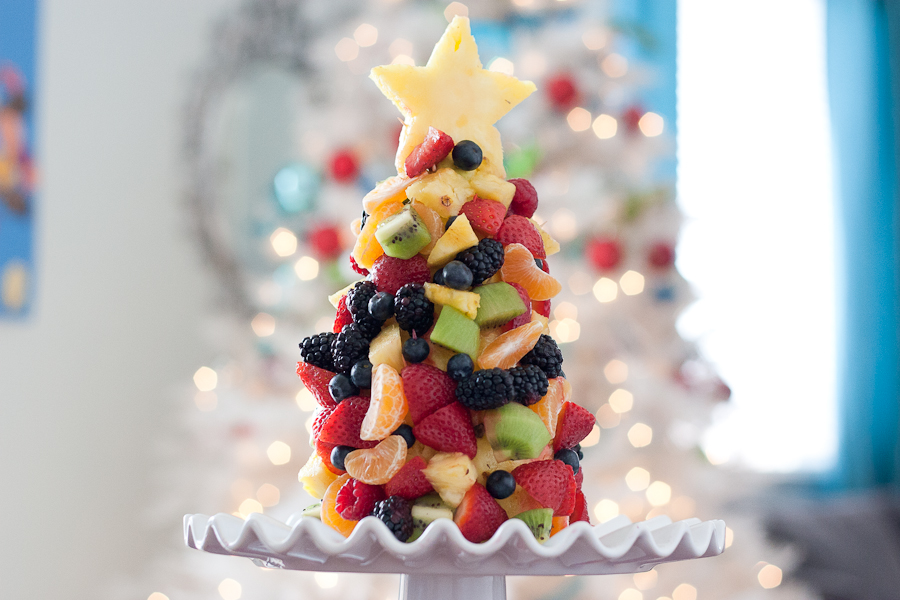
If you’re looking for a healthy alternative to sugary gingerbread houses or just want something fun to do with your kids on a snowy afternoon, you have to try this. I had two five-year-olds and an 18-month-old entertained for at least an hour. They were also completely filled with fruit when it was over.
My kids can probably eat MY weight in fruit, so I knew they would love this Fruit Christmas Tree submitted by TK member Vegan Momma. As much fun as my girls have baking sweets, I was happy to find a healthy food-related activity that they would get just as excited about.
It’s super easy, too. Watch.
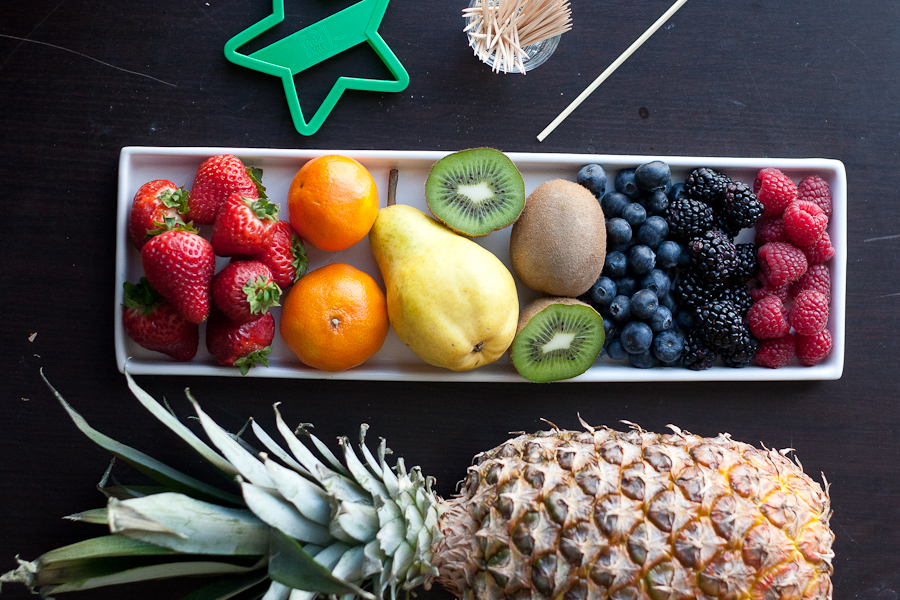
You’ll definitely need a pineapple and a pear. The rest is up to you. There isn’t a lot of winter fruit that will work for this, so pick up what you can find. I had my doubts about those berries, but they were surprisingly good!
You’ll also need a bunch of toothpicks, a small wooden skewer, and a star-shaped cookie cutter.
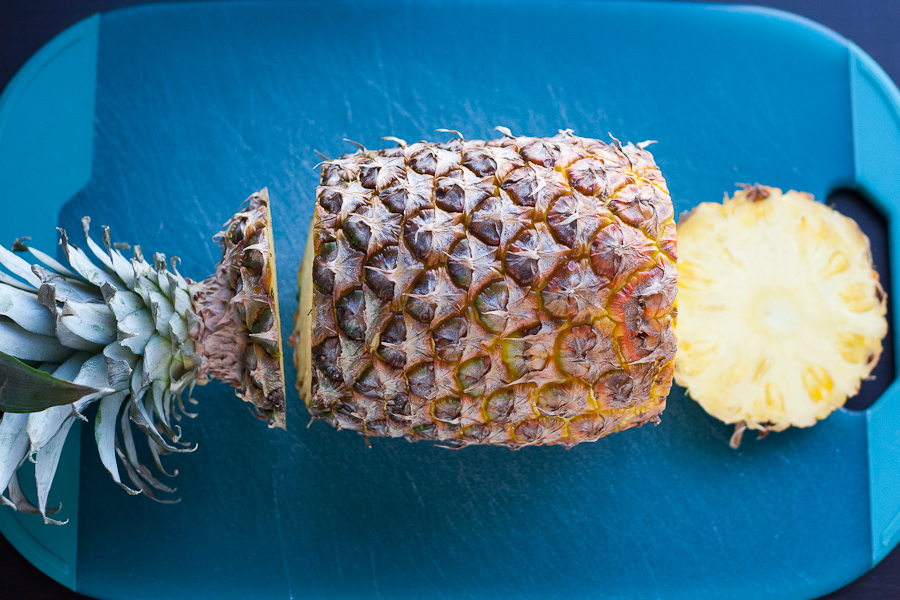
First prep the pineapple by cutting the ends off.
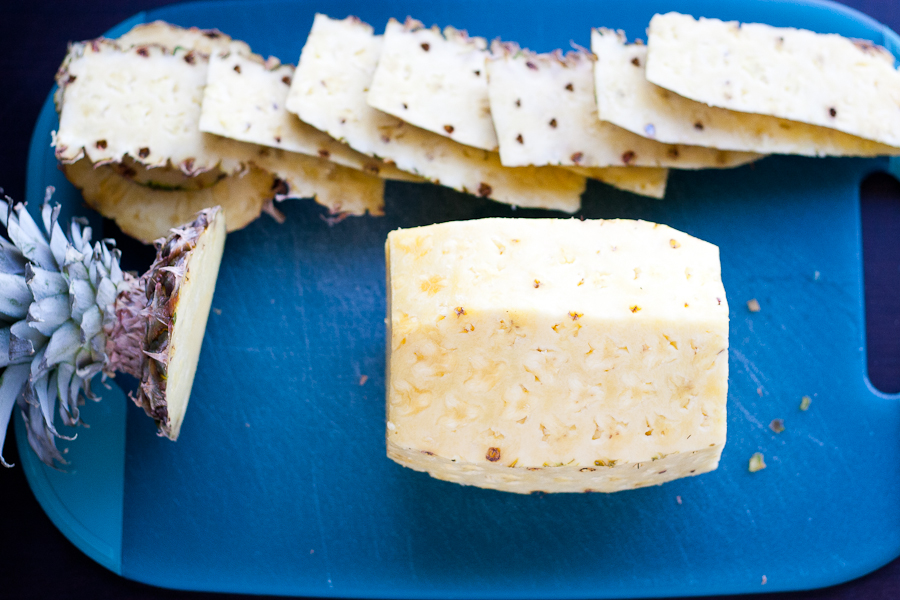
Slice the skin off, too. But turn it upright when you slice off the skin. I’m not sure why I decided to lay the pineapple down like it was sleeping. Maybe because I had a baby next to me the entire time trying to steal fruit off my table.
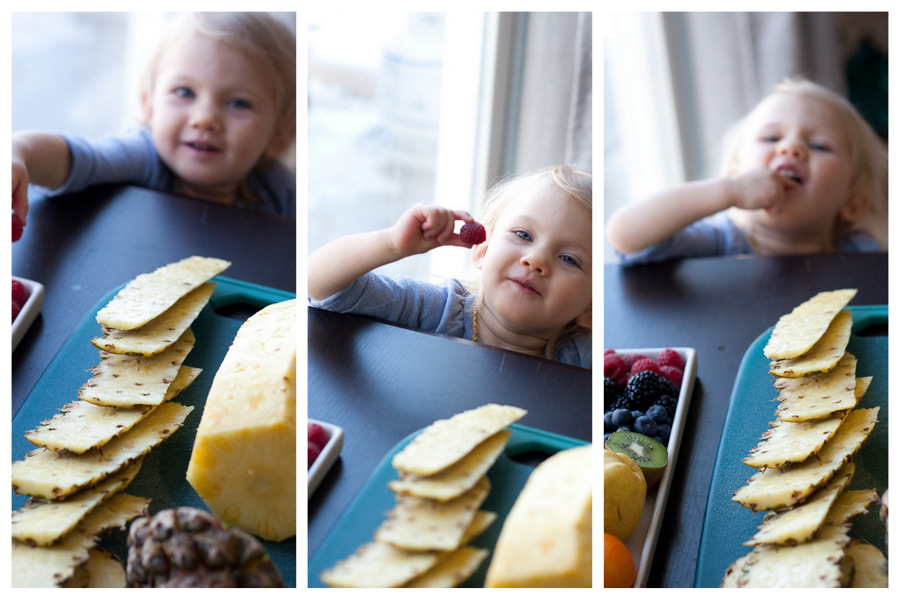
She’s a sneaky one.
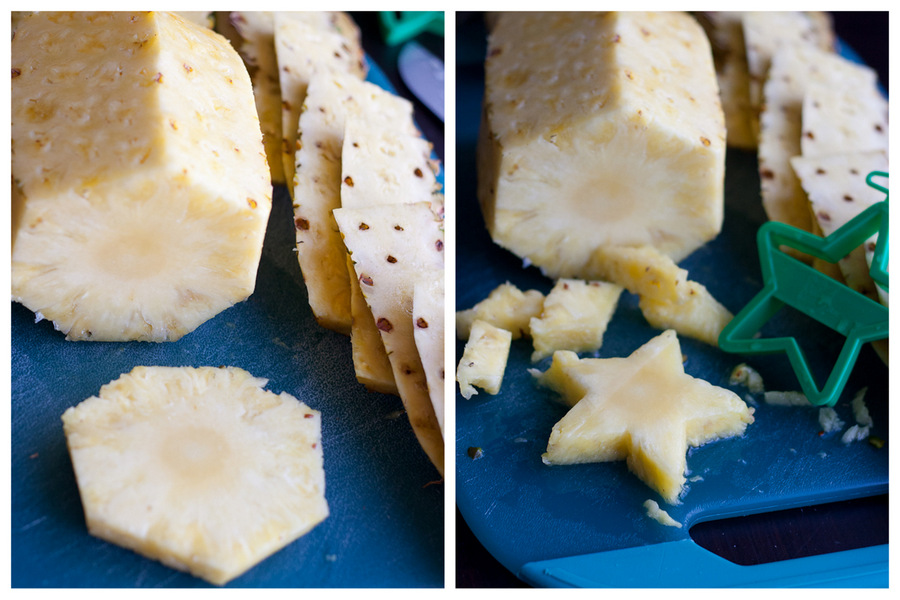
Anyway …
Cut off about 1/2 inch off the fat end of the pineapple and cut out a star. When I said “star-shaped cookie cutter” up there, I should have specified a metal cutter. My plastic one was pretty weak, and I ended up having to finish it off with my knife. We survived, though.
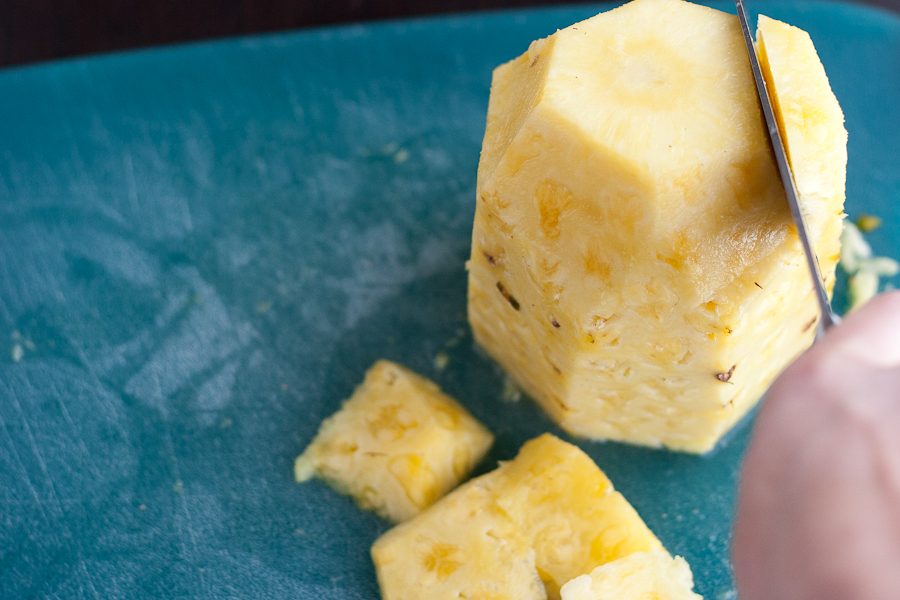
Put the pineapple on the cutting board fat-side down and trim off some of the top to make it more tapered. Reserve those bits and pieces to attach to the tree later.
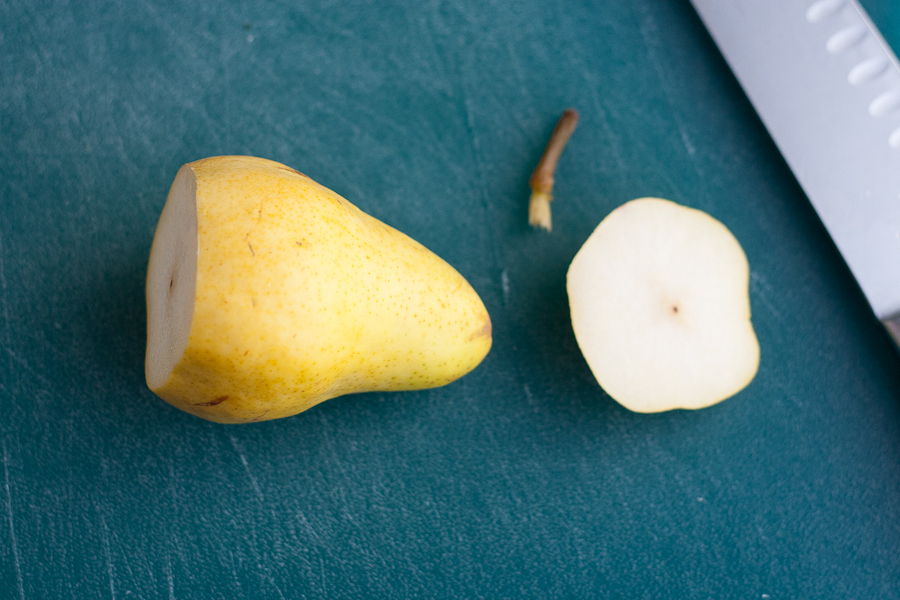
Trim off the bottom the pear and pull the stem out.
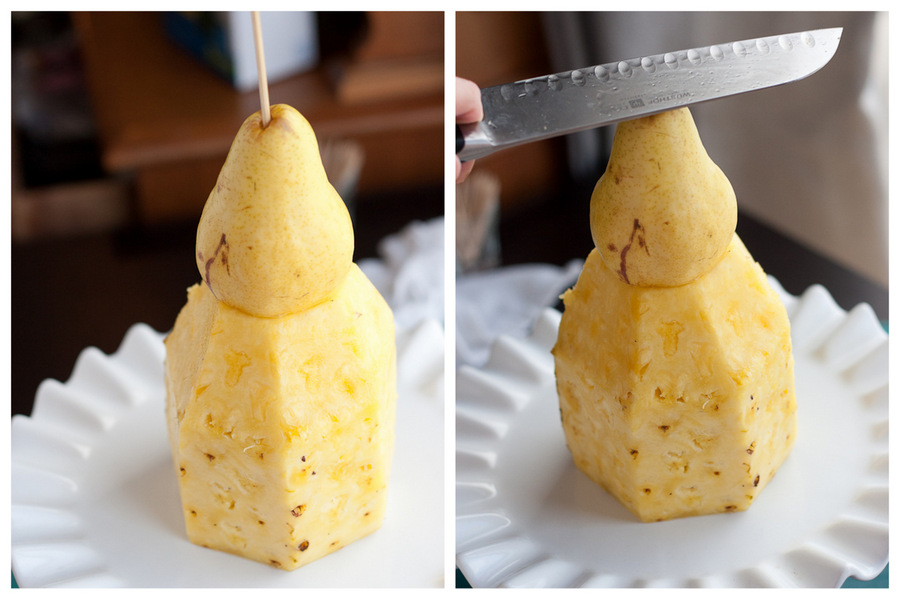
Attach the pear to the pineapple by driving the wooden skewer through the top of the pear. If you need a little help getting it all the way in, place the flat side of a wide knife over the skewer and tap it gently with your fist.
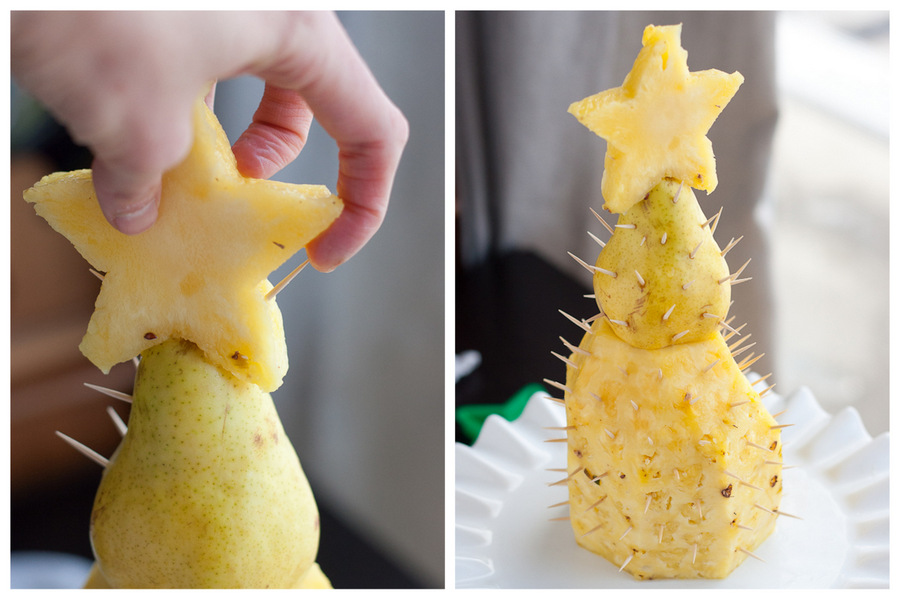
Attach the star to the top of the pear by inserting two toothpicks into the sides, pressing downward.
Also, cover the whole thing in toothpicks. Make sure more than half of the toothpick is in the pineapple/pear so you don’t have a bunch of pointy ends sticking out of the “ornaments” later.
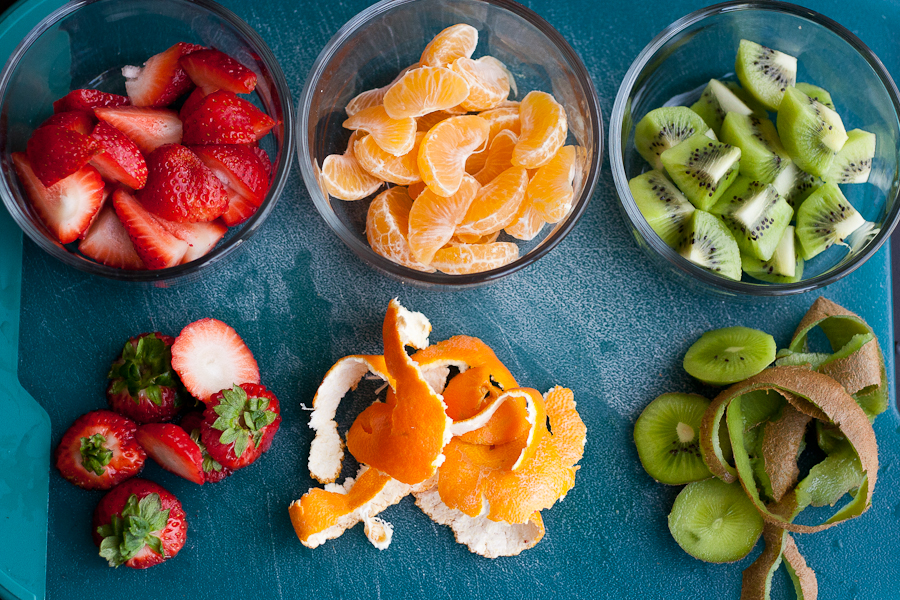
Wash the fruit and peel/dice any fruit that need it. You’ll want them cut into 1-inch pieces for good coverage.
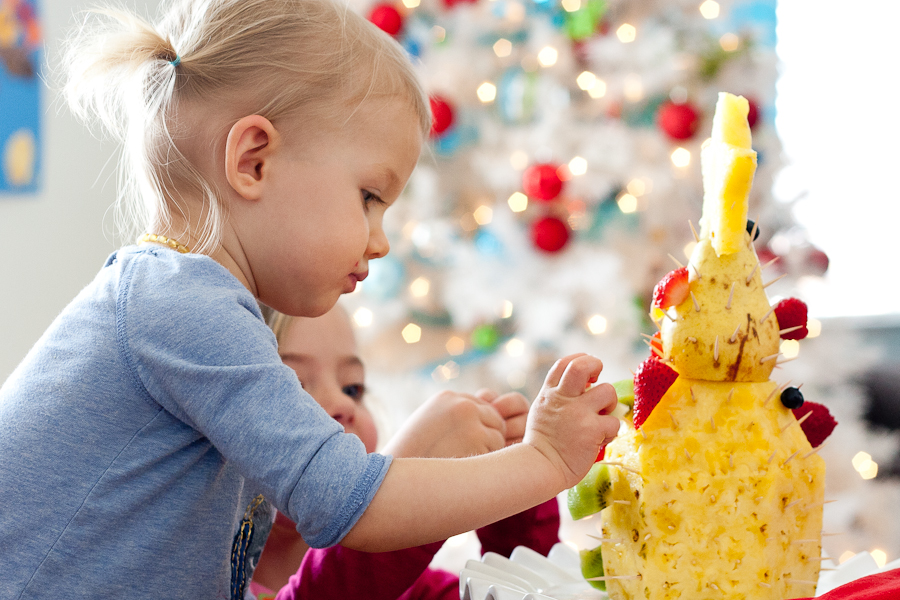
Here’s the fun part! Set out the fruit and let your kids loose!
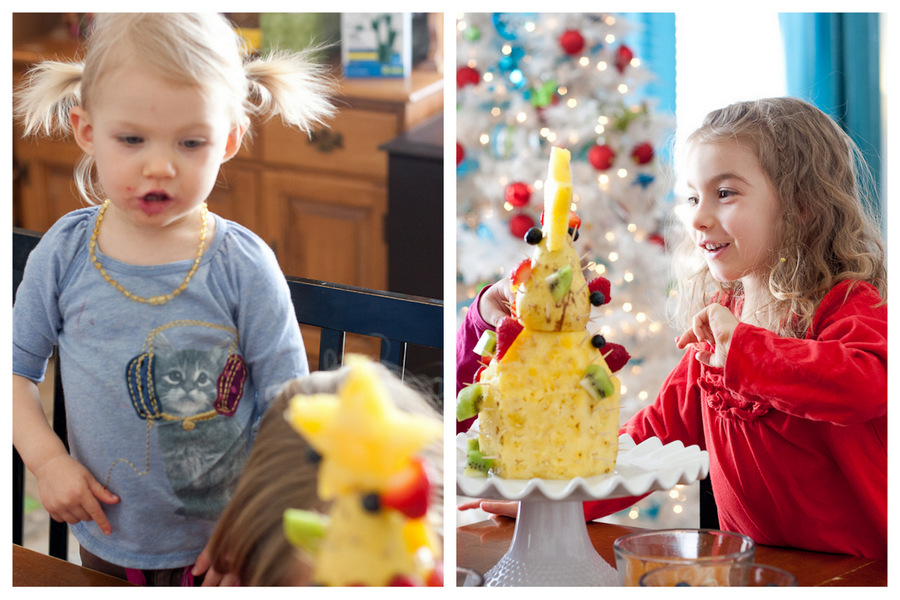
Depending on the age of your kids, they may eat more than what they stick on the tree, so plan to have a little extra.
If you find you have a lot of space between the fruit, just add more toothpicks!
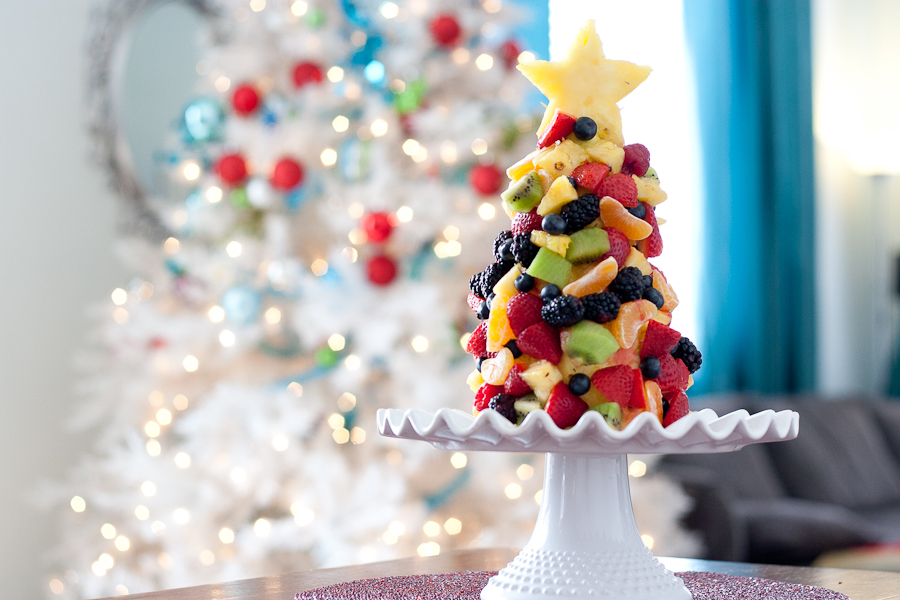
It turned out incredibly cute, thanks to my little helpers! And it disappeared a few hours later just as fast as it appeared. (Kind of like the ornaments on the bottom half of our Christmas tree. Toddlers are the best, aren’t they?)
Such a fun morning we had! Thank you, Vegan Momma, for a creative activity, beautiful centerpiece, and wholesome snack all rolled into one!
Take a look at Vegan Momma’s TK Recipe Box when you can, as well as her blog, Live.Learn.Love.Eat. for more family-friendly vegan ideas!
Printable Recipe
Print Options
Description
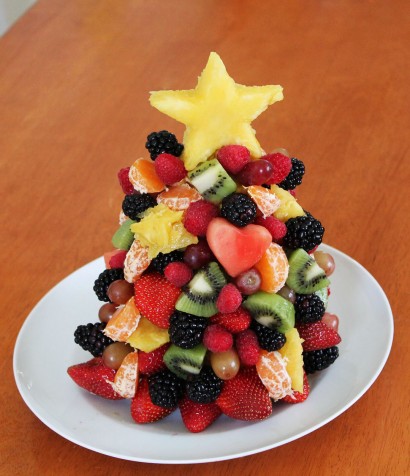
A delicious, colorful and healthy alternative to candy gingerbread houses. A great edible craft for kids or to take to any Christmas party!
Ingredients
- 1 whole Ripe Pineapple
- 1 whole Ripe Pear
- 2 cups Ripe Strawberries, Stems Removed
- 6 ounces, weight Fresh Raspberries
- 6 ounces, weight Fresh Blackberries
- 2 whole Kiwi, Peeled And Chopped
- 2 whole Mandarin Oranges, Peeled And Sectioned
- 1 cup Red Seedless Grapes
- ½ cups Chopped Watermelon
Preparation Instructions
For this recipe, you will also need 1 large star-shaped cookie cutter.
1. Begin by cutting the top and bottom off of your pineapple. Save a 1-inch-thick slice of your pineapple as well for the star. Cut all of the skin off of the outside of the pineapple so that only the edible portion remains. Slice the top of your pineapple as well to give it a slightly pointed shape at the top. Save the edible pineapple scraps to decorate the tree with later.
2. Cut the bottom off of your pear and remove the stem. Use a toothpick to place the pear on top of the prepared pineapple. This is your tree.
3. Use a large star-shaped cookie cutter to cut out a star for the top of the tree from the reserved slice of pineapple. Place the star on top of the Christmas tree with a wooden toothpick.
4. Insert many wooden toothpicks all over the pineapple and pear, fairly deep in so that they won’t show through the fruit once you have placed it on.
5. Decorate! Stick the prepared fruit onto the toothpicks all over the tree.
6. Eat!
_______________________________________
Be sure to check out Natalie’s own beautiful food blog, Perrys’ Plate, where you can see her growing collection of lovely recipes. There’s always something new to see there. Go visit now!


9 Comments
Comments are closed for this recipe.
Kim Brown on 1.2.2014
My 2014 resolution is to try at least one new recipe a week. December brought the desire to make a new soup each Sunday. I made 2 new kinds for my family, repeating the one that was a success at least once. My grandmother was an excellent cook and loved finding and trying new recipes, however; my mom cooked from a can or a box. I have found that I am somewhere in the middle, and losing ground fast! I resolve to cook for my family!
Keri M. on 12.19.2013
Made this last night with my niece and nephew – soooo fun and delicious!
Laurie - Simply Scratch on 12.18.2013
Oh my gosh I love this!!
Jeanette M. Smith on 12.18.2013
Great Idea
Taneasha @ Authors Kitchen on 12.17.2013
That is so cute! I don’t even have kids and I want to do this!
Lindsay R on 12.17.2013
aw, this is sooo cute! what a great idea!
KrissyC E'sMommy on 12.17.2013
This is seriously tooo cute. My 11 yr old daughter LOVES this idea and is begging me to try it. I’m unfortunately allergic to fruit, but it would be great to send to the inlaws for Christmas dinner. Thanks for the awesomeness idea.
Cute little girls by the way. I love the strawberry face. I recall so fondly my daughter with the same red splashes around her mouth.
DessertForTwo on 12.16.2013
So cute! The tree is almost as cute as your daughters—almost!
Patricia @ ButterYum on 12.16.2013
Gasp – It’s STUNNING!!!!!! What a great idea!