The Pioneer Woman Tasty Kitchen
Profile photo of georgiapellegrini

Homemade Bagels

Posted by in Baking, Step-by-Step Recipes

Tasty Kitchen Blog: Homemade Bagels. Guest post by Georgia Pellegrini, recipe submitted by TK member Meredith of An Epic Change.

 
I was visiting a friend recently and she casually offered me bagels for breakfast—she just had to finish baking them, she said.

Baking them? You see, she let them rise overnight, then finished them off in the morning so they’d be warm and crusty for breakfast. She made them from scratch.

If that isn’t impressive, I don’t know what is. I asked her to move in with me. She said she’d have to ask her husband first.

But it got me to wondering. I’m a New Yorker. Shouldn’t bagel-making abilities be part of my DNA?


Tasty Kitchen Blog: Homemade Bagels. Guest post by Georgia Pellegrini, recipe submitted by TK member Meredith of An Epic Change.

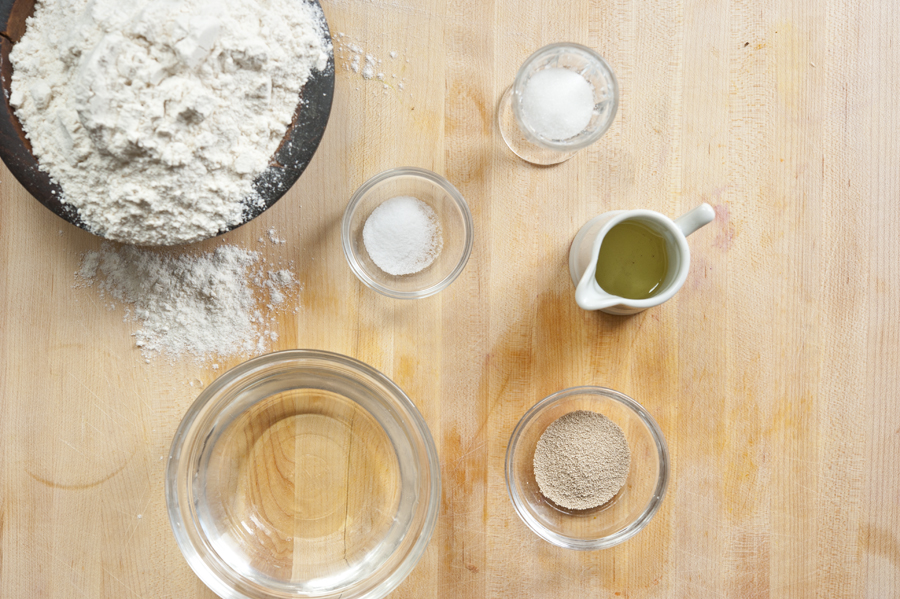
When I saw Meredith’s recipe for homemade bagels, I was inspired to give it a try. It only has these simple ingredients after all: flour, water, sugar, salt, yeast, and oil.


Tasty Kitchen Blog: Homemade Bagels. Guest post by Georgia Pellegrini, recipe submitted by TK member Meredith of An Epic Change.

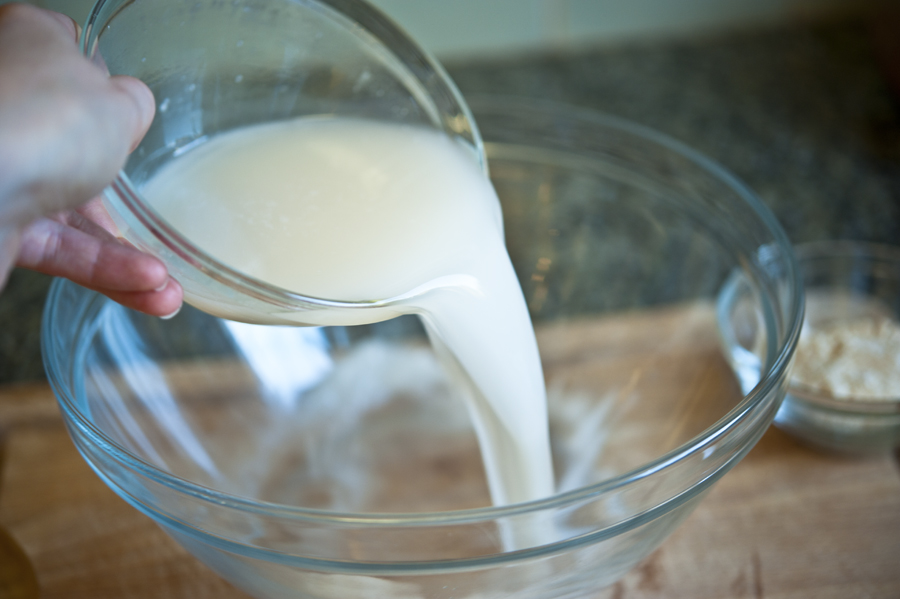
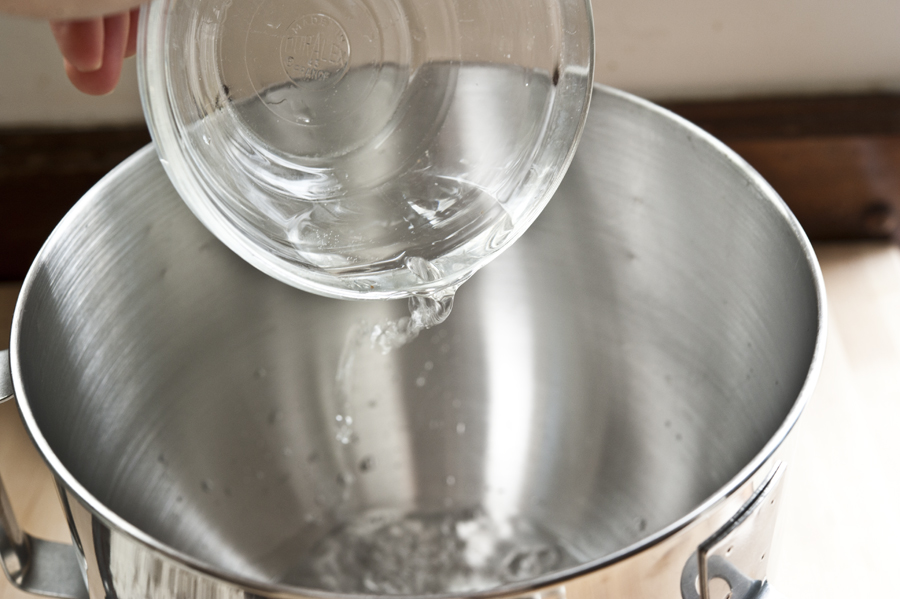
You start by adding warm water to a mixing bowl. The bowl from a stand mixer works best if you have one, so that you can mix it with the paddle attachment.


Tasty Kitchen Blog: Homemade Bagels. Guest post by Georgia Pellegrini, recipe submitted by TK member Meredith of An Epic Change.

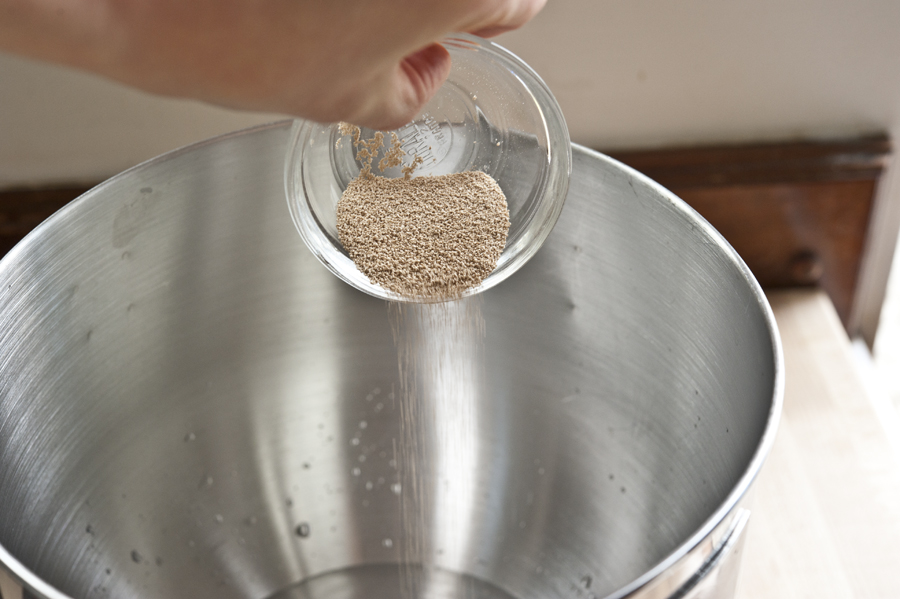
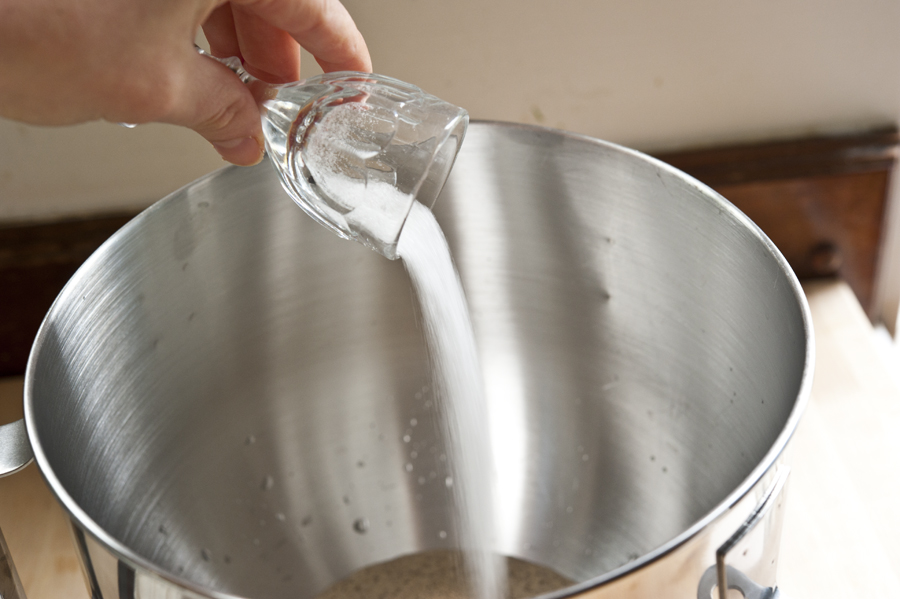
You add the yeast to the warm water…


Tasty Kitchen Blog: Homemade Bagels. Guest post by Georgia Pellegrini, recipe submitted by TK member Meredith of An Epic Change.

…along with the sugar. Sugar and warm water are the best things to activate yeast quickly. Mix those together and let the yeast begin to bubble.


Tasty Kitchen Blog: Homemade Bagels. Guest post by Georgia Pellegrini, recipe submitted by TK member Meredith of An Epic Change.

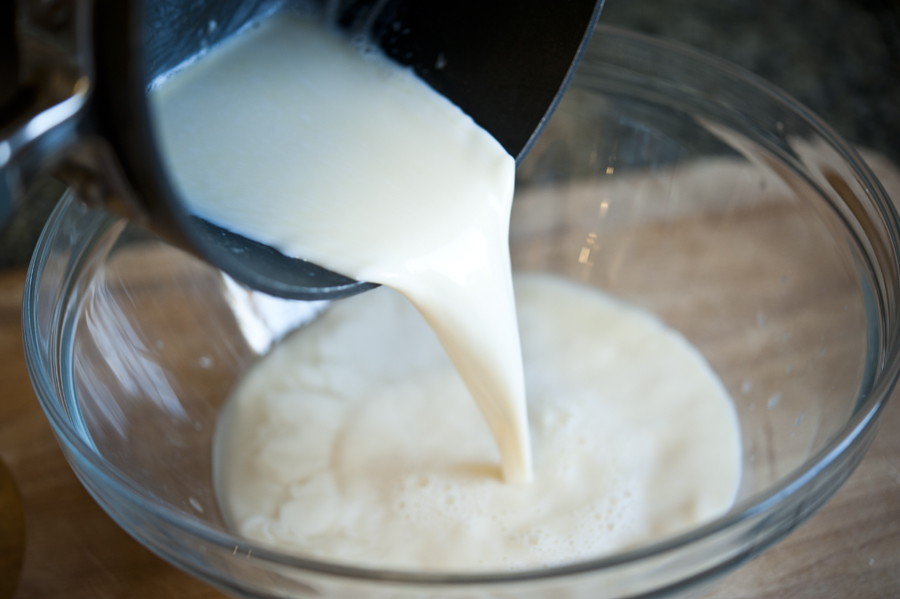
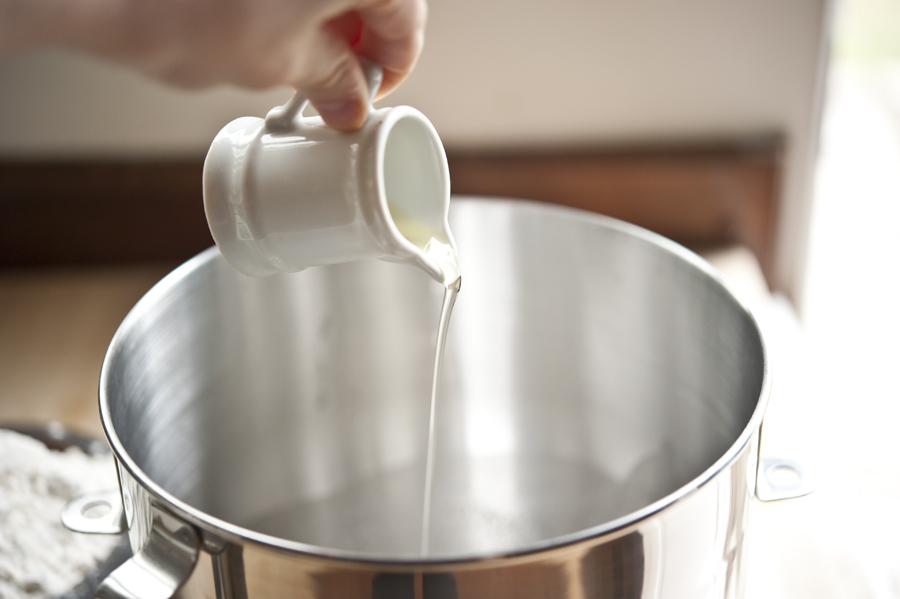
Once the yeast doubles, you add the oil.


Tasty Kitchen Blog: Homemade Bagels. Guest post by Georgia Pellegrini, recipe submitted by TK member Meredith of An Epic Change.

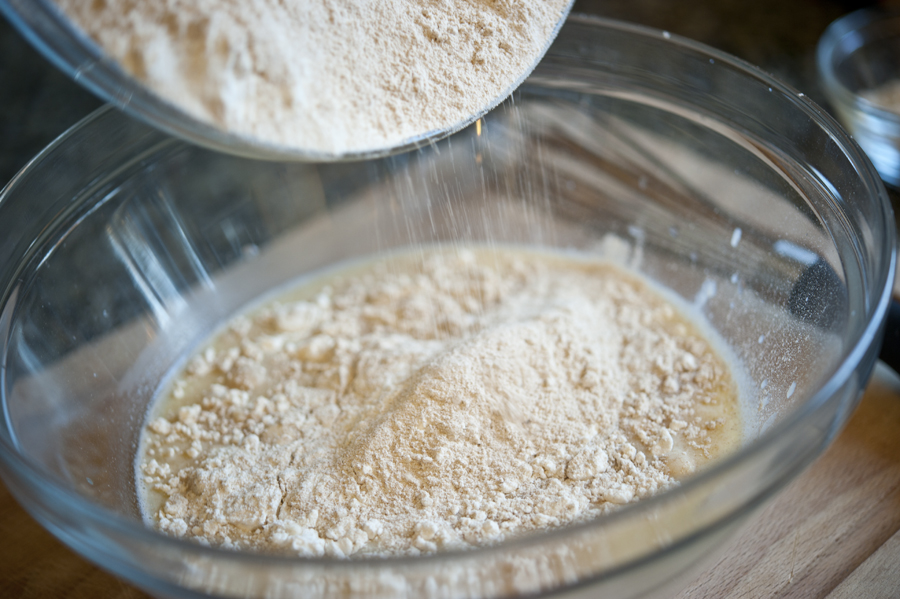
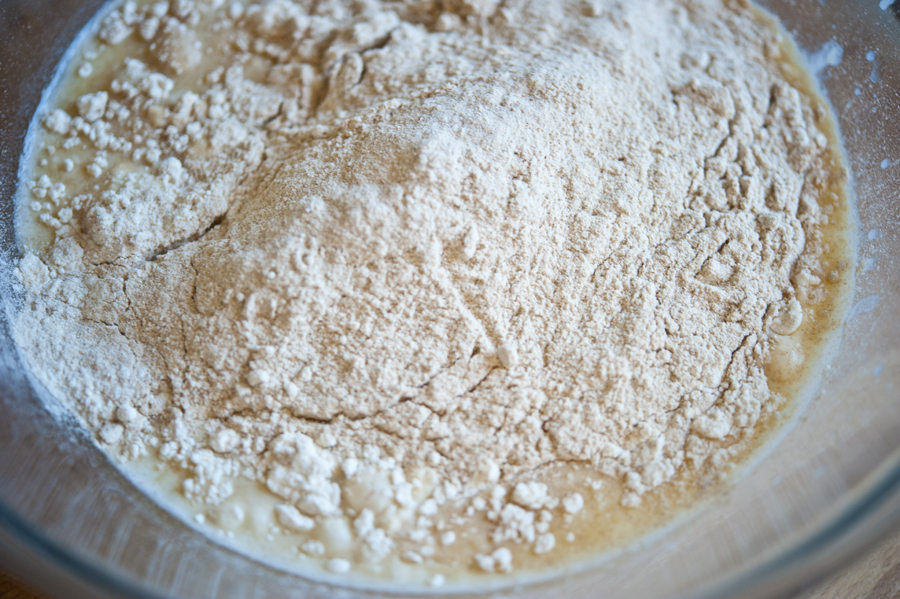
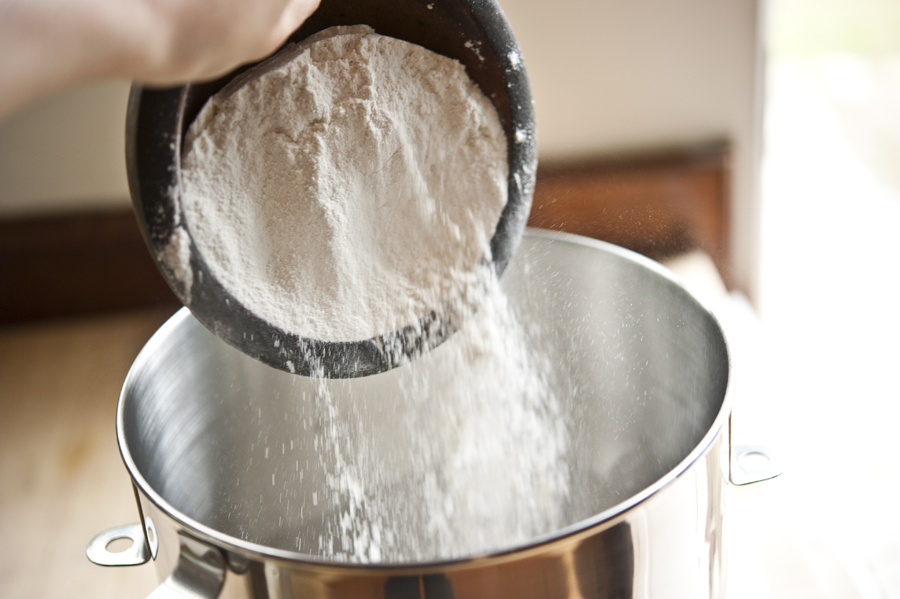
Then comes the flour and salt and the whole thing gets placed into the mixer with the paddle attachment.

You could also simply do this in a heavy glass bowl and use your hands to mix. They are the best tools in the kitchen, after all.


Tasty Kitchen Blog: Homemade Bagels. Guest post by Georgia Pellegrini, recipe submitted by TK member Meredith of An Epic Change.

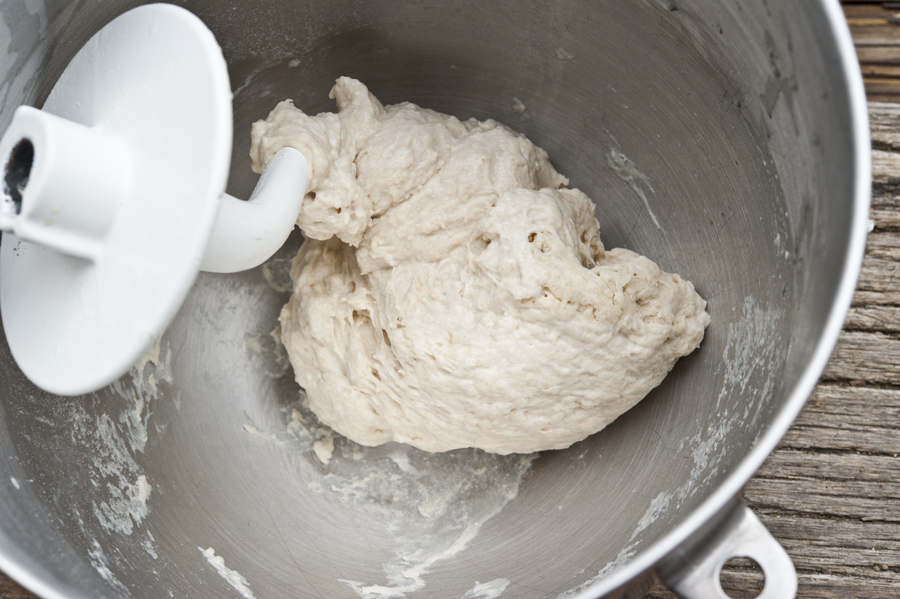
But if you have a mixer, you use the paddle attachment until it all comes together. (I know. That’s not my paddle attachment. Don’t be like me.) Like Meredith recommended, I used a sprinkling of water along the way and scraped down the sides of the bowl a few times.


Tasty Kitchen Blog: Homemade Bagels. Guest post by Georgia Pellegrini, recipe submitted by TK member Meredith of An Epic Change.

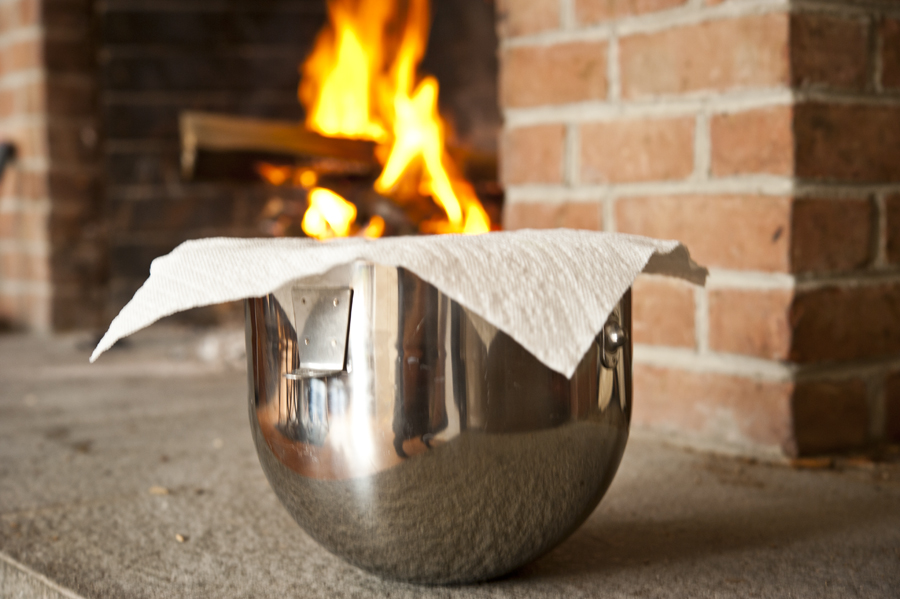
Then you cover the bowl and put it in a warm place to help it rise.

Now at this time of year, it can be hard to find a warm place, depending on which part of the country or world you are in. Where I am in New York, it’s still snowing, so I opted for a spot near the fireplace. You could also put it near the stove or a heater.
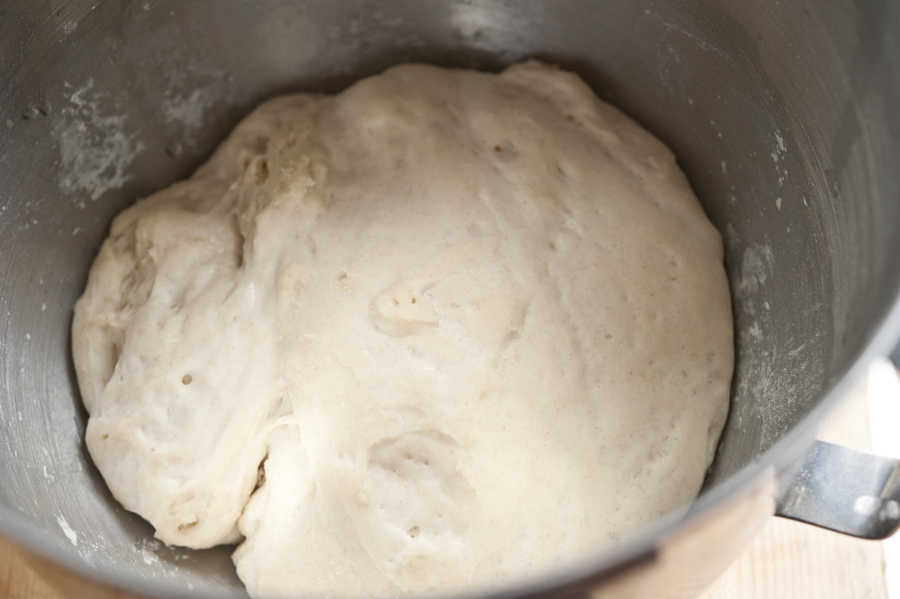


Tasty Kitchen Blog: Homemade Bagels. Guest post by Georgia Pellegrini, recipe submitted by TK member Meredith of An Epic Change.

The varying conditions will affect how long it takes the dough to double. For me, it was about an hour.
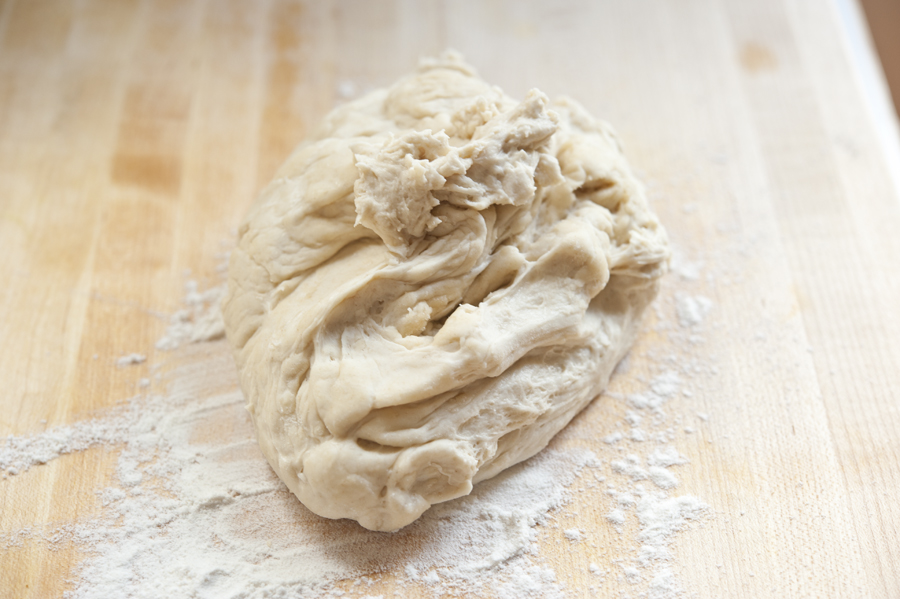


Tasty Kitchen Blog: Homemade Bagels. Guest post by Georgia Pellegrini, recipe submitted by TK member Meredith of An Epic Change.

Once it has doubled, you punch it down and put it on a floured surface.
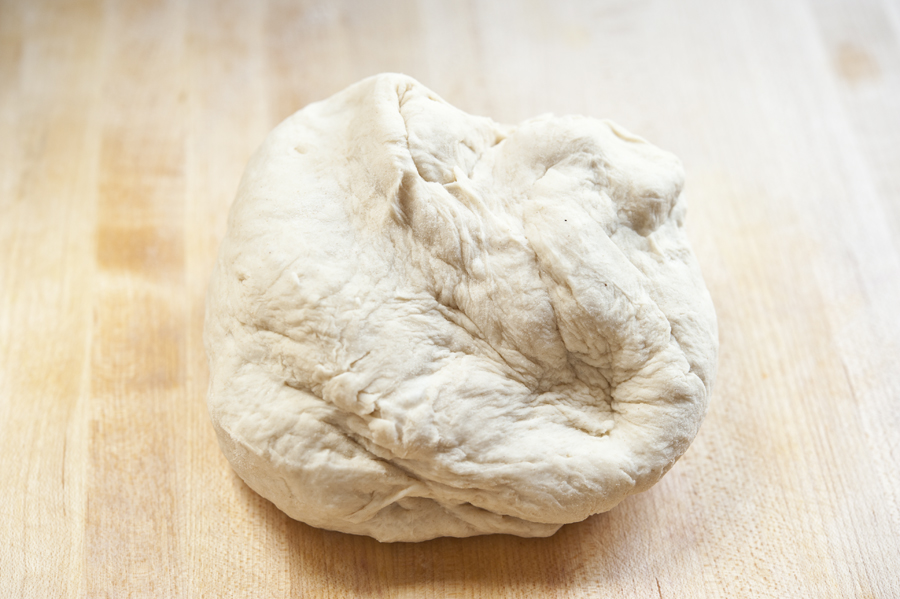


Tasty Kitchen Blog: Homemade Bagels. Guest post by Georgia Pellegrini, recipe submitted by TK member Meredith of An Epic Change.

Then you knead it for a few minutes.


Tasty Kitchen Blog: Homemade Bagels. Guest post by Georgia Pellegrini, recipe submitted by TK member Meredith of An Epic Change.

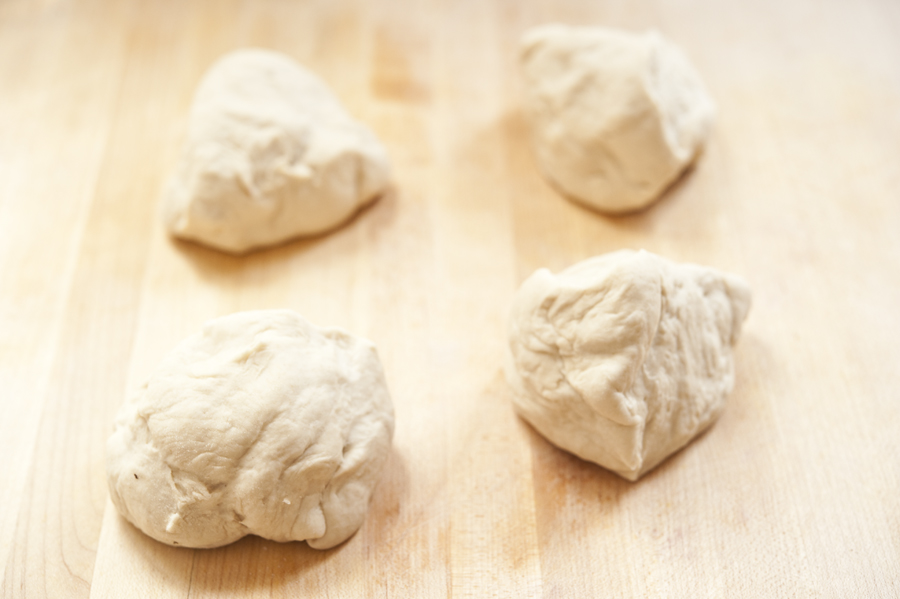
Then you cut it into portions. I cut mine into four since I wanted a bigger bagel, but you can also do six portions and it will work well.


Tasty Kitchen Blog: Homemade Bagels. Guest post by Georgia Pellegrini, recipe submitted by TK member Meredith of An Epic Change.

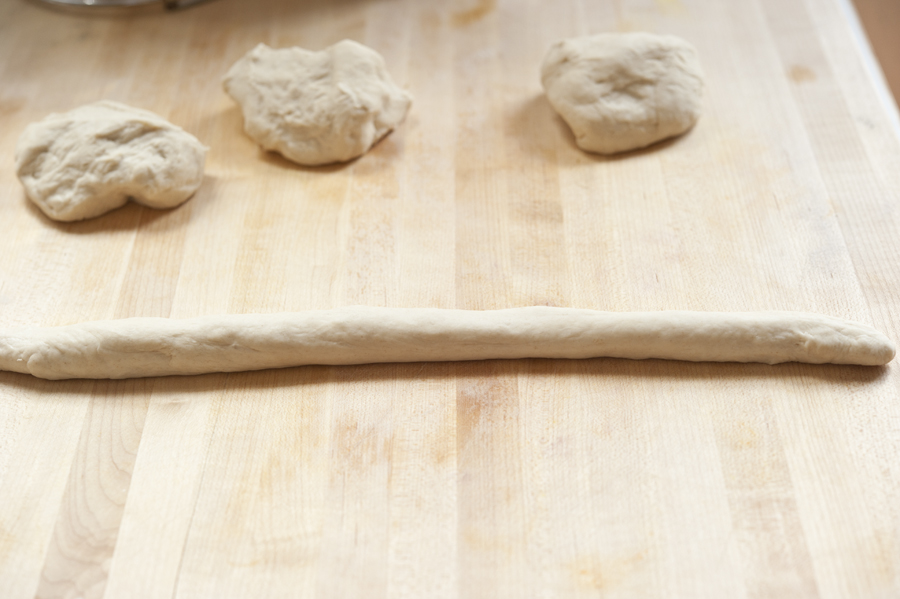
Roll each ball of dough into a long rope, long enough so that when you bring the edges together you have a nice circle in the center. Remember that the dough is still going to puff up again so the circle will become smaller!


Tasty Kitchen Blog: Homemade Bagels. Guest post by Georgia Pellegrini, recipe submitted by TK member Meredith of An Epic Change.

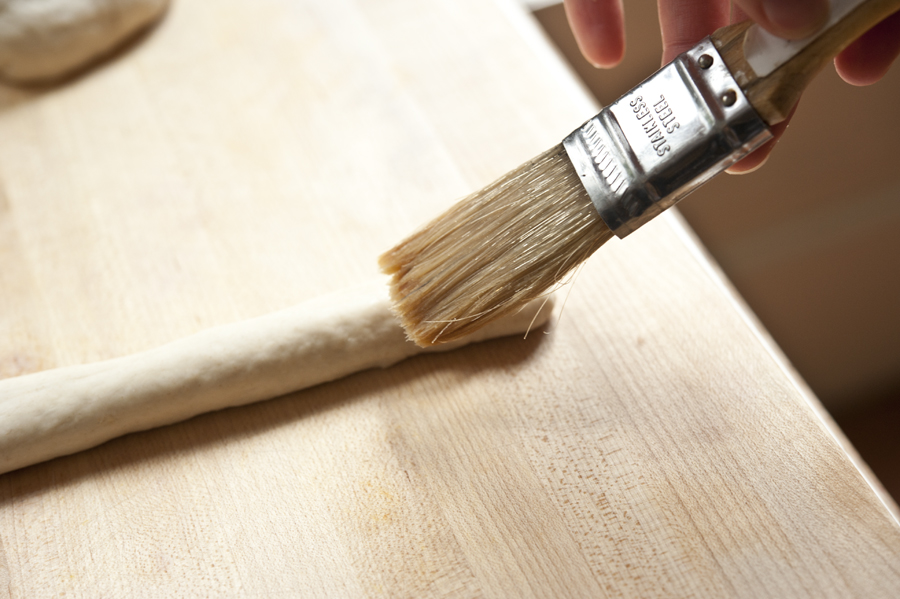
When you have it as long as you need, wet the edges a bit to make it easier to join them together.


Tasty Kitchen Blog: Homemade Bagels. Guest post by Georgia Pellegrini, recipe submitted by TK member Meredith of An Epic Change.

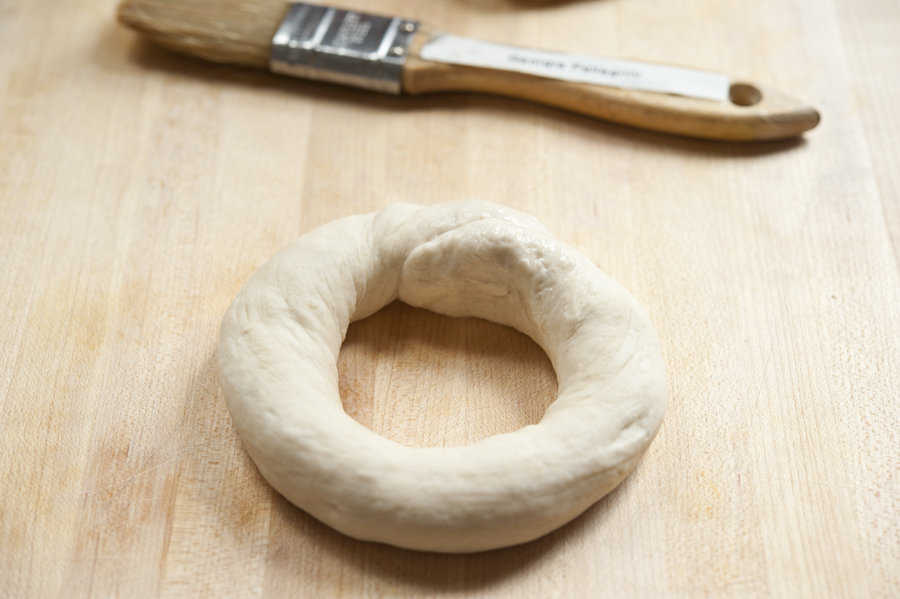
Your bagel will look something like this—skinny now, but with enough room so that it can puff up and still maintain its hole in the middle.

Now is also when you get to make fun of me for labeling my pastry brush with my name. Everyone in culinary school made fun of me for it but hey, look who still has her pastry brush from culinary school!


Tasty Kitchen Blog: Homemade Bagels. Guest post by Georgia Pellegrini, recipe submitted by TK member Meredith of An Epic Change.

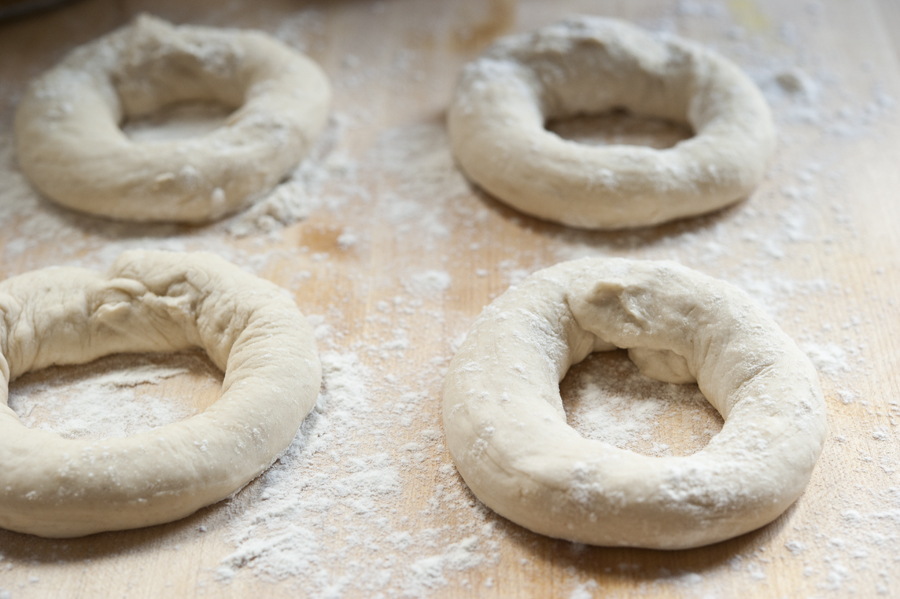
Now you lay the dough rings on a floured surface, cover them and let them rise and puff until they look as thick as a normal bagel.


Tasty Kitchen Blog: Homemade Bagels. Guest post by Georgia Pellegrini, recipe submitted by TK member Meredith of An Epic Change.

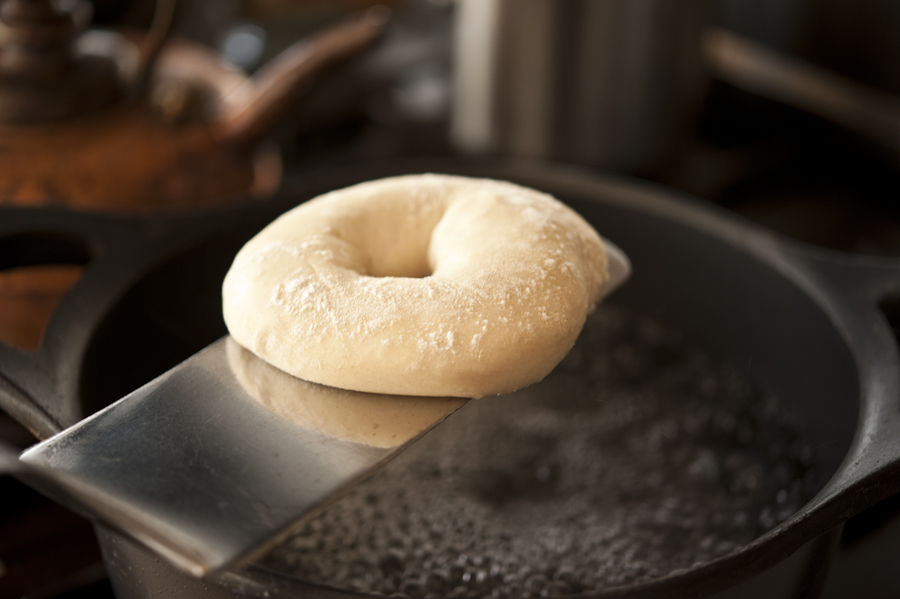
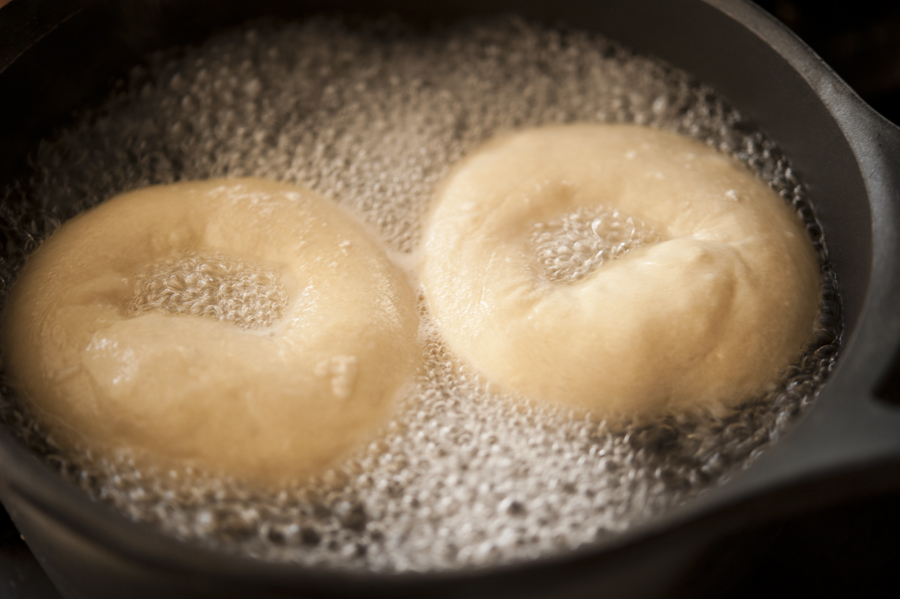
Get some water boiling and once the bagels are puffy, carefully lift them with a spatula and drop them in two at a time.


Tasty Kitchen Blog: Homemade Bagels. Guest post by Georgia Pellegrini, recipe submitted by TK member Meredith of An Epic Change.

You’ll turn them over once to get both sides par boiled.


Tasty Kitchen Blog: Homemade Bagels. Guest post by Georgia Pellegrini, recipe submitted by TK member Meredith of An Epic Change.

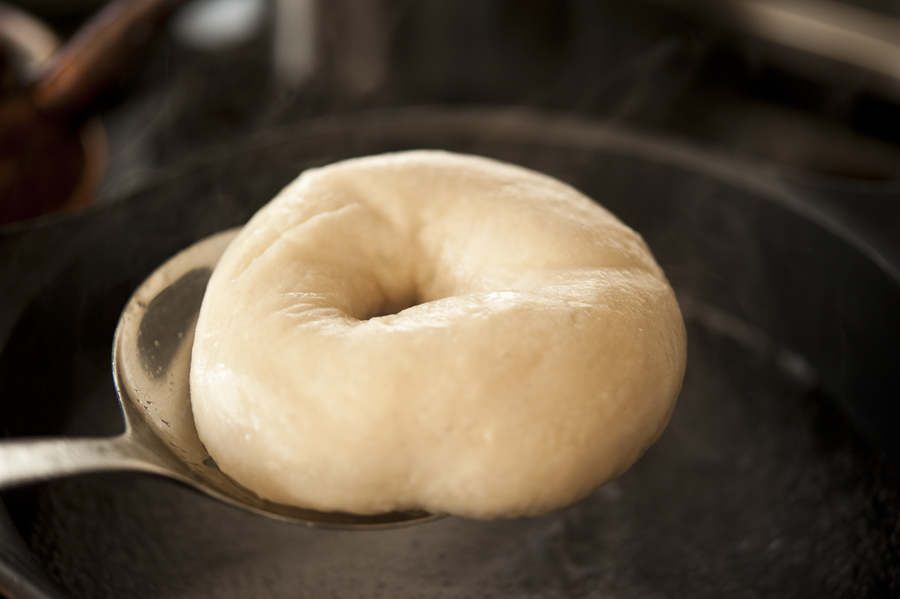
Then remove each one with a slotted spoon…
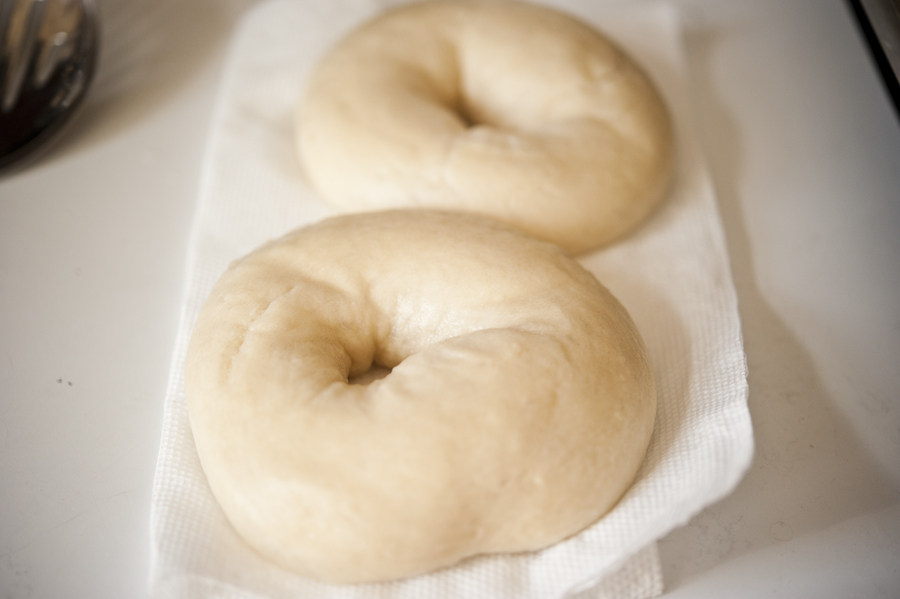


Tasty Kitchen Blog: Homemade Bagels. Guest post by Georgia Pellegrini, recipe submitted by TK member Meredith of An Epic Change.

Transfer to a paper towel for just a few seconds to soak up the moisture…
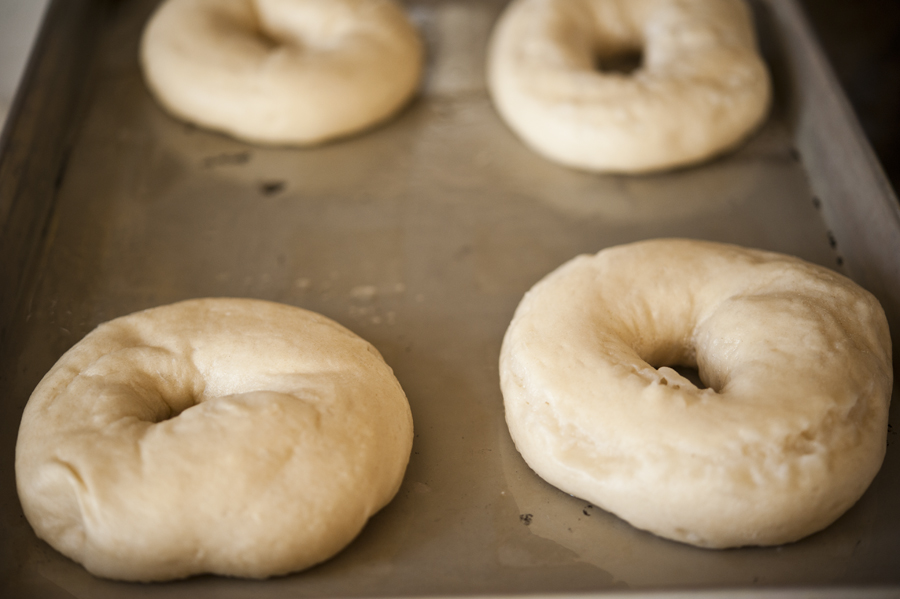


Tasty Kitchen Blog: Homemade Bagels. Guest post by Georgia Pellegrini, recipe submitted by TK member Meredith of An Epic Change.

Then transfer them to a greased sheet tray.
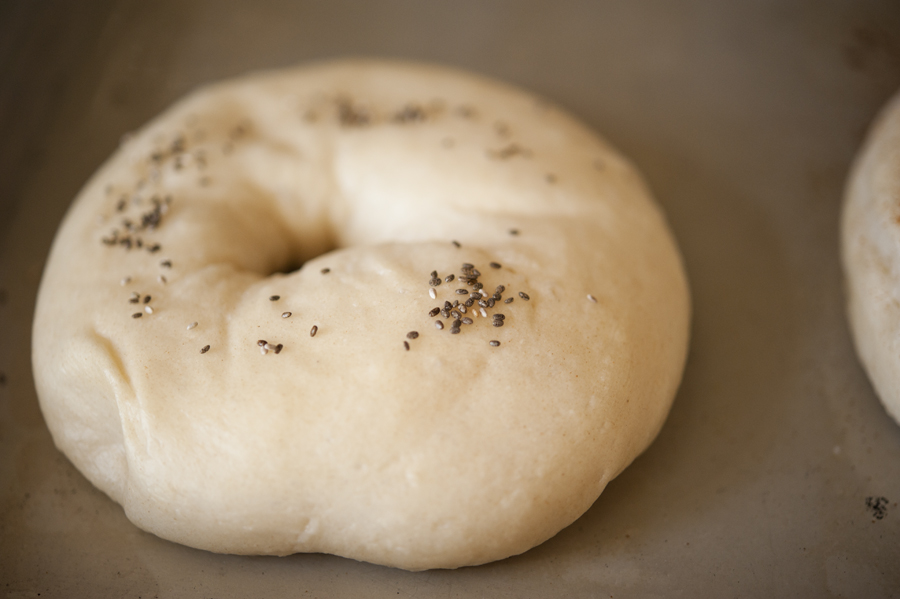


Tasty Kitchen Blog: Homemade Bagels. Guest post by Georgia Pellegrini, recipe submitted by TK member Meredith of An Epic Change.

Now there is the option to get fancy along the way. You could sprinkle on some sesame seeds for example…
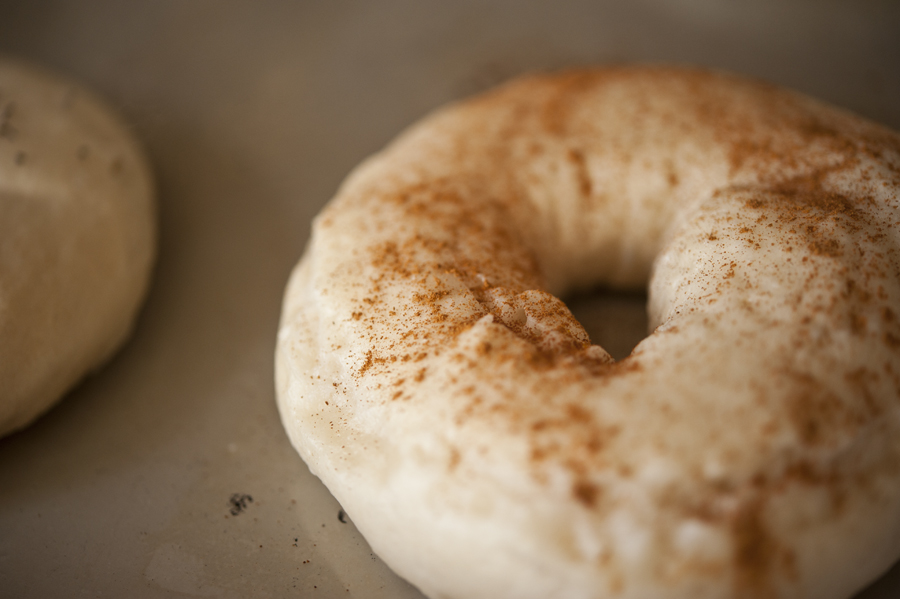


Tasty Kitchen Blog: Homemade Bagels. Guest post by Georgia Pellegrini, recipe submitted by TK member Meredith of An Epic Change.

Or add some cinnamon on top…

Or, you could mix flavorings into the dough when you knead it. How about dried blueberries? Or sun-dried tomatoes and basil? Chocolate chips? The possibilities are exciting and endless.


Tasty Kitchen Blog: Homemade Bagels. Guest post by Georgia Pellegrini, recipe submitted by TK member Meredith of An Epic Change.

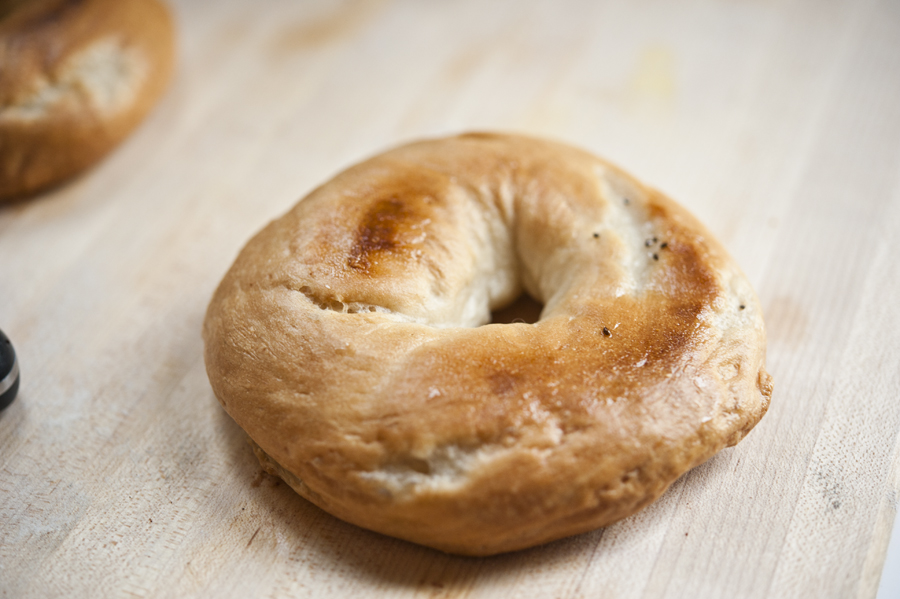
Once they have spent about 18 minutes in the oven and have been turned over once, this is what you will have.


Tasty Kitchen Blog: Homemade Bagels. Guest post by Georgia Pellegrini, recipe submitted by TK member Meredith of An Epic Change.

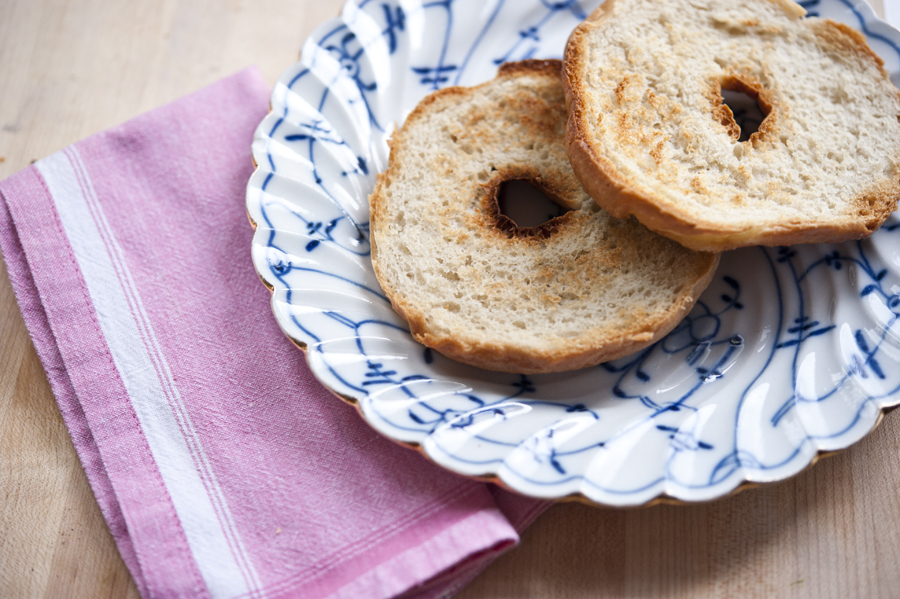
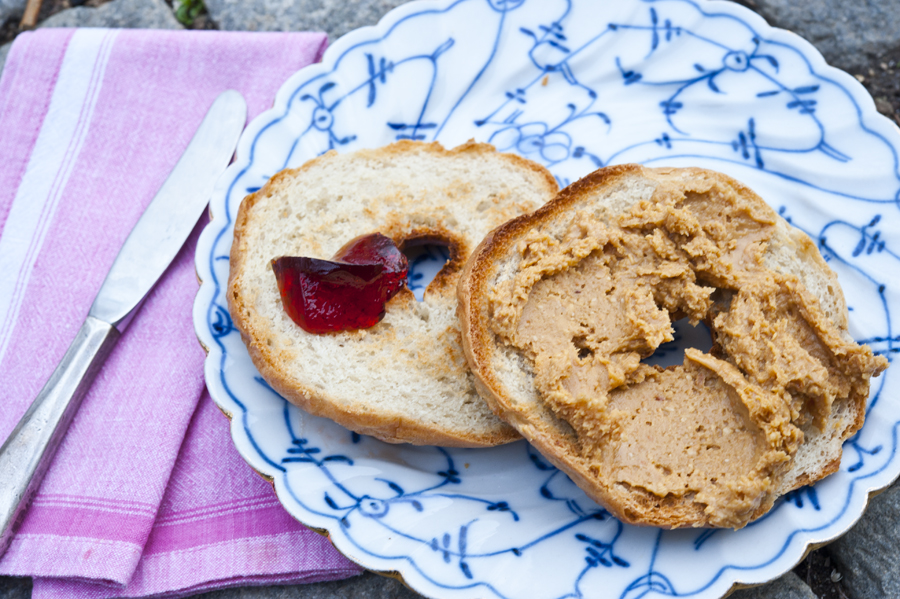
Slice it in half and drop it in the toaster if you’d like, or just eat it warm and fresh out of the oven.


Tasty Kitchen Blog: Homemade Bagels. Guest post by Georgia Pellegrini, recipe submitted by TK member Meredith of An Epic Change.

Then of course, add your favorite spreads on top. Enjoy!

And thanks to Meredith for this fun recipe. Check out her blog, An Epic Change, for more!

 
Also check out these other bagel recipes here on TK:

Homemade Everything Bagels by Heather Christo

Bread Machine Bagels by ThoroughlyModernHousewife

Bagels by CookingDunkinStyle

Multigrain Bagels by PuzzleHouse


Printable Recipe
Plain Bagels

See post on Meredith @ An Epic Change’s site!
4.83 Mitt(s) 12 Rating(s)12 votes, average: 4.83 out of 512 votes, average: 4.83 out of 512 votes, average: 4.83 out of 512 votes, average: 4.83 out of 512 votes, average: 4.83 out of 5

Prep Time:

Cook Time:

Difficulty: Intermediate

Servings: 6

6
x

Print Options

Page size Letter 3x5 4x6
Text Size Small Medium Large
Content Include description
Include prep time, etc.
Show image

Description

Perfectly chewy yet soft plain bagels, from an East Coaster who knows her bagels.

Ingredients

  • ⅔ cups Warm Water
  • ½ Tablespoons Sugar
  • 1-½ teaspoon Yeast
  • 2 cups All-purpose Flour
  • ½ Tablespoons Vegetable Oil
  • ¾ teaspoons Salt

Preparation Instructions

In the bottom of your mixer bowl, combine the water, sugar, and yeast and let the yeast develop for about 5 minutes. Add in flour, vegetable oil, and salt and mix with a dough hook (or by hand) until the dough is elastic and tough. You may need to add in a bit of extra water, but do it little by little. Let the dough sit and rise in a warm place for 20-30 minutes.

Turn dough out onto a floured surface and knead. Cut into 6 equal pieces. Roll each individual piece into a “snake” long enough to wrap around your palm. Dip each end of the dough in water and press together in your palm, forming a circle. Place the formed bagels on a floured board and allow to rise another 20-30 minutes.

Bring 6 cups of water to a boil in a heavy-bottomed pot. When the water is gently boiling, place 2-3 bagels into the water for 1 minute and then flip to boil on the other side for another minute. Remove the bagels, place them on paper towels to take off excess moisture, then place on a baking sheet. Repeat with the remaining bagels. Bake in the oven on 425ºF for 18 minutes, turning them over after 10 minutes. Enjoy!

Note: Substitute 1/2 cup wheat flour and 1 1/2 cup all-purpose flour for a wheat variation.


_______________________________________

There’s so much to say about Georgia, we don’t know where to start. Leaving Wall Street for the French Culinary Institute, followed by a stint at the Gramercy Tavern and La Chassagnette in France, her passion for food and food traditions are evident and inspiring. Visit her site at Georgia Pellegrini, where you’ll find more recipes, photos, learn all about her wonderful book Food Heroes, and enjoy her latest adventures.


Profile photo of georgiapellegrini

Homemade Habanero Hot Sauce

Posted by in Step-by-Step Recipes

Tasty Kitchen Blog: Habanero Hot Sauce. Guest post by Georgia Pellegrini, recipe submitted by TK member Dax Phillips of Simple Comfort Food.

 
I have a thing for hot sauce. At one point I thought I had tried all of the bottles in the store. Then wonderful people started bringing them back for me from exotic places (thanks Amy!). And then Dax Phillips came along one fine day with this Habanero Hot Sauce on Tasty Kitchen and I had to know more. So I took to the kitchen with a stack of habaneros—would I be able to handle the heat?


Tasty Kitchen Blog: Habanero Hot Sauce. Guest post by Georgia Pellegrini, recipe submitted by TK member Dax Phillips of Simple Comfort Food.

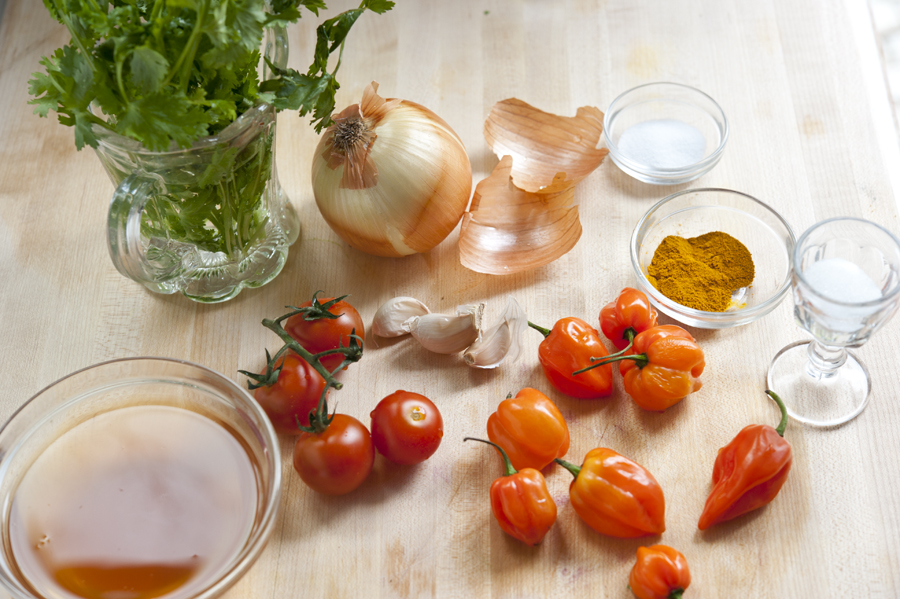
It began with these lovely fresh ingredients: cherry tomatoes, onion, garlic, cilantro, salt, sugar, turmeric, cider vinegar, and the hottest of hot peppers—my friend the habanero.


Tasty Kitchen Blog: Habanero Hot Sauce. Guest post by Georgia Pellegrini, recipe submitted by TK member Dax Phillips of Simple Comfort Food.

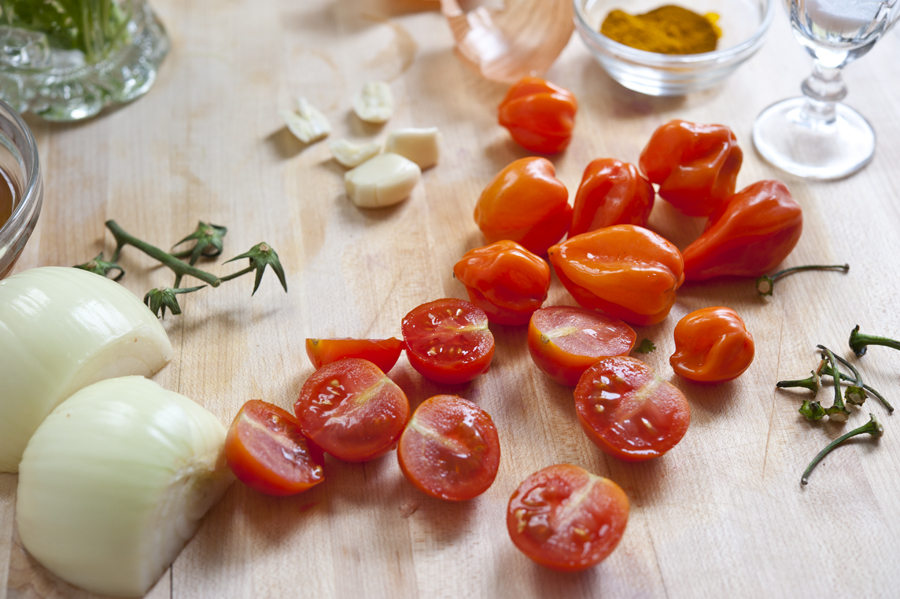
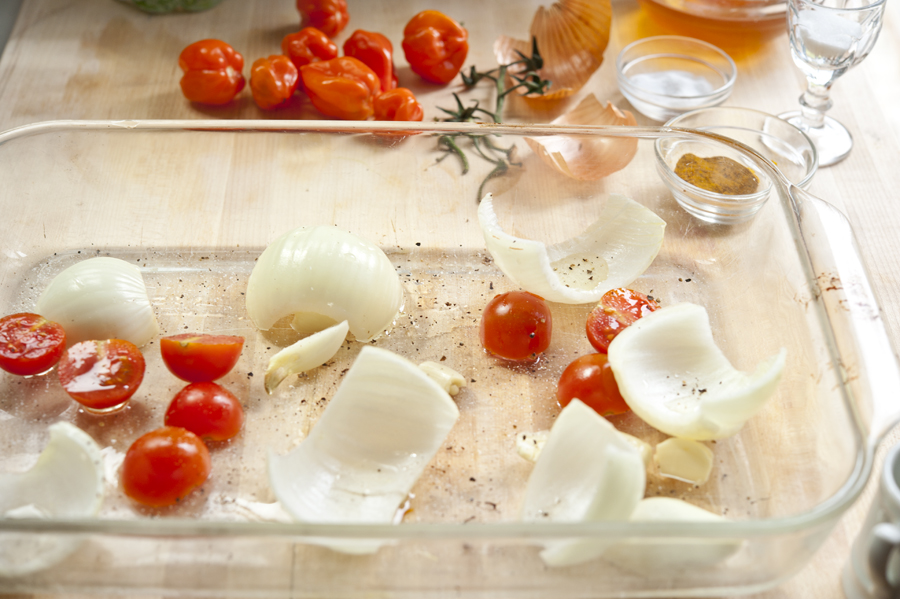
The tomatoes get cut in half, the onion too, the garlic cloves crushed, and the habaneros de-stemmed. I might suggest wearing gloves when handling these peppers, or at the very least not touching your face for a good long while. Soap and water aren’t strong enough for my friend the habanero.


Tasty Kitchen Blog: Habanero Hot Sauce. Guest post by Georgia Pellegrini, recipe submitted by TK member Dax Phillips of Simple Comfort Food.

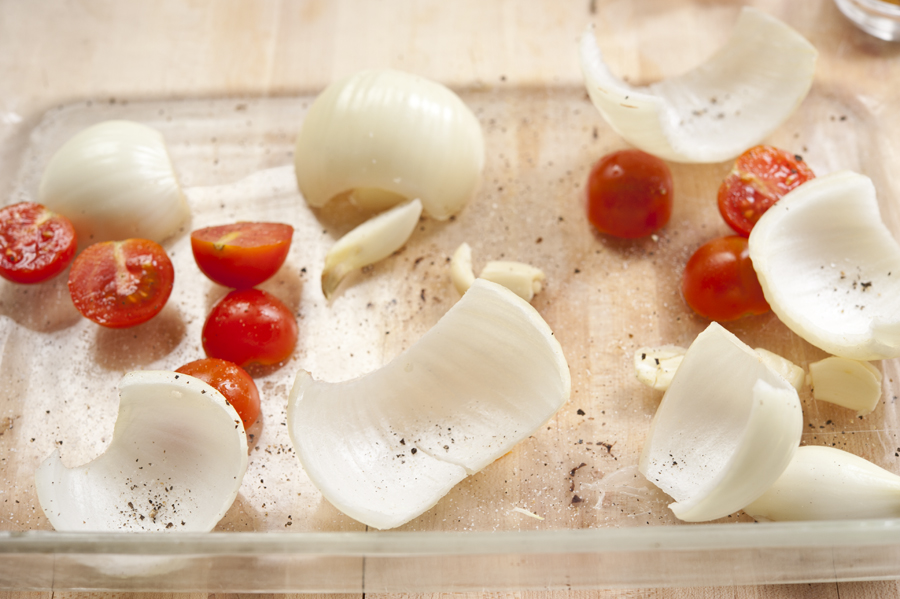
The onion, tomato and garlic get tossed onto a sheet tray (or a Pyrex dish of sorts if you’re like me and can’t find your sheet tray when you need it). Throw some salt and pepper in there too.


Tasty Kitchen Blog: Habanero Hot Sauce. Guest post by Georgia Pellegrini, recipe submitted by TK member Dax Phillips of Simple Comfort Food.

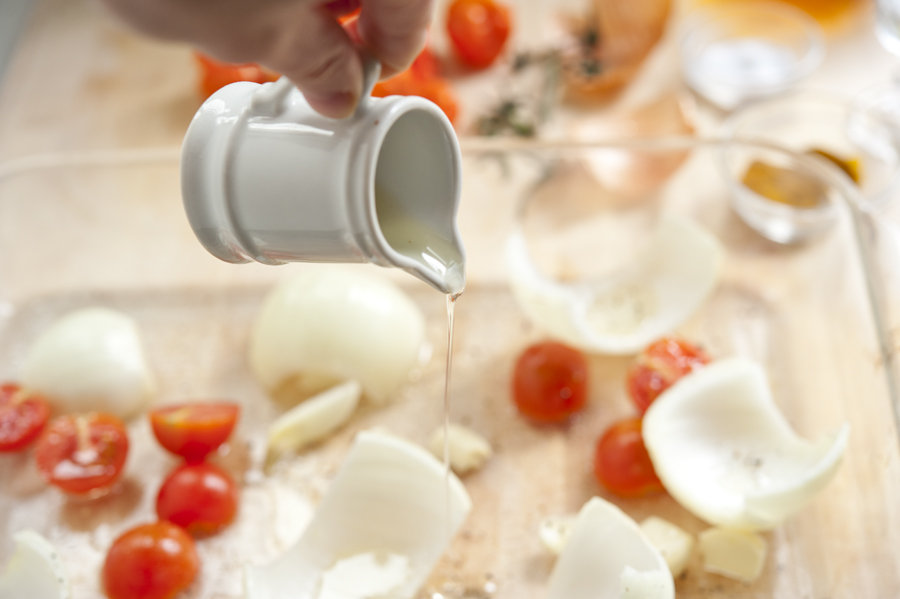
Add a dash of olive oil …


Tasty Kitchen Blog: Habanero Hot Sauce. Guest post by Georgia Pellegrini, recipe submitted by TK member Dax Phillips of Simple Comfort Food.

Give it a toss and then and we’re off to the oven for 15 minutes.


Tasty Kitchen Blog: Habanero Hot Sauce. Guest post by Georgia Pellegrini, recipe submitted by TK member Dax Phillips of Simple Comfort Food.

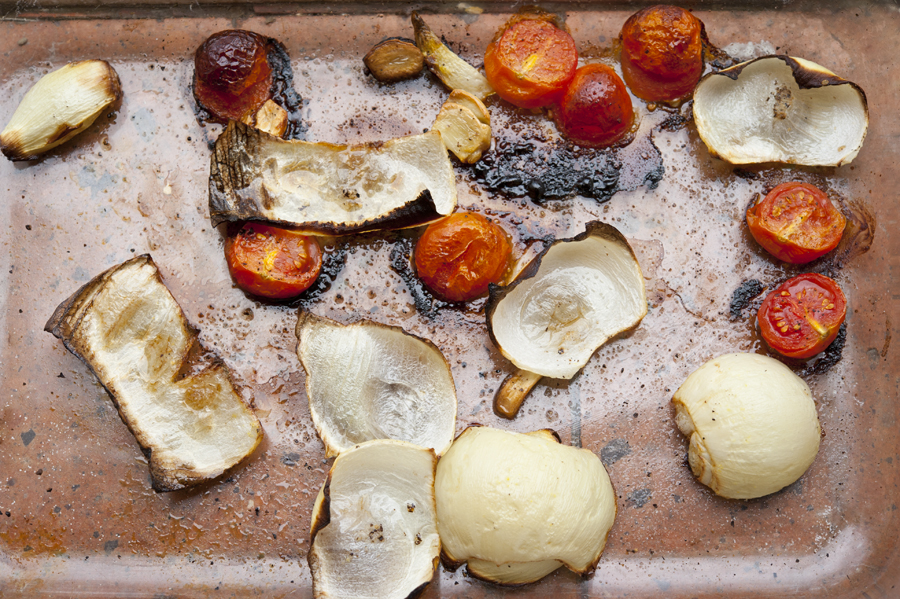
They will look something like this when they are done roasting. Brown bits are good, they add flavor and intrigue.


Tasty Kitchen Blog: Habanero Hot Sauce. Guest post by Georgia Pellegrini, recipe submitted by TK member Dax Phillips of Simple Comfort Food.

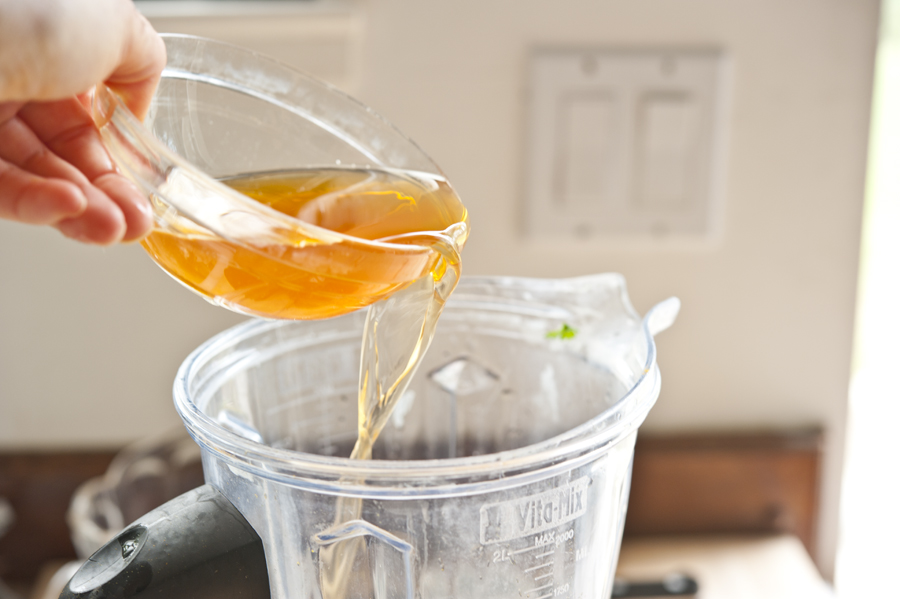
Then out comes the blender and in goes the cider vinegar …


Tasty Kitchen Blog: Habanero Hot Sauce. Guest post by Georgia Pellegrini, recipe submitted by TK member Dax Phillips of Simple Comfort Food.

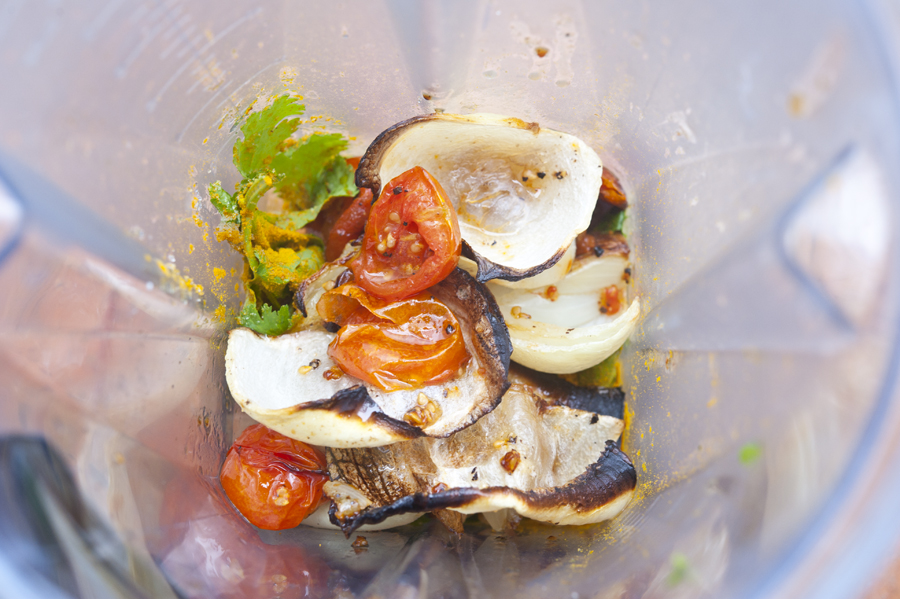
And all of your remaining ingredients along with the roasted veggies.


Tasty Kitchen Blog: Habanero Hot Sauce. Guest post by Georgia Pellegrini, recipe submitted by TK member Dax Phillips of Simple Comfort Food.

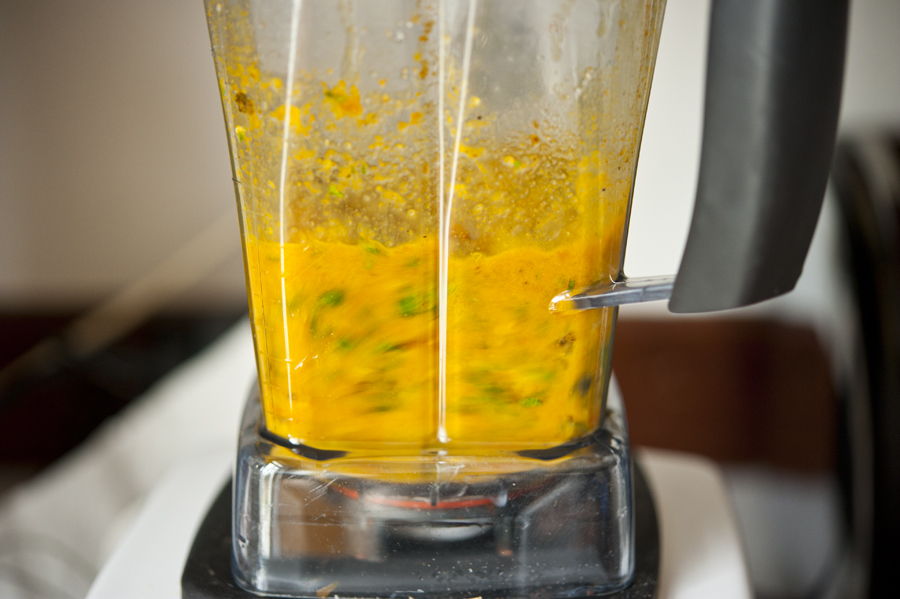
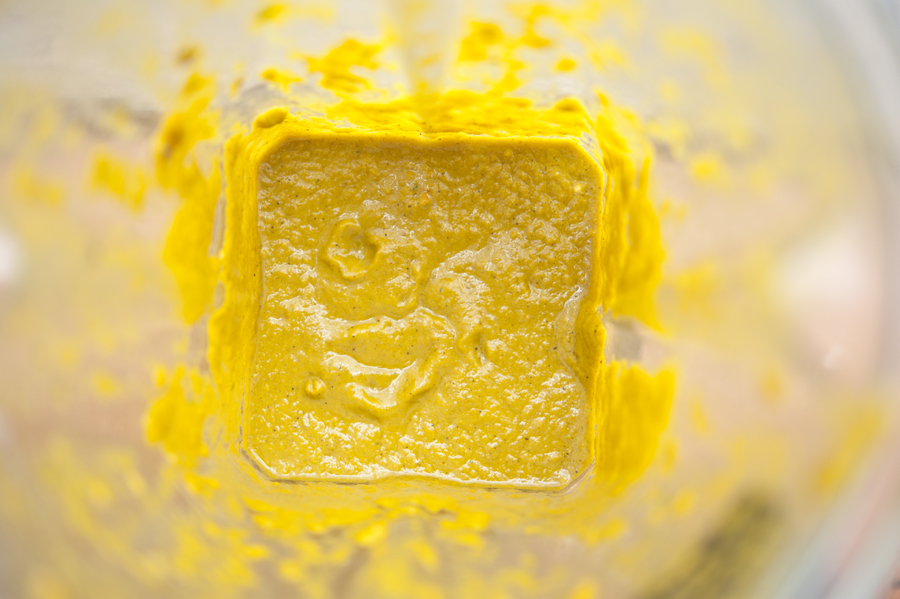
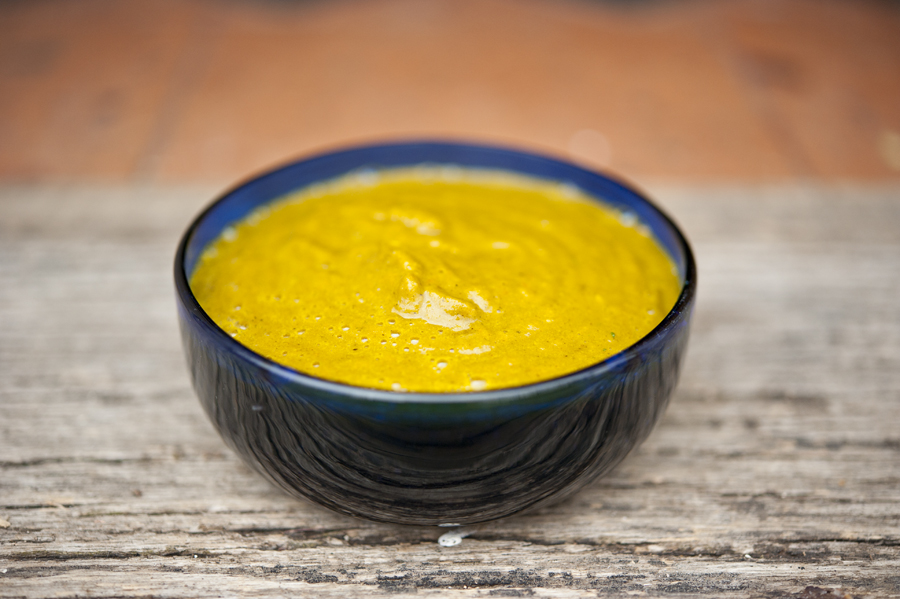
Give ‘er a blend. You can go chunky or smooth here, and blend to your desired consistency.


Tasty Kitchen Blog: Habanero Hot Sauce. Guest post by Georgia Pellegrini, recipe submitted by TK member Dax Phillips of Simple Comfort Food.

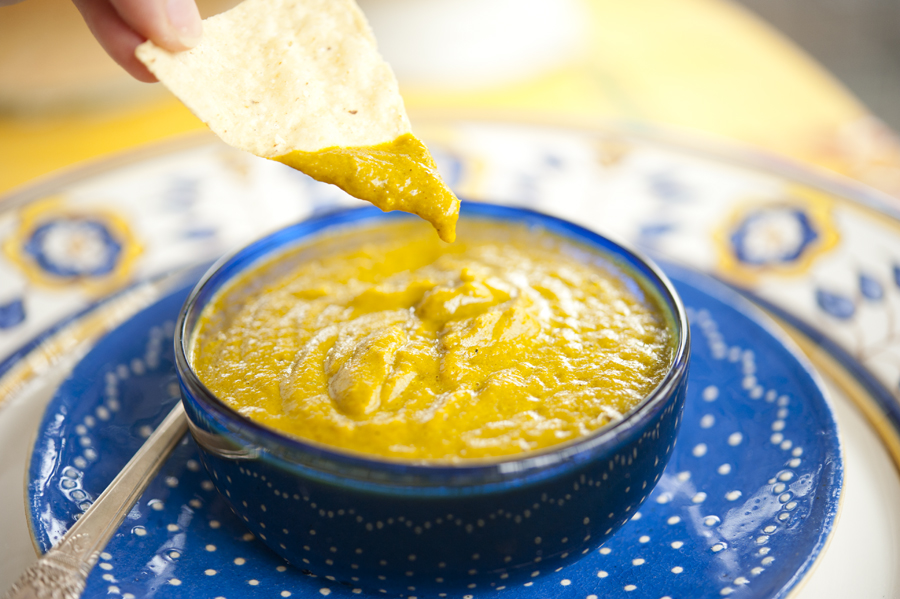
I went smooth. Cause that’s the kind of gal I am.


Tasty Kitchen Blog: Habanero Hot Sauce. Guest post by Georgia Pellegrini, recipe submitted by TK member Dax Phillips of Simple Comfort Food.

Dax was right. This sauce has a serious kick. But he was even more right in saying that it was addictive. Maybe it was that dash of sugar, or the intrigue from the brown bits. It left you wanting more.


Tasty Kitchen Blog: Habanero Hot Sauce. Guest post by Georgia Pellegrini, recipe submitted by TK member Dax Phillips of Simple Comfort Food.

Either way, it’s in my permanent repertoire now. Thanks Dax! For more of his delicious recipes, check out his great blog, Simple Comfort Food. There are fried olives on the front page. Need I say more?

 
And if you’re looking for even more fabulous hot sauces to try, check out these from other fab Tasty Kitchen members:

Grandpa’s Hot Sauce by Abbierr
Pique by Rebecca
Whiskey Hot Sauce by yours truly
Serrano Hot Sauce by Dax Phillips (he may be as addicted as I am!)
Habanero Hot Sauce by Rocky Mountain Woman
Momma’s Hot Sauce by GageGirl85
Chile De Arbol Hot Sauce from ShareBear


Printable Recipe

Habanero Hot Sauce

See post on Dax Phillips’s site!
5.00 Mitt(s) 1 Rating(s)1 vote, average: 5.00 out of 51 vote, average: 5.00 out of 51 vote, average: 5.00 out of 51 vote, average: 5.00 out of 51 vote, average: 5.00 out of 5

Prep Time:

Cook Time:

Difficulty: Easy

Servings: 12

12
x

Print Options

Page size Letter 3x5 4x6
Text Size Small Medium Large
Content Include description
Include prep time, etc.
Show image

Description

When you think you cannot do anything with habanero peppers, try this sauce. It’s hot, but so very addicting.

Ingredients

  • 4 whole Cherry Tomatoes, Halved
  • 1 whole Medium Onion, Halved
  • 3 cloves Garlic, Smashed
  • 2 Tablespoons Olive Oil
  • 8 whole Habanero Peppers, Stemmed
  • 1 Tablespoon Salt
  • 1 Tablespoon Turmeric Powder
  • ¼ cups Fresh Cilantro, Chopped
  • ¾ cups Cider Vinegar
  • 1 Tablespoon Granulated Sugar

Preparation Instructions

Begin by preheating your oven 425 degrees. Lay the tomatoes, onions and garlic on a baking sheet and drizzle with the olive oil. Sprinkle with some salt and pepper, and cook unto the onions are roasted, about 15 minutes.

Remove the sheet of veggies, place them in a blender along with the remaining ingredients, and blend. Blend until you have a pureed sauce of habaneros and veggies. Pour into a sealed tight container and use as needed.

Now here is the deal on this sauce. I will be honest, it has a bite, but it has that bite that keeps you so interested in another bite, and another, and another.

I have a couple of chili heads at work, and brought the sauce in the other day. One coworker said, “You can bottle that, and sell it today.” I agree. This sauce has something about it. It’s hot, but keeps you wanting more, and in my book, that is something good, and comforting. Lightly dip with chips, place a bit in your pasta, or lightly rub chicken, beef, or pork before smoking or grilling. Try it out, and let me know.


_______________________________________

There’s so much to say about Georgia, we don’t know where to start. Leaving Wall Street for the French Culinary Institute, followed by a stint at the Gramercy Tavern and La Chassagnette in France, her passion for food and food traditions are evident and inspiring. Visit her site at Georgia Pellegrini, where you’ll find more recipes, photos, learn all about her wonderful book Food Heroes, and enjoy her latest adventures.


Profile photo of georgiapellegrini

Homemade English Muffins

Posted by in Step-by-Step Recipes

I love Georgia Pellegrini. She’s as beautiful on the inside as she is on the outside, and her passion for food writing is infectious. She’s also an active Tasty Kitchen member, and I’m so excited to welcome her as a contributor. Take it away, Georgia! –Ree

 
Tasty Kitchen Blog: Homemade English Muffins. Guest post by Georgia Pellegrini, recipe submitted by TK member Sarah Fowler.

 
Sarah Fowler had me at skillet. In life, you need few things. Everyone has their list. Mine includes a bedroll and a skillet. Entire meals can be cooked in a single skillet. And the best part? You don’t really have to wash a skillet. You just wipe it out, stick it back on the stove, and move on with your day! It is God’s antidote to dirty dishes.
When I saw Sarah’s recipe for homemade English Muffins, I was intrigued. When I saw it required little more than your hands and a skillet, I was sold. And so I channeled Thomas and gave them a try. They are a fun breakfast treat and not nearly as daunting as they may sound.


Tasty Kitchen Blog: Homemade English Muffins. Guest post by Georgia Pellegrini, recipe submitted by TK member Sarah Fowler.
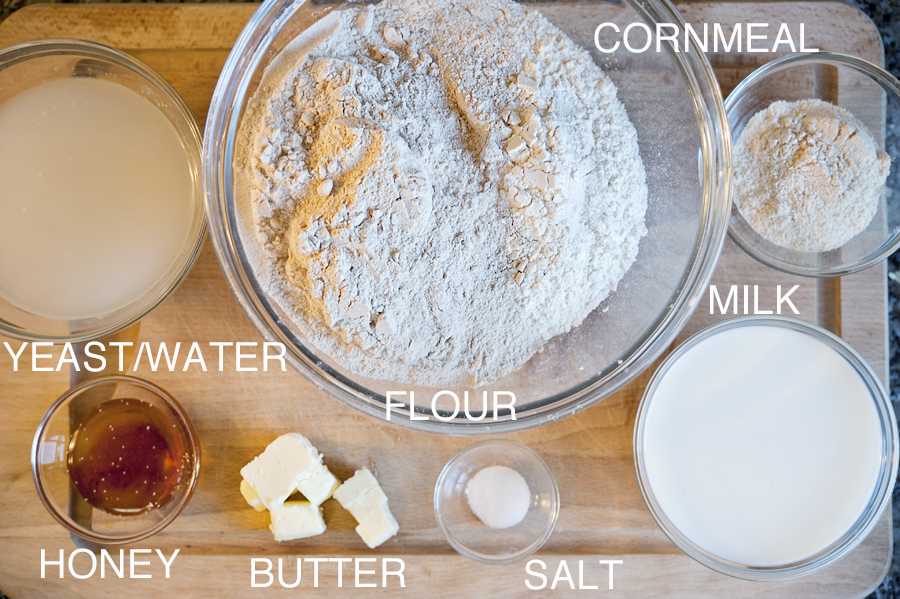
I also liked how simple the ingredients are—all things people often have sitting in their kitchen ready to go.


Tasty Kitchen Blog: Homemade English Muffins. Guest post by Georgia Pellegrini, recipe submitted by TK member Sarah Fowler.

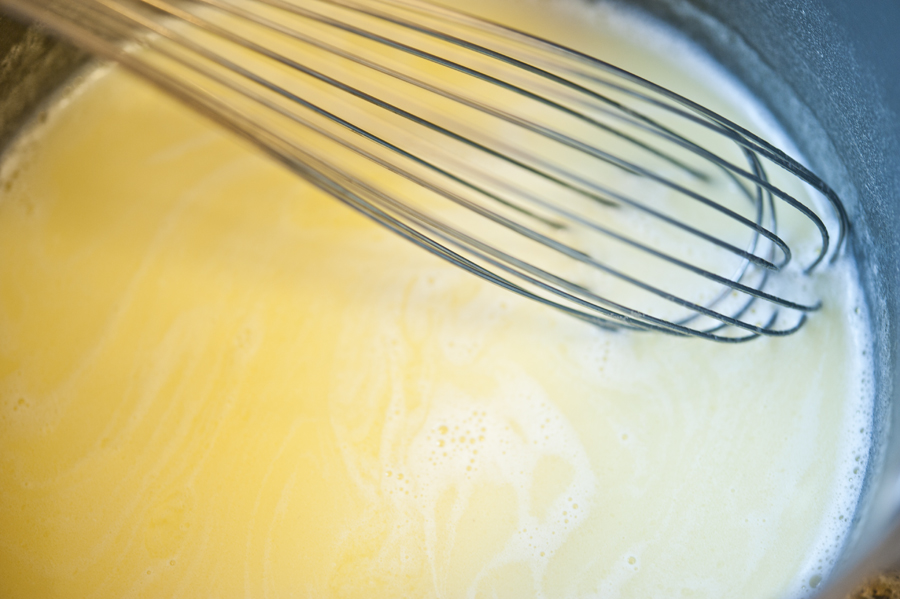
You begin by whisking together the honey, butter, and milk until it begins to bubble slightly. Then you set it aside to cool.


Tasty Kitchen Blog: Homemade English Muffins. Guest post by Georgia Pellegrini, recipe submitted by TK member Sarah Fowler.

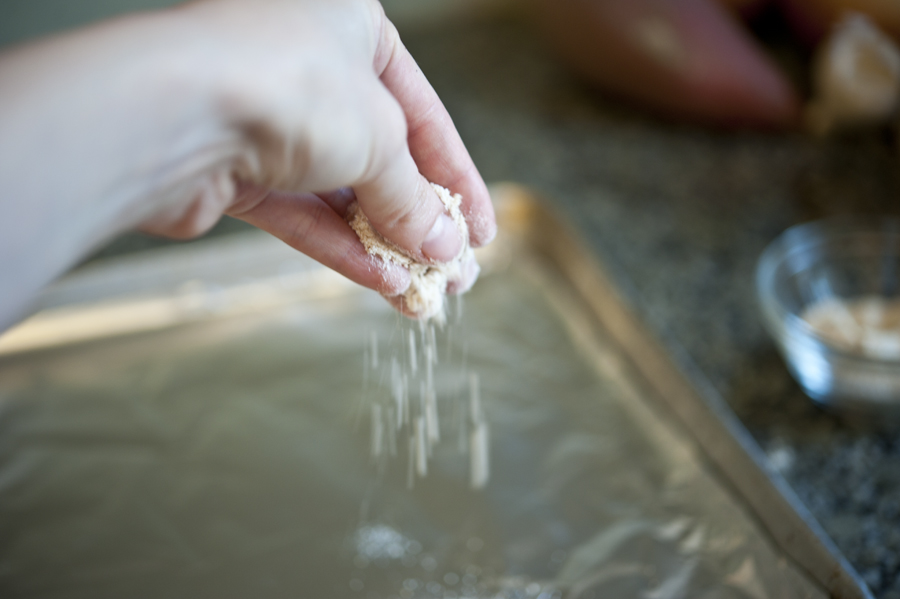
Meanwhile, you line a sheet tray with foil or wax paper and sprinkle it generously with cornmeal.


Tasty Kitchen Blog: Homemade English Muffins. Guest post by Georgia Pellegrini, recipe submitted by TK member Sarah Fowler.

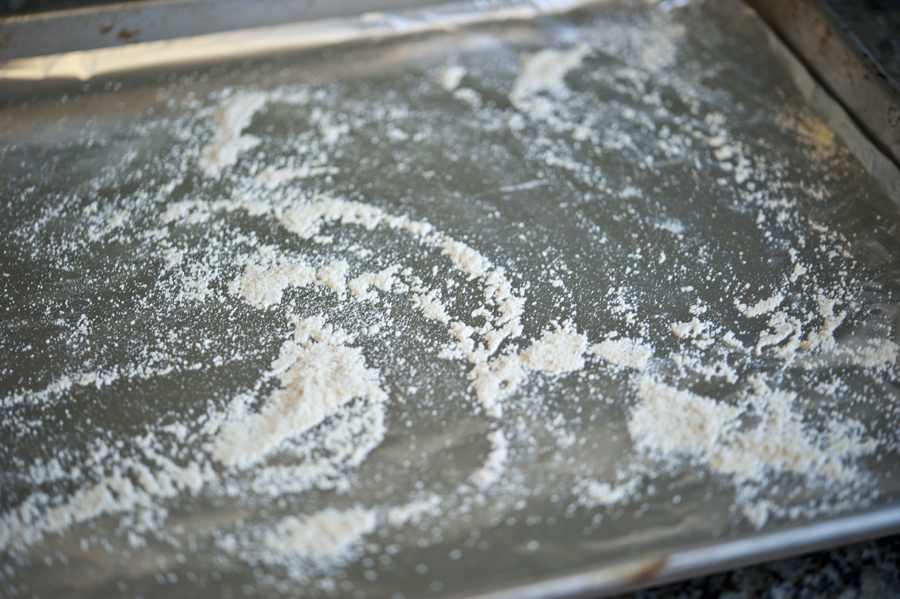
Since you don’t use any butter to cook the muffins, I found it was important to be very generous with the cornmeal. That’s why Thomas has that dusting of cornmeal on his muffins. It feels authentic.


Tasty Kitchen Blog: Homemade English Muffins. Guest post by Georgia Pellegrini, recipe submitted by TK member Sarah Fowler.

Next pour the yeast dissolved in water into a bowl.


Tasty Kitchen Blog: Homemade English Muffins. Guest post by Georgia Pellegrini, recipe submitted by TK member Sarah Fowler.

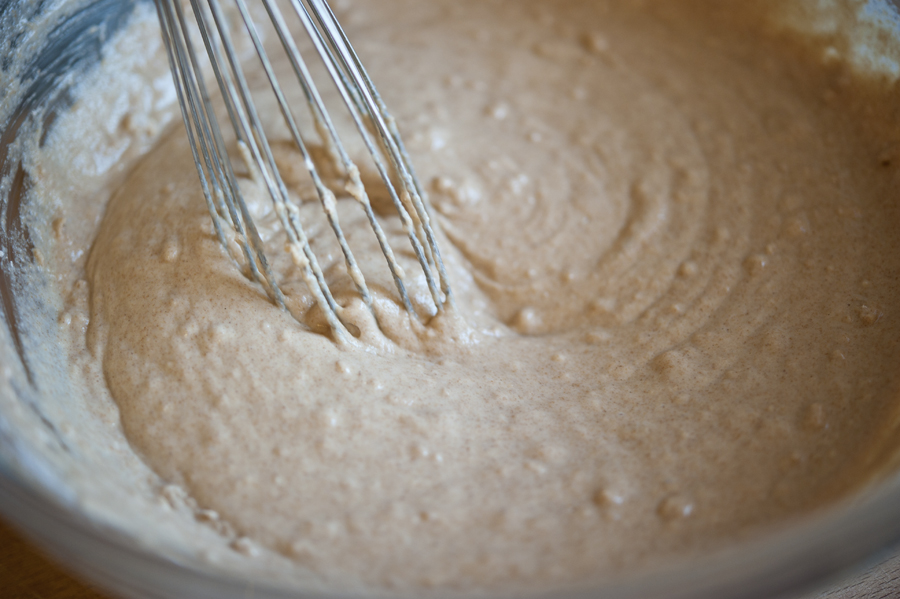
Add the butter, honey, and milk mixture, and give it a stir.


Tasty Kitchen Blog: Homemade English Muffins. Guest post by Georgia Pellegrini, recipe submitted by TK member Sarah Fowler.

Combine half of the flour into the mixture.


Tasty Kitchen Blog: Homemade English Muffins. Guest post by Georgia Pellegrini, recipe submitted by TK member Sarah Fowler.

I was feeling rebellious so I added some whole-wheat flour to the mix instead of all white flour. Whatever suits your mood.


Tasty Kitchen Blog: Homemade English Muffins. Guest post by Georgia Pellegrini, recipe submitted by TK member Sarah Fowler.

Mix it together well to remove the large lumps.


Tasty Kitchen Blog: Homemade English Muffins. Guest post by Georgia Pellegrini, recipe submitted by TK member Sarah Fowler.

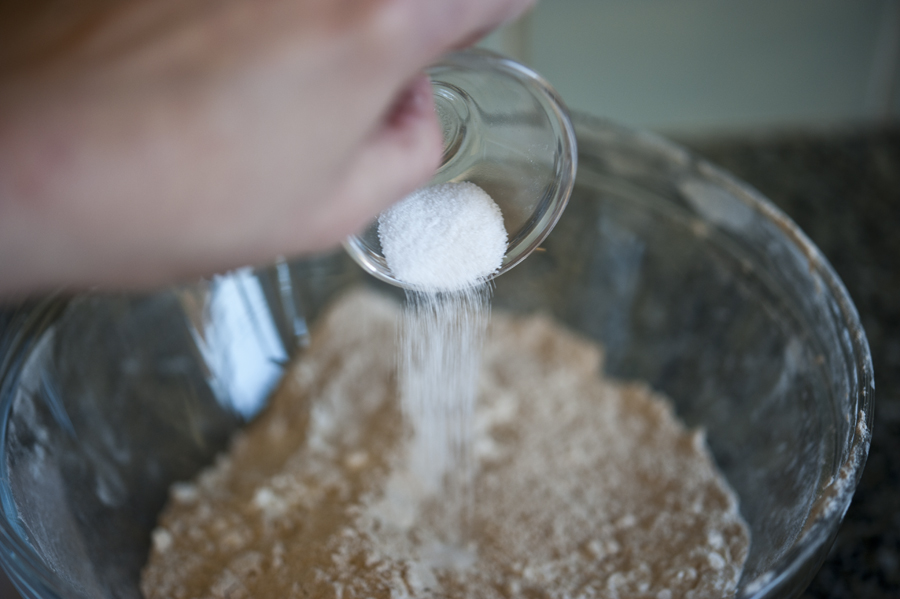
Add the salt to the remaining flour.


Tasty Kitchen Blog: Homemade English Muffins. Guest post by Georgia Pellegrini, recipe submitted by TK member Sarah Fowler.

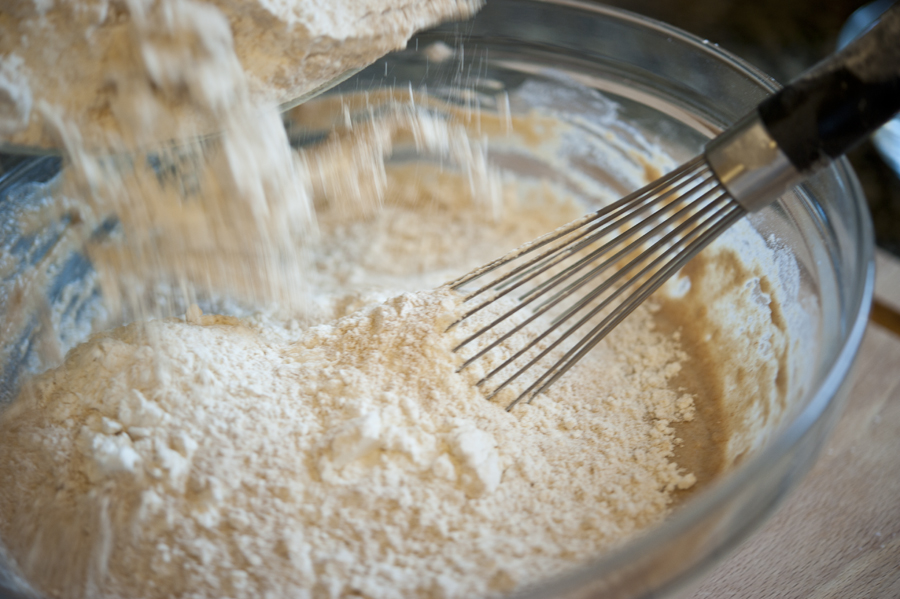
Then add the rest of the flour to the wet ingredients.


Tasty Kitchen Blog: Homemade English Muffins. Guest post by Georgia Pellegrini, recipe submitted by TK member Sarah Fowler.

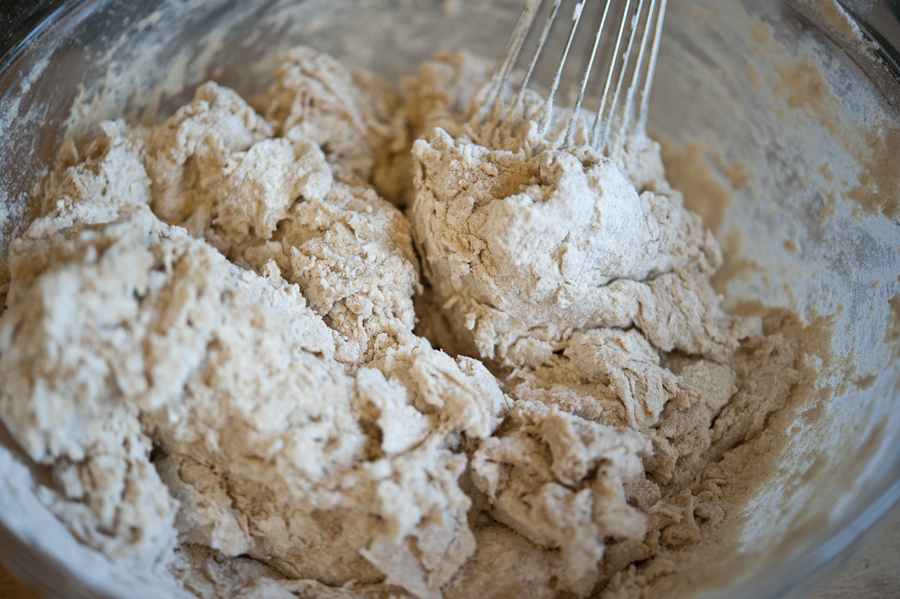
Mix it together well. Now might be the time to get your hands in there. That is your best kitchen tool, after all.


Tasty Kitchen Blog: Homemade English Muffins. Guest post by Georgia Pellegrini, recipe submitted by TK member Sarah Fowler.

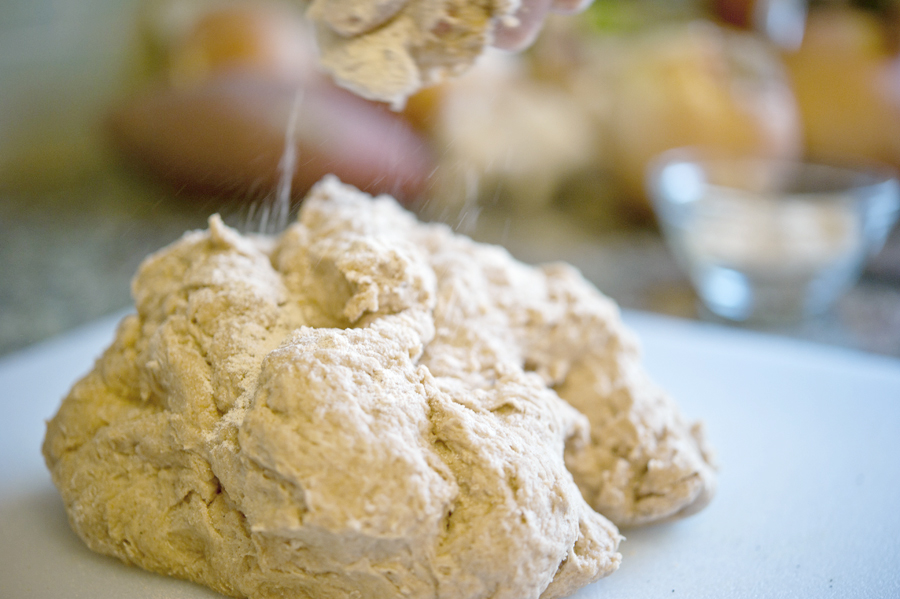
Lay the dough on a clean, floured surface and sprinkle it with some more flour.


Tasty Kitchen Blog: Homemade English Muffins. Guest post by Georgia Pellegrini, recipe submitted by TK member Sarah Fowler.

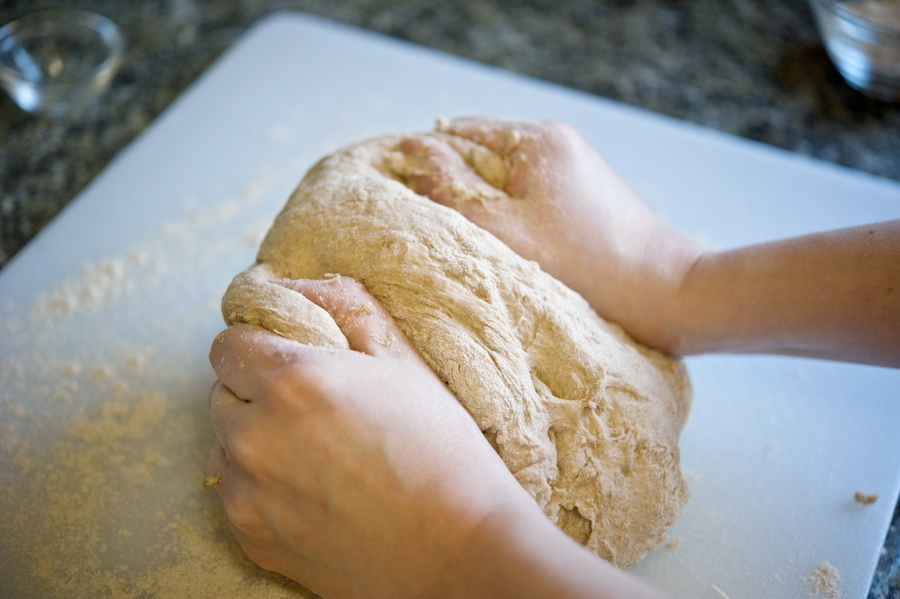
Begin to work the dough with your hands, and knead it for 3-4 minutes. Then let it rest for 5 minutes to help the gluten relax.


Tasty Kitchen Blog: Homemade English Muffins. Guest post by Georgia Pellegrini, recipe submitted by TK member Sarah Fowler.

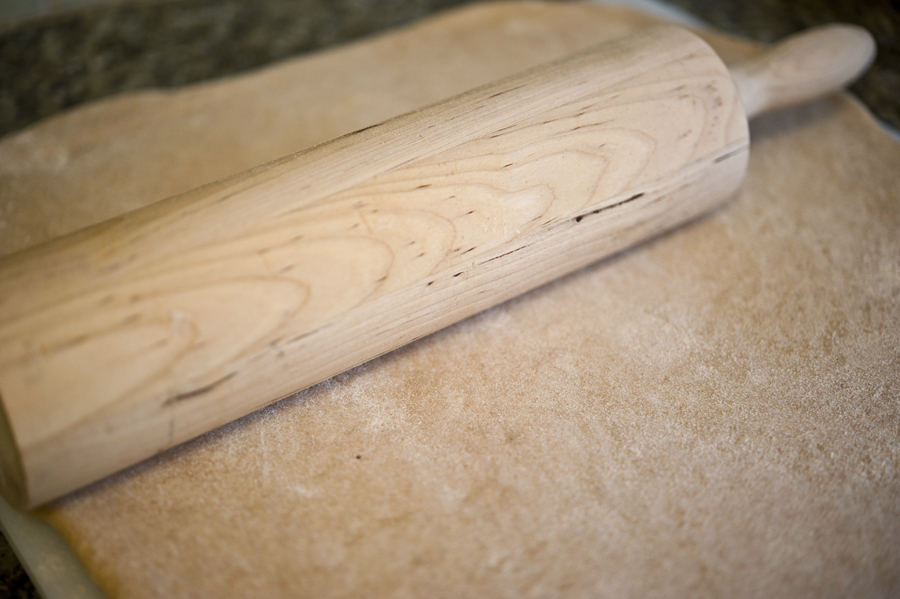
Next you get out the rolling pin. Add more flour to the surface and the rolling pin, and roll it to ¼ – ½ inch thickness. I was a little overzealous with the rolling pin and if I were to do it again, I would err on the thicker side for a thicker muffin.


Tasty Kitchen Blog: Homemade English Muffins. Guest post by Georgia Pellegrini, recipe submitted by TK member Sarah Fowler.

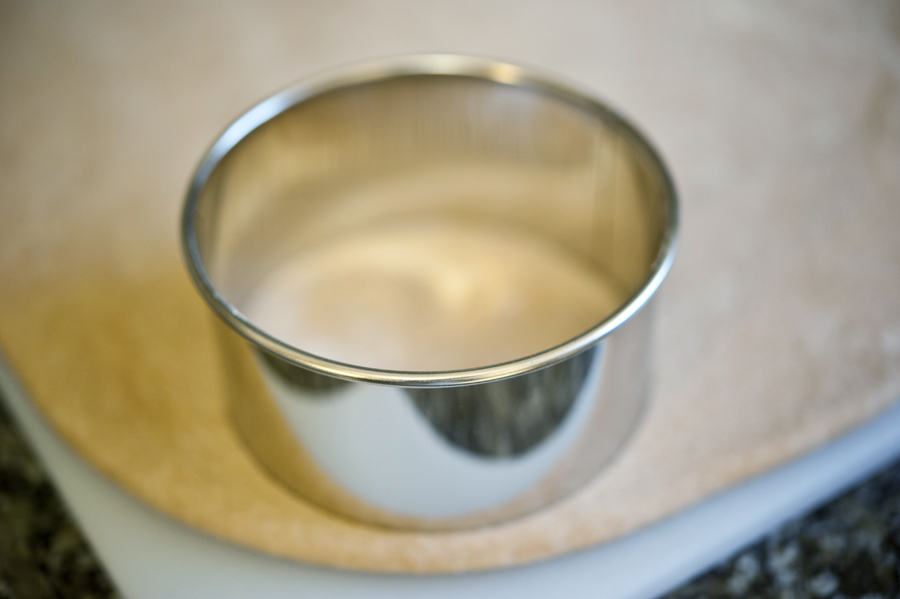
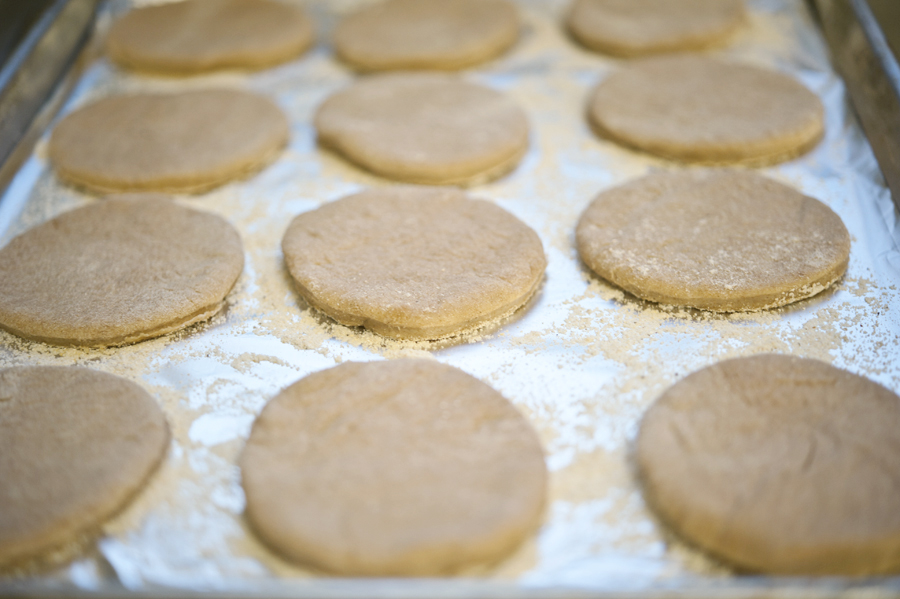
Then with a cutter, or as Sarah wisely pointed out, the top of a mason jar, cut circles from the dough.


Tasty Kitchen Blog: Homemade English Muffins. Guest post by Georgia Pellegrini, recipe submitted by TK member Sarah Fowler.

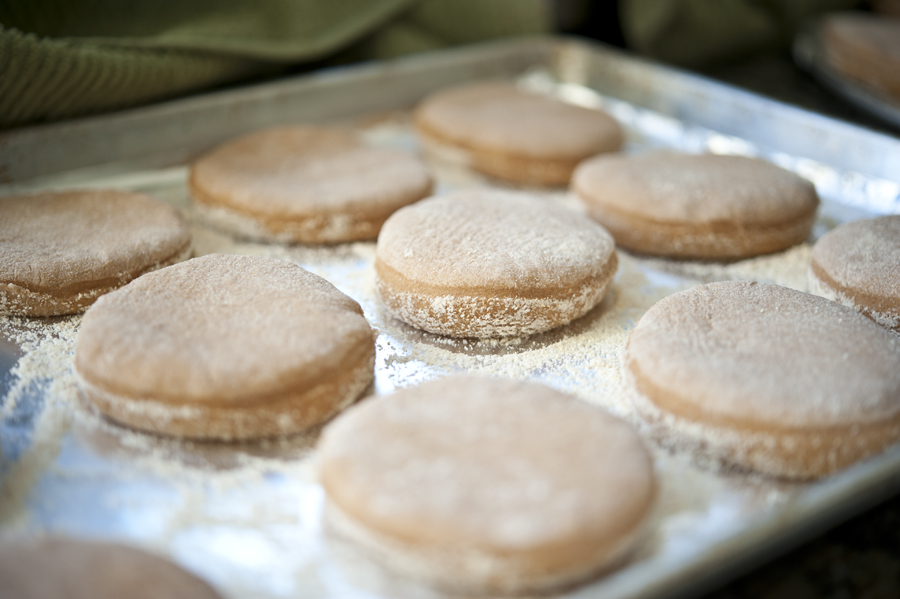
Place them on the prepared sheet tray, cover with a clean dry towel, and let them rise.

Since I made these later in the day, I let them rise overnight so that they were ready to finish for breakfast the next morning. However you do it, they may need more time to rise than the recipe suggests, depending on your environment. The key is to wait until they look plump and have about doubled.


Tasty Kitchen Blog: Homemade English Muffins. Guest post by Georgia Pellegrini, recipe submitted by TK member Sarah Fowler.

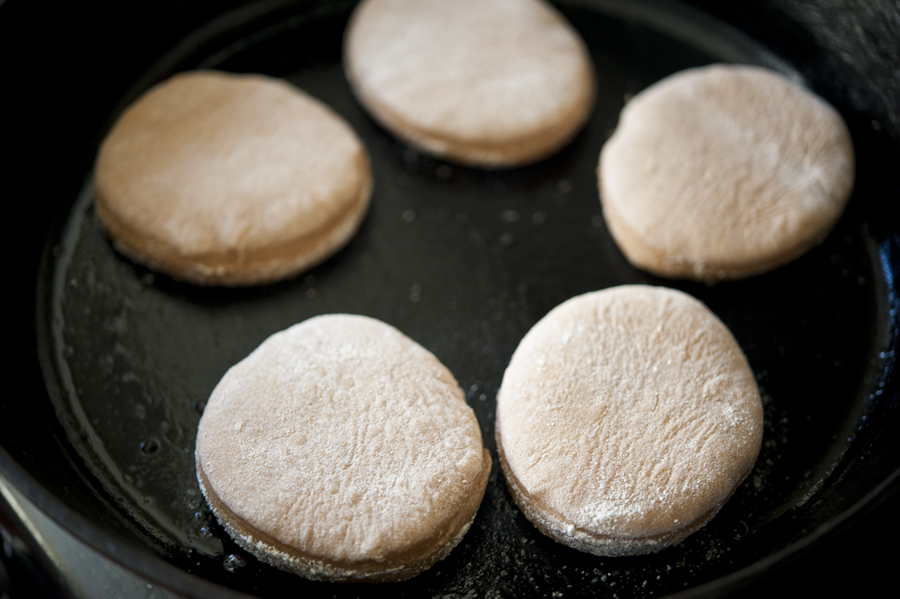
Next you remove the towel and heat an ungreased skillet.


Tasty Kitchen Blog: Homemade English Muffins. Guest post by Georgia Pellegrini, recipe submitted by TK member Sarah Fowler.

Dust off any excess cornmeal so that it doesn’t burn in the pan, and place a few muffins at a time into the skillet.


Tasty Kitchen Blog: Homemade English Muffins. Guest post by Georgia Pellegrini, recipe submitted by TK member Sarah Fowler.

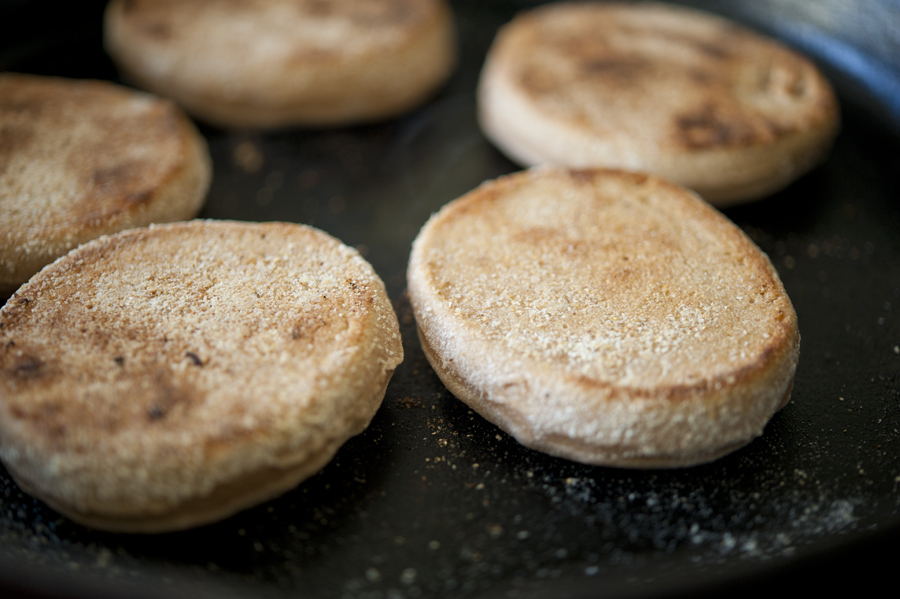
I cooked mine for about 7 minutes on each side, on medium low heat. You just want them to brown, not cook through.

Once they look browned, remove them to a rack to cool. Then, with a fork, split them open and toast them. Whatever you’re not ready to eat now can be refrigerated or even frozen for another day.


Tasty Kitchen Blog: Homemade English Muffins. Guest post by Georgia Pellegrini, recipe submitted by TK member Sarah Fowler.

Thomas would be proud.


Tasty Kitchen Blog: Homemade English Muffins. Guest post by Georgia Pellegrini, recipe submitted by TK member Sarah Fowler.

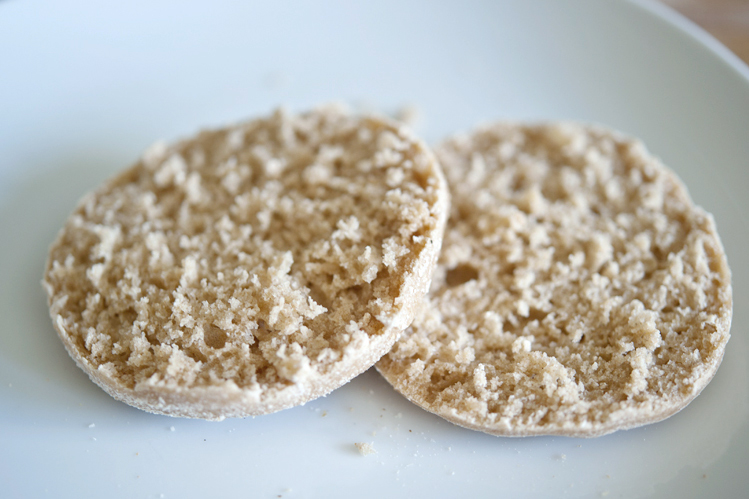
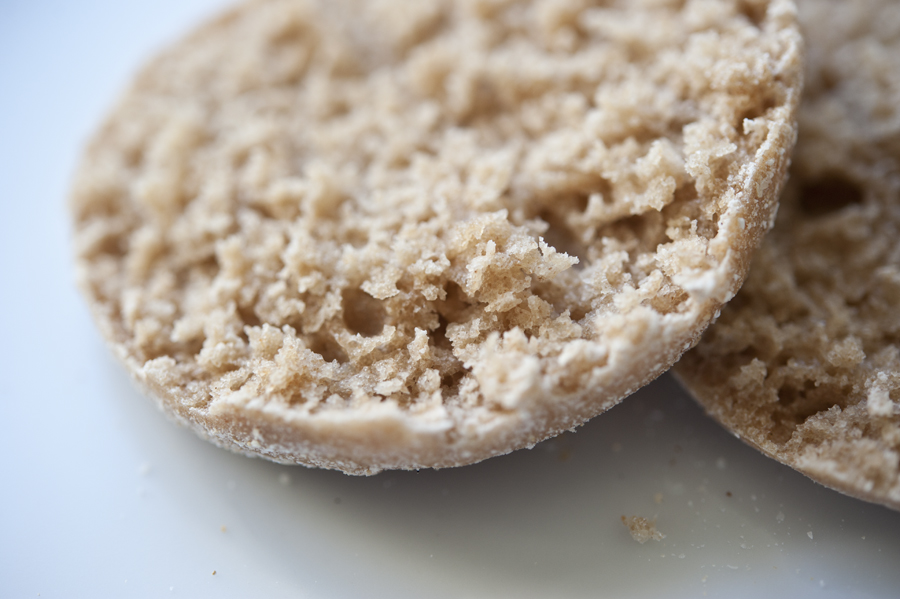
They are full of all of those signature nooks and crannies.


Tasty Kitchen Blog: Homemade English Muffins. Guest post by Georgia Pellegrini, recipe submitted by TK member Sarah Fowler.

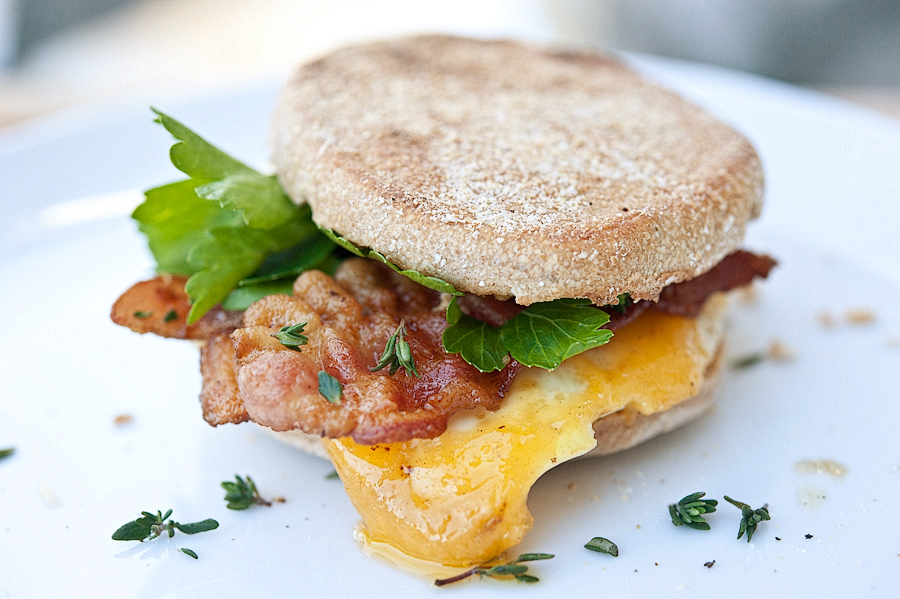
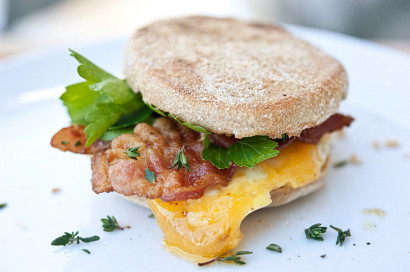
And then you can do all sorts of fun things with them. Add some lemon curd or a bit of butter and jam. Or make a truly homemade bacon, egg, and cheese sandwich.

Give these a try sometime!

And thanks again to Tasty Kitchen member Sarah Fowler for this fun homespun recipe.


Printable Recipe

English Muffins

See post on Sarah Fowler’s site!
4.33 Mitt(s) 12 Rating(s)12 votes, average: 4.33 out of 512 votes, average: 4.33 out of 512 votes, average: 4.33 out of 512 votes, average: 4.33 out of 512 votes, average: 4.33 out of 5

Prep Time:

Cook Time:

Difficulty: Intermediate

Servings: 20

20
x

Print Options

Page size Letter 3x5 4x6
Text Size Small Medium Large
Content Include description
Include prep time, etc.
Show image

Description

Homemade English muffins. A lot of work, but worth it!

Ingredients

  • 1 cup Milk
  • 3 Tablespoons Butter
  • 2 Tablespoons Honey
  • 1 cup Warm Water
  • ¼ ounces, weight Yeast
  • ¼ cups Cornmeal
  • 5-½ cups Flour
  • 1 teaspoon Salt

Preparation Instructions

Combine milk, butter, and honey in a saucepan over medium heat. Warm until butter starts to melt, then whisk briefly. Remove pan from heat and allow liquid to cool to lukewarm.

Pour water into a mixing bowl and sprinkle with yeast. Stir gently with a fork. Set bowl aside for 10 minutes, or until yeast has dissolved.

Line baking sheets with waxed paper and sprinkle with a generous amount of cornmeal.

Pour cooled milk mixture into yeast mixture and gently stir until well blended. Add 3 cups flour and beat vigorously with a wooden spoon until smooth. Beat in remaining flour and salt until the dough is no longer sticky. Scrape the dough onto a floured surface and dust with flour. Flour hands and knead dough for 3-4 minutes. Let rest 5 minutes.

Roll out dough with rolling pin to about 1/2 inch thick. Cut the dough into circles (a tumbler or mason jar does well). Transfer muffins to prepared baking sheets and sprinkle with cornmeal. Cover with a dry, lightweight towel and let rise until doubled in height, 35-45 minutes.

When muffins have risen, heat a skillet over medium heat. Carefully lift muffins from the pan and place on the ungreased skillet. Cook about 10 minutes on each side, using a spatula to flip them. Transfer to a wire rack to cool before splitting (with a fork) and toasting them.


_______________________________________

There’s so much to say about Georgia, we don’t know where to start. Leaving Wall Street for the French Culinary Institute, followed by a stint at the Gramercy Tavern and La Chassagnette in France, her passion for food and food traditions are evident and inspiring. Visit her site at Georgia Pellegrini, where you’ll find more recipes, photos, learn all about her wonderful book Food Heroes, and enjoy her latest adventures.