The Pioneer Woman Tasty Kitchen
Profile photo of Ree | The Pioneer Woman

Peanut Butter Kiss Cookies

Posted by in Baking, Step-by-Step Recipes

A few weeks ago, my older daughter wanted some cookies. So I said “Well, go find a recipe you like on Tasty Kitchen!”

Then, ever the dutiful mother, I added, “Then march on into the kitchen and make ‘em.”

She looked at me with a puzzled expression.

See that room over there?” I continued. “The one with the stove and the oven and the sink full of dirty dishes? That’s the kitchen. Have fun! Knock yourself out!”

I’m such an awesome mommy.

On her own, my daughter found this version of the classic Peanut Butter – Hershey Kiss cookie, submitted to Tasty Kitchen by Amber the Little Miss Domestic last summer. I have a similar recipe myself, but I didn’t interfere, instead letting her make the cookies herself from start to finish.

The results? Magnificent! Slightly different from the ones I’ve always made, and so easy a twelve-year-old can (and did) make them.

She’s made them several times since then, including yesterday afternoon when…well, when her mother begged her to make them. And her mother took photos this time.

 
TPW_1206

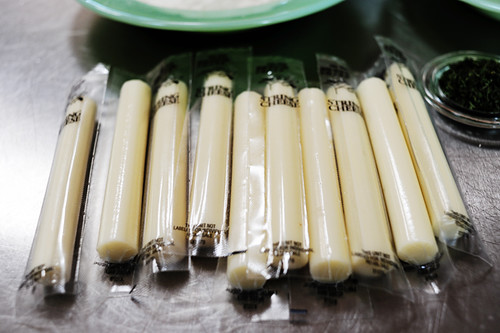
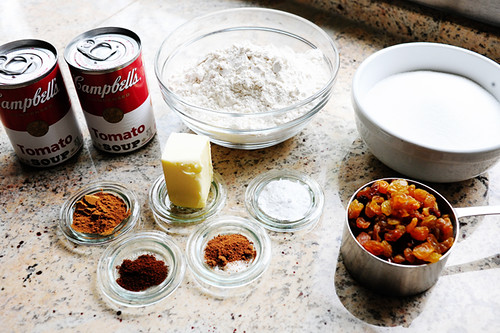
Here’s what you need: peanut butter, flour, sugar, salt, baking soda, brown sugar, egg, milk, vanilla, and shortening. And plenty of Hershey’s Kisses!


TPW_1231

Begin by unwrapping the kisses. You’ll want to have them ready to go when you pull the cookies from the oven.


TPW_1211

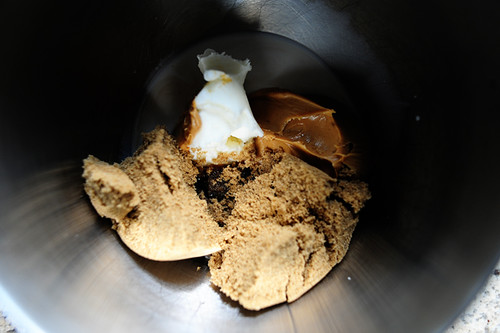
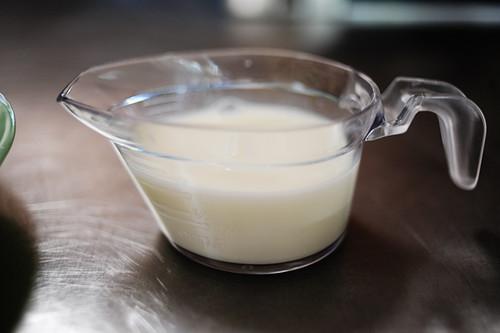
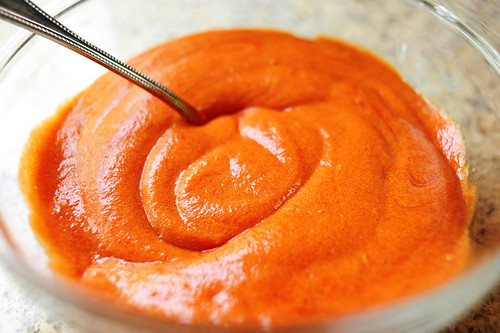
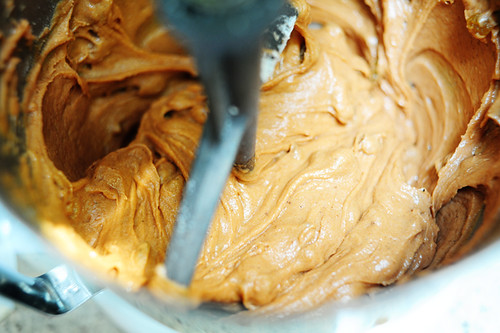
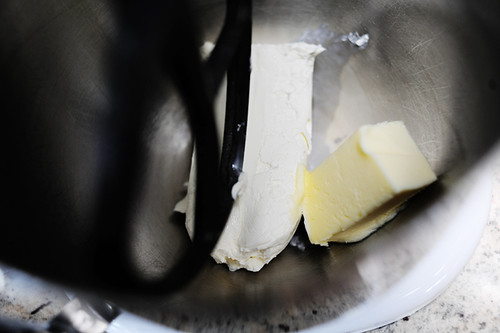
Dump the peanut butter, brown sugar, milk, vanilla, and shortening into the bowl of an electric mixer. Mix it until ingredients are smooth.


TPW_1212

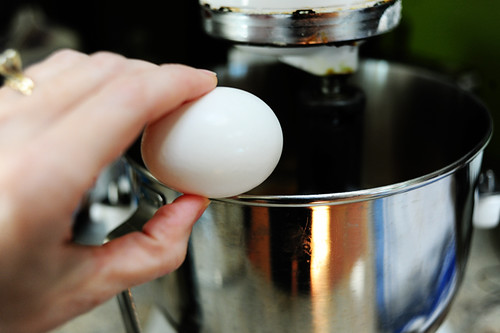
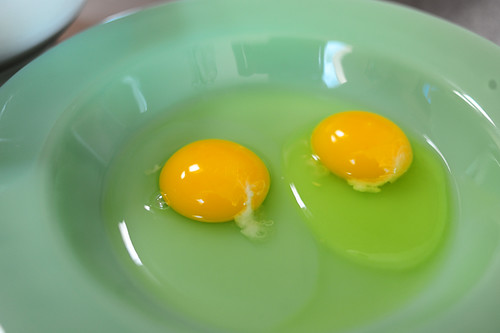
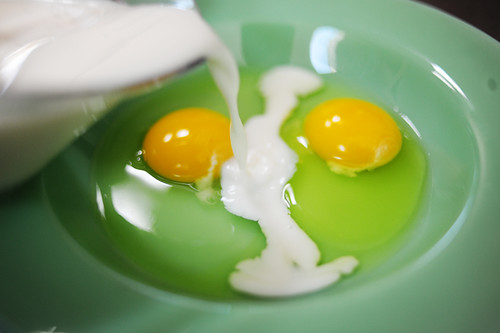
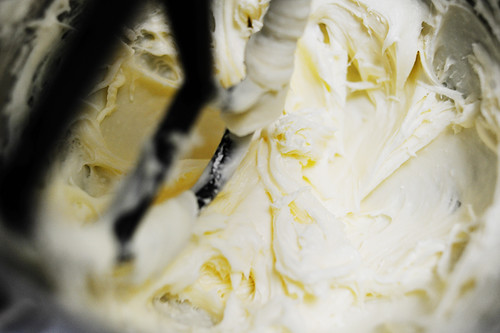
Crack an egg into the bowl, and mix it again until everything is smooth.


TPW_1214

Yum. I’d say this is smooth. I could eat this by the spoonful!


TPW_1215

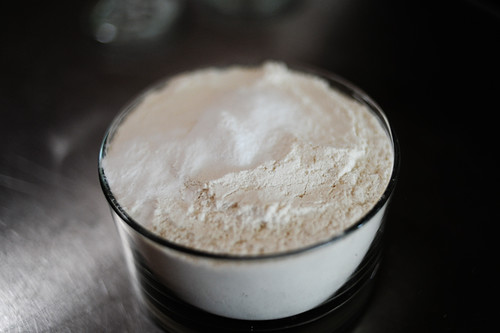
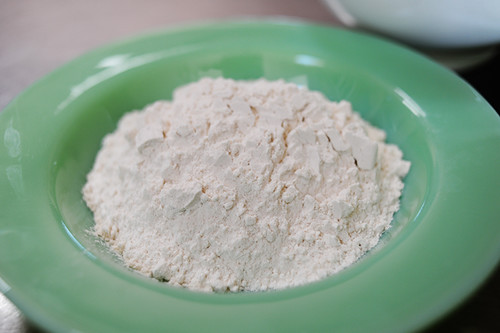
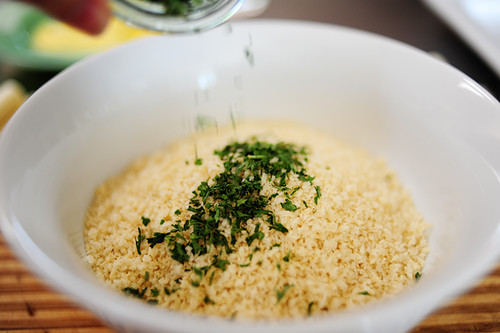
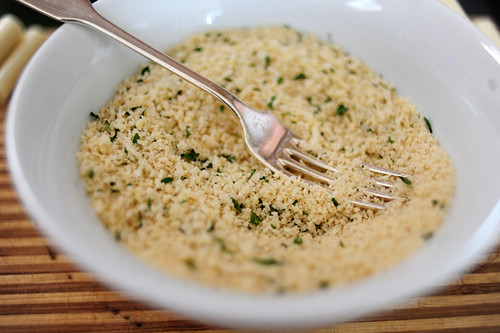
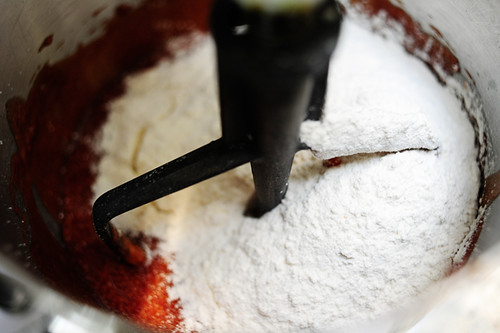
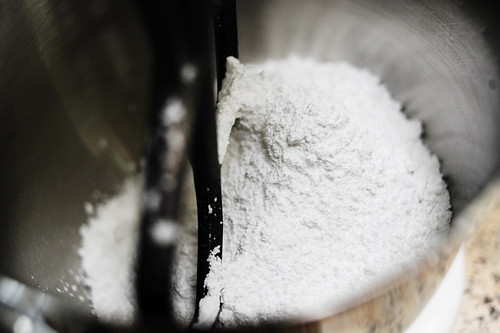
Mix together the flour, baking soda, and salt in a bowl…


TPW_1216

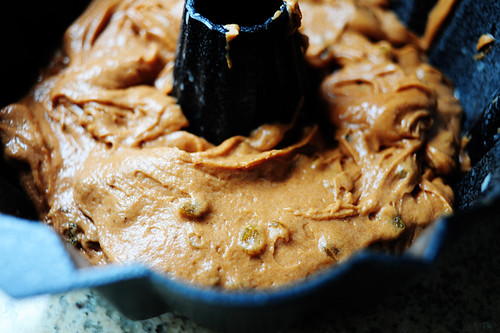
And add it to the mixing bowl, mixing until just barely combined.


TPW_1219

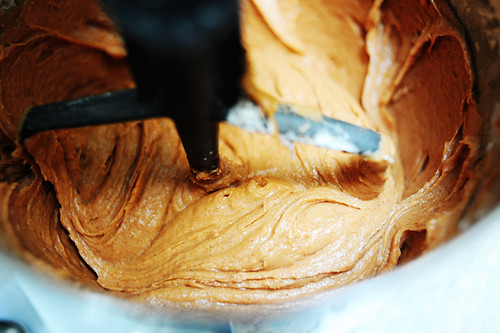
And that’s the dough! Now, my recipe calls for refrigerating the cookie dough until firm, rolling it into neat balls, then rolling the balls in sugar before baking. But this recipe involves more immediate satisfaction.


TPW_1224

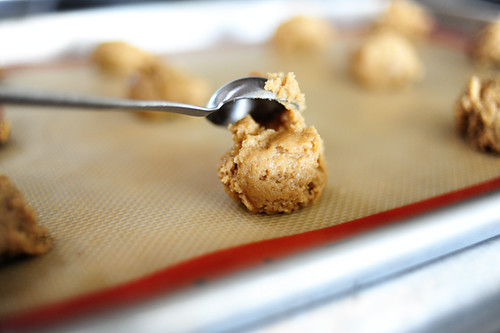
Just use a measuring teaspoon, and scoop out rounded spoonfuls. Place them on a cookie sheet.


TPW_1239

Then the recipe says to make a criss-cross design


TPW_1240

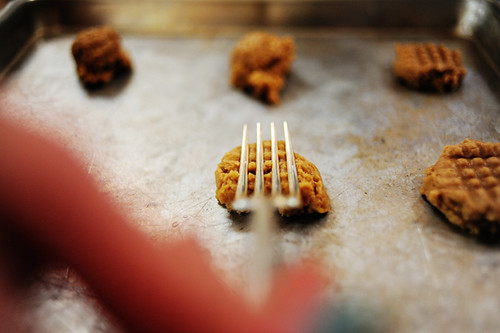
…Using the tines of a fork.


TPW_1241

My girl made one pan with the criss-cross pattern…


TPW_1242

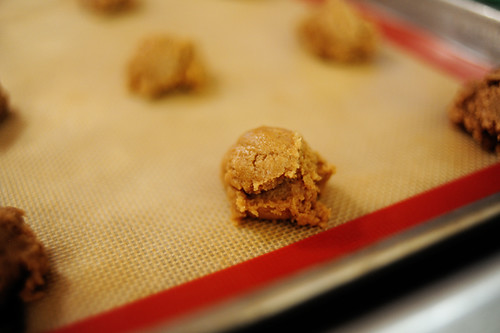
And left one pan plain, just to see what the difference would be.

My girl is culinarily curious, like her weird mother.


TPW_1246

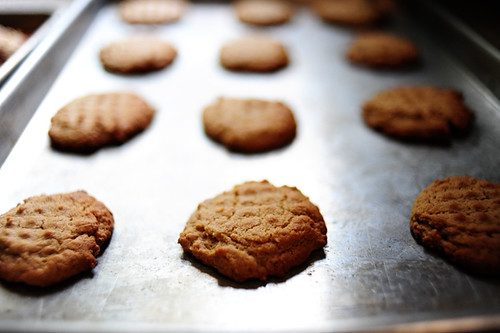
We baked them only seven minutes, then removed them from the oven. Here’s the criss-cross batch.


TPW_1249

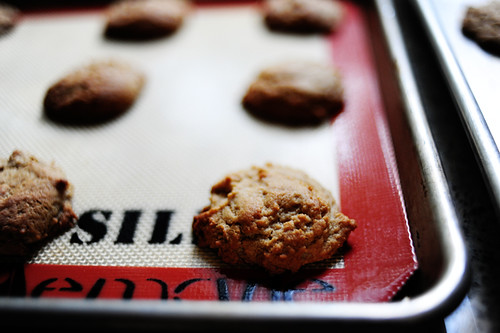
And here’s the plain batch.

(By the way, this is a yummy peanut butter cookie recipe if you ever just want them without the kiss.)


TPW_1261

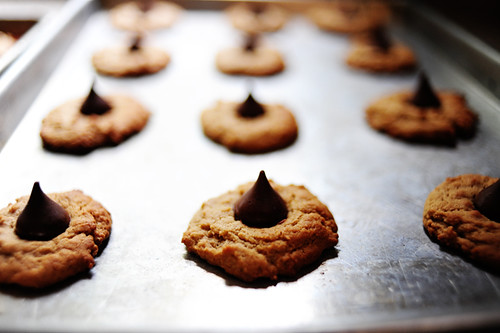
Let the cookies stay on the cookie sheet for a minute or two, then lightly press the kisses into the middle of the cookie. Believe it or not, this is the batch that had started with the criss-cross pattern, which baked out to a large degree because we didn’t press it far enough into the cookie. But I have a sneaking suspicion that’s not going to affect the taste.


TPW_1255

Here’s the plain batch.


TPW_1263

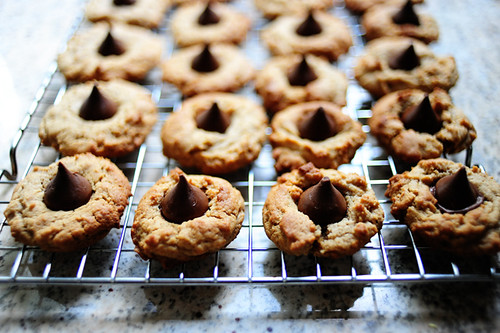
And here’s a whole slew of ‘em. For those of you who haven’t had the pleasure of tasting one of these delights right after they’re done, here’s what happens: within a couple of minutes of placing the kiss onto the cookie, the kiss softens to the point that it completely melts in your mouth. I mean completely. And while they’re perfectly delicious the next day, nothing compares to one of these when it’s warm.

My verdict on this particular recipe is this: I actually like them better than the one I’ve used for years. For one thing, you don’t have to refrigerate the dough, which saves lots of time. For another, you don’t have to roll the dough into neat balls and roll them in sugar. Another time saver. But what I liked most about them (well, besides how delicious they were) was the relatively small size: because you measure by rounded teaspoon (which is much less dough per cookie than my recipe calls for), you wind up with much less cookie per kiss. More melted, wonderful milk chocolate per cookie.

And that’s a very, very, very good thing.

Here’s the printable. Thank you to Amber for sharing such a yummy delight!

Printable Recipe: Dianne’s Peanut Butter Sweet Kiss Cookies

Make these for someone you love this week. They’ll love you right back.

Love,
Ree

Profile photo of Ree | The Pioneer Woman

Panko Mozzarella Sticks!

Posted by in Step-by-Step Recipes

I first discovered panko bread crumbs back in 1999. Please don’t ask me how I know that; I just do. I remember vividly reading a recipe that contained panko bread crumbs, and I remember vividly that I was nursing my second baby, and I remember vividly that I was hormonal and desperate, and the next thing I knew I was ordering panko bread crumbs from some market in Chelsea that the magazine recommended. On the phone, of course, because although I had a computer at the time, I certainly wouldn’t have been cool enough to use it to order panko bread crumbs. Plus, I was nursing. Not enough hands.

Panko bread crumbs, in a word, are delicious. They’re indispensable. They’ve saved the word. And they’ve really burst into the mainstream in the last few years, and are available in most larger supermarkets—even stores in my neck of the woods!

Panko are Japanese breadcrumbs, and are lighter and flakier than regular breadcrumbs. They absorb less oil, too, so after frying they result in an incredibly crunchy texture. I just love panko. They’re a wonderful creation!

When I set out to make a recipe with panko bread crumbs, I started in the direction of something Asian/exotic. But Erika set me straight and said, simply, “Why not just make something simple…like mozzarella sticks?”

So guess what I did? I made mozzarella sticks!

Let me back up: my family LOVES fried mozzarella sticks. Loves them. Even Marlboro Man. I make fried mozzarella quite a bit, but I’ll tell you that without fail, they love the panko version the best. The panko crumbs are so light and incredibly crispy, which is such a necessary contrast to the soft, melted mozzarella inside. Coating the mozzarella adequately is the key; I’ll show you the best way I’ve found to get it all to stay put. And the great thing is, you can use this same method—and same recipe—with lost of other fried items. Zucchini spears would be perfect. I’ll wait till my garden is exploding with them!

Here we go: Panko Mozzarella Sticks!

Grab the panko breadcrumbs.

 
TPW_8900

You’ll need a bunch of string cheese—one string cheese per two fried mozzarella sticks you’d like to make.


TPW_8897

You’ll need a bowl of flour…


TPW_8896

A couple of eggs…


TPW_8909

A little milk…


TPW_8903

And some dried parsley flakes.


TPW_8918

Add the parsley flakes to the panko crumbs…


TPW_8922

And stir them together with a fork. Now, you could certainly sprinkle in a little salt, garlic salt, or other seasoning mix—even a little cayenne pepper—but I wanted to keep things simple. I don’t think the crumbs really need much help.


TPW_8912

Next, splash a little milk into the eggs…


TPW_8914

And whip it together with a fork.


TPW_8916

Finally, unwrap as many pieces of string cheese as you need…


TPW_8917

And just slice them in half with a sharp knife.


TPW_8924

Now, this is just a great, basic way to bread basically anything with panko crumbs. Use this method for everything from chicken tenders to zucchini spears. In this case, just set one of the pieces of mozzarella in the bowl of flour…


TPW_8926

And roll it around to lightly coat.


TPW_8929

Next, dip the flour-coated mozzarella in the egg/milk mixture.


TPW_8930

Coat it completely…


TPW_8932

Then place it straight into the seasoned panko crumbs.


TPW_8934

Rather than roll it around and disturb the coating, I just use my hand to scoop panko crumbs on top of the mozzarella so that it’s adequately coated.


TPW_8935

Pat it gently to make sure it’s all coated with crumbs, then gently remove from the crumbs…


TPW_8938

And place on a clean tray or cookie sheet.


TPW_8942

Repeat until all the pieces are coated.


TPW_8944

Now—this is an important step: Place the tray, uncovered, directly into the freezer for 20 to 30 minutes. This will flash freeze the mozzarella sticks (at least partly), which will help them stay together better when it’s time to fry, and will also keep the mozzarella from melted too quickly when it hits the hot oil.


TPW_8950

When you’re ready to fry ‘em up, heat a good inch to an inch-and-a-half of canola oil over medium heat. Medium high or high, at least on my stove, proves to be a little too hot for panko crumbs. Medium’s about right, but you can sort of gauge your stove and see what you need to do.


TPW_8955

Pull the frozen sticks out of the freezer…


TPW_8963

And carefully add a few to the hot oil.

Oh! And I always feel like saying this: be careful with pans of hot oil if you have cute little roly poly kids walking around the house. I always, out of habit—even now that my roly poly kids are getting bigger—keep pans on the back burner of the stove (handles far out of reach) if I’m going to fry with oil. It’s just one of those things that crawled into my brain at an early stage of parenting, and something I’m going to keep bugging you about anytime I share a recipe that involves frying with hot oil.

Hope you don’t mind.


TPW_8965

Things will move quickly—be ready to roll them over to the other side when the first side gets brown. The trickiest part of making these is getting the oil to just the right temp in order to melt the cheese without burning the crumbs, but it isn’t difficult to get the swing of it right away. Keep in mind that the cheese will continue to soften/melt after you remove them from the oil.


TPW_8973

When they’re nice and golden, remove them to a paper towel-lined plate.


TPW_8975

Yum! Look at the yummy panko breading. If I took a bite of this, you could hear the crispiness in Yonkers!


TPW_8959

Pretty dish.


TPW_8961

Pretty dish filled with marinara sauce.


TPW_8986

My kids and husband were gathered around as I was taking these photos. I had to beat them away with my tongs.


TPW_8993

Because I wanted to try one first.


TPW_9004

The Verdict: Perfection. These are not your typical run-of-the-mill fried mozzarella sticks. The panko crumbs absolutely make them. They add a much-needed crispiness and texture to this widely loved (but sometimes tired) bar-and-grill food. You’ll love them!

Here’s the printable recipe:

Panko Mozzarella Sticks


TPW_8984

And remember: use this flour-egg/milk-panko breading process on any number of things:

chicken tenders
zucchini spears
raw, deveined shrimp
sweet potato sticks

The list goes on!

Profile photo of Ree | The Pioneer Woman

Wonderful (and Important!) Changes

Posted by in Miscellaneous

(Photo: Flourless Chocolate Cupcakes submitted by Elana’s Pantry.)

Beginning today, we’ve made some important changes in the Review/Rating system here on Tasty Kitchen!

As many of you know, Tasty Kitchen was launched less than a year ago. It’s been just wonderful watching so many of you join, participate, and share your best dishes with the community of awesome folks here. All bias aside, it has seriously become my new go-to recipe source whenever I’m in search of something specific.

Of course, all new sites are works in progress and I knew from the get-go that I’d need to continually tweak things here and there to make everything work perfectly. One of the most important areas that has needed work—and the number one source of concern from the community—has always been the Ratings/Reviews system for recipes. As many of you pointed out, it was a little too easy to click on the red mitt rating system and assign arbitrary ratings to this recipe or that, and many who submitted recipes found it frustrating (rightly so) that anyone could click on one or two mitts and lower the overall rating of their recipes. Also, it was a little too easy to accidentally click on the wrong mitt rating—and with no way for this to be undone, the rating stuck.

Another common complaint: the Reviews section. The “Reviews” were actually more in line with a regular “Comments” section—while there were many legitimate reviews from folks who’d made the recipe in question, there were also just general comments relating to the recipe, things like “This looks yummy” or “I make something similar to this at Christmastime every year.” Both categories of dialog are absolutely welcome and an important aspect of the community—but we realized over time that it was important for Reviews and Comments to be separate.

So here are the changes, which just went into effect today:

 
REVIEW:

Picture 87


COMMENT:

Picture 84

1. On recipes, Reviews and Comments will be in separate (tabbed) sections. You must be logged in to leave either a Review (feedback if you’ve made the dish) or Comment (general discussion/remarks)


Picture 86

2. In order to leave a Rating (1 through 5 mitts), you must also leave a Review. Assigning the mitt rating is part of the Review dialog box.


These changes should really make a difference when it comes to searching for tried and true recipes. You can read honest Reviews from those who’ve made, served, and gobbled down the recipe, and you can read general feedback from others in the Comments. Best of both worlds!

A few important things to keep in mind:

* All Reviews posted before today will automatically revert to Comments. There really wasn’t any way for the system to discern the difference in past Reviews/Comments, so to be on the safe side, we’ve made them all Comments. If you have tried and reviewed recipes here on Tasty Kitchen and would like your Review to be included in a recipe’s overall rating, feel free to go ahead and leave a new Review.

* All Mitt Ratings before today have been erased. We realize this is a radical move and will mean that we are all, in essence, “starting from scratch” with our recipe ratings. However, we felt that it was important to the overall integrity of Tasty Kitchen’s ratings system to begin with a blank slate and remove all ratings from the old system, which was fraught with error. Don’t worry, though—I intend to make my way through many of my favorite recipes I’ve tried and bring the ratings up to date. In no time, the ratings will be built back up again.

* You will not be able to review and rate your own recipe.

* You can only rate and review a recipe once. If for any reason you want to change a review or rating that you’ve made, you can now delete your review AND rating, and leave a new one.

* If you’re used to sorting recipe searches by rating, keep in mind that the pages will turn up empty/scarce while the ratings being to repopulate throughout the site. To help with that process, we encourage you to go back to the recipes you’ve tried and review them.

And that’s it!

Implementing these changes ensures that all ratings are based on reviews left by those who have actually tried the recipe. So while it may be painful to see everything reset to zero, in the long run, this will make the recipe ratings a more reliable gauge of people’s actual experience with the recipe.

I LOVE YOU, MAN!

Thank you for being patient, not only throughout this post…but during this small adjustment period! I’m confident this new change will be a super improvement for the recipe community here on Tasty Kitchen.

Ree

Profile photo of Ree | The Pioneer Woman

Tomato Soup Cake!

Posted by in Baking, Step-by-Step Recipes

This cake recipe was submitted to Tasty Kitchen by Tanya Hollas, and the second I saw it I knew I wanted to give it a try someday.

I mean…cake? With tomato soup? How delightfully different and rebellious.

Here’s how it went down.

 
TPW_4114

Here’s what you need: Tomato Soup (yes, you heard me), flour, sugar, butter, cinnamon, nutmeg, ground cloves, baking soda, and golden raisins (optional!)


TPW_4117

First thing you need to do is dump the tomato soup into a bowl. The world’s gone crazy!


TPW_4121

Add the baking soda to the tomato soup…


TPW_4125

And stir it to combine. It almost becomes foamy right off the bat because of the acid/baking soda mix!


TPW_4127

In the bowl of an electric mixer, beat together the butter and sugar. There’s really not much butter in this cake, so it won’t be an overly creamy combination at this point.


TPW_4131

Dump in the tomato soup/baking soda mixture…


TPW_4134

And mix it together, which results in a really freaky-looking mixture.


TPW_4137

Next, dump in the flour…


TPW_4140

And mix it until just combined.


TPW_4144

I took the liberty of adding in a cup of golden raisins. I thought it was the right thing to do.


TPW_4148

Mix it together until the raisins are evenly distributed…and that’s it! This is a really simple cake—no eggs, very little butter.


TPW_4153

Thoroughly grease a bundt pan. I sprayed the heck out of mine with baking spray—there’s nothing worse than having a cake partially stick to the pan.


TPW_4155

Pour the batter into the bundt pan—it’s a little thick, so you’ll have to spoon it in.


TPW_4160

Use a spoon or flat spatula to even out the surface, then pop it in the oven for 45 to 55 minutes, or until no longer jiggly.


TPW_4162

Pouf! There ’tis!


TPW_4165

Isn’t the color gorgeous?


TPW_4181

Turn it onto a cake plate or platter and let it cool completely before icing.


TPW_4174

And speaking of icing…

I made my own, but there’s also a cream cheese icing recipe included with the tomato cake recipe. You can’t go wrong—just mix cream cheese and powdered sugar in a bowl and good things will happen.


TPW_4175

I did a package of cream cheese, half a stick of butter, and about a pound and a half of powdered sugar.


TPW_4177

Mix it all together until it’s creamy and smooth.


TPW_4185

Heap the icing on top of the cooled cake…


TPW_4189

Smear and swipe and smooth until the cake is evenly covered.


TPW_4211

Then cut right into it. No one’s watching!


TPW_4202

Confession: my cake was still a tad warm when I iced it.


TPW_4203

But when it comes to baked goods, I have a problem with patience.


TPW_4221

Is this not gorgeous?


TPW_4226

Is this not lovely?


TPW_4227

Is this not tempting? Yum.

 
VERDICT: As I suspected it would be, the cake was really delicious. While you can still detect the tomato soup scent in the batter, once the cake is baked the tomato qualities are replaced by the spices…and it really does wind up as a richly colored spice cake. If you’re sensitive to the spices in the cake, you could easily pull back just a bit on quantities—particularly on the ground cloves—as the flavor really was powerful and strong! I loved everything about it, though, and thought the cream cheese icing was the perfect balance. Note that this cake does not contain eggs—perfect for egg-sensitive human-types.

Try it sometime soon—and this is the key: don’t tell anyone what the ingredients are until after they’ve tasted it.

That’s one of my favorite activities!


Here’s the printable recipe for the cake. Note that I substituted butter for Crisco; I think I might try shortening next time.


Tomato Soup Cake with Cream Cheese Frosting

Thank you, Tanya Hollas, for sharing!

Profile photo of Ree | The Pioneer Woman

Individual Scalloped Potatoes with Ham!

Posted by in Step-by-Step Recipes

I first made Tasty Kitchen member The Noshery’s Individual Scalloped Potatoes during a day last year when I had some guests over to cook. We selected two Tasty Kitchen recipes to make together (you can read about the fun here) and wound up loving these nifty little layered potato dish, made in muffin tins. So […]

Profile photo of Ree | The Pioneer Woman

Murphy’s Hot Hamburger

Posted by in Step-by-Step Recipes

I almost fell over when I came across this recipe on Tasty Kitchen. Submitted by AlishaGibb, the recipe’s from an old (and still open!) haunt in my hometown called Murphy’s. I can’t even begin to adequately summarize what it is about Murphy’s that’s so wonderful. The burgers…the garlic salad dressing (I have that recipe,…

Profile photo of Ree | The Pioneer Woman

In Case You Missed Them

Posted by in Looks Delicious!

Jaden’s step-by-step Scallops ‘n Pasta. I want this for breakfast right now.       Magical Butter Sauce. This makes me want to cry, it looks so good.       Don’t forget to try these delicious Funnel Cakes, especially if you’ve never tried a Funnel Cake in your life. It’s an experience.    …

Profile photo of Ree | The Pioneer Woman

That’s the Best Frosting I’ve Ever Had

Posted by in Baking, Step-by-Step Recipes

I’ve been intrigued with this frosting recipe for months, not just because of its alluring title, but also because if its ingredients. Five tablespoons of flour? In frosting? Let’s just say my interest was piqued. I finally got around to making it yesterday evening; Marlboro Man’s grandmother has some old friends staying at The Lodge […]