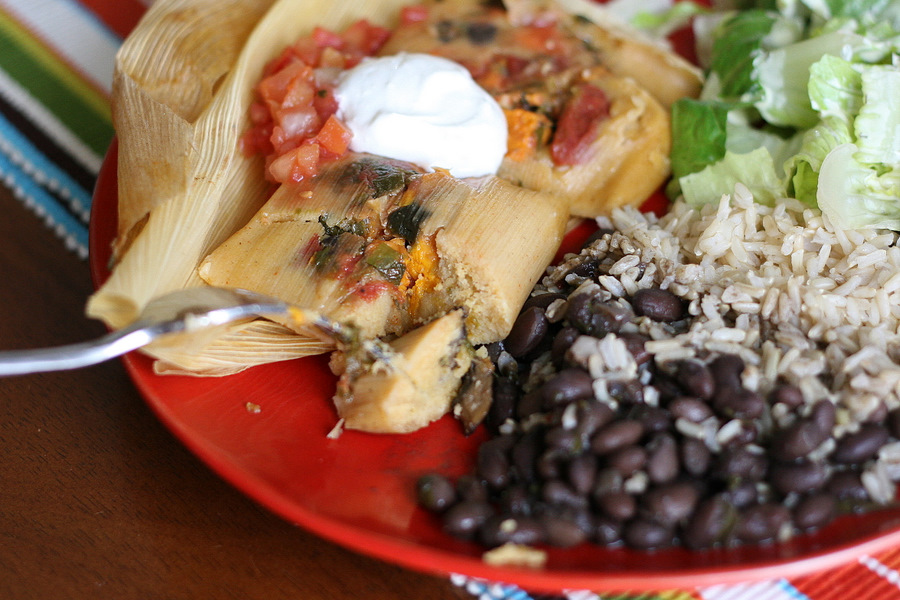
Everything you’ve heard about tamales is true, folks. Yes, these Mexican culinary wonders are a lot of work, and they take a lot of time. On the bright side, the work isn’t difficult and boy, is it worth it in the end. Eating one tamale after the other (after the other) makes you forget about your aching feet and back. Then when you run out, you’ll start craving more and begin the process all over again.
Kind of like having children. But most days I’d rather make tamales than give birth.
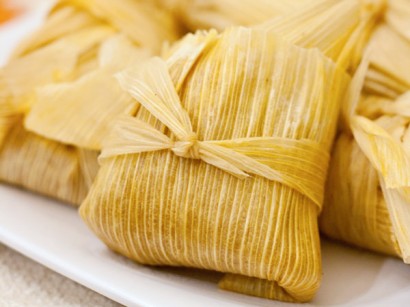
Never heard of tamales? They’re little corn husk packets of steamed dough made from corn flour, filled (usually) with different types of meat and vegetables.
For my first attempt at tamales I opted for these Vegetarian Tamales submitted by TK member mommiecooks (Julie) who blogs at Mommie Cooks! I’m sometimes hesitant to try new techniques with large cuts of meat and thought this vegetarian version would be a good one to get my feet wet. I was surprised how good these tasted. I’m not a vegetarian myself, but I didn’t miss the meat at all!
Before I begin, I need to remind you that I am not a Mexican grandmother who has made tamales for 40 years. I am a 30-year-old gringo who’s made tamales only a couple of times, but hopefully I can show you that you don’t have to be a Mexican grandmother to make some great ones. (But if you find one who can help you, you’ll be in excellent shape.)
One of the keys to making tamales (in my gringo opinion) is organization and time management. If you go from zero to tamale with no breaks, you’ll be exhausted. Luckily the filling and masa dough can be made several hours (or a couple of days) ahead of time. Take advantage of that. And make a lot of tamales while you’ve got everything prepped. The last time I made these, I doubled the masa and made two different fillings. I’ve got a freezer full of low-maintenance meals that I can whip out during the week!
Okay, now that you’ve got a plan and several hours set aside, let’s get going!
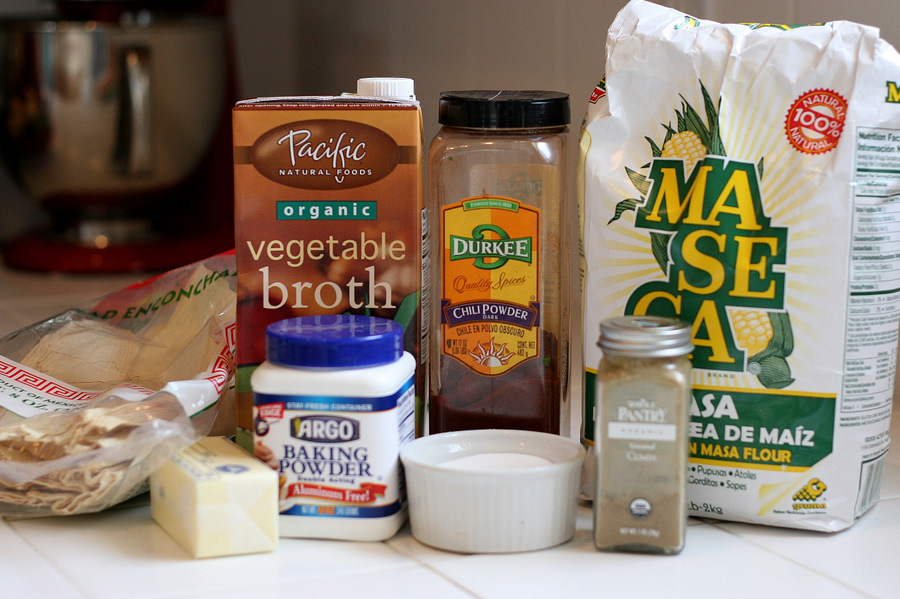
First, let’s make the masa. I loved Julie’s masa recipe. It was so flavorful! I think this will be my go-to recipe no matter what filling I make. You’ll need dried corn husks, vegetable broth, chili powder, corn masa flour, cumin, salt, baking powder, and a stick of butter. You can find the dried corn husks and corn masa flour in the Latin/ethnic aisle of a well-stocked grocery store. You could definitely find them at a Latin grocery store if your town happens to have one.
I also appreciated the use of butter in the masa dough as opposed to the traditional use of lard. Lard freaks me out. I wish they would call it something else. I’ll get over it eventually.
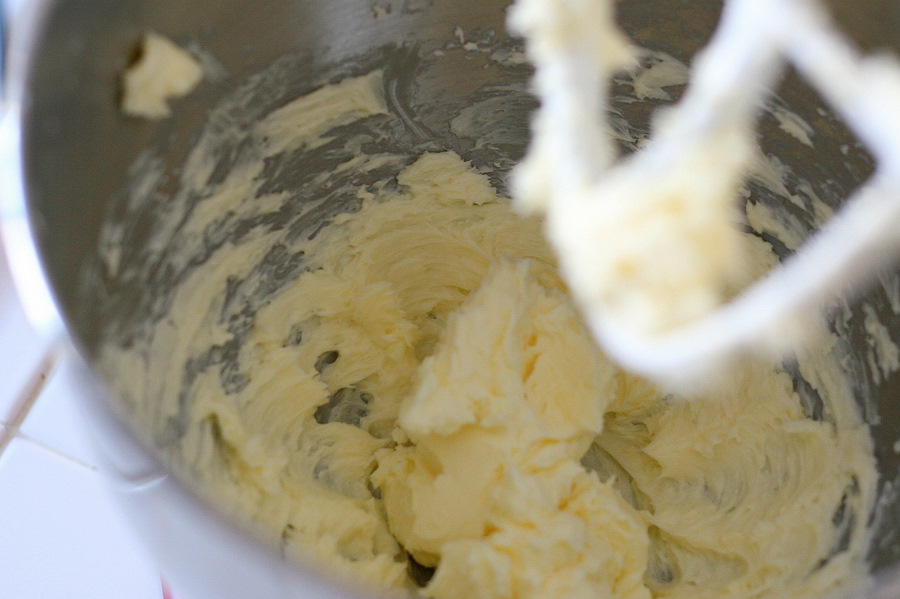
Cream the butter using an electric mixer or stand mixer.
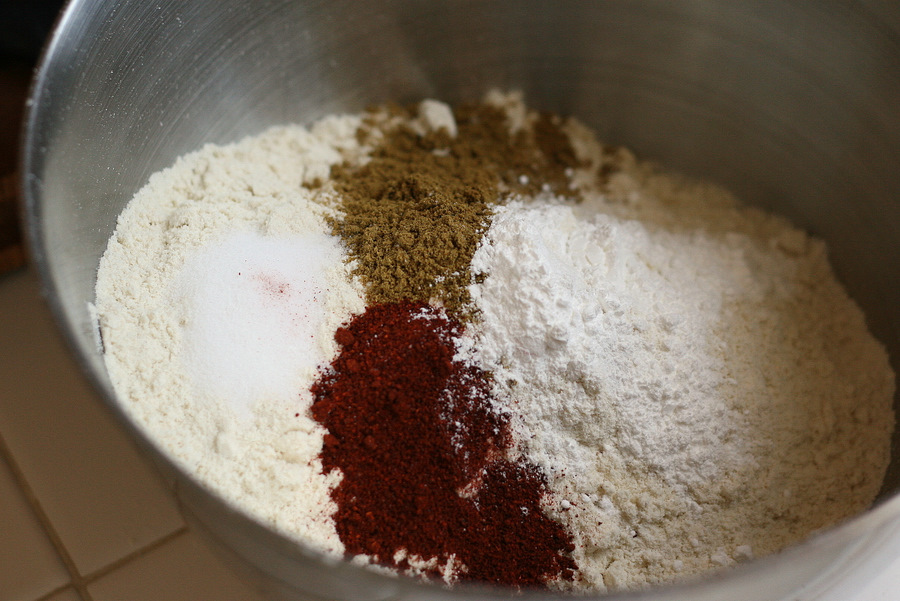
In a separate bowl, whisk together the masa flour, salt, baking powder, chili powder, and cumin.
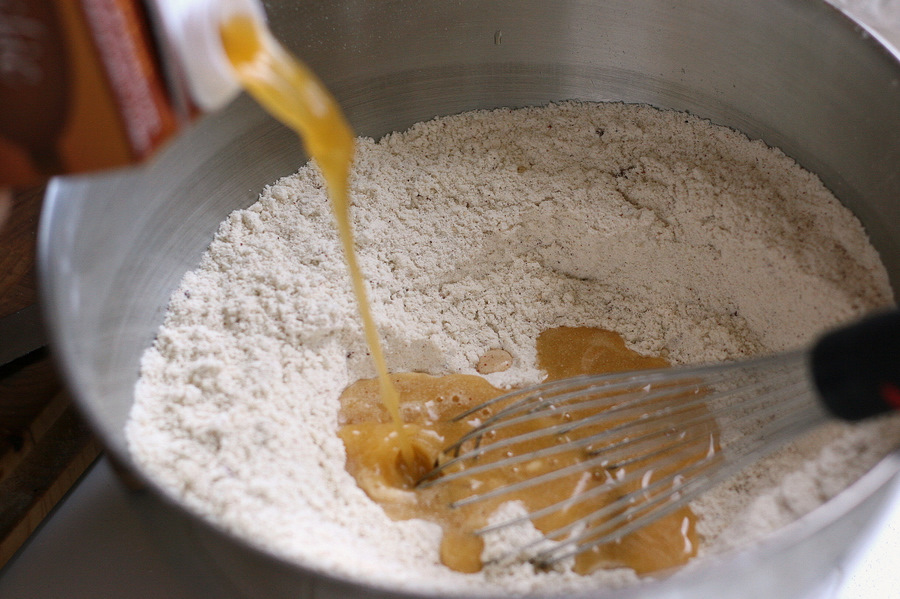
Add some of the vegetable broth.
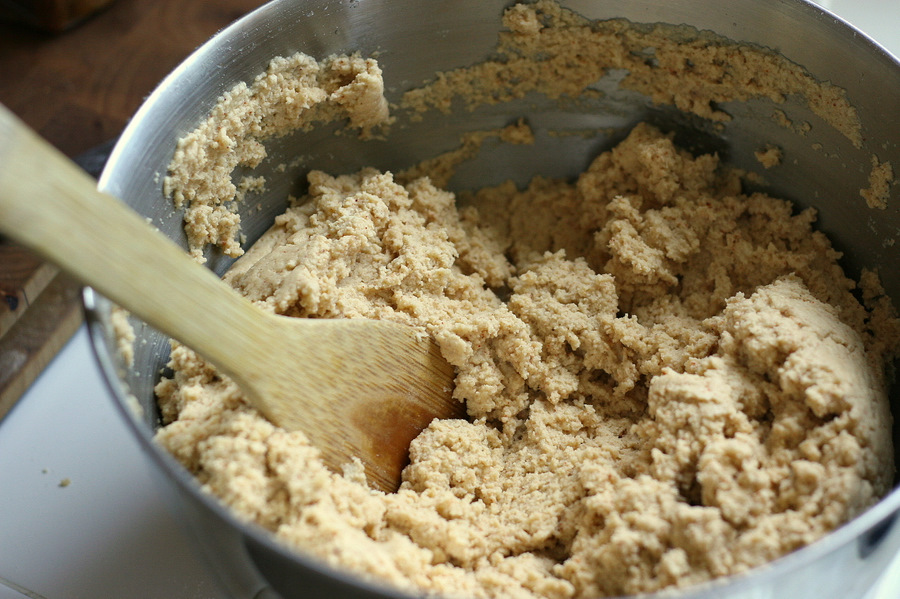
Stir well to form a fairly stiff, but sticky dough.
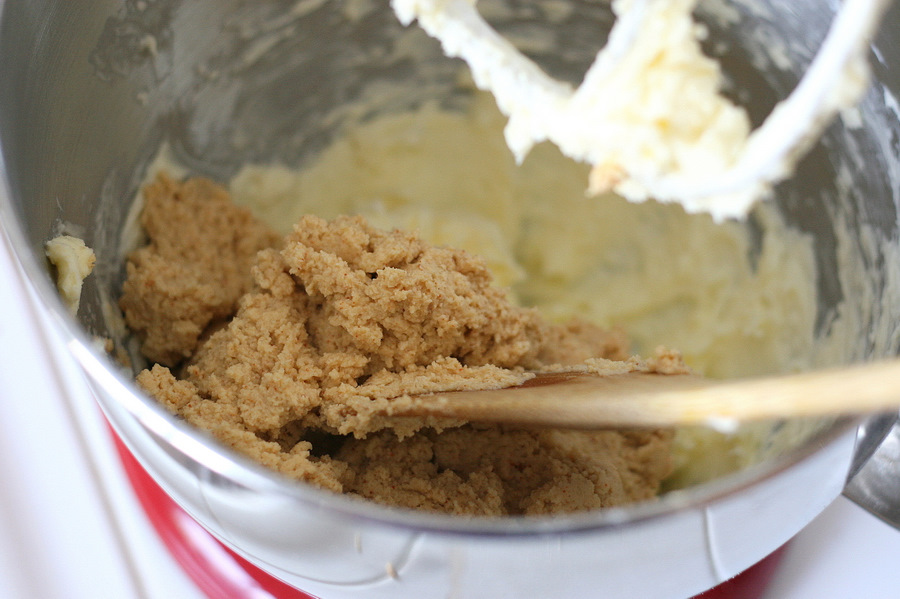
Add this dough to the creamed butter.
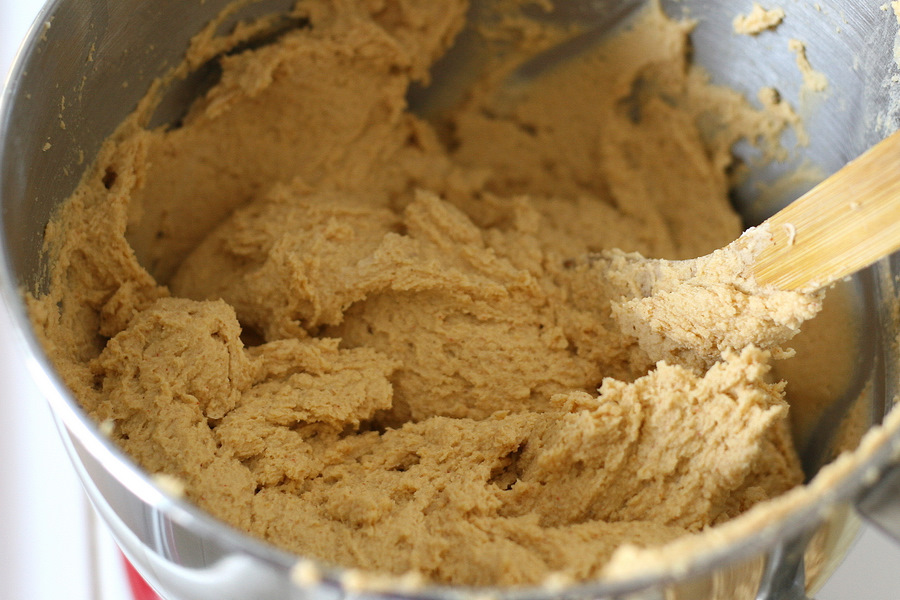
Cream everything together, scraping the sides of the bowl as necessary (the butter tends to stick to the sides and bottom), until you have a light, fluffy dough. Set this aside or cover and chill if you won’t be using it for more than a few hours.
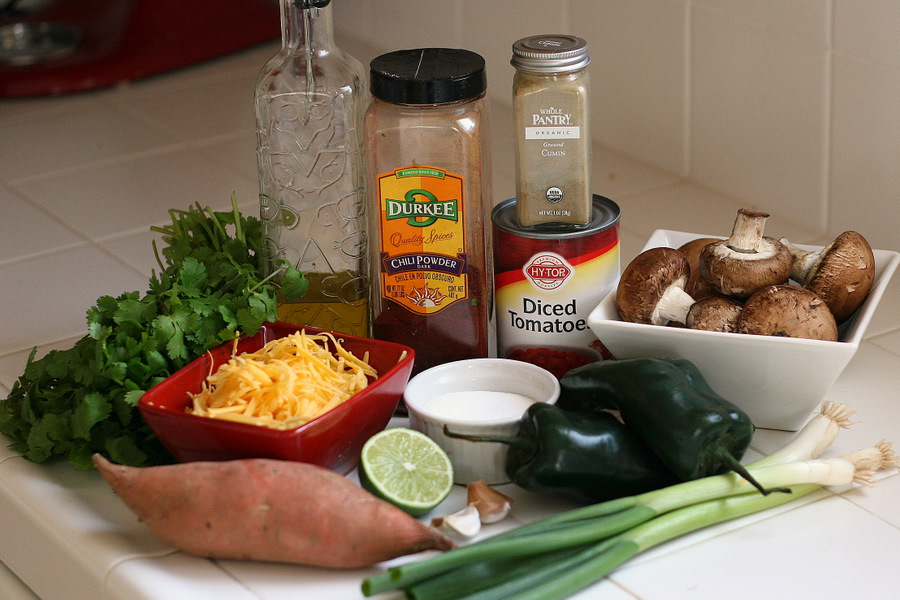
Now for the filling! I made a few changes to Julie’s recipe (noted at the bottom of this post) and quite liked this combination of vegetables. You’ll need a bunch of fresh cilantro, cooking oil, chili powder, cumin, diced tomatoes, a few brown mushrooms, green onions, poblano peppers, salt, fresh garlic, lime, a small potato, and some shredded cheddar cheese. (As well as 1/4 cup of vegetable broth. Just pretend it’s sitting next to the oil.)
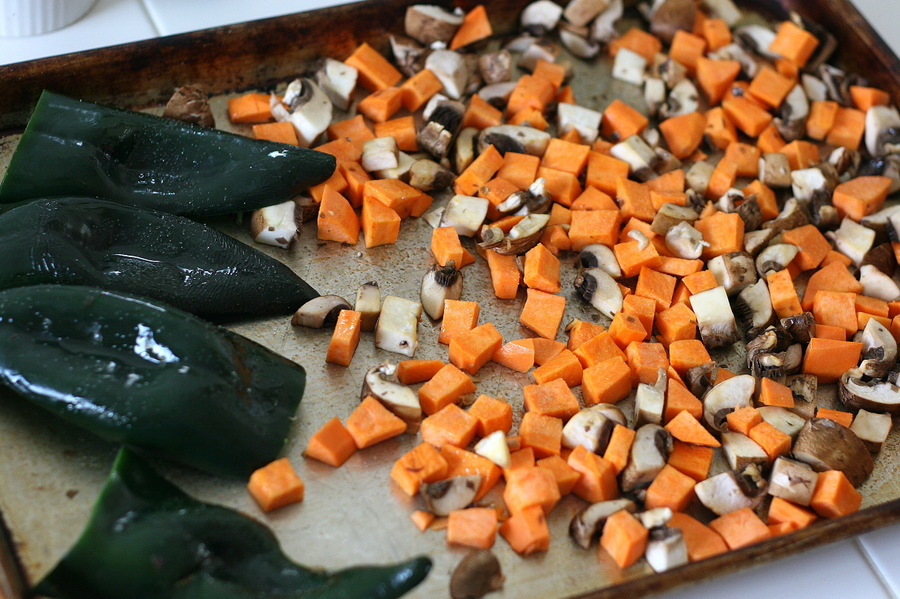
I’m mildly obsessed with roasting vegetables, so after I chopped the sweet potato and mushrooms and seeded and halved the peppers, I stuck them on a rimmed cookie sheet and roasted them at 425 degrees F for 30-35 minutes. (Peel the skin off the peppers and coarsely chop them after they’re roasted.) You could surely cook them in a skillet (per the original recipe), but if you’re using poblanos, you might want to reduce the amount. Roasting takes most of the heat out of them, and cooking them in a skillet may make the filling spicier than you anticipate.
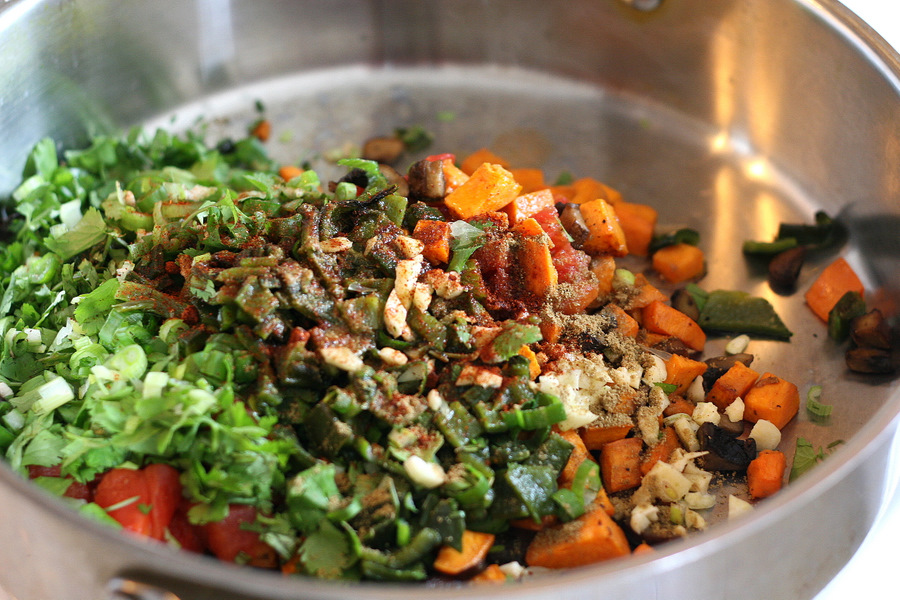
After they’re nice and roasted, throw them with the rest of the filling ingredients (except for the broth and cheese) into a large skillet and cook over medium heat until everything is heated through, about 2-3 minutes.
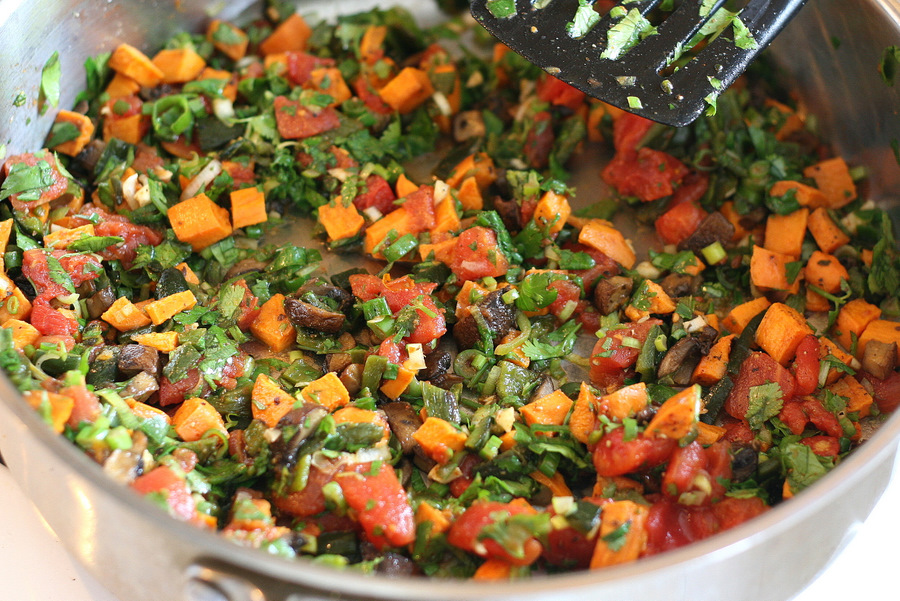
Add the vegetable broth and scrape any bits that have stuck to the bottom of the skillet. Kill the heat, and stir in the cheese.
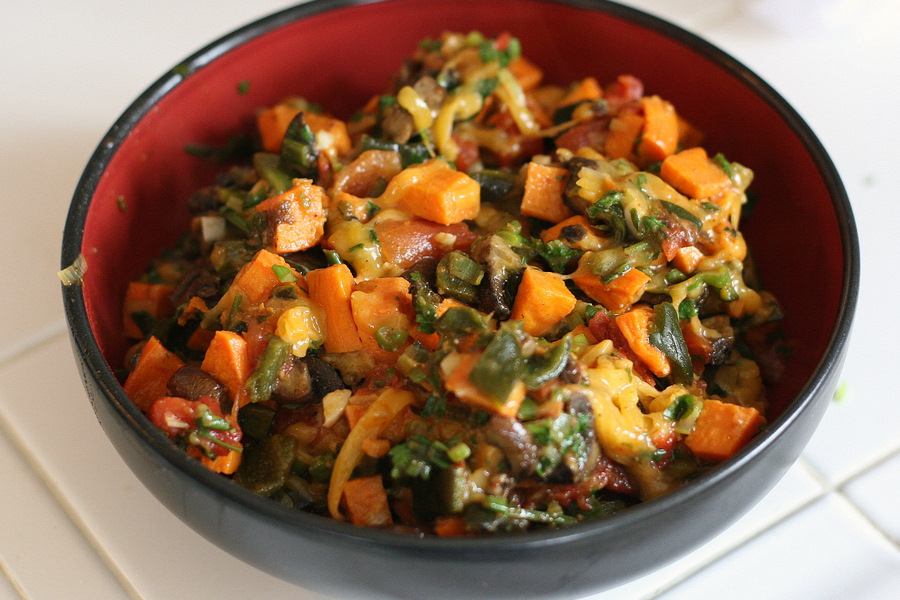
Transfer to a bowl and set aside until ready to assemble the tamales. Cover and chill if it will be more than a few hours.
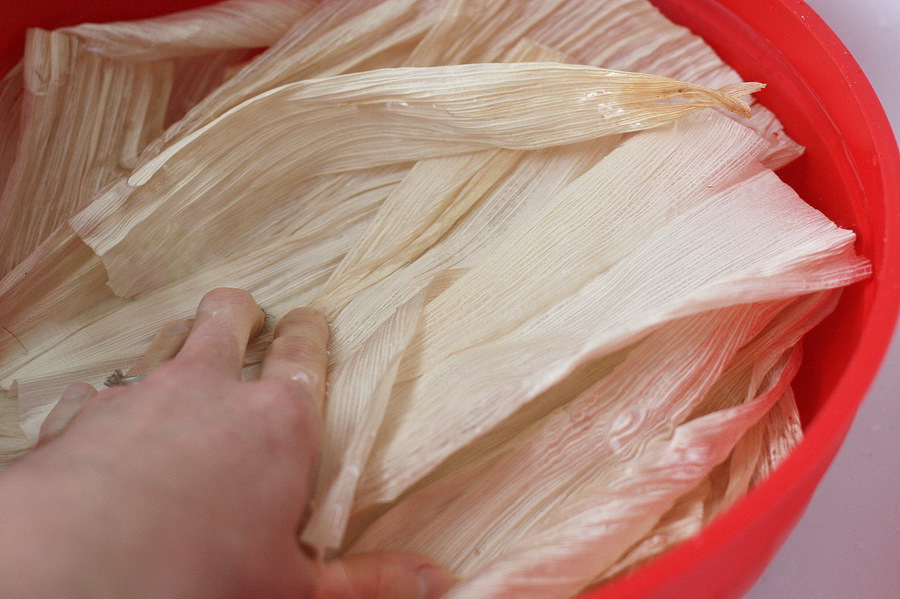
At some point you’ll need to soak the corn husks. They need to be immersed in water for about 30 minutes so they’ll be flexible enough to work with. Because I made my masa dough and filling ahead of time, I soaked my husks 30 minutes before I started wrapping them. If you’re going from zero to tamale, you might want to do this first. My husks floated to the top of the bowl, so I used a large can of pumpkin to weigh them down. The original recipe only makes between 13 and 16 tamales, so don’t soak the whole bag. Be sure to throw in a few extras to tear up and use as ties and in case a few of them rip; 25 ought to suffice.
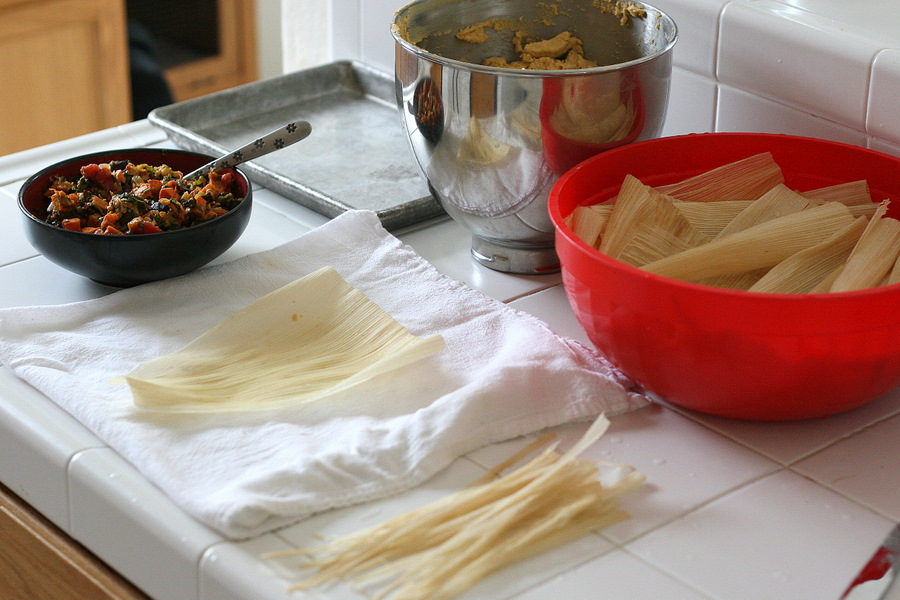
When you’re ready to start the fun part (yes, it really is fun!), clean up your workstation and get everything organized. You’ll need the filling, the masa dough, the soaking husks, a place to put the finished tamales, and a few husks that have been torn into 1/2-inch strips to use as ties. I also used a towel to place the husks on and dry them off when they come out of the water bowl.
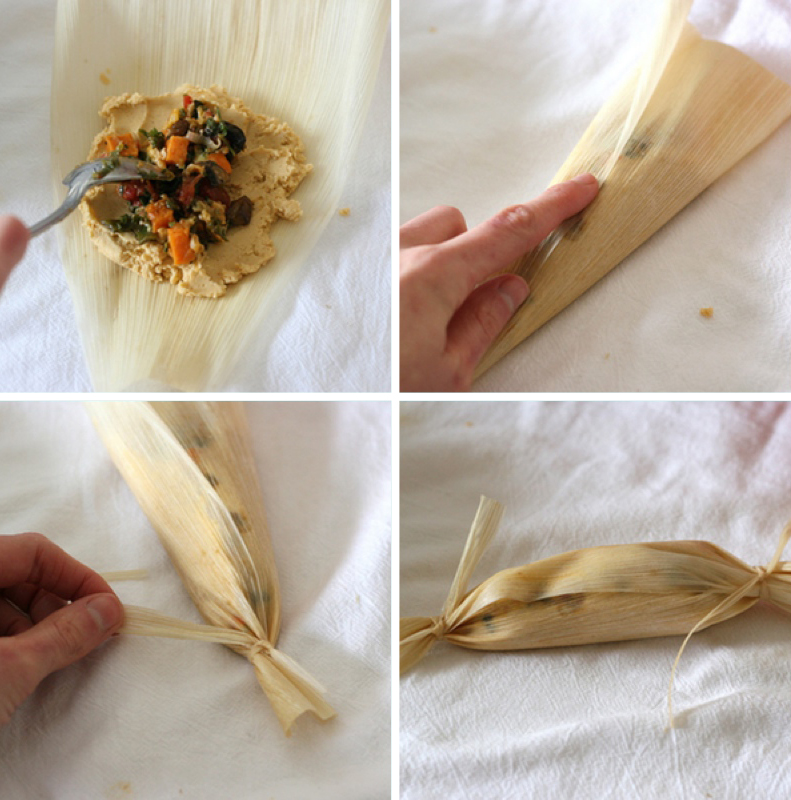
There are several ways to wrap tamales. I’ll show you two. This first way is definitely the easiest and the best way to use smaller husks that aren’t very wide or long. (You can also overlap husks if you don’t want to make really small tamales.)
First spread a 2 to 3 tablespoonfuls of masa dough in the center of the tamale, leaving a narrow border on each side. I found that using wet fingertips was the easiest way to spread the dough. It’s pretty sticky. Then put a spoonful of filling down the center of the dough. Fold the sides in (or roll like a burrito), then twist the ends and secure them with a husk tie or some kitchen twine.
See? Not so bad!
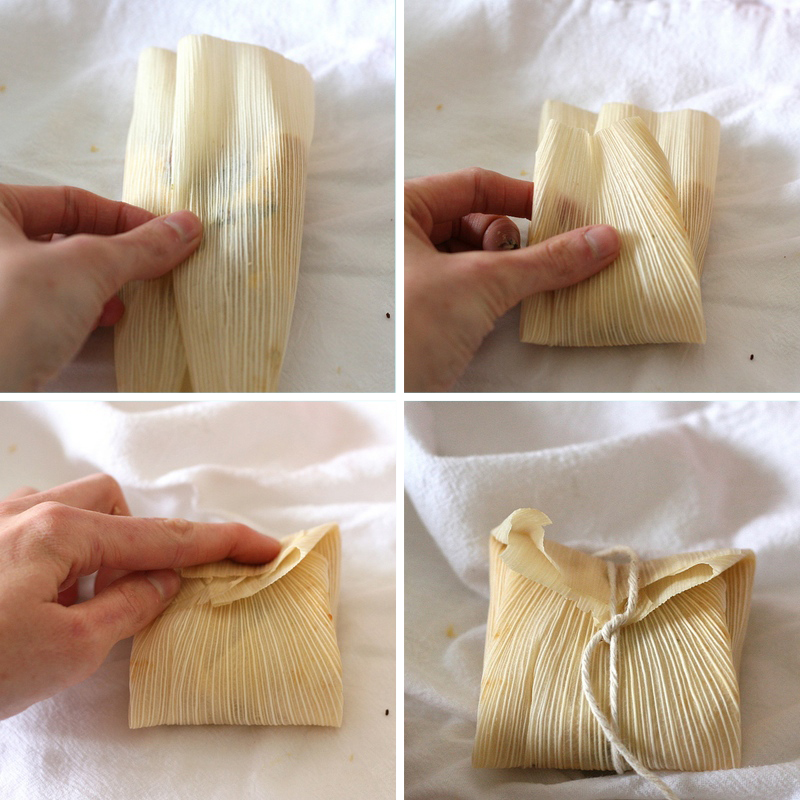
This next one was my favorite because they look like little packages when they’re tied. This method was much easier with large husks, but you could surely twist and tie the ends as well. First spread the masa and filling like the previous method, and bring the sides to the center. Then, fold the bottom of the husk to the center and fold down the top part of the husk to the center. Secure with a piece of kitchen twine from top to bottom or side to side, depending on your preference and the size of your husk.
Adorable.
Repeat, repeat, repeat! Now is the time to have some good music, your comfy crocs, and a few extra hands to help.
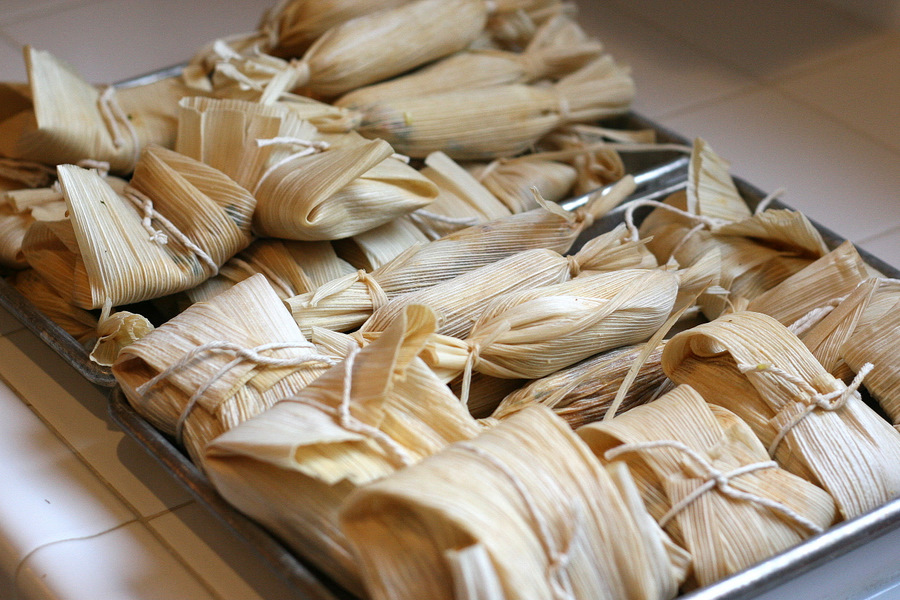
When you’re finished, you’ll have a tray (or two) of finished tamales. (I doubled the recipe, which is why I ended up with so many.) Some will be small, some will be big, some pretty, some will look like you had a toddler helping out. That’s perfectly fine. They’ll all taste great!
At this point you could stick them in a gallon-sized freezer bag and freeze them if you like.
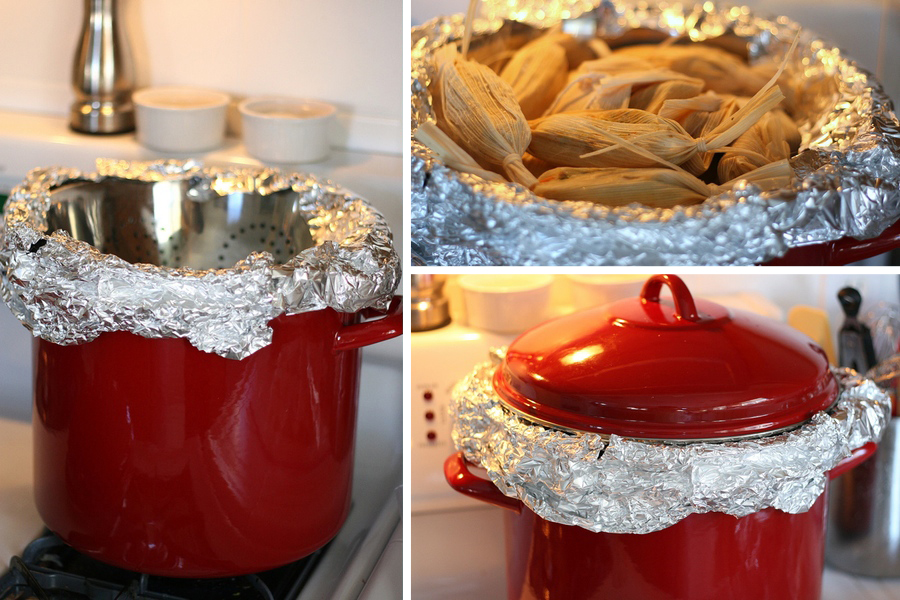
One of the reasons I never made tamales until now was because I don’t own a steamer. Julie suggested taking a big pot, adding a couple quarts of water and steam them in a metal colander nestled inside. Brilliant! My colander wasn’t wide enough, so I sealed the edges with aluminum foil to hold the steam in. It isn’t pretty, but it did the job.
Julie says to steam them for 90 minutes over medium-high heat, adding more water as necessary. If you have a proper steamer, I imagine they’d be finished in less time. Add an extra 15 minutes or so if they’re frozen. You don’t need to thaw them ahead of time.
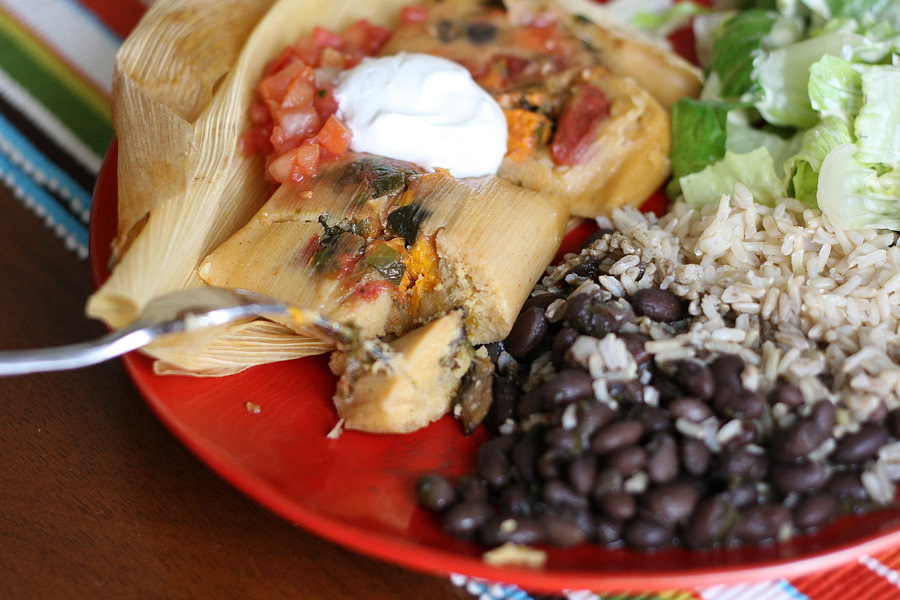
All your hard work will finally pay off as you bite into these tender, moist, flavorful little packets. Serve them with the traditional side of rice and beans, some salsa, and a dollop of sour cream, and you’ll wonder where this meal has been all your life. Seriously.
Julie, thank you for a great recipe and sharing your tamale wisdom! Visit her blog, Mommie Cooks, for more for her family-friendly recipes.
Recipe alterations: I omitted the zucchini and the fresh tomatoes and replaced it with 3-4 large brown mushrooms, 1 small sweet potato, 2 poblano peppers, and 1 can of diced tomatoes, drained. The altered filling made more than the original and needed 1 1/2 times the masa recipe.
Printable Recipe
Print Options
Description
A delicious vegetarian take on a Mexican classic.
Ingredients
- 1 package Corn Husks (about 40-50 Husks)
- _____
- FOR THE DOUGH:
- 2 cups Masa
- 1 teaspoon Baking Powder
- ¾ teaspoons Salt, Divided
- 2 teaspoons Cumin, Divided Use
- 2 teaspoons Chili Powder, Divided Use
- 2-¼ cups Veggie Broth, Divided Use
- 1 stick Butter
- _____
- FOR THE FILLING:
- 1 whole Zucchini, Chopped
- 3 whole Green Onions, Chopped
- 2 cloves Garlic, Minced
- 1 Tablespoon Oil
- 1 bunch Cilantro, Chopped
- 2 whole Roma Tomatoes, Chopped
- ½ whole Lime, Juiced
- ½ cups Shredded Cheddar Cheese
Preparation Instructions
Start off by soaking your corn husks in water for at least 30 minutes.
Grab a bowl and add in the masa, baking powder, 1/2 teaspoon of the salt, and 1 teaspoon of both the cumin, and chili powder.
Now add 2 cups of the veggie broth to your mixture and form a dough.
Pop your stick of butter into your mixer and whip it up for a minute or so. Add the masa dough in and mix it up well again. Set your finished dough aside and let’s move on to the filling.
Grab your saute pan and cook up your zucchini, green onions, and garlic on medium heat in the Tablespoon of oil for 2 to 3 minutes.
Now add in the rest of your broth (1/4 cup), the cilantro, tomatoes, lime juice, and the remaining cumin, chili powder (1 teaspoon each) and salt (1/4 teaspoon).
Stir it together and add in the shredded cheese.
Grab one of your soaked corn husks and slather a good amount of the masa mixture on top.
Now, take a spoonful of your veggie filling and place it down the middle third of your tamale. Make sure to leave a bit of space at the ends.
Wrap it up like you would a burrito and tie off the husk. I used another corn husk to tie it up.
Grab a big pot, add about 2 quarts of water and steam those beautiful rolled up veggie delights for about 90 minutes on medium high heat. I didn’t have a steamer that big, so I used my large stock pot and placed my noodle strainer inside of it with the pot cover over the top. Make sure that your tamales aren’t touching the water.
While the tamales are steaming, periodically check your water level to ensure you don’t boil it all away!
Pull one out after 90 minutes and unwrap it to see if it’s cooked through. The masa should be firm.
_______________________________________
Be sure to check out Natalie’s own beautiful food blog, Perrys’ Plate, where you can see her growing collection of lovely recipes. There’s always something new to see there. Go visit now!


58 Comments
Comments are closed for this recipe.
Natalie @ Perrys' Plate on 2.25.2011
Tori – Yep! Aluminum foil works, too! (Although the husk is supposed to add flavor, I believe.) Did you find that they leaked when you boiled them? Foil would be sealed better than husks, so I definitely wouldn’t boil the husk-wrapped ones!
Abbey – Martha’s right! Don’t eat the husk!
Martha on 2.25.2011
@ Abbey, don’t eat the husk! it’s just a handy cooking container. I’m excited to see these- I made tamales for the first time recently, and they were just okay. These look like they’ll have a lot more flavor, and I can’t wait to try them!
AbbieD on 2.25.2011
I have a stupid question…hopefully someone else is a ding-dong like me and is waiting for someone else to ask so they don’t have to.
Are you supposed to eat the husk? Or just the filling?
EatLiveRun on 2.25.2011
these look amazing! I actually just tried my first tamale a few weeks ago at our local farmers market and ever since, I’ve been wanting to make my own.
Can’t wait to try this recipe!
twopeasandtheirpod on 2.25.2011
Wow, these look incredible!
Tori on 2.25.2011
I’ve made tamales by wrapping them in aluminum foil instead of corn husks and just placing them in boiling water (I don’t have a steamer either). It works great that way too.
Amy | She Wears Many Hats on 2.25.2011
Totally craving these now!
I’m slightly obsessed with roasting veggies too. Amazing what it does for flavor, huh? Plus it smells up the house real nice.
nolaveggiewife on 2.25.2011
These look fabulous! Thanks for the step by step. My DH will be so surprised when I whip these up for him.