When I tell people that I develop recipes, photograph and blog full-time, they automatically think that I have this easy, glamorous life where I flit around the kitchen singing happy songs while stirring a pot of soup, wearing a clean, crisp, cute little apron and dainty heels. And my reality is so far from that. Okay, I confess that I actually do sing happy songs in the kitchen, but usually it’s silly songs that my five and six-year-old bring home from school; and I do wear platform shoes in the kitchen, but it’s because I’m short.
It’s a wonderful career and I am very fortunate to absolutely love what I do. But, some days it can get pretty quiet in the kitchen by myself, and even to the point of lonely in the evenings on the couch, trying to decipher out what the heck is wrong with my flippin’-PHP-HTML-CSS-whatchamacallit-code on my blog.
That’s why I have a legion of close blogging friends; we consider each other sort of like coworkers. The type of friends that you could call up at 10pm and rant about so-and-so who left a rude comment or panic about “I broke my site!” We e-mail each other for advice, help and encouragement.
Ree is one of those friends, and I love her dearly. Even though we’ve only seen each other a couple of times in person, we get on like sisters—blog sisters, that is. I was absolutely thrilled when we asked me to be a regular blogger-columnist on Tasty Kitchen, and elated to see how this community of food lovers has grown so quickly!
So, once a week I’ll be blogging here, and instead of giving straight recipes, I really want to focus on kitchen secrets, cooking lessons, product reviews and anything else that you really want to learn about. Such as, how to store green onions so that they last for weeks or how to open a bottle of champagne without donking someone in the head or putting out one of your ceiling lights (guilty).
I’d love to hear what you’d like to learn! It’s so nice to meet and see you!

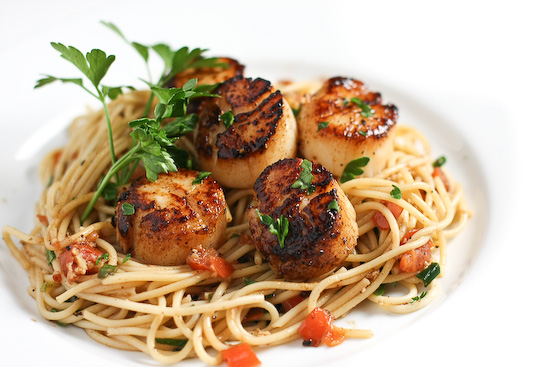
Today, I’m going to teach you how to make a 15-minute seafood pasta dish. Once you’ve learned this method, you can make a super-easy, quick and perfect dish every single time. Yes, it’s simple enough that you really don’t need a recipe (but I did post the recipe for all you recipe lovers!). I’ve got secrets to share … so are you ready?
We’re using giant scallops here, but you could also use shrimp.
Here are my secrets:
1. Cook your pasta in salted water: Bring a big pot of water to boil and add enough salt so it’s slightly salty. This gives your pasta flavor and you’ll end up using less salt or sauce in your dish.
2. Everything ready to go: This dish cooks up so quickly that you really need to have all your ingredients prepped and close by. You don’t want the seafood to get cold while you’re furiously chopping tomatoes.
3. Dry seafood: Before you begin cooking, you really want to pat your seafood very very dry. And I don’t mean a sloppy dry. Use a couple of pieces of paper towel and really make sure that you blot all the moisture away. The reason this is so important is because seafood cooks really quickly. Any moisture on the seafood will end up steaming the seafood instead of pan-frying it.
4. High heat or low heat—no middle heat: Here’s my rule for cooking small pieces of seafood, like scallops, shrimp, or chunks of fish. Either go high heat or low heat, but not in the middle. The high heat will give you a wonderful sear, that charred crust that I will give up my Gucci purse for. A low, slow heat will gently cook the seafood so that it has a silky texture, but that’s for another lesson.
5. Don’t overcook your seafood: I know it’s obvious, but I do have to say it. For scallops and shrimp, they really only need a couple of minutes on each side. If you’re using small bay shrimp (about the size of a small marshmallow) – 1 1/2 minutes on each side or less.
Your first step is to get the water boiling for the pasta. Once boiling, add enough salt to make the water taste salty. How much you use depends on how much water you’re boiling. Start with 2 teaspoons kosher salt (or 1 teaspoon table salt), stir, taste the water and you can add more after that. Don’t worry, not all the salt will transfer to the pasta, but it will definitely give your pasta flavor. While your pasta is cooking, it’s time to prep the rest of the ingredients. When the pasta is done, you can drain it and just set aside.
Okay, now for the fun part.

The first step is to make sure your pan is hot, super hot. I like using a cast iron frying pan, because I can get that baby heated up to maximum temperature.
Put the pan on high heat and don’t even look at the thing until it’s hot. How do you tell? Hold your hand 6 inches above the pan, and if you can’t hold it there for more than 3 seconds, you’re good to go. Swirl in a bit of olive oil.
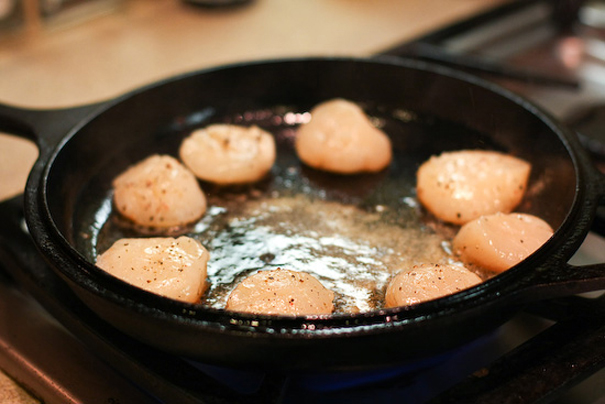
Lay the scallops (or your chosen seafood) in the pan. Do not touch them for two minutes (1 1/2 minutes if you’re cooking small shrimp or smaller scallops). Don’t you dare try to move ‘em and squish them around! This is essential to getting a good sear.
After two minutes are up:
You can peek! Wow, nice crust there. Now turn them over.
If you’re only cooking a few scallops, like I am, here’s a trick. See the empty section in the middle of the pan up above? Well, that spot is extra hot.
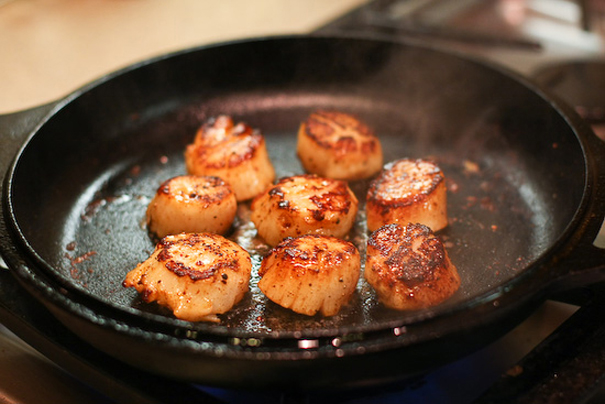
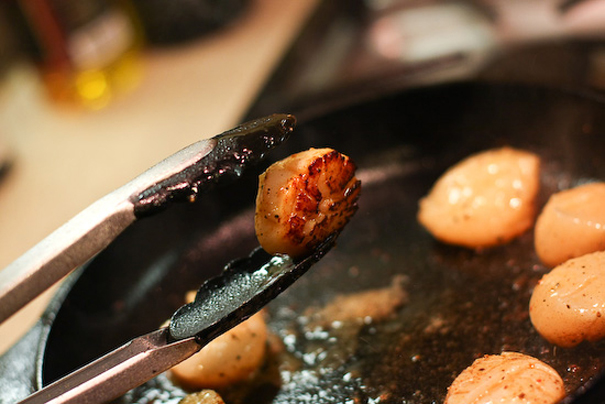
So when I flip over the scallops to cook the other side, I place the scallops in the middle—in the hot spot. Cook the second side for 1 1/2 minutes or so (they cook quickly). Look at the pan. There is no liquid at all. This is because my scallops were absolutely dry before added them into the pan. The high heat gave it a perfect, savory crust.
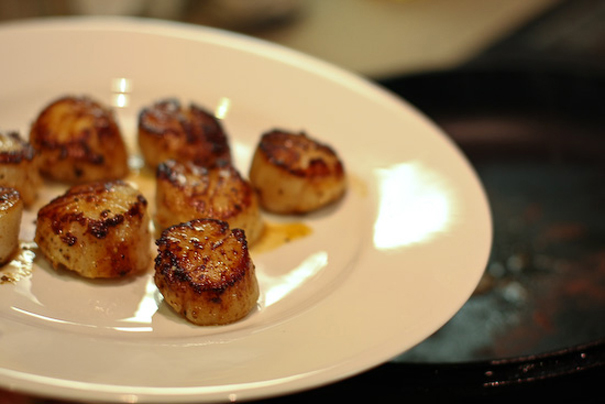
Quickly lift them out on a plate.

Turn the heat to low, add some butter.
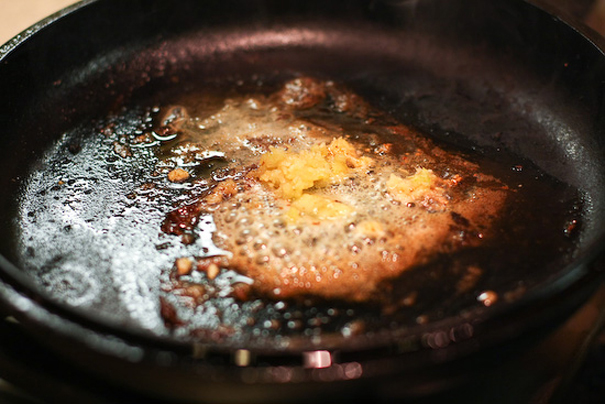
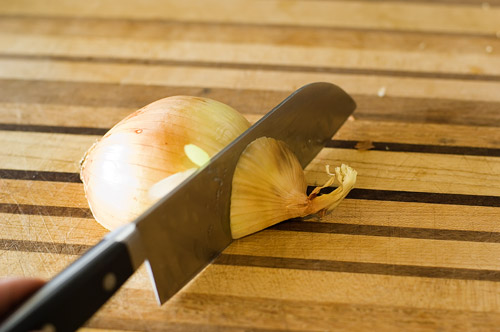
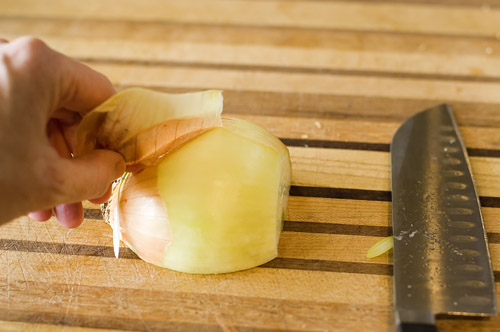
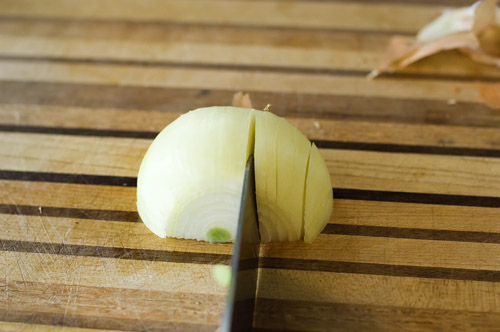
Then some garlic and/or onions …

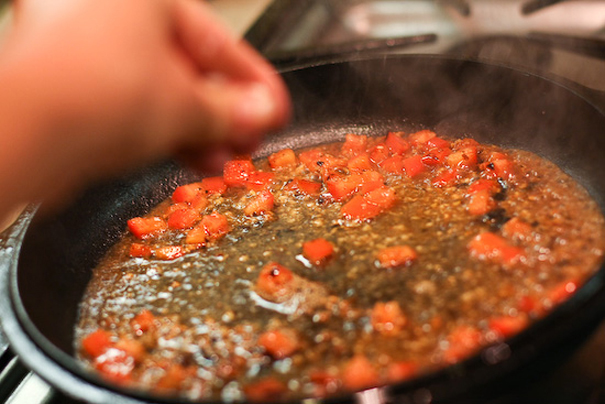
Diced tomatoes …

Now turn the heat to high and add a cup of white wine, beer or vegetable stock. Let it simmer and bubble for 30 seconds. Use your spatula to scrape up the crusty pan bits (there’s flavor in the pan bits!).
Season with a generous pinch of salt and pepper.
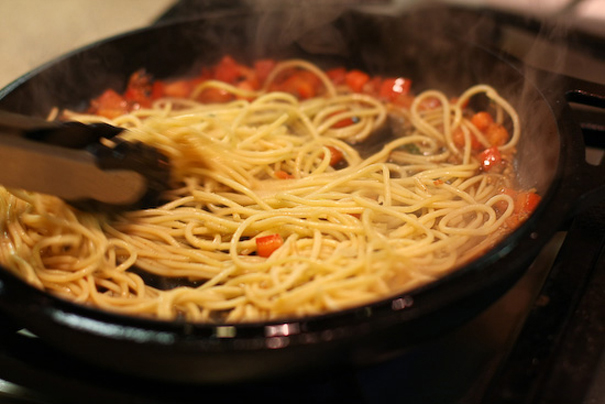
Add your cooked/drained pasta.
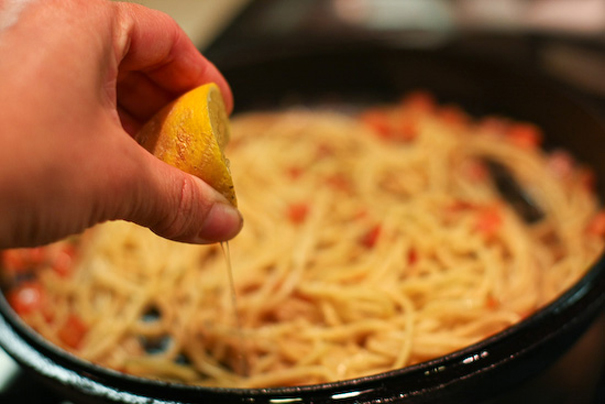
Squeeze a bit of lemon to give it a bit of brightness.
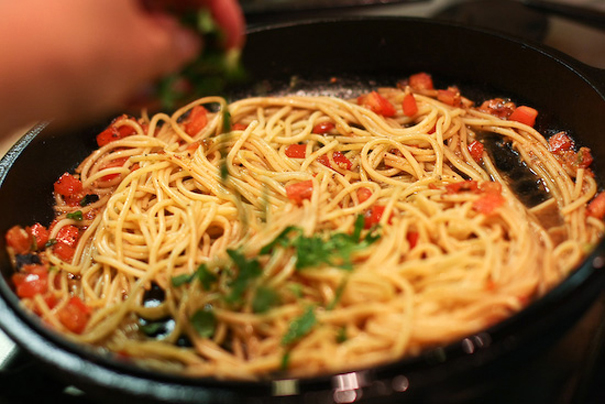
Garnish with your fresh herb of choice (any of: parsley, cilantro, basil, chives).
And that’s it!
Serve the scallops snuggled in with the pasta.
Printable Recipe


Print Options
Description
A super-easy and quick 15-minute seafood pasta dish. This recipe uses giant scallops, but you could also use shrimp.
Ingredients
- 4 ounces, weight Dried Pasta Of Your Choice
- 10 whole Giant Dry-packed Sea Scallops Or Jumbo Shrimp
- 1 Tablespoon Olive Oil
- 1 Tablespoon Butter
- 1 clove Garlic, Finely Diced
- 1 whole Tomato, Chopped
- 1 cup White Wine, Beer, Or Vegetable Stock
- 1 sprig Parsley, Finely Minced
- Just A Bit Of Freshly Squeezed Lemon Juice
- Salt And Pepper
Preparation Instructions
1. Cook the pasta in salted water per the instructions on the box. Drain and set aside.
2. In the meantime, prep all the ingredients and have them at the ready nearby. For the scallops (or shrimp), use a couple of layers of paper towels and pat very dry. Move the scallops to a clean sheet of paper towel and pat dry once more. Season with salt and pepper on both sides.
3. Heat a large frying pan or saute pan over high heat. When hot, swirl in the olive oil. Add the scallops to the pan, not touching. Give each scallop ample room so that they can sear properly. Cook for 2 minutes without touching (1 1/2 minutes if using smaller pieces of scallops or shrimp) then flip and cook for another 1-2 minutes until cooked through. Remove to a plate.
4. Turn the heat to low. Add the butter and the garlic. Saute for just 10 seconds and then add the tomatoes.
5. Turn the heat to high and add in the white wine (or beer or vegetable stock). Let it bubble a bit for 30 seconds and use your spatula to scrape up the bits in the pan. Season with salt and pepper (go light on the salt … remember your pasta is lightly salted now), throw in the parsley and then add in your cooked pasta. Stir well to let the sauce coat the pasta. Serve with the scallops.
_______________________________________
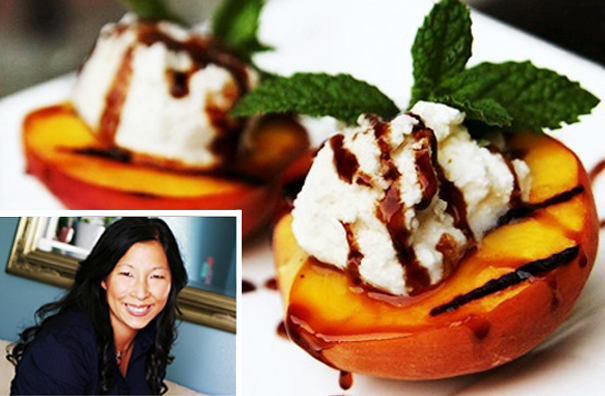
Jaden Hair is a food writer, television personality, and food photographer based in Tampa Bay, Florida. Find more of her recipes in her blog, Steamy Kitchen, where you can also read more about Jaden’s new book, The Steamy Kitchen Cookbook, and the rave reviews it’s received!
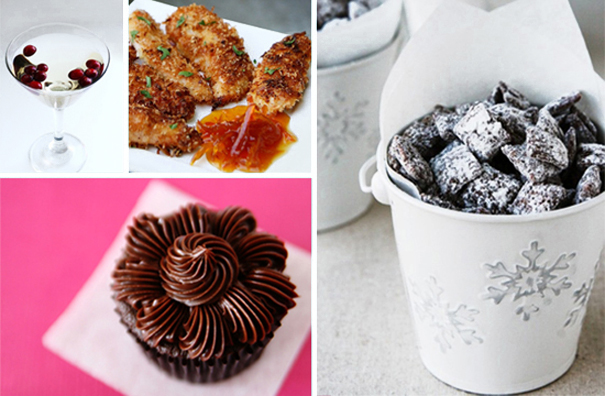 Clockwise, from top left: