1. Whisk the flour, baking powder and salt together in a medium bowl. Set aside.
2. Pour the melted butter into a medium mixing bowl (an 8-cup Pyrex measuring bowl works great because you can melt the butter in it to start.) Whisk the eggs, one at a time, until thoroughly beaten. CAUTION: Be sure the melted butter is not too hot, we don’t want the eggs to cook. Yet.
3. Whisk in the sugar and vanilla.
4. Drizzle in the milk and whisk until combined.
5. Add the dry mixture, all at once, to the wet mixture*, and stir to combine, but don’t over beat. Really, don’t worry about the lumps. They cook out.
6. Set aside for a few minutes to prep the waffle iron. The rest will let the baking powder start to do it’s thang.
7. Plug your waffle iron to preheat it. Set it at the level of your choice. Frankly, these things only need two settings: off and full-on.
8. Check you iron’s owner’s manual (you still have it, right? right?) to determine the batter-capacity. Ours holds one cup of batter, so to make it easier, we employ our 1/4 C. ladle (also great for pouring pancakes and ladling, well, ladle-y things).
9. When the iron tells you it’s ready, and most models will, load it up and clamp down the lid and wait for the “all done” signal, be it ding, buzz or blink.
10. Remove the waffle-y goodness to a place and ship it IMMEDIATELY to the table, or feel the wrath of a little boy who LOVES his waffles. If you decide to make a bunch and serve them all at once, just place the waffles on a wire rack, nestled in a 1/2 sheet pan, and cover the lot with aluminum foil in a preheated 200°F oven.
*Yes, I know, I know, most recipes like this use the ‘muffin method’, where the wet is added to the dry. I choose the reverse because at 7AM on a Sunday morning, I’d rather shake out dry than scrape out wet.
Serving Variations
‘Round these parts, we’re partial to butter and good maple syrup. Notice I said ‘good maple syrup,’ you know, the REAL stuff. Yes, earlier in life I was smitten with the curvy temptress in the brown glass with her sugary sweet goodness, but have since seen the errors of my ways. I’m a real maple syrup guy now, be it medium or dark amber grade.
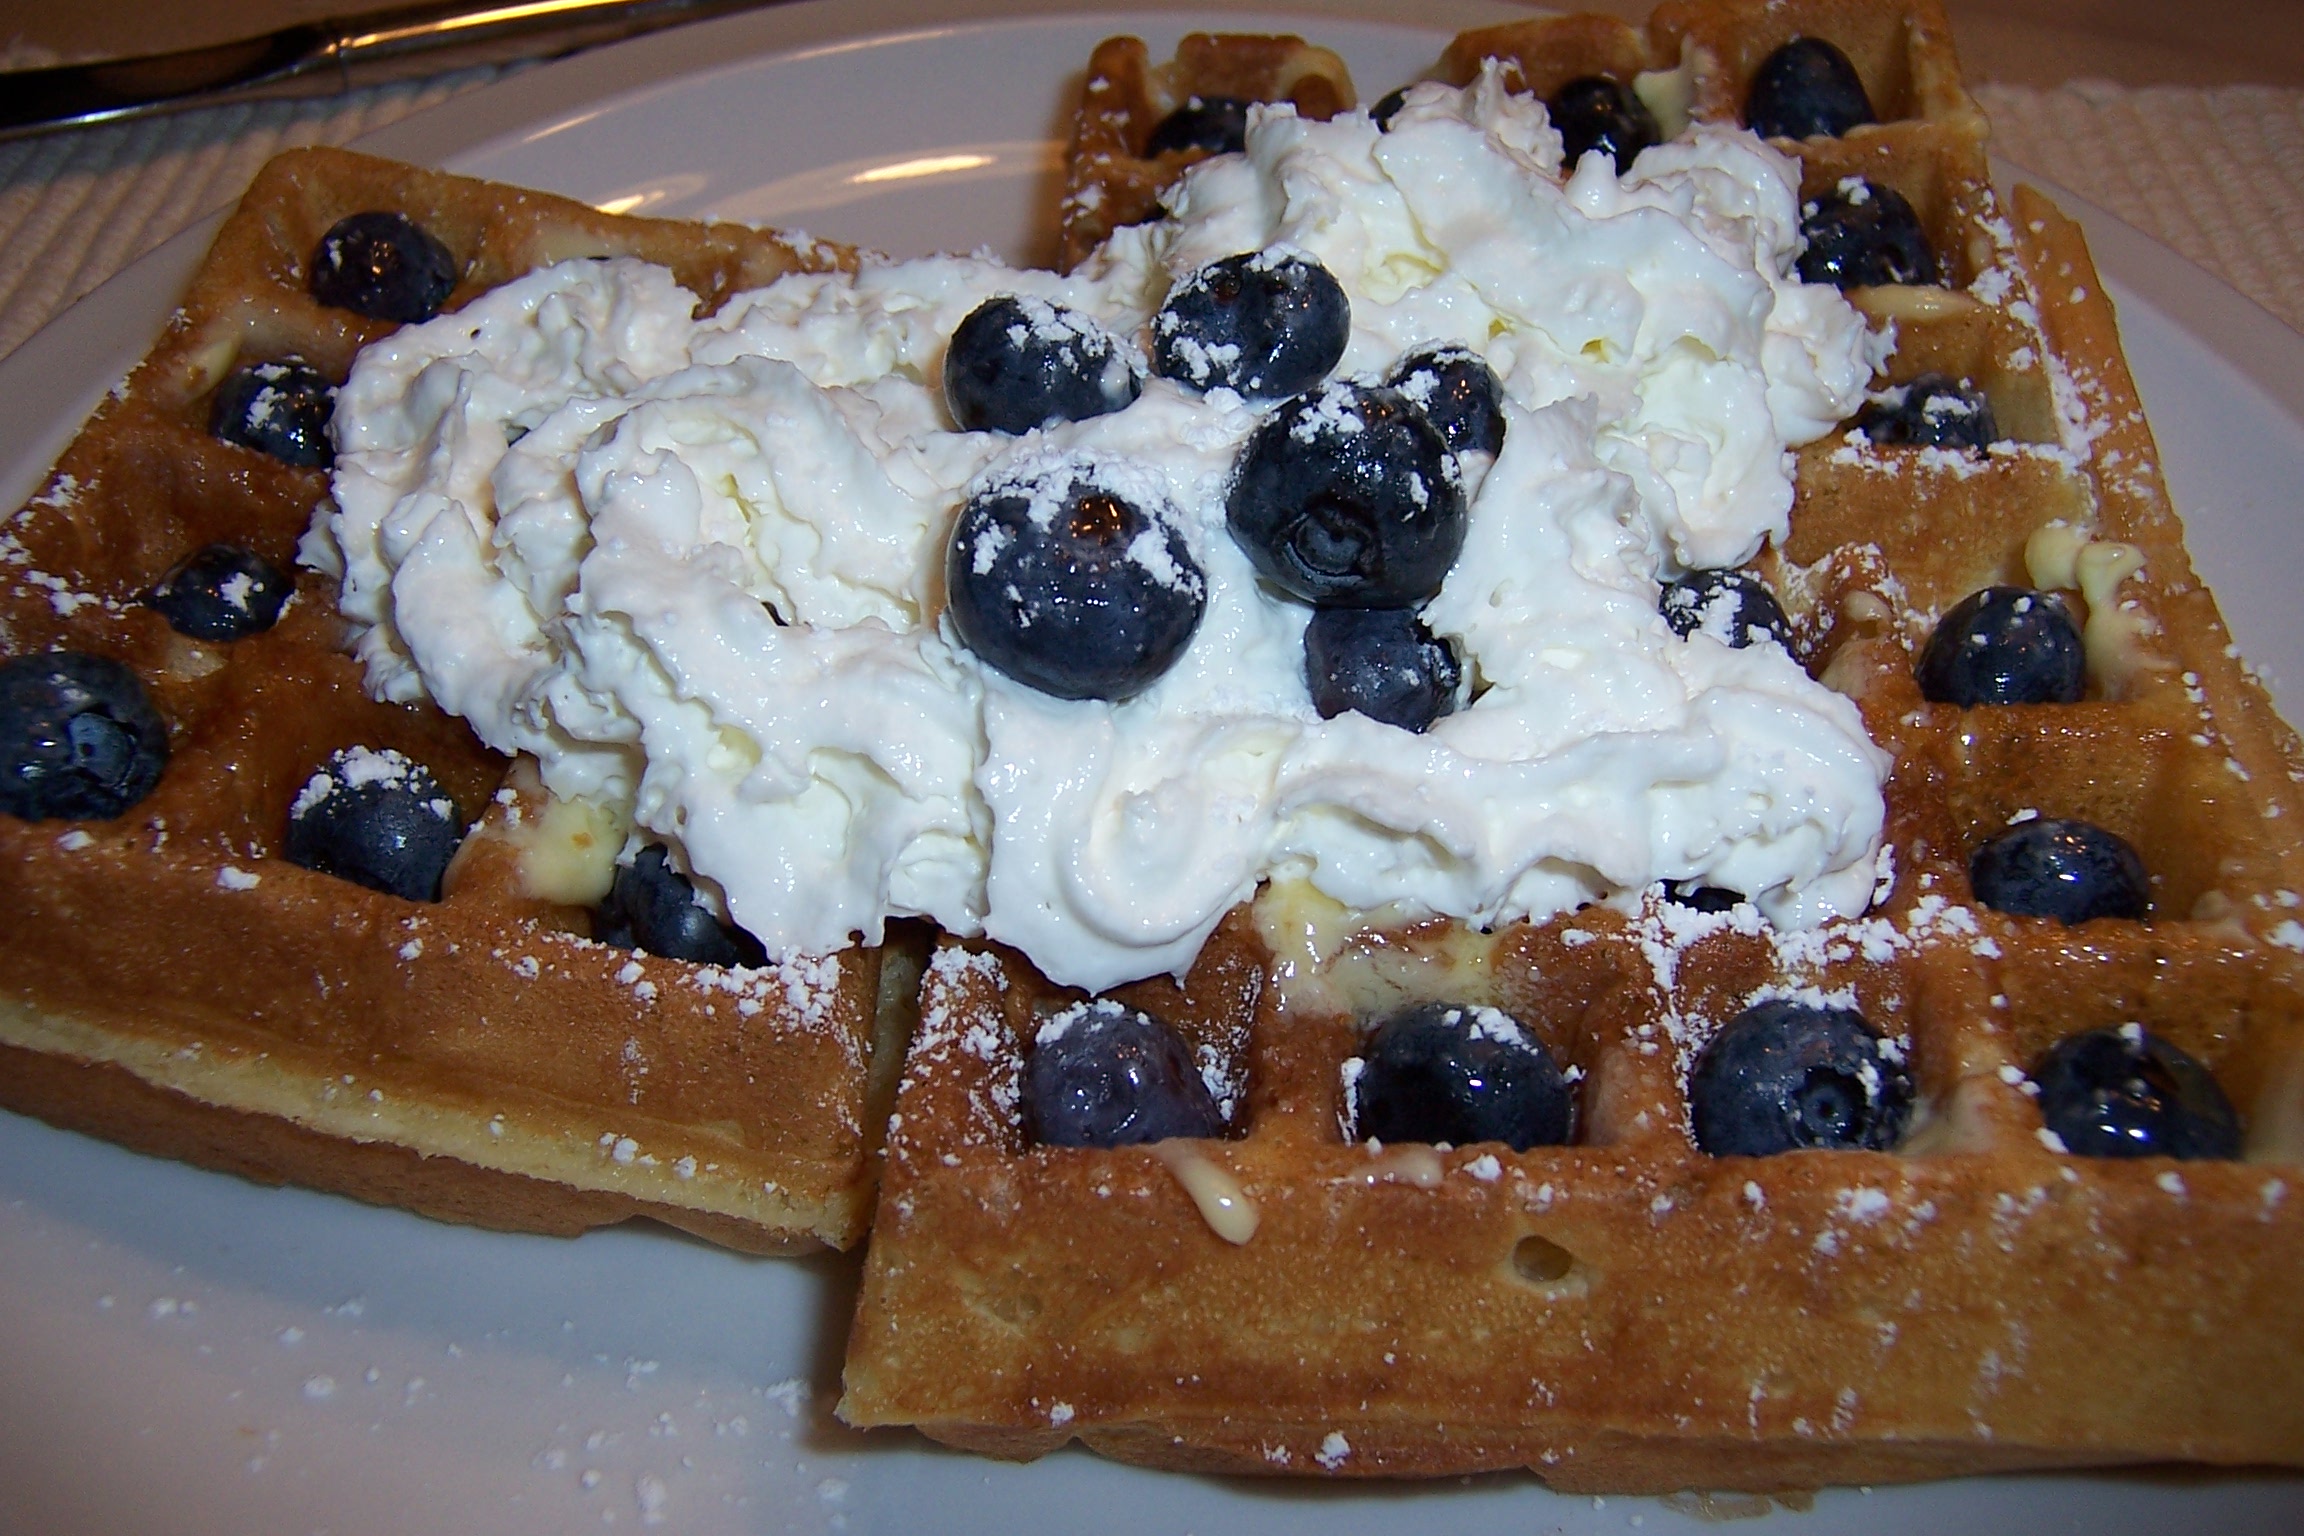
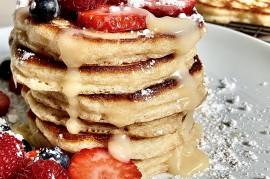
Of course, when the blueberries are fresh and readily available at the local Farmers’ Market (anyone need to buy a good farmer?), then the toppings go in this order: butter, blueberries, syrup, whipped cream (sorry, too early in the day to whip it myself so I use the canned stuff) and then, for a bit of flair, a sprinkle of confectioners’ sugar (bam?).
Leftovers (you’re kidding me, right?!?):
As I said before, Munchkin loves waffles, so we always try to freeze a few from each batch. Wrap them tightly with plastic wrap (Press ‘n Seal freezer wrap works great for this) and store in a freezer zip top bag. Don’t worry about how long they’ll last in the freezer. They won’t last that long.
So, did you get all of that? I hope you like ‘em!






4 Comments
Leave a Comment
You must be logged in to post a comment.
staceyw07 on 9.4.2010
These were good! Glad you shared.
wannabecrafty on 5.28.2010
These were delicious! I dream about them at night, seriously! WOW. Will definately be makine them again
flourgirl on 1.15.2010
These were FANTASTIC! My family raved about them. Thanks for sharing the recipe!
flourgirl on 1.12.2010
I loved reading your recipe & directions. Very witty! Can’t wait to make the real thing later this week.