I love simple desserts. I especially love simple desserts that taste great, and it’s these type of recipes that I like to have on hand during the busy holiday season. When you’re trying to orchestrate a culinary feast—one that includes a giant turkey the size of a small child, along with an endless list of sides—sometimes you need an easy dessert.
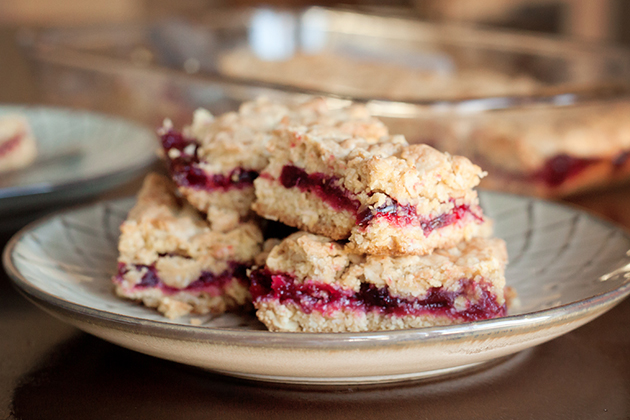
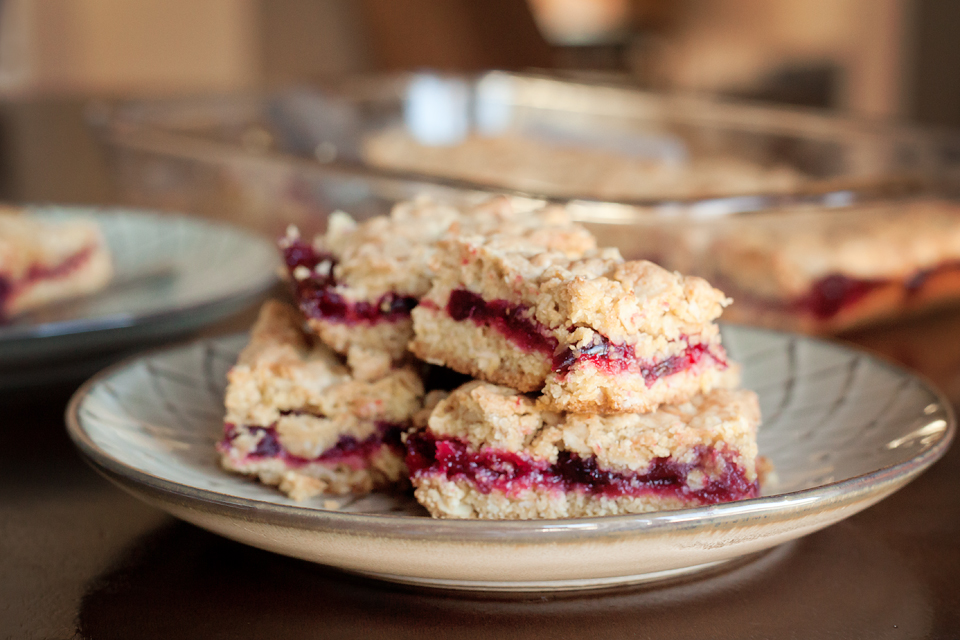
These Cranberry Orange Bars, shared by Stephanie, fit the bill perfectly. I love cranberry sauce, and these bars are the perfect combination of a sweetly tart cranberry sauce, sandwiched between a tasty cobbler-type crust and topping. Using just a few easy ingredients, you can have these bars whipped up in no time.
This is a great way to use up any leftover cranberry sauce from your Thanksgiving meal too!
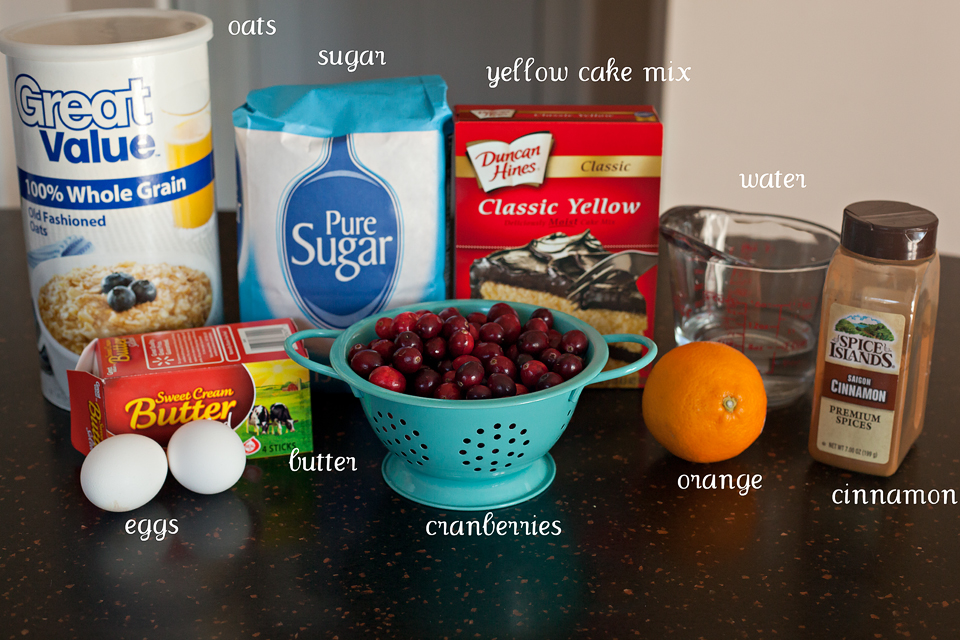
You’ll need: water, sugar, fresh squeezed orange juice and orange zest, fresh cranberries, yellow cake mix, oats, cinnamon, butter, and eggs.
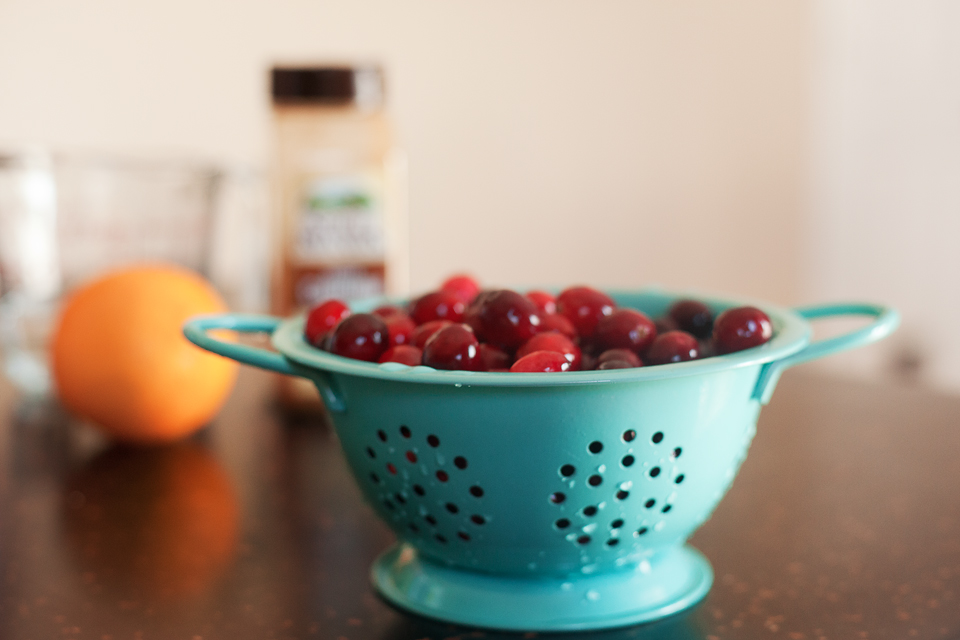
Rinse your cranberries so they’re nice and clean.
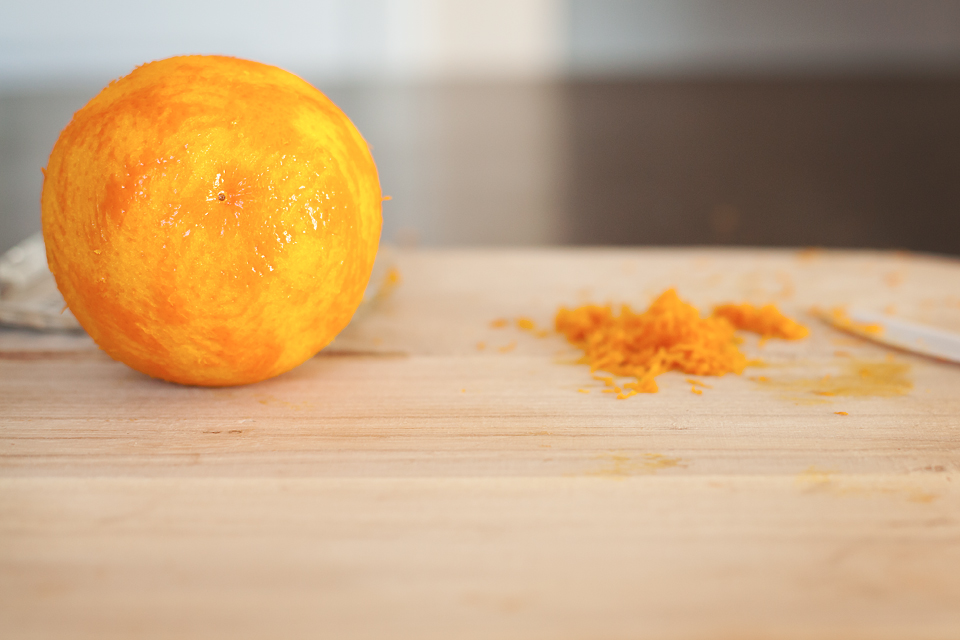
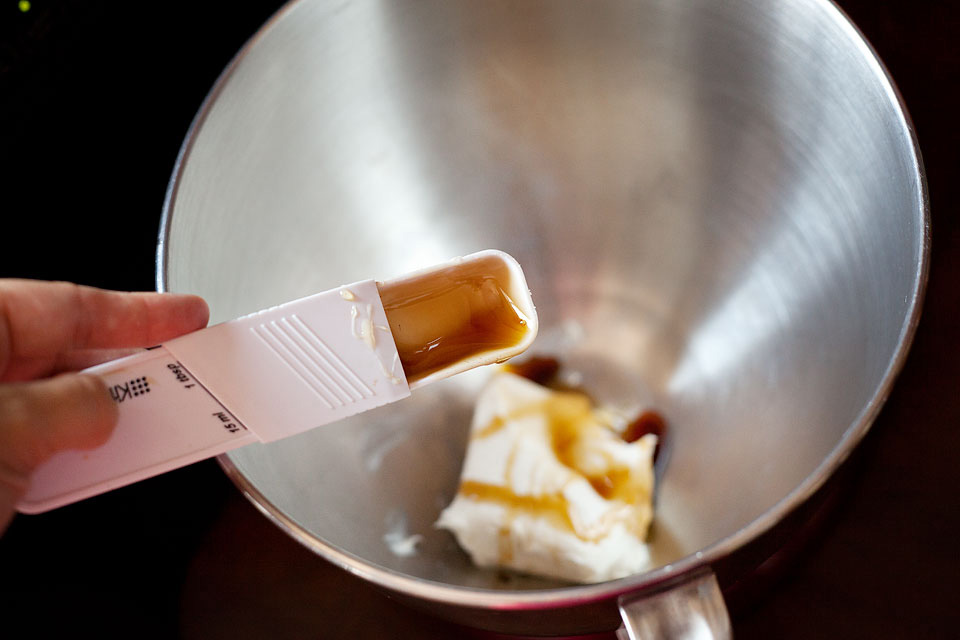
Remove the zest from an orange, and squeeze out all of the juicy goodness. Set aside.
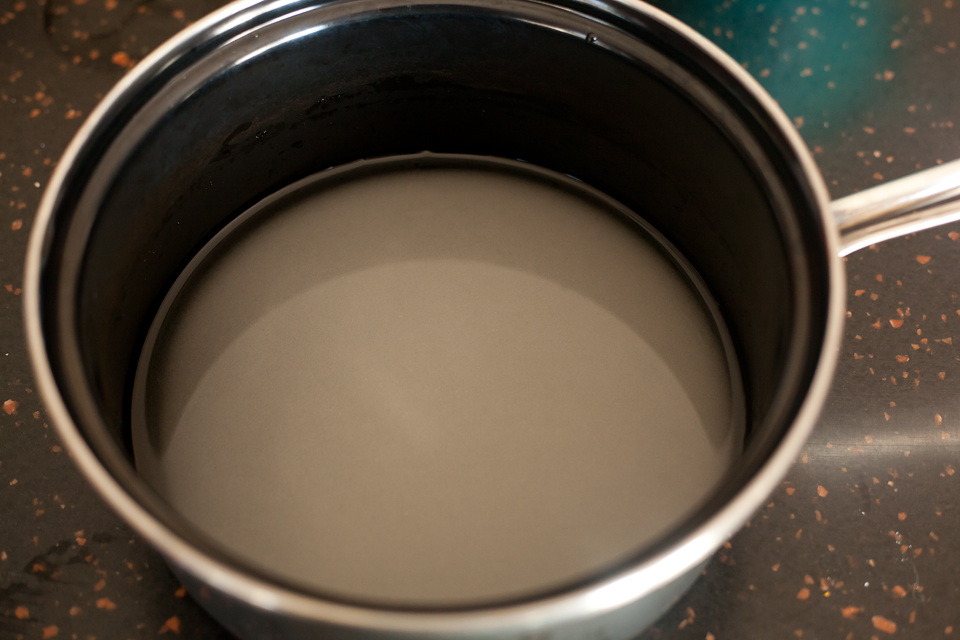
In a saucepan, add the water and sugar. Stir until the sugar is absorbed.
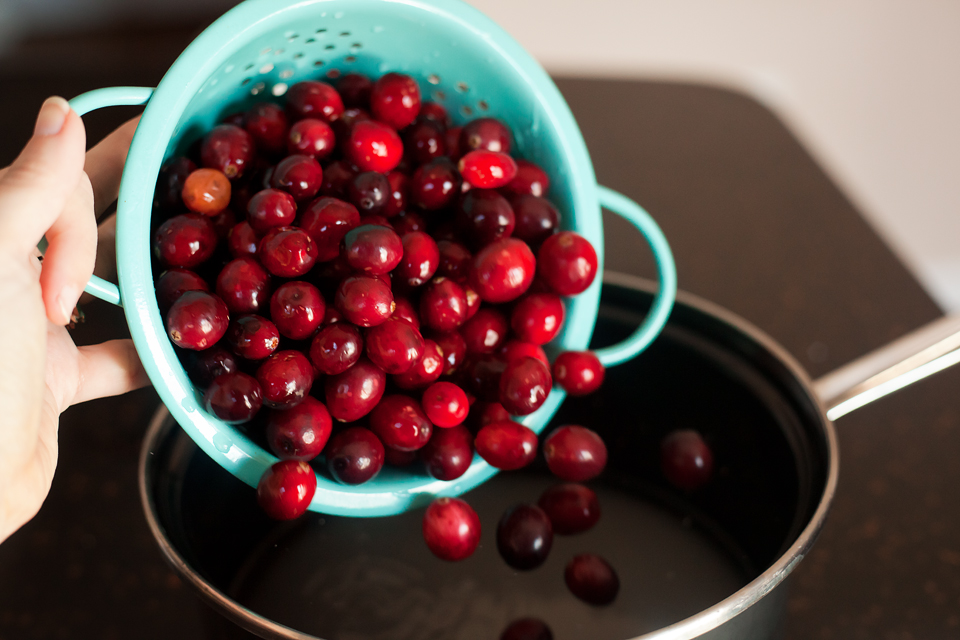
Add the rinsed cranberries …
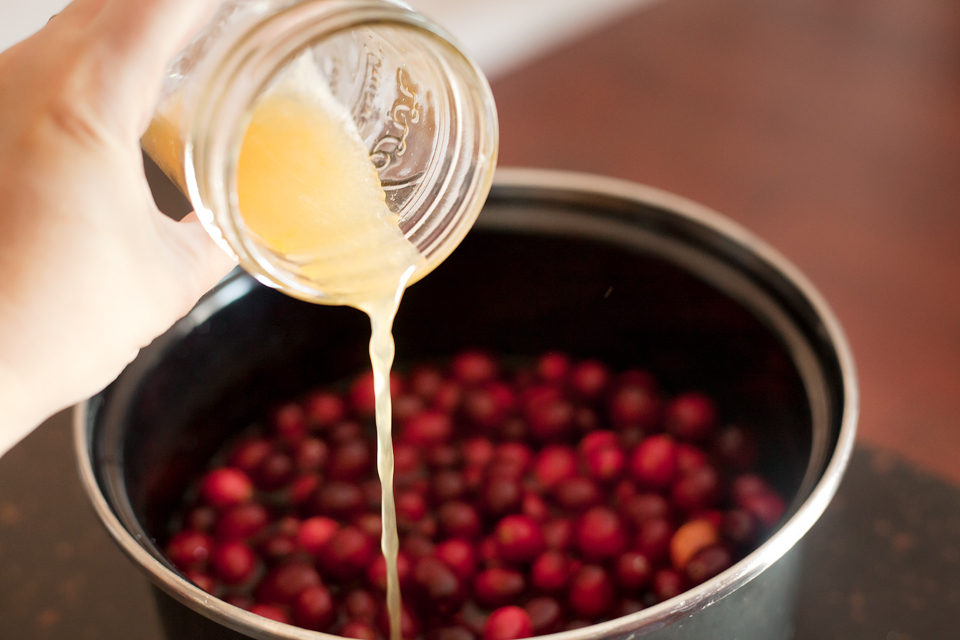
Along with the orange juice …
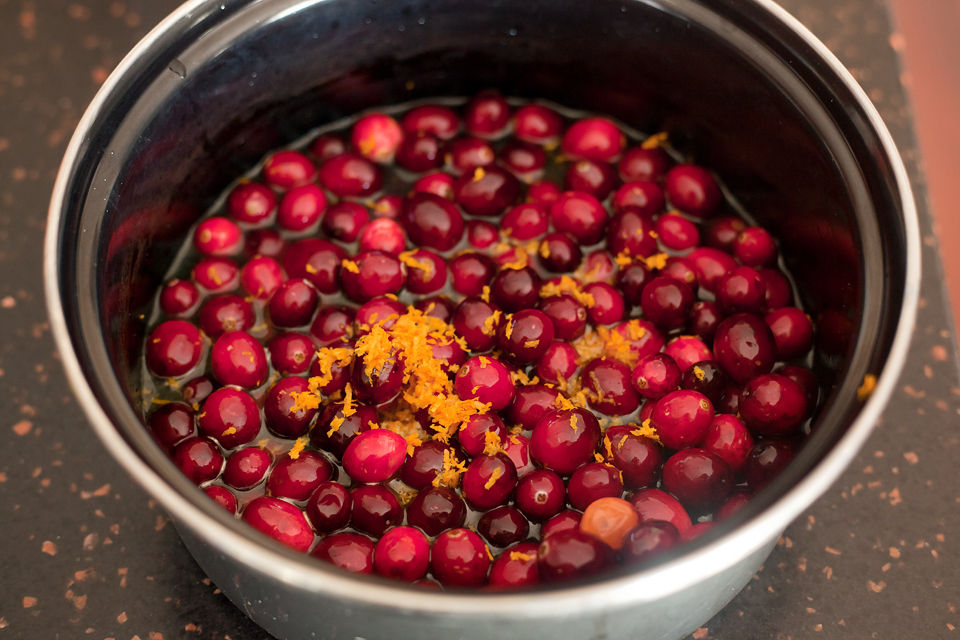
And the zest. Simmer over medium heat for about 10-15 minutes until the cranberries pop and the mixture begins to thicken.
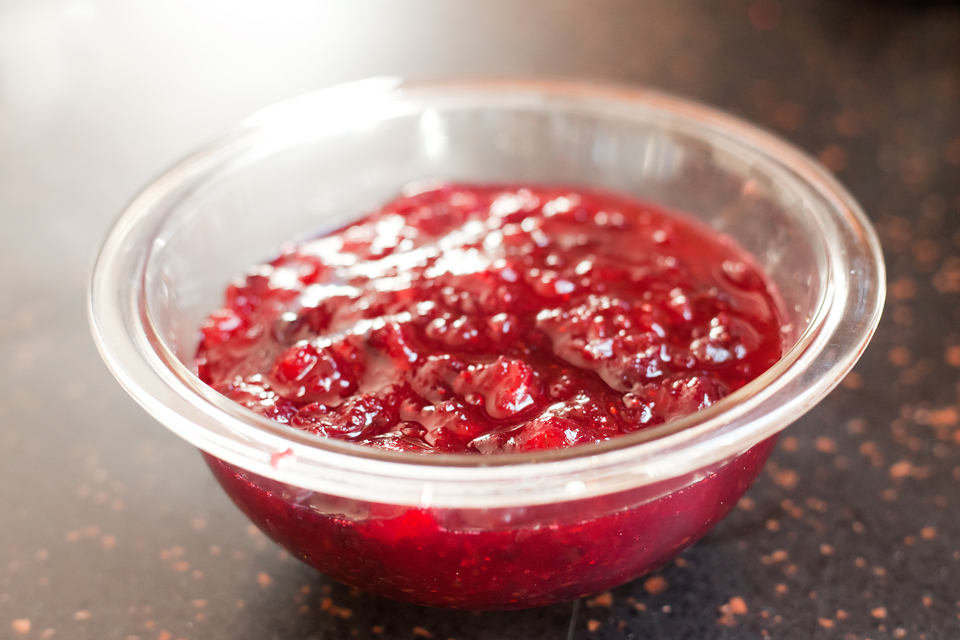
Pour into a bowl and let cool completely (at least 1 hour).
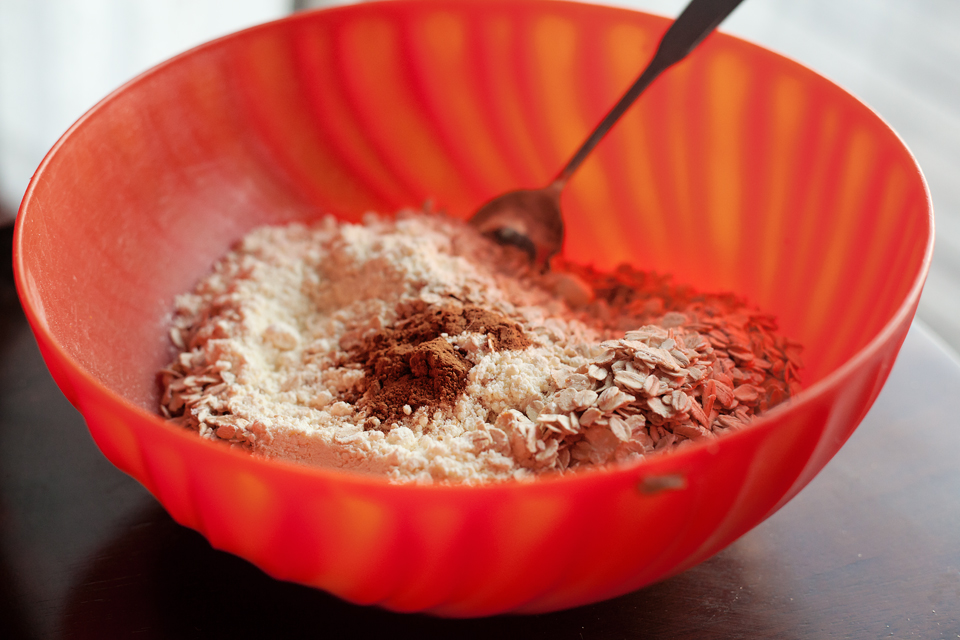
Preheat the oven to 375ºF. In a large bowl, combine the cake mix, oats, and cinnamon.
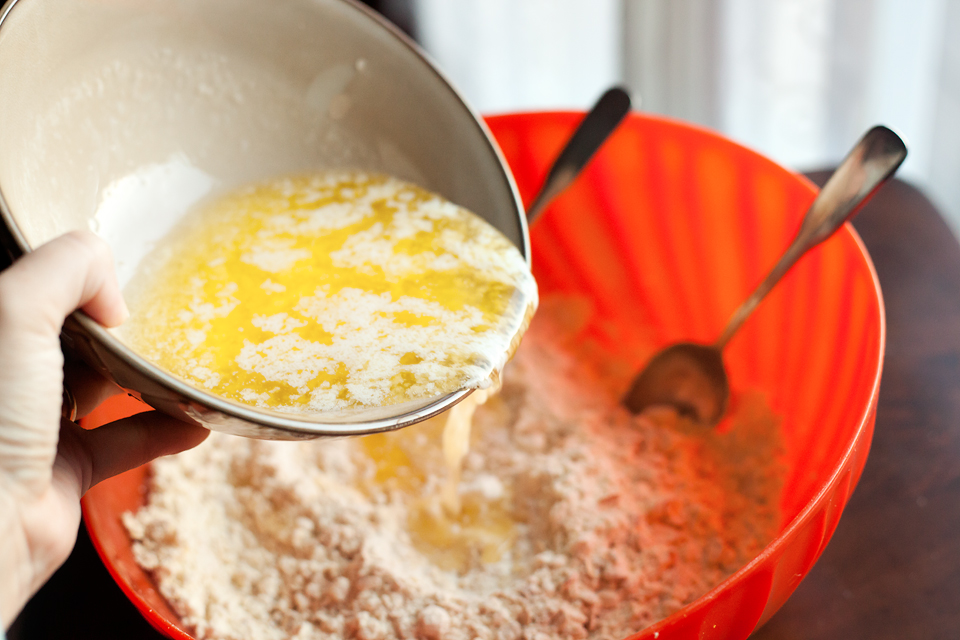
Add the melted butter and the eggs.
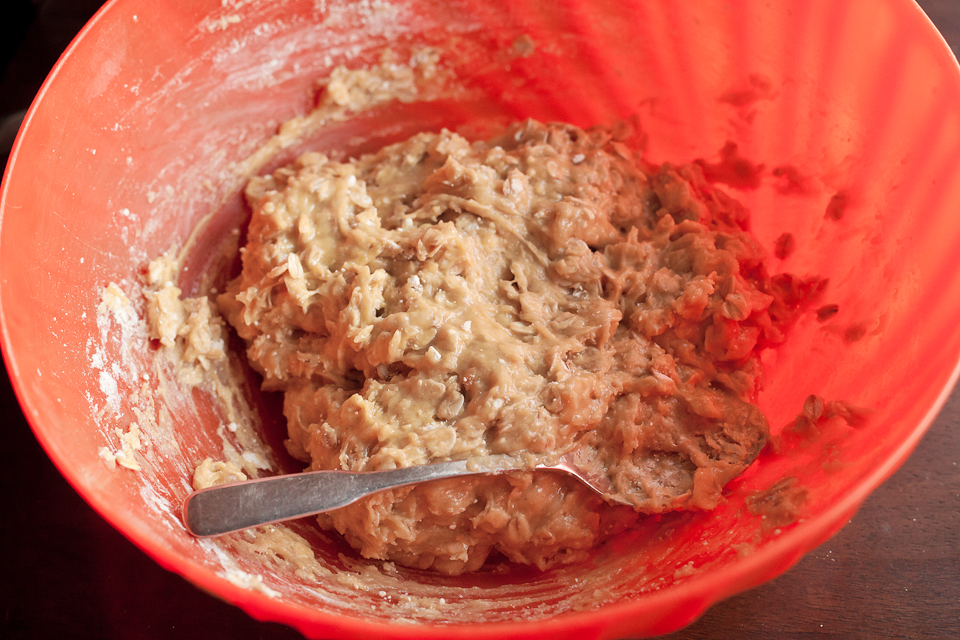
Mix until everything is well-combined. Set aside about 1 1/2 cups of the mixture.
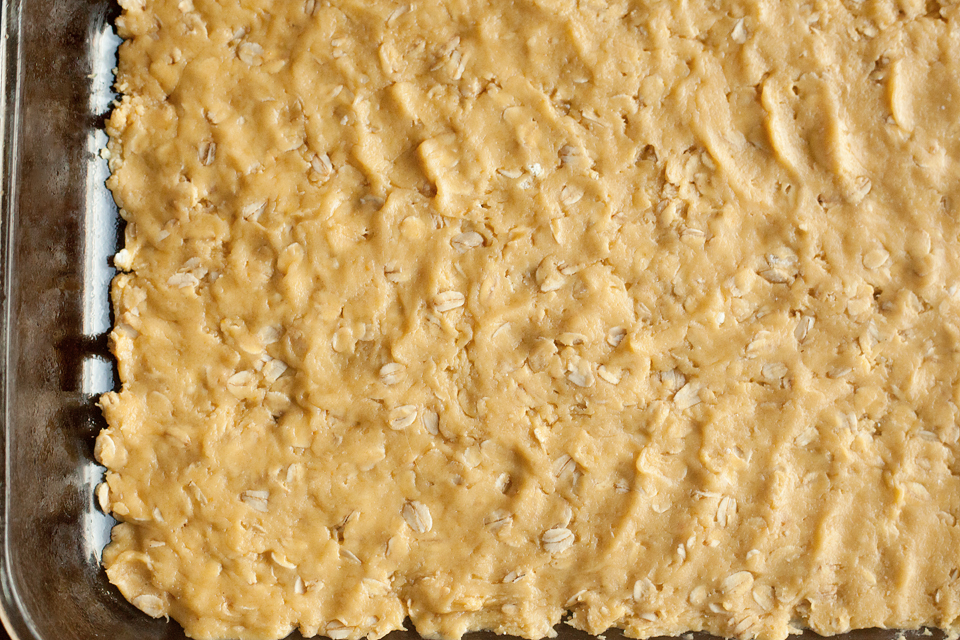
Spray a 9×13 baking dish with nonstick spray. Spread the remaining batter and push down into the pan, forming a crust.

Spread the cooled cranberry sauce evenly over the crust.
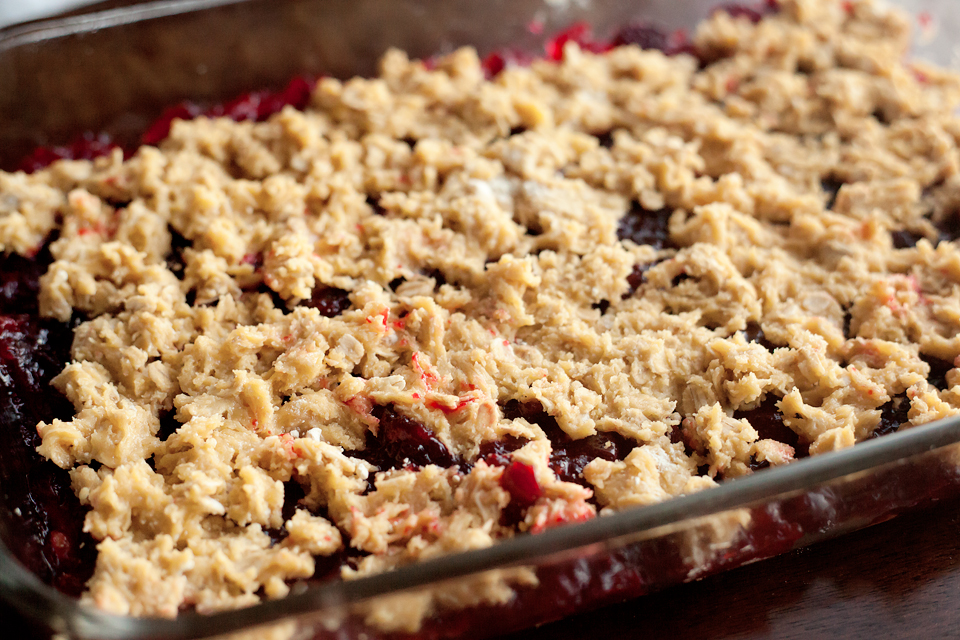
Then drop the reserved 1 1/2 cups of batter by the spoonful evenly over the mixture. With a fork or spoon, gently try to push down and spread some of each spoonful so it’s not as thick. You do not need to cover all of the cranberries; try to avoid pushing the batter down into the cranberry sauce.
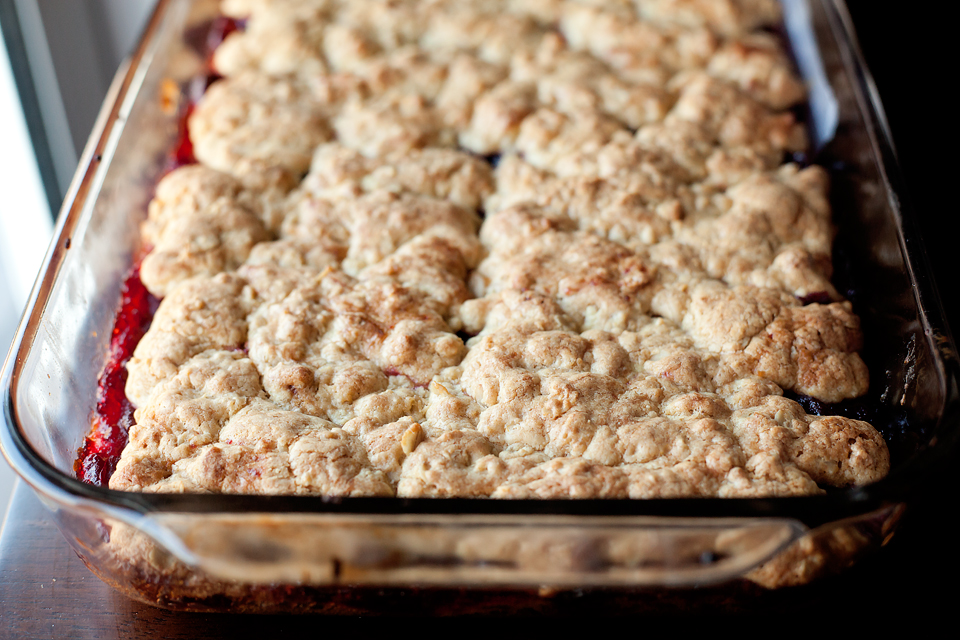
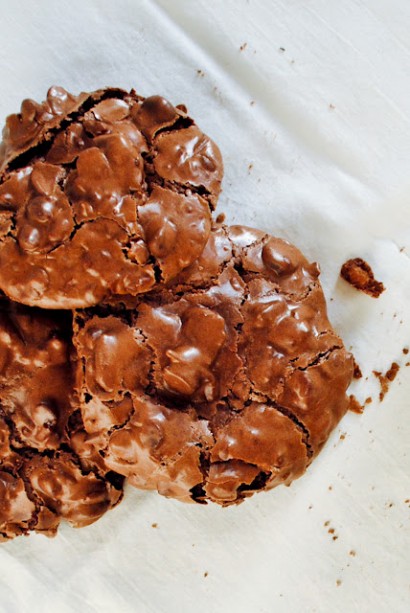
Bake for approximately 30-35 minutes or until the top is golden brown. Allow to cool for at least 2 hours before cutting into bars.
Recipe note: You may not need to bake these for the full 35 minutes, depending on your oven. Start checking them at about 25-30 minutes.
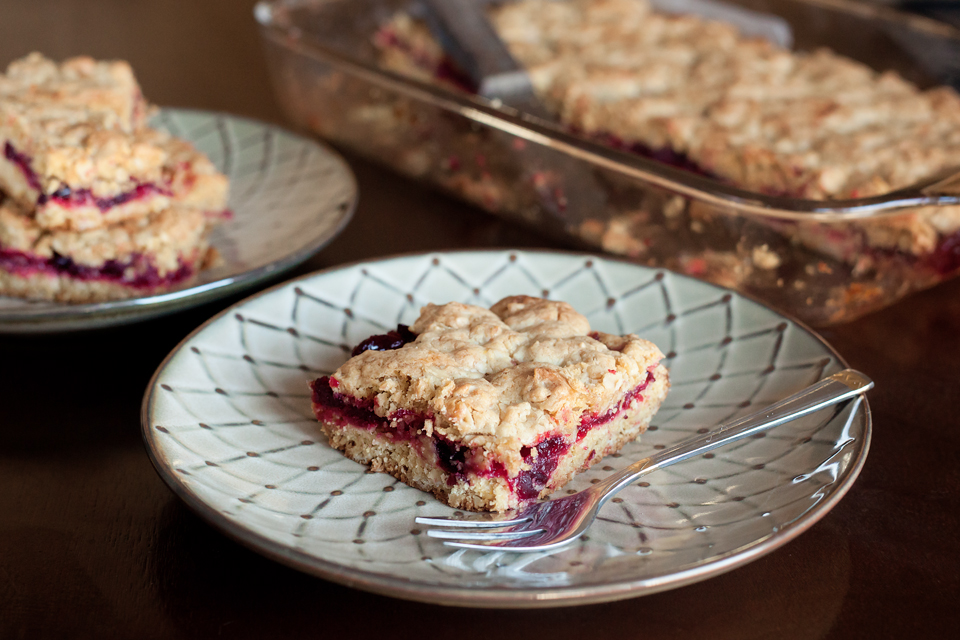
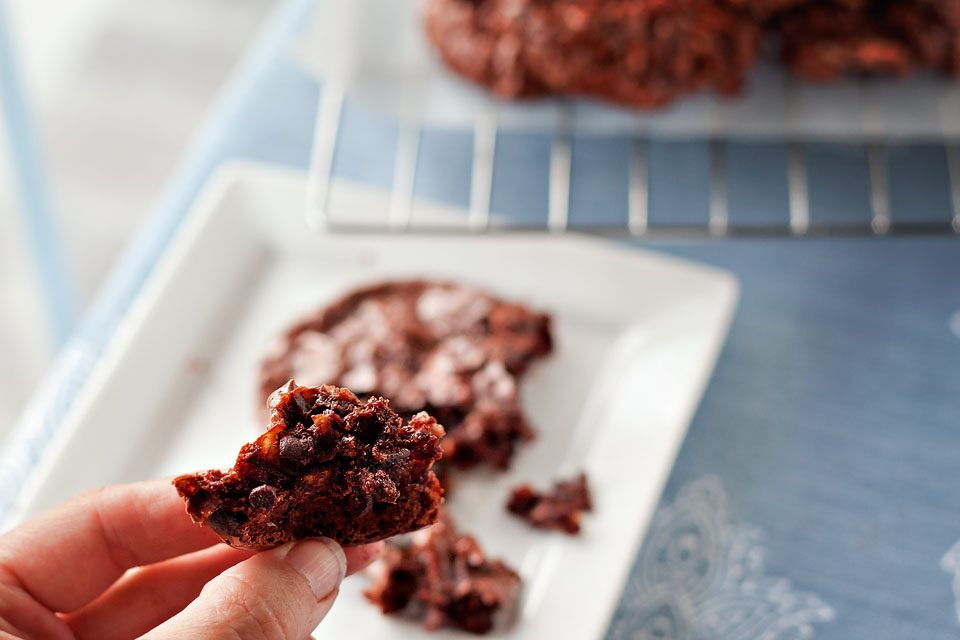
These are delicious on their own, and just as tasty with a dollop of whipped cream or ice cream! Perfect to go with any holiday meal.
Thank you Stephanie for sharing these goodies with us! You can check out more of her delicious looking recipes on her blog Eat. Drink. Love.
Printable Recipe

Print Options
Description
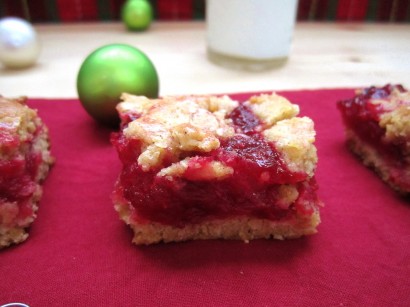
Cranberry Orange Bars—a perfect blend of sweet and tangy! Perfect for the holidays!
Ingredients
- ¾ cups Water
- 1 cup Sugar
- 1 bag (12 Oz. Size) Fresh Cranberries
- 1 whole Orange, Zest And Juice
- 1 box (18.25 Oz. Size) Yellow Cake Mix
- 1 cup Rolled Oats
- ¾ cups Butter, Melted
- 2 whole Eggs
- 1 teaspoon Cinnamon
Preparation Instructions
1. You’re basically going to start off by making cranberry sauce! In a saucepan, add the water and sugar. Stir until the sugar is absorbed. Add the rinsed cranberries, along with the orange juice and zest. Simmer for about 10-15 minutes until the cranberries pop and the mixture begins to thicken. Pour into a bowl and let cool completely (at least 1 hour).
2. Preheat the oven to 375ºF. In a large bowl, add the cake mix, oats, melted butter, eggs, and cinnamon. Mix until everything is well-combined. Set aside about 1 1/2 cups of the mixture. In a 9×13 baking dish, spray with nonstick spray. With the remaining batter, spread and push down into the pan, forming a crust.
3. Spread the cooled cranberry sauce evenly over the “crust”. Then, with the 1 1/2 cups of batter you reserved, drop it by the spoonful evenly over the mixture. Then, with a knife or spoon, gently try to push down and spread some of each spoonful so it’s not as thick. You do not need to cover all of the cranberries, and try to avoid pushing the batter down into the cranberry sauce. Bake for approximately 35 minutes or until the top is golden brown. Let the bars cool for at least 2 hours before cutting into bars (trust me on that one!)!
_______________________________________
Amber is a stay at home mom who lives in the heart of the Missouri Ozarks. It’s a long way from where she grew up, in Wales (yes, way over in the U.K.). The recipes in her blog Sprinkled with Flour include her original creations as well as her family recipes. Go check them out!