I don’t know about you, but I love making things from scratch—especially things that you’d normally buy at the grocery store. It tends to be a lot less expensive and more healthy when you do this. And it almost always tastes better.
But it can also be a big pain in the rear. Once I ran out of homemade taco seasoning, curry powder, ranch dressing mix, chicken broth, marinara, and pancake mix.
All in the same week.
After I spent a couple of days restocking, I decided I’d love to hire someone to keep my kitchen stocked with homemade staples. If I had to choose, I’d probably pick Tasty Kitchen member Laurie for the job. Cooking and baking from scratch is her gig! Plus, she’s super nice. (And she’d be fun to hang out with.)
Laurie’s recipe for Homemade Teriyaki Sauce caught my eye one day while browsing around Tasty Kitchen. I’m not a big fan of commercial teriyaki sauce because I find it way too sweet and full of other “stuff” I’d rather not eat, so making some from scratch really appealed to me.
I’m so glad I tried it! Laurie’s version is light and perfectly sweet. Luckily, it’s super easy. Here, I’ll show you.
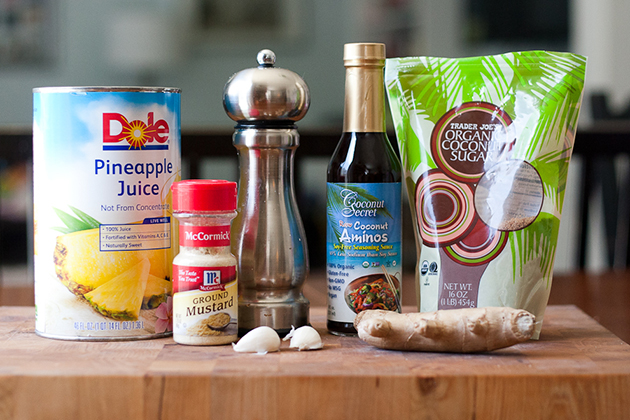
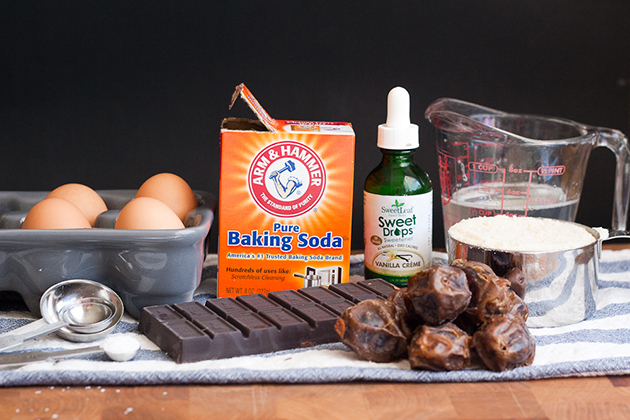
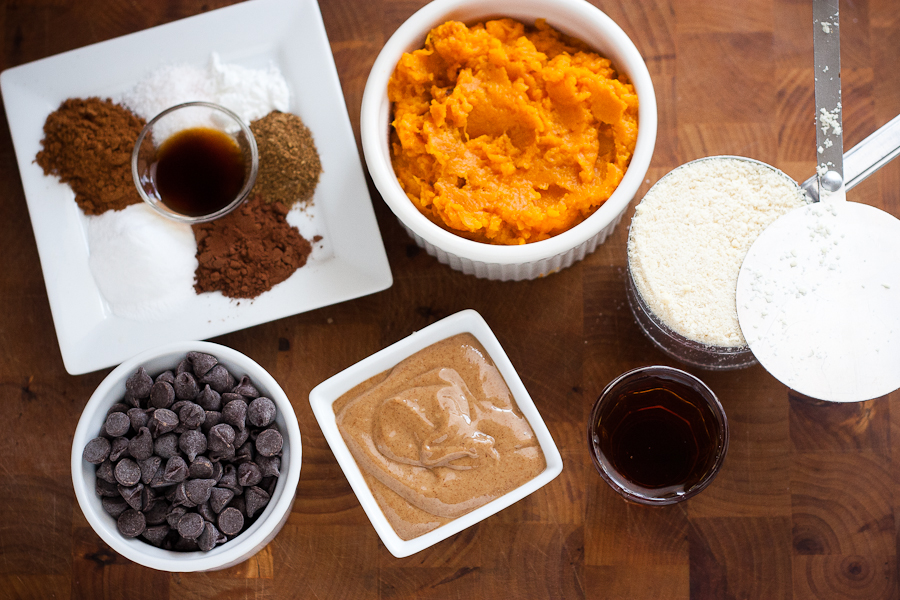
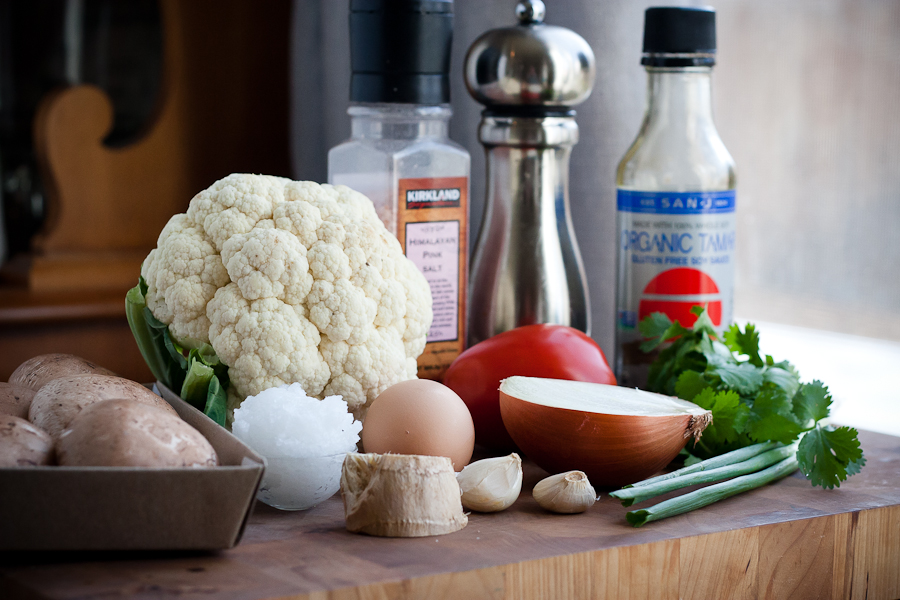
You’ll need pineapple juice, ground mustard, pepper, fresh garlic, fresh ginger, soy sauce, and a sweetener.
If you happen to have allergies or avoid certain types of foods, you can do some substitution here. Because we avoid soy products and refined sugar, I used coconut aminos (a milder alternative to soy sauce) and coconut sugar (a less processed sweetener that has a similar taste to brown sugar).
Also, if you can’t have pineapple juice, then Laurie suggests white grape juice as a good alternative.
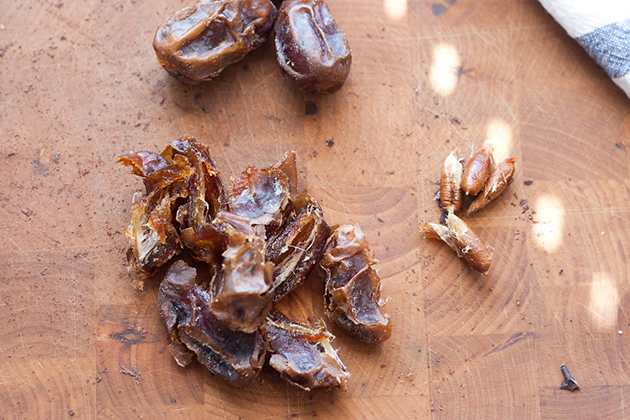
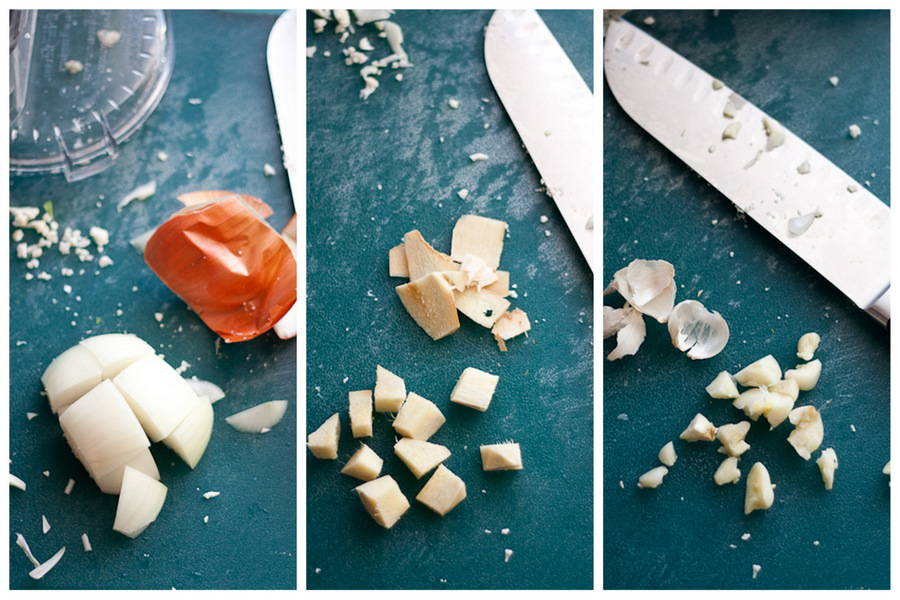
Just be sure to use fresh ginger and garlic!
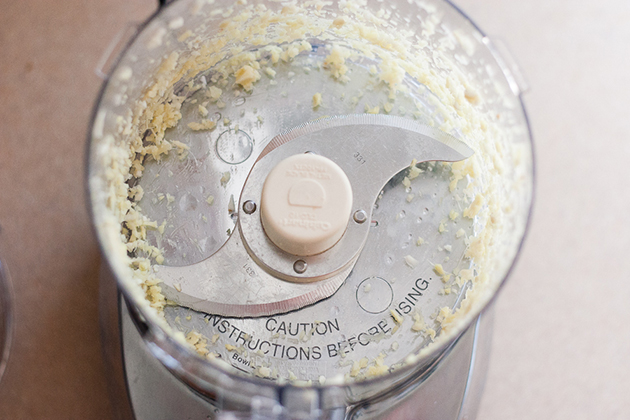
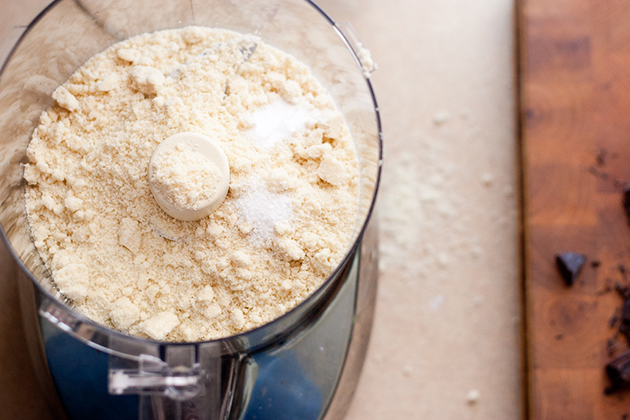
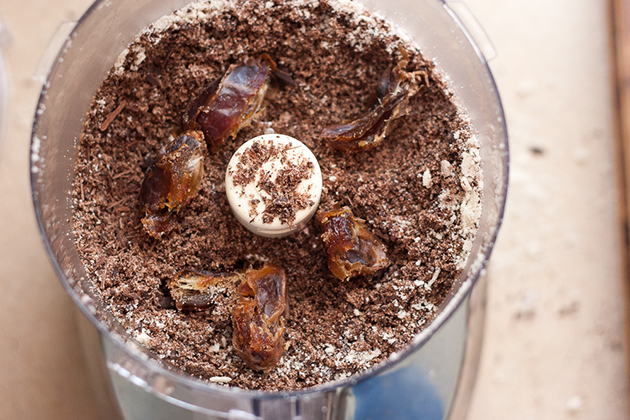
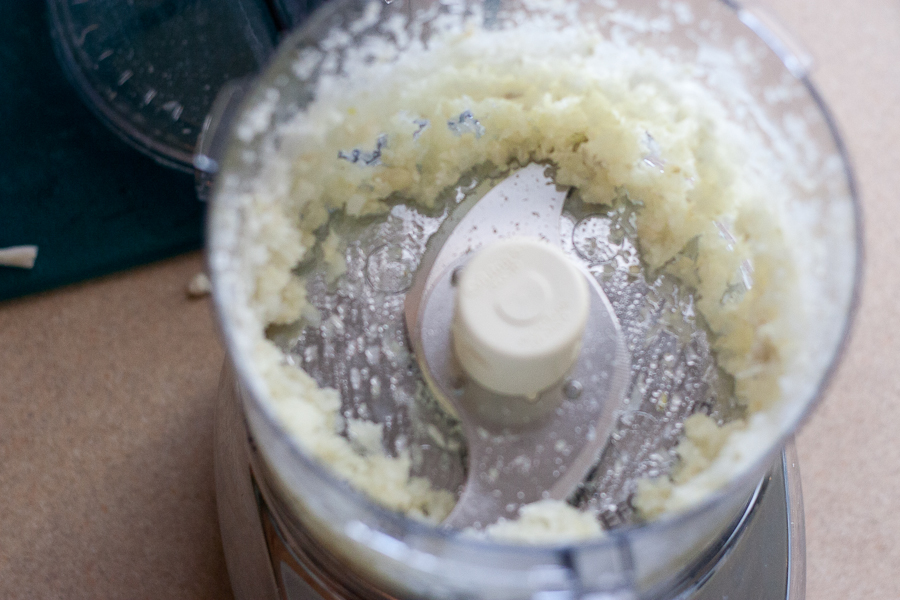
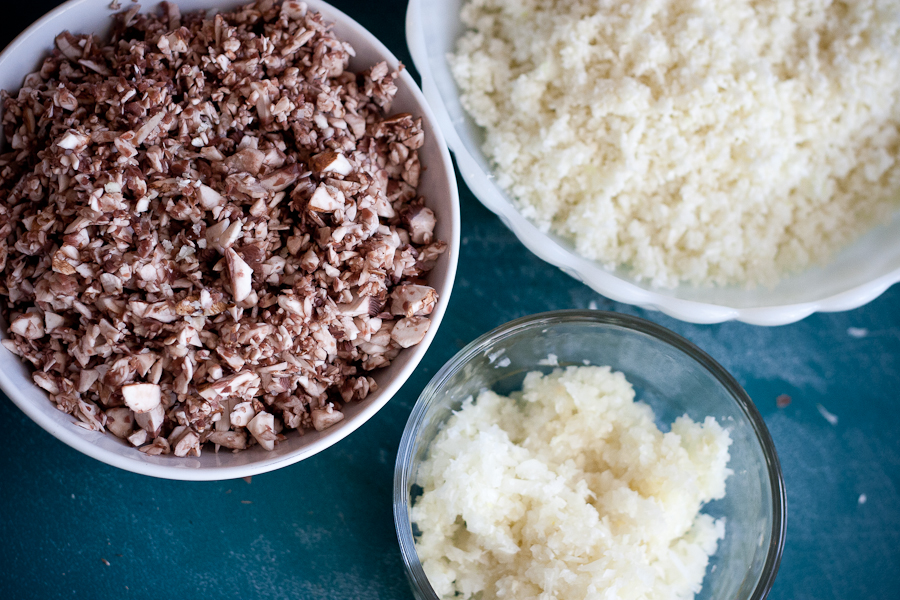
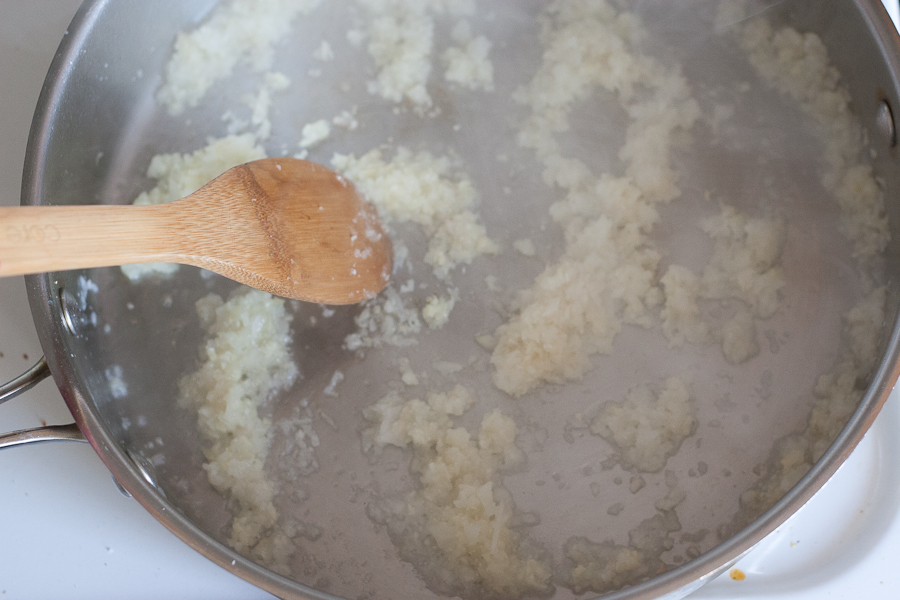
First, peel the garlic and ginger and mince it in your food processor. You can also use a knife if you like. Just make sure the pieces are really small.
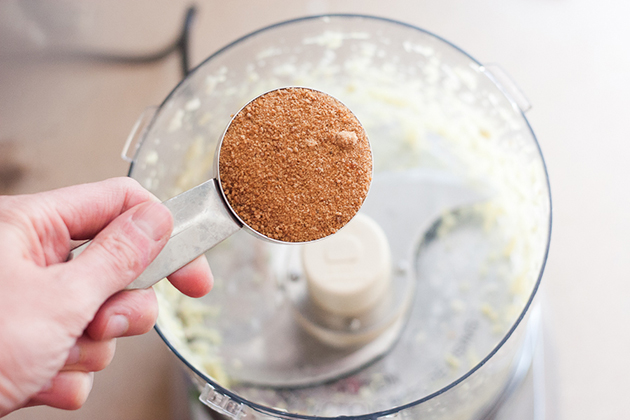
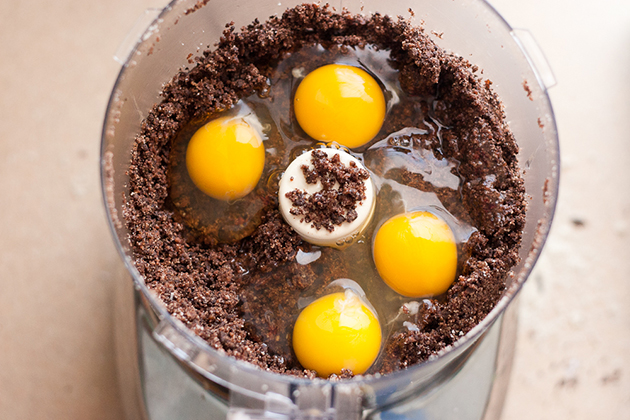
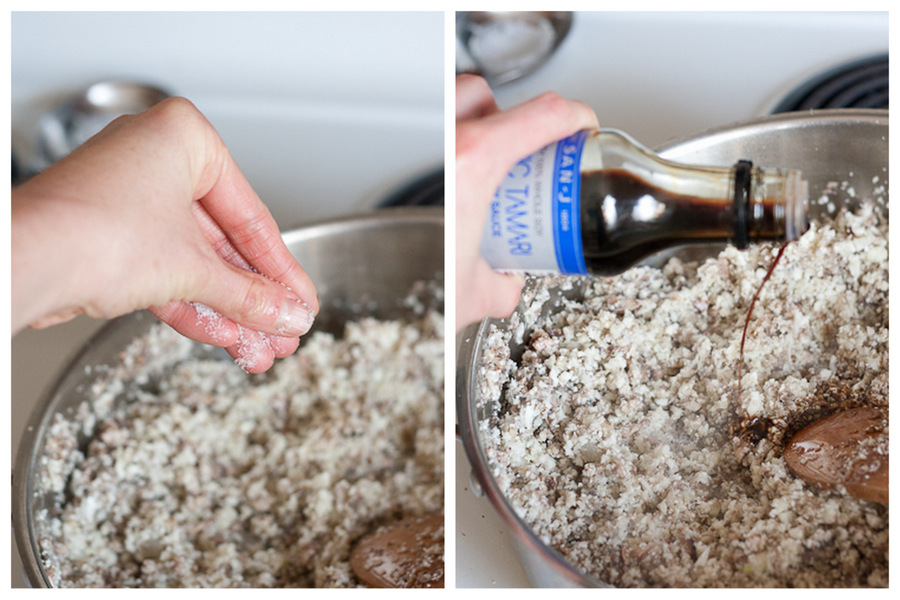
Add the sugar.
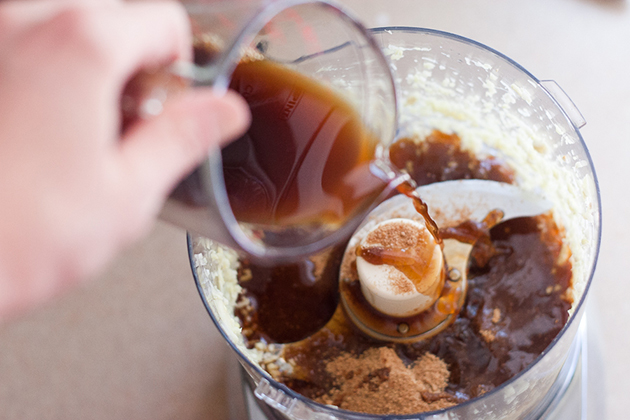
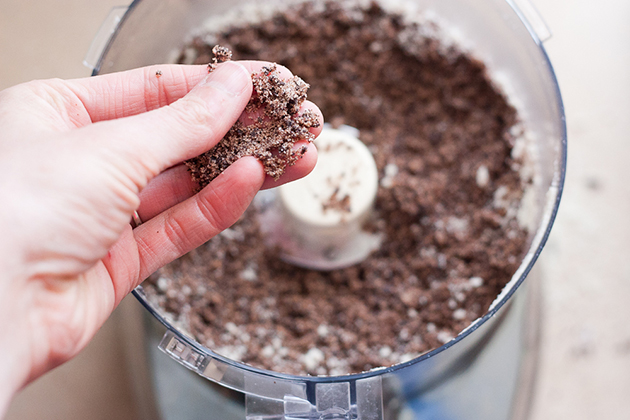
Add the soy sauce.
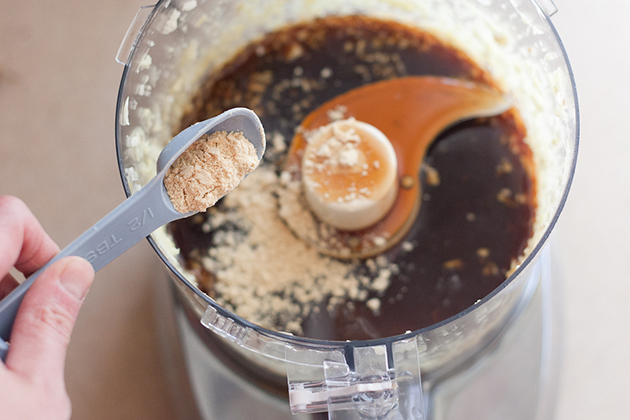
And the ground mustard.
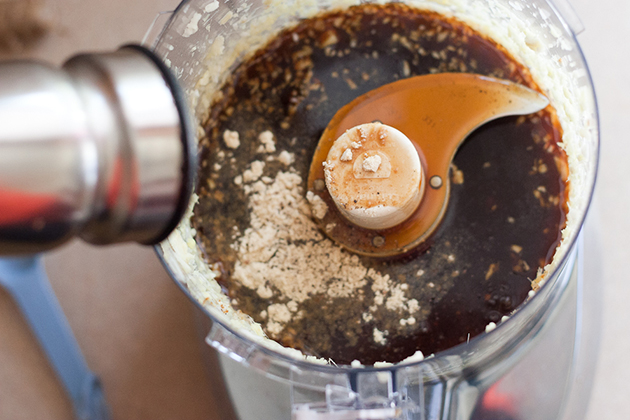
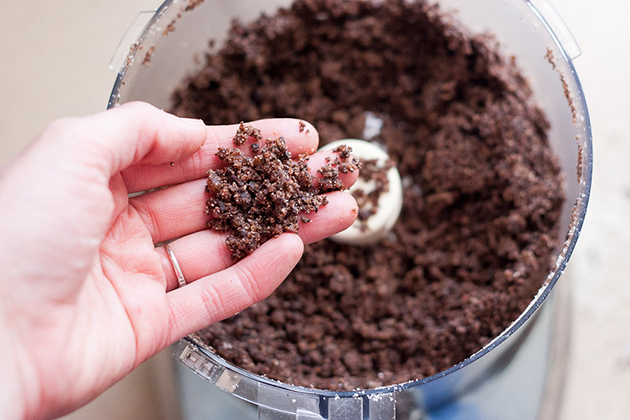
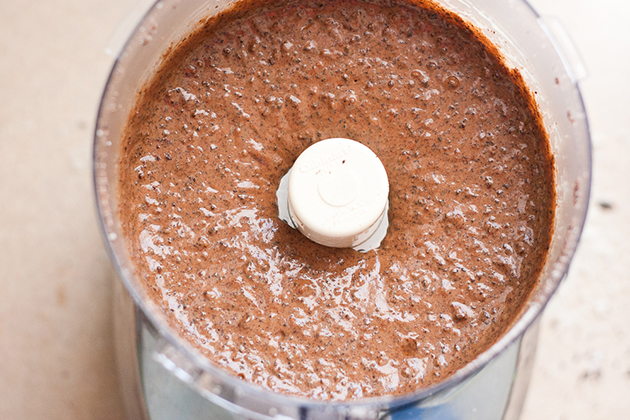
And the pepper. Then give the whole thing a thorough buzz.
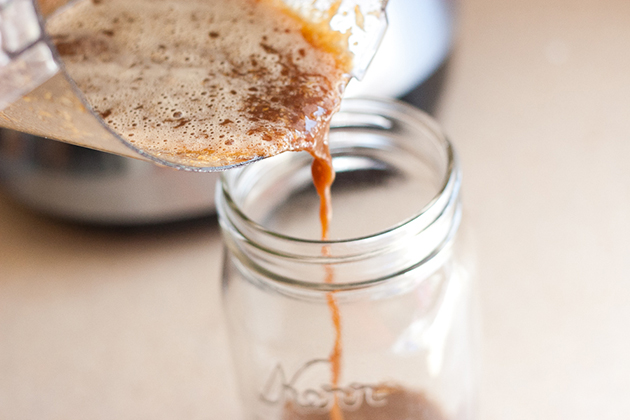
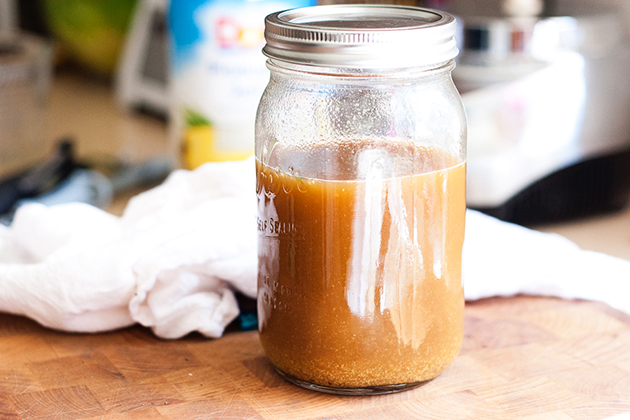
Pour it into a quart-sized jar. I used a Mason jar because I’m in love with them.
Seriously. I have a drawer in my kitchen dedicated to mason jar lids and rings. You’d think that I also do my fair share of preserving, but I don’t. I’m just a weirdo.
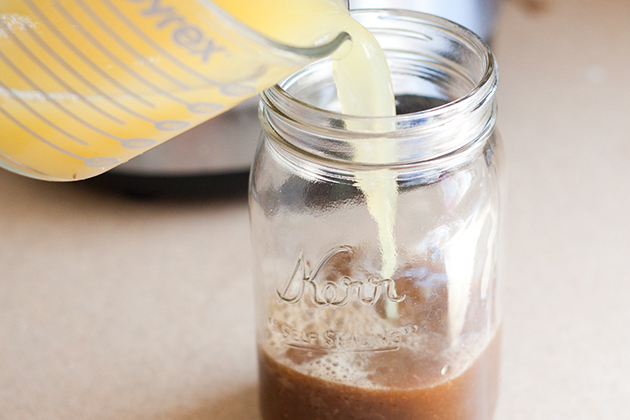
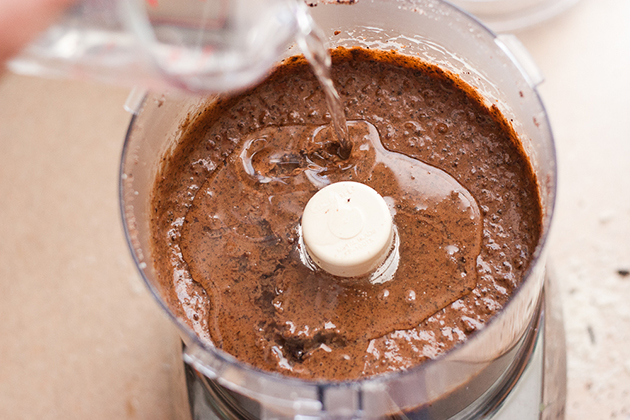
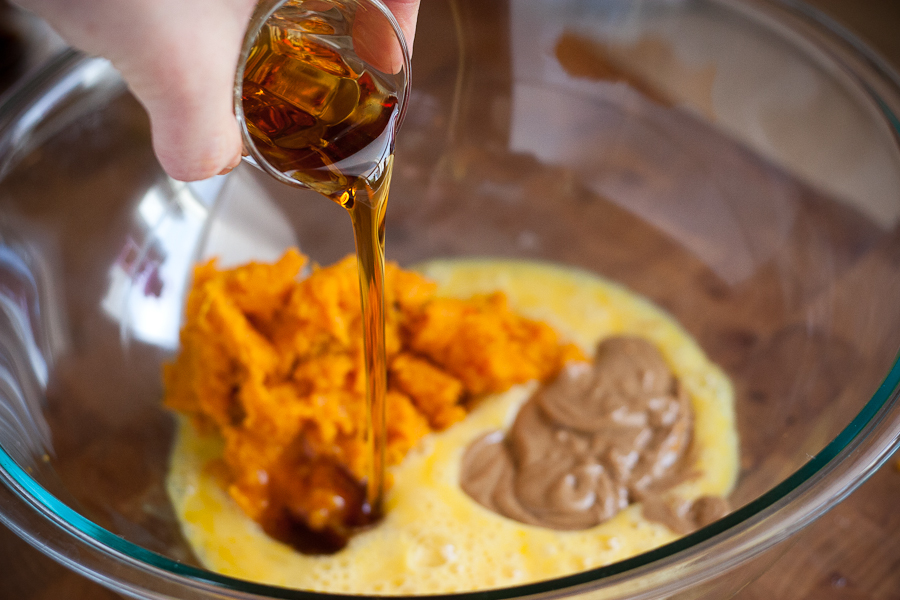
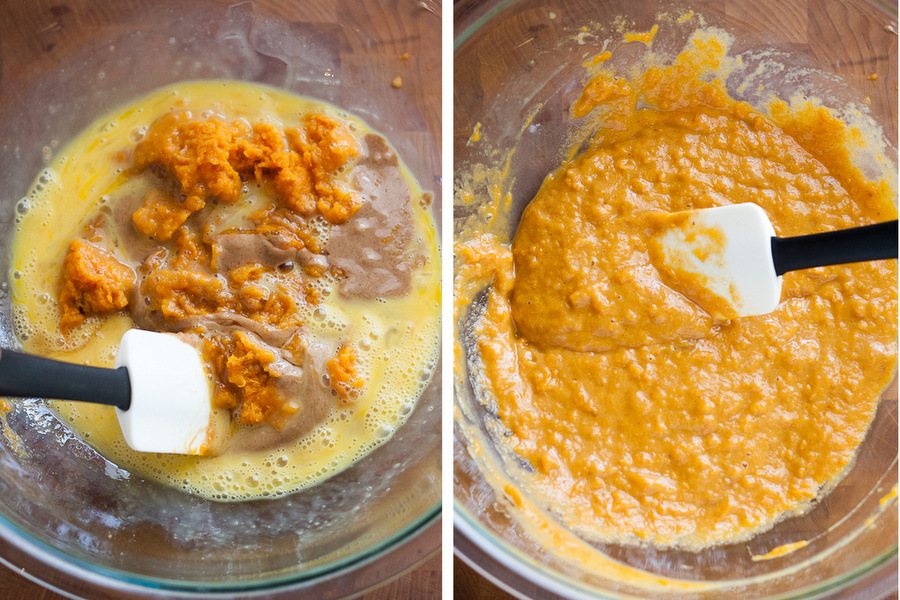
Now pour in the pineapple sauce and give it a good shake.
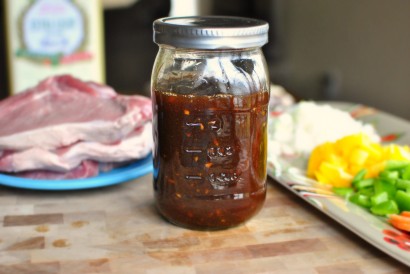
Aaand … that’s it. Voilà! Teriyaki sauce. It’s ready to use!
I noticed that mine is considerably lighter in color than Laurie’s. I think it’s because coconut aminos is lighter in color than soy sauce.
You can use this like you would regular teriyaki sauce.
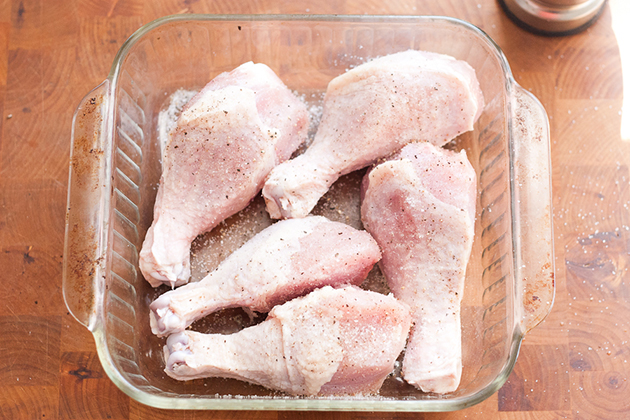
One night I had some naked drumsticks staring at me and begging for a marinade.
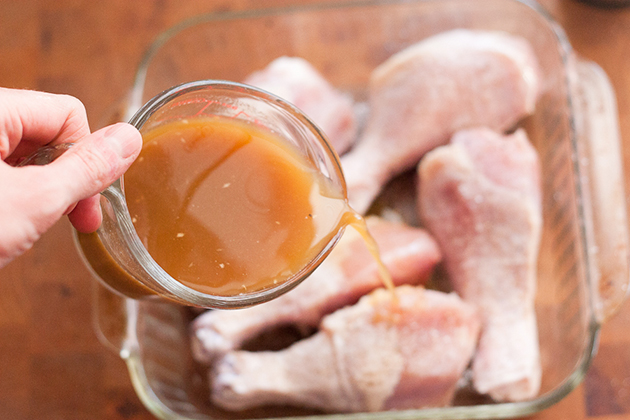
After a good salt and pepper shower, I poured about a cup of the teriyaki sauce on them and let them sit for a while. (It really wasn’t that long, and I’d definitely let them marinate for several hours next time.)
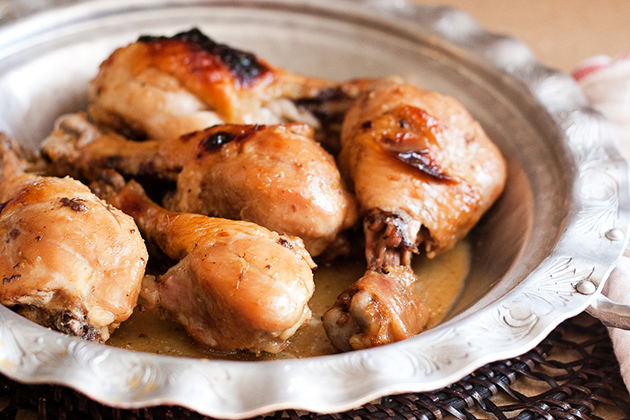
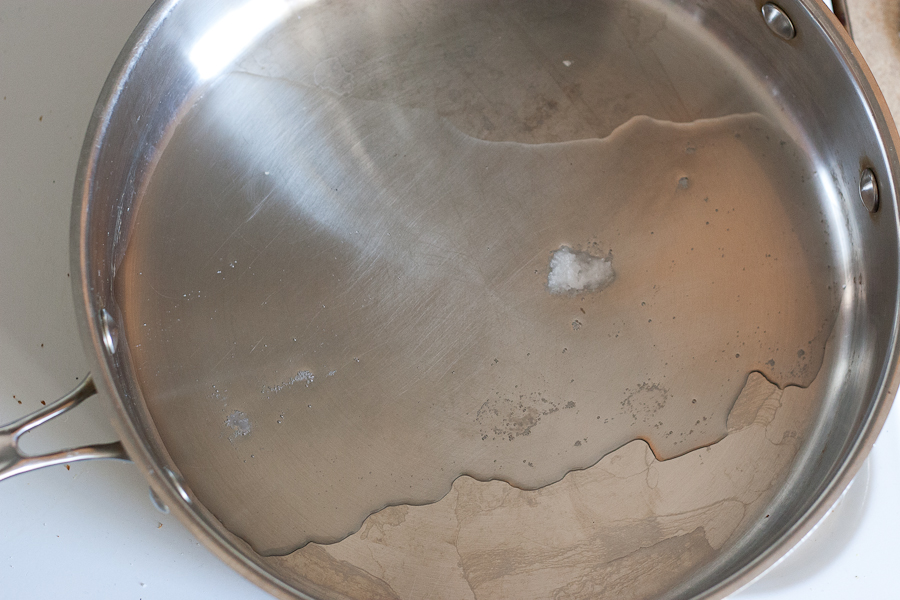
After baking for about 40 minutes, we ended up with this: juicy, tender, flavorful chicken and some CRAZY good pan sauce that my kids practically licked off their plates!
(Did you know pineapple juice is a natural meat tenderizer? It has something to do with the enzymes in the fruit, but don’t ask me how. That’s as scientific as I get.)
I’ve also used it in a vegetable and pineapple stir-fry and on some foil-packet grilled salmon. I think it’s safe to say that this will be a regular pantry staple. Luckily it keeps for about a month in the fridge!
Thanks so much, Laurie! Be sure to check out Laurie’s TK recipe box as well as her own beautiful blog, Simply Scratch, for more from-scratch recipe inspiration.
Printable Recipe

Print Options
Description
Who knew making your own teriyaki sauce was THIS easy?
Ingredients
- 2 cloves Fresh Garlic, Smashed, Peeled And Roughly Chopped
- 1 Tablespoon To 2 Tablespoons Fresh Ginger, Peeled And Roughly Chopped
- ¼ cups Dark Brown Sugar
- ½ cups Tamari Or Soy Sauce
- ½ Tablespoons Dry Mustard
- ¼ teaspoons White Pepper
- 2 cups Pineapple Juice
Preparation Instructions
Place the chopped garlic and ginger in a blender or food processor and pulse to mince.
Add the brown sugar, tamari, dry mustard and white pepper into the food processor with the garlic and ginger and pulse until combined and the sugar is dissolved.
Pour the tamari/garlic/ginger mixture into a large jar and add in the juice. Shake and store in the fridge for a month (maybe longer)!
Note: Use tamari instead of soy sauce to keep this gluten free. Also white grape juice can be substituted for the pineapple juice if in a pinch!
_______________________________________
Be sure to check out Natalie’s own beautiful food blog, Perrys’ Plate, where you can see her growing collection of lovely recipes. There’s always something new to see there. Go visit now!