No Reviews
You must be logged in to post a review.

A real treat for the kids! Perfect for a birthday party activity!
NOTE: The above ingredient list is a guide, and will make 1 color. So you’ll need to double, triple, quadruple, etc the ingredients list if you want to make a bunch of flavors and colors. Read on for specifics for your desired quantity.
For each color desired:
Place the sugar into a blender or food processor along with 5-10 drops of food coloring (the more coloring, the darker the final sugar), 1/2 packet of the Kool-Aid and 1/4 teaspoon of cornstarch. I pick a color that compliments the flavor of the drink mix (yellow for lemon, blue for blue raspberry, purple for grape, etc).
Once the sugar is the correct color, transfer it to a bowl or storage container. Stir the sugar mixture well to make sure everything is well mixed. Set aside. And then repeat the process/ingredients list for as many additional colors/flavors that you want.
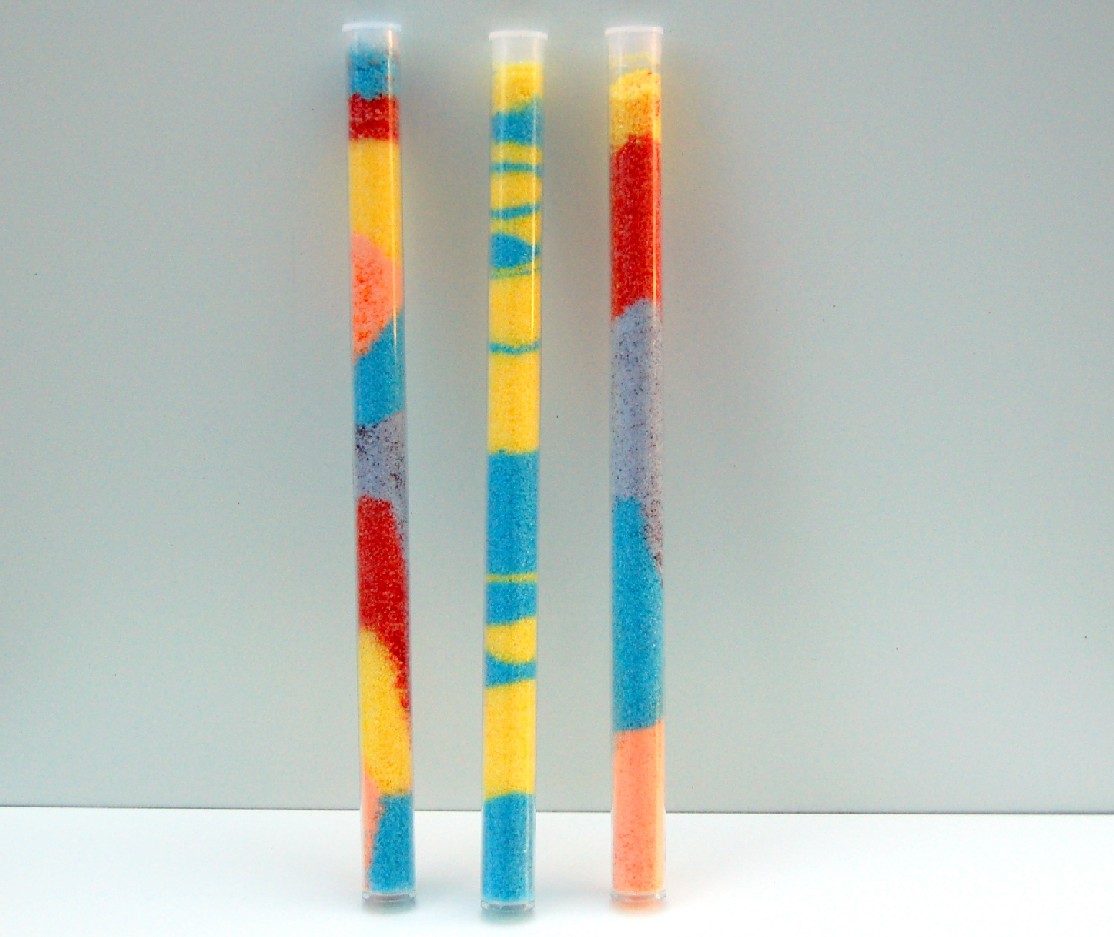
Now for the fun: Fill one squirt bottle with each flavor of sugar (we took our coupon to Michael’s and bought a set of food safe bottles). Let the kids squeeze the sugar, in layers, into the container chosen.
We work outside or over a cookie sheet to make clean-up easier.
Choose a container/tube that is fun, but small. I don’t use anything too large or the kids get a HUGE sugar rush.
We have used the sand art bottles from mail order as the vehicle to store and “squirt” the sugars as well as from kits that we had laying around (they must be clean and unused).
If you are not sure if the containers are clean, they can be washed with warm, soapy water a few days before they are to be used (if you do this, make sure they are dry or the sugar will stick and clump after it is in the container).
I generally use 3-5 flavors and let them “create” a design. The best part is that when they are done, they can eat it. Then, the container can be recycled or even re-used for an actual sand art project.
Note: Test tubes can be ordered from various websites that are fairly inexpensive and they look very scientific. Also, the openings are large enough that they don’t clog when the kids are eating the sugar. I have gotten them from “Shot Wizard”, where they run about $35 for 250 tubes and caps (sold separately). This place can even print on the tubes for a special occasion. I do suggest the ½ ounce to ¾ ounce size: they are plenty large enough without being too much sugar all at once.
As for amounts of sugar needed: there are 8 ounces in a cup, so 2 cups of sugar will fill just under sixteen ½ ounce tubes. When you are making the sugar, just do the math but keep in mind that this means total sugar, not per flavor. I had a friend make that mistake and she had to order more tubes just to use all of the sugar.
No Comments
Leave a Comment!
You must be logged in to post a comment.