The Pioneer Woman Tasty Kitchen
Profile Photo

Homemade Granola Bars

4.00 Mitt(s) 2 Rating(s)2 votes, average: 4.00 out of 52 votes, average: 4.00 out of 52 votes, average: 4.00 out of 52 votes, average: 4.00 out of 52 votes, average: 4.00 out of 5

Prep:

Cook:

Level: Easy

System:

10
x

Print Options

Page size Letter 3x5 4x6
Text Size Small Medium Large
Content Include description
Include prep time, etc.
Show image

Description

You will never buy boxed granola bars again! These are sweet, delicious and packed with nutty goodness.

Ingredients

  • 1-⅔ cup Old Fashioned Rolled Oats
  • ⅓ cups Oat Flour (whizz 1/3 Cup Of Rolled Oats In Food Processor Until It Is Flour-like In Texture)
  • ½ cups Sugar
  • ½ teaspoons Salt
  • ¼ teaspoons Cinnamon
  • ¼ teaspoons Fresh Grated Nutmeg
  • 3 cups Dried Fruit & Nuts (my Mix: 1 Cup Chopped Pecans, 1 Cup Dried Cranberries, 1/2 Cup Sunflower Seeds, 1/2 Cup Semi Sweet Choc Chips)
  • ⅓ cups Peanut Butter (almond Butter Or Nutella Can Also Be Used)
  • 1 teaspoon Vanilla
  • 4 Tablespoons Melted Butter
  • ¼ cups Honey, Maple Syrup Or Light Corn Syrup
  • 2 Tablespoons Light Corn Syrup
  • 1 Tablespoon Water

Preparation

Preheat oven to 350° and line a 9×9 baking ban with a piece of parchment paper making sure the ends go all the way up the walls of the pan, then coat the pan with non- stick cooking spray. This will help easily remove the bars from the pan once they are cooled.

Mix together all dry ingredients in a large bowl, including the dried fruit and nuts. In a separate bowl combine the peanut butter, vanilla, melted butter, honey or maple syrup, 2 tablespoons of corn syrup and water then whisk until well incorporated. Toss the wet ingredients in with the dry and combine until the ingredients are well coated and the mixture is nice and crumbly. Spread mixture into prepared pan and press firmly. I cover mine with a piece of plastic wrap first so as to keep the mixture in the pan and not all over my hands.

Pop the pan in the preheated oven and bake for 35 – 40 minutes until the edges are nice and brown. Don’t be afraid to get a little color on these, it’s a sign that your nuts are getting nice and toasty…just make sure you don’t go too far and burn them. I find 40 minutes works perfect for my oven. The middle will seem a little under done when you take them out but don’t worry, they will firm up as they cool.

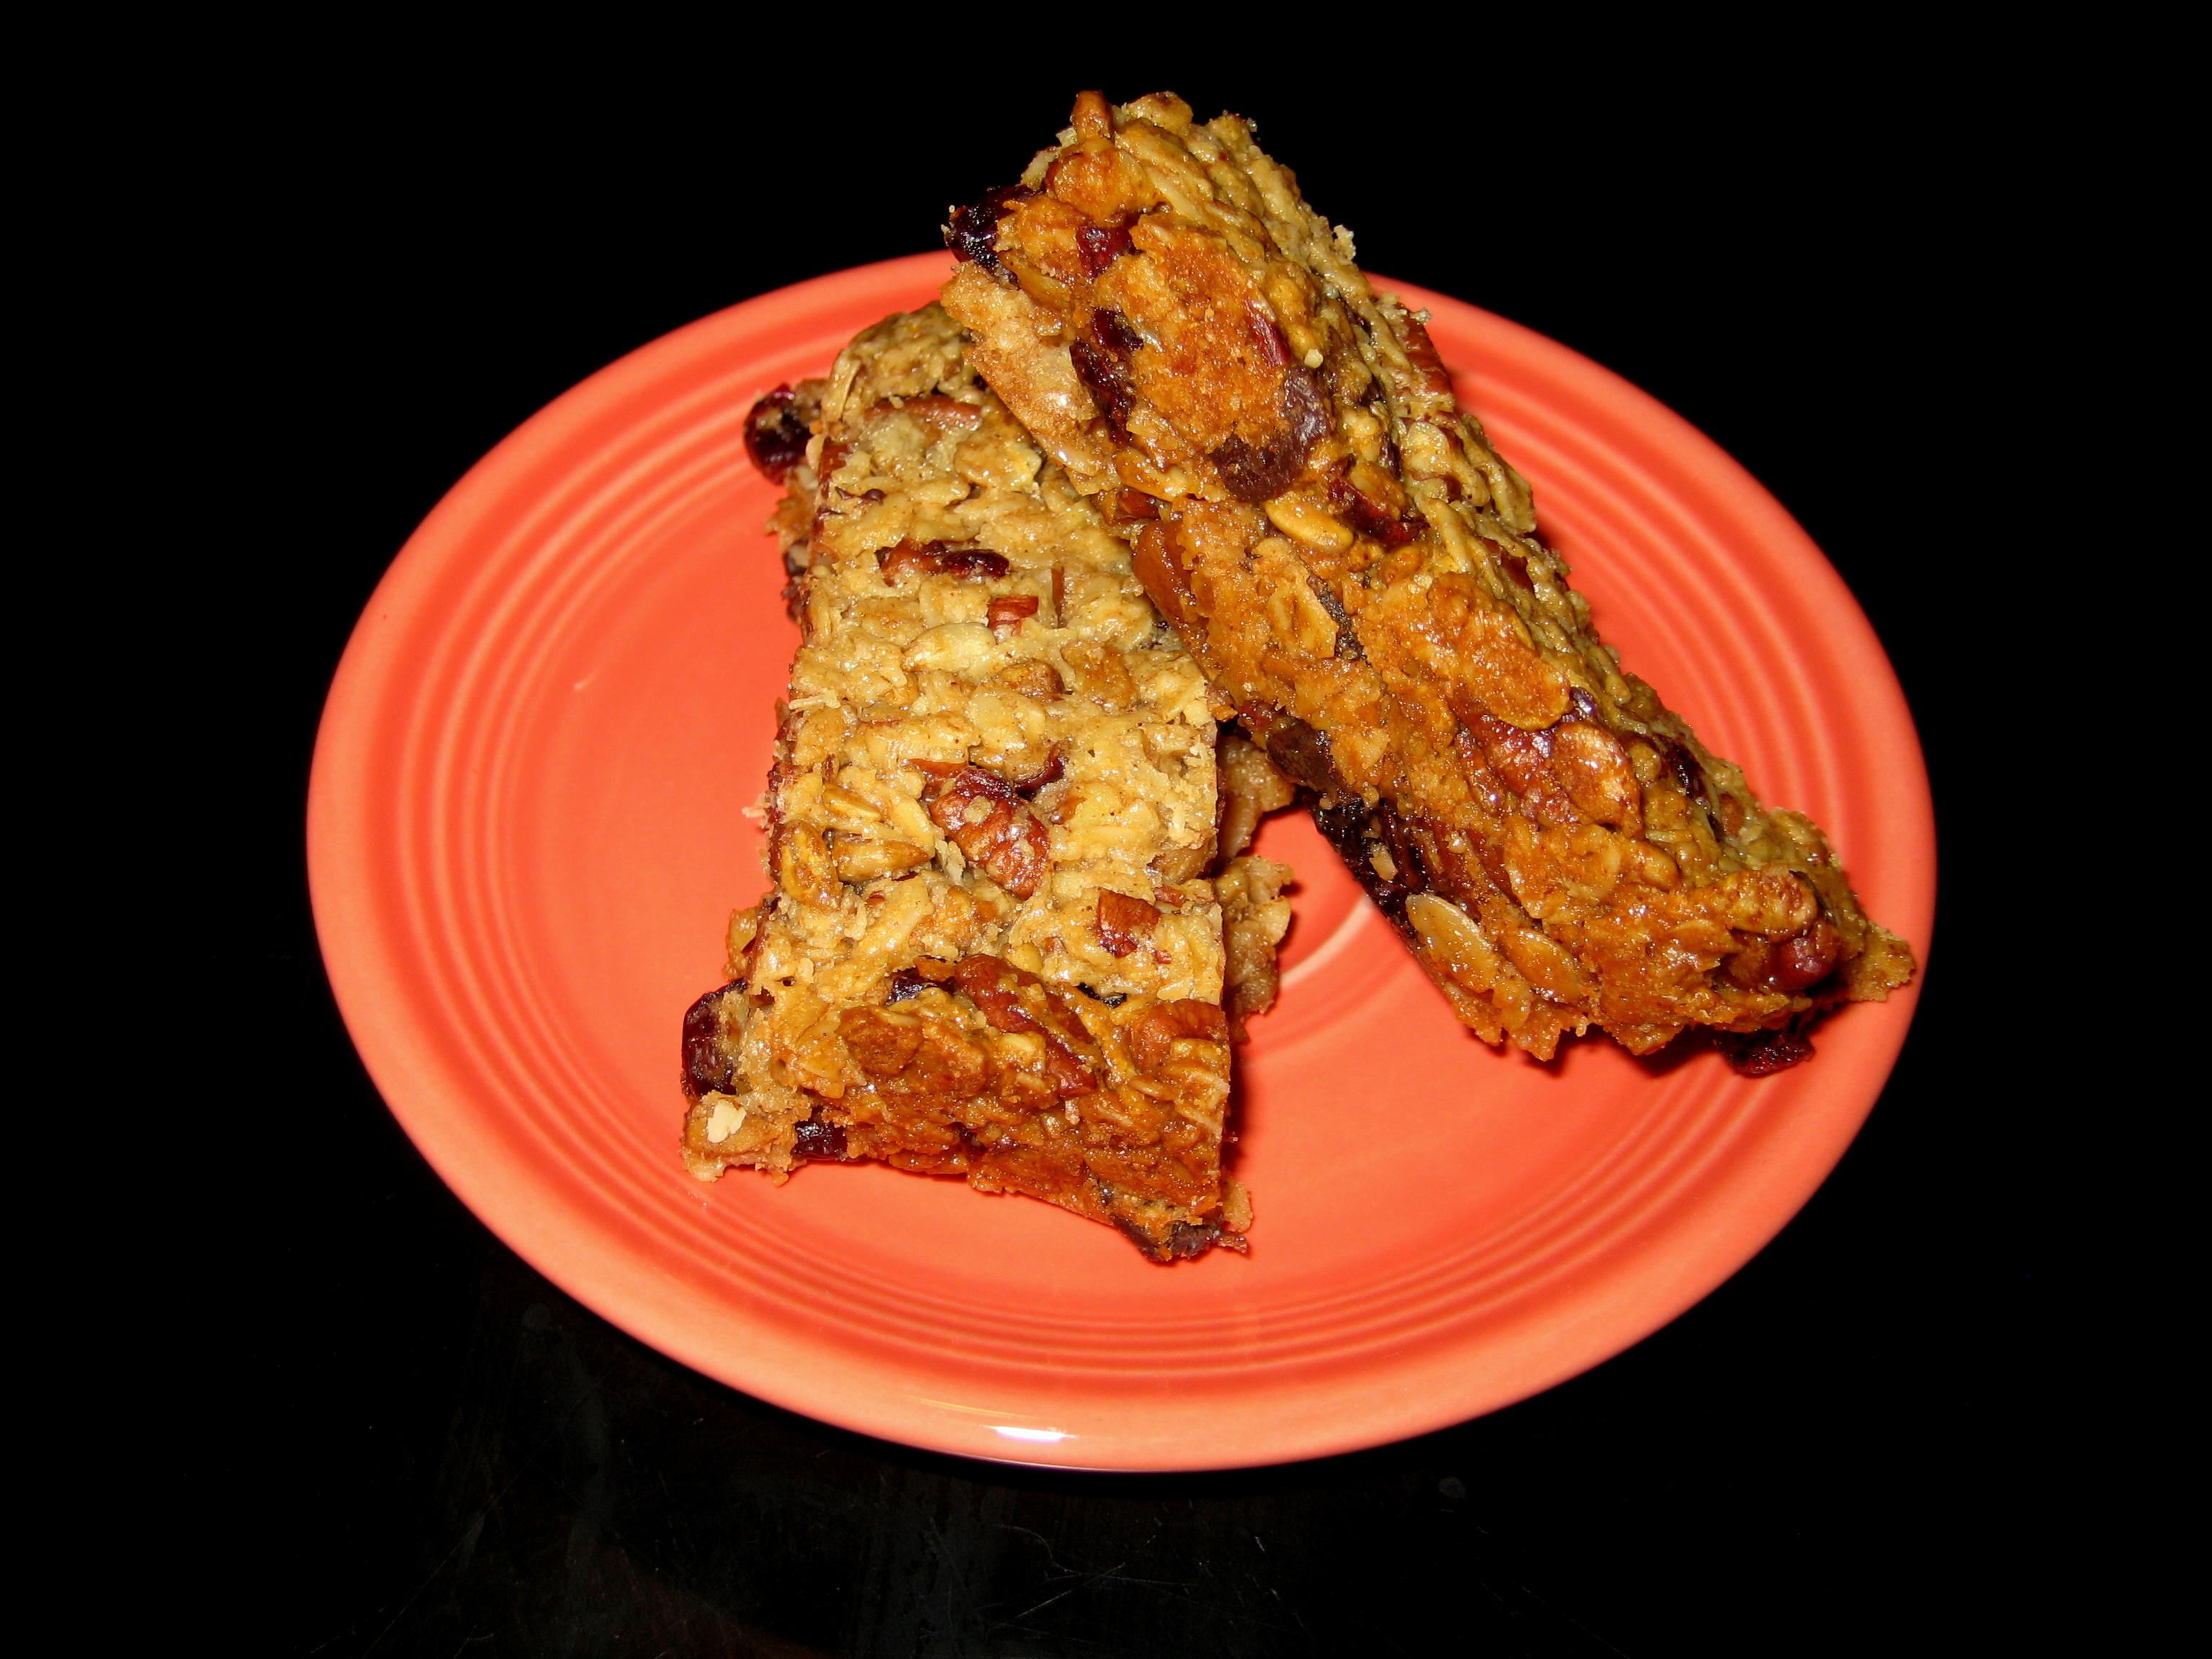
Now this is the hard part because they smell so good . . . let the bars cool in their pan on a cooling rack completely. This means at least 2 hours. However after about 30 minutes you can grab the edges of your parchment and lift the bars out of the pan to continue cooling. You want your bars to be completely room temperature before cutting into them, in fact I even pop mine into the fridge for a good 30 minutes just to be sure. Once cooled, using a serrated knife, cut into desired sized pieces. If they start to crumble then they’re not completely cool – so pop ‘em back in the fridge and try again in 15 minutes.

To store wrap bars individually in wax paper or stack in an airtight container. For us Florida folks I recommend keeping them in the fridge because of all the humidity but those in cooler climates should be fine with leaving them out.

No Comments

You must be logged in to post a comment.

2 Reviews

You must be logged in to post a review.

Profile photo of cookingcathy

cookingcathy on 1.25.2011

These were so good, I made them twice in one week. I didn’t use any parchment paper, I just buttered the baking dish really well. I also added some ground flax and I used dried blueberries and cherries. They were gone very quickly. Thanks for a great recipe!

Profile photo of ashdmc

ashdmc on 6.28.2010

I really thought these were going to be a great treat, but I was disappointed. I had no problem following the instructions and they smelled so delicious while baking but that’s where it ended. After letting the bars cool as directed, they were completely stuck to the parchment paper and it could not be peeled off. I had to throw the entire batch away – because of the paper. Can these be baked directly in a pan, without the paper?

Related Recipes

Hashbrown Casserole with Ham
Profile Photo by Krystle in Breakfast
Crispy hashbrowns, fluffy eggs, and ham come together in this easy...
0.00 Mitt(s) 0 Rating(s)0 votes, average: 0.00 out of 50 votes, average: 0.00 out of 50 votes, average: 0.00 out of 50 votes, average: 0.00 out of 50 votes, average: 0.00 out of 5

Prep: Cook:

Serves: 10 Level: Easy


Fluffy Buttermilk Pancakes
Profile Photo by simmering essence in Breakfast
In all the years I’ve made these, we’ve never gotten tired...
4.00 Mitt(s) 1 Rating(s)1 vote, average: 4.00 out of 51 vote, average: 4.00 out of 51 vote, average: 4.00 out of 51 vote, average: 4.00 out of 51 vote, average: 4.00 out of 5

Prep: Cook:

Serves: 6 Level: Easy


Vegan Acai Oatmeal
Profile Photo by AD Kitchen in Breakfast
We use acai super powder to make a Vegan Acai Oatmeal...
0.00 Mitt(s) 0 Rating(s)0 votes, average: 0.00 out of 50 votes, average: 0.00 out of 50 votes, average: 0.00 out of 50 votes, average: 0.00 out of 50 votes, average: 0.00 out of 5

Prep: Cook:

Serves: 1 Level: Easy


Cinnamon Coffee Cake
Profile Photo by Krystle in Breakfast
What's not to like about this cake with a rich cinnamon...
5.00 Mitt(s) 1 Rating(s)1 vote, average: 5.00 out of 51 vote, average: 5.00 out of 51 vote, average: 5.00 out of 51 vote, average: 5.00 out of 51 vote, average: 5.00 out of 5

Prep: Cook:

Serves: 11 Level: Easy


Easy Vanilla Oatmeal
Profile Photo by AD Kitchen in Breakfast
The smell and the flavor of vanilla in the morning will...
0.00 Mitt(s) 0 Rating(s)0 votes, average: 0.00 out of 50 votes, average: 0.00 out of 50 votes, average: 0.00 out of 50 votes, average: 0.00 out of 50 votes, average: 0.00 out of 5

Prep: Cook:

Serves: 1 Level: Easy