One Review
You must be logged in to post a review.

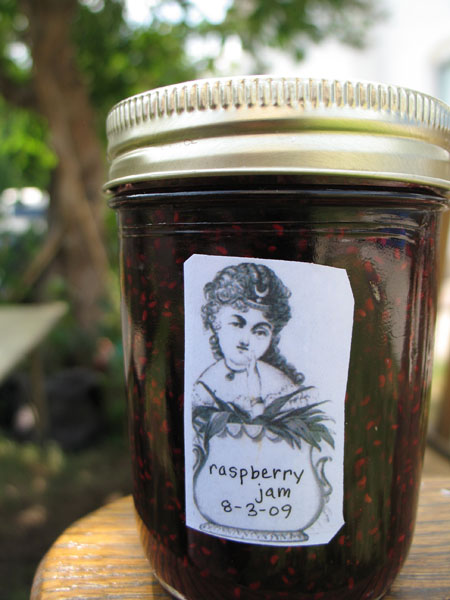
Banish your fears of canning by doing as our grandmas did with this simple recipe for old fashioned raspberry jam.
Makes 4 half-pint jars
Wash 4 half-pint canning jars and rest them on a cake rack at the bottom of a tall stock pot. Cover the jars with at least 1 inch of water and bring to a soft boil. (A rack can be improvised by tying several canning rings together with string.) Keep a kettle of water on the boil to sterilize lids later.
Place sugar in a shallow baking dish in a 250 degree oven for 15 minutes. (Warming the sugar makes it dissolve more readily.)
Place the berries into a medium-sized heavy bottomed pot and place on high heat. Use a potato masher to crush the fruit. Bring to a full rolling boil for 1 min, stirring constantly.
Add the warm sugar to the hot berries and return to a full boil until the mixture gels, stirring to avoid scorching.
Gelling can be tested a few ways:
1.) When a candy thermometer reads 220 degrees
2.) When a cold teaspoon dipped into the syrup collects on the edge of the spoon and sheets rather than dripping off
3.) Using a chilled plate, place a dollop of hot jam and return it to the freezer for 2 minutes. After 2 minutes, push the cooled jam with your finger and if the surface wrinkles it’s ready to be packed. You can also tilt the plate to see if the jam moves, if it moves very slowly it’s ready.
The time it takes for the raspberries to reach gel stage varies anywhere from 5 to 30 minutes depending on the moisture content in your fruit. Remove jam from heat.
Place canning lids (not rings) in a bowl and cover with boiling water. The lids need to stand for a couple of minutes to soften the sealant material. Use a canning jar lifter, or tongs to lift your hot jar, pouring all of the water out.
Pour jam into a glass measuring cup to ease filling the jam jars leaving a 1/2″ of headspace. Clean up any dribbles on lip of the jar using a clean dishtowel dipped in boiling water.
Grab a hot lid using a pair of tongs and place on the jar, screw on the canning ring until just snug. You want to avoid screwing the band on too tightly as air needs to escape later. Fill remaining jars.
Carefully lower the filled jars into the stock pot. Arrange the jars so that they stand upright and do not touch. Make sure the jars are covered with at least 1 inch of water and bring to a boil. Once the water comes to a strong boil, process for 10 minutes. Higher elevations may need to add more time, these can be looked up online.
After 10 minutes, turn off the heat and allow the jars to remain in the hot water for 5 more minutes.
Remove jars from water and place on a cutting board in an undisturbed spot. They should seal if not immediately, in 12-24 hours. You should hear a sucking sound and the lid will be concave in the middle.
In the event the jars don’t seal, consume the jam immediately and store in the refrigerator. Properly canned jam can be stored up to a year in cool dark spot.
3 Comments
Leave a Comment
You must be logged in to post a comment.
greathorsegirlly on 8.5.2010
You had me at “old fashoined”. This is an amazing jam recipe. It truly does have the true taste of old fashioned raspberry jam. Have you ever tried it with other types of fruit other than raspberries?
castal on 8.19.2009
This looks almost exactly the same recipe as my great grandmother taught me and it works quite well.
One thing to mention:
I am at roughly 5 thousand feet elevation and a substantial temperature difference in gelling exists: instead of 220 degrees F, I only go up to 216.
Along the same lines I have to add more minutes to the jarring part as mentioned in the recipe.
mom2my2boyz on 8.19.2009
I have made this recipe twice now and it is my all-time favorite raspberry jam recipe!!!! Honestly, I’ve never been a huge raspberry jam fan…until I found this recipe. It’s to die for. You simply MUST try it! :o)