The Pioneer Woman Tasty Kitchen
Profile photo of Laurie - Simply Scratch

Apple Cider Doughnuts

Posted by in Baking, Step-by-Step Recipes

One of the many things I love about living in Michigan (besides having a baseball team in the World Series *wink* GO TIGERS!) is the many cider mills. They usually have  hayrides, lots of fresh pressed apple cider, paper bags full of a variety of crisp apples and let’s not forget those freshly fried doughnuts, which are personally my favorite.

Aimee’s recipe for Apple Cider Donuts pretty much has all the above wrapped into one delicious doughnut. See, the apple cider is actually IN the doughnuts and they’re baked, which for some people (meaning me) is a lot less stressful then deep frying. But all this goodness doesn’t just stop there.


Tasty Kitchen Blog: Apple Cider Donuts. Guest post by Laurie of Simply Scratch, recipe submitted by TK member Aimee of Shugary Sweets.
 
After the doughnuts cool, you dunk them into the most delicious glaze. And even that has cider in it—and it’s beyond amazing. And just when you think you’re done, you’re not. After you dunk the doughnuts in the cider glaze, you dip them in cinnamon sugar. I’m not joking. It gives your teeth a little textural “crunch” before they sink into the soft glaze-dripped doughnut. Oh.My.Word.

Now scroll down and see for yourself. I just hope you have cider on hand because I’m pretty certain you’ll want to make these as soon as possible!


Tasty Kitchen Blog: Apple Cider Donuts. Guest post by Laurie of Simply Scratch, recipe submitted by TK member Aimee of Shugary Sweets.

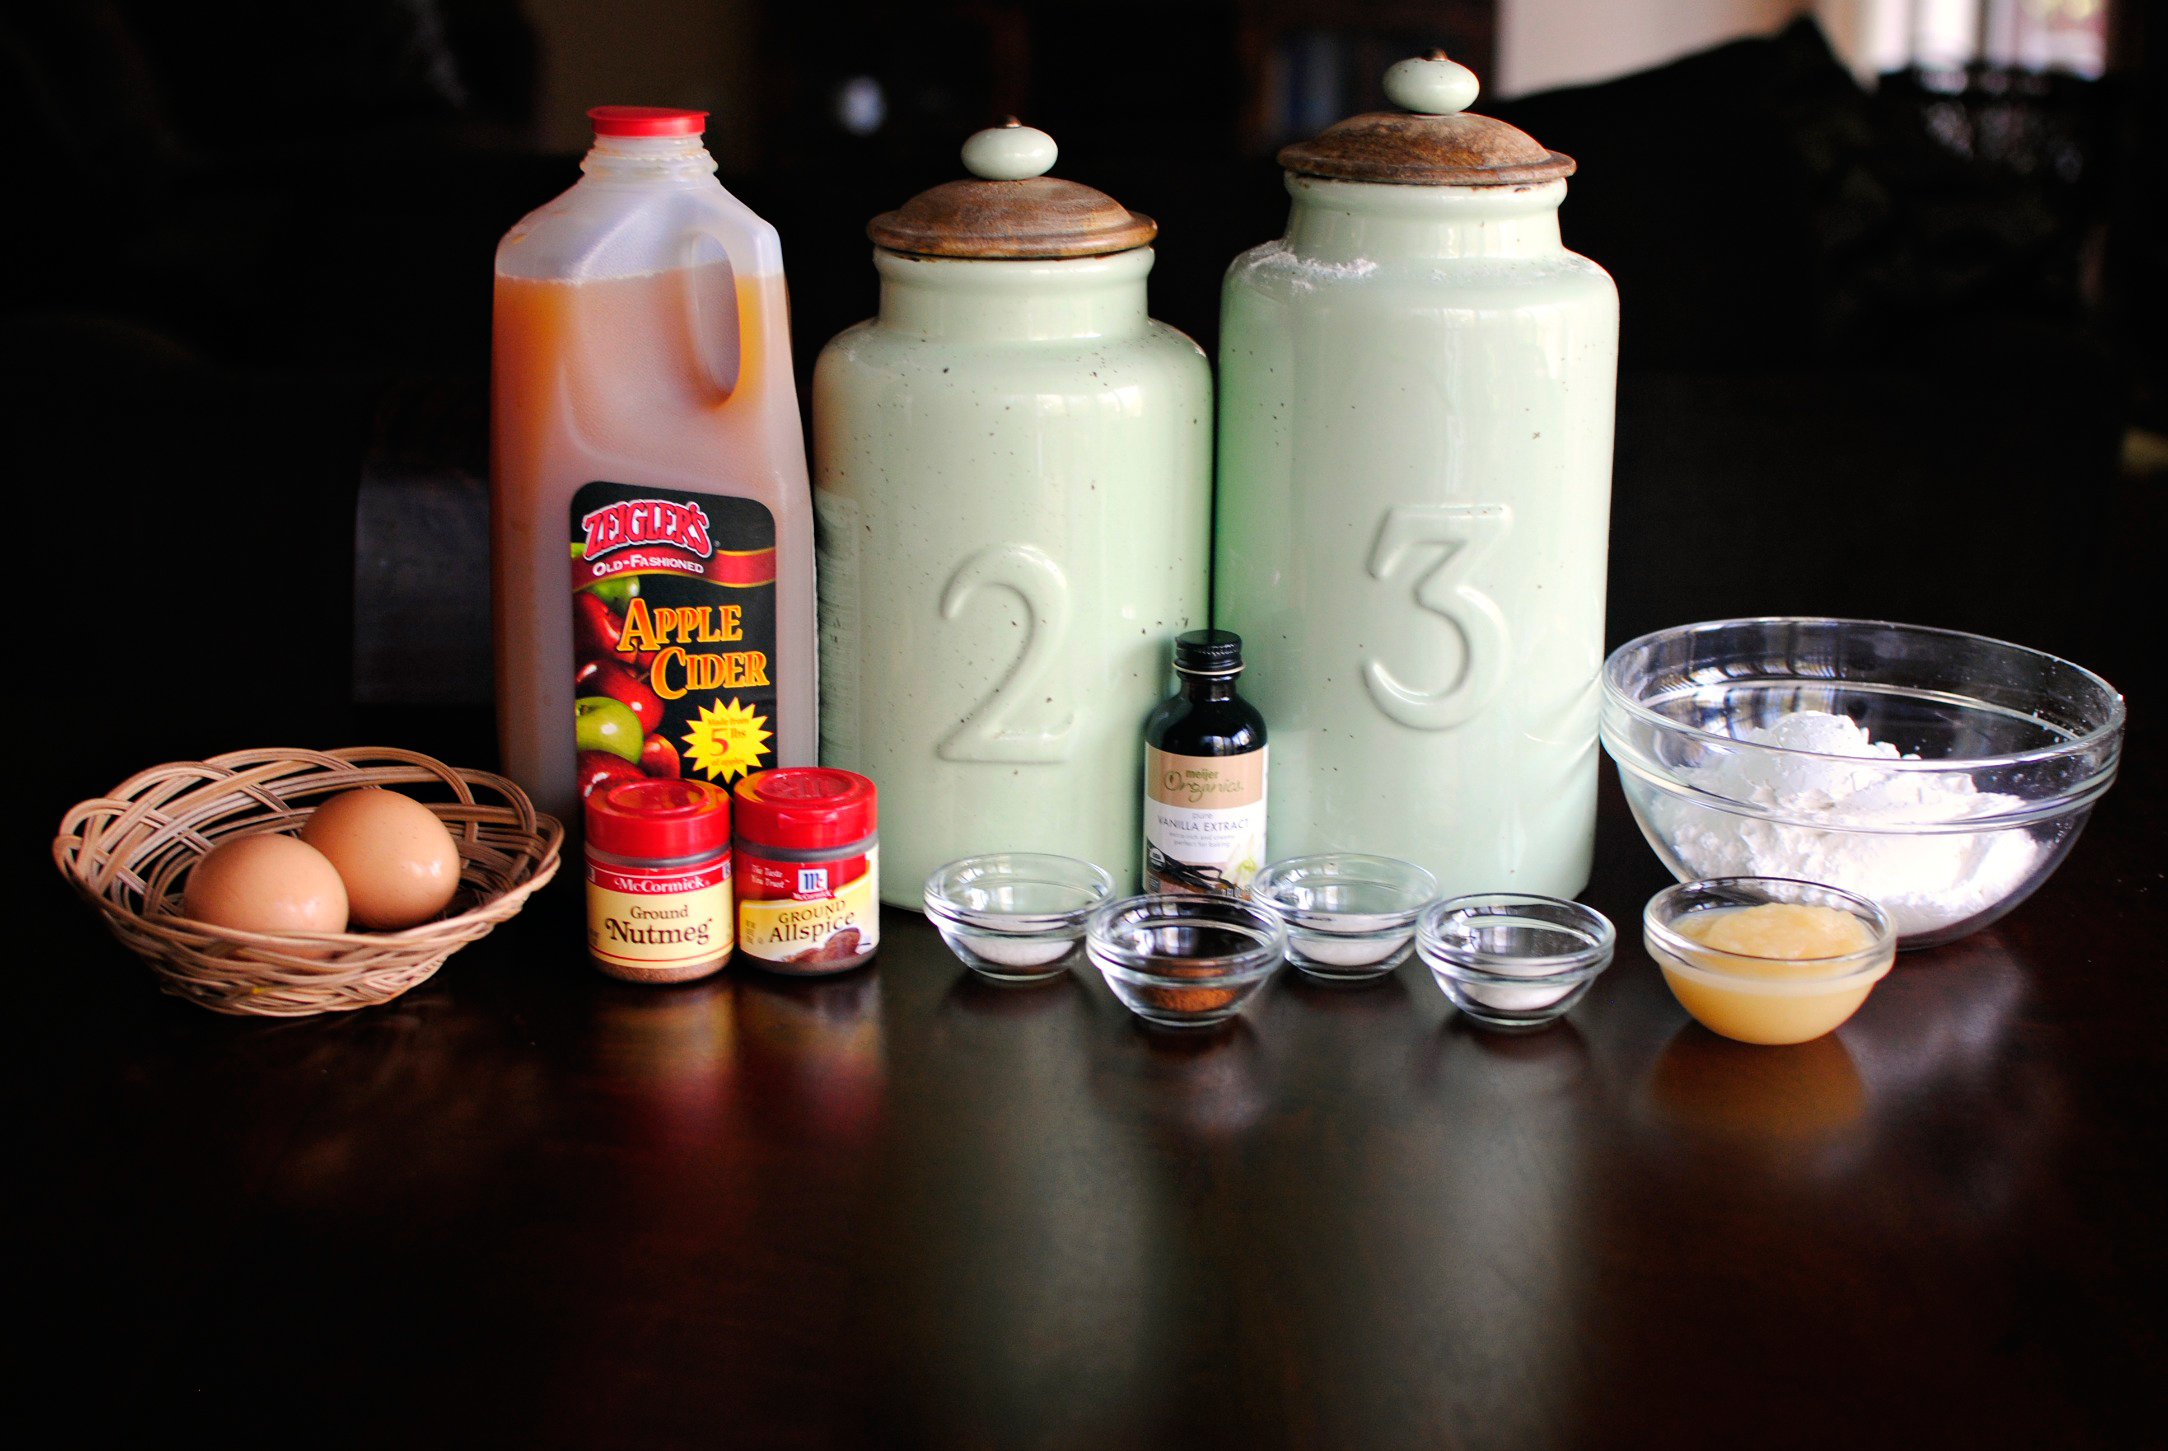
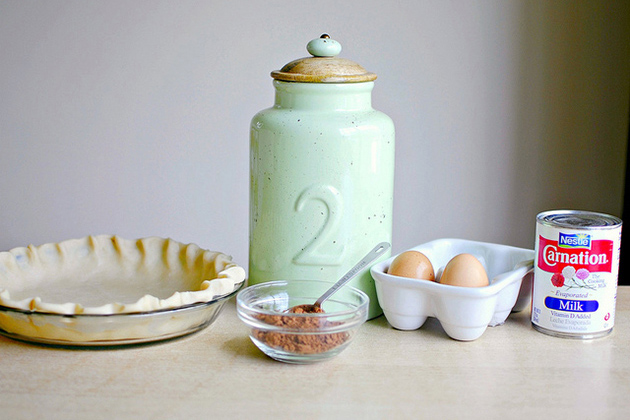
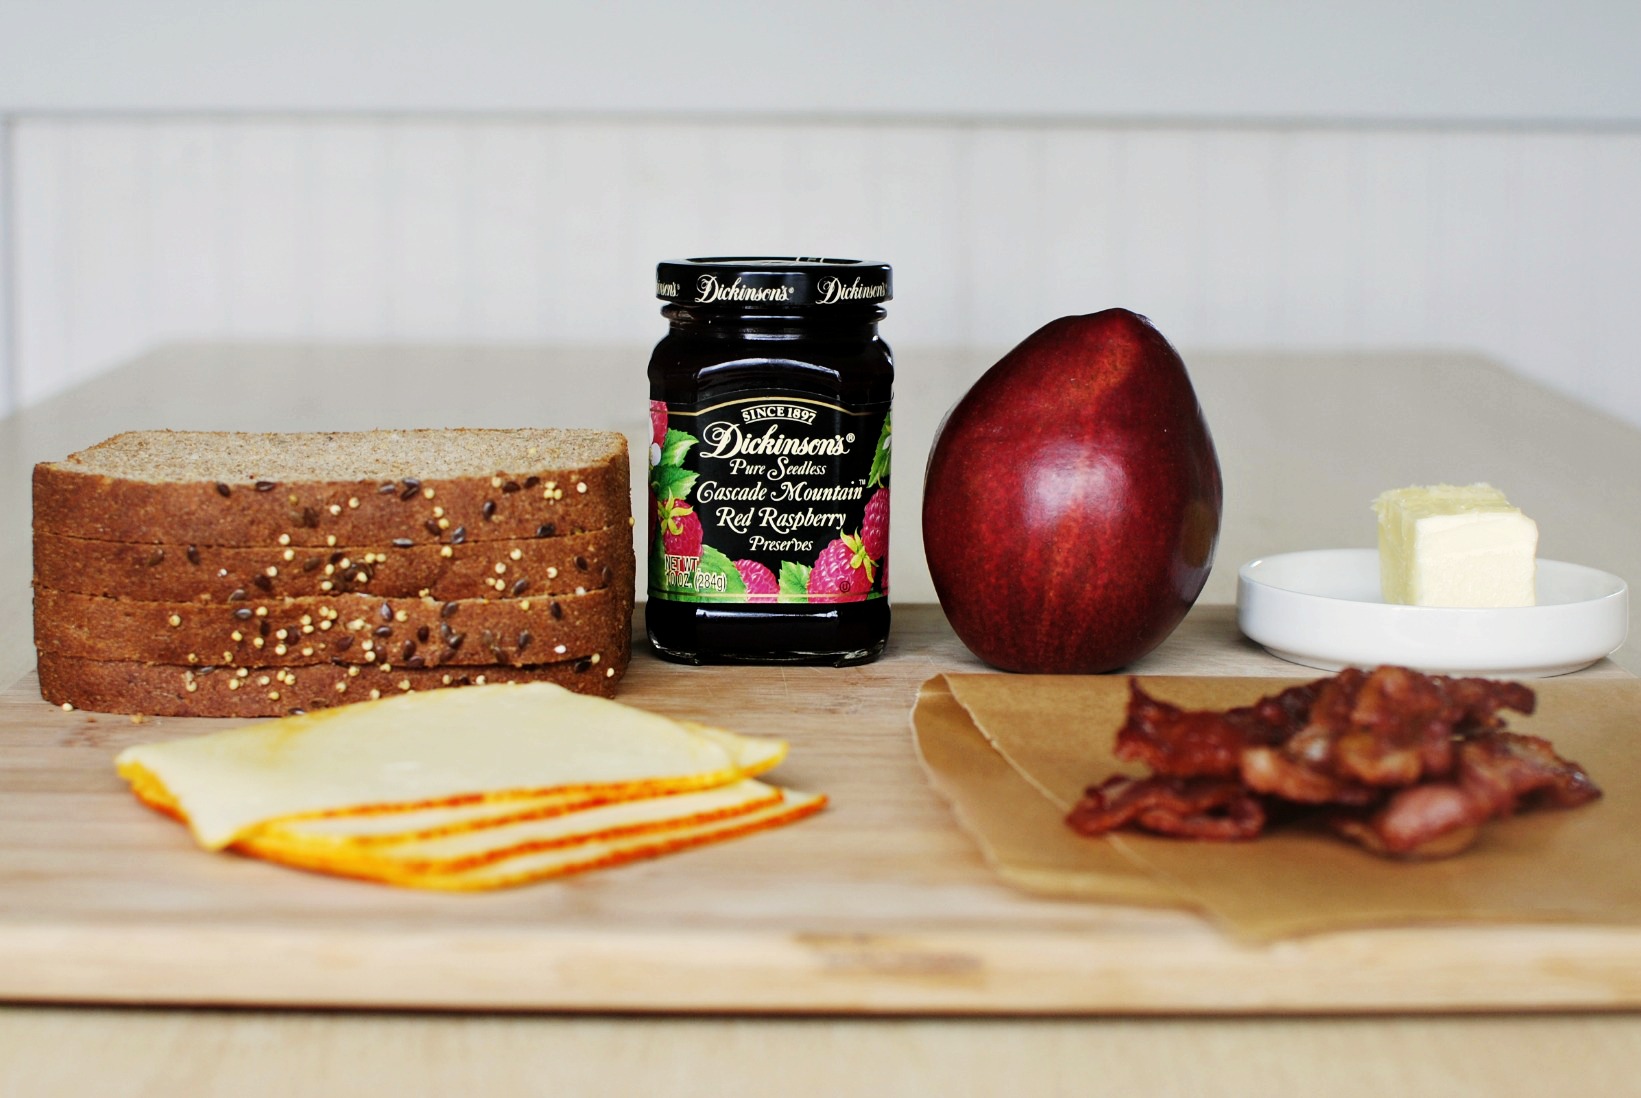
The ingredients are pretty simple and straightforward. Besides picking up the apple cider, I had everything else on hand.


Tasty Kitchen Blog: Apple Cider Donuts. Guest post by Laurie of Simply Scratch, recipe submitted by TK member Aimee of Shugary Sweets.

Start by combining the all-purpose flour, sugar, baking powder, baking soda and salt in a large mixing bowl.


Tasty Kitchen Blog: Apple Cider Donuts. Guest post by Laurie of Simply Scratch, recipe submitted by TK member Aimee of Shugary Sweets.

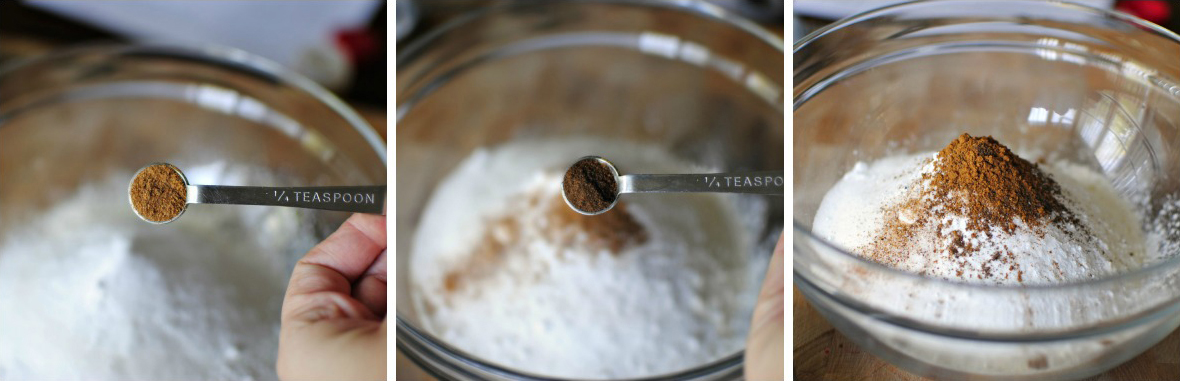
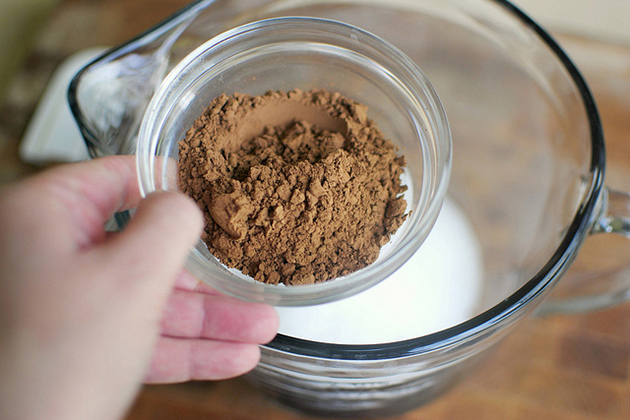
Then measure and add in nutmeg and allspice, then ground cinnamon. This right here smells amazing already!


Tasty Kitchen Blog: Apple Cider Donuts. Guest post by Laurie of Simply Scratch, recipe submitted by TK member Aimee of Shugary Sweets.

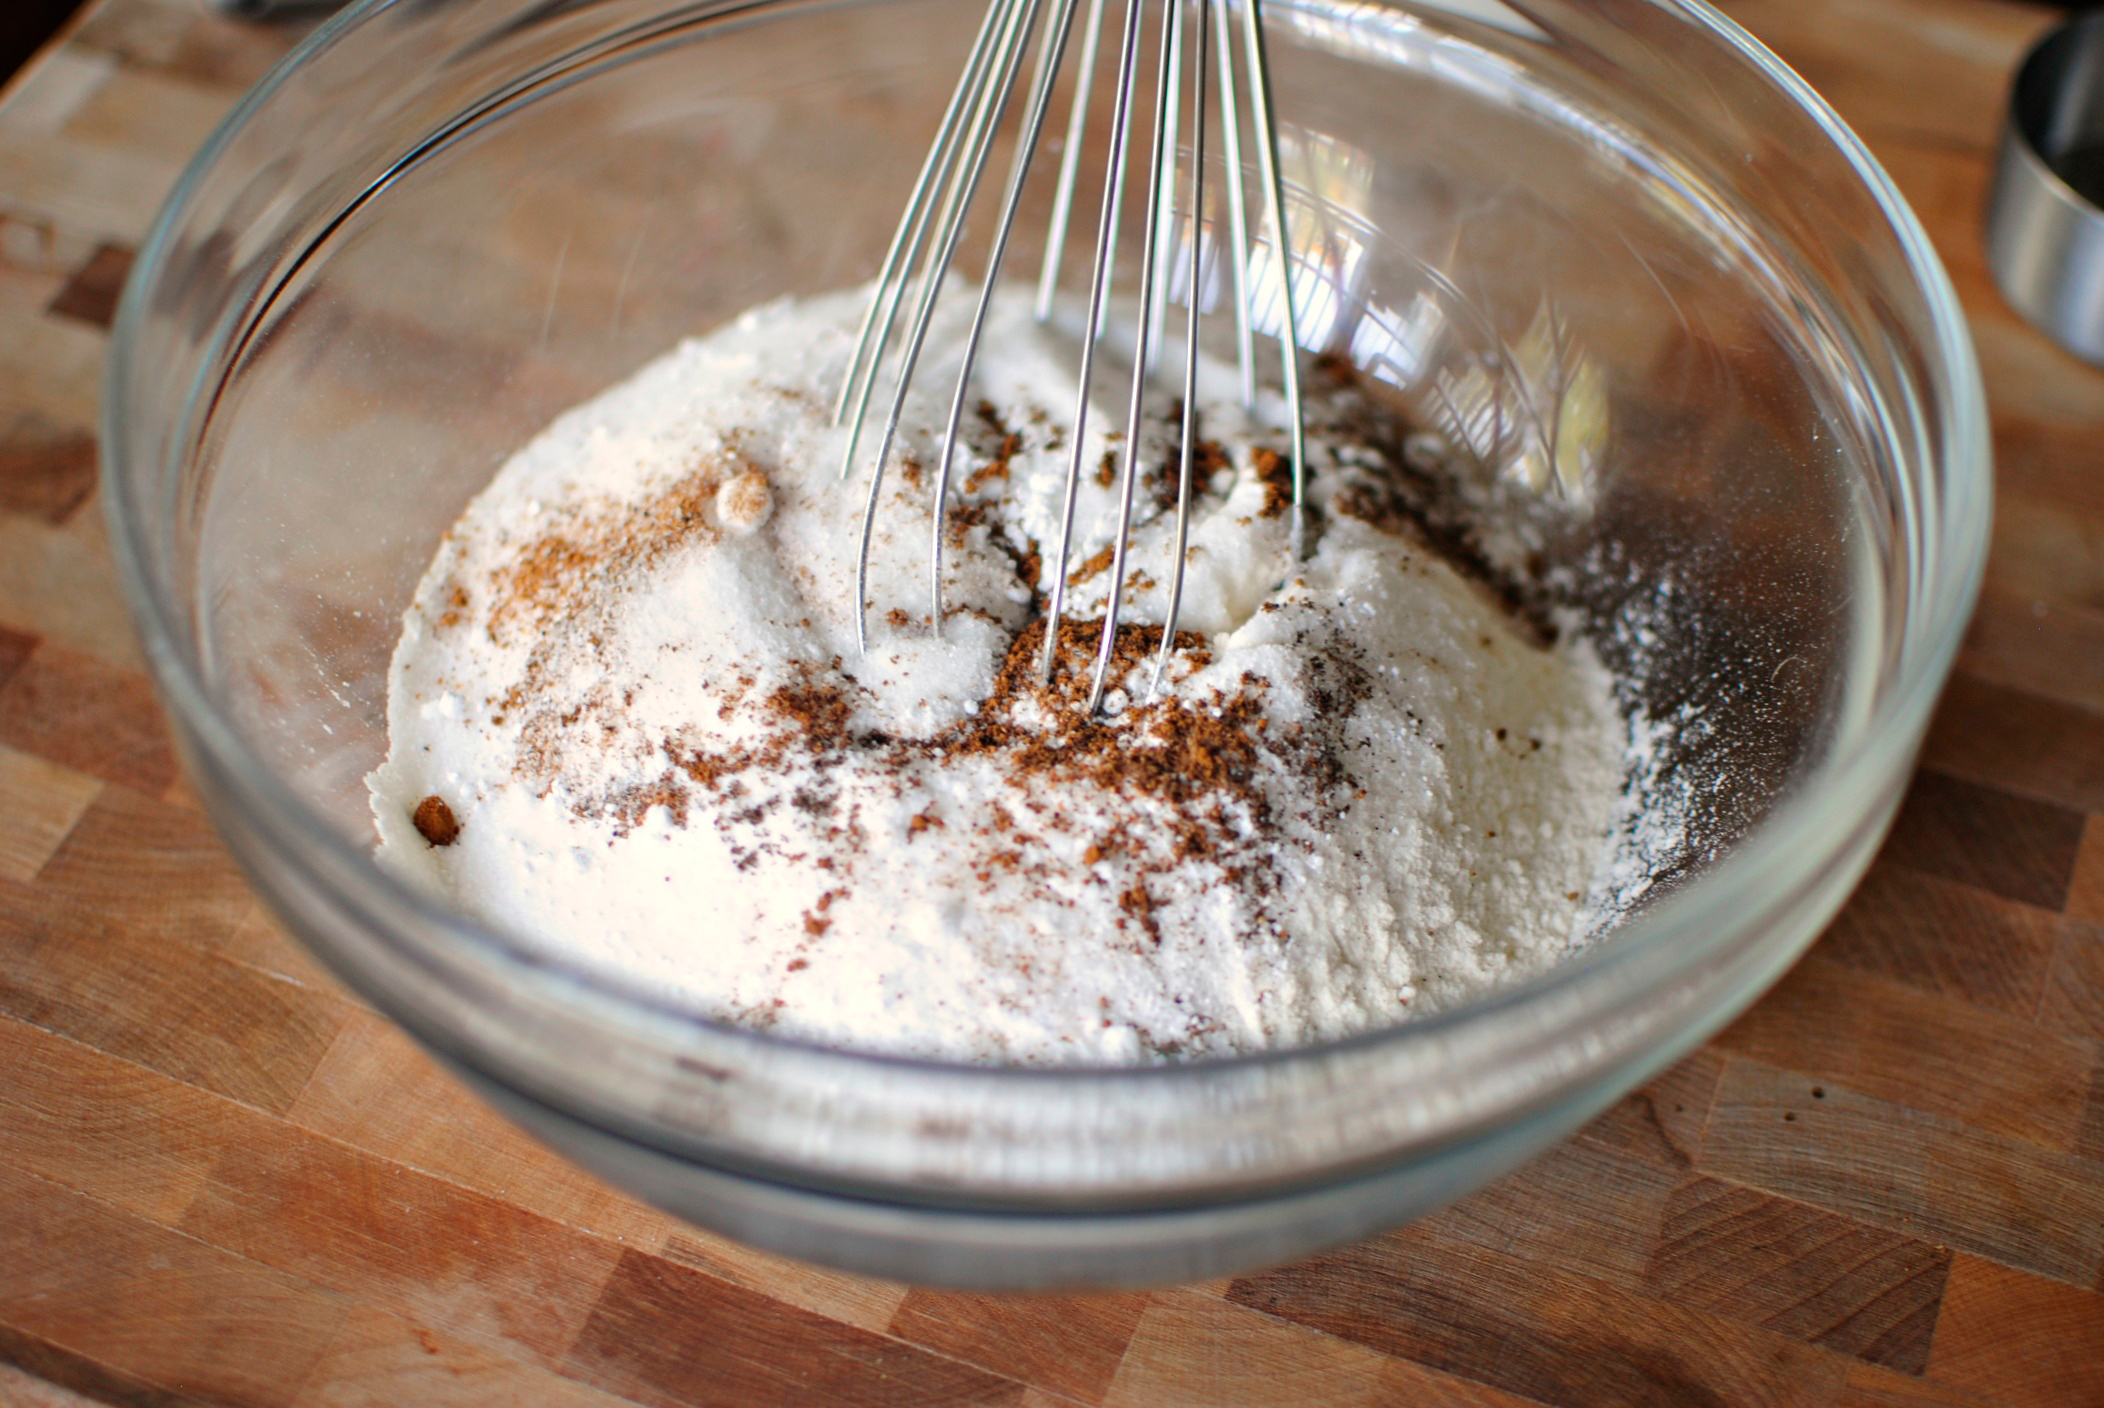
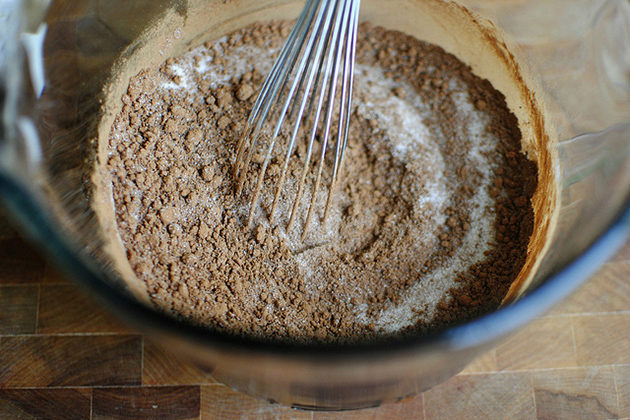
Give it a good whisk or stir to break up any lumps and so everything is blended. Scoot that off to the side for just a moment.


Tasty Kitchen Blog: Apple Cider Donuts. Guest post by Laurie of Simply Scratch, recipe submitted by TK member Aimee of Shugary Sweets.

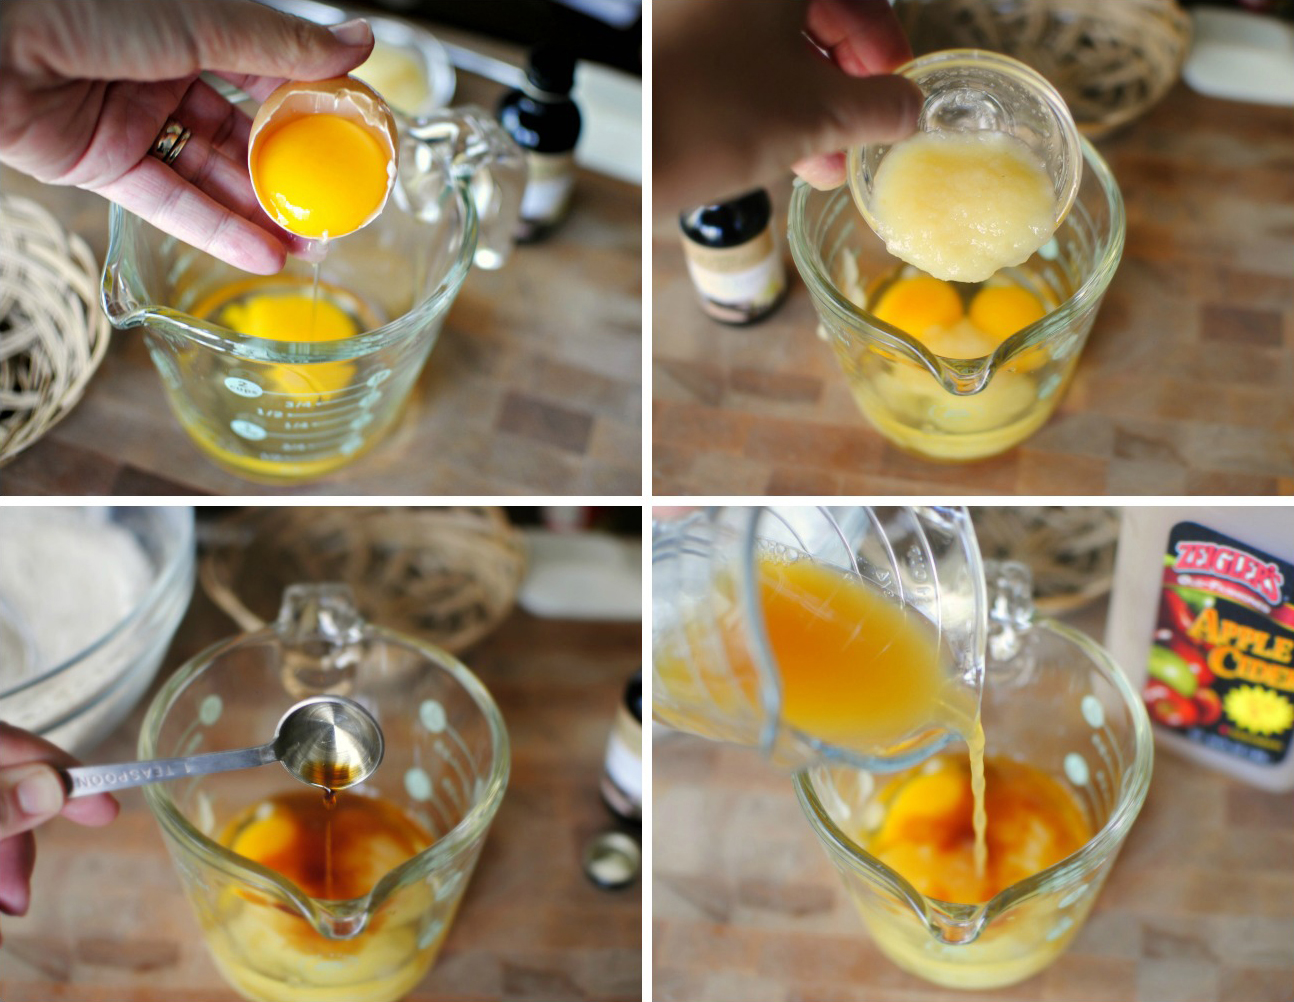
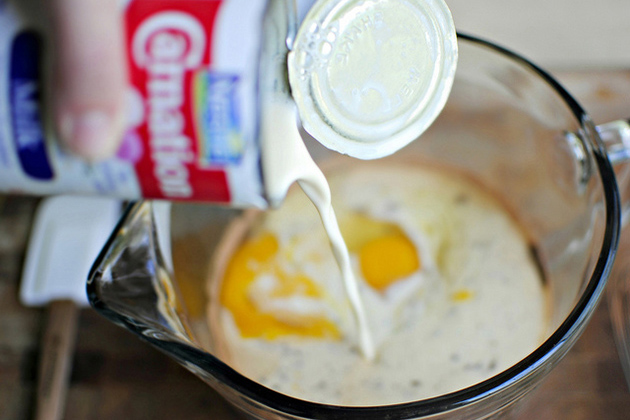
You could do the next step directly in the same bowl and not bother dirtying another bowl, but I couldn’t help myself. Combine eggs, applesauce (I used unsweetened), real vanilla extract and then pour in the apple cider.


Tasty Kitchen Blog: Apple Cider Donuts. Guest post by Laurie of Simply Scratch, recipe submitted by TK member Aimee of Shugary Sweets.

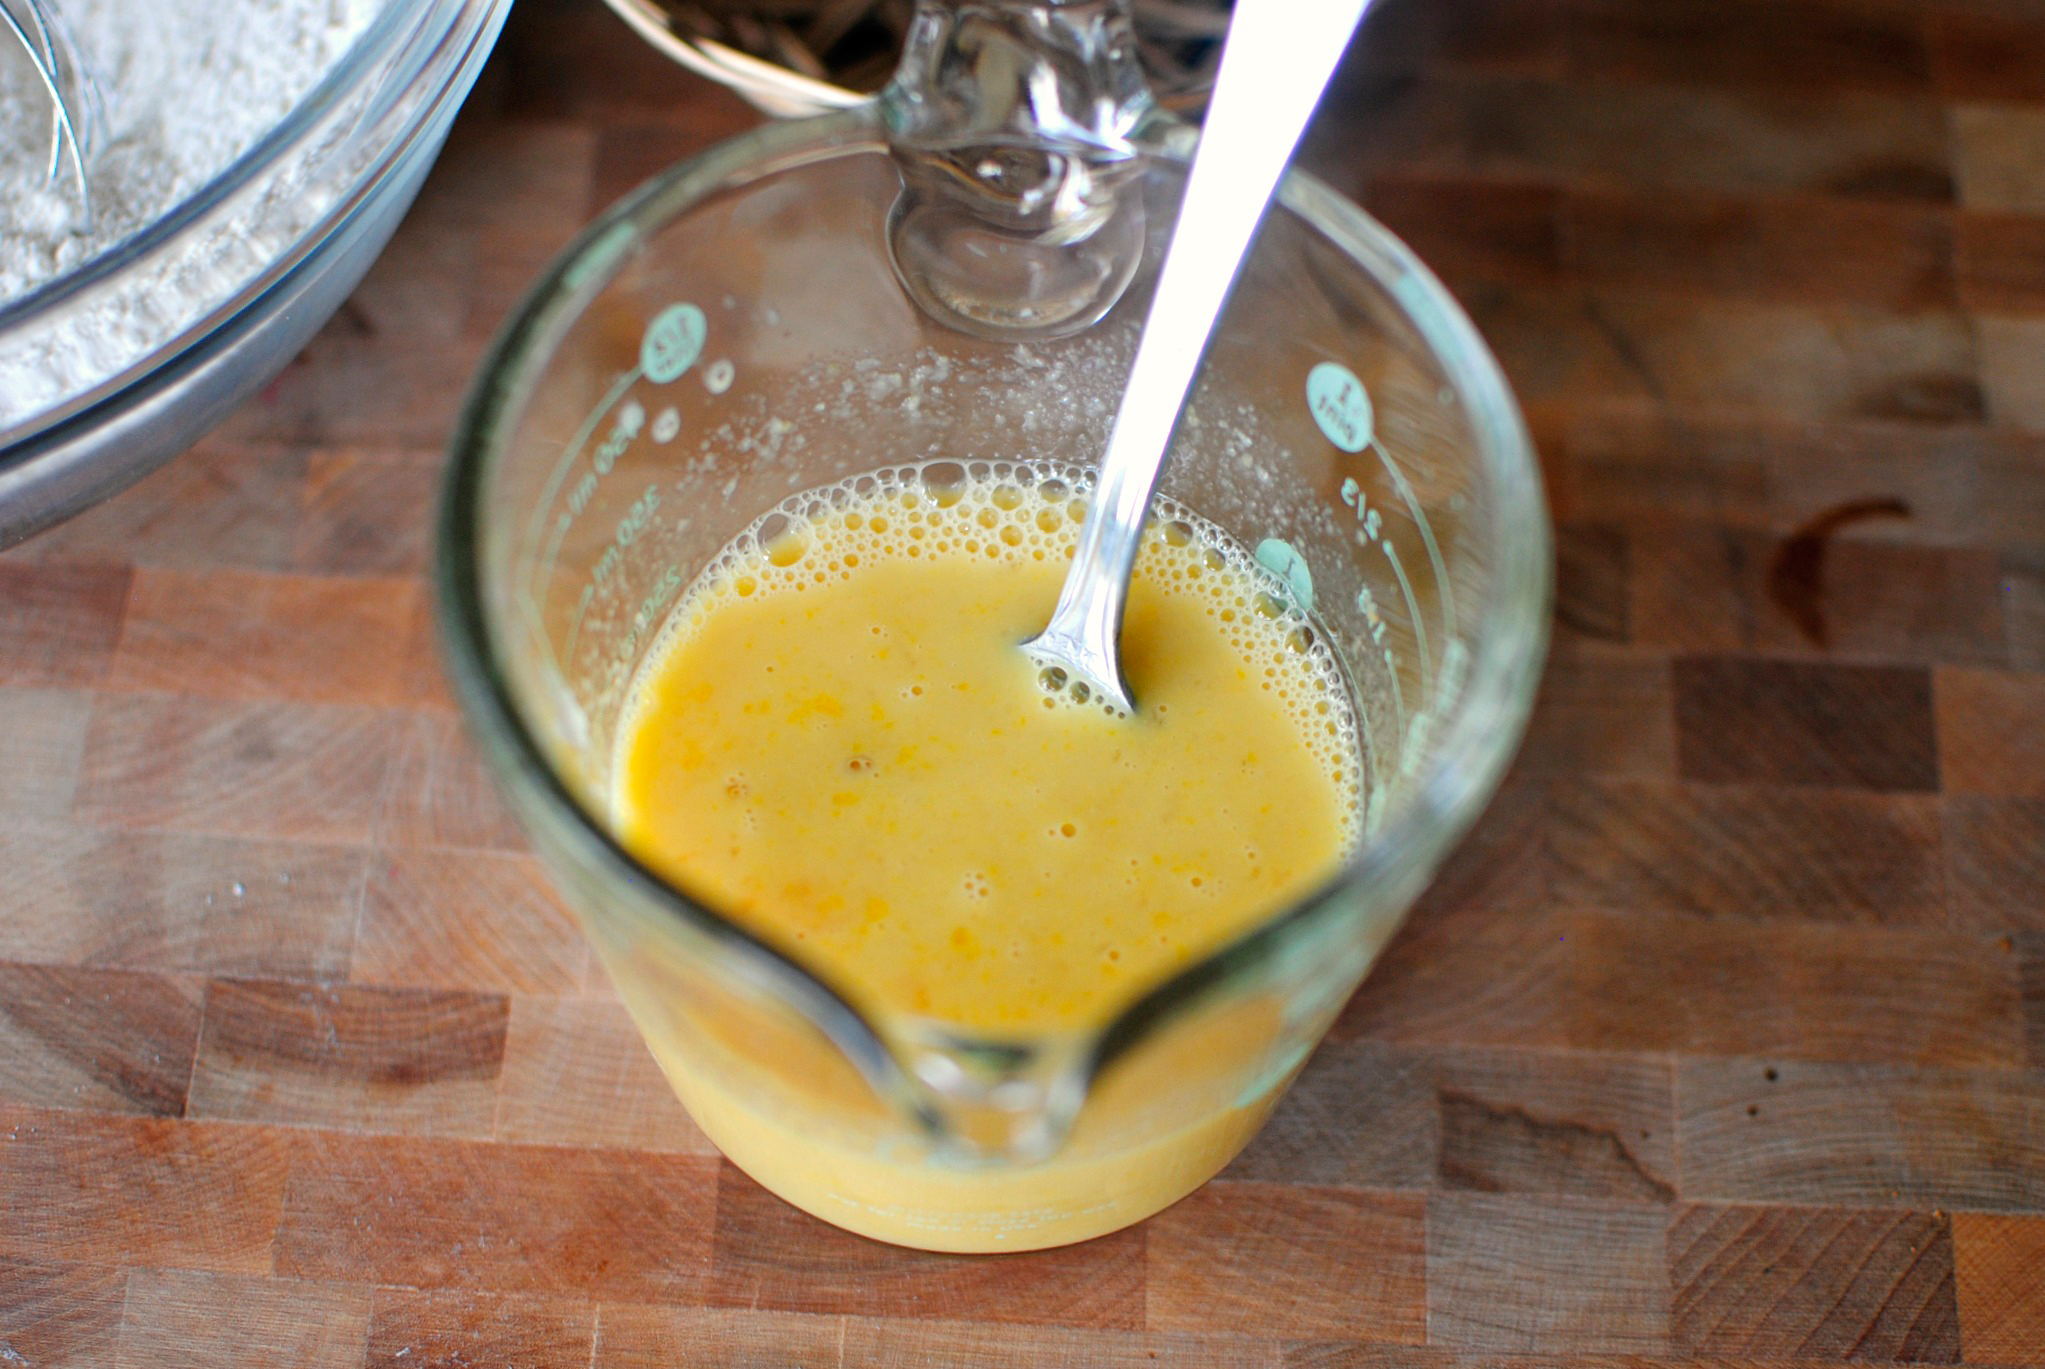
I combined all these ingredients by using a fork just until the eggs were whipped.


Tasty Kitchen Blog: Apple Cider Donuts. Guest post by Laurie of Simply Scratch, recipe submitted by TK member Aimee of Shugary Sweets.

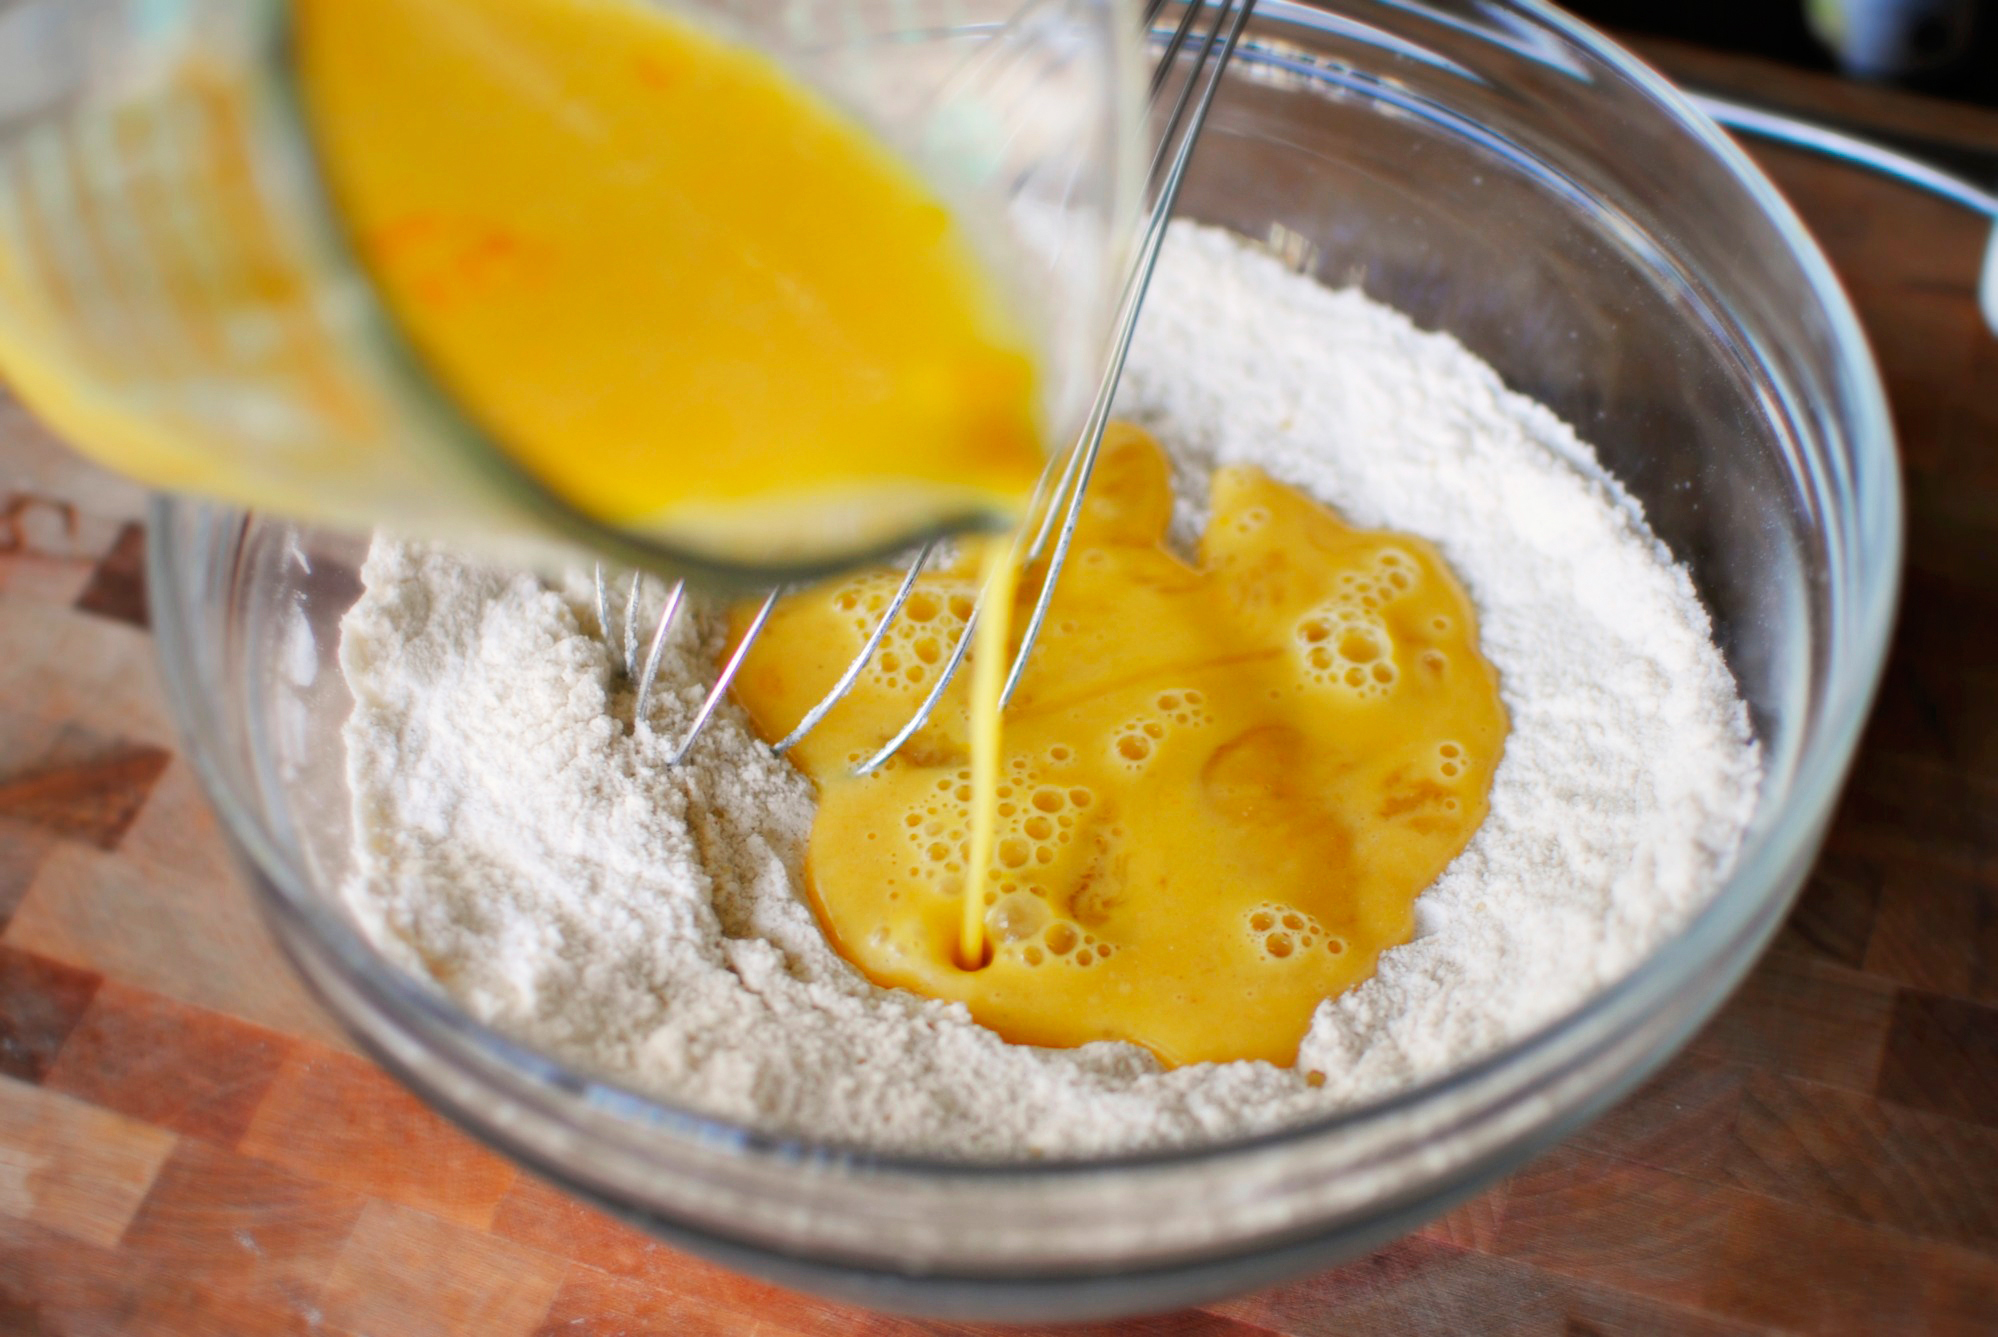
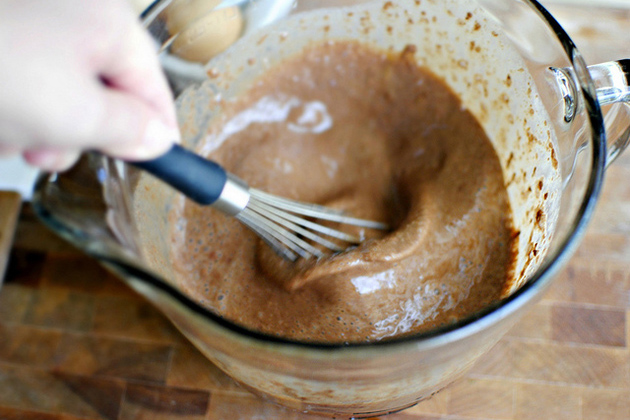
Since I used a different bowl for the wet ingredients, I then poured the wet ingredients into the dry.


Tasty Kitchen Blog: Apple Cider Donuts. Guest post by Laurie of Simply Scratch, recipe submitted by TK member Aimee of Shugary Sweets.

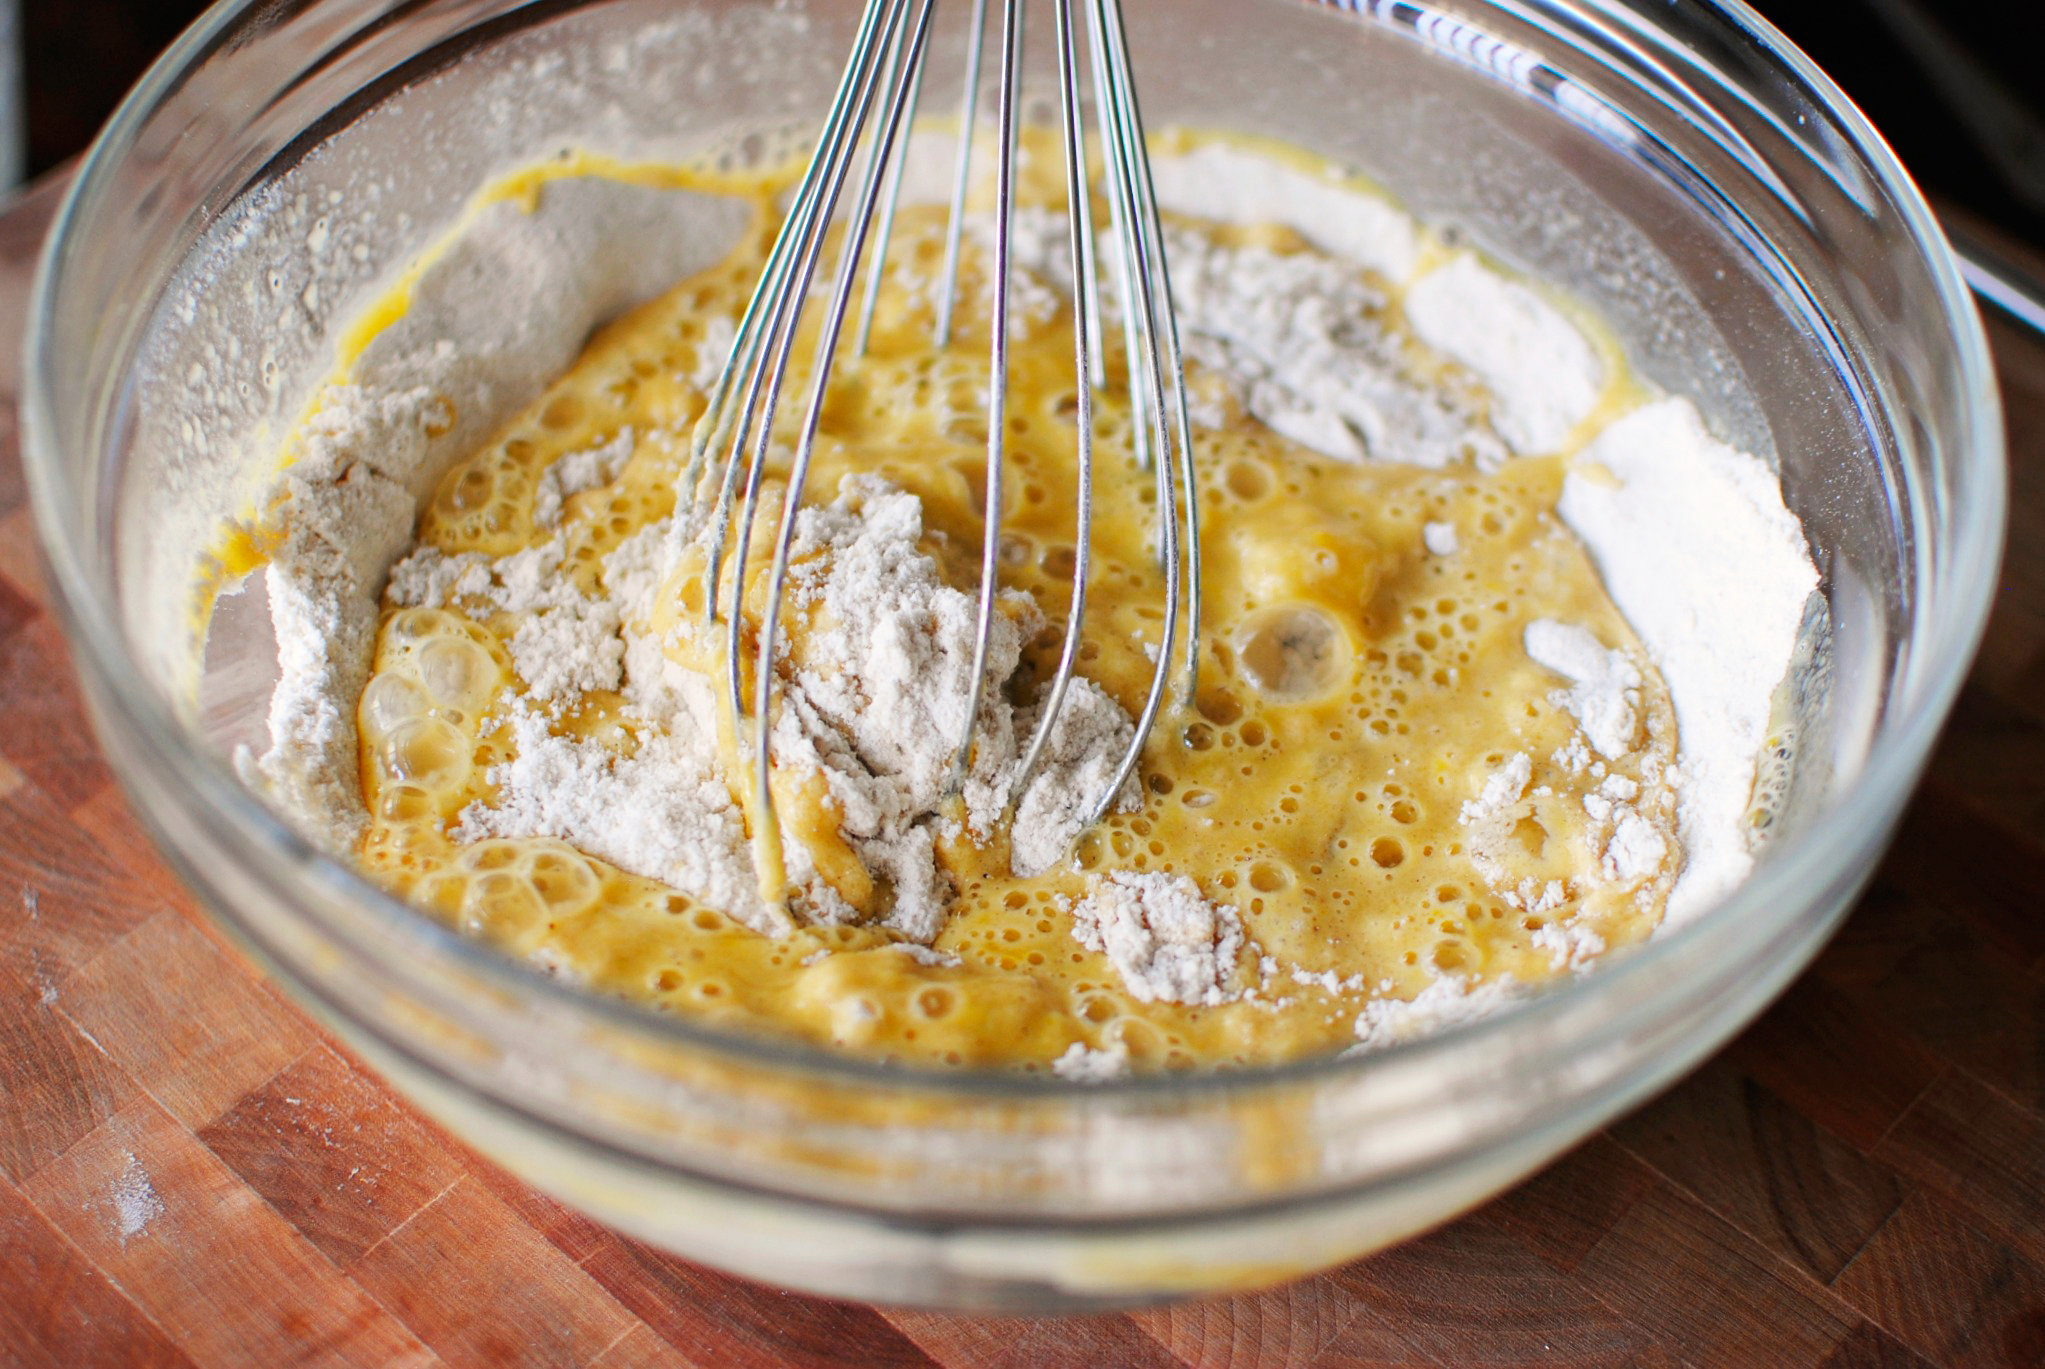
Stir until combined. Easy-peasy.


Tasty Kitchen Blog: Apple Cider Donuts. Guest post by Laurie of Simply Scratch, recipe submitted by TK member Aimee of Shugary Sweets.

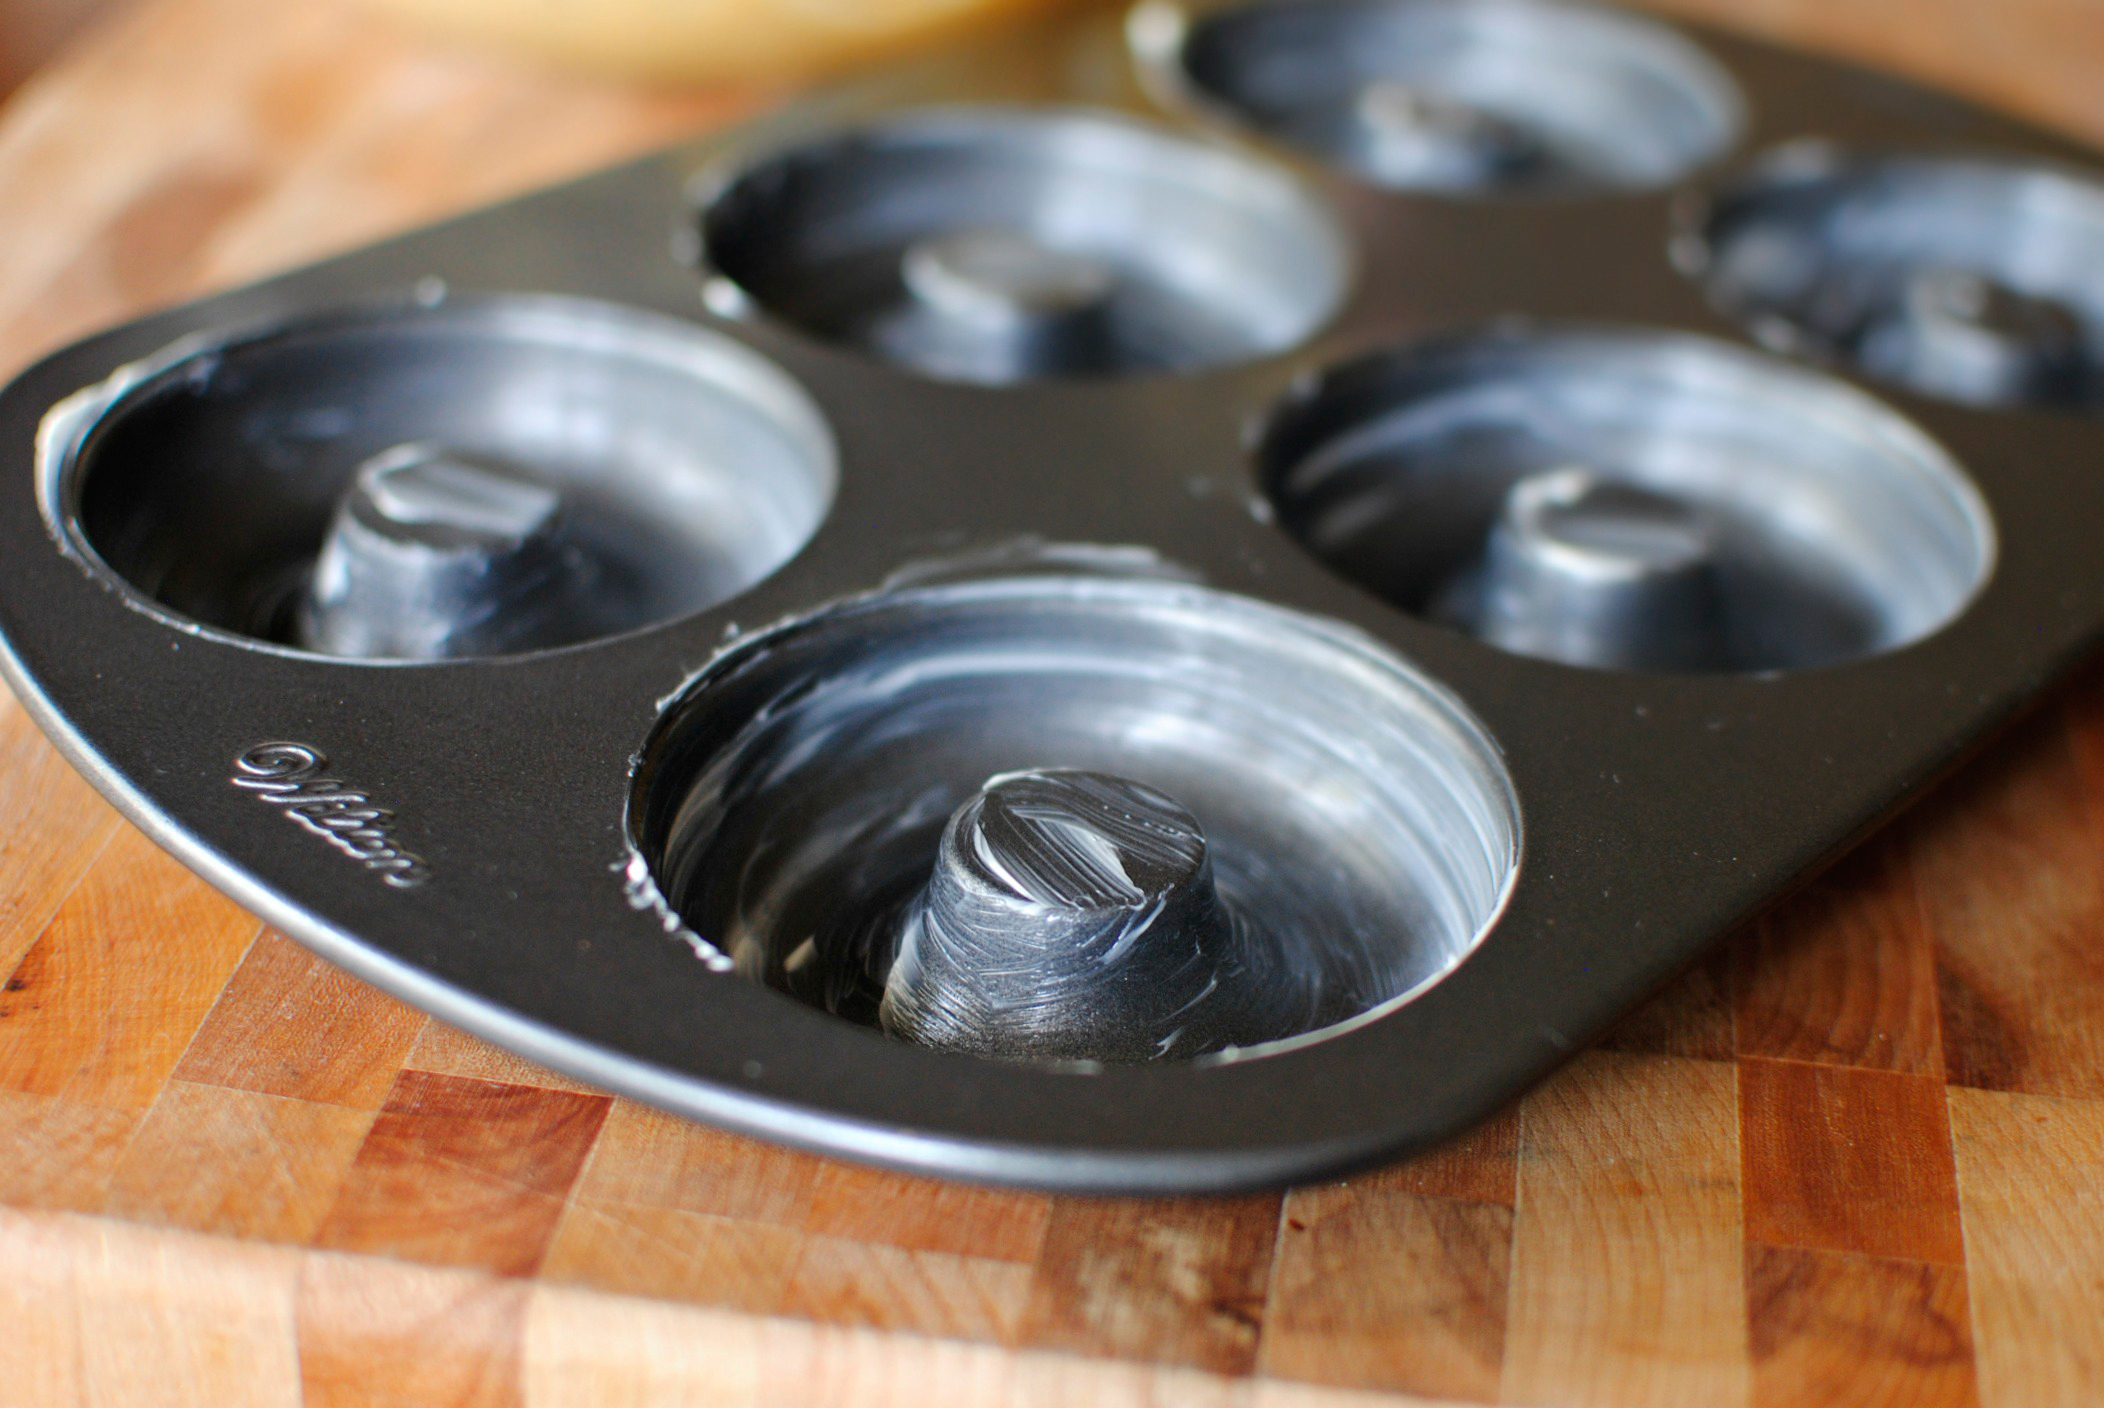
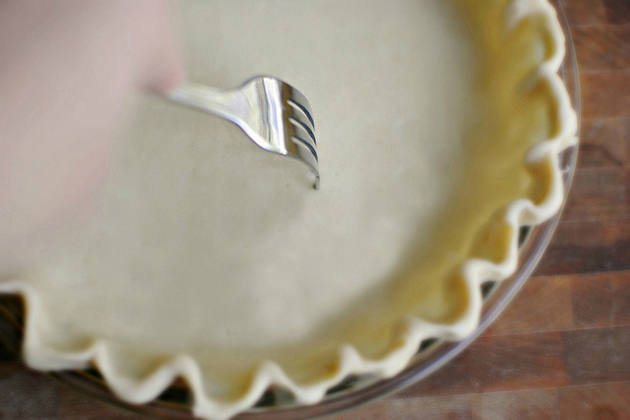
I quickly and heavily buttered my doughnut pan, so I didn’t risk these doughnuts sticking.


Tasty Kitchen Blog: Apple Cider Donuts. Guest post by Laurie of Simply Scratch, recipe submitted by TK member Aimee of Shugary Sweets.

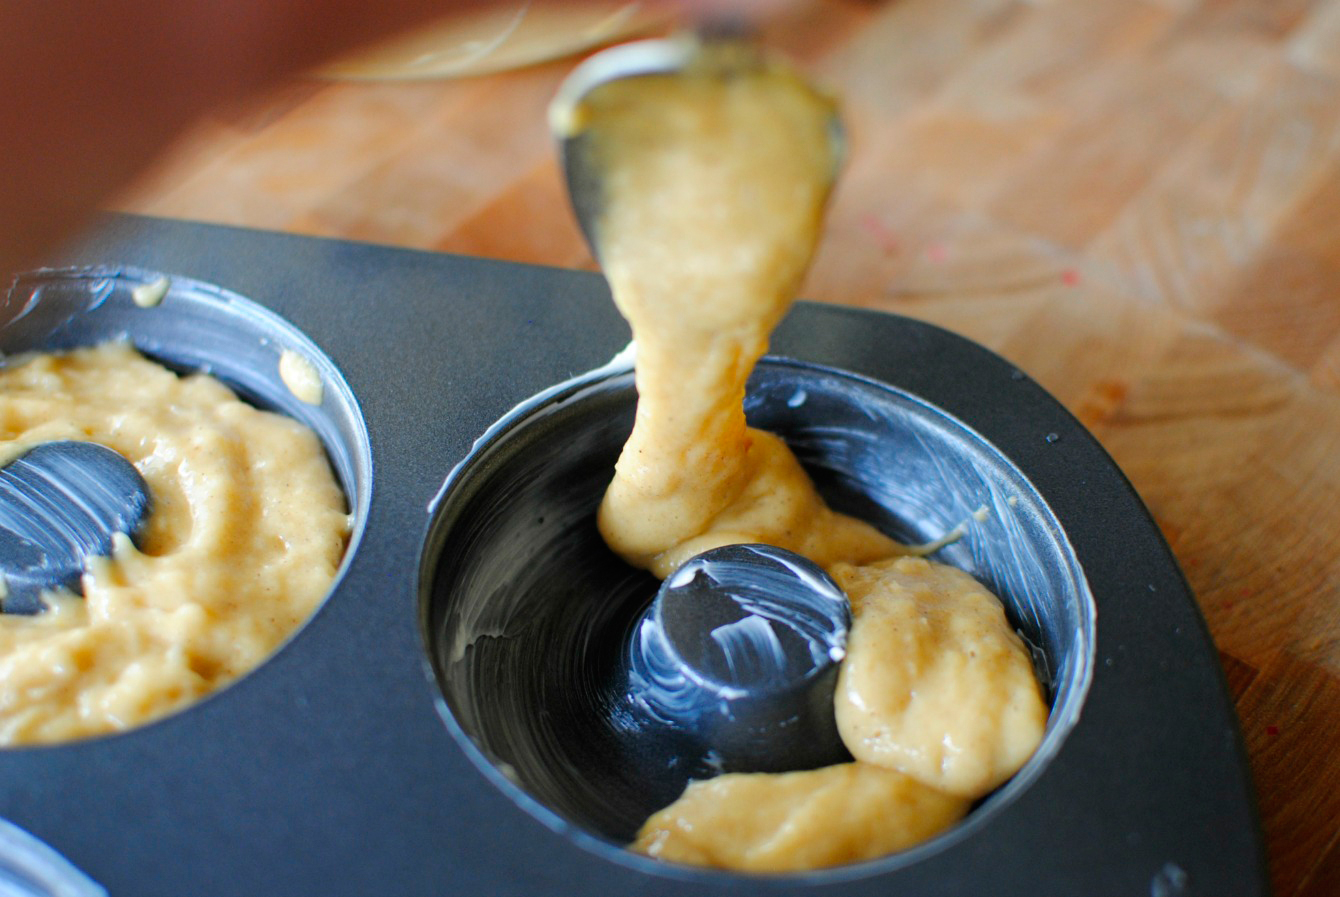
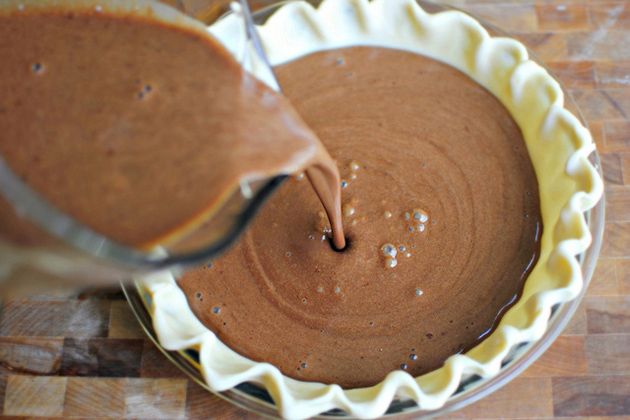
Then I used a spoon and filled each doughnut section.


Tasty Kitchen Blog: Apple Cider Donuts. Guest post by Laurie of Simply Scratch, recipe submitted by TK member Aimee of Shugary Sweets.

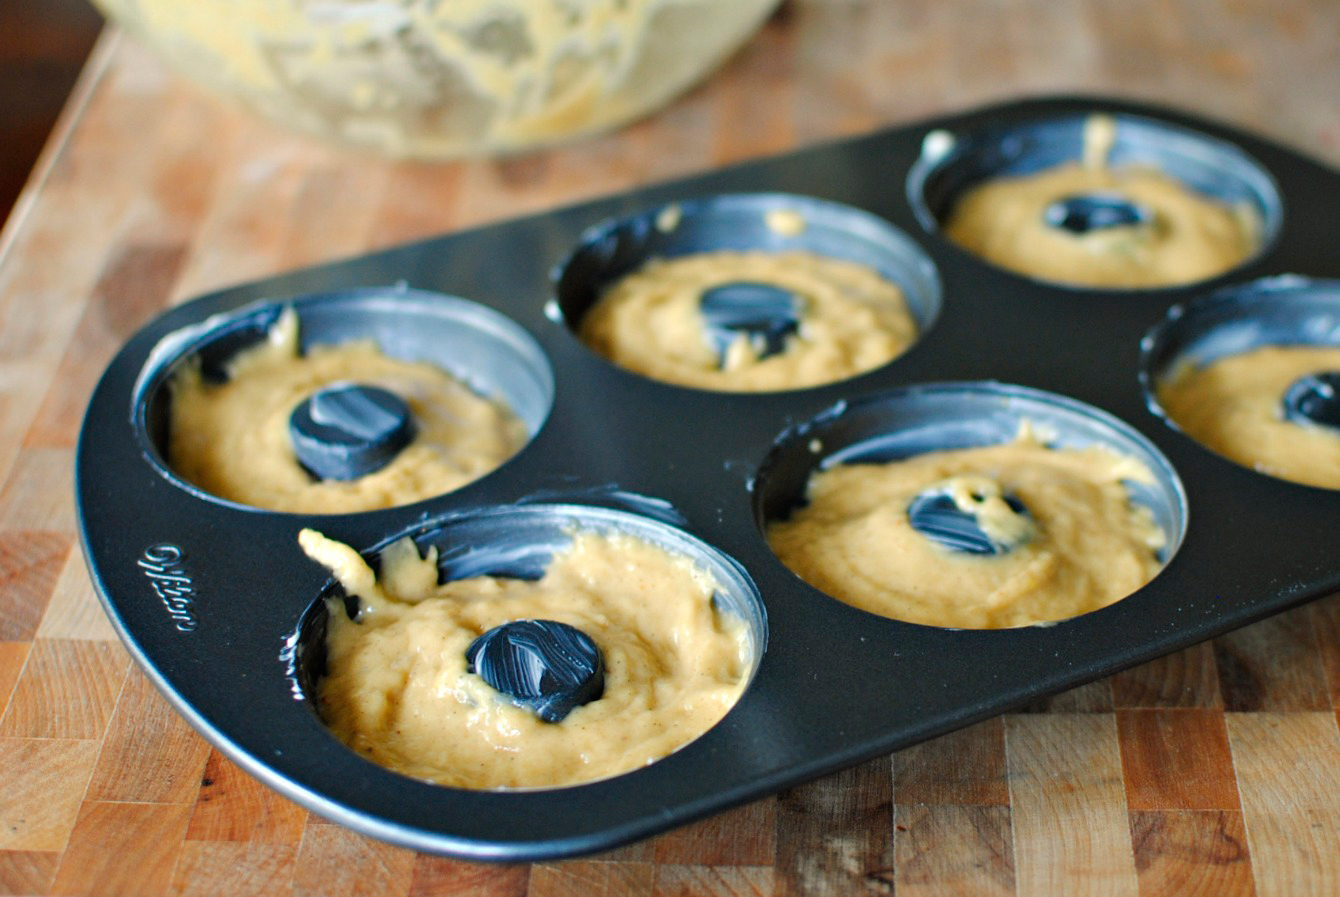
As you can see I’m not the neatest. But I didn’t have a large re-sealable bag on hand to pipe in the batter like Aimee suggested. To be honest, that would be a whole lot easier (and cleaner), but spooning it in worked too. Now just bake in a preheated 325ºF oven for 10  minutes. I rotated the pan halfway to ensure even baking.


Tasty Kitchen Blog: Apple Cider Donuts. Guest post by Laurie of Simply Scratch, recipe submitted by TK member Aimee of Shugary Sweets.

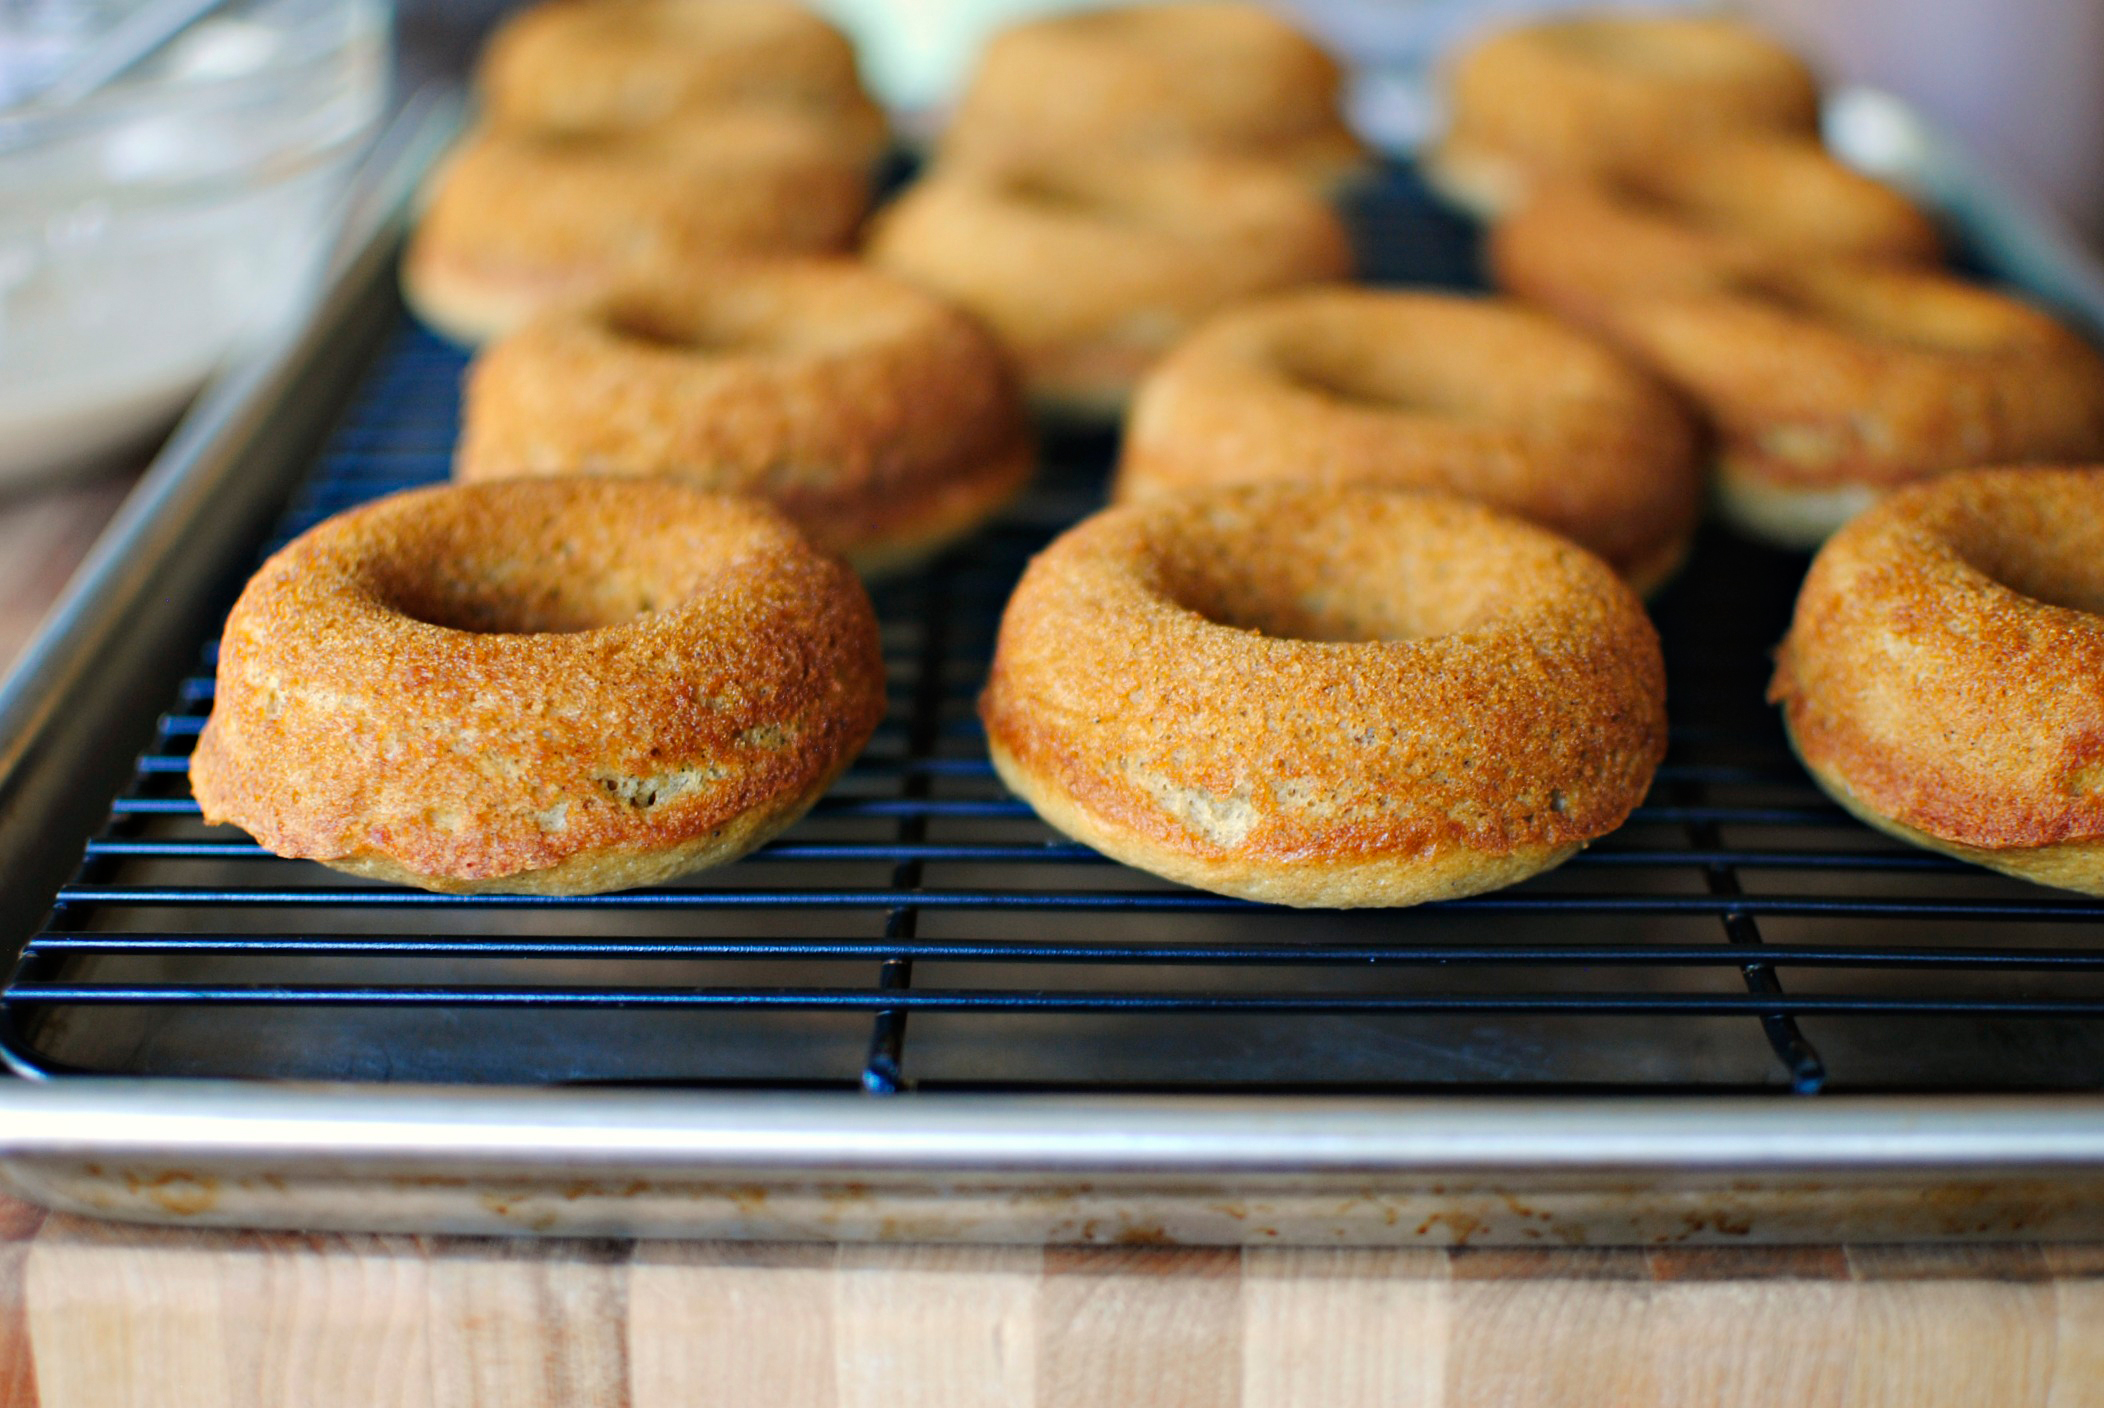
I let the doughnuts cool in the pan for about 10 minutes before carefully removing them from the pan. I used a rubber spatula and they came out wonderfully. I then let them cool for a bit and moved on to making the cinnamon sugar and the cider glaze.


Tasty Kitchen Blog: Apple Cider Donuts. Guest post by Laurie of Simply Scratch, recipe submitted by TK member Aimee of Shugary Sweets.

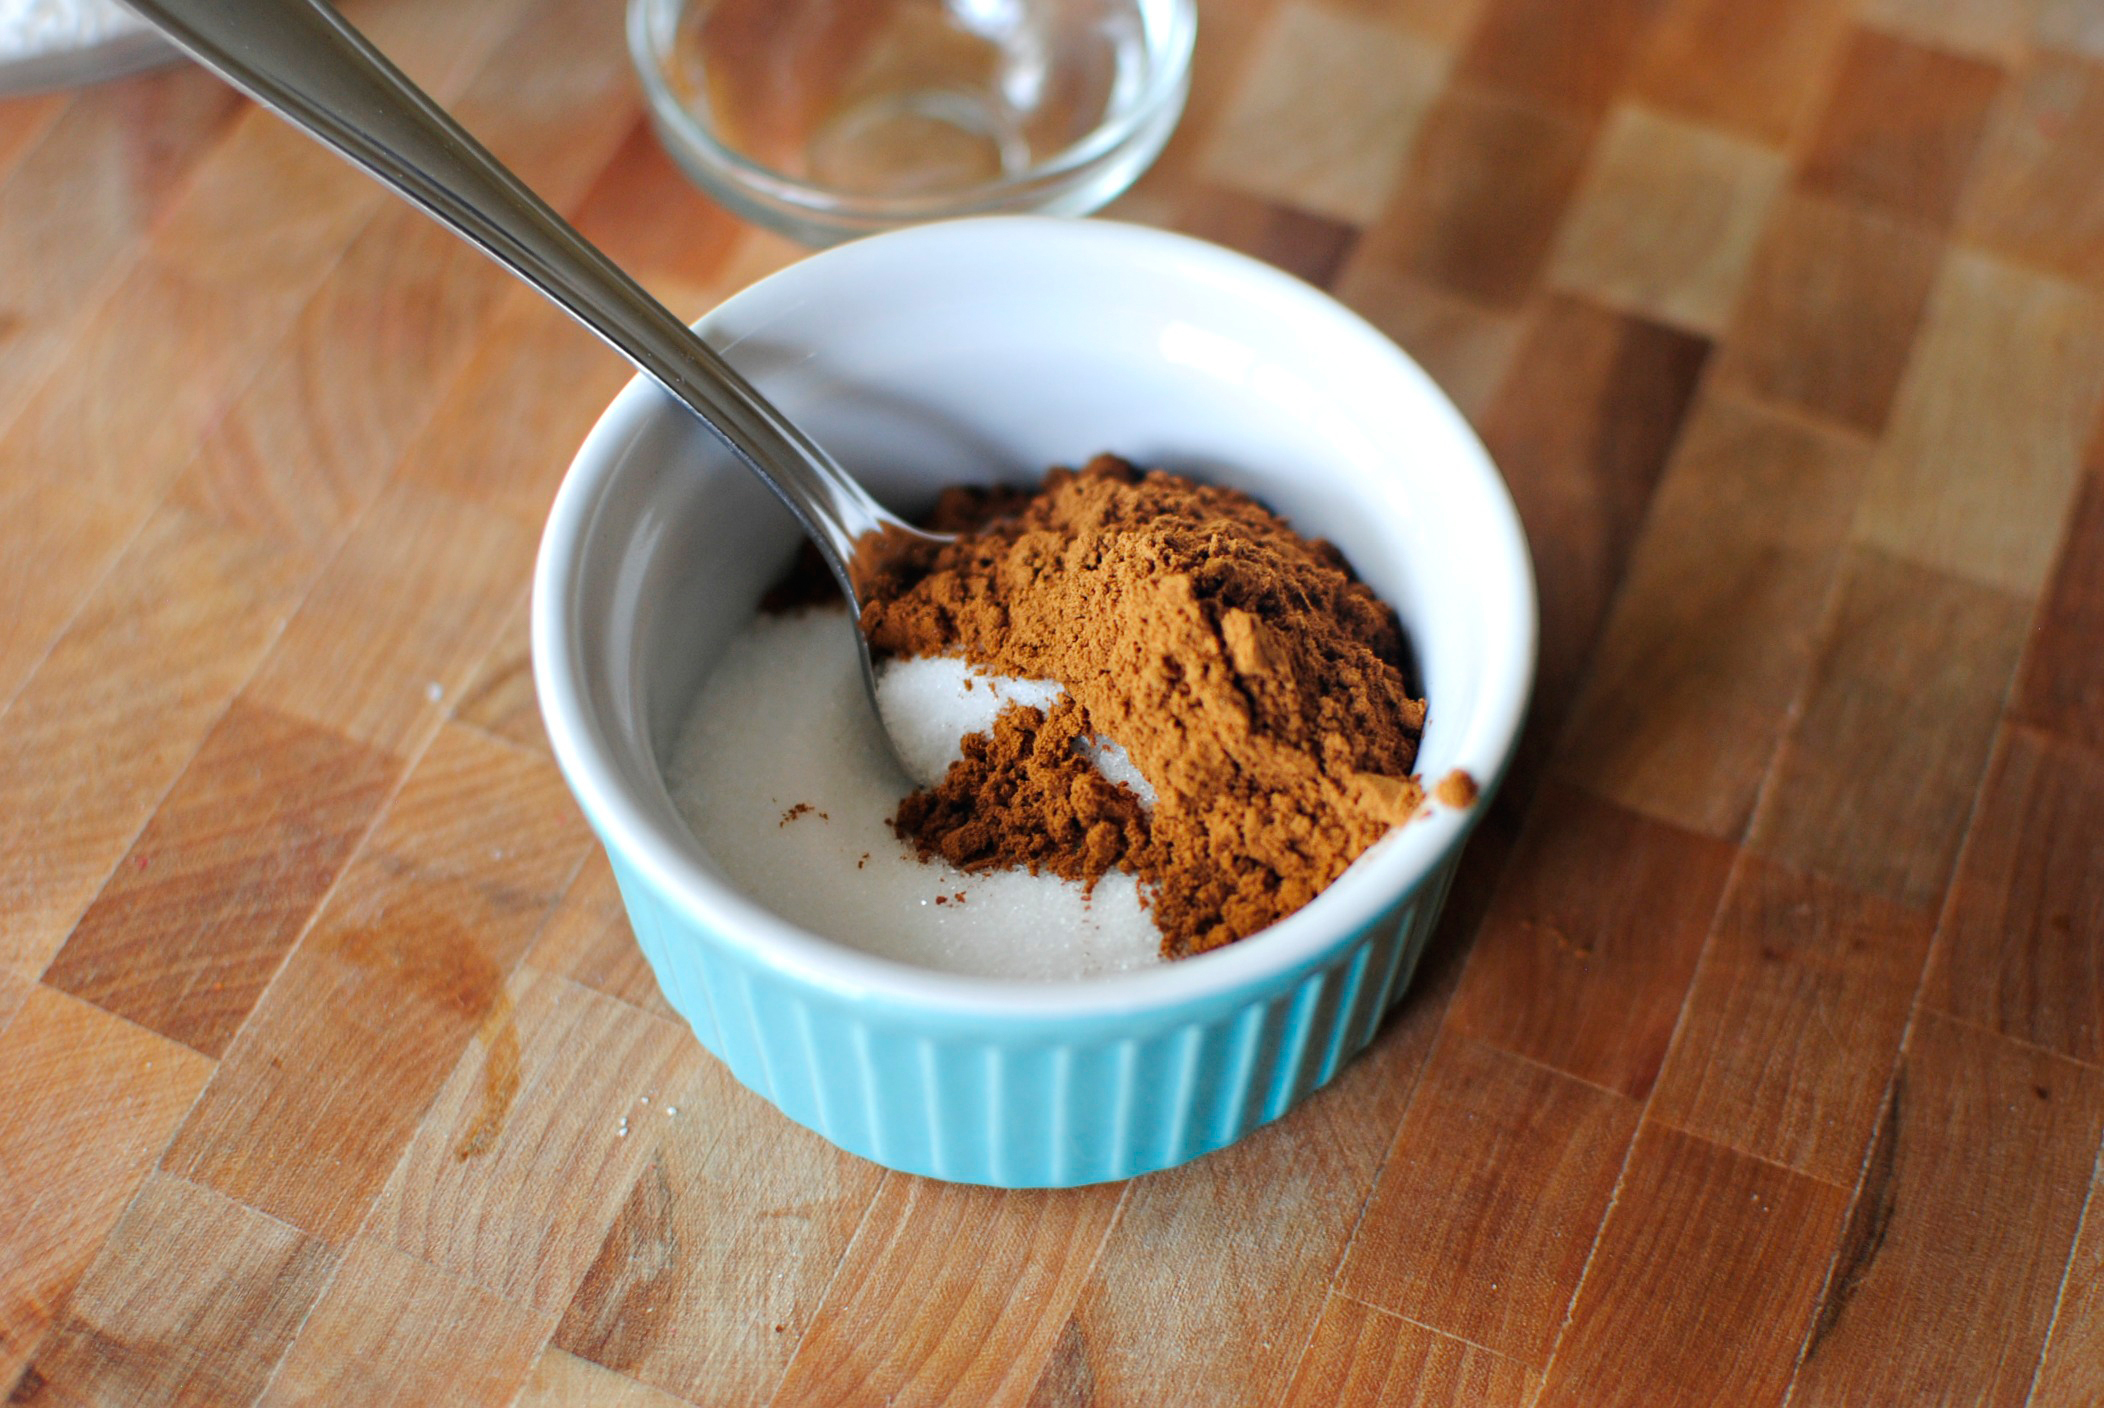
Combine a tablespoon of cinnamon with sugar. Make sure to use a big enough bowl that a doughnut will fit nicely in for dunking. 


Tasty Kitchen Blog: Apple Cider Donuts. Guest post by Laurie of Simply Scratch, recipe submitted by TK member Aimee of Shugary Sweets.

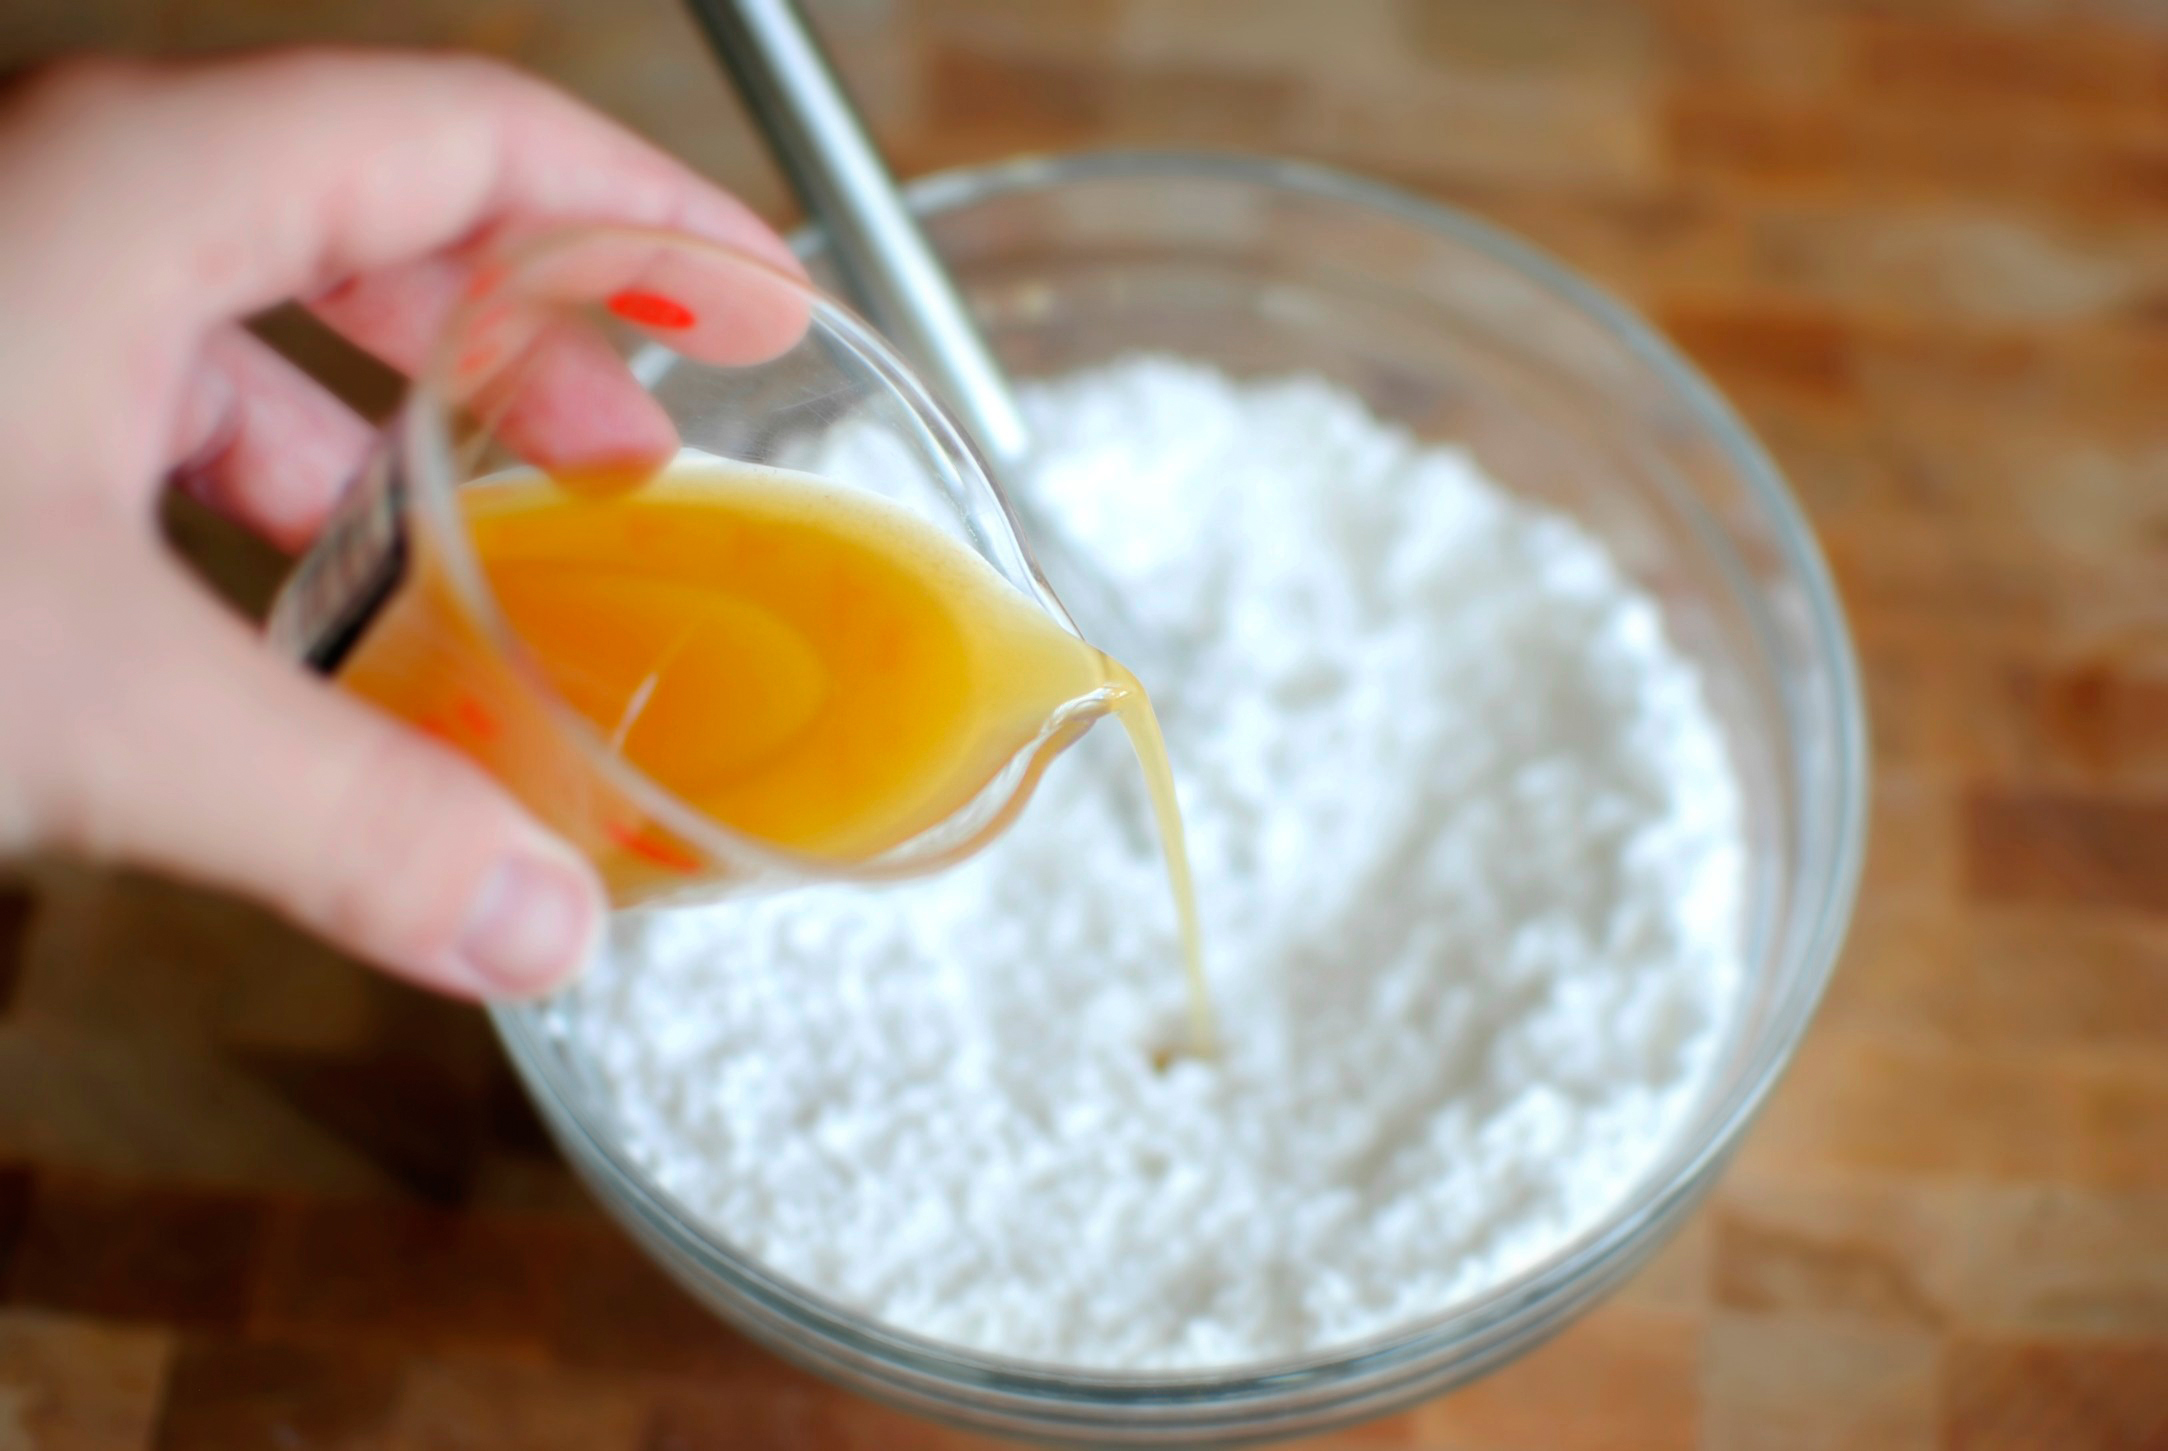
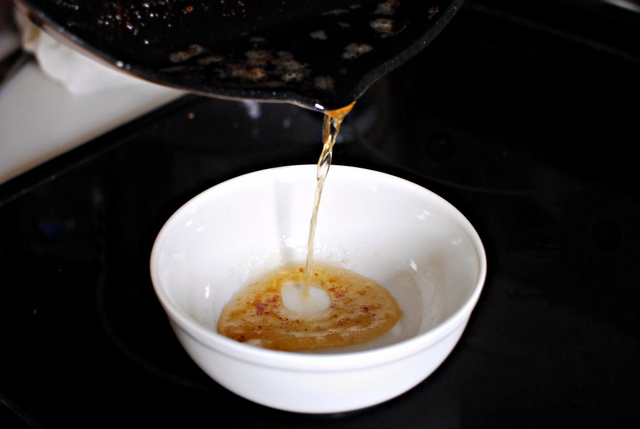
To make the glaze, start by measuring out powdered sugar and then pour in the apple cider. The recipe calls for 2 tablespoons of cider, but I needed to thin it out a tad more so I used a total of 3 tablespoons.


Tasty Kitchen Blog: Apple Cider Donuts. Guest post by Laurie of Simply Scratch, recipe submitted by TK member Aimee of Shugary Sweets.

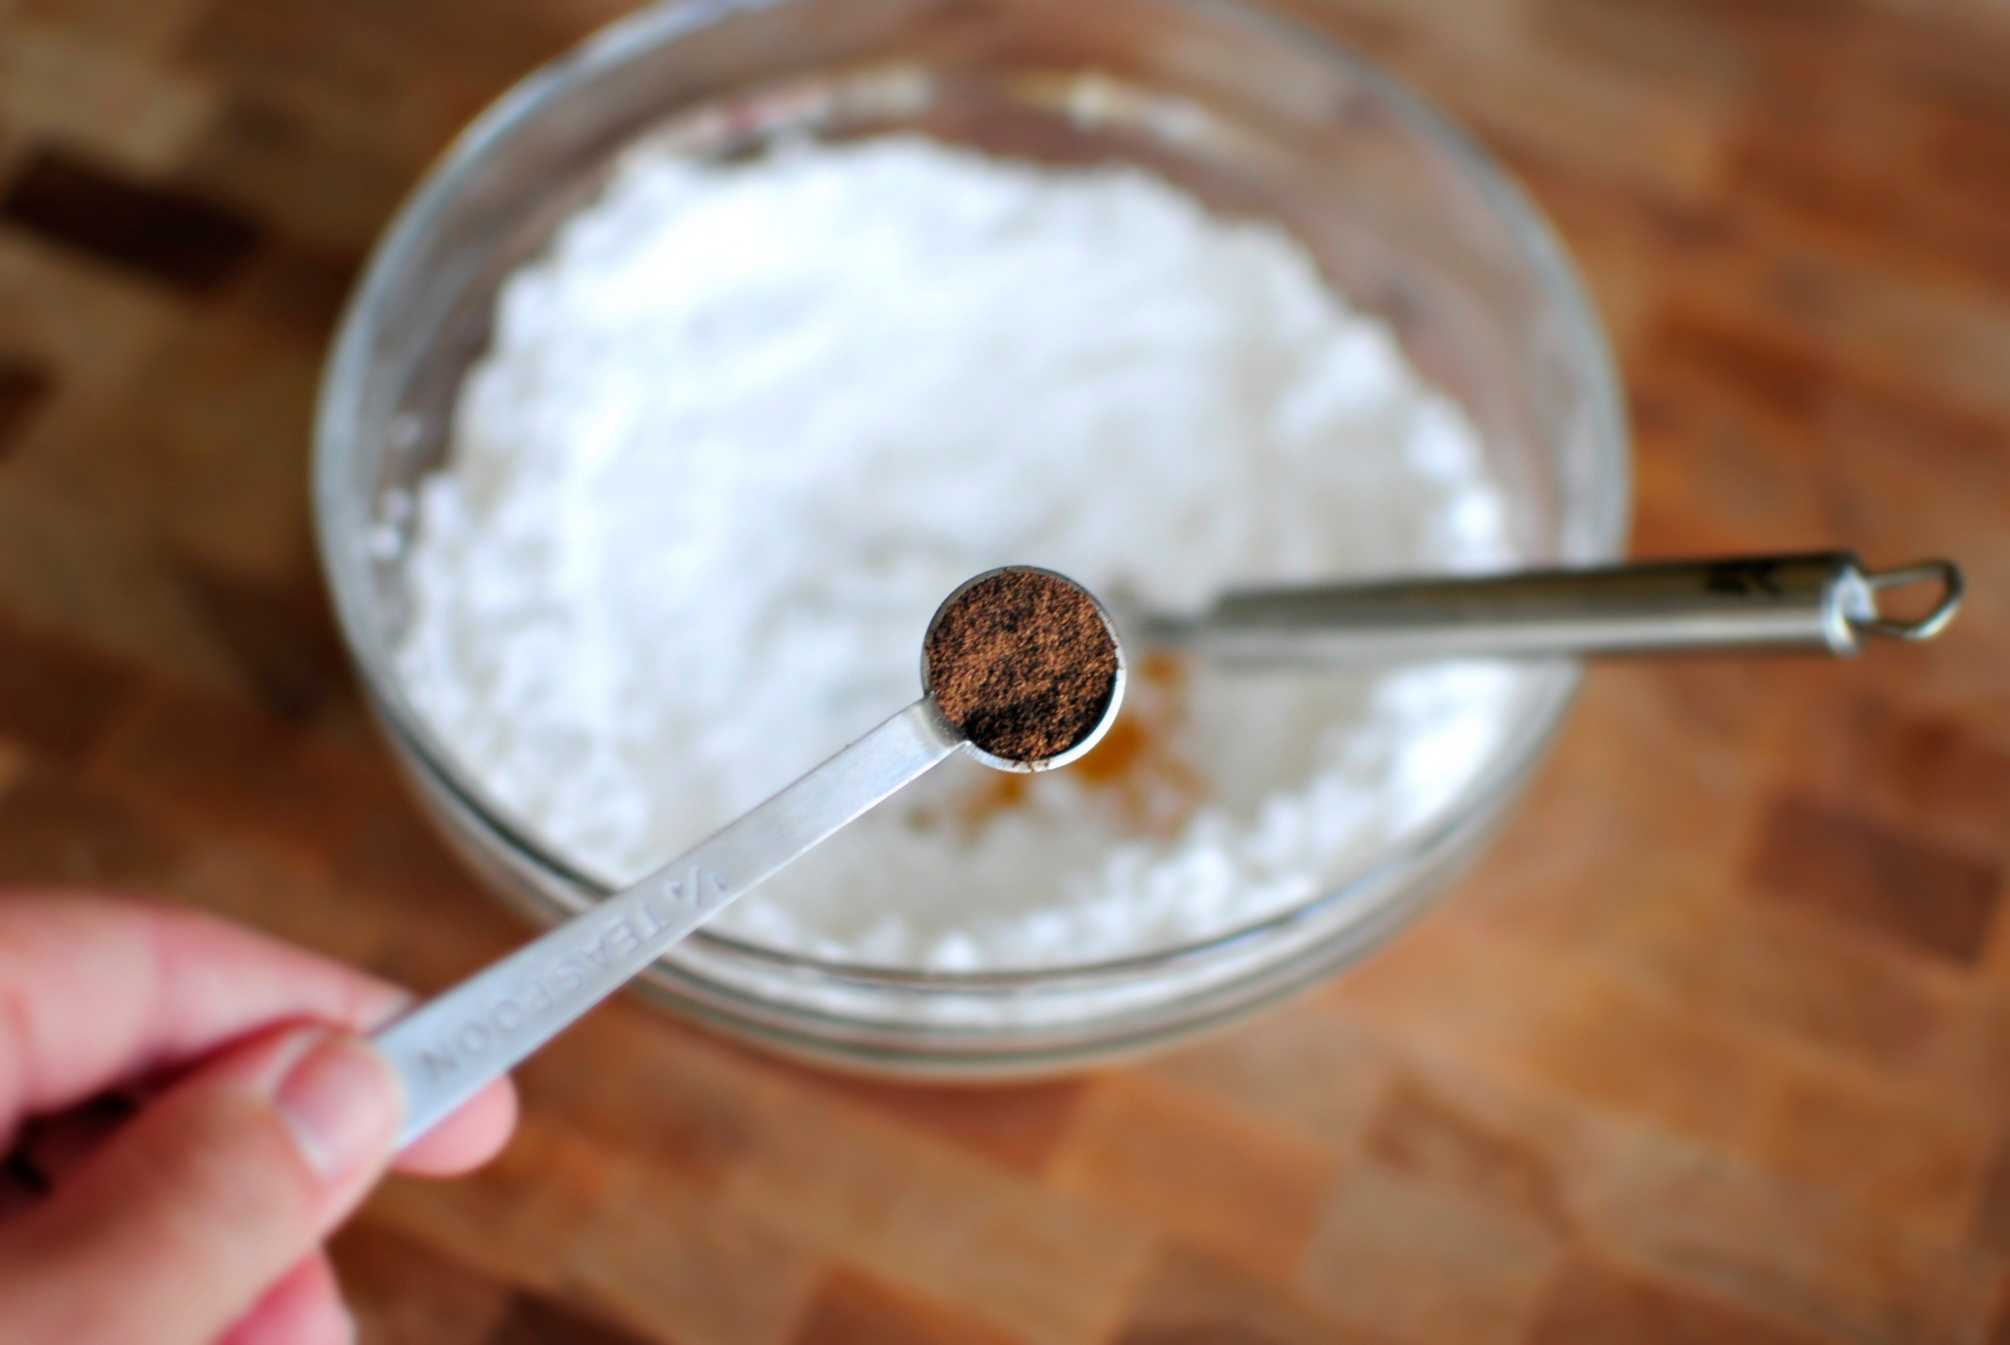
Then add in allspice.


Tasty Kitchen Blog: Apple Cider Donuts. Guest post by Laurie of Simply Scratch, recipe submitted by TK member Aimee of Shugary Sweets.

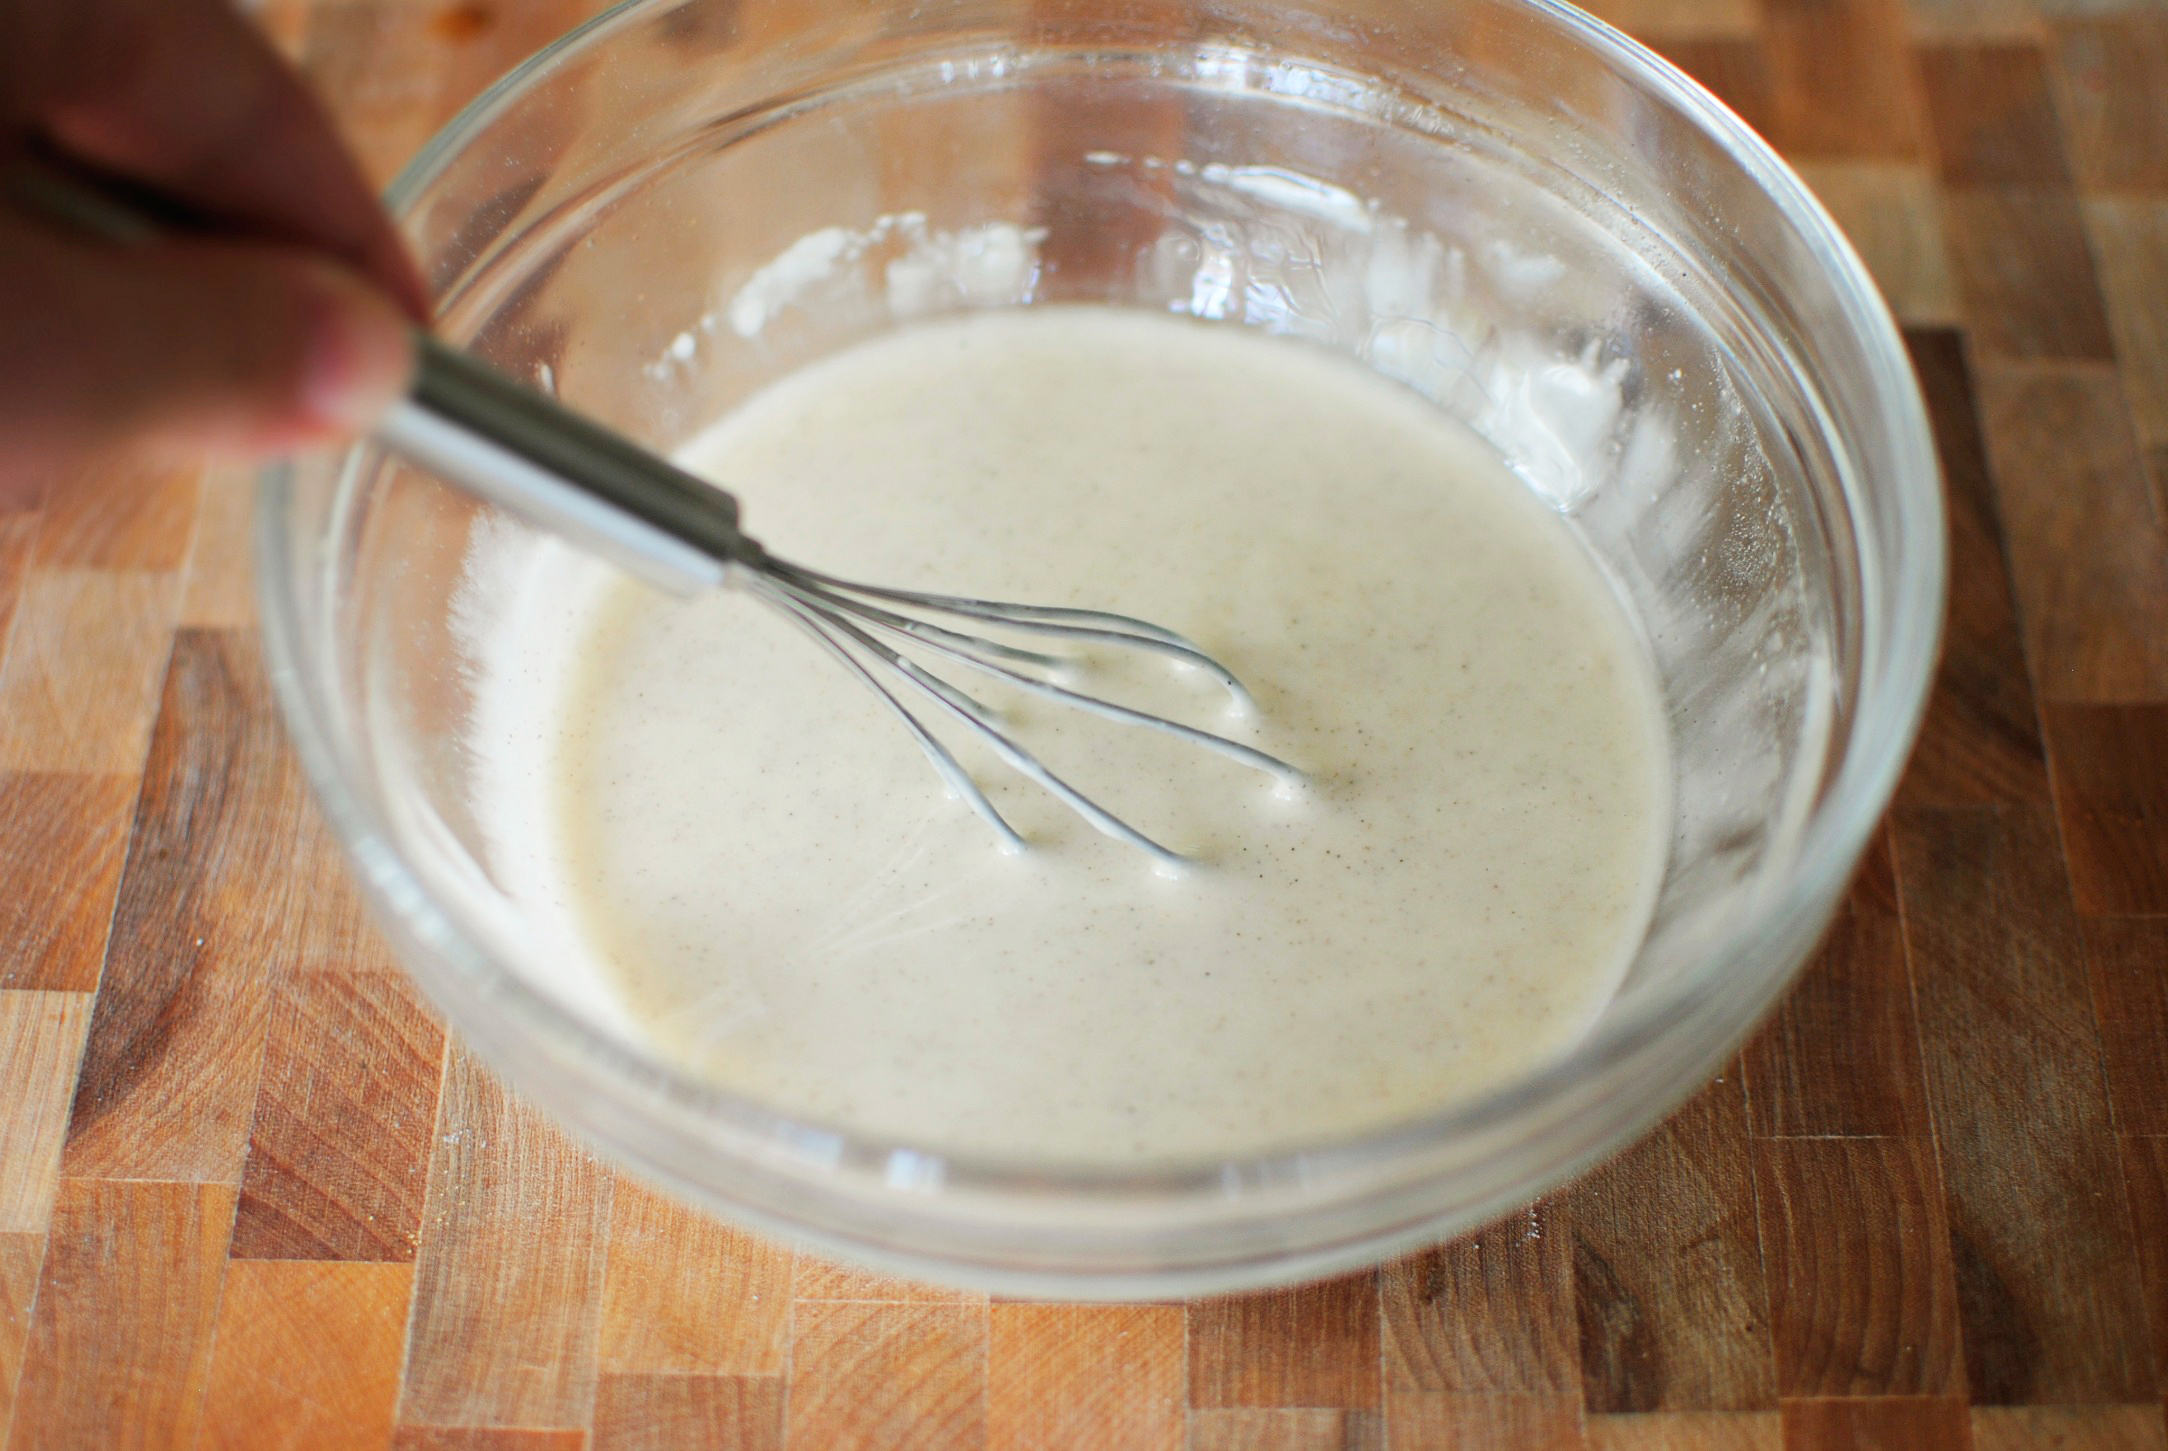
Whisk until completely combined and there are no lumps remaining.


Tasty Kitchen Blog: Apple Cider Donuts. Guest post by Laurie of Simply Scratch, recipe submitted by TK member Aimee of Shugary Sweets.

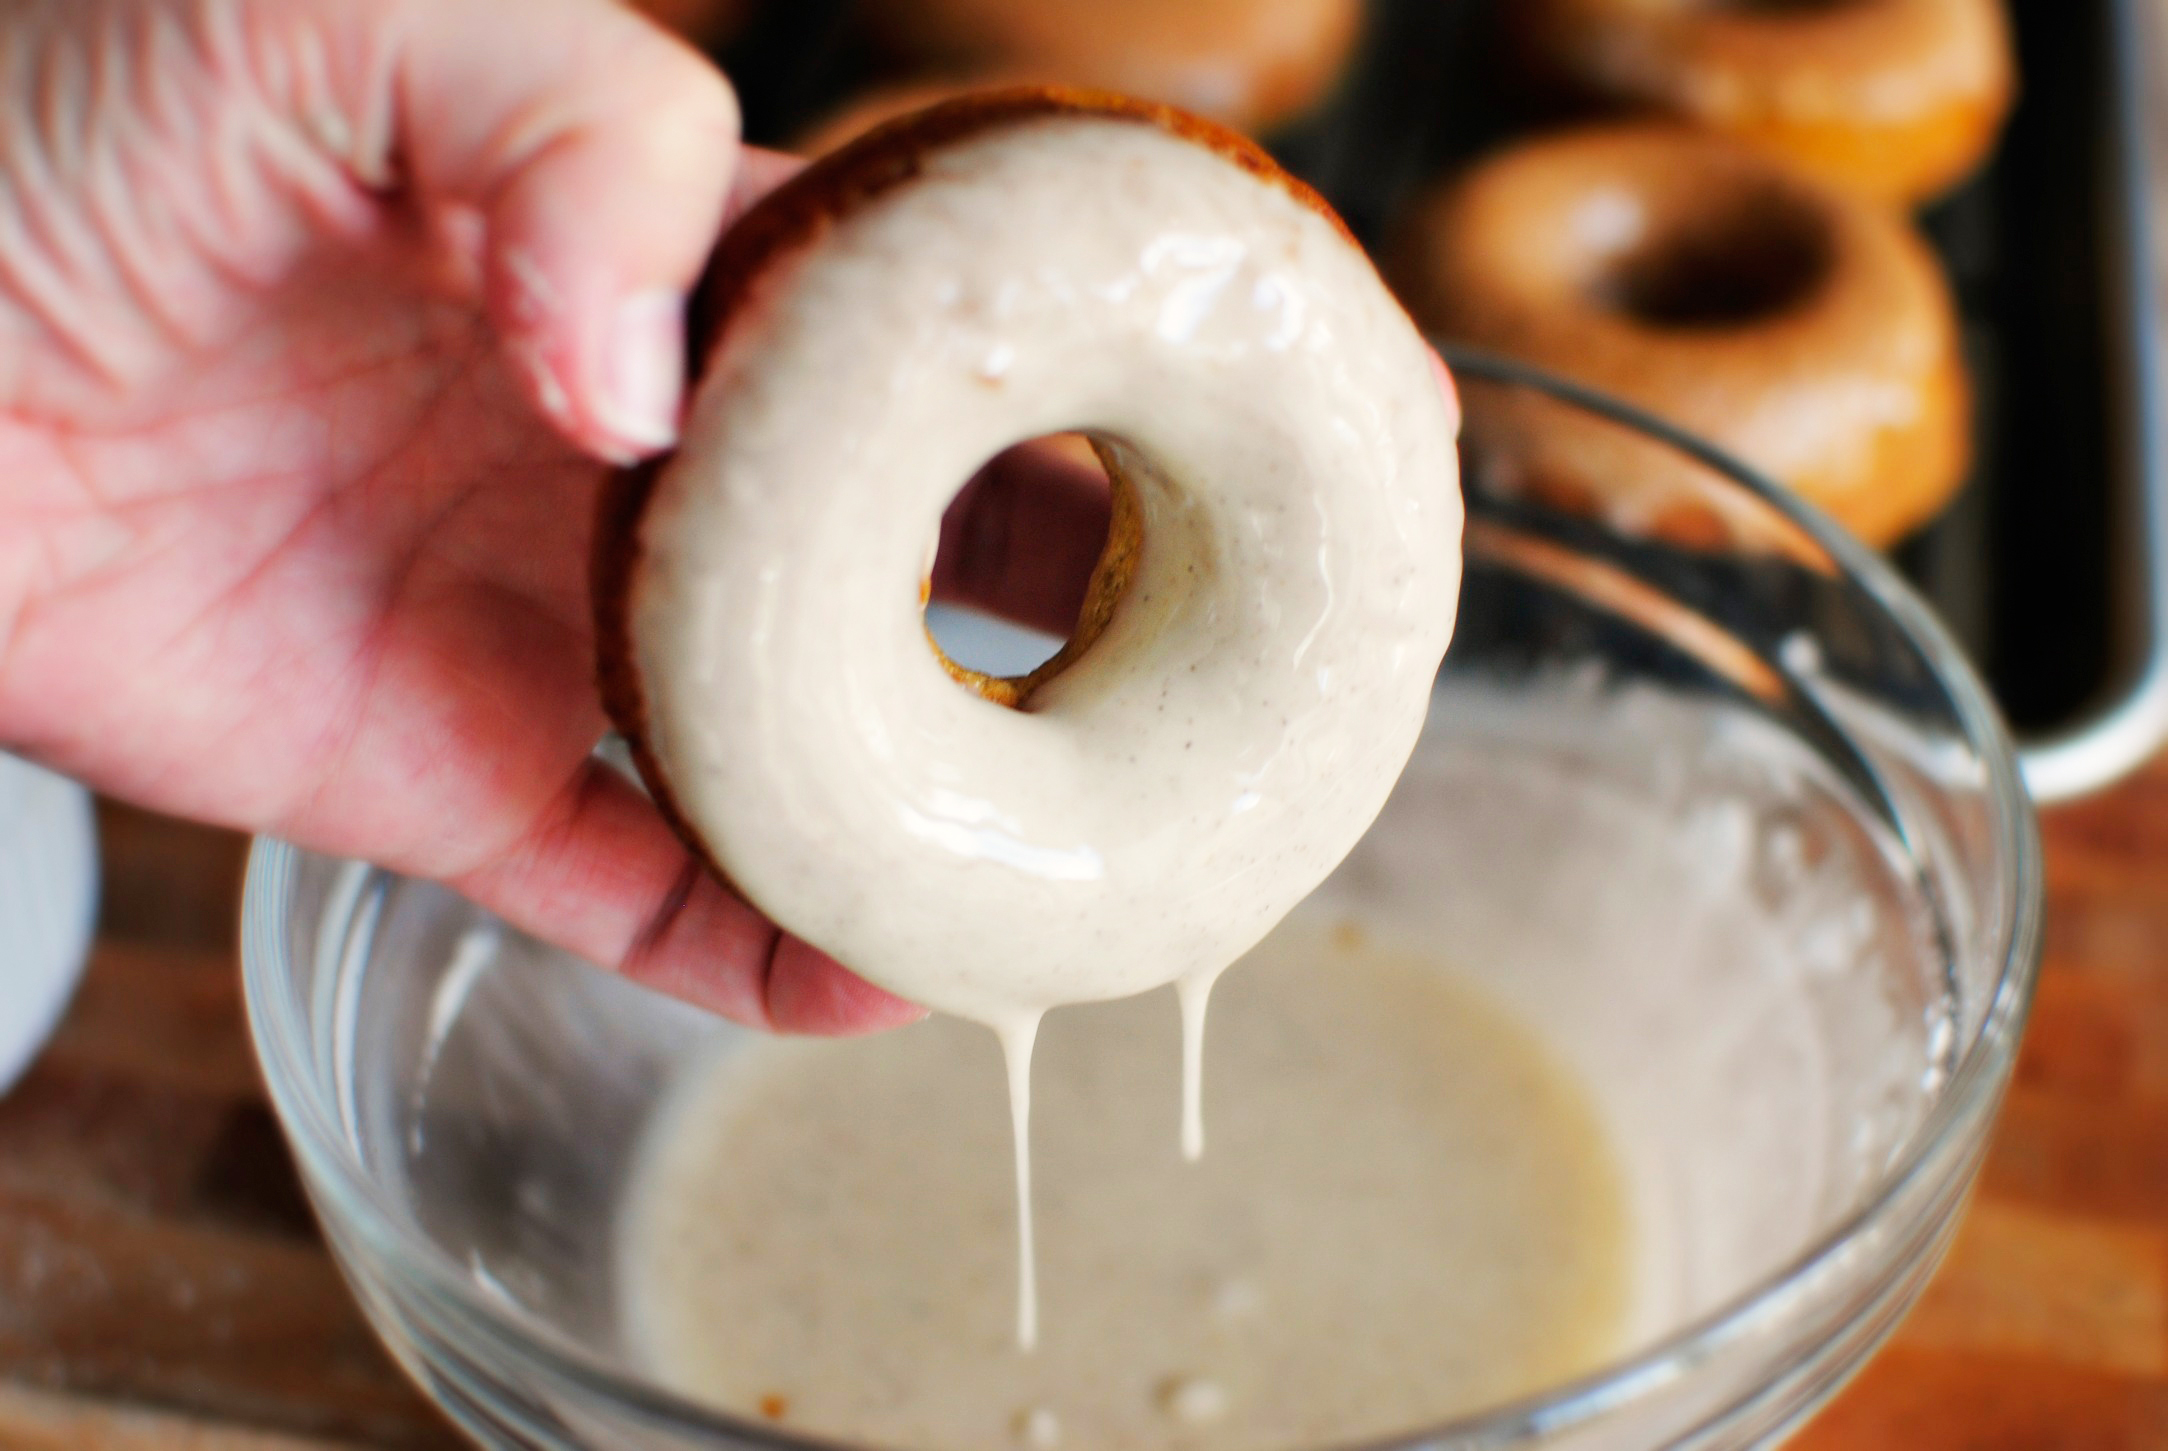
Dunk the doughnuts into the glaze. Ohhh yeah!


Tasty Kitchen Blog: Apple Cider Donuts. Guest post by Laurie of Simply Scratch, recipe submitted by TK member Aimee of Shugary Sweets.

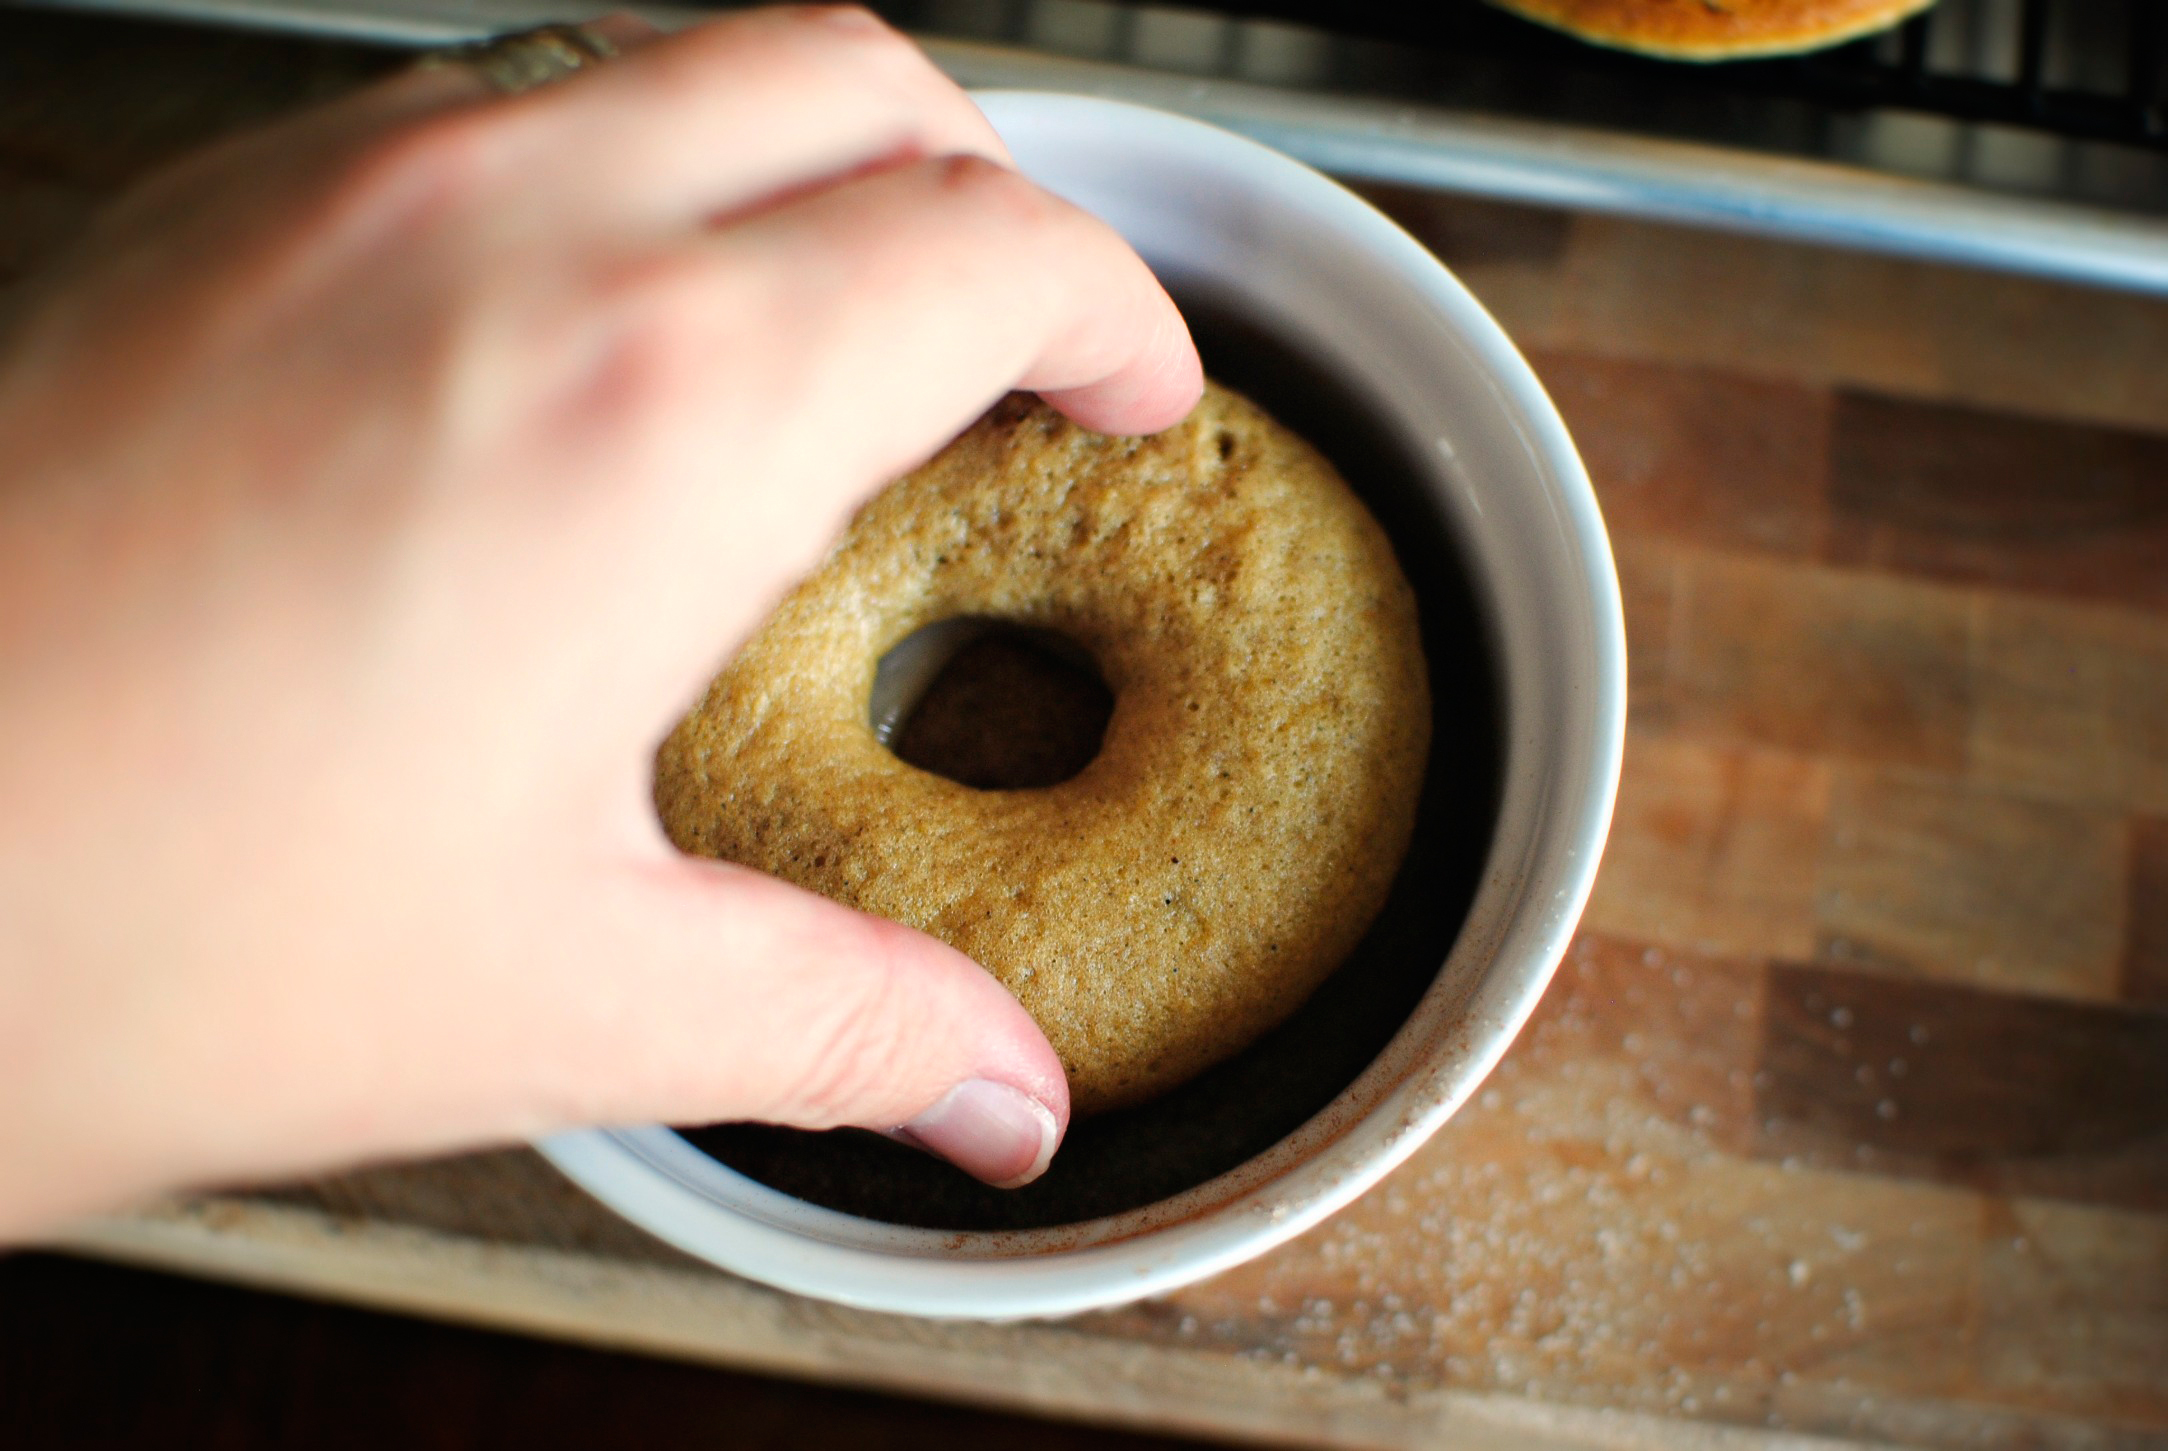
And then immediately dip it into the cinnamon sugar.


Tasty Kitchen Blog: Apple Cider Donuts. Guest post by Laurie of Simply Scratch, recipe submitted by TK member Aimee of Shugary Sweets.

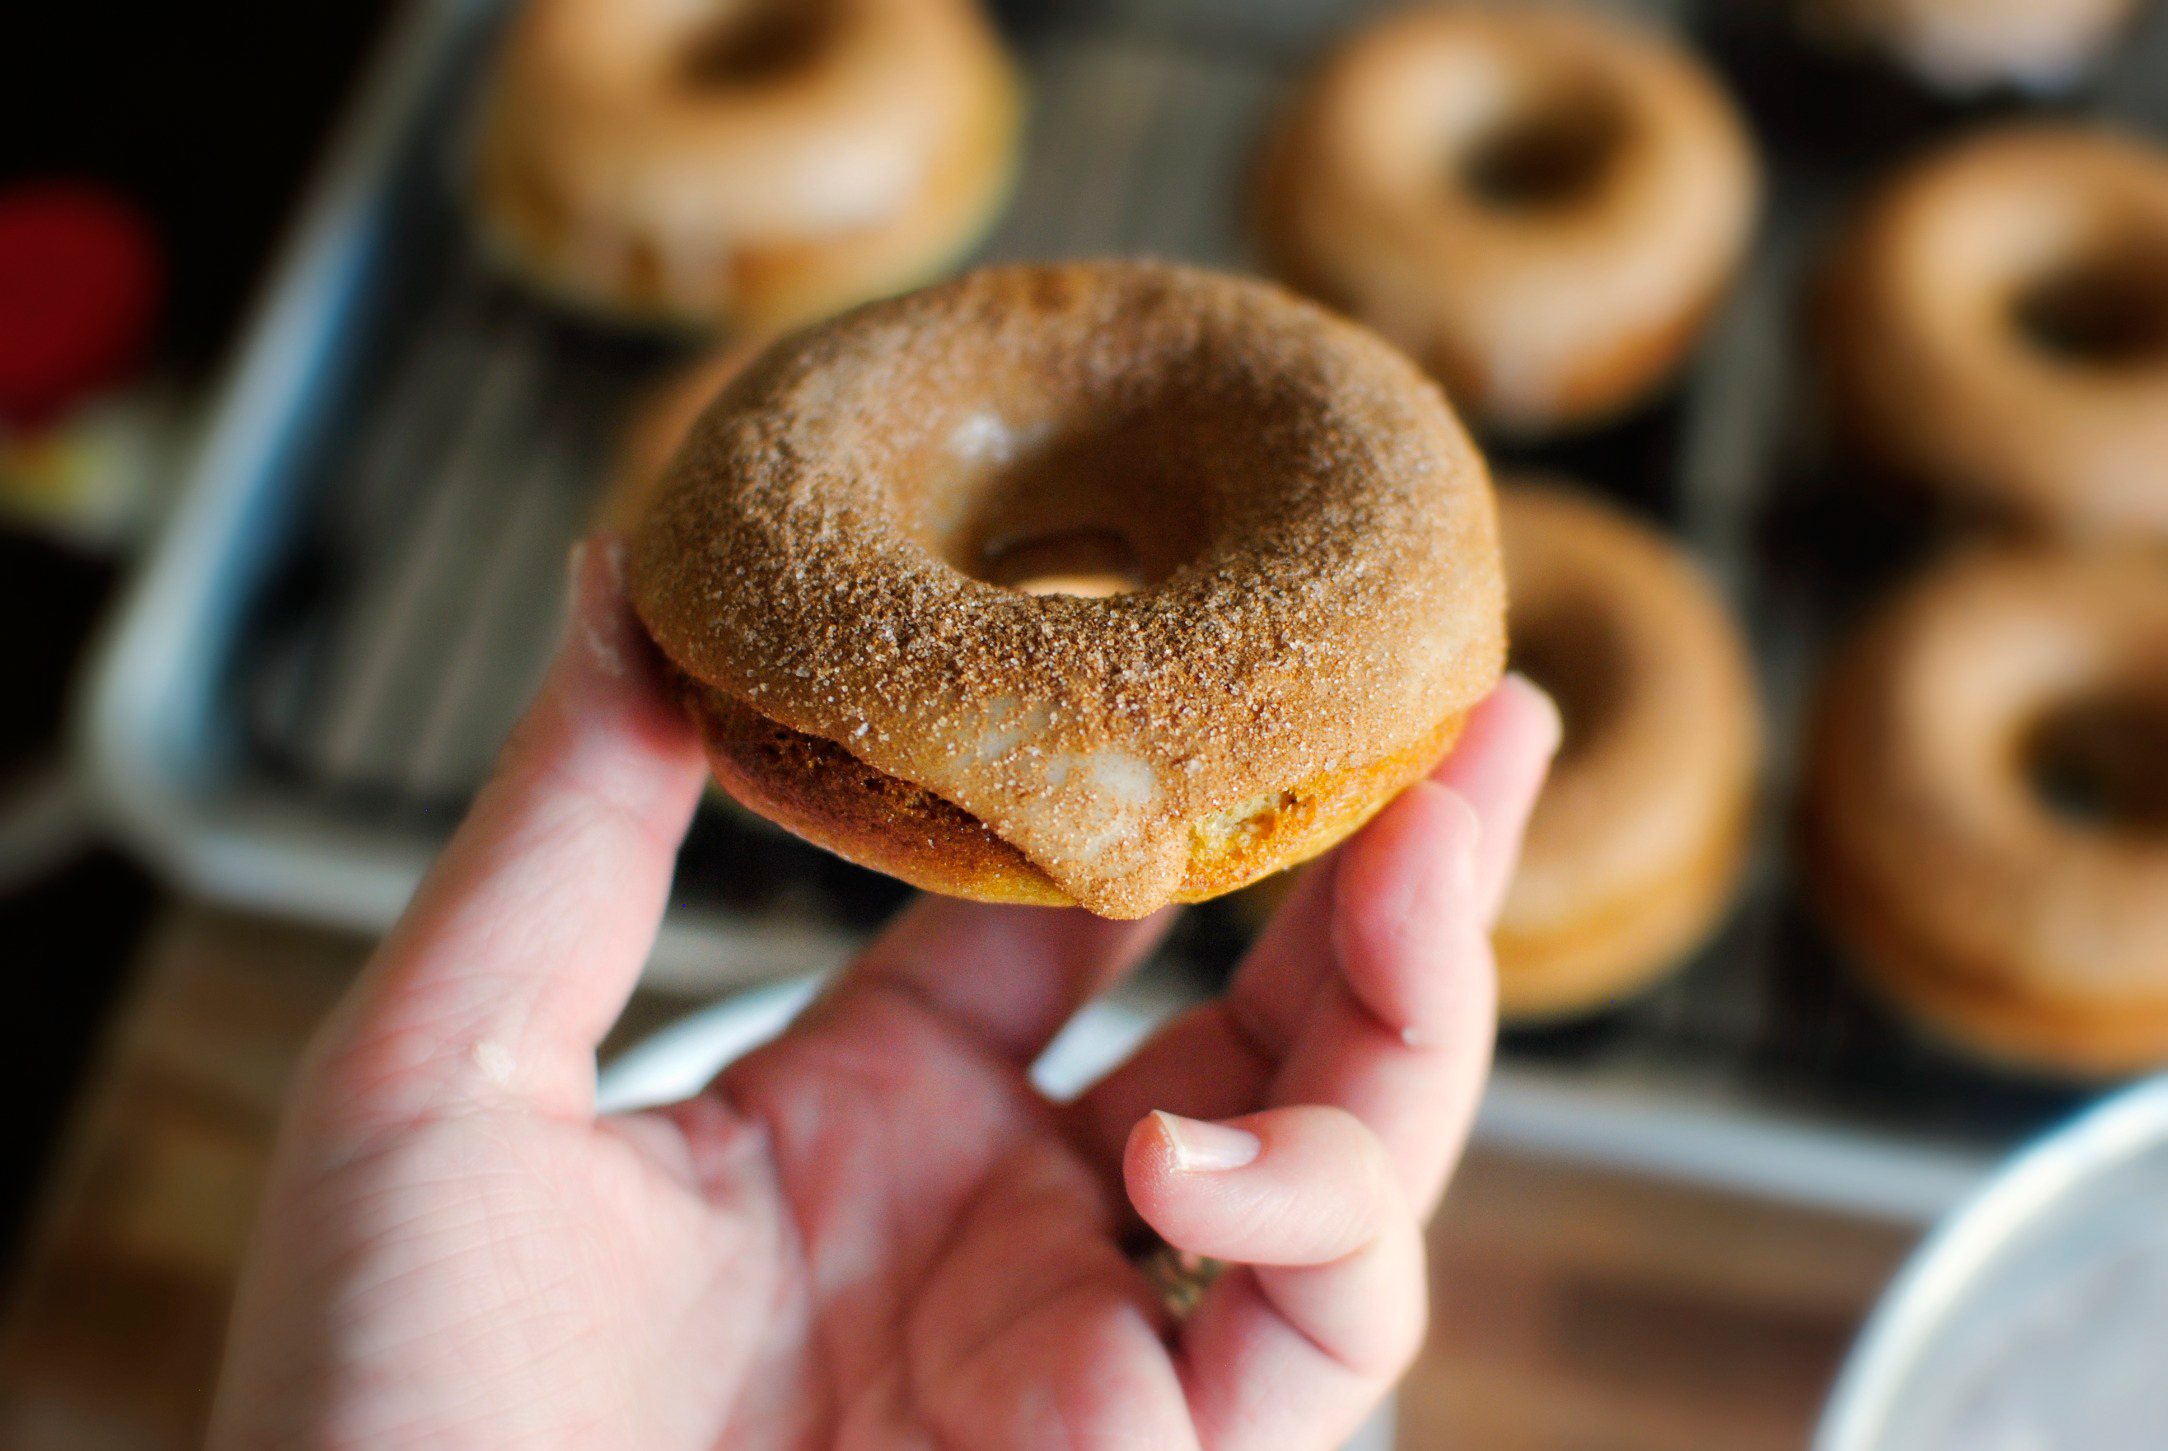
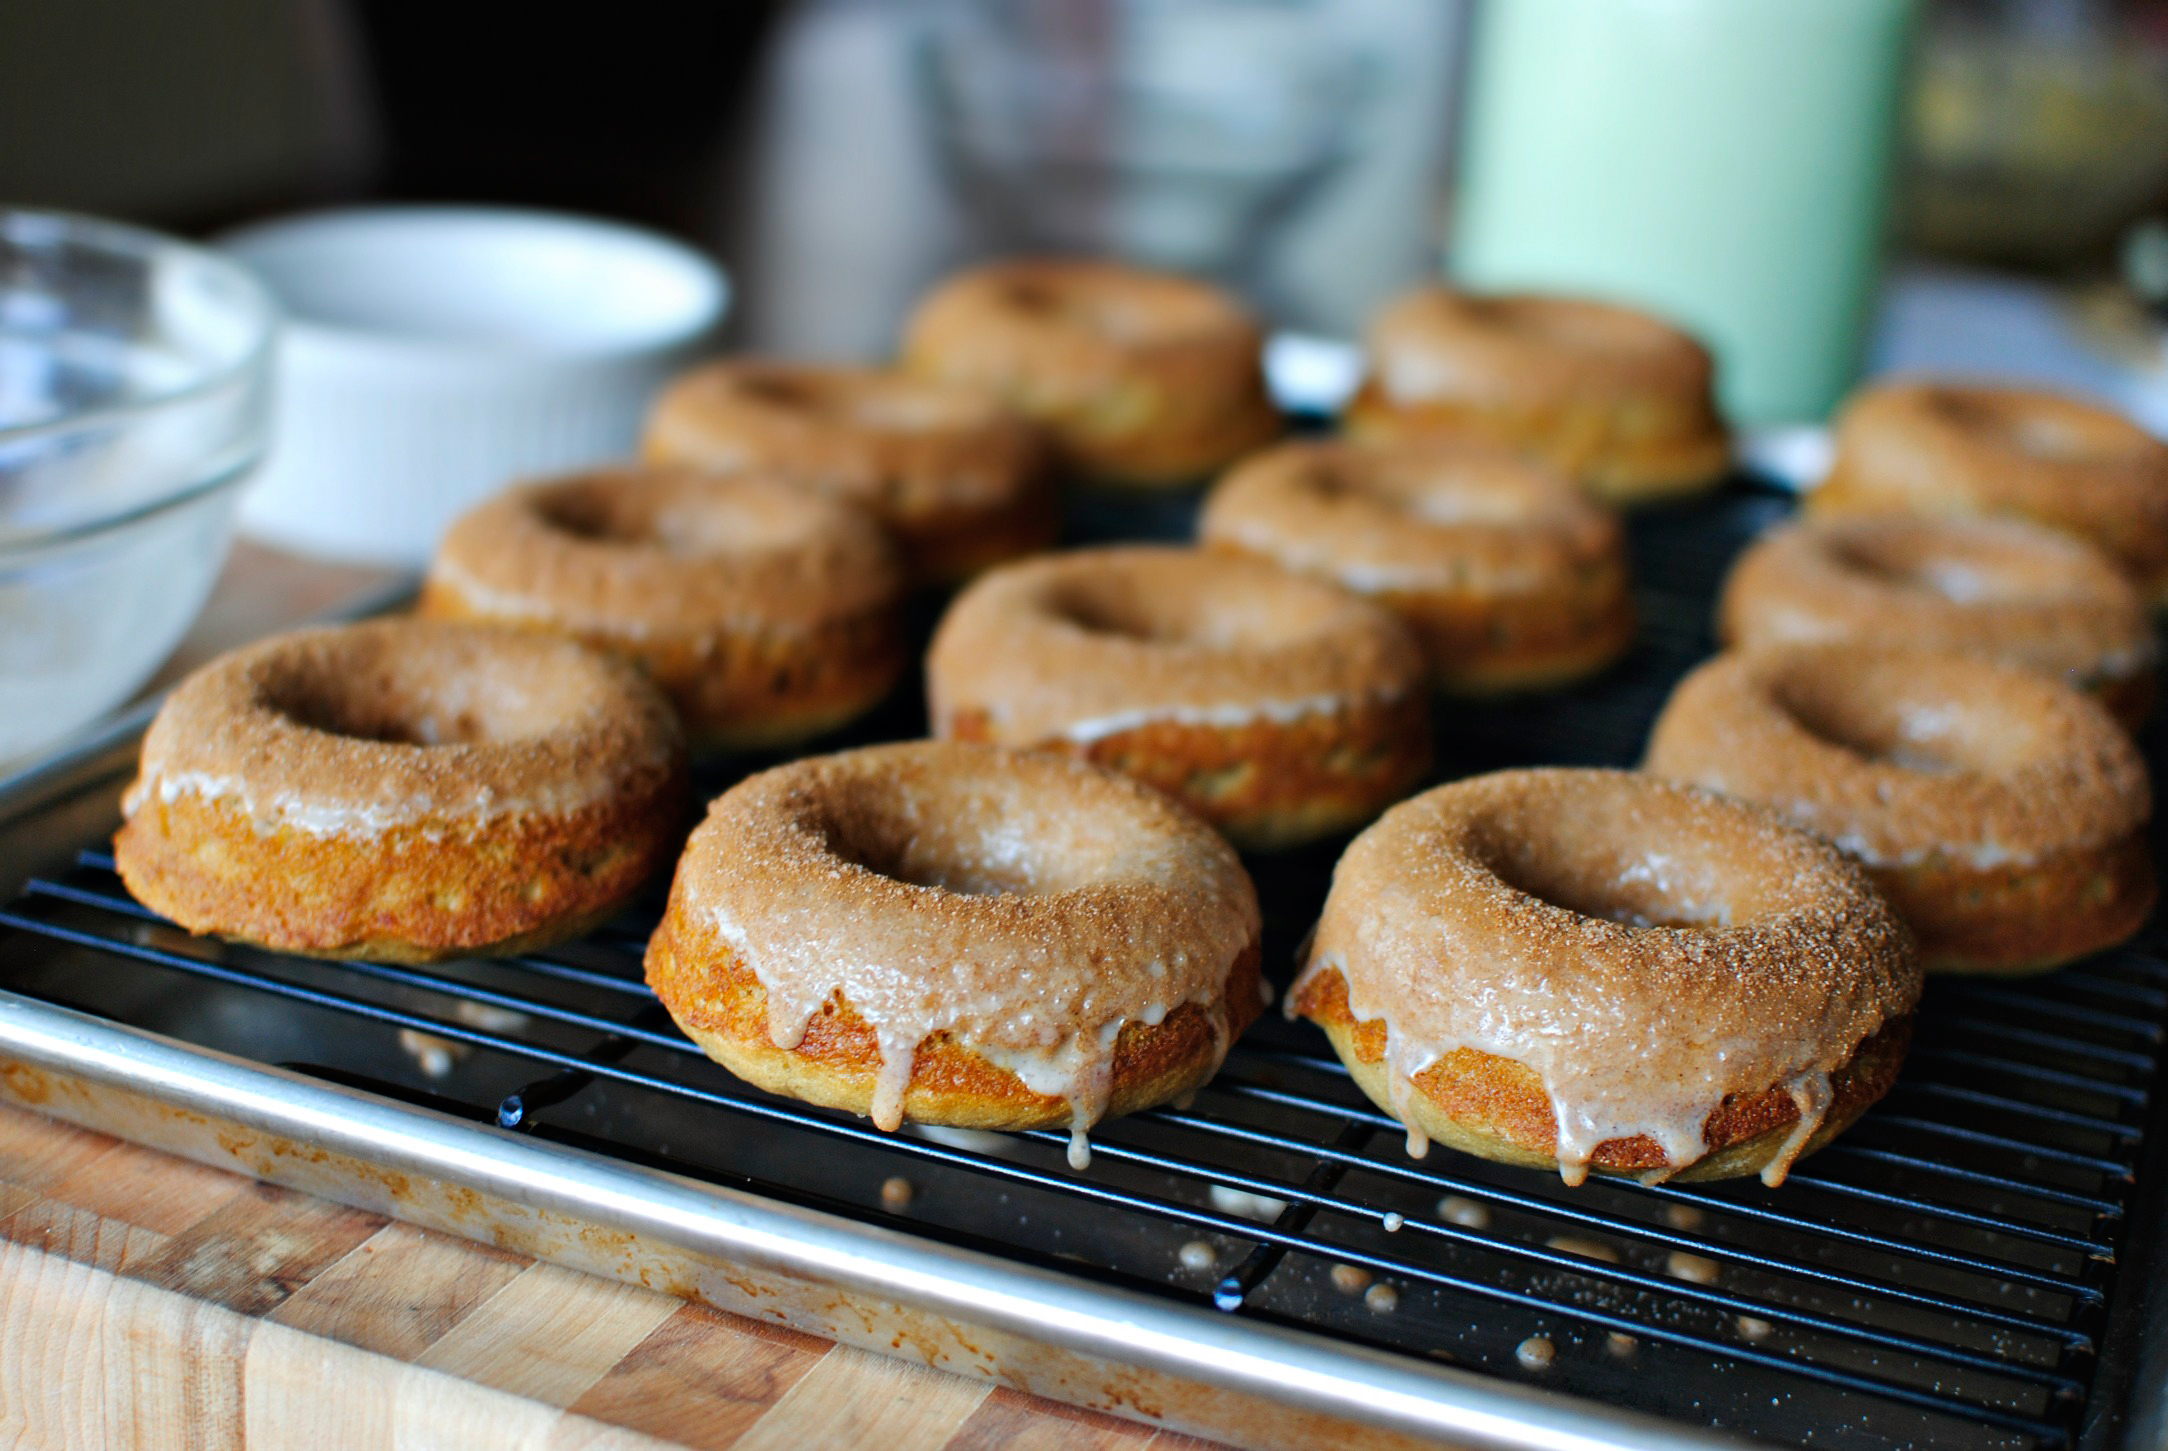
See what I mean? Now just set on a wire rack set over a sheet pan or paper towels so the glaze has a place to drip and repeat with the rest.


Tasty Kitchen Blog: Apple Cider Donuts. Guest post by Laurie of Simply Scratch, recipe submitted by TK member Aimee of Shugary Sweets.

You can let the glaze cool a tad. But really, why even wait another second?


Tasty Kitchen Blog: Apple Cider Donuts. Guest post by Laurie of Simply Scratch, recipe submitted by TK member Aimee of Shugary Sweets.

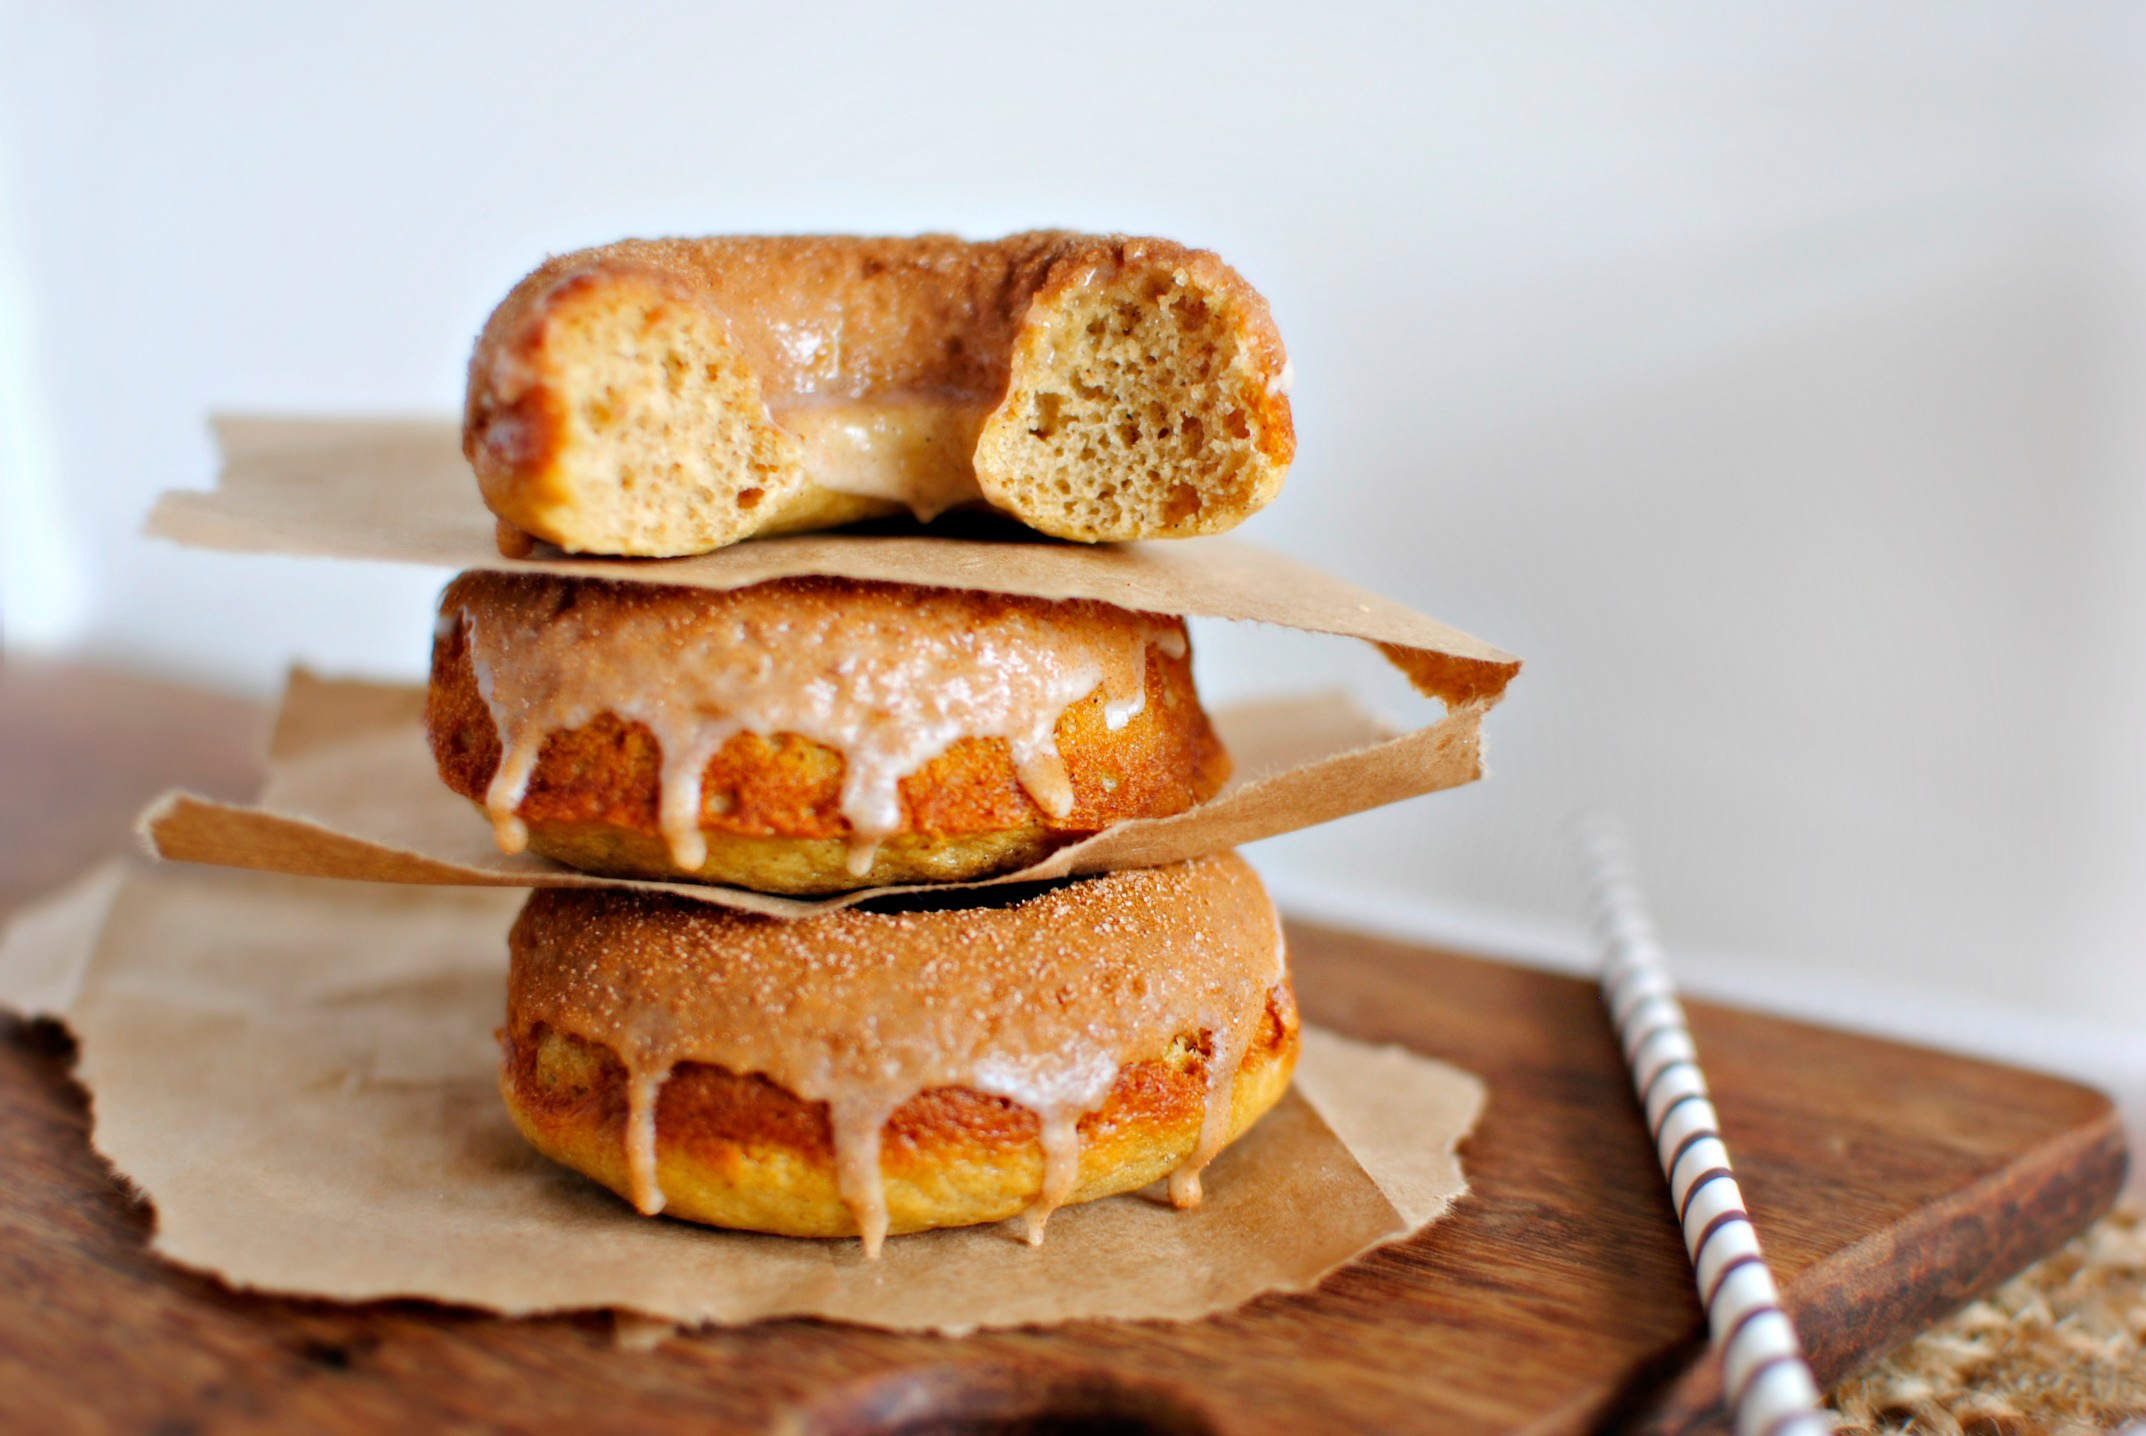
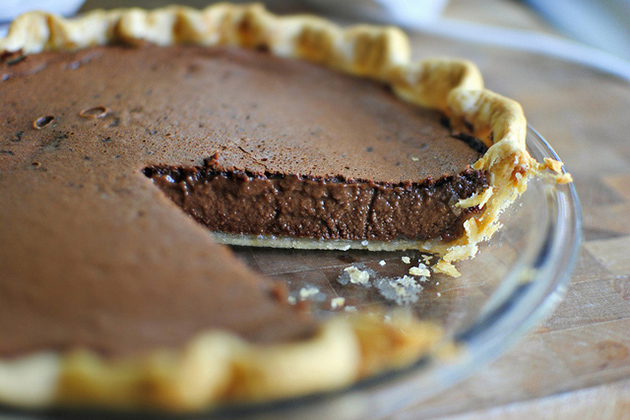
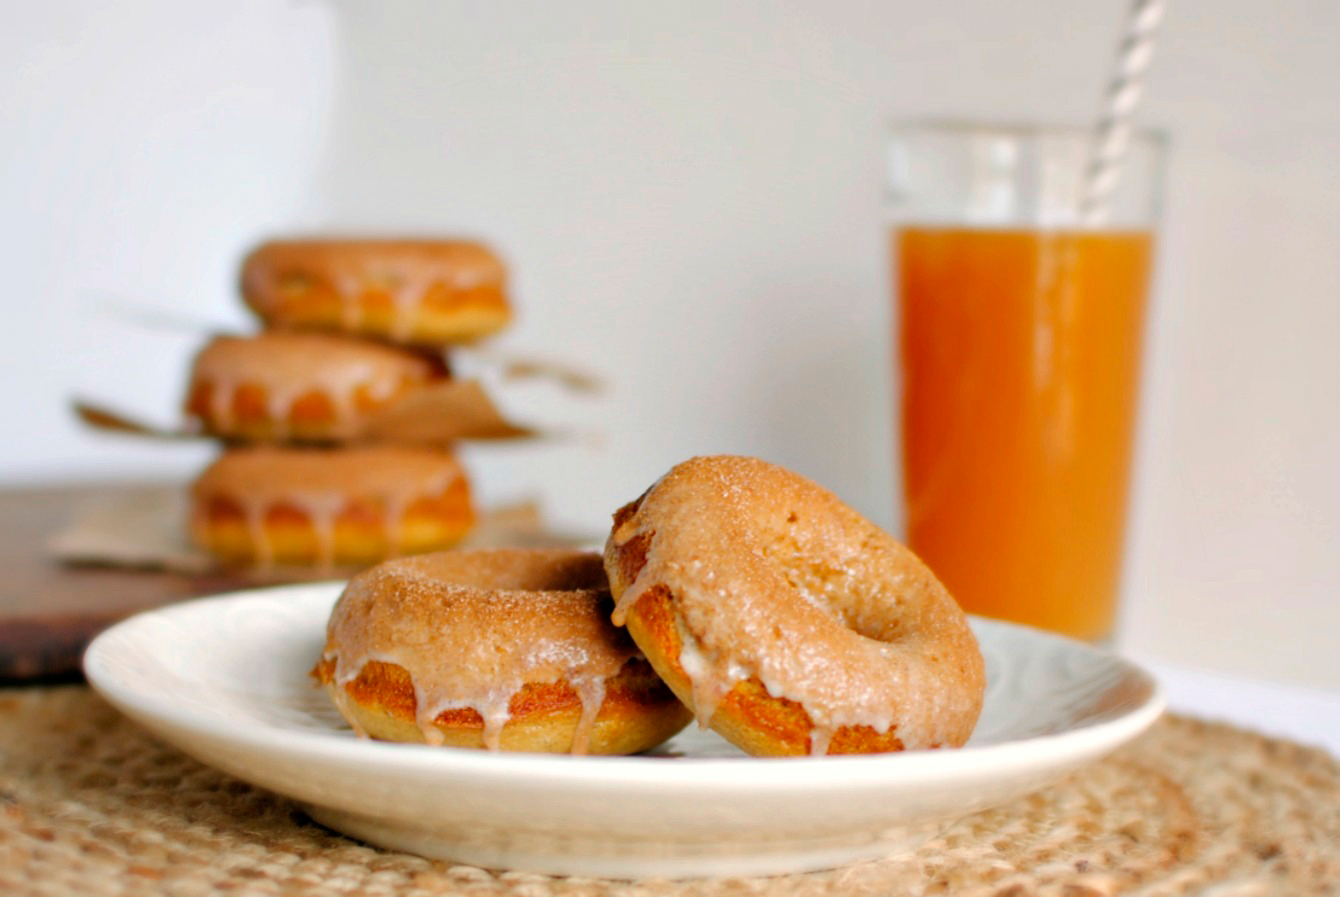
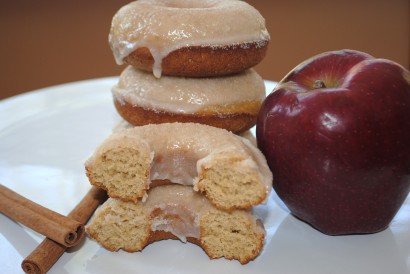
You guys. These doughnuts are nothing short of perfect. The texture of the doughnut is soft and moist, while the flavor of cider is not missed at all. Store them in an airtight container and they’ll last for days! Making these perfect for a fun snack in lunches or well, breakfast the next morning!


Tasty Kitchen Blog: Apple Cider Donuts. Guest post by Laurie of Simply Scratch, recipe submitted by TK member Aimee of Shugary Sweets.

A big thank you to Aimee for sharing this phenomenal recipe! This is definitely a recipe our whole house loved and will be making for years to come. And I can bet you all will just love these too!


Tasty Kitchen Blog: Apple Cider Donuts. Guest post by Laurie of Simply Scratch, recipe submitted by TK member Aimee of Shugary Sweets.

Please take a minute to stop by Aimee’s amazing blog Shugary Sweets where she not only dishes up an array of clever treats to suit any sweet tooth but other delicious easy to make recipes as well. You can also find her recipes here on Tasty Kitchen in her recipe box!

Note: the only change I made was to 3 tablespoons of apple cider (instead of two) in making the glaze.


Printable Recipe

Apple Cider Donuts

See post on Shugary Sweets’s site!
4.83 Mitt(s) 6 Rating(s)6 votes, average: 4.83 out of 56 votes, average: 4.83 out of 56 votes, average: 4.83 out of 56 votes, average: 4.83 out of 56 votes, average: 4.83 out of 5

Prep Time:

Cook Time:

Difficulty: Easy

Servings: 12

12
x

Print Options

Page size Letter 3x5 4x6
Text Size Small Medium Large
Content Include description
Include prep time, etc.
Show image

Description

Bake these donuts for a perfect fall breakfast!

Ingredients

  • FOR THE DONUTS:
  • 2 cups Flour
  • ¾ cups Sugar
  • 1 teaspoon Baking Powder
  • 1 teaspoon Baking Soda
  • 1 teaspoon Salt
  • ¼ teaspoons Nutmeg
  • ¼ teaspoons Allspice
  • ½ teaspoons Cinnamon
  • ½ cups Apple Cider
  • ¼ cups Applesauce
  • 2 whole Eggs
  • 1 teaspoon Vanilla Extract
  • FOR THE TOPPING:
  • 2 Tablespoons Apple Cider
  • 1-¼ cup Powdered Sugar
  • ¼ teaspoons Allspice
  • ¼ cups Sugar
  • 1 Tablespoon Cinnamon

Preparation Instructions

In a large mixing bowl add flour, sugar, baking powder, baking soda, salt, nutmeg, allspice, and cinnamon. Mix until blended. Add in the apple cider, applesauce, eggs, and vanilla extract. Beat for about 2 minutes until smooth and creamy.

Lightly grease a doughnut pan (I use Norpro brand). Pour batter into a large Ziploc bag, seal the bag, and snip off the corner. I find this the easiest and cleanest way to get batter into pan without dripping. Pipe the batter into the prepared pan.

Bake doughnuts in a 325ºF oven for about 10 minutes, until they spring back when touched. Remove from the oven and cool slightly before removing from pan.

To make the glaze, whisk together the apple cider, powdered sugar and allspice until completely smooth.

In a separate bowl, mix sugar and cinnamon.

Dip each doughnut into the glaze (top of doughnut only) and then into cinnamon/sugar mix. The glaze will run down the sides and coat nearly the whole donut. Allow to dry on a cooling rack. Enjoy!


_______________________________________

Laurie is the force behind Simply Scratch, a blog that documents her efforts to find and create recipes that are made simply from scratch. (We think it’s sweet that her mother-in-law helped her set up her blog and get started.) We love her recipes; they’re not just tried and true, but they look gorgeous as well. Check out her blog and you’ll become a fan too.


Profile photo of Laurie - Simply Scratch

Roasted Red Pepper Pizza Sauce

Posted by in Step-by-Step Recipes

Tasty Kitchen Blog: Roasted Red Pepper Pizza Sauce. Guest post by Laurie McNamara of Simply Scratch, recipe submitted by TK member Leanne.

 
It all started when I went off searching for a pizza sauce. I wanted, no needed a sauce with flavor, flair … and with roasted red peppers. So I typed in the words “roasted red pepper pizza sauce” into the Google search bar on my desktop, and wouldn’t you know it, up popped the link to Leanne’s recipe in Tasty Kitchen. Call it luck or call it fate, I’ll call it all that AND I’ll call it the best pizza sauce I’ve ever had. Period.

You know as well as I do that homemade pizza sauce is always a key factor when making a great pizza. But homemade pizza sauce that calls for roasted red peppers is not only brilliant but amazing and it’s so easy to make too! Just throw it all in a food processor and you’ll have a thick and flavorful sauce for your pizza in seconds. 


Tasty Kitchen Blog: Roasted Red Pepper Pizza Sauce. Guest post by Laurie McNamara of Simply Scratch, recipe submitted by TK member Leanne.

The ingredients are simple enough: an onion, a jar of roasted red peppers, tomato paste, a garlic clove, oregano, basil and the ever important salt and black pepper. You could make this 100% from scratch by roasting and peeling your own red bell peppers (I’d say you would need about 2 large or 3 small) but who wouldn’t like a little help in the kitchen every now and again?


Tasty Kitchen Blog: Roasted Red Pepper Pizza Sauce. Guest post by Laurie McNamara of Simply Scratch, recipe submitted by TK member Leanne.

Start by smashing and peeling one garlic clove.


Tasty Kitchen Blog: Roasted Red Pepper Pizza Sauce. Guest post by Laurie McNamara of Simply Scratch, recipe submitted by TK member Leanne.

Toss the garlic into a food processor. If you have a mini one then that will be just the perfect size for this recipe.


Tasty Kitchen Blog: Roasted Red Pepper Pizza Sauce. Guest post by Laurie McNamara of Simply Scratch, recipe submitted by TK member Leanne.

The original recipe calls for white onion, and since all I had on hand was the Spanish variety, I made a slight alteration. Also, since the Spanish onion was the size of a softball on steroids, I only used a third of that big guy.


Tasty Kitchen Blog: Roasted Red Pepper Pizza Sauce. Guest post by Laurie McNamara of Simply Scratch, recipe submitted by TK member Leanne.

Next just give the onion a rough chop. Nothing perfect or pretty, it just helps the food processor out a tad.


Tasty Kitchen Blog: Roasted Red Pepper Pizza Sauce. Guest post by Laurie McNamara of Simply Scratch, recipe submitted by TK member Leanne.

Add in the diced onion and secure the lid. Give it a quick pulse to mince up both the garlic and onion.


Tasty Kitchen Blog: Roasted Red Pepper Pizza Sauce. Guest post by Laurie McNamara of Simply Scratch, recipe submitted by TK member Leanne.

I only had a 12-ounce jar of peppers in my pantry, so I used what looked like 6 ounces to me and added it into the food processor. 


Tasty Kitchen Blog: Roasted Red Pepper Pizza Sauce. Guest post by Laurie McNamara of Simply Scratch, recipe submitted by TK member Leanne.

Whether you end up adding 6 or 8 ounces of peppers, it shouldn’t matter. You really can’t screw this up.

(P. S. Charred bits make me happy.)


Tasty Kitchen Blog: Roasted Red Pepper Pizza Sauce. Guest post by Laurie McNamara of Simply Scratch, recipe submitted by TK member Leanne.

All that’s left to do is add in the 6 ounces of tomato paste.


Tasty Kitchen Blog: Roasted Red Pepper Pizza Sauce. Guest post by Laurie McNamara of Simply Scratch, recipe submitted by TK member Leanne.

Then the black pepper, a dash of salt and a teaspoon of both dried basil and dried oregano.


Tasty Kitchen Blog: Roasted Red Pepper Pizza Sauce. Guest post by Laurie McNamara of Simply Scratch, recipe submitted by TK member Leanne.

Secure the lid one last time and give it a go on high speed until completely blended.


Tasty Kitchen Blog: Roasted Red Pepper Pizza Sauce. Guest post by Laurie McNamara of Simply Scratch, recipe submitted by TK member Leanne.

It should still be thick and a little on the chunky side, where you can still see flecks of the spices and a little bits of onion. And if you wanted to add a little heat, just throw in a pinch or two or three of red pepper flakes and your mouth will be happy.


Tasty Kitchen Blog: Roasted Red Pepper Pizza Sauce. Guest post by Laurie McNamara of Simply Scratch, recipe submitted by TK member Leanne.

Pour the pizza sauce into a container that has a snug fitting lid and refrigerate until ready to use. This recipe makes a little over a cup of pizza sauce.


Tasty Kitchen Blog: Roasted Red Pepper Pizza Sauce. Guest post by Laurie McNamara of Simply Scratch, recipe submitted by TK member Leanne.

I, of course, had to make pizza right away. After a finger-swipe tasting of the sauce, I simply could not wait.


Tasty Kitchen Blog: Roasted Red Pepper Pizza Sauce. Guest post by Laurie McNamara of Simply Scratch, recipe submitted by TK member Leanne.

And as I smeared the tasty sauce on the un-baked pizza dough, I admired its color and texture. It really is a thing of beauty!


Tasty Kitchen Blog: Roasted Red Pepper Pizza Sauce. Guest post by Laurie McNamara of Simply Scratch, recipe submitted by TK member Leanne.

Now, since you’ve seen this scrumptious sauce, I’m guessing you’re craving pizza. So don’t wait another minute! Make it for lunch, make it for dinner! I just know it’ll be a huge hit in your home as it was in mine.

A big “thank you” goes out to Leanne for sharing this recipe with us. I know I’ll be making this pizza sauce for years to come; in fact, I’m sure I’ll never go back to making regular pizza sauce ever again. It’s hands down one of the best I’ve had the pleasure of making (and eating)!


Printable Recipe

Roasted Red Pepper Pizza Sauce

See post on funfoodlove’s site!
5.00 Mitt(s) 1 Rating(s)1 vote, average: 5.00 out of 51 vote, average: 5.00 out of 51 vote, average: 5.00 out of 51 vote, average: 5.00 out of 51 vote, average: 5.00 out of 5

Prep Time:

Cook Time:

Difficulty: Easy

Servings: 3

3
x

Print Options

Page size Letter 3x5 4x6
Text Size Small Medium Large
Content Include description
Include prep time, etc.
Show image

Description

The roasted red peppers add just the right flavor to the sauce, making it more interesting than your basic tomato sauce. We used this on our grilled pizzas with fresh mozzarella and chicken. It was the perfect combination.

Ingredients

  • 6 ounces, weight Tomato Paste
  • 6 ounces, weight Jar Of Roasted Red Peppers
  • 1 clove Garlic
  • ½ whole White Onion
  • 1 teaspoon Fresh Ground Pepper
  • 1 dash Salt
  • 1 teaspoon Basil
  • 1 teaspoon Oregano

Preparation Instructions

Mix all sauce ingredients in a food processecor. I use my Tupperware Quick Chef.

To use, spread sauce mixture over grilled pizza dough. Use toppings of choice on pizza. We used slices of fresh mozzerella and grilled chicken. Put pizza back on the grill to melt cheese, about 5 minutes in a 450-degree grill.


_______________________________________

Laurie is the force behind Simply Scratch, a blog that documents her efforts to find and create recipes that are made simply from scratch. (We think it’s sweet that her mother-in-law helped her set up her blog and get started.) We love her recipes; they’re not just tried and true, but they look gorgeous as well. Check out her blog and you’ll become a fan too.


Profile photo of Laurie - Simply Scratch

Easy Chocolate Pie

Posted by in Baking, Step-by-Step Recipes

Tasty Kitchen Blog: Easy Chocolate Pie. Guest post by Laurie McNamara of Simply Scratch, recipe submitted by TK member Sissy of Out on a Limb.

 
This pie had me at the word easy. Okay, it really had me at chocolate and pie. I was looking for a quick and fancy pie to serve after dinner to celebrate some fantastic report cards, so when I typed the words “easy pie” into the Tasty Kitchen search engine and voilà! I found Sissy’s recipe for Easy Chocolate Pie.
 
I had to do a double take at the ingredient list because for the pie filling, there were only five ingredients listed. Five ingredients that I already had in my pantry! And whether you make your own pie crust or buy store-made dough, that’s really up to you, because the pie filling is the real star of this recipe. It’s creamy, pudding-like and not too sweet, which I love! I topped mine with homemade whipped cream and couldn’t resist sneaking a slice before dinner.


Tasty Kitchen Blog: Easy Chocolate Pie. Guest post by Laurie McNamara of Simply Scratch, recipe submitted by TK member Sissy of Out on a Limb.

I told you it was easy. So easy you probably don’t need a step-by-step tutorial—but you’re getting one anyway!


Tasty Kitchen Blog: Easy Chocolate Pie. Guest post by Laurie McNamara of Simply Scratch, recipe submitted by TK member Sissy of Out on a Limb.

In a large bowl add 1-1/4 cup granulated sugar and 3-1/2 tablespoons cocoa powder.


Tasty Kitchen Blog: Easy Chocolate Pie. Guest post by Laurie McNamara of Simply Scratch, recipe submitted by TK member Sissy of Out on a Limb.

Whisk to fluff and combine.


Tasty Kitchen Blog: Easy Chocolate Pie. Guest post by Laurie McNamara of Simply Scratch, recipe submitted by TK member Sissy of Out on a Limb.

Crack and add two whole eggs into the bowl with the cocoa and sugar.


Tasty Kitchen Blog: Easy Chocolate Pie. Guest post by Laurie McNamara of Simply Scratch, recipe submitted by TK member Sissy of Out on a Limb.

Add in a five-ounce can of evaporated milk.


Tasty Kitchen Blog: Easy Chocolate Pie. Guest post by Laurie McNamara of Simply Scratch, recipe submitted by TK member Sissy of Out on a Limb.

Add the melted butter and then just whisk until everything is incorporated into the dry ingredients. Really try hard not to pour this into a mug and drink it.


Tasty Kitchen Blog: Easy Chocolate Pie. Guest post by Laurie McNamara of Simply Scratch, recipe submitted by TK member Sissy of Out on a Limb.

Prick the bottom of your pie shell a few times. 


Tasty Kitchen Blog: Easy Chocolate Pie. Guest post by Laurie McNamara of Simply Scratch, recipe submitted by TK member Sissy of Out on a Limb.

And pour in the chocolate pie filling.


Tasty Kitchen Blog: Easy Chocolate Pie. Guest post by Laurie McNamara of Simply Scratch, recipe submitted by TK member Sissy of Out on a Limb.

Carefully place the pie into a preheated 350ºF oven and bake for 50 minutes. Meanwhile, the most unbelievable chocolaty aroma will creep throughout your house.


Tasty Kitchen Blog: Easy Chocolate Pie. Guest post by Laurie McNamara of Simply Scratch, recipe submitted by TK member Sissy of Out on a Limb.

It may slightly jiggle in the center, but that’s totally okay because as it sits it will cool and set up more. 


Tasty Kitchen Blog: Easy Chocolate Pie. Guest post by Laurie McNamara of Simply Scratch, recipe submitted by TK member Sissy of Out on a Limb.

The camera loved this pie! At every angle this pie looked every bit delicious as the title leads you to believe. It’s one of those recipes you can whip up at a moment’s notice for an impromptu family gathering, school bake sale or for those lifetime movie nights. Whatever the occasion, this pie will truly shine!


Tasty Kitchen Blog: Easy Chocolate Pie. Guest post by Laurie McNamara of Simply Scratch, recipe submitted by TK member Sissy of Out on a Limb.

A little whipped cream and a dusting of chocolate shavings and you have not only one easy pie but a fancy, delicious, stunning, chocolaty (did I mention delicious?) pie.


Tasty Kitchen Blog: Easy Chocolate Pie. Guest post by Laurie McNamara of Simply Scratch, recipe submitted by TK member Sissy of Out on a Limb.

Thank you Sissy for sharing this pie with us. It was everything you promised it to be, easy and chocolaty! I’ll be making this pie again, that’s for sure!
 
Be sure to swing through Sissy’s TK recipe box for more of her recipes. And while you’re at it, stop by her blog Out on a Limb where she chronicles her day-to-day happenings. Now if you’ll excuse me, I have a pie to finish eating!


Printable Recipe

Easy Chocolate Pie

4.58 Mitt(s) 12 Rating(s)12 votes, average: 4.58 out of 512 votes, average: 4.58 out of 512 votes, average: 4.58 out of 512 votes, average: 4.58 out of 512 votes, average: 4.58 out of 5

Prep Time:

Cook Time:

Difficulty: Easy

Servings: 8

8
x

Print Options

Page size Letter 3x5 4x6
Text Size Small Medium Large
Content Include description
Include prep time, etc.
Show image

Description

This simple but decadent chocolate pie comes together in a snap and the aroma calls you to snatch it out of the oven!

Ingredients

  • 1 whole Refrigerated Pie Crust, Or Use Your Favorite 1 Crust Dough Recipe
  • 3-½ Tablespoons Cocoa Powder
  • 1-¼ cup White Sugar
  • 2  Eggs
  • ½ sticks Melted Butter Or Margarine
  • 1 can Evaporated Milk (5 Oz Can)

Preparation Instructions

1. Preheat oven to 350 F. In a bowl, mix together cocoa powder and sugar. The texture of the pie will be smoother if a food processor is used.
2. Add all of the remaining ingredients (except the crust) and whisk/blend together. Batter will be very thin.
3. Put the pie crust into an 8 or 9 inch pie pan and prick the dough several times with a fork.
4. Pour batter into crust and bake for about 50 minutes, or until the batter sets up and there is a thin crust on the top.

Top with whipped cream and enjoy!


_______________________________________

Laurie is the force behind Simply Scratch, a blog that documents her efforts to find and create recipes that are made simply from scratch. (We think it’s sweet that her mother-in-law helped her set up her blog and get started.) We love her recipes; they’re not just tried and true, but they look gorgeous as well. Check out her blog and you’ll become a fan too.


Profile photo of Laurie - Simply Scratch

Bacon, Pear & Raspberry Grilled Cheese

Posted by in Step-by-Step Recipes

Tasty Kitchen Blog: Bacon, Pear & Raspberry Grilled Cheese. Guest post by Laurie McNamara of Simply Scratch, recipe submitted by TK member Lindsay of Pinch of Yum.

 
April is National Grilled Cheese Month!  So what better way to celebrate than with a newly discovered and loved grilled cheese sandwich? I’ve had my eye on Lindsay’s recipe since I saw it first on her blog Pinch of Yum. I was intrigued by all the flavors and placed it in my TK recipe box for safekeeping. The first chance that I had, I whipped these up for my Mom for lunch. And after we finished our sandwiches I knew I had to spotlight this fantastic Bacon, Pear and Raspberry Grilled Cheese on the TK Blog.
 
I take the whole grilled-cheese-making process very seriously. So seriously in fact that I broke it all down and came up with a game plan on just how this sandwich should be built. Crazy? Maybe. For example, I placed the bacon by the raspberry preserves for the whole salty-meets-sweet thing, then the sliced pear on the bacon, leaving the cheese to melt all over the pear. But however you decide to stack it, all of you fellow grilled cheese lovers should  make this ASAP (it is a holiday after all)!


Tasty Kitchen Blog: Bacon, Pear & Raspberry Grilled Cheese. Guest post by Laurie McNamara of Simply Scratch, recipe submitted by TK member Lindsay of Pinch of Yum.

To make these sandwiches you’ll need 4 slices of sturdy whole wheat bread. Because of the weight from all these toppings you definitely want bread that can stand up to the challenge. Not only does the earthiness of the whole wheat bread round out this sammie, but it’s good for you too!


Tasty Kitchen Blog: Bacon, Pear & Raspberry Grilled Cheese. Guest post by Laurie McNamara of Simply Scratch, recipe submitted by TK member Lindsay of Pinch of Yum.

I’m using the same skillet I used to fry up the bacon so I drained off all of the bacon fat.


Tasty Kitchen Blog: Bacon, Pear & Raspberry Grilled Cheese. Guest post by Laurie McNamara of Simply Scratch, recipe submitted by TK member Lindsay of Pinch of Yum.

Then with a sharp knife, thinly slice the pear.


Tasty Kitchen Blog: Bacon, Pear & Raspberry Grilled Cheese. Guest post by Laurie McNamara of Simply Scratch, recipe submitted by TK member Lindsay of Pinch of Yum.

You’ll need about 3 to 4 slices per sandwich so one pear should do the trick for two.


Tasty Kitchen Blog: Bacon, Pear & Raspberry Grilled Cheese. Guest post by Laurie McNamara of Simply Scratch, recipe submitted by TK member Lindsay of Pinch of Yum.

Now let’s assemble the sandwiches. Start by spreading a thin layer of butter on one side of each piece of bread. I’ve found that the thinner the layer of butter, the crispier the grilled cheese!


Tasty Kitchen Blog: Bacon, Pear & Raspberry Grilled Cheese. Guest post by Laurie McNamara of Simply Scratch, recipe submitted by TK member Lindsay of Pinch of Yum.

I place the buttered sides together and start piling on the toppings.


Tasty Kitchen Blog: Bacon, Pear & Raspberry Grilled Cheese. Guest post by Laurie McNamara of Simply Scratch, recipe submitted by TK member Lindsay of Pinch of Yum.

First, the raspberry preserves, the seedless kind.


Tasty Kitchen Blog: Bacon, Pear & Raspberry Grilled Cheese. Guest post by Laurie McNamara of Simply Scratch, recipe submitted by TK member Lindsay of Pinch of Yum.

On top of the preserves lay down four half-strips of bacon or more if that’s how you like to roll.


Tasty Kitchen Blog: Bacon, Pear & Raspberry Grilled Cheese. Guest post by Laurie McNamara of Simply Scratch, recipe submitted by TK member Lindsay of Pinch of Yum.

Top with the thinly sliced pear.


Tasty Kitchen Blog: Bacon, Pear & Raspberry Grilled Cheese. Guest post by Laurie McNamara of Simply Scratch, recipe submitted by TK member Lindsay of Pinch of Yum.

And of course two slices of Munster cheese (because you deserve it).


Tasty Kitchen Blog: Bacon, Pear & Raspberry Grilled Cheese. Guest post by Laurie McNamara of Simply Scratch, recipe submitted by TK member Lindsay of Pinch of Yum.

Place the stacked sandwich, butter-side down, in your skillet preheated on medium and top with the second slice of bread, butter-side up (naturally). Grill the sandwich until it reaches the golden-ness you prefer. I like mine a little on the darker side. 


Tasty Kitchen Blog: Bacon, Pear & Raspberry Grilled Cheese. Guest post by Laurie McNamara of Simply Scratch, recipe submitted by TK member Lindsay of Pinch of Yum.

Flip and repeat.


Tasty Kitchen Blog: Bacon, Pear & Raspberry Grilled Cheese. Guest post by Laurie McNamara of Simply Scratch, recipe submitted by TK member Lindsay of Pinch of Yum.

Cut the grilled cheese in half and serve.


Tasty Kitchen Blog: Bacon, Pear & Raspberry Grilled Cheese. Guest post by Laurie McNamara of Simply Scratch, recipe submitted by TK member Lindsay of Pinch of Yum.

This is one gourmet grilled cheese, one that I’d gladly pay a pretty price for in any cafe. The flavors meld perfectly, and I love the subtlety of the raspberry jam.  


Tasty Kitchen Blog: Bacon, Pear & Raspberry Grilled Cheese. Guest post by Laurie McNamara of Simply Scratch, recipe submitted by TK member Lindsay of Pinch of Yum.

This is a grilled cheese that will definitely grace my kitchen table time and time again, and I have a feeling you’re going to love it as well. Thank you Lindsay for dreaming up this sandwich and sharing it with us! 
 
Be sure to head over to Lindsay’s blog for gorgeous photos, good laughs and a generous “Pinch of Yum.” You can of course find many of her delicious recipes here on Tasty Kitchen as well, in her recipe box!


Printable Recipe

Bacon, Pear & Raspberry Grilled Cheese

See post on Lindsay’s site!
5.00 Mitt(s) 7 Rating(s)7 votes, average: 5.00 out of 57 votes, average: 5.00 out of 57 votes, average: 5.00 out of 57 votes, average: 5.00 out of 57 votes, average: 5.00 out of 5

Prep Time:

Cook Time:

Difficulty: Easy

Servings: 2

2
x

Print Options

Page size Letter 3x5 4x6
Text Size Small Medium Large
Content Include description
Include prep time, etc.
Show image

Description

Sweet, salty, and very, very cheesy.

Ingredients

  • 4 slices Sturdy, Grainy Wheat Bread
  • 3 Tablespoons Raspberry Preserves
  • 8 slices Red Pear, Thinly Sliced
  • 8 slices Cooked Bacon
  • 4 slices Muenster Cheese
  • 1 Tablespoon Butter

Preparation Instructions

Preheat griddle or panini press to medium-high heat.

Assemble 2 sandwiches in this order: bread, 1 1/2 tablespoons preserves, 4 slices pear, 4 slices bacon, 2 slices cheese, bread.

Spread butter on the top and bottom of the sandwich and grill for 4-8 minutes, or until cheese is melted and top is golden brown.

Note: my slices of bacon were pretty small and thin, which is why I used 4 on each sandwich (gulp). I think 2 regular slices per sandwich would be plenty.


_______________________________________

Laurie is the force behind Simply Scratch, a blog that documents her efforts to find and create recipes that are made simply from scratch. (We think it’s sweet that her mother-in-law helped her set up her blog and get started.) We love her recipes; they’re not just tried and true, but they look gorgeous as well. Check out her blog and you’ll become a fan too.


Profile photo of Laurie - Simply Scratch

Brown Butter Peanut Butter Cookies

Posted by in Baking, Step-by-Step Recipes

  When I think of peanut butter cookies my mind instantly recalls those perfectly round cookies with the fork-hashed “X” in the center. But what if I told you TK member Bellelatte does it one better? What if I told you Melissa takes your everyday peanut butter cookie and transcends it into a realm of […]

Profile photo of Laurie - Simply Scratch

Mayan Chocolate Truffles

Posted by in Step-by-Step Recipes

  Mayan Chocolate Truffles. Oh my heavens. Just the name alone gets me excited all over again. These chocolaty delights have a little sweet, a little spice and a whole lot of sass. When I saw Kari’s recipe, I found myself suddenly craving chocolate in truffle form.     Kari a.k.a. Craftinomicon probably doesn’t realize the phenomenon her […]

Profile photo of Laurie - Simply Scratch

Creamy Penne with Blue Cheese Sauce

Posted by in Step-by-Step Recipes

  I was on the hunt for a recipe. I was having a good friend over for lunch and it had to be a recipe that didn’t take long to whip up. Bev Weidner’s (Tasty Kitchen member Bev Cooks) recipe for Creamy Penne with Blue Cheese, Arugula and Toasted Walnuts just about stopped me in […]

Profile photo of Laurie - Simply Scratch

Mississippi Mud Brownies

Posted by in Baking, Step-by-Step Recipes

  What exactly is a Mississippi Mud Brownie? Okay, so get this: it’s a moist brownie layered with chocolate chips, topped with melted crunchy peanut butter, marshmallows, sprinkled with toasted pecans and lacquered with a thin layer of frosting. Are you sold? Instantly, when my eyes fell upon TK member Taylor’s (greensnchocolate) recipe for Mississippi…