The Pioneer Woman Tasty Kitchen
Profile photo of missamy

Colorado Fish and Corn Chowder

Posted by in Step-by-Step Recipes

Tasty Kitchen Blog: Colorado Cape Cod Chowder. Guest post by Amy Johnson of She Wears Many Hats, recipe submitted by TK member Kristi of 30 Pounds of Apples.

 
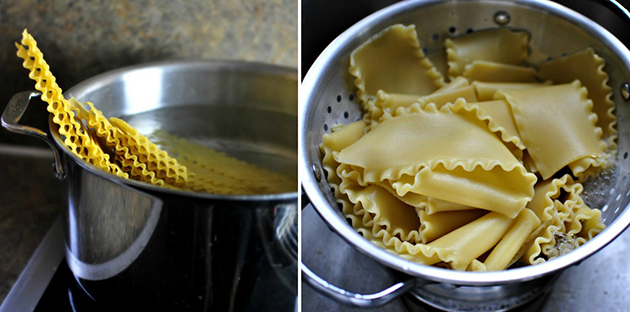
Nothing warms things up on a cold, rainy day like a big bowl of chowder. It’s comfort in a bowl, I say. And this recipe for Colorado Cape Cod Chowder, from TK member Kristi, is no exception. With simple ingredients and quick prep, you can have a whole pot of comfort ready to share in no time.

As far as what makes this chowder Colorado in nature, from what I can tell after reading Kristi’s original post, her family always made it when she lived in Colorado. Just like Kristi mentions, I don’t know what makes a chowder Cape Cod-ish or not either. What I do know is that this version is mighty tasty. So grab some bowls, some spoons, and some comfort-food-seeking friends and chow down on some chowder.

But first you have to make it. It’s easy. Let me show you how.


Tasty Kitchen Blog: Colorado Cape Cod Chowder. Guest post by Amy Johnson of She Wears Many Hats, recipe submitted by TK member Kristi of 30 Pounds of Apples.

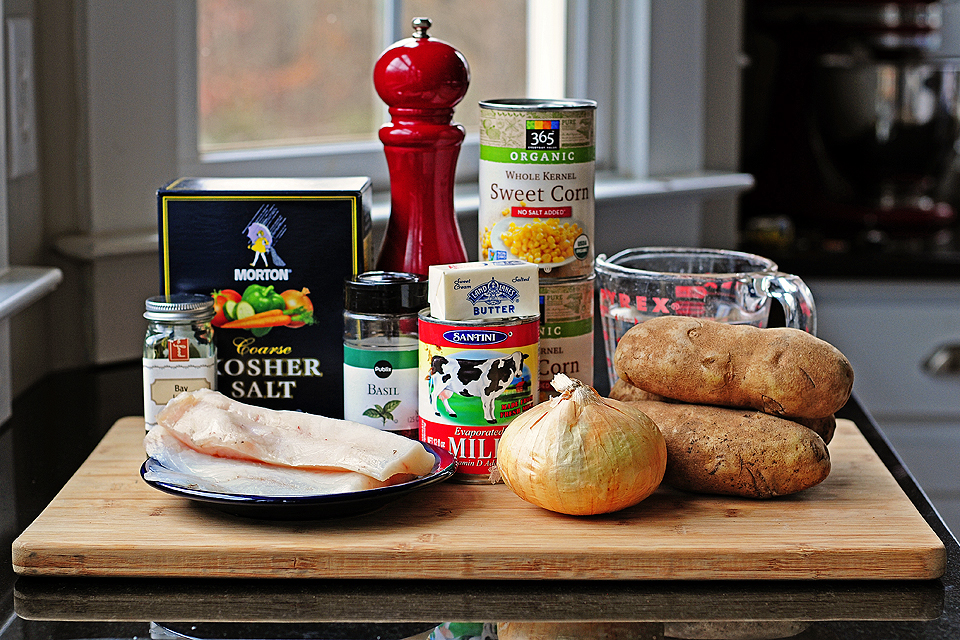
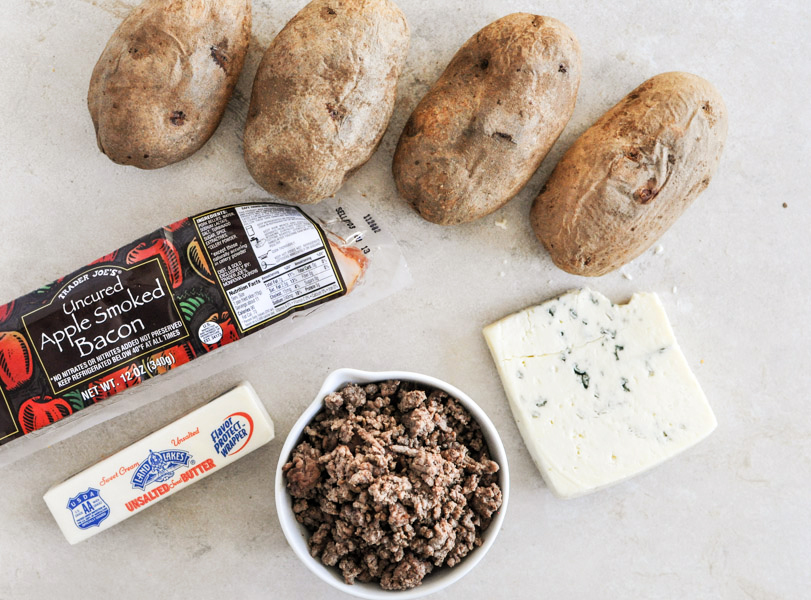
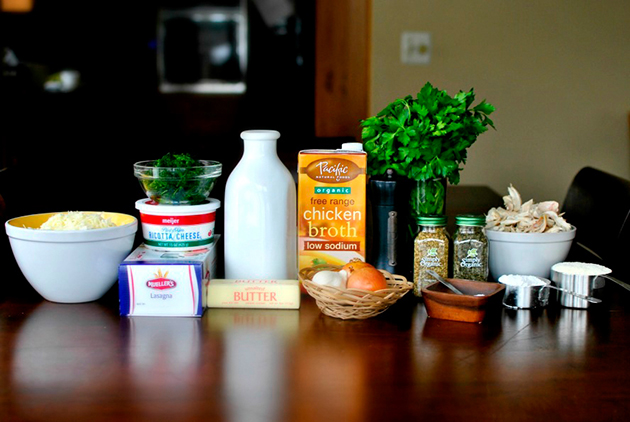
The ingredients are pretty basic: onion, potatoes, butter (I used salted), salt, pepper, dried basil, dried bay leaves, water, cod fillet, canned corn and evaporated milk.


Tasty Kitchen Blog: Colorado Cape Cod Chowder. Guest post by Amy Johnson of She Wears Many Hats, recipe submitted by TK member Kristi of 30 Pounds of Apples.

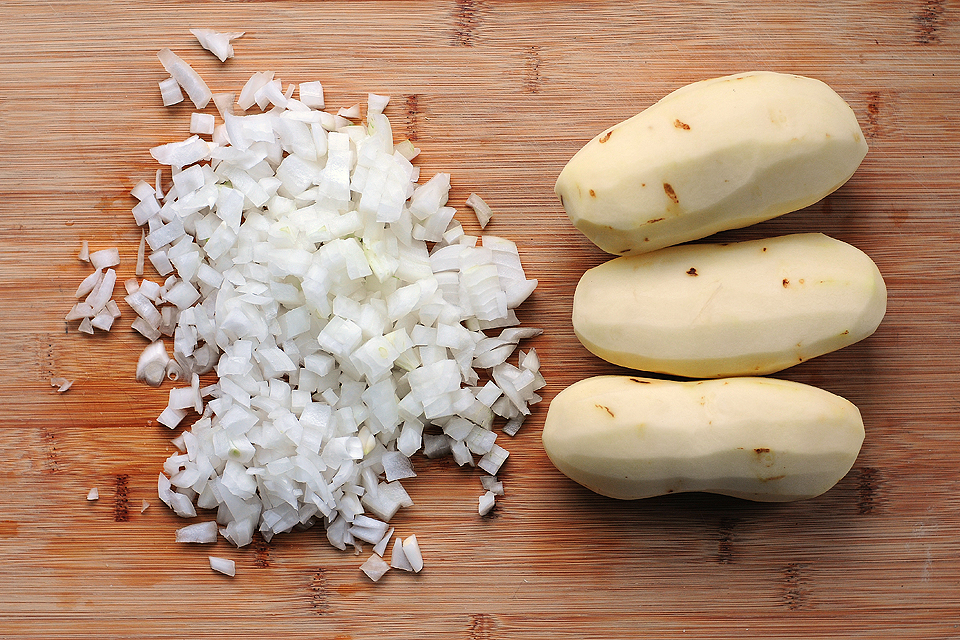
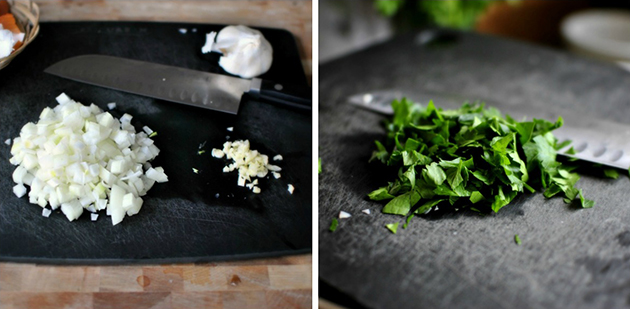
Begin by dicing the onion and peeling the potatoes.


Tasty Kitchen Blog: Colorado Cape Cod Chowder. Guest post by Amy Johnson of She Wears Many Hats, recipe submitted by TK member Kristi of 30 Pounds of Apples.

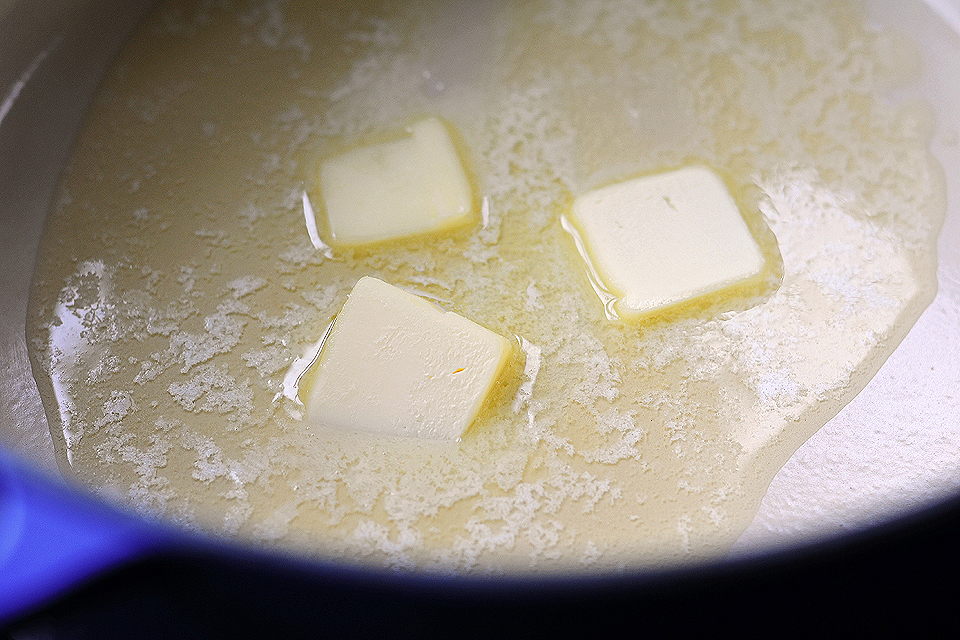
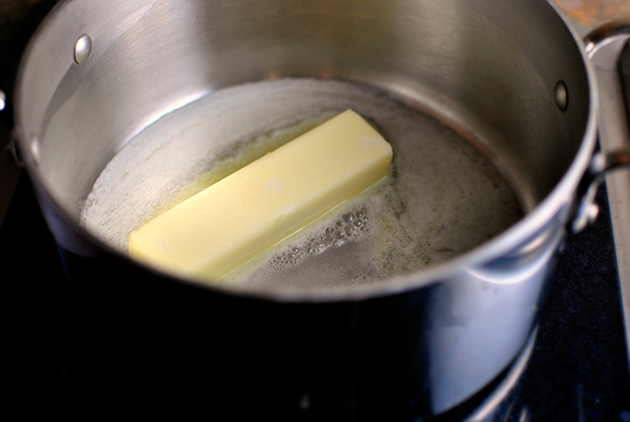
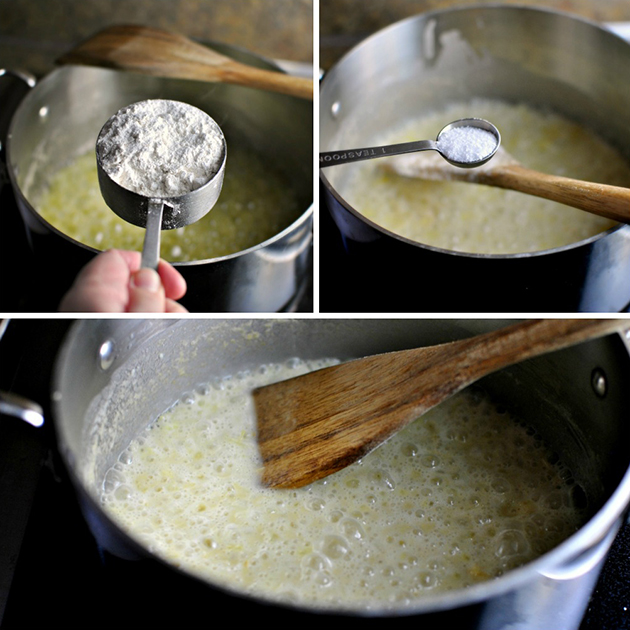
Melt the butter over medium heat in a stock pot.


Tasty Kitchen Blog: Colorado Cape Cod Chowder. Guest post by Amy Johnson of She Wears Many Hats, recipe submitted by TK member Kristi of 30 Pounds of Apples.

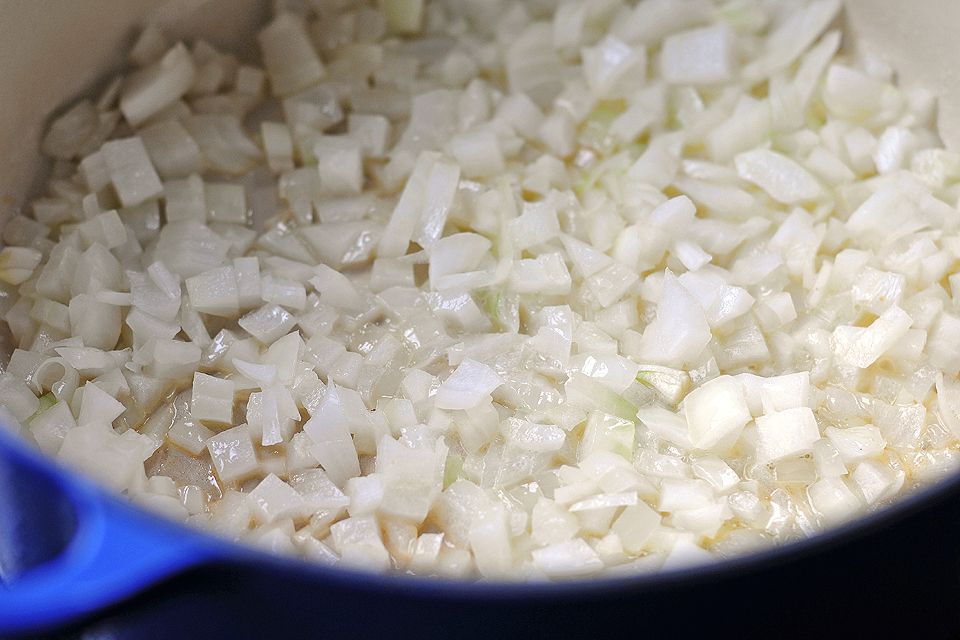
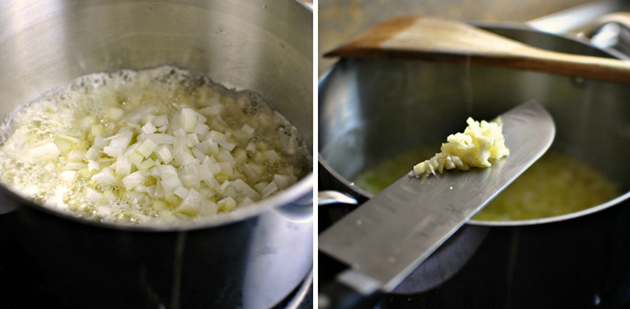
When the butter is all melted, add the onions and sauté for about 5 minutes, until tender.


Tasty Kitchen Blog: Colorado Cape Cod Chowder. Guest post by Amy Johnson of She Wears Many Hats, recipe submitted by TK member Kristi of 30 Pounds of Apples.

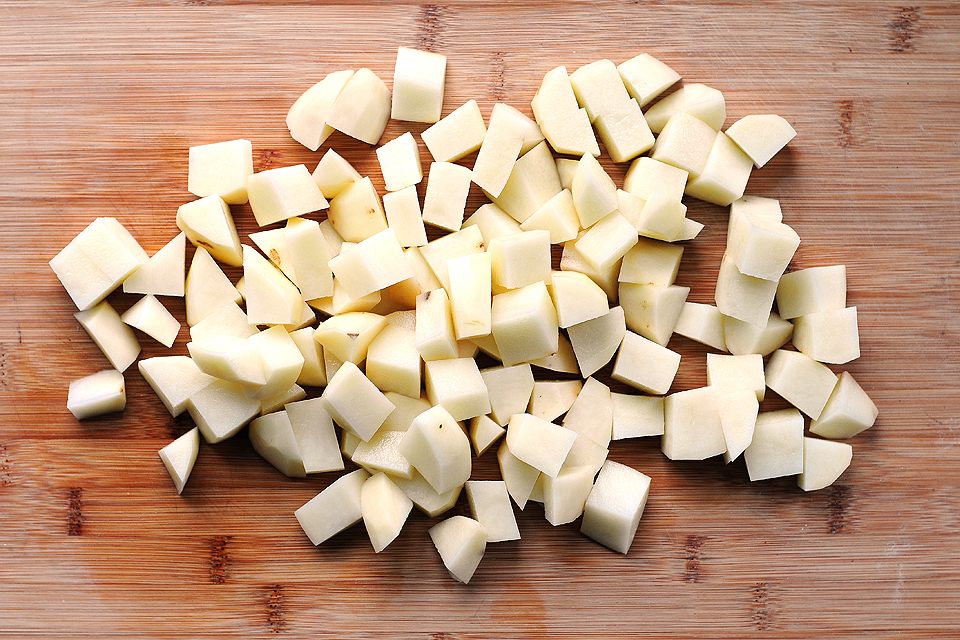
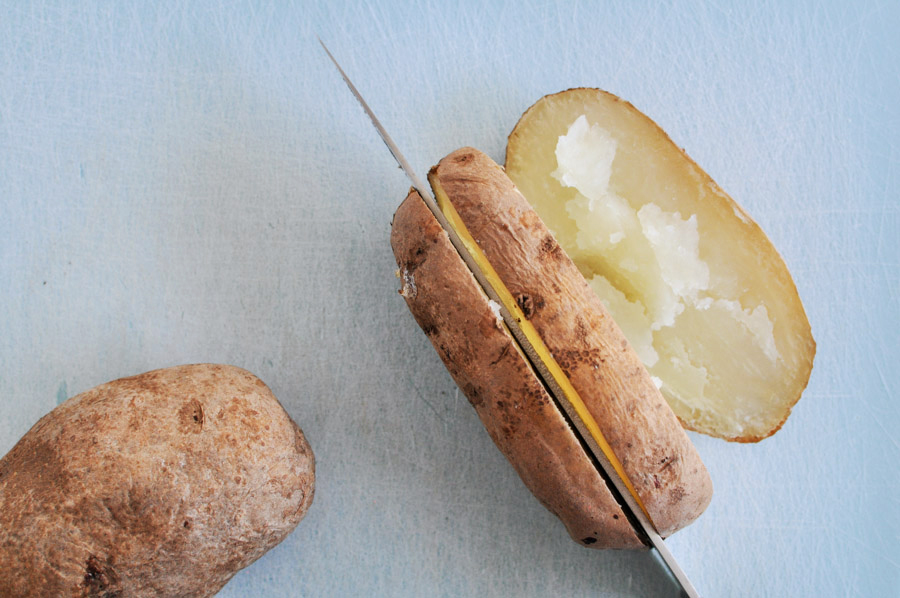
While the onions are sautéing, cut the potatoes into about 1″ cubes.


Tasty Kitchen Blog: Colorado Cape Cod Chowder. Guest post by Amy Johnson of She Wears Many Hats, recipe submitted by TK member Kristi of 30 Pounds of Apples.

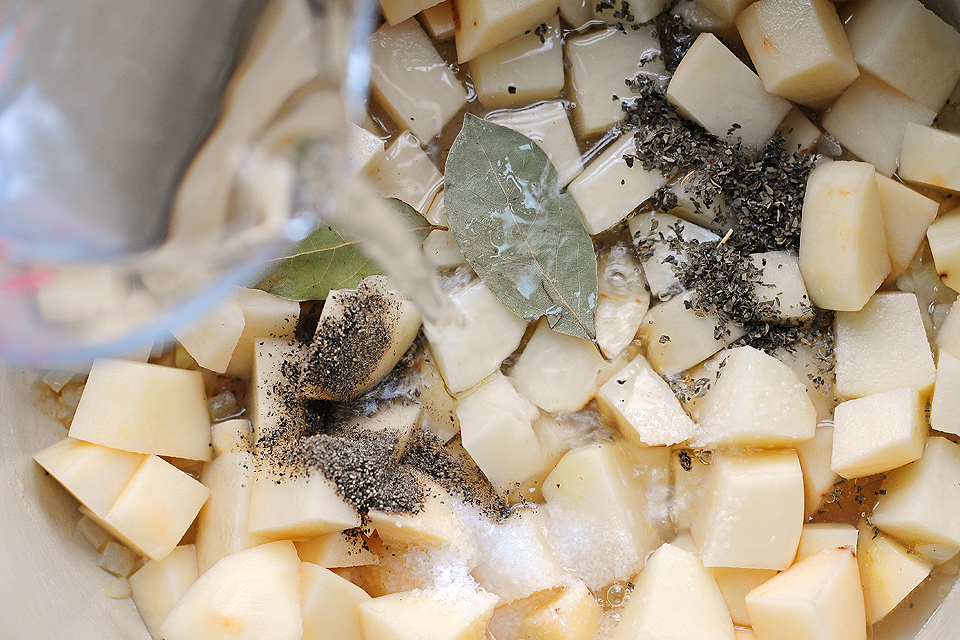
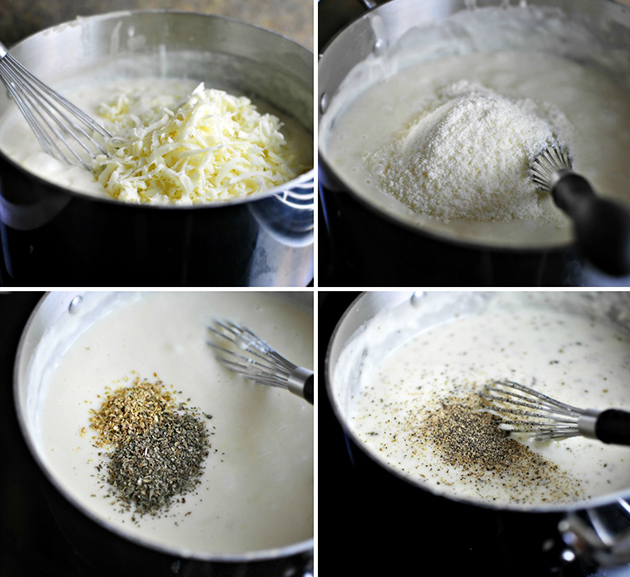
Once the onions have softened, add the potatoes, salt, pepper, basil, bay leaves and water. This chowder is coming together, y’all.


Tasty Kitchen Blog: Colorado Cape Cod Chowder. Guest post by Amy Johnson of She Wears Many Hats, recipe submitted by TK member Kristi of 30 Pounds of Apples.

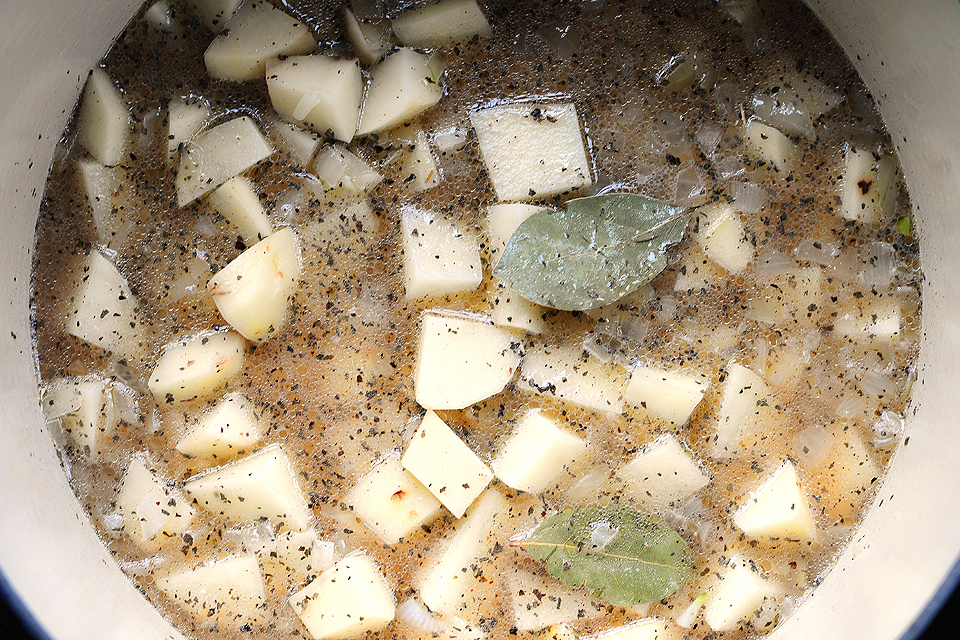
Stir it all together. Cover and cook on medium-high heat for about 15 minutes.


Tasty Kitchen Blog: Colorado Cape Cod Chowder. Guest post by Amy Johnson of She Wears Many Hats, recipe submitted by TK member Kristi of 30 Pounds of Apples.

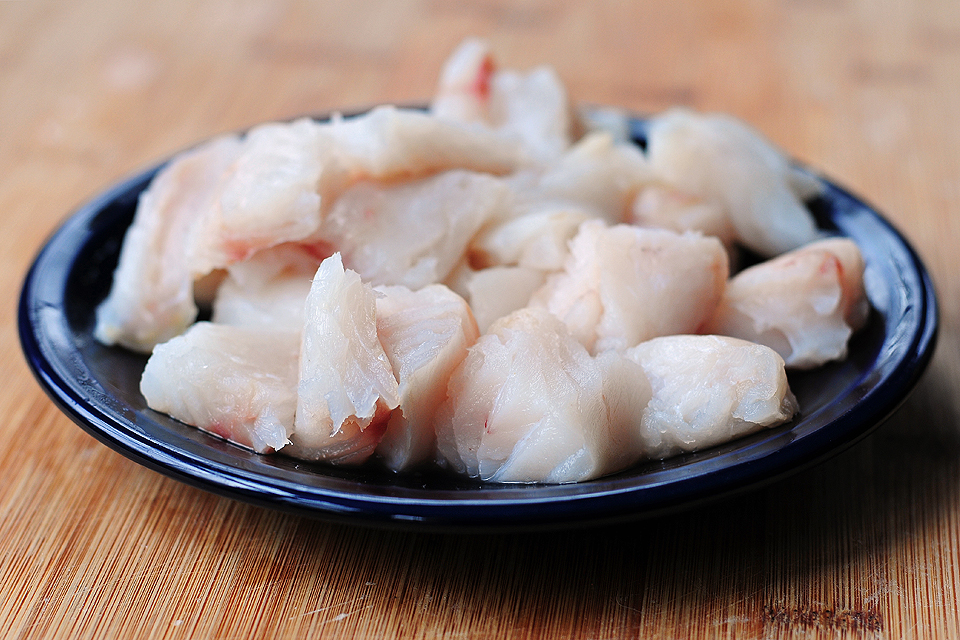
Cod cutting time. Cut it into 1″ pieces.

The cod is ready now. It’s ready for a swim. Well, not a swim—more of a float, really.


Tasty Kitchen Blog: Colorado Cape Cod Chowder. Guest post by Amy Johnson of She Wears Many Hats, recipe submitted by TK member Kristi of 30 Pounds of Apples.

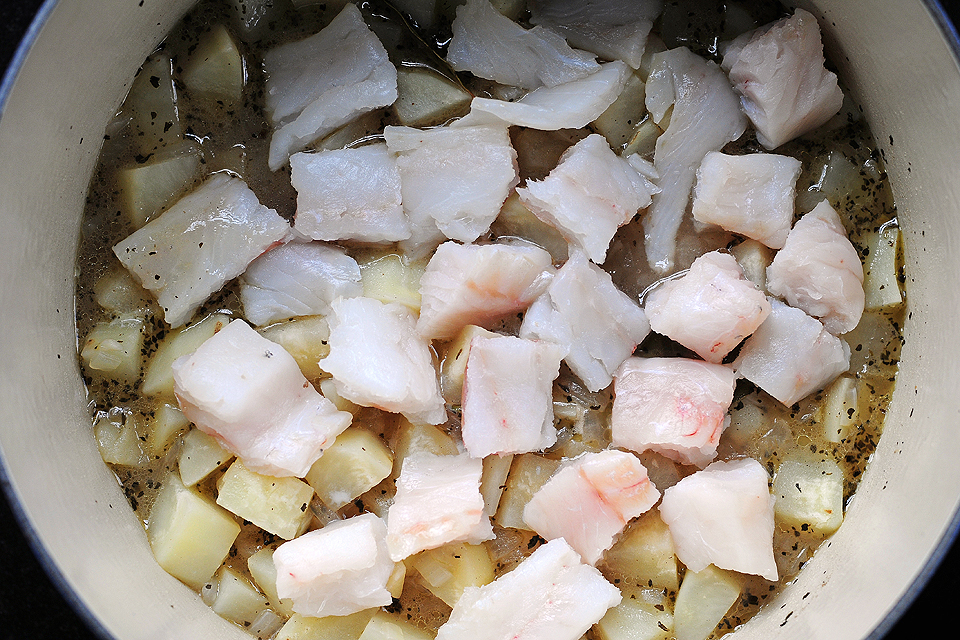
Evenly place the cod on top of the potatoes. See? It’s like a potato float. Don’t stir. Don’t sink the cod. Don’t do anything. Just leave the cod alone. It likes to float. Cover and let cook for another 10 minutes.


Tasty Kitchen Blog: Colorado Cape Cod Chowder. Guest post by Amy Johnson of She Wears Many Hats, recipe submitted by TK member Kristi of 30 Pounds of Apples.

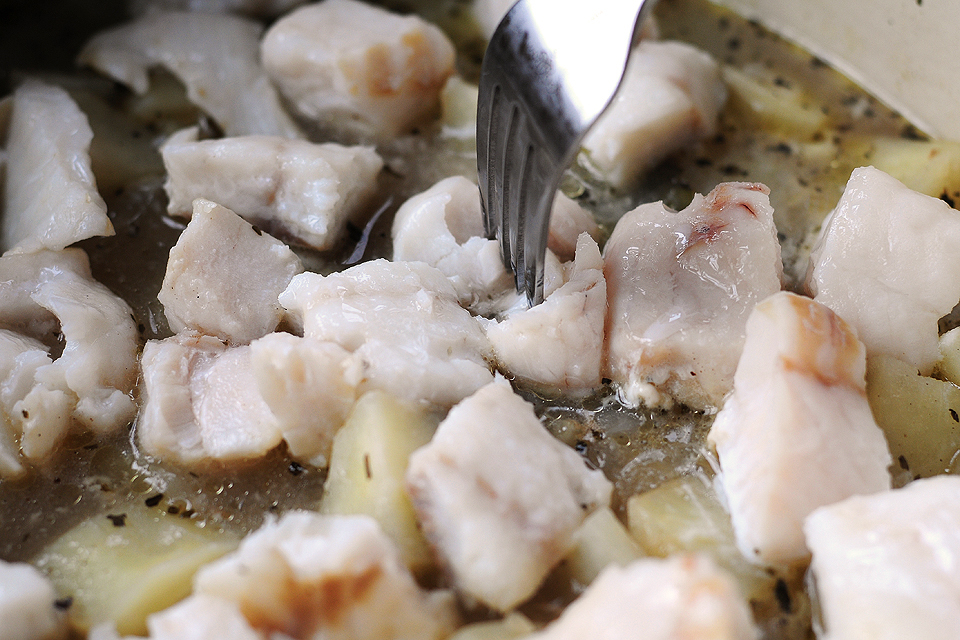
The cod should easily flake at this point.


Tasty Kitchen Blog: Colorado Cape Cod Chowder. Guest post by Amy Johnson of She Wears Many Hats, recipe submitted by TK member Kristi of 30 Pounds of Apples.

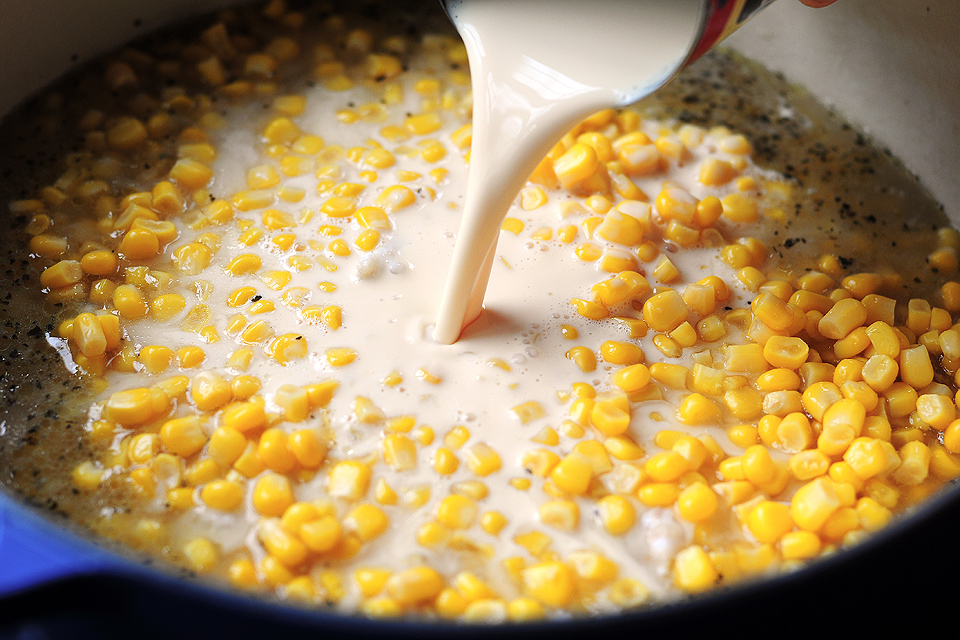
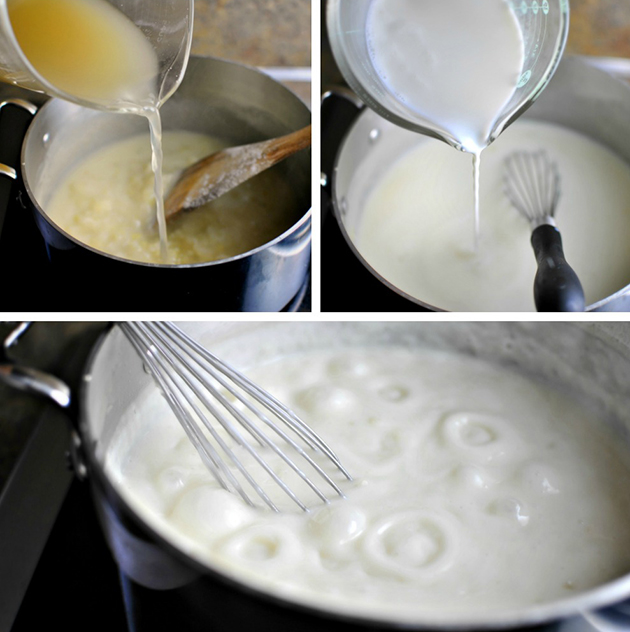
Add the corn (with liquid) and the evaporated milk. Stir until combined.

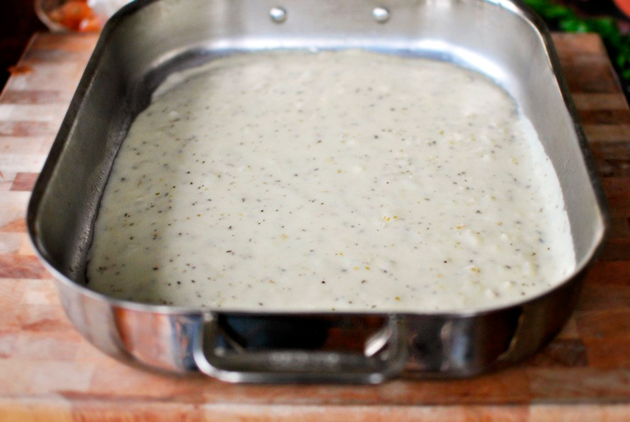
Cover and bring to a boil, then remove from heat.


Tasty Kitchen Blog: Colorado Cape Cod Chowder. Guest post by Amy Johnson of She Wears Many Hats, recipe submitted by TK member Kristi of 30 Pounds of Apples.

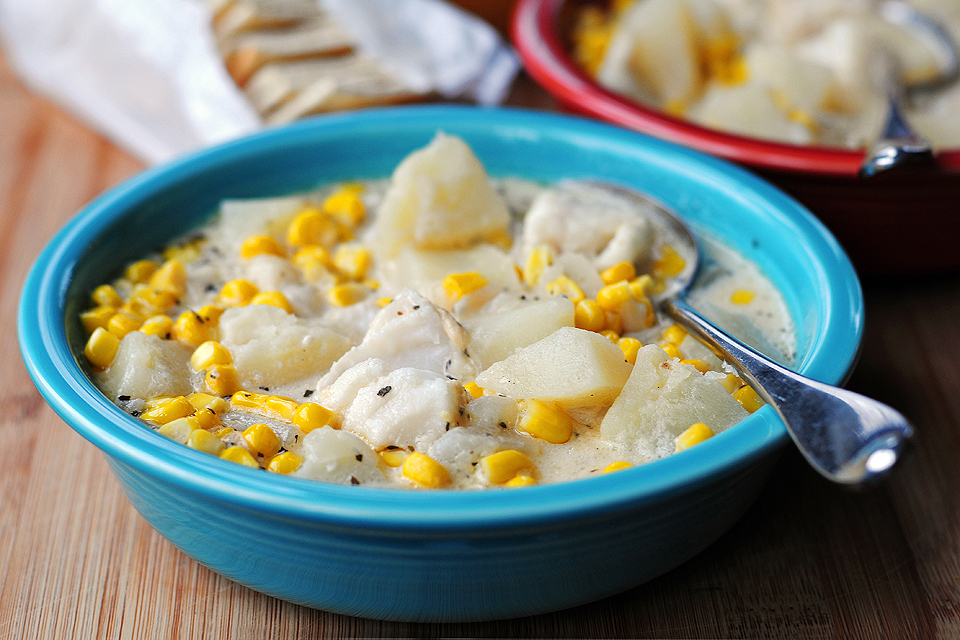
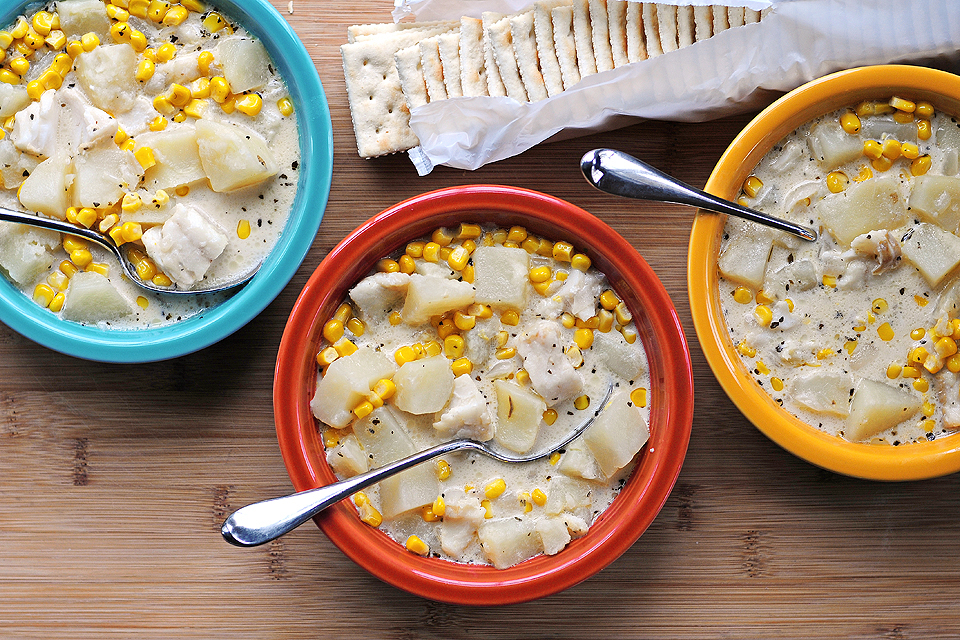
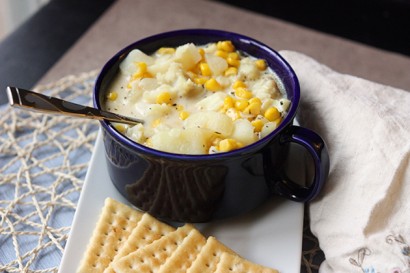
Let cool a bit before serving. Crackers, cornbread, or your favorite chowder companion will do just fine with a big bowl of this chowder. Enjoy!

A big thanks to Kristi for sharing her family’s version of this comforting chowder. Be sure to check out other goodies from Kristi at 30 Pounds of Apples. I noticed she’s beginning a new series with kitchen tips, tricks and tutorials called “How To’sdays,” on Tuesdays. She’ll share things like how to “How To Substitute With Whatever Dairy You Have On Hand.” Sounds like pretty handy dandy info, if you ask me. Check her out.


Printable Recipe

Colorado Cape Cod Chowder

See post on Kristi at 30 Pounds of Apples’s site!
5.00 Mitt(s) 4 Rating(s)4 votes, average: 5.00 out of 54 votes, average: 5.00 out of 54 votes, average: 5.00 out of 54 votes, average: 5.00 out of 54 votes, average: 5.00 out of 5

Prep Time:

Cook Time:

Difficulty: Easy

Servings: 10

10
x

Print Options

Page size Letter 3x5 4x6
Text Size Small Medium Large
Content Include description
Include prep time, etc.
Show image

Description

A landlocked take on an East Coast classic. A perfect meal to mend the chilly January blues.

Ingredients

  • 1 whole Large Onion, Diced (should Yield About 2 Cups)
  • 2 pounds Potatoes, Peeled And Cut Into 1" Cubes
  • 3 Tablespoons Unsalted Butter
  • 2 teaspoons Salt
  • ½ teaspoons Black Pepper
  • ½ teaspoons Dried Basil
  • 2 whole Dried Bay Leaves
  • 2 cups Water
  • 12 ounces, weight Fresh Or Frozen Cod Fillet, Cut Into 1" Cubes
  • 2 cans (15 Oz. Size) Corn, With Liquid
  • 12 ounces, fluid Evaporated Milk

Preparation Instructions

Dice onion and peel potatoes. Melt butter over medium heat in a large pot. Add onions and sauté for about 5 minutes until onions are soft.

While the onions are cooking, cut potatoes into 1-inch cubes. After the onions have softened, add potatoes, salt, pepper, basil, bay leaves, and water to the pot and stir well. Cover the pot and increase heat to medium-high. Cook for about 15 minutes.

While the potatoes cook, cut the cod into 1-inch cubes. After 15 minutes, you should be able to easily stab the potatoes with fork, but they should not be totally soft. Place cod on top of the potatoes, not stirring, and re-cover the pot. Cook for an additional 10 minutes until the cod flakes easily with a fork. Add the corn and evaporated milk and stir well. Cover and bring just to boiling.

Remove from heat and remove lid. Allow to cool for about 5 minutes before serving.

Adapted from a family recipe.


_______________________________________

Amy Johnson is a blogger who writes about food, travel, the home (both inside and out), and various observations and random musings about anything and everything. Visit her blog She Wears Many Hats for a dose of deliciousness, practicality, hilarity, or just plain fun. She lives in South Carolina with her husband and two children.


Profile photo of whatsgabycooking

Cheese Crisps

Posted by in Step-by-Step Recipes

Tasty Kitchen Blog: Cheese Crisps. Guest post and recipe from Gaby Dalkin of What's Gaby Cooking.

 
Two words: Cheese Crisps. I’m beyond obsessed. Can I tell you a story? Growing up in Arizona, we ate cheese crisps like it was our JOB. Literally. I was a professional cheese crisp crafter by the age of 8. I could throw them together in no time and I was proud. I started jazzing them up by the time I was 10, and now that I’m in my mid-20s, I still make them like it’s my job. Because, well, they are awesome.

Imagine a baked crisp flour tortilla smothered with 2 kinds of cheeses and topped with whatever kind of toppings you want. Ya, it’s doesn’t get much better than that.

Ready, set, go!


Tasty Kitchen Blog: Cheese Crisps. Guest post and recipe from Gaby Dalkin of What's Gaby Cooking.

Let’s start with a poblano pepper, shall we?


Tasty Kitchen Blog: Cheese Crisps. Guest post and recipe from Gaby Dalkin of What's Gaby Cooking.

Cut it in half, and then half again, remove the seeds and slice into thin strips.


Tasty Kitchen Blog: Cheese Crisps. Guest post and recipe from Gaby Dalkin of What's Gaby Cooking.

Put the poblano pepper and a touch of olive oil in a skillet and sauté.


Tasty Kitchen Blog: Cheese Crisps. Guest post and recipe from Gaby Dalkin of What's Gaby Cooking.

We are going to sauté these until the pepper just begins to turn golden brown.


Tasty Kitchen Blog: Cheese Crisps. Guest post and recipe from Gaby Dalkin of What's Gaby Cooking.

Meanwhile, arrange some tortillas on a baking sheet.


Tasty Kitchen Blog: Cheese Crisps. Guest post and recipe from Gaby Dalkin of What's Gaby Cooking.

Spread some butter on the tops of the tortillas. It’s the right thing to do.


Tasty Kitchen Blog: Cheese Crisps. Guest post and recipe from Gaby Dalkin of What's Gaby Cooking.

Gorgeous! Pop those babies into the oven for about 5-7 minutes until the edges begin to crisp up.


Tasty Kitchen Blog: Cheese Crisps. Guest post and recipe from Gaby Dalkin of What's Gaby Cooking.

Now let’s get some cheese ready. I like quesadilla cheese. It looks like this. But you can totally use Monterey Jack if that is more readily available.


Tasty Kitchen Blog: Cheese Crisps. Guest post and recipe from Gaby Dalkin of What's Gaby Cooking.

Grate the queso quesadilla and some cheddar cheese.


Tasty Kitchen Blog: Cheese Crisps. Guest post and recipe from Gaby Dalkin of What's Gaby Cooking.

By now you should probably take the poblano peppers off the heat, transfer them to a little bowl and set aside.


Tasty Kitchen Blog: Cheese Crisps. Guest post and recipe from Gaby Dalkin of What's Gaby Cooking.

In the same skillet that we did the peppers, we are going to add some pork chorizo.


Tasty Kitchen Blog: Cheese Crisps. Guest post and recipe from Gaby Dalkin of What's Gaby Cooking.

You’ll need to break it up with a wooden spoon and then let it sauté for a few minutes until golden brown and fully cooked.


Tasty Kitchen Blog: Cheese Crisps. Guest post and recipe from Gaby Dalkin of What's Gaby Cooking.

Right about now, your tortillas should start to crisp up. See how the edges curl up a bit? Remove the baking sheet from the oven when that happens.


Tasty Kitchen Blog: Cheese Crisps. Guest post and recipe from Gaby Dalkin of What's Gaby Cooking.

Evenly divide the cheeses amongst the tortillas and then pop them back into the oven.


Tasty Kitchen Blog: Cheese Crisps. Guest post and recipe from Gaby Dalkin of What's Gaby Cooking.

Don’t they look divine once the cheese has melted?


Tasty Kitchen Blog: Cheese Crisps. Guest post and recipe from Gaby Dalkin of What's Gaby Cooking.

Now, just pile on the toppings! Add some green onions for good measure and serve them up with a side of salsa and an ice cold brew, if that’s your style.

I can’t wait for you guys to be as obsessed with cheese crisps as I am. They are perfect for any football party. Well, really, they are perfect for just about anything!


Printable Recipe

Cheese Crisps

See post on whatsgabycooking’s site!
4.33 Mitt(s) 3 Rating(s)3 votes, average: 4.33 out of 53 votes, average: 4.33 out of 53 votes, average: 4.33 out of 53 votes, average: 4.33 out of 53 votes, average: 4.33 out of 5

Prep Time:

Cook Time:

Difficulty: Easy

Servings: 4

4
x

Print Options

Page size Letter 3x5 4x6
Text Size Small Medium Large
Content Include description
Include prep time, etc.
Show image

Description

A delicious and simple dish from Arizona that will literally rock your world! It’s so good!

Ingredients

  • 1 whole Poblano Pepper
  • 1 teaspoon Olive Oil
  • ½ cups Pork Chorizo
  • 4 whole Small Flour Tortillas
  • 4 teaspoons Butter
  • 1 cup Mexican Cheeses (I Used Cheddar, Queso Quesadilla And Oaxaca)
  • 2 whole Scallions, Thinly Sliced

Preparation Instructions

Preheat oven to 350 degrees F.

Slice the poblano pepper into thin strips.

Heat a skillet over medium high heat with olive oil. Add the sliced poblano and saute for 5 minutes until the skin of the poblano starts to blister. Remove from skillet and set aside.

In the same skillet, add the pork chorizo and saute until fully cooked and browned. Remove and set aside.

Place each of the small tortillas on a baking sheet. Spread 1 teaspoon of butter on each tortilla. Place the baking sheet into the oven and let the tortillas toast. It will take about 5-7 minutes but keep your eyes on them. Once the edges start to turn golden brown, remove from the oven.

Place 1/4 cup of cheese on each of the tortillas and place back into the oven for about 3 minutes until the cheese has melted. Remove from oven.

Top with scallions, poblano peppers and chorizo if desired.


_______________________________________

Gaby Dalkin is the young lady behind What’s Gaby Cooking, a food blog that’s bursting at the seams with incredible recipes and food photography. She’s a personal chef and professional recipe developer, and if you follow her on Twitter, you’ll soon discover her two-fold obsession: guacamole and cheese. She has small feet, a large heart, and a smile that can light up the whole building. We’re pretty stoked to have her here.


Profile photo of HowSweetEats

Bacon and Blue Cheeseburger Potato Skins

Posted by in Step-by-Step Recipes

Tasty Kitchen Blog: Bacon and Blue Cheeseburger Potato Skins. Guest post by Jessica Merchant of How Sweet It Is, recipe submitted by TK member Dax Phillips of Simple Comfort Food.

 
Oh boy. Do I have a treat for you.

Have you ever had a fabulous bacon and blue cheeseburger? Please say yes. If not, please imagine that you have. Thick and crunchy bacon. Covered in gooey Gorgonzola or Stilton or your blue of choice. And now, imagine that entire combination stuffed into a crispy potato skin. YES. Just like that.

This recipe is like one giant explosion of flavor in your face. It’s fabulous. It’s perfect for a twist on a game day favorite but it also makes for an awesome weekend dinner. And maybe even … a quick breakfast. On the weekend of course. Because you know, calories don’t count on the weekend.

Let’s get started!


Tasty Kitchen Blog: Bacon and Blue Cheeseburger Potato Skins. Guest post by Jessica Merchant of How Sweet It Is, recipe submitted by TK member Dax Phillips of Simple Comfort Food.

While complex in flavor, these are actually super simple. All you need are four potatoes, a bit of butter, bacon, browned ground beef and blue cheese. Oh, and some good old salt and pepper.

First up, poke the tops of each potato with a fork a few times and bake for about one hour. Do something fun during that time, like paint your nails! Or clean. Whatever.


Tasty Kitchen Blog: Bacon and Blue Cheeseburger Potato Skins. Guest post by Jessica Merchant of How Sweet It Is, recipe submitted by TK member Dax Phillips of Simple Comfort Food.

After the potatoes have baked, let them cool until you can touch them. In the meantime, you can fry up some bacon. Never heard any complaints about that one …


Tasty Kitchen Blog: Bacon and Blue Cheeseburger Potato Skins. Guest post by Jessica Merchant of How Sweet It Is, recipe submitted by TK member Dax Phillips of Simple Comfort Food.

Afterwards, let it drain and cool on a paper towel, then crumble it up. You know the drill: Make a few extra slices because you know you’re going to be eating it. I hope.


Tasty Kitchen Blog: Bacon and Blue Cheeseburger Potato Skins. Guest post by Jessica Merchant of How Sweet It Is, recipe submitted by TK member Dax Phillips of Simple Comfort Food.

Once the potatoes are cool, you are going to cut them into thirds. Slice them lengthwise and discard the centers. Save all that extra starch for breakfast or something. You are going to have some bacon grease anyway.


Tasty Kitchen Blog: Bacon and Blue Cheeseburger Potato Skins. Guest post by Jessica Merchant of How Sweet It Is, recipe submitted by TK member Dax Phillips of Simple Comfort Food.

Once you have the ends of each potato, you want to scoop out some of the flesh. FYI, if you have a serrated spoon (like a grapefruit spoon), I find that these work so well. Love ‘em!


Tasty Kitchen Blog: Bacon and Blue Cheeseburger Potato Skins. Guest post by Jessica Merchant of How Sweet It Is, recipe submitted by TK member Dax Phillips of Simple Comfort Food.

Brush the tops and bottoms of each ‘tater skin with melted butter, then cover in a little salt and pepper. Place on a baking sheet and throw under the broiler for close to 10 minutes, until they get all crispy.


Tasty Kitchen Blog: Bacon and Blue Cheeseburger Potato Skins. Guest post by Jessica Merchant of How Sweet It Is, recipe submitted by TK member Dax Phillips of Simple Comfort Food.

When you remove them, the butter will be bubbling and it’s almost like a giant potato chip. Ugh. So hard to resist.


Tasty Kitchen Blog: Bacon and Blue Cheeseburger Potato Skins. Guest post by Jessica Merchant of How Sweet It Is, recipe submitted by TK member Dax Phillips of Simple Comfort Food.

Now comes the fun part. Fill each skin with a few spoonfuls of ground beef.


Tasty Kitchen Blog: Bacon and Blue Cheeseburger Potato Skins. Guest post by Jessica Merchant of How Sweet It Is, recipe submitted by TK member Dax Phillips of Simple Comfort Food.

Then top that off with some bacon.


Tasty Kitchen Blog: Bacon and Blue Cheeseburger Potato Skins. Guest post by Jessica Merchant of How Sweet It Is, recipe submitted by TK member Dax Phillips of Simple Comfort Food.

And finally, a few handfuls of crumbled blue.


Tasty Kitchen Blog: Bacon and Blue Cheeseburger Potato Skins. Guest post by Jessica Merchant of How Sweet It Is, recipe submitted by TK member Dax Phillips of Simple Comfort Food.

Back under the broiler they go!


Tasty Kitchen Blog: Bacon and Blue Cheeseburger Potato Skins. Guest post by Jessica Merchant of How Sweet It Is, recipe submitted by TK member Dax Phillips of Simple Comfort Food.

After a few minutes under the heat, remove the baking sheet. Oh my gosh. Not gonna lie. I scraped that baking sheet clean.


Tasty Kitchen Blog: Bacon and Blue Cheeseburger Potato Skins. Guest post by Jessica Merchant of How Sweet It Is, recipe submitted by TK member Dax Phillips of Simple Comfort Food.

Top with a bit more crumbled blue …


Tasty Kitchen Blog: Bacon and Blue Cheeseburger Potato Skins. Guest post by Jessica Merchant of How Sweet It Is, recipe submitted by TK member Dax Phillips of Simple Comfort Food.

And go to town.

As you can imagine, these were truly insane. So few ingredients but so much flavor. Potato skins have always been a huge favorite of mine, albeit if only for nostalgic reasons, given it was one of my grandmother’s favorite treats. This was SUCH a fun twist on the original. Thanks so much to Dax for the fun recipe! Be sure to check out his blog, Simple Comfort Food, where he features tons of other mouthwatering meals.


Printable Recipe

Bacon and Blue Cheeseburger Potato Skins

See post on Dax Phillips’s site!
0.00 Mitt(s) 0 Rating(s)0 votes, average: 0.00 out of 50 votes, average: 0.00 out of 50 votes, average: 0.00 out of 50 votes, average: 0.00 out of 50 votes, average: 0.00 out of 5

Prep Time:

Cook Time:

Difficulty: Easy

Servings: 6

6
x

Print Options

Page size Letter 3x5 4x6
Text Size Small Medium Large
Content Include description
Include prep time, etc.
Show image

Description

A simple twist on a classic loaded potato skin. Introducing a bit of ground beef and double cream blue cheese puts this one over the top.

Ingredients

  • 4 whole Russet Potatoes, Cleaned
  • 6 slices Nueske’s (or Your Favorite) Bacon
  • 3 Tablespoons Unsalted Butter, melted
  • 1 teaspoon Salt To Taste
  • 1 teaspoon Cracked Black Pepper, To Taste
  • ¼ pounds Ground Beef, Browned
  • ½ cups Great Blue Cheese, I Used Hook’s Blue Paradise

Preparation Instructions

Begin by preheating your oven to 400 F. Poke the top of each potato with a fork and place on a baking sheet. Cook in the oven for 1 hour. Once cooked, remove potatoes from the baking sheet and place them on a plate to cool for about 15 minutes.

Cook your bacon in a skillet on low heat for about 15-20 minutes. The low and slow process, in my opinion, is the only way to cook bacon as it really yields perfect bacon every time. Remove the bacon from the skillet and drain it on some paper towels before you crumble it.

Once your potatoes are cooled, use a sharp bread knife and cut them lengthwise. For each potato you’ll have three long segments—two nice rounded sections, one from each side for the skins and one thin cutout from the center. Place the middle slice in a bowl for later use, such as breakfast the following morning. Or heck for that matter, add some butter, salt, and cream, and make some rustic mashed potatoes.

Continue this cutting process with the rest of the potatoes. You should then have 8 skins. With a small spoon, carefully scoop out about 70 percent of the potato. You still want some potato near the skin, to hold the structure of your boat.

Next, melt your butter in the microwave. Get your broiler heated to high. Brush the butter on the inside and outside of each potato skin and place them back onto the baking sheet. Season the inside of each skin with salt and pepper.

Place them under the broiler for 8-10 minutes until the insides get a bit crispy from the melted butter. Pull them out of the oven and place generous amounts of the cooked ground beef into each skin, topping with bacon pieces and about one tablespoon of blue cheese for each skin. Place these back under the broiler for about 3-4 minutes until the cheese is nice and bubbly. Carefully remove from the oven, top with just a bit more blue cheese, and get ready for a flavor of explosion.

Serve on a platter and have your guests dig in. The subtle crisp from the exterior of the potato skin, with the tenderness of the potato on the inside will satisfy your french fry craving. Then your burger fix comes in with just the right balance of bacon and sharp creaminess from the blue cheese. Small in size and packed with flavor, these skins definitely satisfied my craving for a burger. If you are a fan of blue cheese on your burger, definitely make these. You will be happy you did!


_______________________________________

Jessica Merchant is a personal trainer turned food writer and blogger. Her blog, How Sweet Eats, is where she proclaims her love for all things sweet, all things bacon, and everything else in between. She works her magic in her Pittsburgh kitchen, which she shares with her husband of 2 years.


Profile photo of Laurie - Simply Scratch

White Cheese and Chicken Lasagna

Posted by in Step-by-Step Recipes

Tasty Kitchen Blog: White Cheese and Chicken Lasagna. Guest post by Laurie McNamara of Simply Scratch, recipe submitted by TK member Anna and Chelsea of Hidden Ponies.

 
I’m a complete and utterly in love with all forms of lasagna. There’s just something about those layers of cheese, noodles and sauce that I can’t help but get weak in the knees over. So you probably can understand why I was instantly intrigued when I found Anna and Chelsea’s recipe for a White Cheese and Chicken Lasagna.


Tasty Kitchen Blog: White Cheese and Chicken Lasagna. Guest post by Laurie McNamara of Simply Scratch, recipe submitted by TK member Anna and Chelsea of Hidden Ponies.

Chicken, cheese, spinach and as if there wasn’t already an abundance of cheese here, there’s also a white cheese sauce! I know! You might want to break open a bottle of wine, slip on some comfy pants because it’s about to get rich and cheesy up in here.


Tasty Kitchen Blog: White Cheese and Chicken Lasagna. Guest post by Laurie McNamara of Simply Scratch, recipe submitted by TK member Anna and Chelsea of Hidden Ponies.

To make this lasagna happen, all you need is chicken (I used rotisserie chicken and it was fabulously easy), lasagna noodles, frozen spinach (thawed and squeezed dry), butter, milk, chicken broth, onion, garlic, flour, salt and pepper, dried oregano and basil, fresh parsley, ricotta, Parmesan and mozzarella cheese.


Tasty Kitchen Blog: White Cheese and Chicken Lasagna. Guest post by Laurie McNamara of Simply Scratch, recipe submitted by TK member Anna and Chelsea of Hidden Ponies.

Start by bringing a large pot of water to a boil. Season it generously with sea salt and drop in the entire package of noodles. Even though you only need 9 noodles, sometimes they crack or split while they’re boiling, so I just make them all to be on the safe side. Cook the noodles for 8-10 minutes, then drain and rinse with cold water.


Tasty Kitchen Blog: White Cheese and Chicken Lasagna. Guest post by Laurie McNamara of Simply Scratch, recipe submitted by TK member Anna and Chelsea of Hidden Ponies.

Next get some prep out of the way and chop up a medium onion, mince the garlic clove and give a small handful of parsley a good, rough chop.


Tasty Kitchen Blog: White Cheese and Chicken Lasagna. Guest post by Laurie McNamara of Simply Scratch, recipe submitted by TK member Anna and Chelsea of Hidden Ponies.

In a medium bowl, combine the chicken and the ricotta. This step wasn’t listed in the recipe directions, but I found it to be much easier to spread the mixture out over the noodles. Plus my husband isn’t a huge fan of big clumps of ricotta, and this solved that.


Tasty Kitchen Blog: White Cheese and Chicken Lasagna. Guest post by Laurie McNamara of Simply Scratch, recipe submitted by TK member Anna and Chelsea of Hidden Ponies.

In a good-sized sauce pot, melt a stick of butter.


Tasty Kitchen Blog: White Cheese and Chicken Lasagna. Guest post by Laurie McNamara of Simply Scratch, recipe submitted by TK member Anna and Chelsea of Hidden Ponies.

Add in the onions and garlic, cook until the onions are soft and translucent. This is my most favorite smell in the entire universe.


Tasty Kitchen Blog: White Cheese and Chicken Lasagna. Guest post by Laurie McNamara of Simply Scratch, recipe submitted by TK member Anna and Chelsea of Hidden Ponies.

Now you can stir in the flour and salt. Keep stirring until it’s nice and bubbly.


Tasty Kitchen Blog: White Cheese and Chicken Lasagna. Guest post by Laurie McNamara of Simply Scratch, recipe submitted by TK member Anna and Chelsea of Hidden Ponies.

Gradually whisk in the broth and the milk and stir constantly for one minute until smooth.


Tasty Kitchen Blog: White Cheese and Chicken Lasagna. Guest post by Laurie McNamara of Simply Scratch, recipe submitted by TK member Anna and Chelsea of Hidden Ponies.

Lastly, add in the 2 cups of mozzarella, 1/2 cup of Parmesan, 1 teaspoon of both dried basil and oregano, then season with 1/2 teaspoon of black pepper. Once stirred and the cheese has melted, immediately remove the sauce from the heat.


Tasty Kitchen Blog: White Cheese and Chicken Lasagna. Guest post by Laurie McNamara of Simply Scratch, recipe submitted by TK member Anna and Chelsea of Hidden Ponies.

Spread 1/3 of the cheesy sauce on the bottom of a lasagna pan or 13×9 baking dish.


Tasty Kitchen Blog: White Cheese and Chicken Lasagna. Guest post by Laurie McNamara of Simply Scratch, recipe submitted by TK member Anna and Chelsea of Hidden Ponies.

Layer 3 noodles over the sauce.


Tasty Kitchen Blog: White Cheese and Chicken Lasagna. Guest post by Laurie McNamara of Simply Scratch, recipe submitted by TK member Anna and Chelsea of Hidden Ponies.

Top with the chicken and ricotta mixture and spread evenly.


Tasty Kitchen Blog: White Cheese and Chicken Lasagna. Guest post by Laurie McNamara of Simply Scratch, recipe submitted by TK member Anna and Chelsea of Hidden Ponies.

Top with three more lasagna noodles.


Tasty Kitchen Blog: White Cheese and Chicken Lasagna. Guest post by Laurie McNamara of Simply Scratch, recipe submitted by TK member Anna and Chelsea of Hidden Ponies.

Drizzle with 1/4 of the remaining sauce and evenly sprinkle with all of the thawed spinach.


Tasty Kitchen Blog: White Cheese and Chicken Lasagna. Guest post by Laurie McNamara of Simply Scratch, recipe submitted by TK member Anna and Chelsea of Hidden Ponies.

Sprinkle with a 1/2 cup of Parmesan cheese, the remaining 2 cups of mozzarella, add the last three lasagna noodles and pour all of the remaining sauce over top.


Tasty Kitchen Blog: White Cheese and Chicken Lasagna. Guest post by Laurie McNamara of Simply Scratch, recipe submitted by TK member Anna and Chelsea of Hidden Ponies.

Sprinkle with the tablespoon or so of chopped parsley and the remaining Parmesan cheese. Bake this in a preheated 350ºF oven for 35-40 minutes.


Tasty Kitchen Blog: White Cheese and Chicken Lasagna. Guest post by Laurie McNamara of Simply Scratch, recipe submitted by TK member Anna and Chelsea of Hidden Ponies.

The lasagna is done when it’s all golden and bubbly. I flicked on the broiler to get some of that cheese crispy and golden, but that’s totally optional. Let the lasagna stand for 5 minutes before cutting and serving.


Tasty Kitchen Blog: White Cheese and Chicken Lasagna. Guest post by Laurie McNamara of Simply Scratch, recipe submitted by TK member Anna and Chelsea of Hidden Ponies.

This time of year, it’s cold and blustery in most parts, so serving lasagna on a winter night with a nice crisp Caesar salad and thick slices of garlic bread is total comfort food to the max. You guys are really going to dig this. And those crispy bits? Amazing!


Tasty Kitchen Blog: White Cheese and Chicken Lasagna. Guest post by Laurie McNamara of Simply Scratch, recipe submitted by TK member Anna and Chelsea of Hidden Ponies.

Anna and Chelsea are two beautiful sisters that joined forces to create their cozy and eclectic blog Hidden Ponies. Stop by their site for anything your heart may desire—like a few (or 20) Homemade Almond Joys, or maybe Churros perhaps? You can also find a lot of their recipes right here in their TK recipe box.

Thanks for the great recipe, ladies!


Printable Recipe

White Cheese & Chicken Lasagna

See post on Anna (Hidden Ponies)’s site!
5.00 Mitt(s) 13 Rating(s)13 votes, average: 5.00 out of 513 votes, average: 5.00 out of 513 votes, average: 5.00 out of 513 votes, average: 5.00 out of 513 votes, average: 5.00 out of 5

Prep Time:

Cook Time:

Difficulty: Easy

Servings: 6

6
x

Print Options

Page size Letter 3x5 4x6
Text Size Small Medium Large
Content Include description
Include prep time, etc.
Show image

Description

Creamy, cheesy, belly-pleasy—comfort food at its finest.

Ingredients

  • 9 whole Lasagna Noodles (not Oven-ready)
  • ½ cups Butter
  • 1 whole Onion, Chopped
  • 1 clove Garlic, Minced
  • ½ cups All-purpose Flour
  • 1 teaspoon Salt
  • 2 cups Chicken Broth
  • 1-½ cup Milk
  • 4 cups Shredded Mozzarella Cheese, Divided
  • 1 cup Grated Parmesan Cheese, Divided, Plus Additional 1/4 Cup For Topping (optional)
  • 1 teaspoon Each, Dried Basil And Oregano
  • ½ teaspoons Ground Pepper
  • 2 cups Ricotta Cheese
  • 2 cups Cooked, Cubed Chicken
  • 1 package (10 Oz. Size) Frozen Chopped Spinach, Thawed And Drained
  • 1 Tablespoon Chopped Fresh Parsley

Preparation Instructions

Preheat oven to 350ºF. Bring a large pot of lightly salted water to a boil. Cook lasagna noodles in boiling water for 8-10 minutes. Drain and rinse with cold water.

Meanwhile, melt the butter in a large saucepan over medium heat. Cook the onion and garlic in the butter until tender, stirring frequently. Stir in flour and salt; simmer until bubbly.

Mix in the broth and milk, and boil, stirring constantly, for 1 minute. Stir in 2 cups of mozzarella cheese and 1/2 cup Parmesan. Season with basil, oregano and ground black pepper. Remove from heat and set aside.

Spread 1/3 of the sauce mixture on the bottom of the 9×13 inch baking dish. Layer with 1/3 of the noodles, and all of the ricotta and the chicken. Arrange 1/3 of the noodles over the chicken and layer with 1/4 of the sauce mixture, the spinach, and the remaining 2 cups of mozzarella cheese and 1/2 cup Parmesan cheese.

Arrange remaining noodles over cheese and spread remaining sauce evenly over noodles. Sprinkle with parsley and additional 1/4 cup Parmesan cheese (optional).

Bake for 35 to 40 minutes in the preheated oven. Let stand 5 minutes before cutting and serving.

Enjoy!


_______________________________________

Laurie is the force behind Simply Scratch, a blog that documents her efforts to find and create recipes that are made simply from scratch. (We think it’s sweet that her mother-in-law helped her set up her blog and get started.) We love her recipes; they’re not just tried and true, but they look gorgeous as well. Check out her blog and you’ll become a fan too.


Profile photo of whatsgabycooking

Shrimp Ceviche Dip

Posted by in Step-by-Step Recipes

  You guys. It’s almost that time of year—the time of year when that thing happens on the TV. And everyone freaks out about it and gets super excited. It has something to do with football. Oh yes, the Super Bowl. Well, I’ve said it before and I’ll say it again: I’m not the biggest […]

Profile photo of missamy

The Ultimate Mexican Hot Chocolate

Posted by in Step-by-Step Recipes

  Last summer, I ran across this recipe for The Ultimate Mexican Hot Chocolate from member Sharon and filed it away in my Tasty Kitchen recipe box waiting for cooler, hot chocolate weather. Anything with “ultimate” and “chocolate” in the title is a must-do on my list. I like me some chocolate, man. At first […]

Profile photo of cookincanuck

Raw Cauliflower Couscous

Posted by in Step-by-Step Recipes

  This Raw Cauliflower Couscous recipe shocked the heck out of me. When I first looked at the list of ingredients, I thought, “Okay, I like all of these things. But raw? Shouldn’t I roast them or something?” It turns out that Tasty Kitchen member Spontaneous Hausfrau knew what she was doing when she grated […]

Profile photo of Erica Lea

French Onion Soup Grilled Cheese Sandwiches

Posted by in Step-by-Step Recipes

  Oh boy. I’m bonkers excited about these sandwiches, ya’ll. When I first saw Joy post them I thought: That needs to happen in my kitchen. I mean, two whole onions reduced to caramely goodness and paired with melty cheese? Count me in. Then, when Erika mentioned that Laurie had shared the recipe here on Tasty Kitchen, I knew I had to make if…