I love winter—for about thirty days. During this time, winter is magical and full of my favorite traditions that capture every sense. Winter is for hot cocoa and fuzzy blankets. It’s for taking fun treks in the snow that turn your nose red and your toes cold, so when you come home all you want to do is get warm and toasty in front of a fire. Winter smells like pine needles, old Christmas ornaments, and sugar cookies baking in the oven.
This is why it’s one of my favorite times of the year. For thirty days. After this, the cold gets really old and I’m ready for sunshine and warmth again. One of my favorite ways to warm up on these chilly days is a hot cup of deliciousness. Like this Pumpkin Spice Hot Apple Cider recipe from Erin.
When you can settle into your sofa, with your fingers curled around a mug of something like this, your day just seems to get better. The tangy cider is paired with a spice-filled pumpkin syrup (adapted from Julie at Savvy Eats), and it is so good!
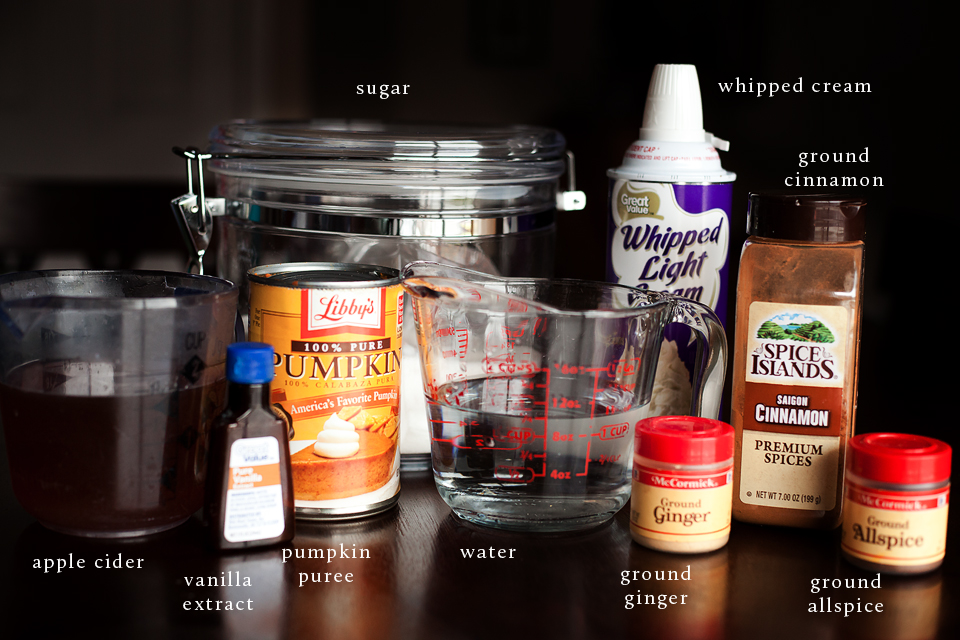
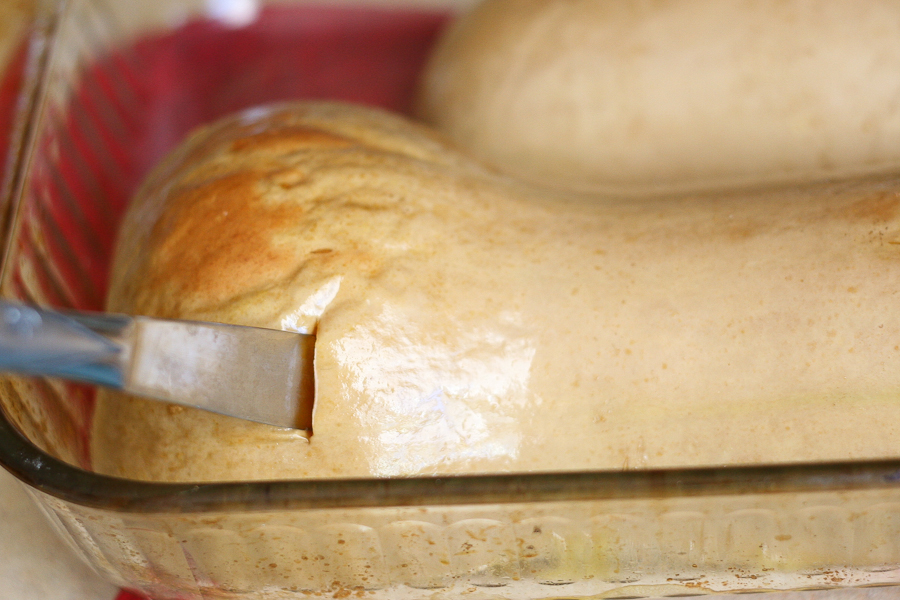
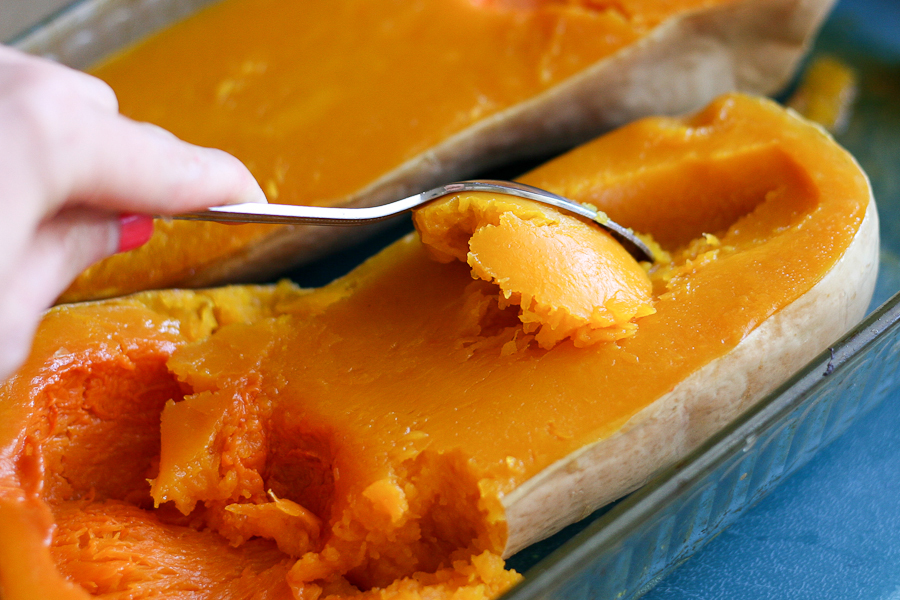
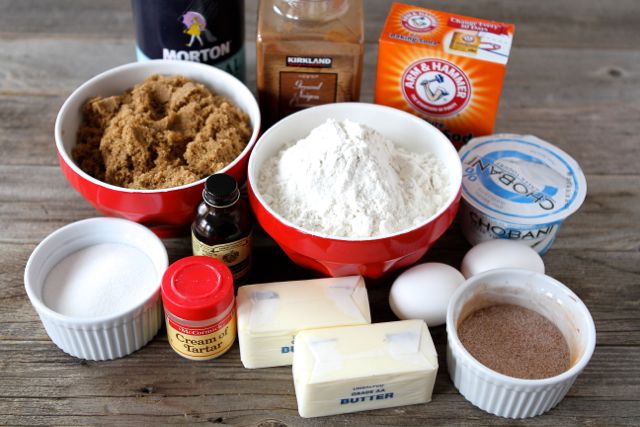
You’ll need: pumpkin puree, sugar, vanilla, water, cinnamon, allspice, ginger, apple cider.
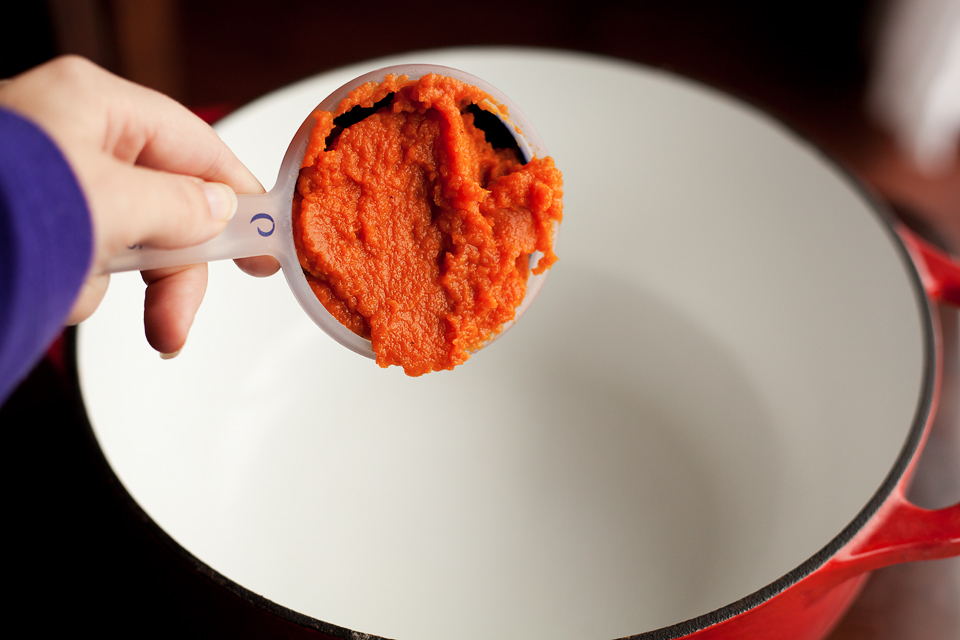
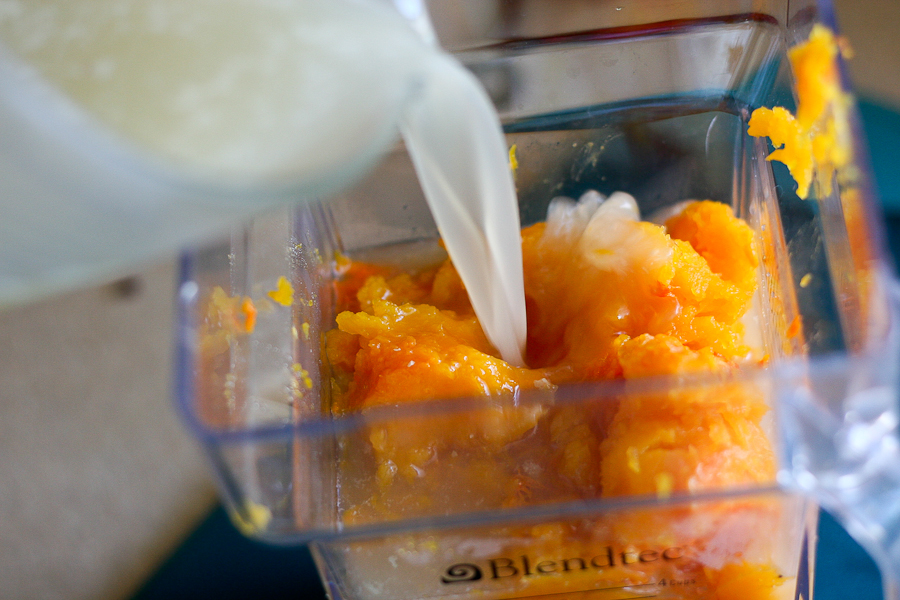
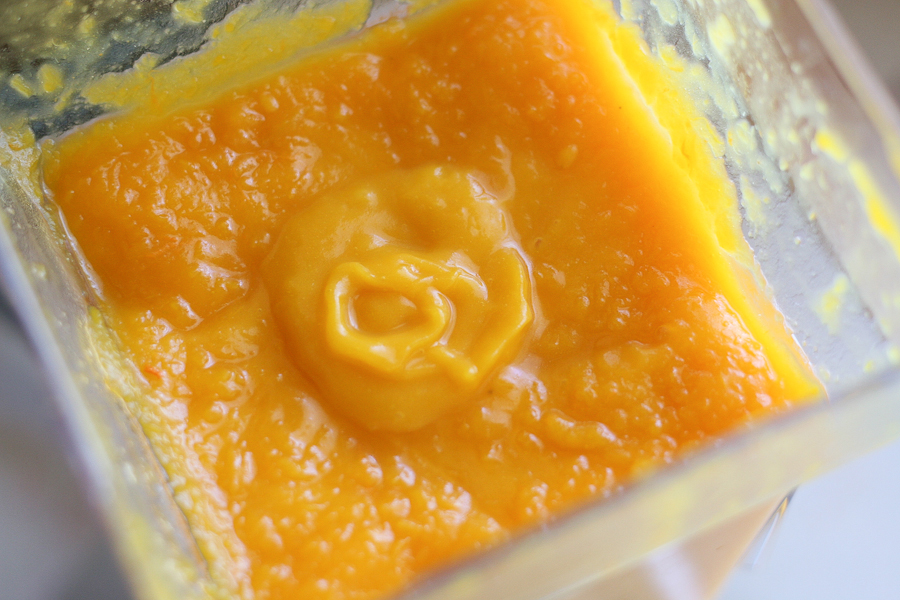
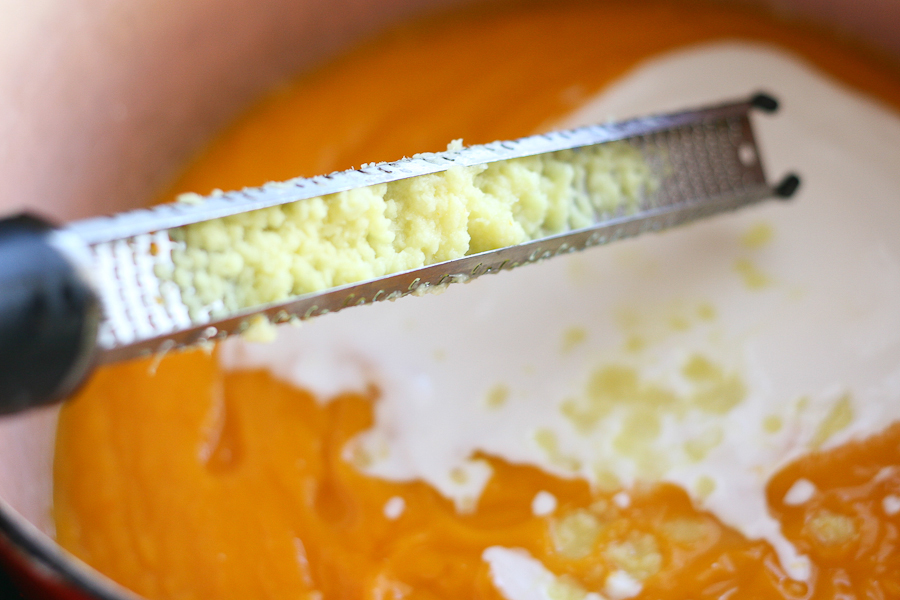
To make the pumpkin spice syrup, add the pumpkin puree to a medium-sized pot.
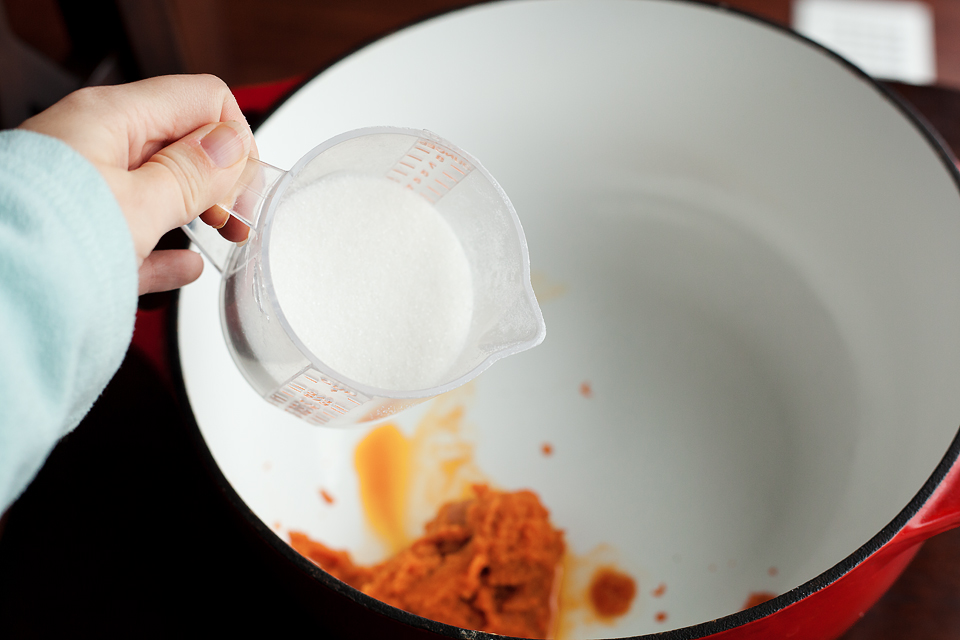
Add the sugar.
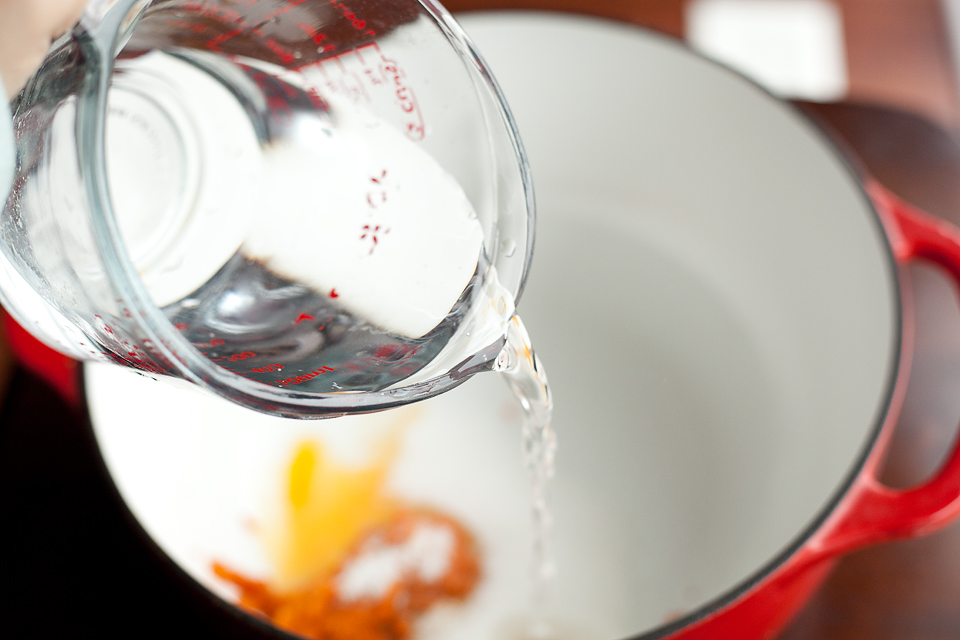
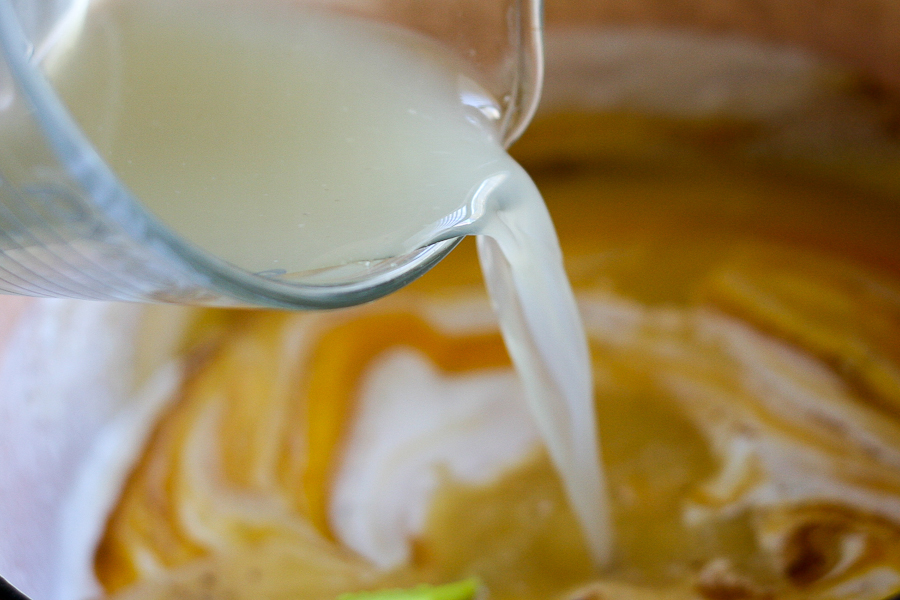
And the water.
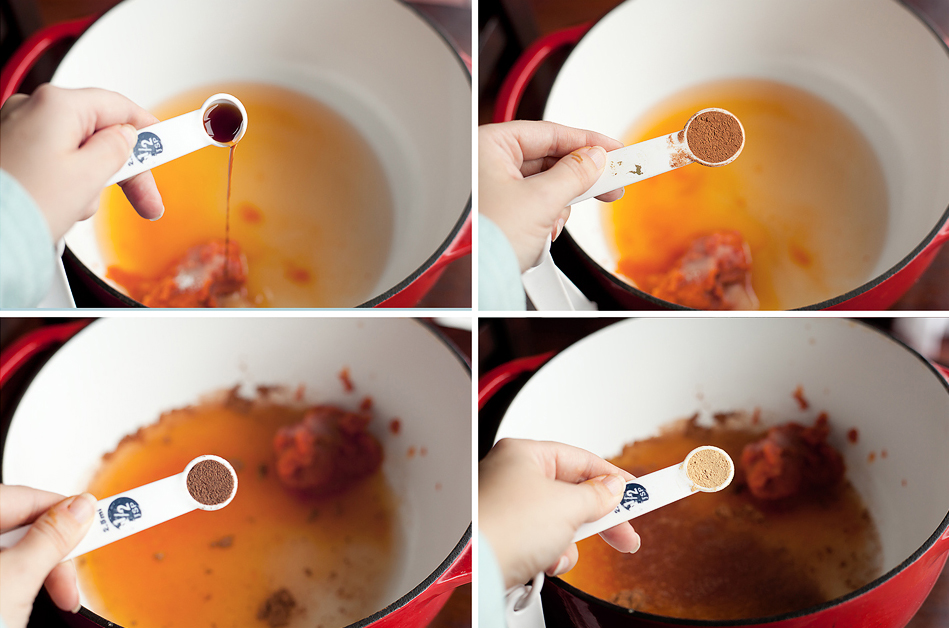
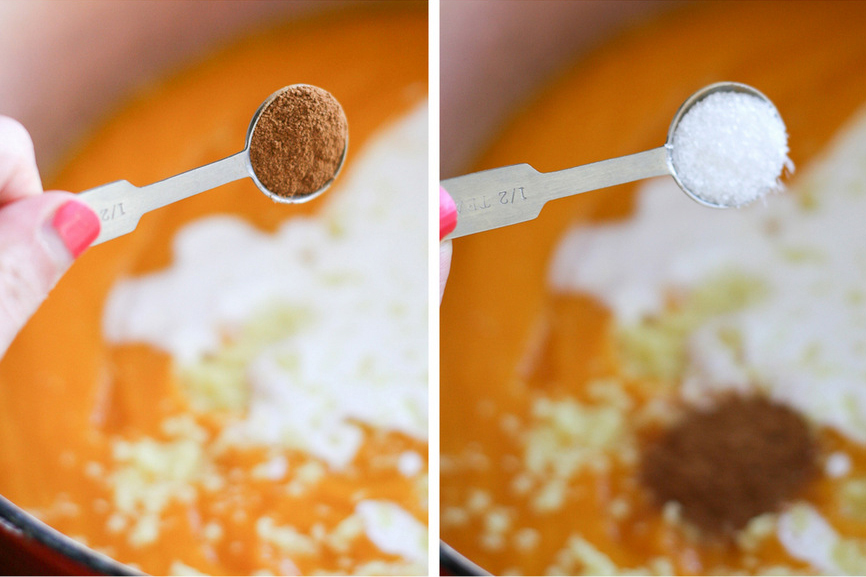
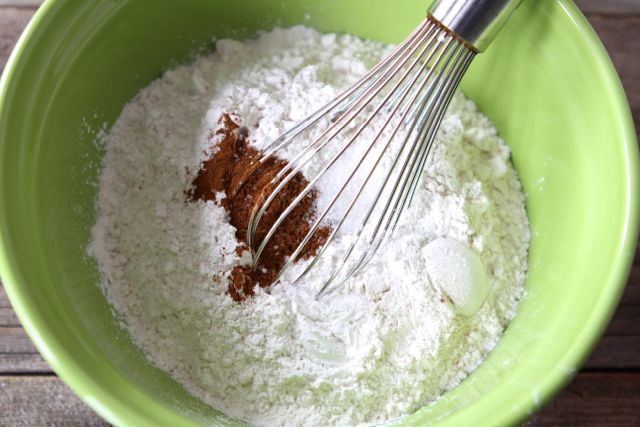
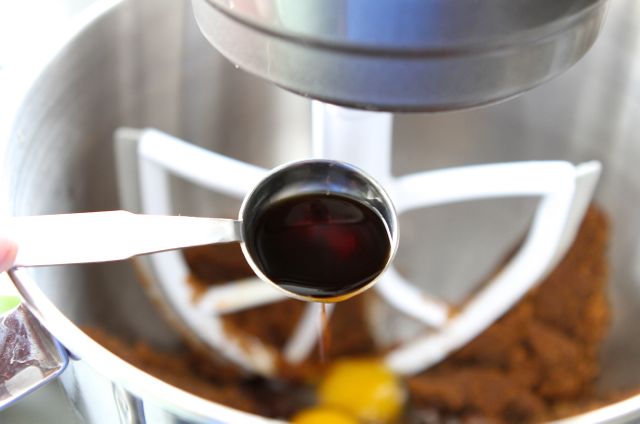
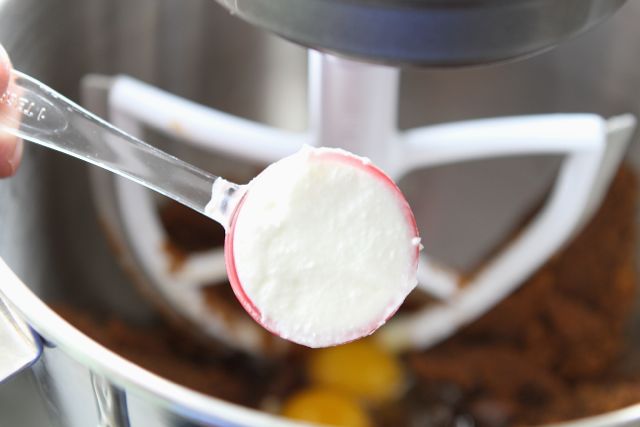
Add the vanilla, cinnamon, allspice and ginger and bring everything to a boil. Reduce heat to low, and let cook for about 15 minutes, stirring occasionally.
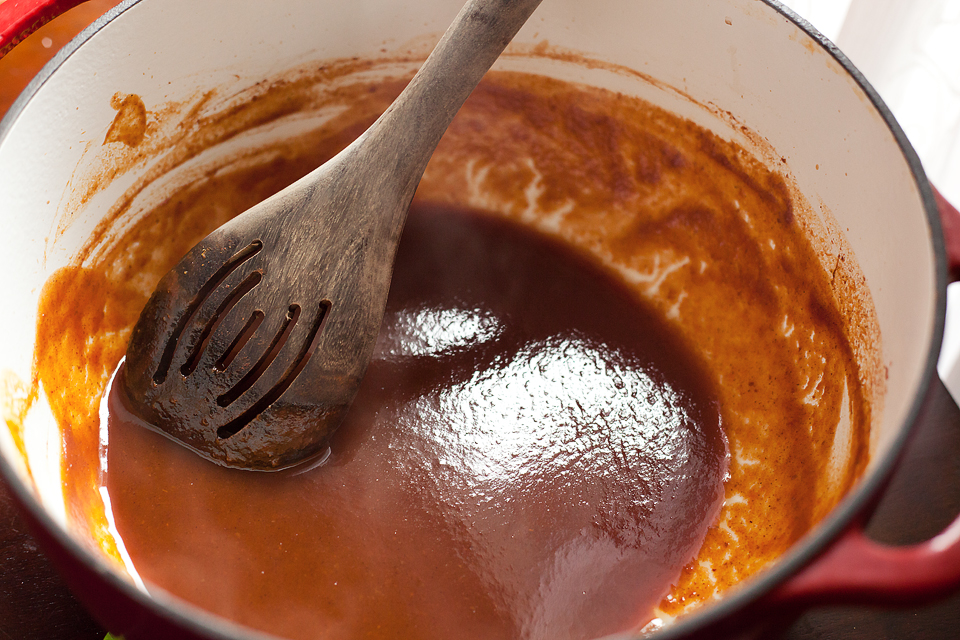
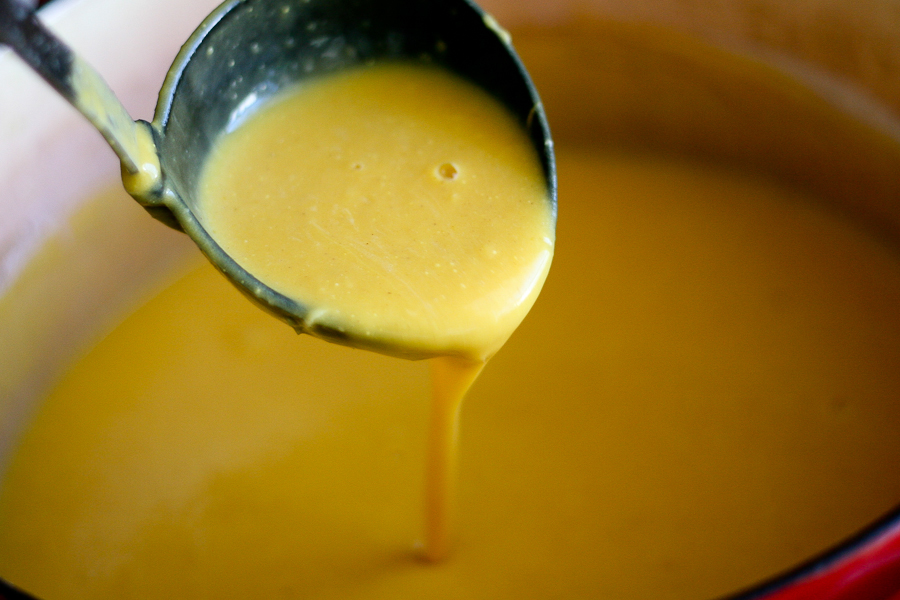
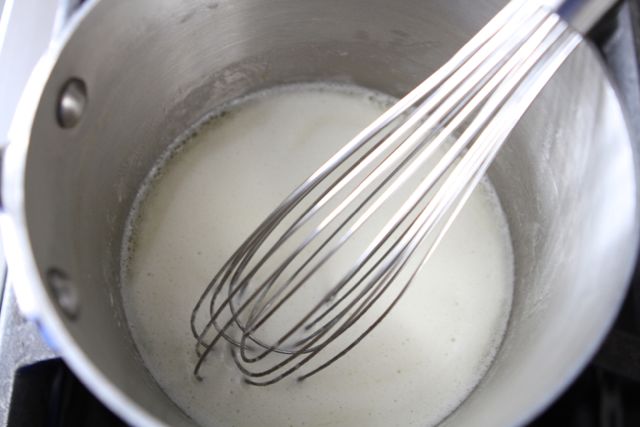
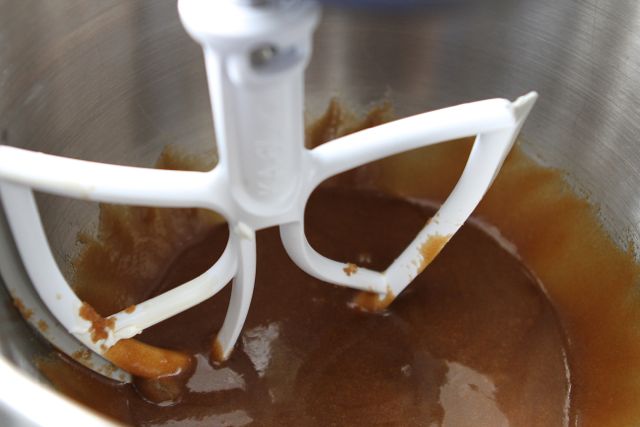
You want the mixture to become thick and syrupy.
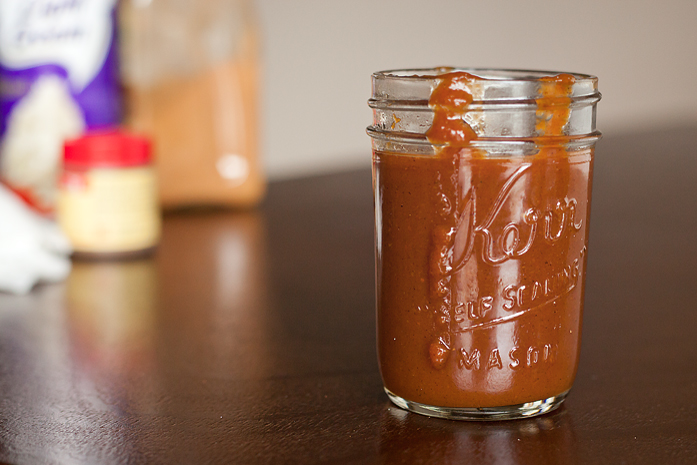
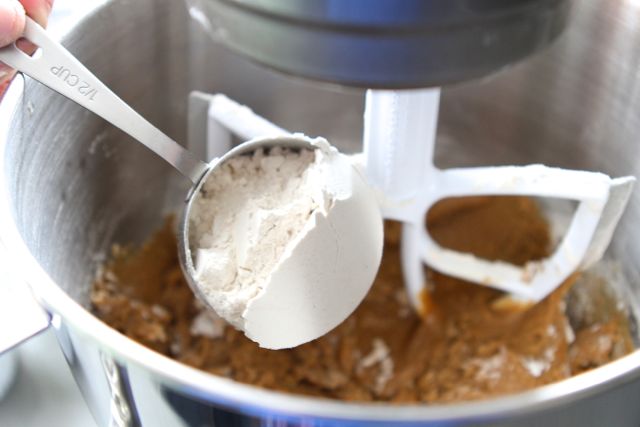
Pour the syrup into a container and store in the fridge until ready to use.
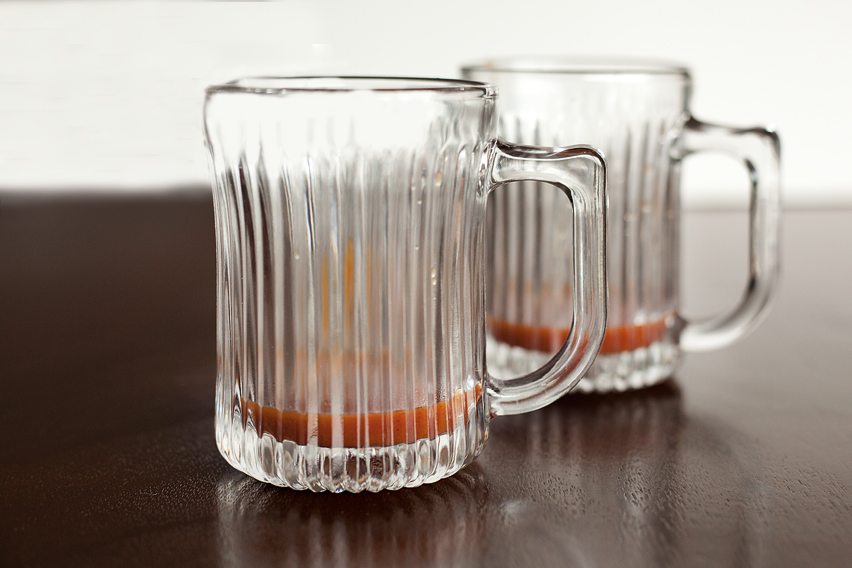
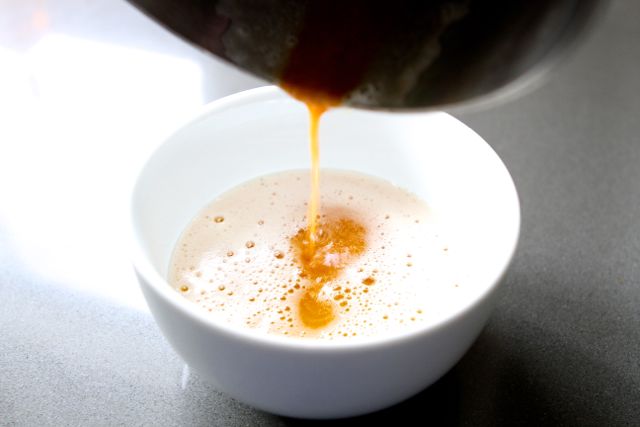
To make the hot apple cider, in a large mug heat 3 tablespoons of pumpkin spice syrup.
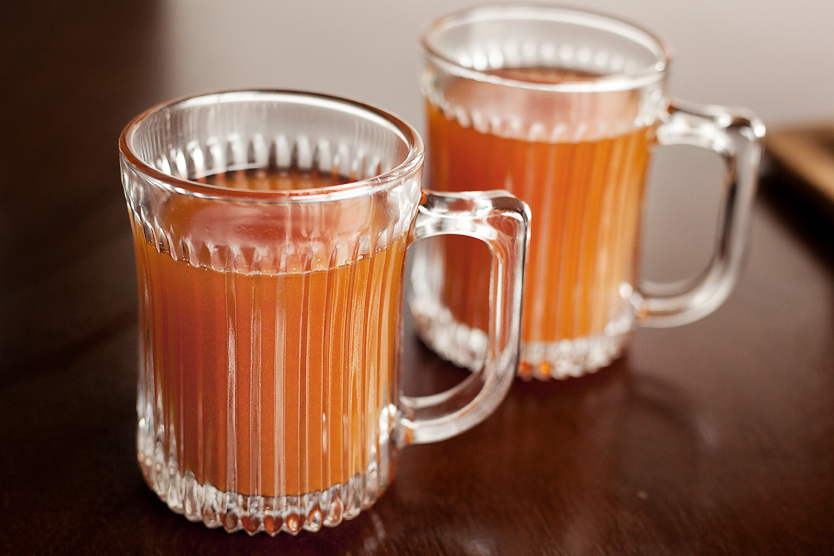
Mix in hot apple cider.

Top with whipped cream, and drizzle with additional syrup.
This holiday drink will definitely stay in my regular rotation! The syrup, the cider, the cream—it’s a trifecta of sippable perfection. Thanks so much Erin for sharing the recipe with us. Don’t forget to head over to Erin’s blog Dinners, Dishes, and Desserts for more tasty recipes!
Printable Recipe


Print Options
Description
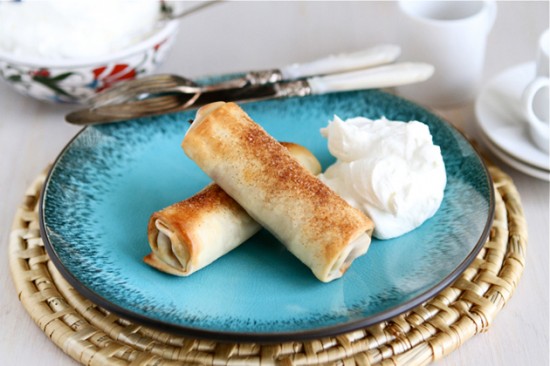
Hot apple cider with pumpkin spice syrup topped with whipped cream.
Ingredients
- FOR THE PUMPKIN SPICE SYRUP:
- ½ cups Pumpkin Puree
- ½ cups Sugar
- ½ teaspoons Vanilla
- 1-¼ cup Water
- 1 teaspoon Cinnamon
- ½ teaspoons All Spice
- ½ teaspoons Ginger
- FOR THE HOT APPLE CIDER:
- 3 Tablespoons Pumpkin Spice Syrup, Plus More To Drizzle On Top
- 8 ounces, fluid Apple Cider, Or As Needed To Fill Your Mug
- Whipped Cream, For Garnish
Preparation Instructions
To make the pumpkin spice syrup, combine everything (minus apple cider and whipped cream) in a pan and bring to a boil. Reduce heat to low, and let cook for about 15 minutes, stirring occasionally. You want the mixture to become thick and syrupy.
Store in the fridge until ready to use.
To make the hot apple cider, in a large mug heat 3 tablespoons of pumpkin spice syrup. Mix in hot apple cider. Top with whipped cream, and drizzle with additional syrup. Enjoy!
Recipe for Pumpkin Spice Syrup adapted from Savvy Eats, via Steph’s Bite by Bite.
_______________________________________
Amber is a stay at home mom who lives in the heart of the Missouri Ozarks. It’s a long way from where she grew up, in Wales (yes, way over in the U.K.). The recipes in her blog Sprinkled with Flour include her original creations as well as her family recipes. Go check them out!