The Pioneer Woman Tasty Kitchen
Profile photo of georgiapellegrini

Thai Fish Curry

Posted by in Step-by-Step Recipes

Tasty Kitchen Blog: Thai Fish Curry. Guest post by Georgia Pellegrini, recipe submitted by TK member Ena.

 
One of the things I love about Tasty Kitchen is that it encourages me to expand my coking repertoire. This Thai Fish Curry from Ena had so many of my favorite ingredients in there, from green curry paste, to coconut milk, to fried basil.


Tasty Kitchen Blog: Thai Fish Curry. Guest post by Georgia Pellegrini, recipe submitted by TK member Ena.

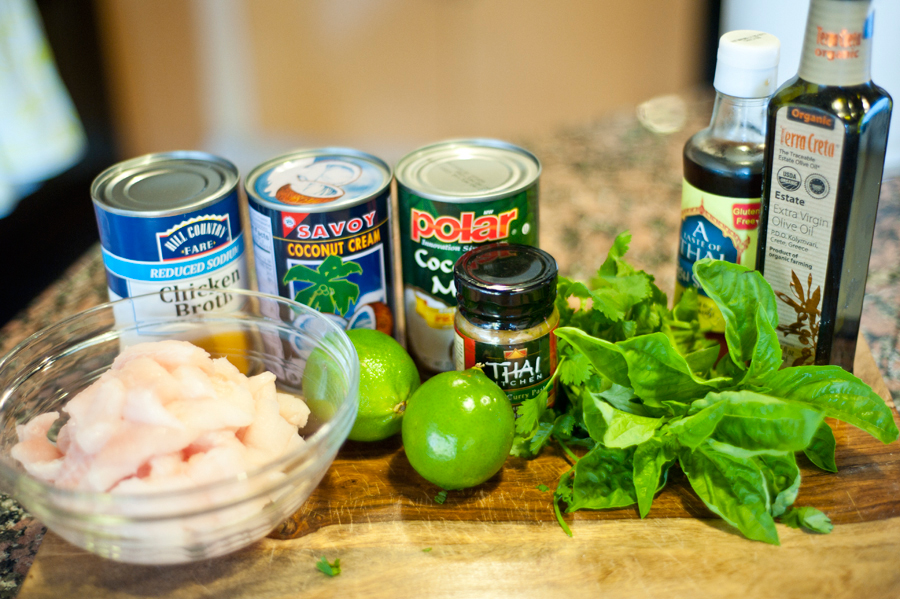
To make this you will need: fresh basil, white fish fillets, vegetable oil, green curry paste, coconut milk, fish sauce, coconut cream, cilantro leaves, and lime.


Tasty Kitchen Blog: Thai Fish Curry. Guest post by Georgia Pellegrini, recipe submitted by TK member Ena.

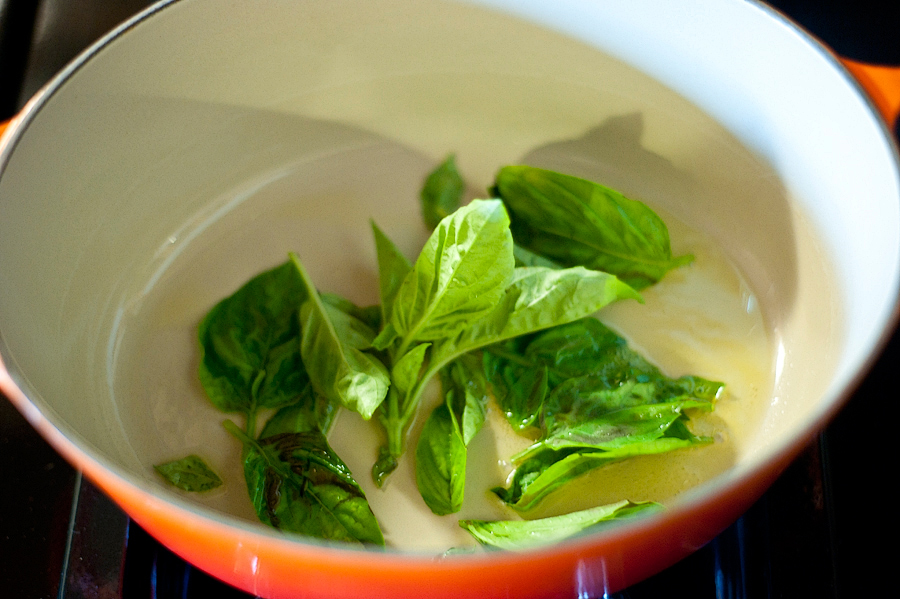
To begin, heat the oil in a pan and fry your basil leaves until they become crispy.


Tasty Kitchen Blog: Thai Fish Curry. Guest post by Georgia Pellegrini, recipe submitted by TK member Ena.

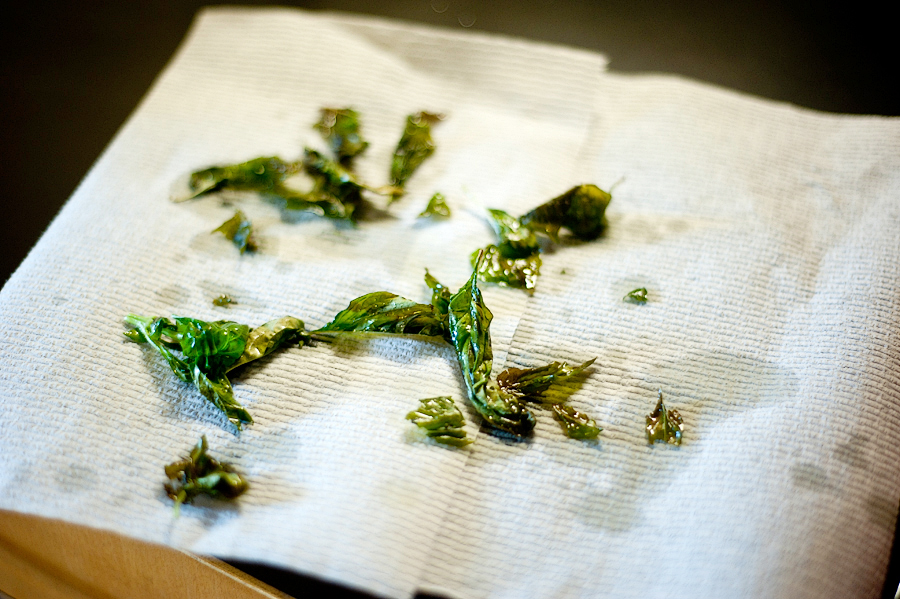
Let them dry on some paper towels and they will become crunchy as they sit.


Tasty Kitchen Blog: Thai Fish Curry. Guest post by Georgia Pellegrini, recipe submitted by TK member Ena.

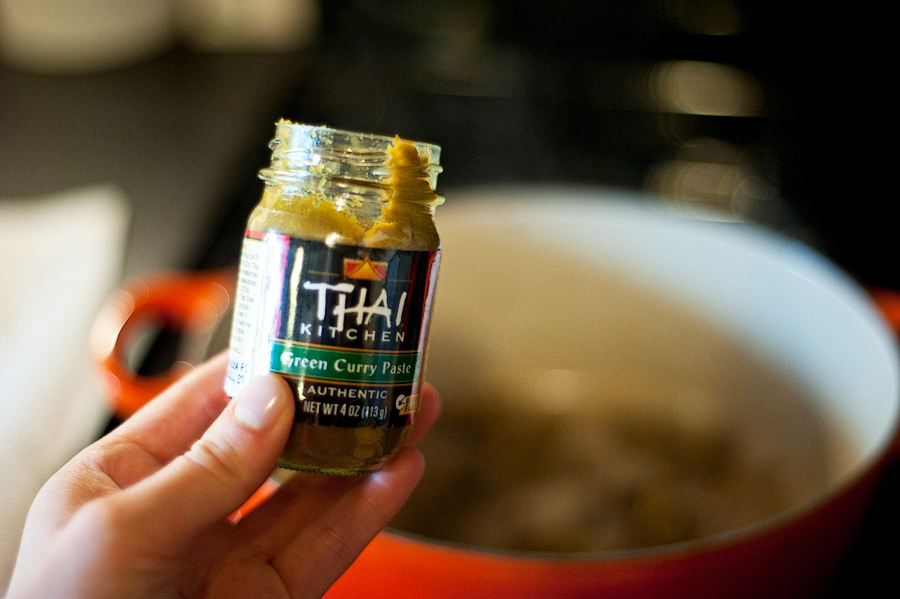
Next, sauté some green curry in the bottom of the pot. It will stick a bit but that’s okay.


Tasty Kitchen Blog: Thai Fish Curry. Guest post by Georgia Pellegrini, recipe submitted by TK member Ena.

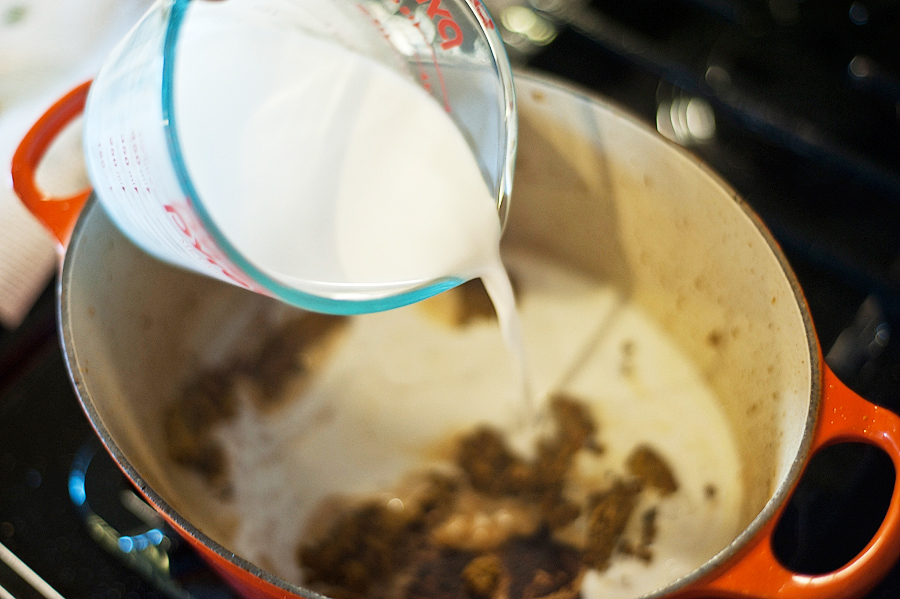
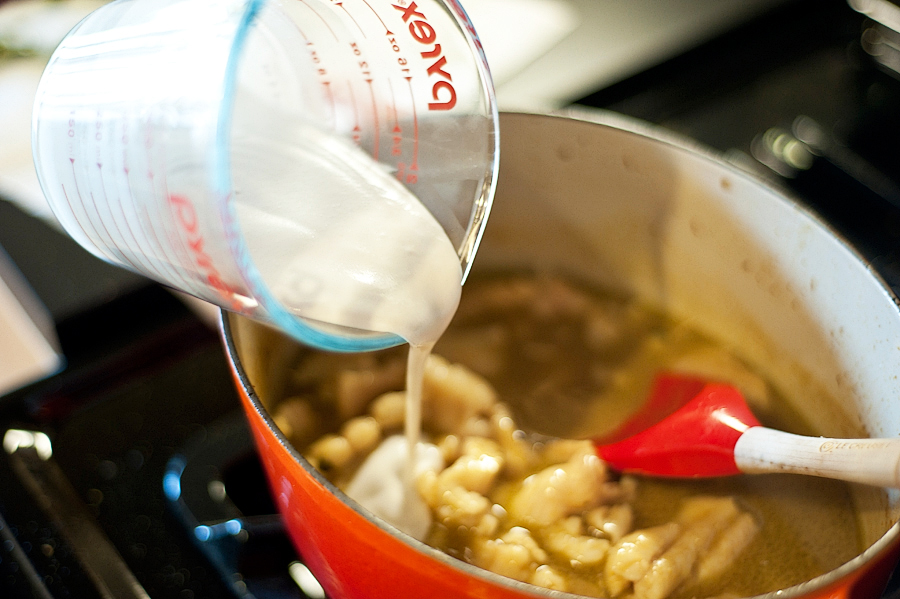
Then deglaze all of the curry from the bottom of the pan with the coconut milk.


Tasty Kitchen Blog: Thai Fish Curry. Guest post by Georgia Pellegrini, recipe submitted by TK member Ena.

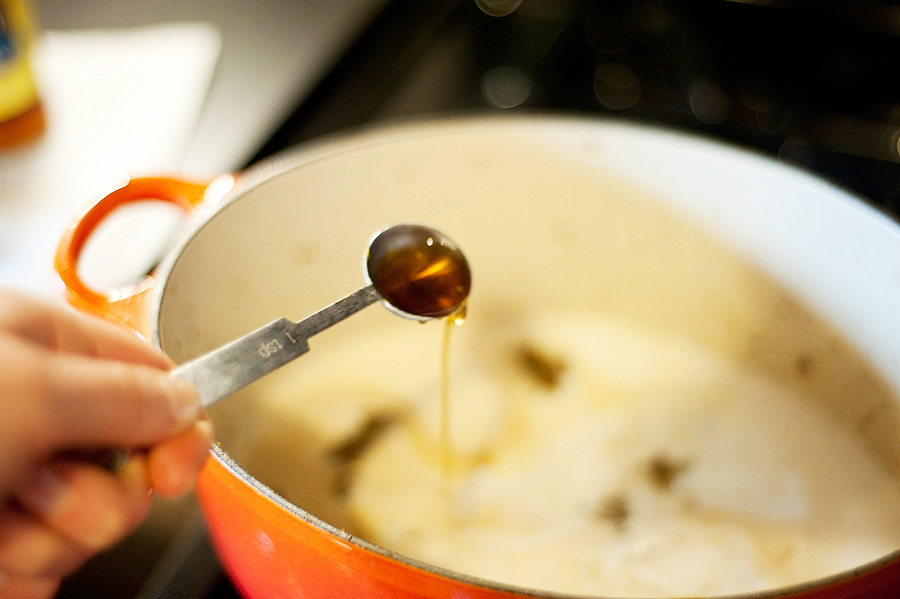
Add a bit of fish sauce.


Tasty Kitchen Blog: Thai Fish Curry. Guest post by Georgia Pellegrini, recipe submitted by TK member Ena.

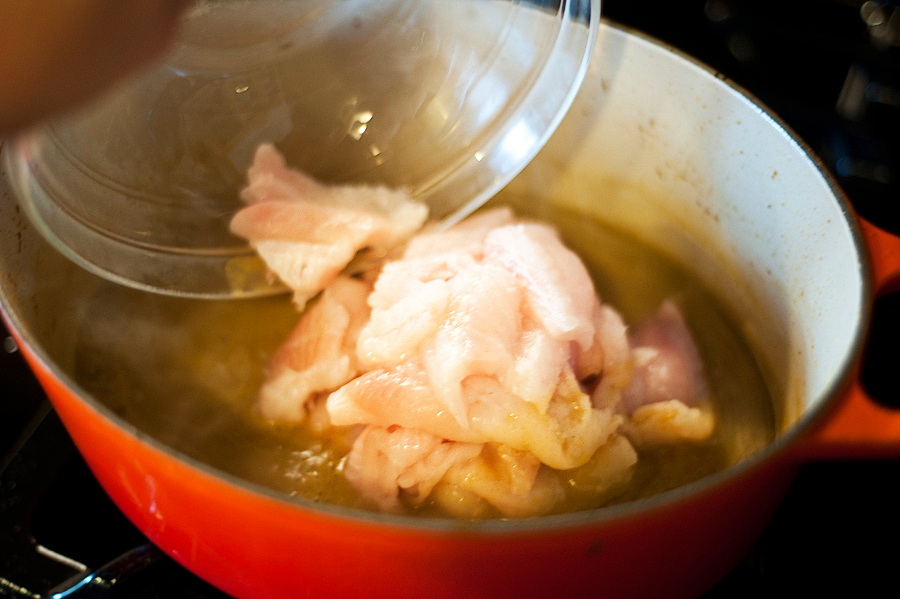
And after it simmers for a few minutes, add your fish pieces. Cover and let the flavors meld over gentle heat.


Tasty Kitchen Blog: Thai Fish Curry. Guest post by Georgia Pellegrini, recipe submitted by TK member Ena.

To finish, add the coconut cream …


Tasty Kitchen Blog: Thai Fish Curry. Guest post by Georgia Pellegrini, recipe submitted by TK member Ena.

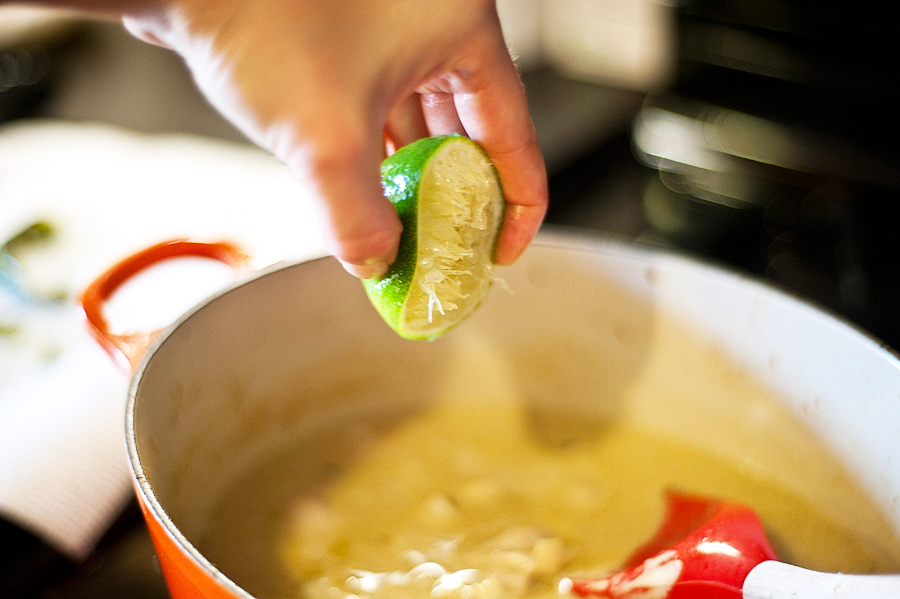
And fresh lime juice.


Tasty Kitchen Blog: Thai Fish Curry. Guest post by Georgia Pellegrini, recipe submitted by TK member Ena.

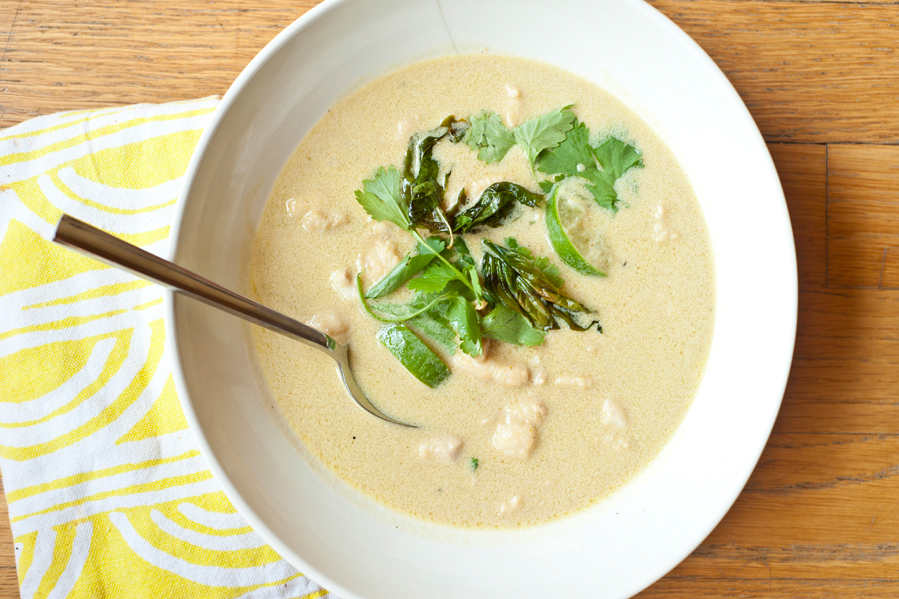
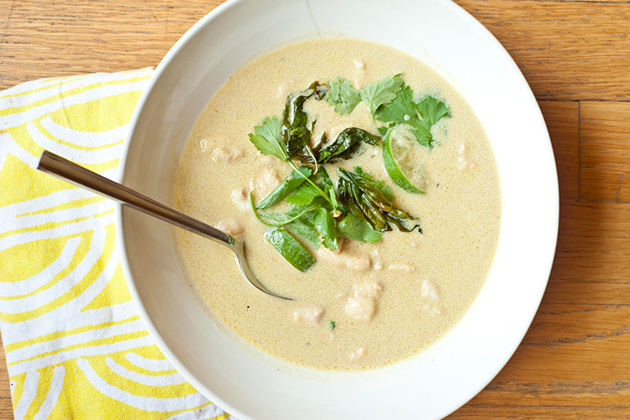
Finish by garnishing with fresh cilantro leaves and crispy basil leaves. This is thick and creamy and would be perfect poured over rice. Or if you want to serve it as a thinner soup, just add more stock and less coconut cream.

Thank you to Ena for this gorgeous curry recipe!


Printable Recipe

Thai Fish Curry

4.50 Mitt(s) 2 Rating(s)2 votes, average: 4.50 out of 52 votes, average: 4.50 out of 52 votes, average: 4.50 out of 52 votes, average: 4.50 out of 52 votes, average: 4.50 out of 5

Prep Time:

Cook Time:

Difficulty: Easy

Servings: 4

4
x

Print Options

Page size Letter 3x5 4x6
Text Size Small Medium Large
Content Include description
Include prep time, etc.
Show image

Description

An absolutely divine Thai curry. I could drink the sauce straight through a straw and be happy to call it a meal! Joking. Kind of.

Ingredients

  • 15 leaves Basil
  • 1 Tablespoon Vegetable Oil, Plus More To Fry Basil Leaves
  • 1 pound Firm White Flesh Fish Fillets
  • 4 Tablespoons Thai Green Curry Paste
  • 1-¾ cup Coconut Milk
  • 3 teaspoons Fish Sauce
  • 5 ounces, fluid Coconut Cream
  • 1 whole Handful Of Cilantro Leaves, Chopped
  • 3 teaspoons Fresh Lime Juice

Preparation Instructions

Shallow-fry basil leaves in some vegetable oil in a skillet over medium heat until crisp. Remove to a plate lined with paper towels to drain and set aside.

Cut fish into bite-sized pieces.

Heat 1 tablespoon of vegetable oil in a large pan or wok. Once hot add curry paste. Stir for 2-3 minutes or until fragrant. Add coconut milk and fish sauce and simmer for 8-10 minutes. Add fish pieces and simmer for 3-5 minutes or until just cooked. Stir in coconut cream, cilantro and lime juice.

Spoon curry over cooked, plain rice and top with fried basil leaves.


_______________________________________

There’s so much to say about Georgia, we don’t know where to start. Leaving Wall Street for the French Culinary Institute, followed by a stint at the Gramercy Tavern and La Chassagnette in France, her passion for food and food traditions are evident and inspiring. Visit her site at Georgia Pellegrini, where you’ll find more recipes, photos, learn all about her wonderful books Girl Hunter and Food Heroes, and enjoy her latest adventures.


Profile photo of Laurie - Simply Scratch

Apple Cider Doughnuts

Posted by in Baking, Step-by-Step Recipes

One of the many things I love about living in Michigan (besides having a baseball team in the World Series *wink* GO TIGERS!) is the many cider mills. They usually have  hayrides, lots of fresh pressed apple cider, paper bags full of a variety of crisp apples and let’s not forget those freshly fried doughnuts, which are personally my favorite.

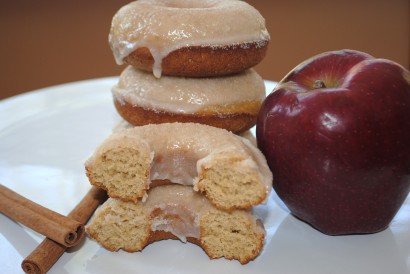
Aimee’s recipe for Apple Cider Donuts pretty much has all the above wrapped into one delicious doughnut. See, the apple cider is actually IN the doughnuts and they’re baked, which for some people (meaning me) is a lot less stressful then deep frying. But all this goodness doesn’t just stop there.



Tasty Kitchen Blog: Apple Cider Donuts. Guest post by Laurie of Simply Scratch, recipe submitted by TK member Aimee of Shugary Sweets.
 
After the doughnuts cool, you dunk them into the most delicious glaze. And even that has cider in it—and it’s beyond amazing. And just when you think you’re done, you’re not. After you dunk the doughnuts in the cider glaze, you dip them in cinnamon sugar. I’m not joking. It gives your teeth a little textural “crunch” before they sink into the soft glaze-dripped doughnut. Oh.My.Word.

Now scroll down and see for yourself. I just hope you have cider on hand because I’m pretty certain you’ll want to make these as soon as possible!


Tasty Kitchen Blog: Apple Cider Donuts. Guest post by Laurie of Simply Scratch, recipe submitted by TK member Aimee of Shugary Sweets.

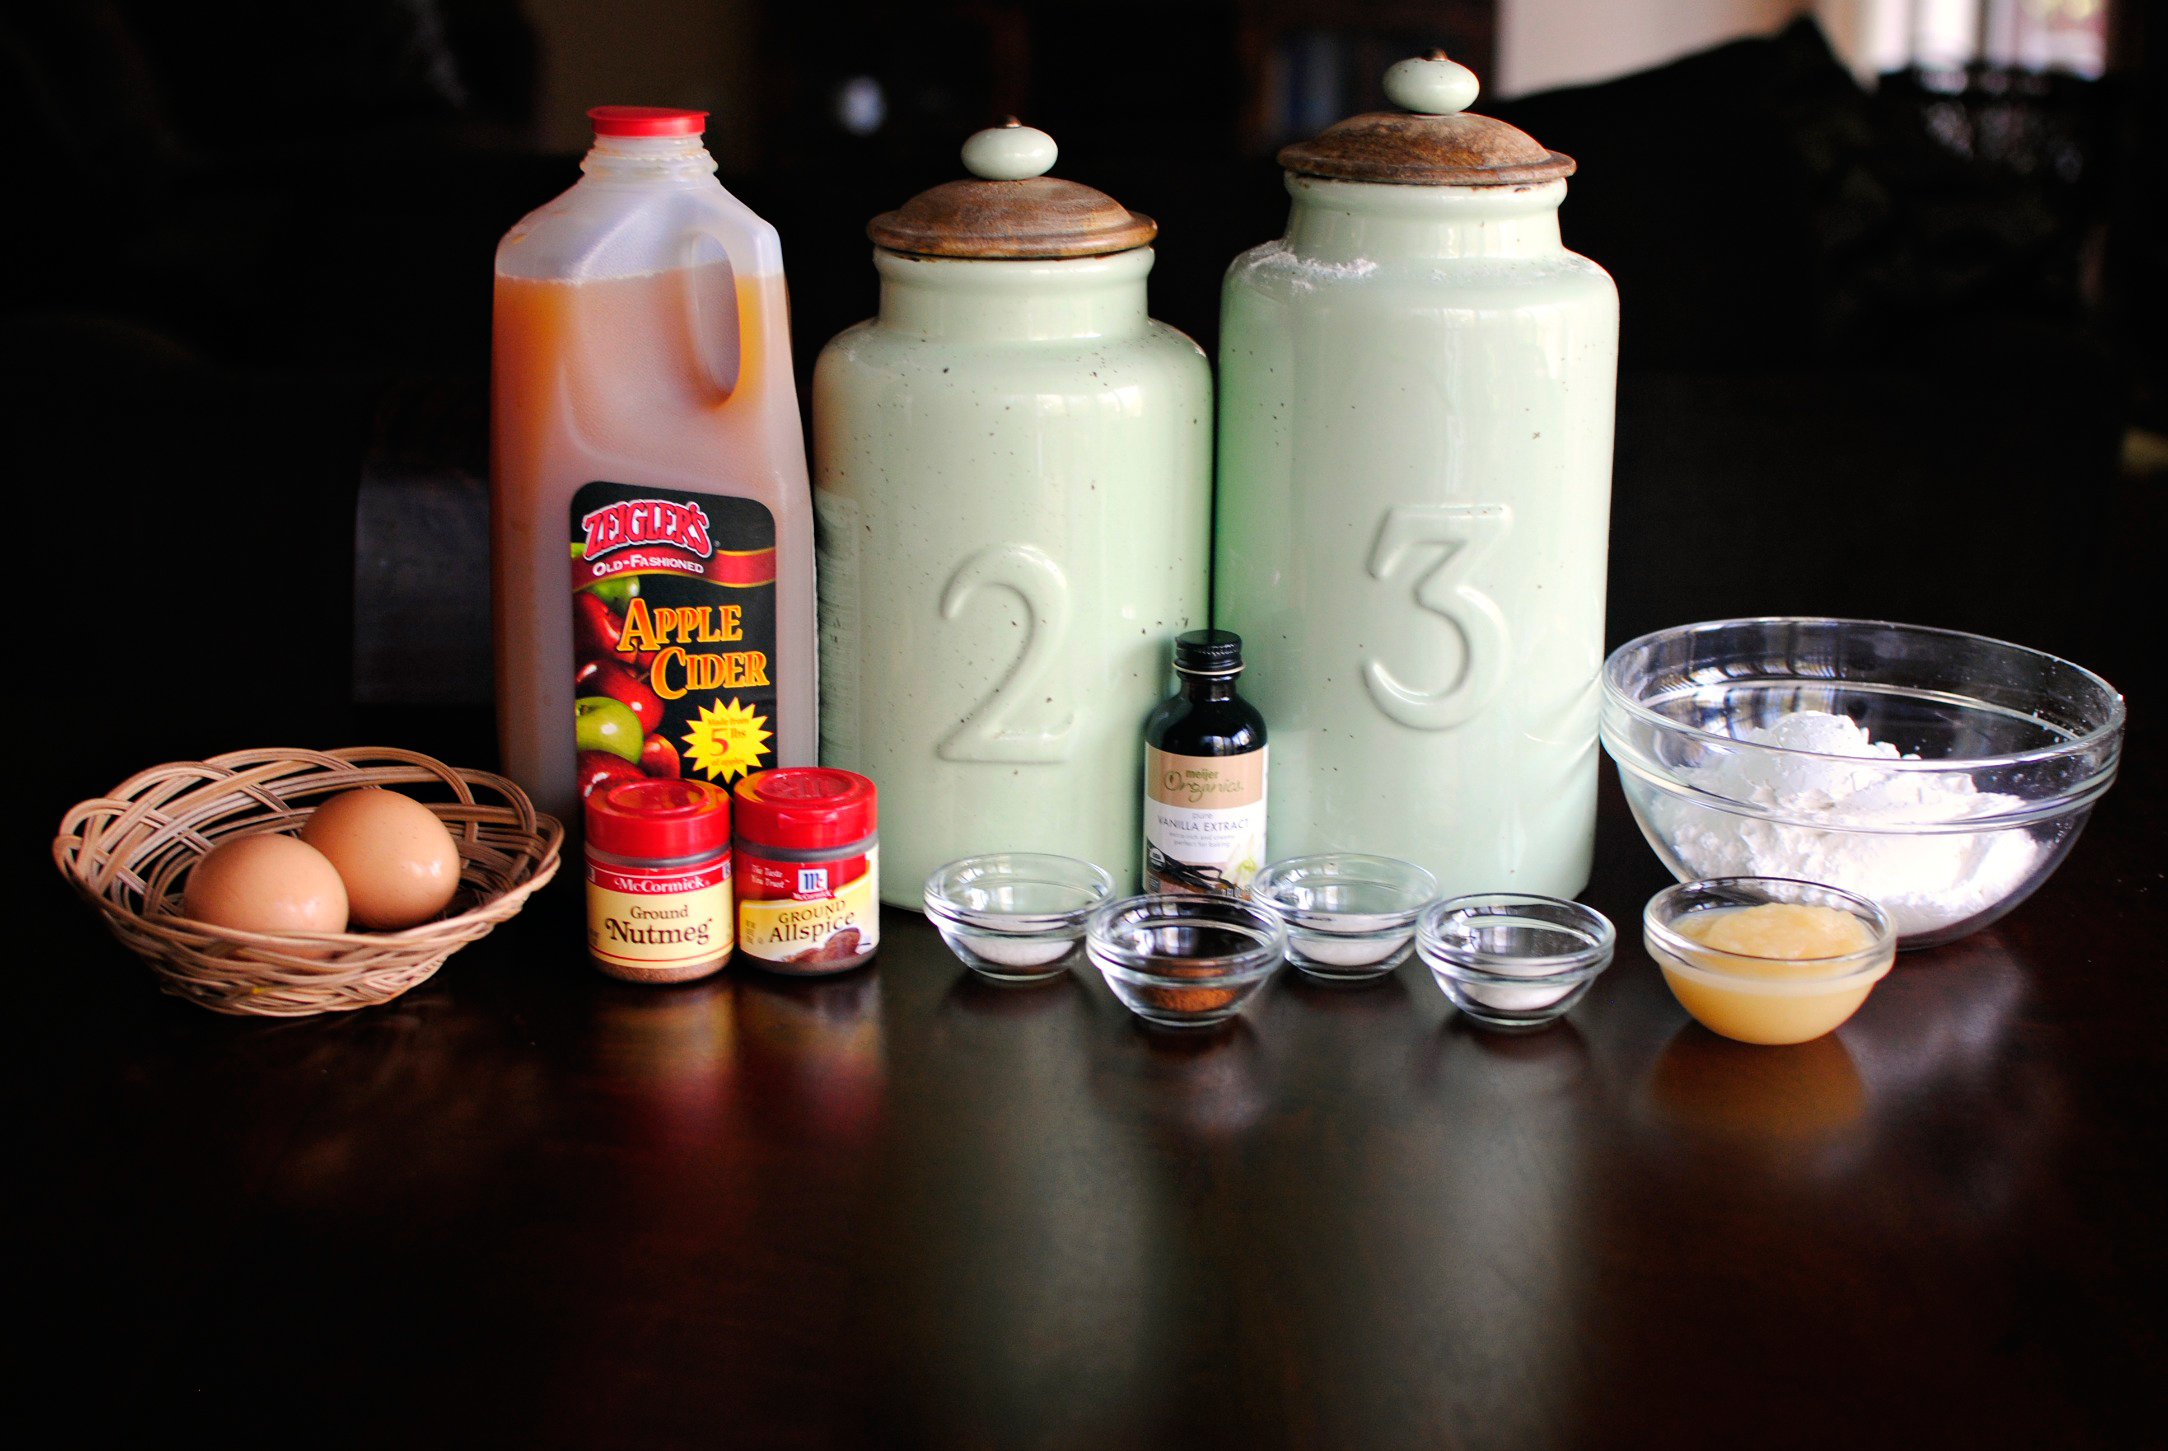
The ingredients are pretty simple and straightforward. Besides picking up the apple cider, I had everything else on hand.


Tasty Kitchen Blog: Apple Cider Donuts. Guest post by Laurie of Simply Scratch, recipe submitted by TK member Aimee of Shugary Sweets.

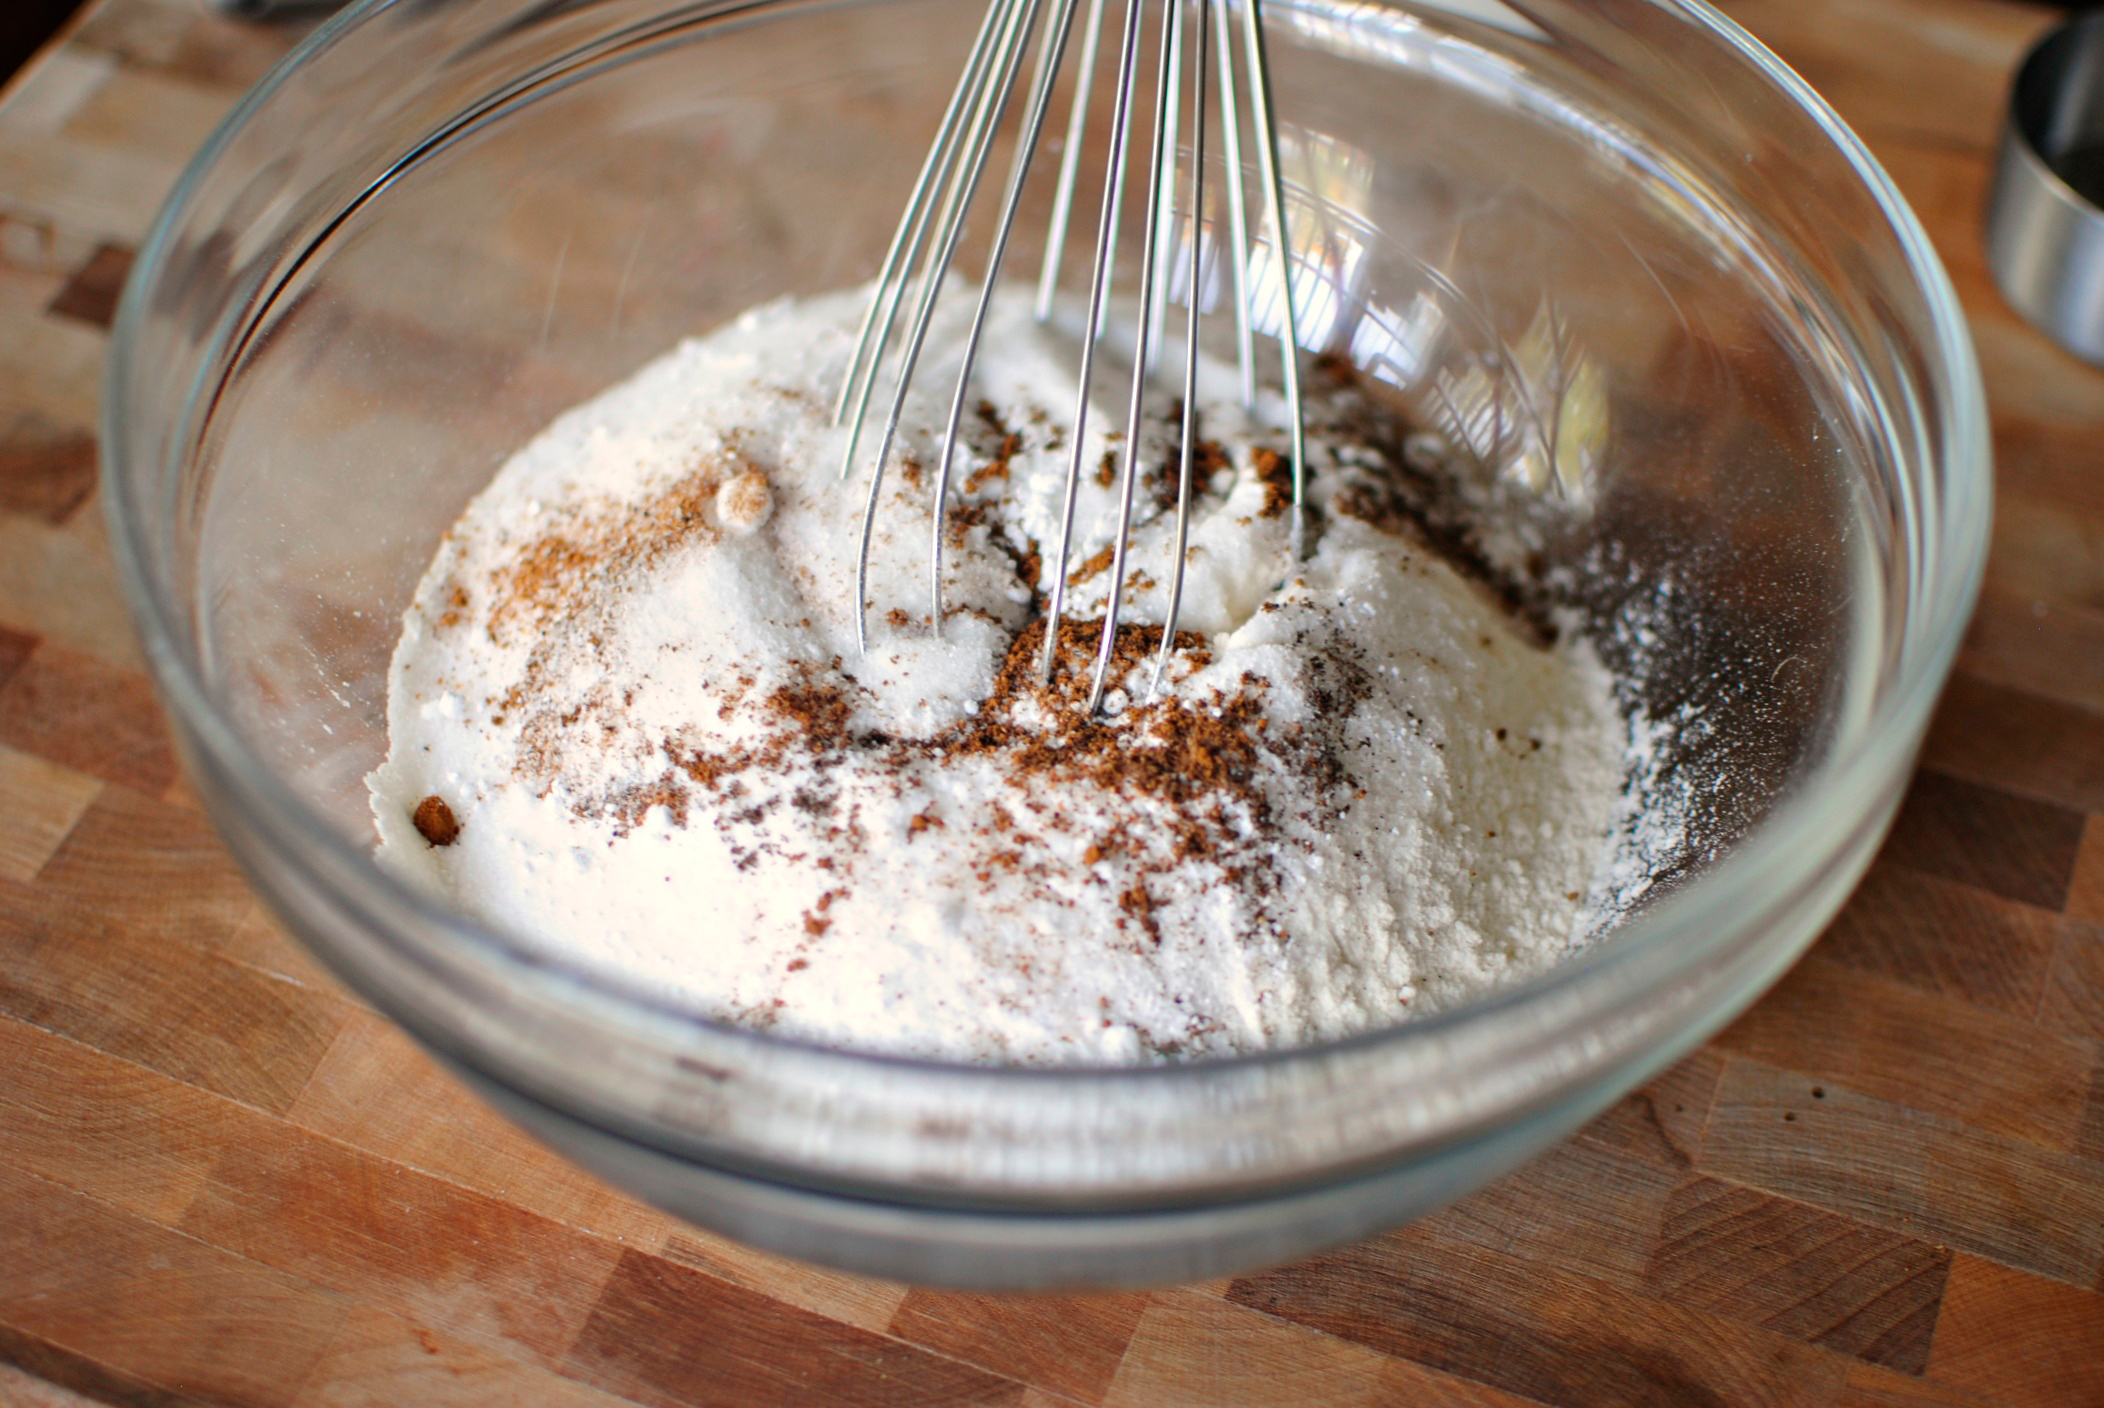
Start by combining the all-purpose flour, sugar, baking powder, baking soda and salt in a large mixing bowl.


Tasty Kitchen Blog: Apple Cider Donuts. Guest post by Laurie of Simply Scratch, recipe submitted by TK member Aimee of Shugary Sweets.

Then measure and add in nutmeg and allspice, then ground cinnamon. This right here smells amazing already!


Tasty Kitchen Blog: Apple Cider Donuts. Guest post by Laurie of Simply Scratch, recipe submitted by TK member Aimee of Shugary Sweets.

Give it a good whisk or stir to break up any lumps and so everything is blended. Scoot that off to the side for just a moment.


Tasty Kitchen Blog: Apple Cider Donuts. Guest post by Laurie of Simply Scratch, recipe submitted by TK member Aimee of Shugary Sweets.

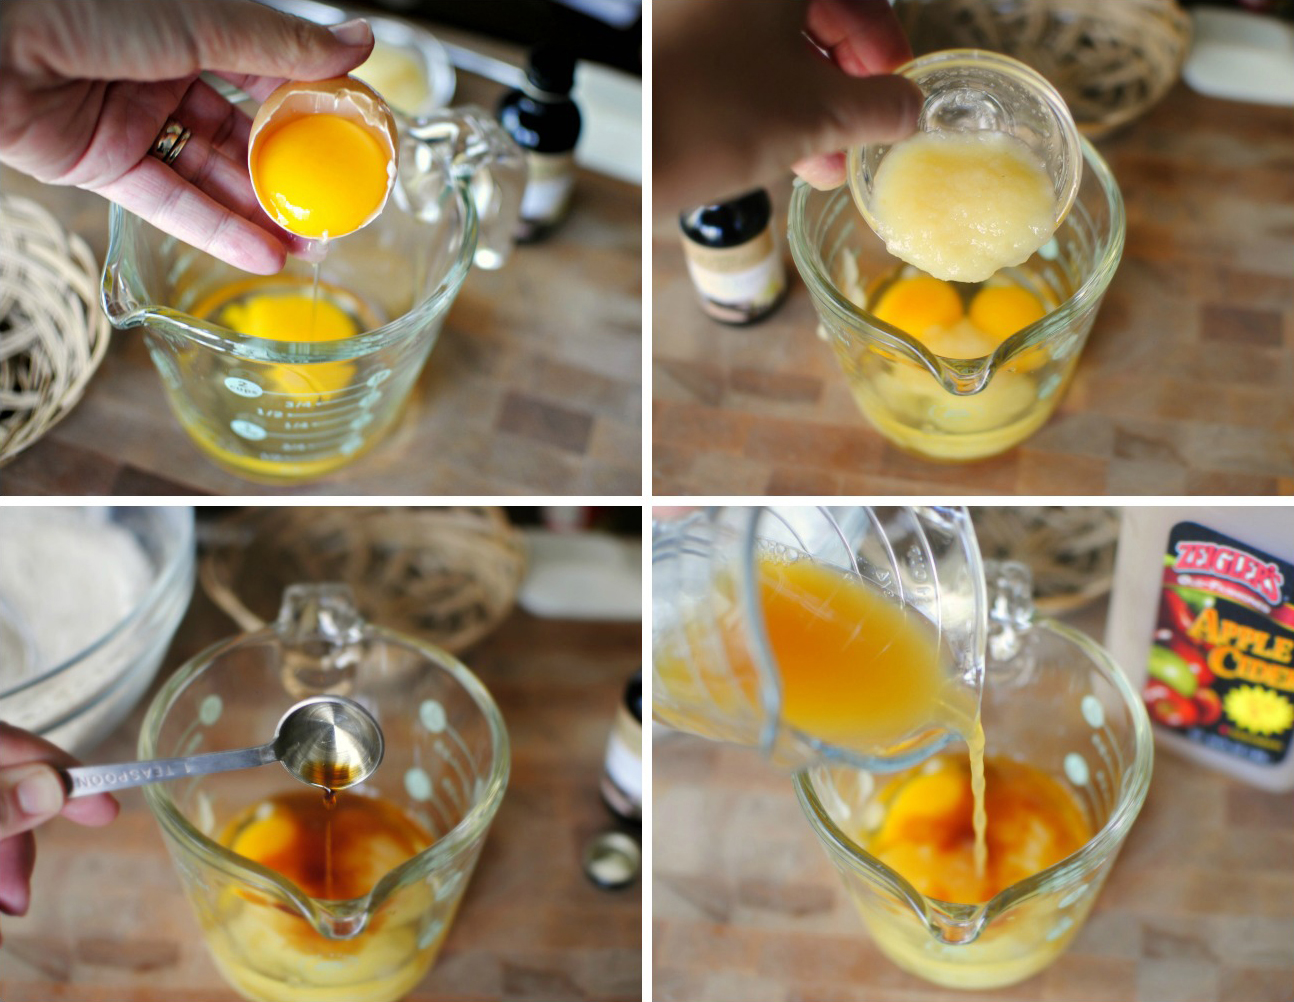
You could do the next step directly in the same bowl and not bother dirtying another bowl, but I couldn’t help myself. Combine eggs, applesauce (I used unsweetened), real vanilla extract and then pour in the apple cider.
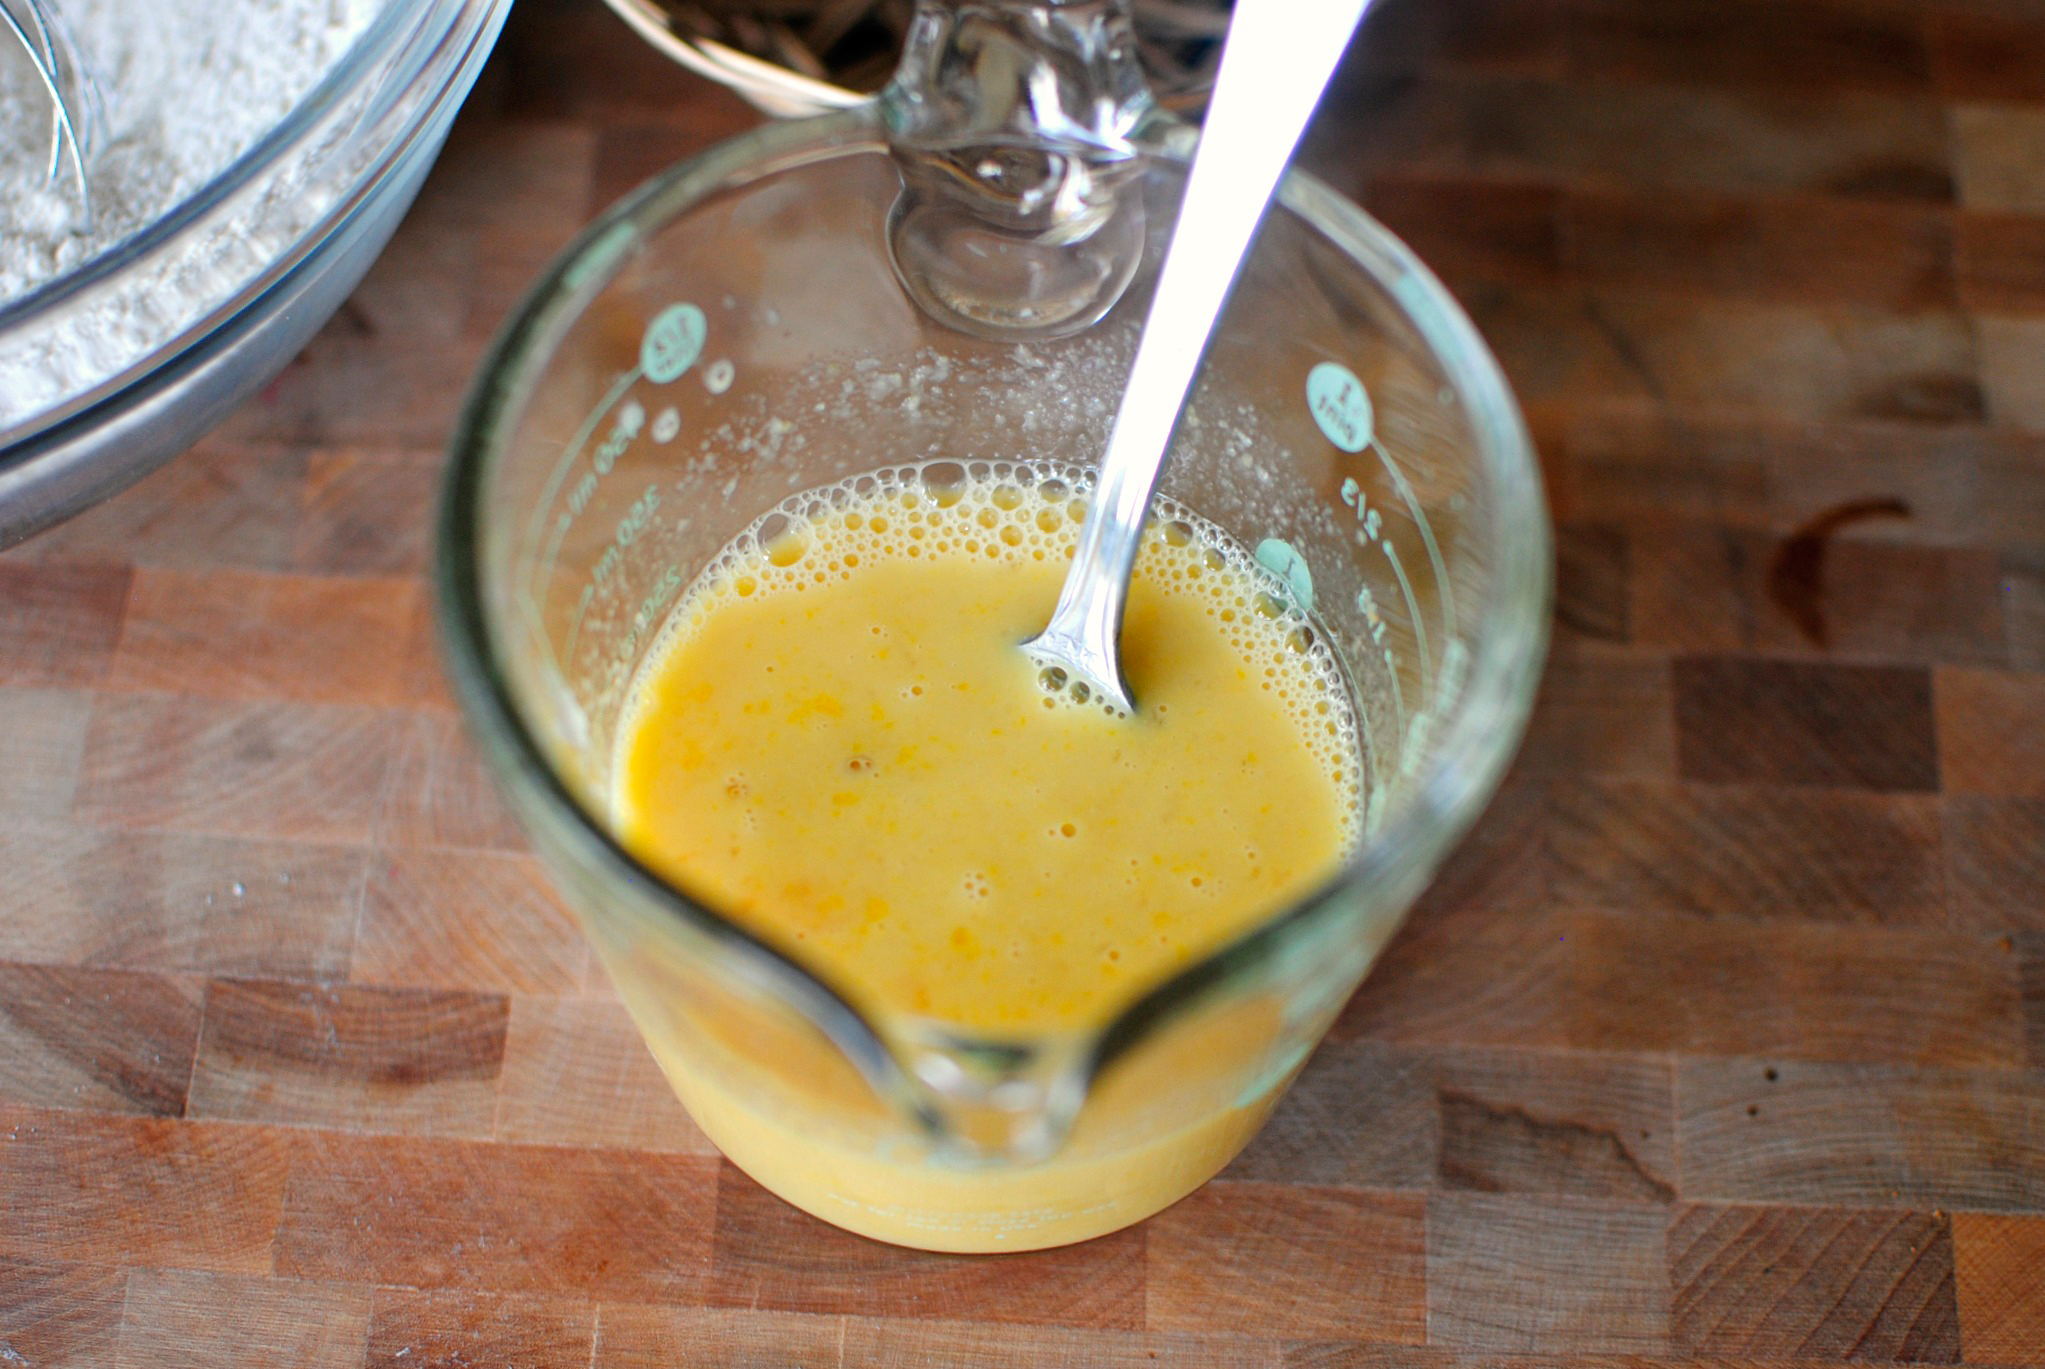


Tasty Kitchen Blog: Apple Cider Donuts. Guest post by Laurie of Simply Scratch, recipe submitted by TK member Aimee of Shugary Sweets.

I combined all these ingredients by using a fork just until the eggs were whipped.
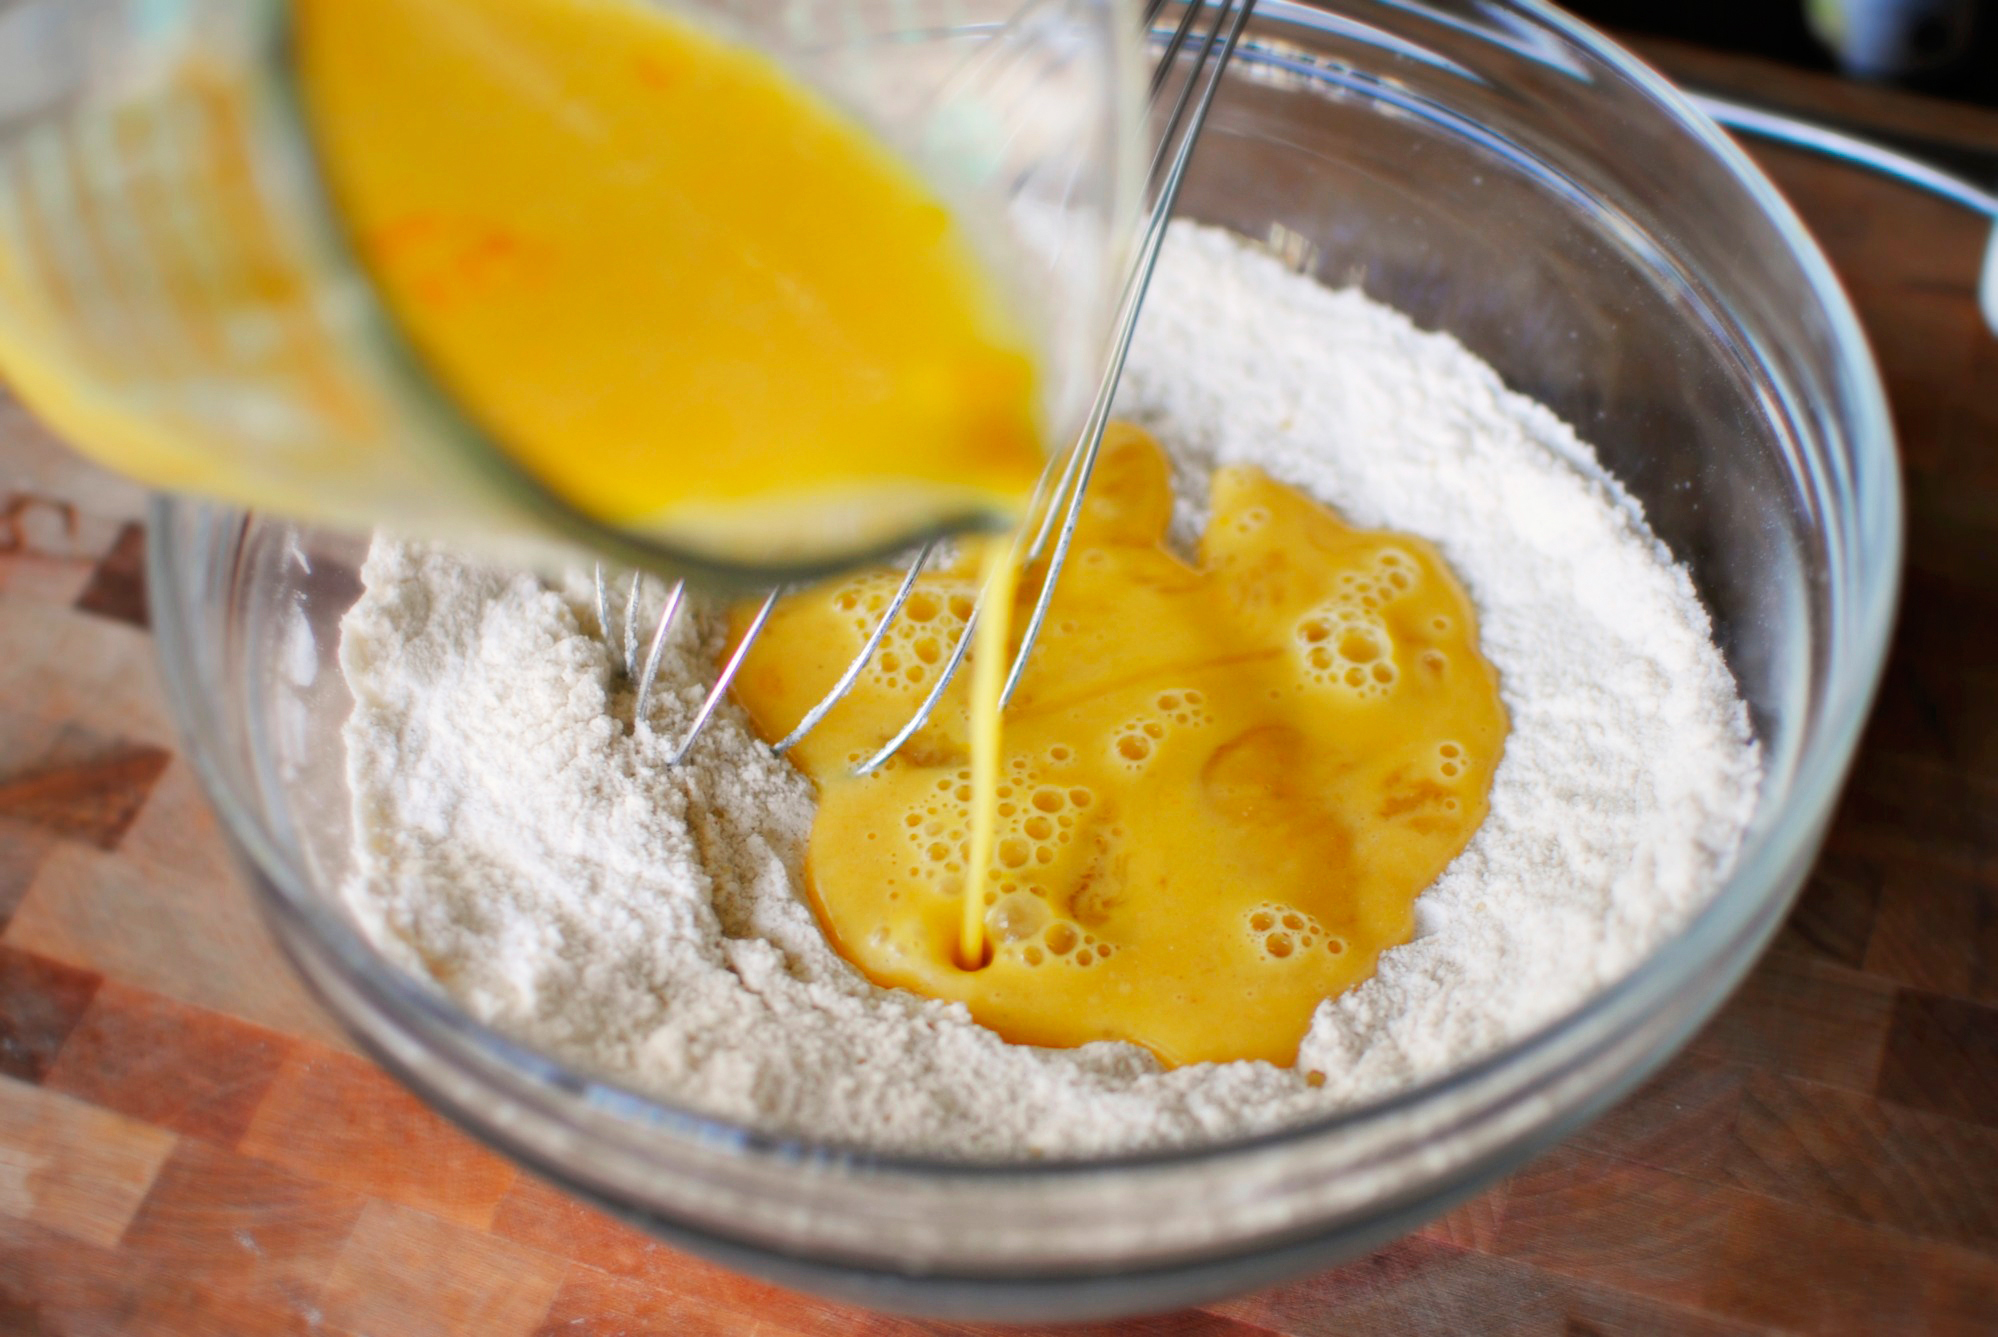


Tasty Kitchen Blog: Apple Cider Donuts. Guest post by Laurie of Simply Scratch, recipe submitted by TK member Aimee of Shugary Sweets.

Since I used a different bowl for the wet ingredients, I then poured the wet ingredients into the dry.
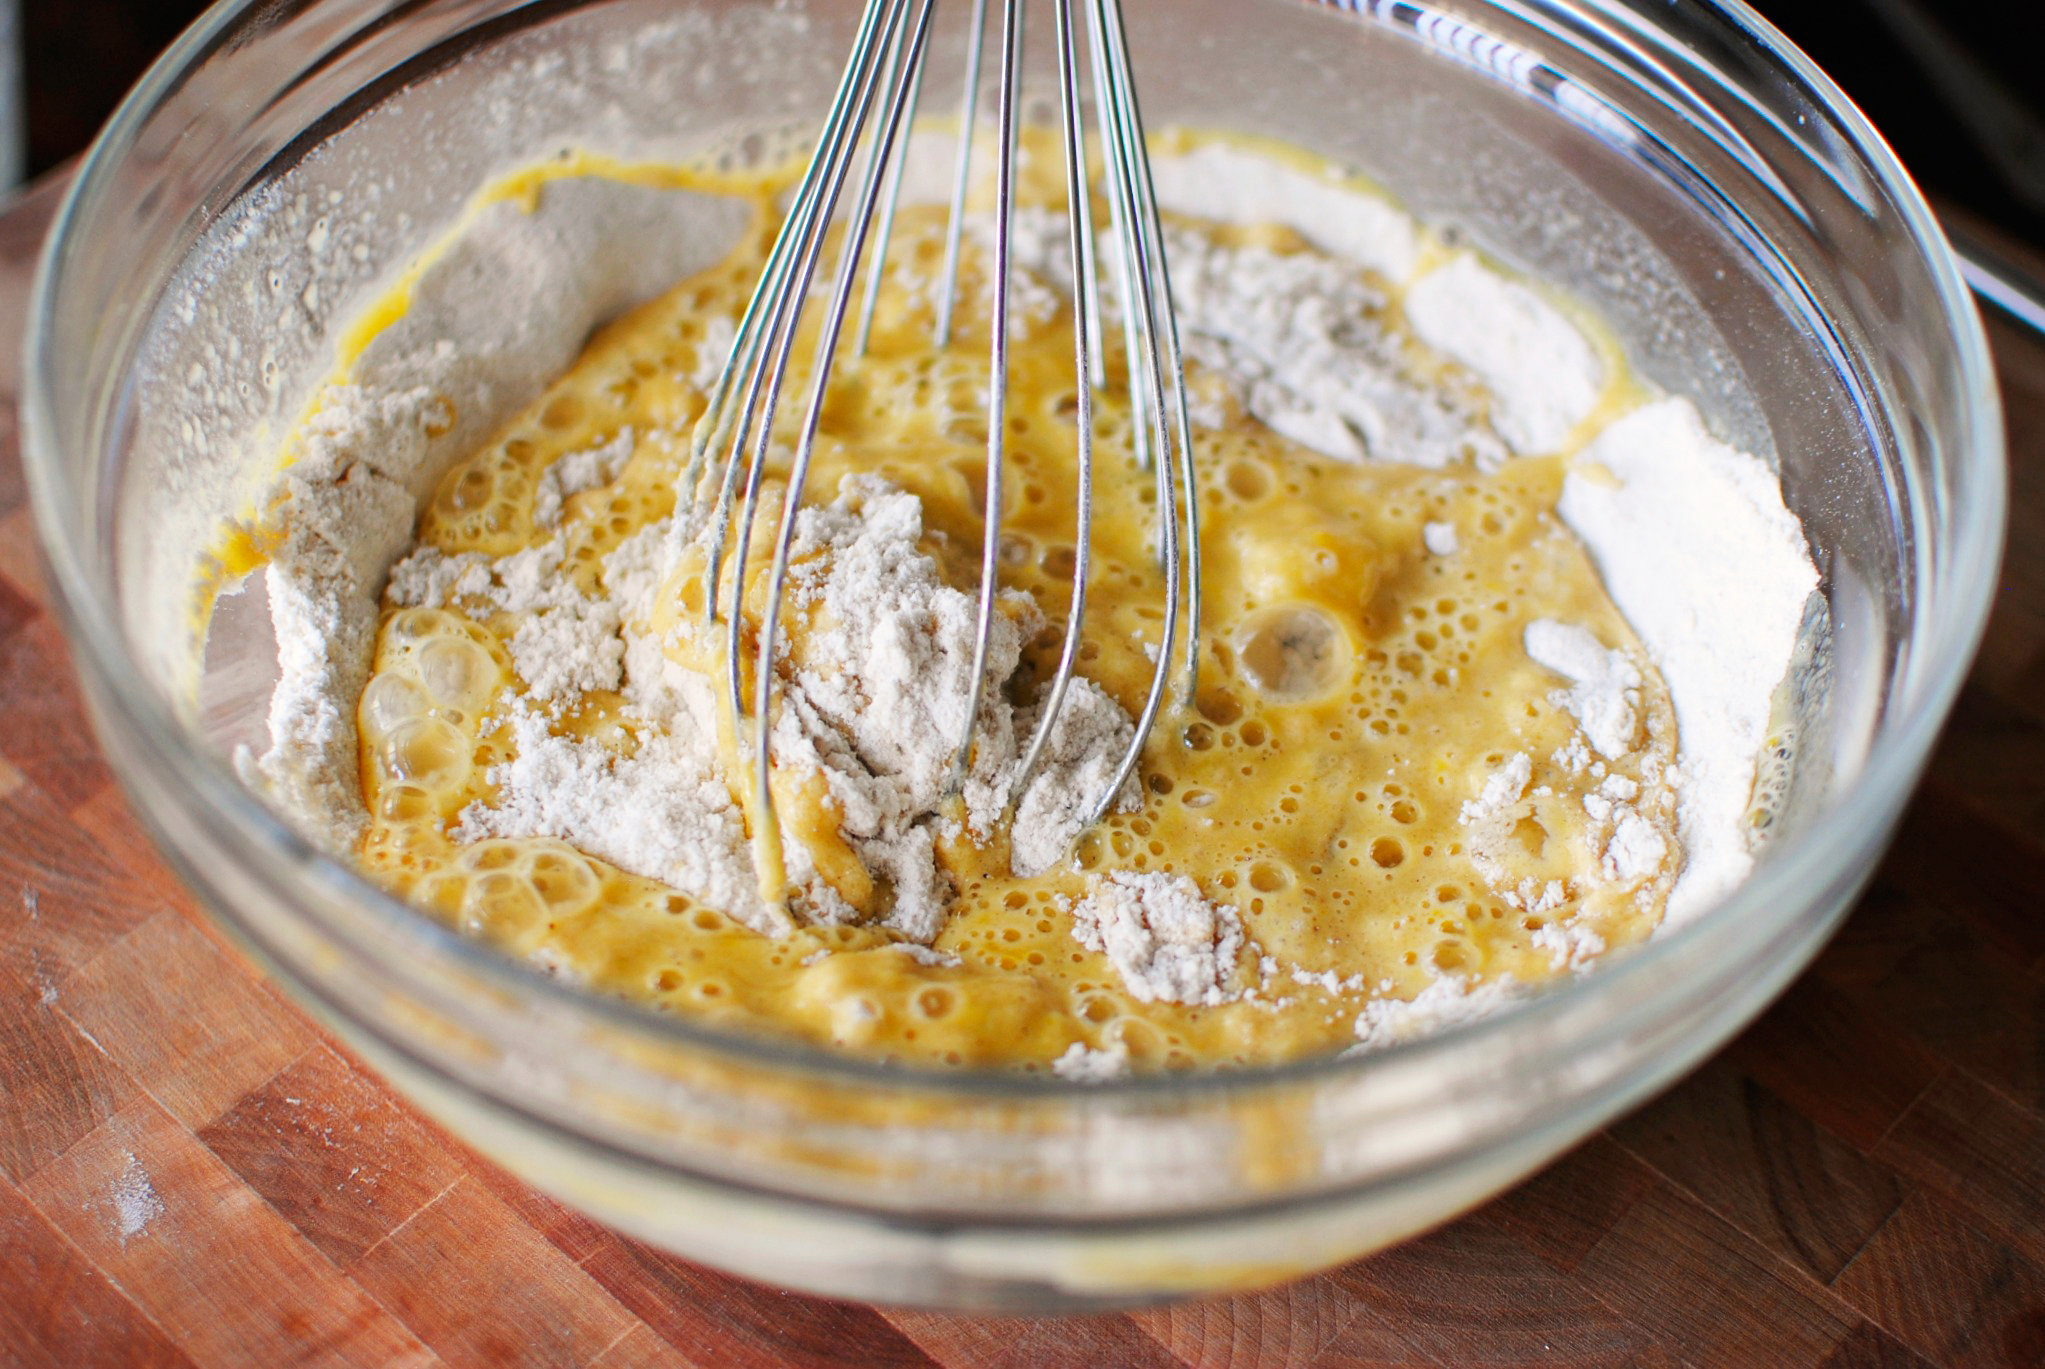


Tasty Kitchen Blog: Apple Cider Donuts. Guest post by Laurie of Simply Scratch, recipe submitted by TK member Aimee of Shugary Sweets.

Stir until combined. Easy-peasy.


Tasty Kitchen Blog: Apple Cider Donuts. Guest post by Laurie of Simply Scratch, recipe submitted by TK member Aimee of Shugary Sweets.

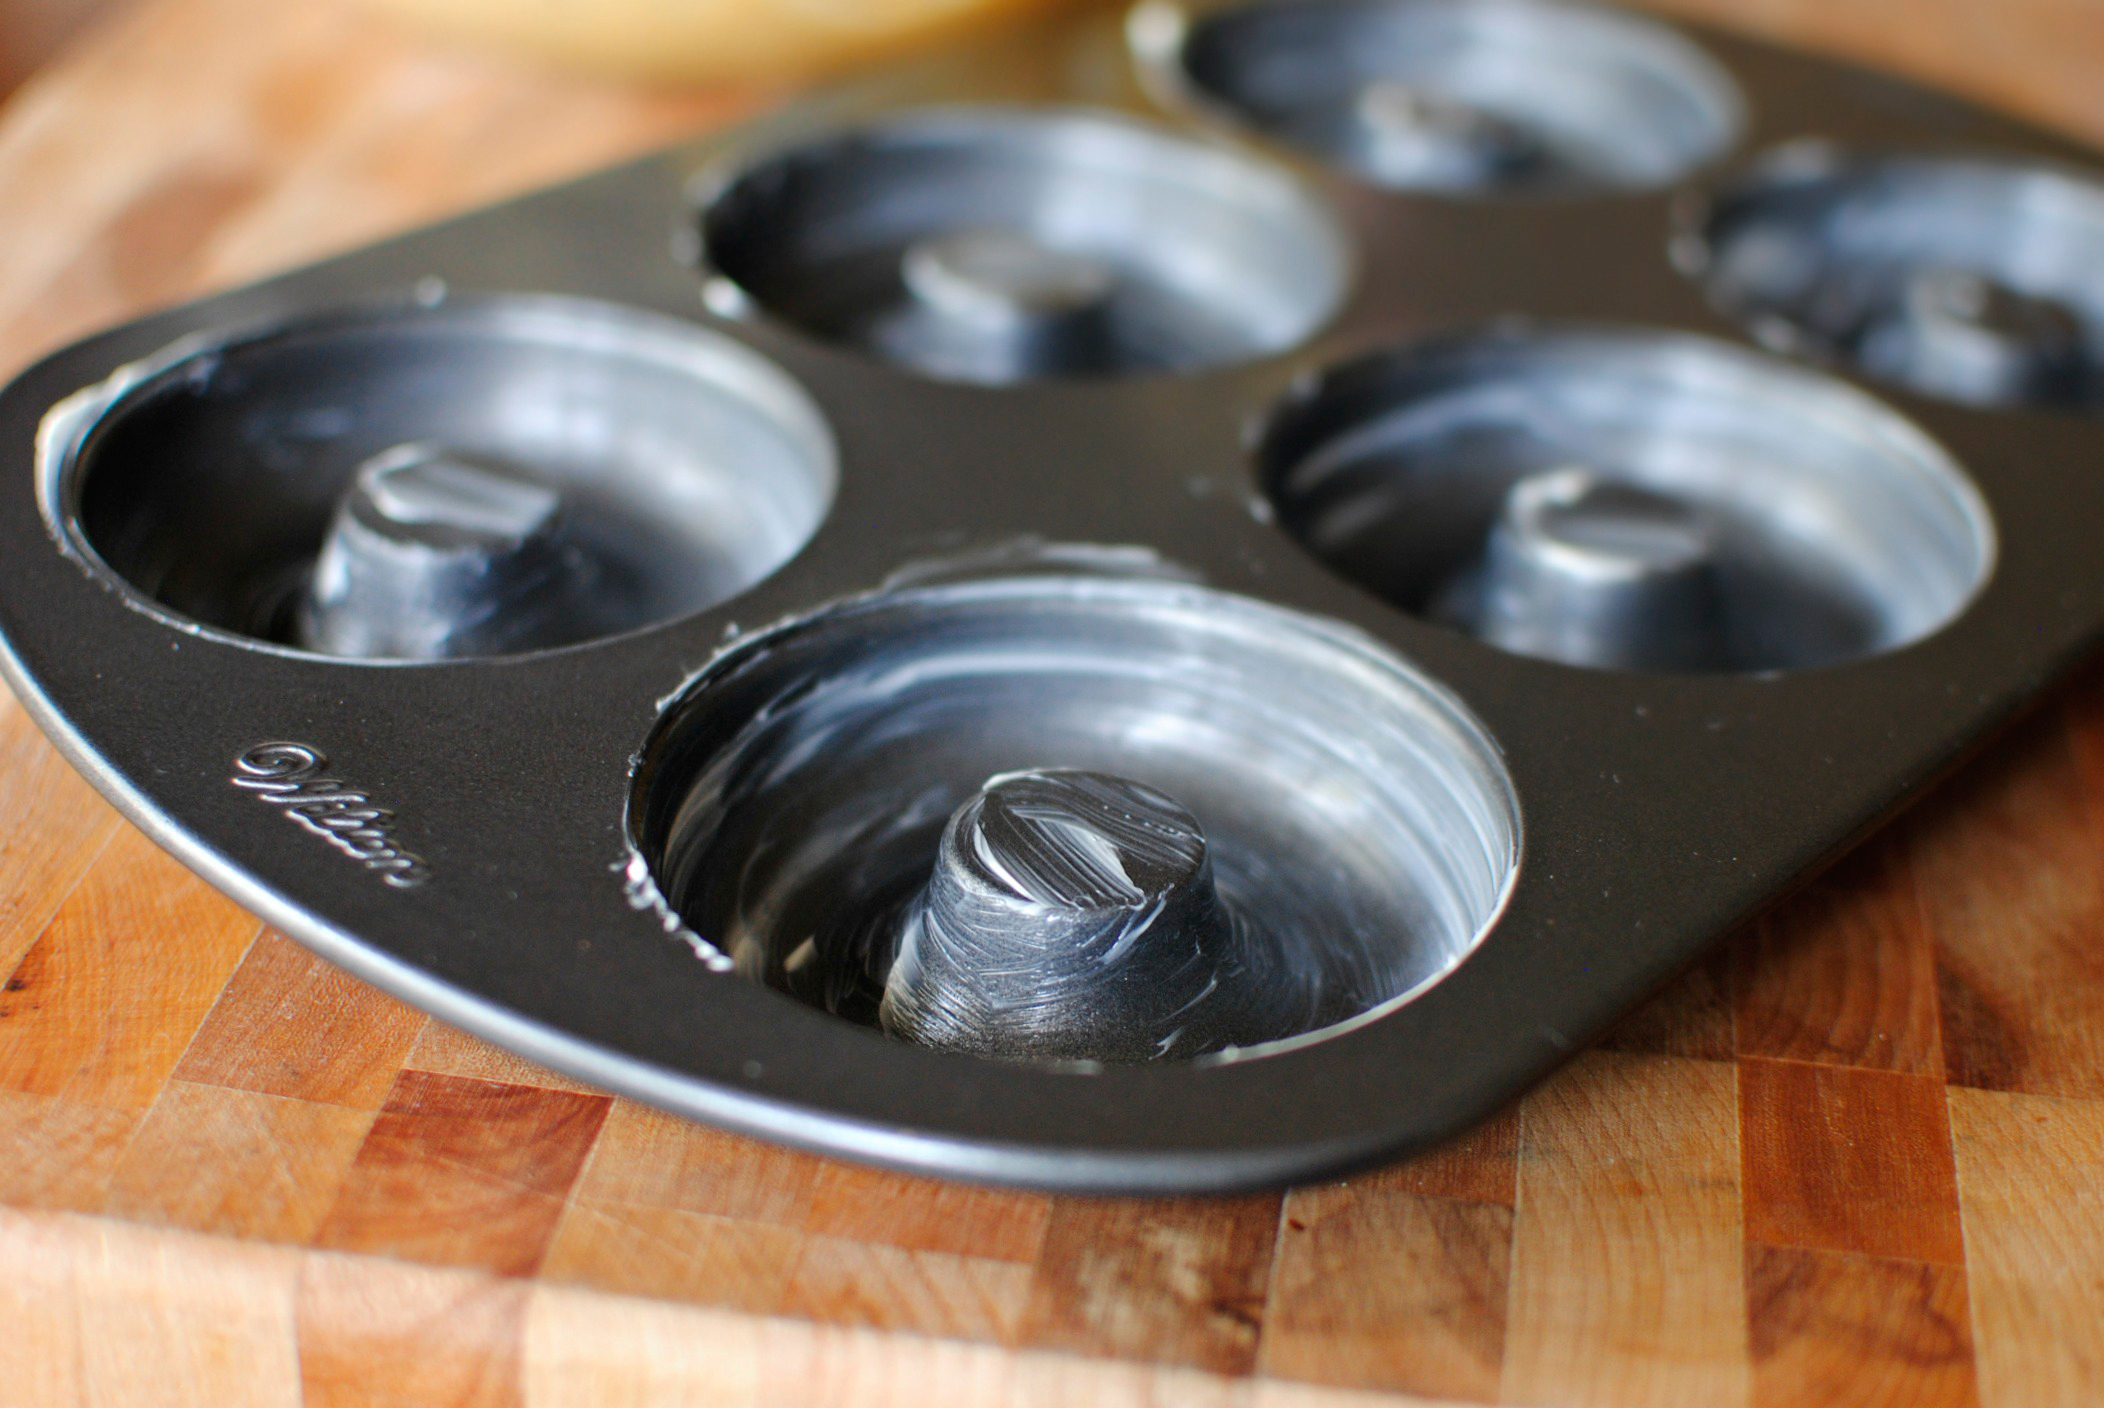
I quickly and heavily buttered my doughnut pan, so I didn’t risk these doughnuts sticking.
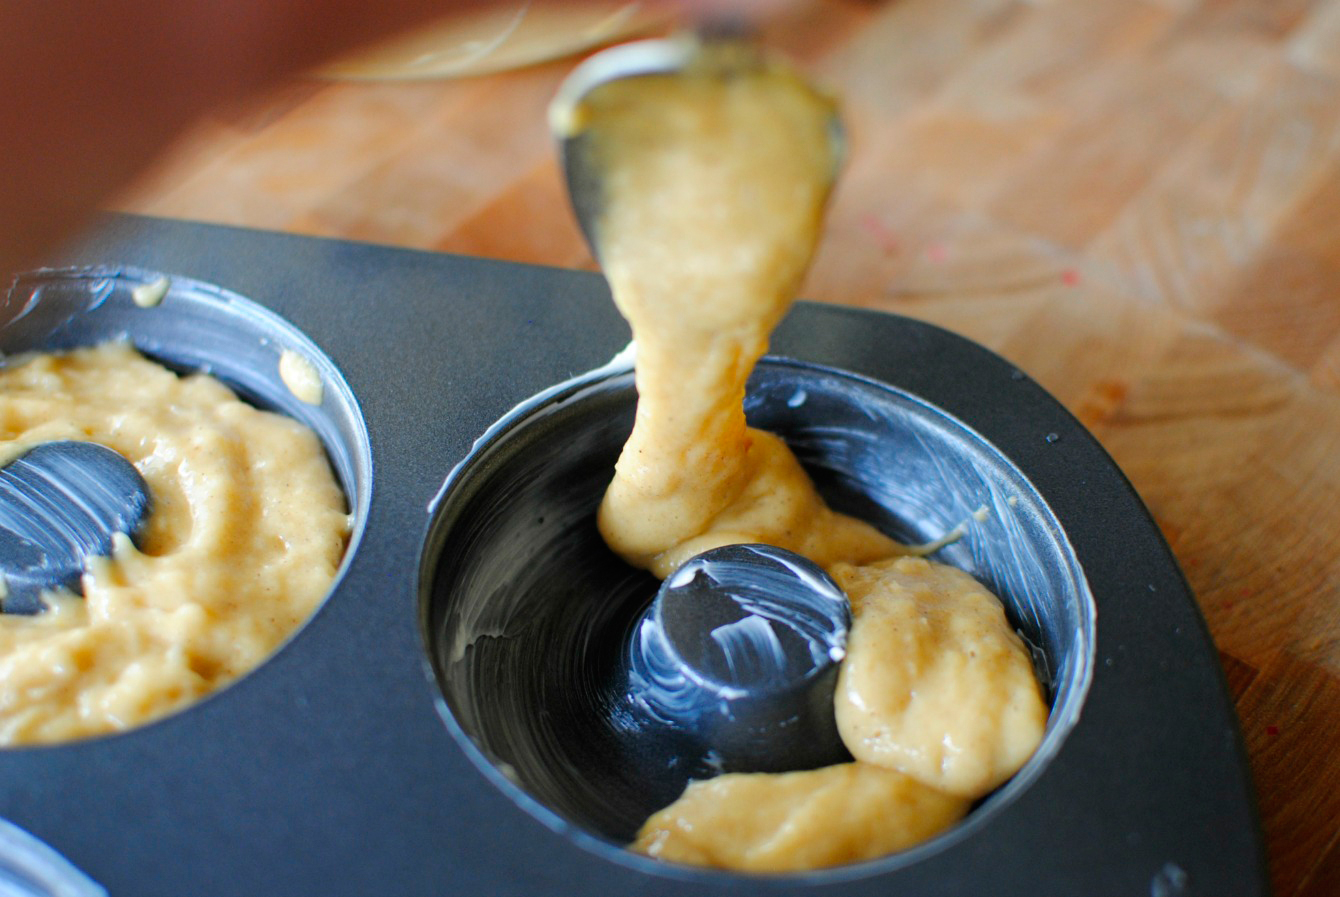


Tasty Kitchen Blog: Apple Cider Donuts. Guest post by Laurie of Simply Scratch, recipe submitted by TK member Aimee of Shugary Sweets.

Then I used a spoon and filled each doughnut section.
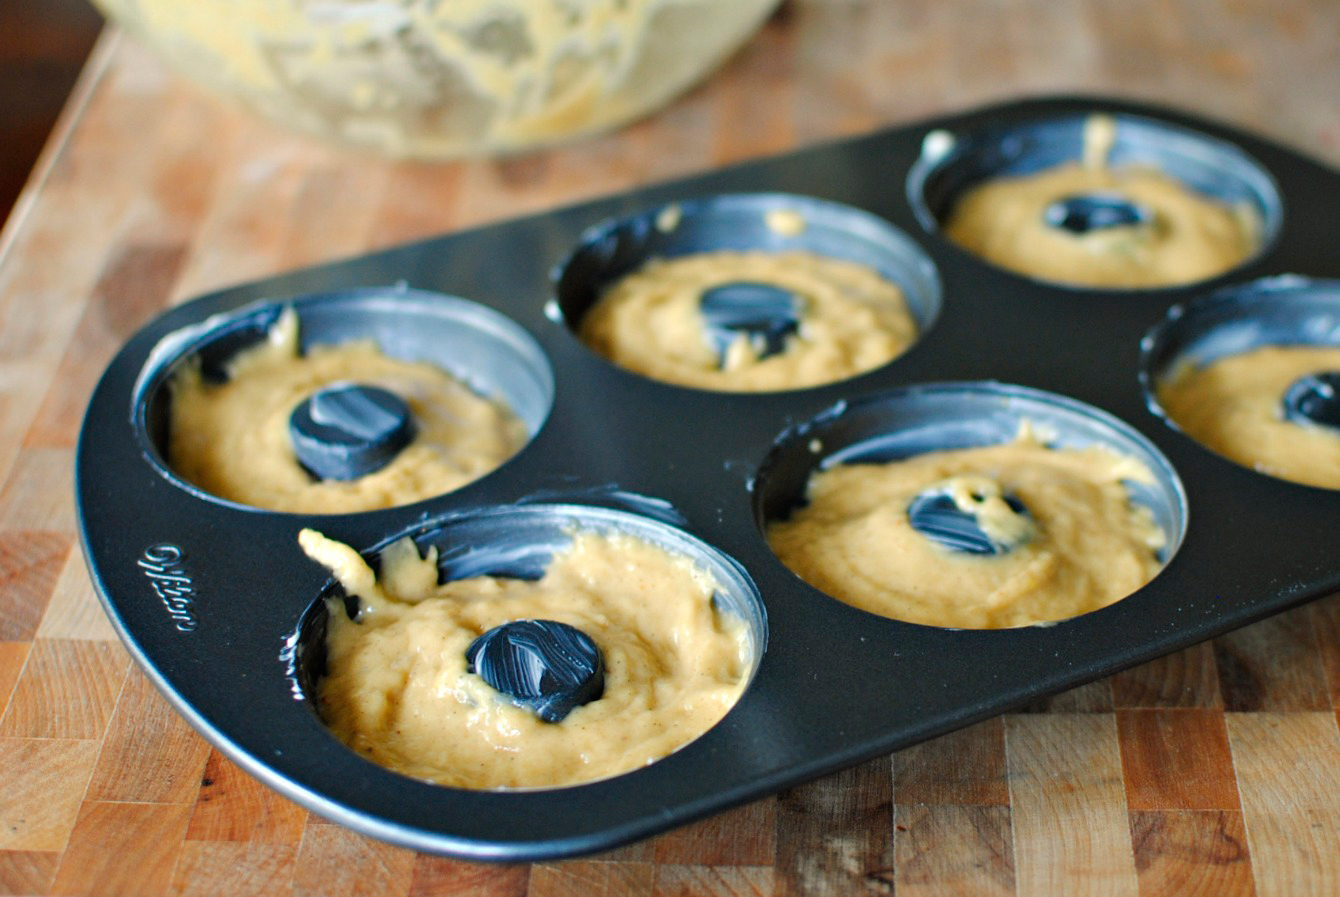


Tasty Kitchen Blog: Apple Cider Donuts. Guest post by Laurie of Simply Scratch, recipe submitted by TK member Aimee of Shugary Sweets.

As you can see I’m not the neatest. But I didn’t have a large re-sealable bag on hand to pipe in the batter like Aimee suggested. To be honest, that would be a whole lot easier (and cleaner), but spooning it in worked too. Now just bake in a preheated 325ºF oven for 10  minutes. I rotated the pan halfway to ensure even baking.
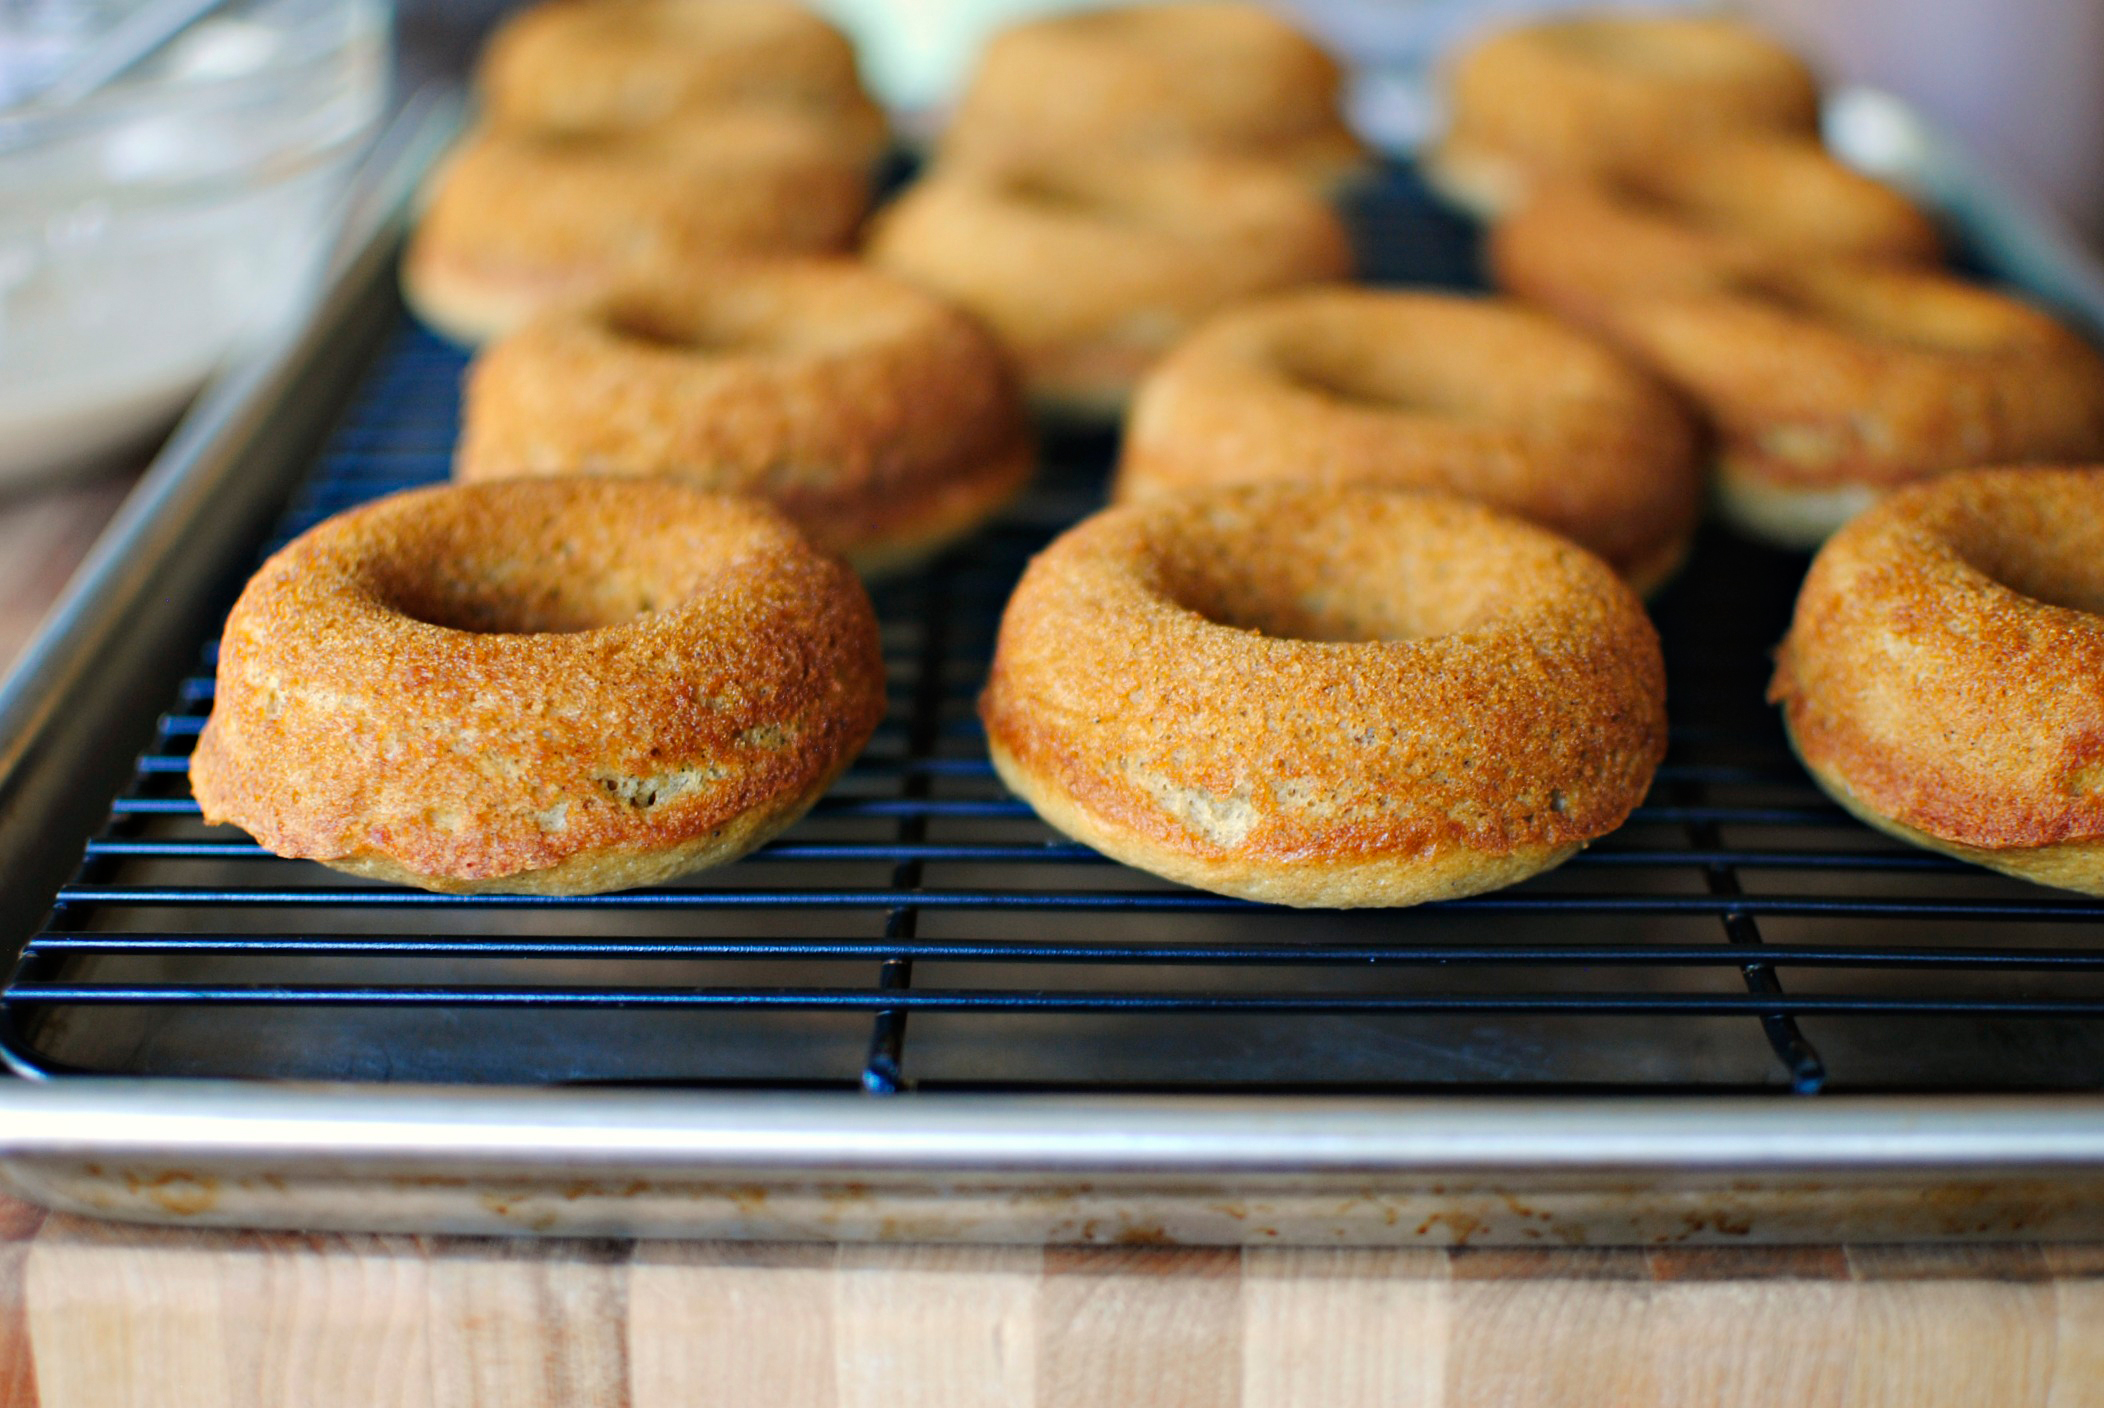


Tasty Kitchen Blog: Apple Cider Donuts. Guest post by Laurie of Simply Scratch, recipe submitted by TK member Aimee of Shugary Sweets.

I let the doughnuts cool in the pan for about 10 minutes before carefully removing them from the pan. I used a rubber spatula and they came out wonderfully. I then let them cool for a bit and moved on to making the cinnamon sugar and the cider glaze.
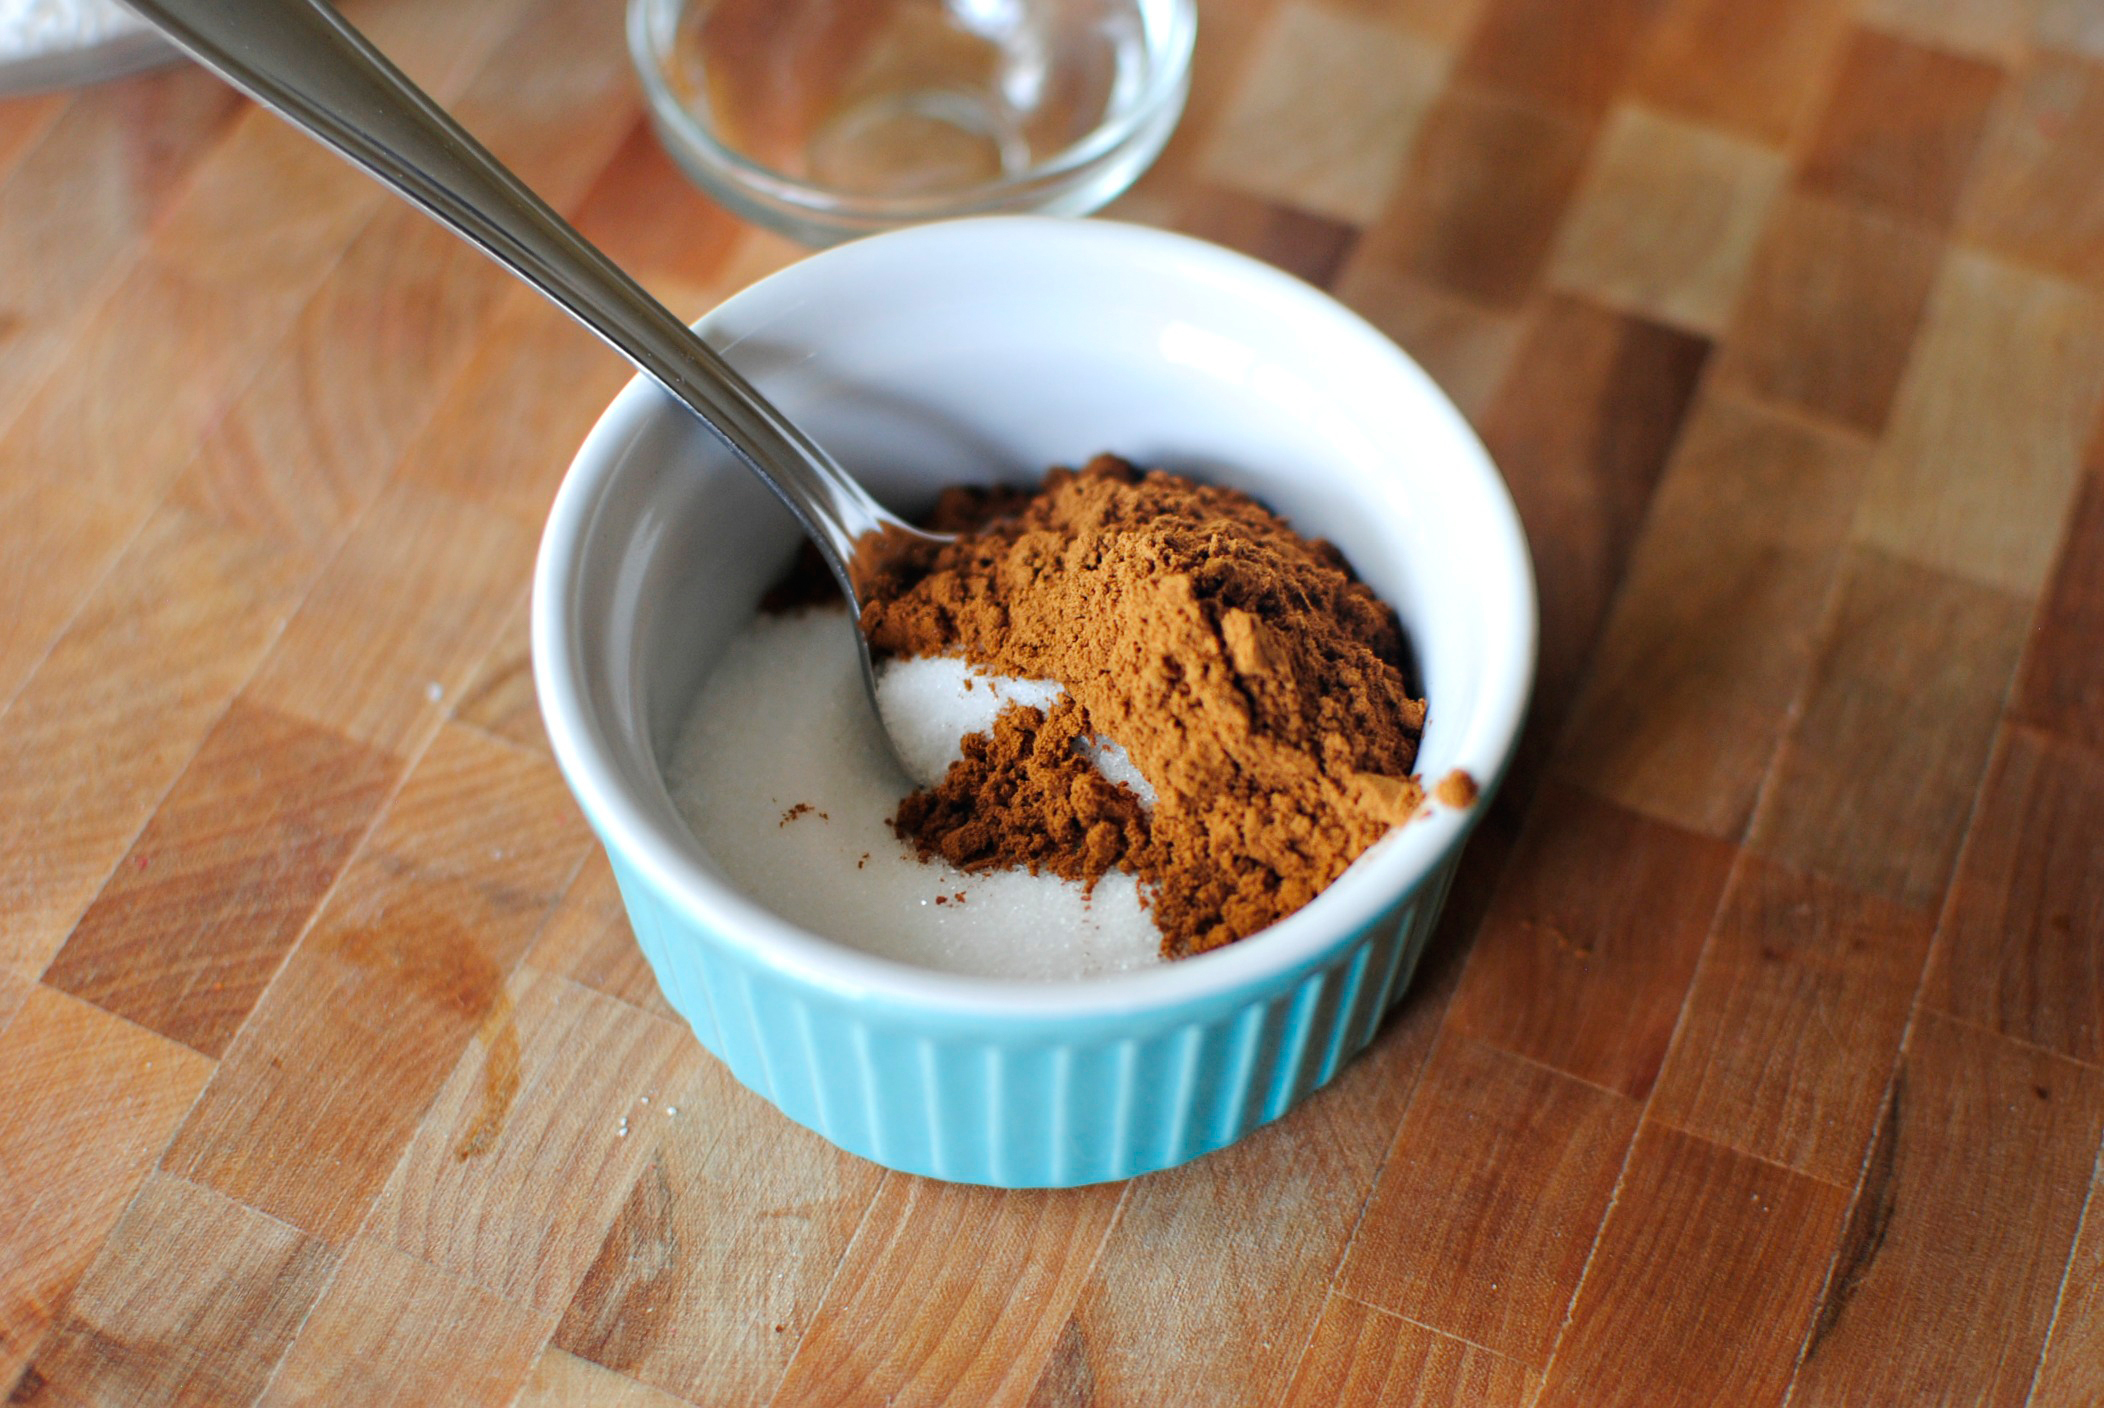


Tasty Kitchen Blog: Apple Cider Donuts. Guest post by Laurie of Simply Scratch, recipe submitted by TK member Aimee of Shugary Sweets.

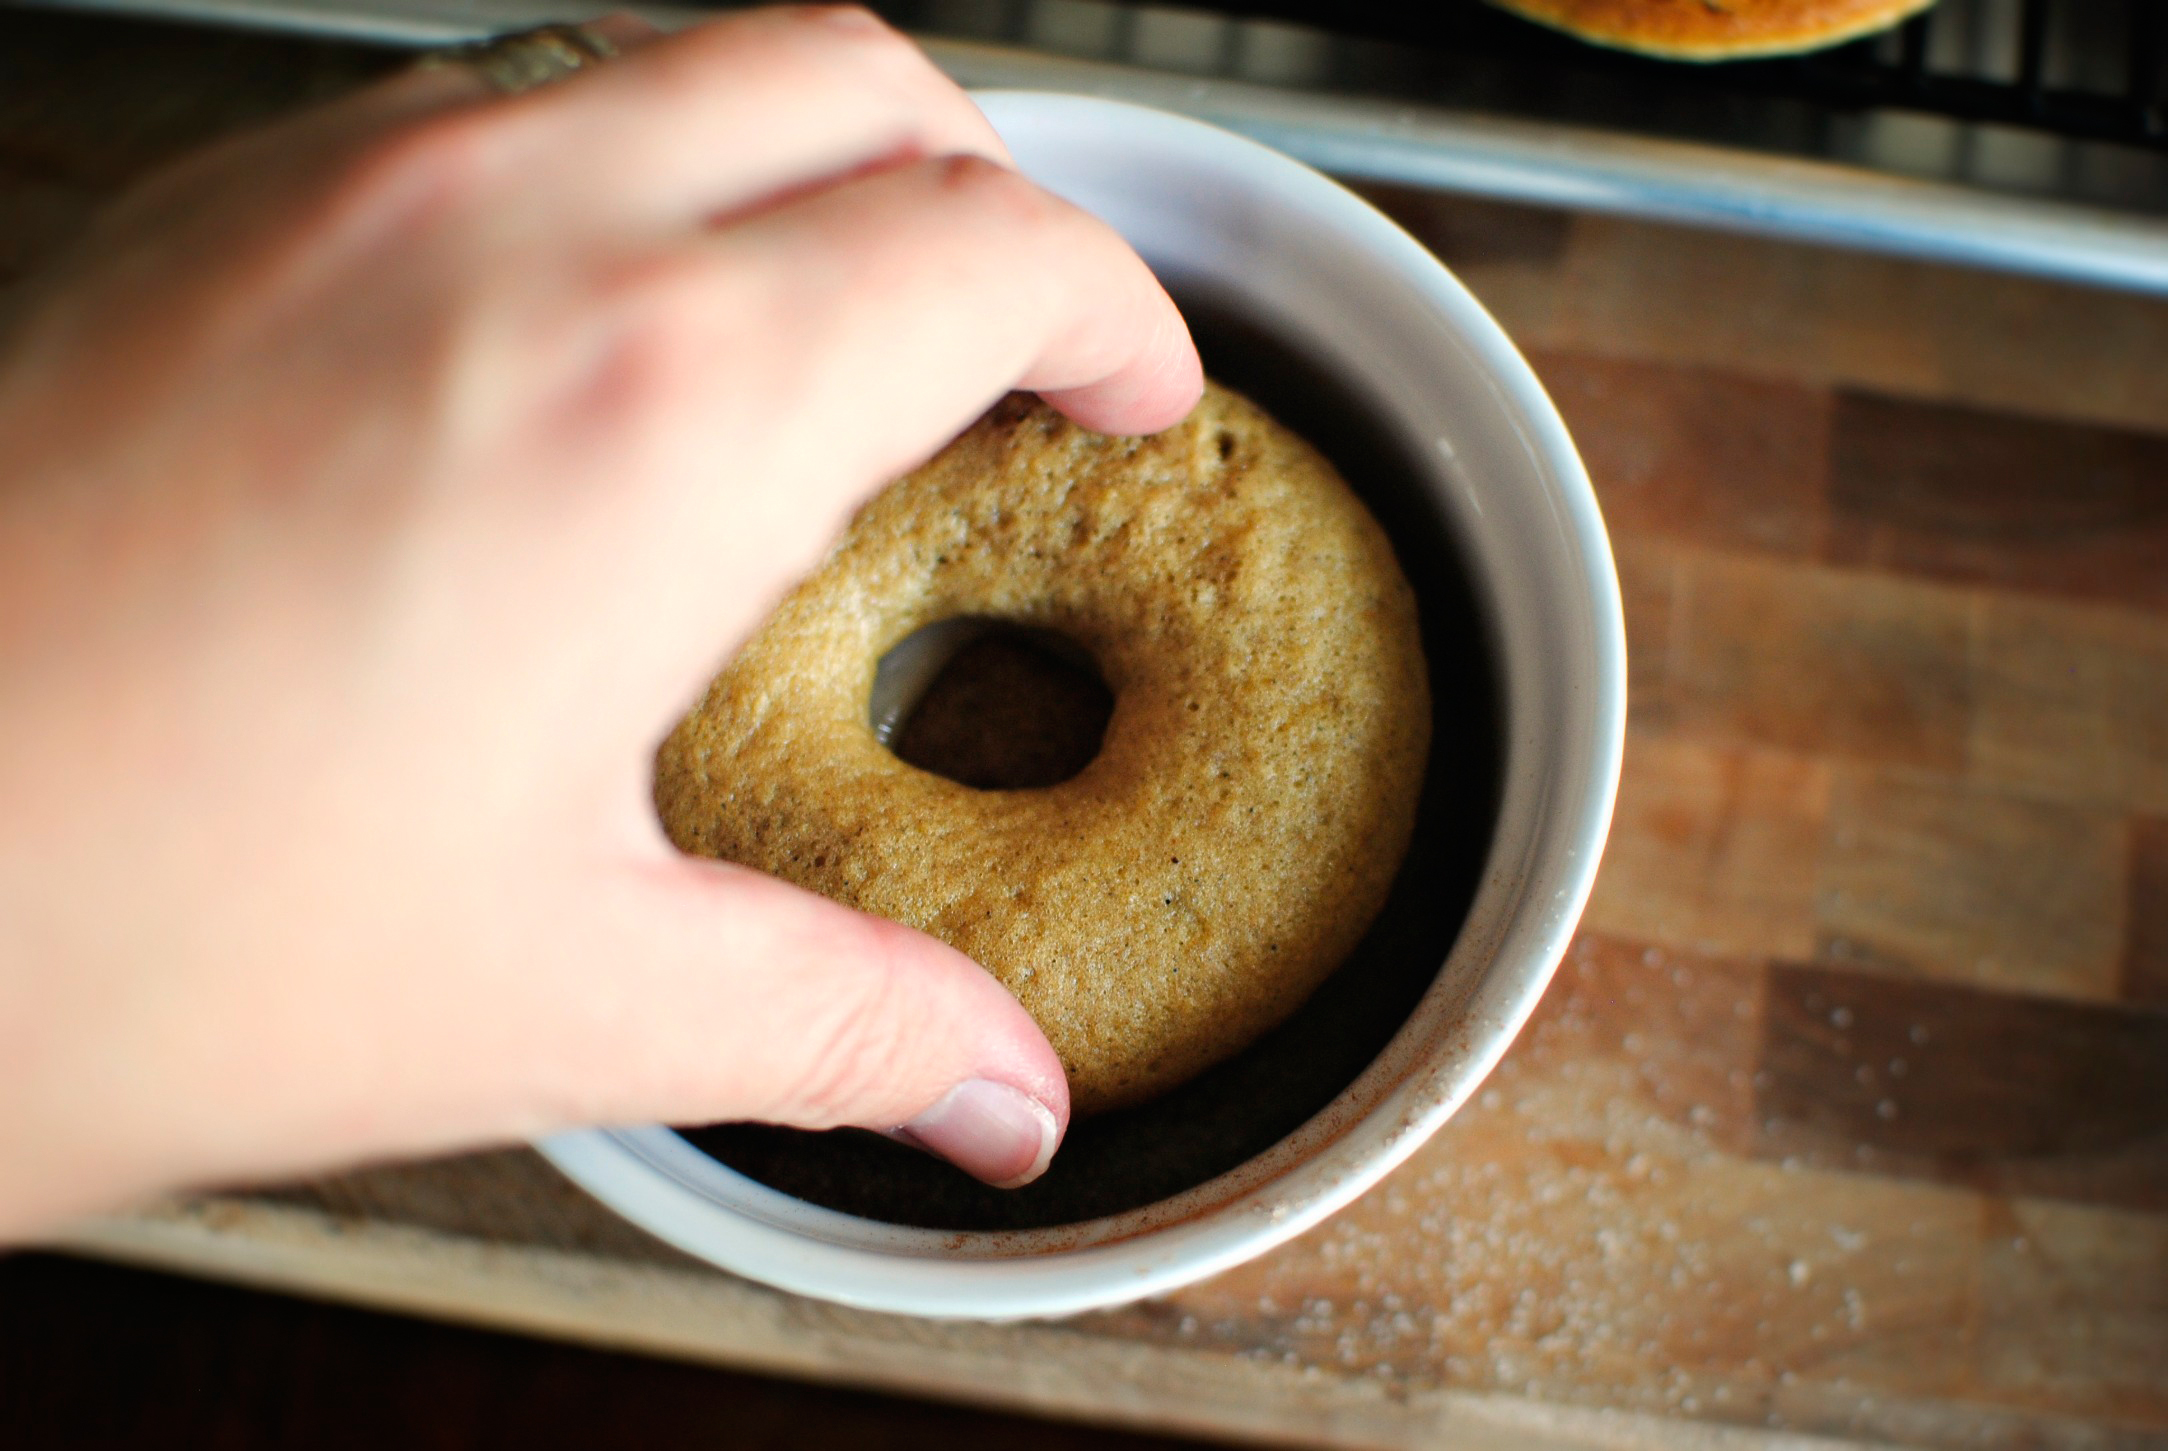
Combine a tablespoon of cinnamon with sugar. Make sure to use a big enough bowl that a doughnut will fit nicely in for dunking. 
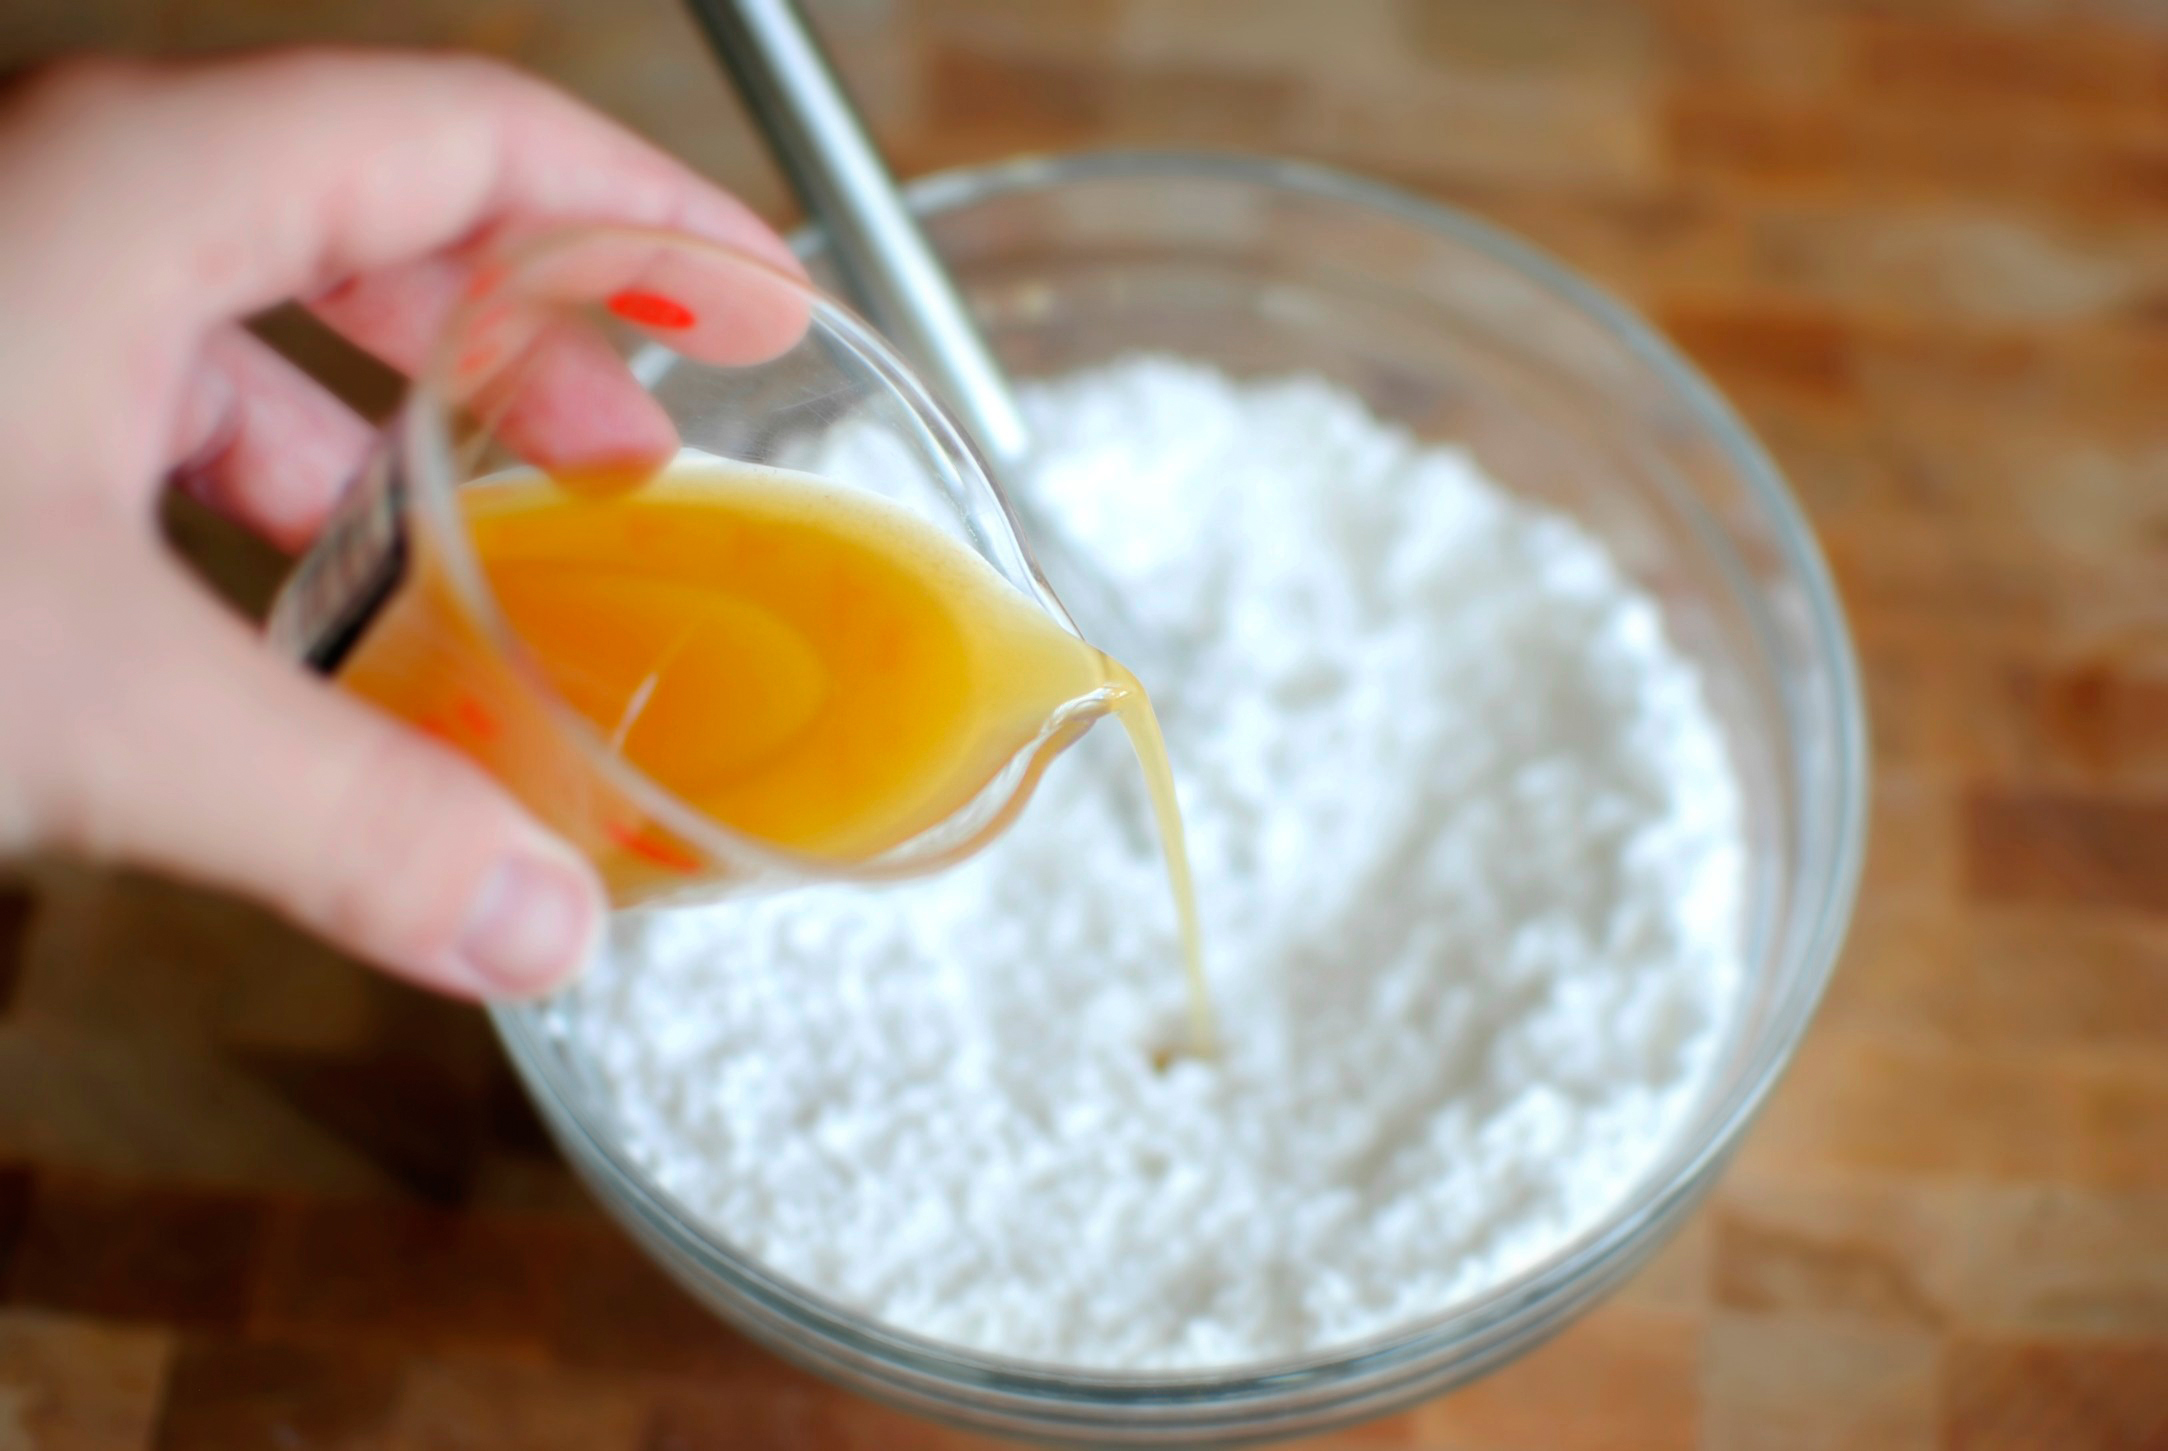


Tasty Kitchen Blog: Apple Cider Donuts. Guest post by Laurie of Simply Scratch, recipe submitted by TK member Aimee of Shugary Sweets.

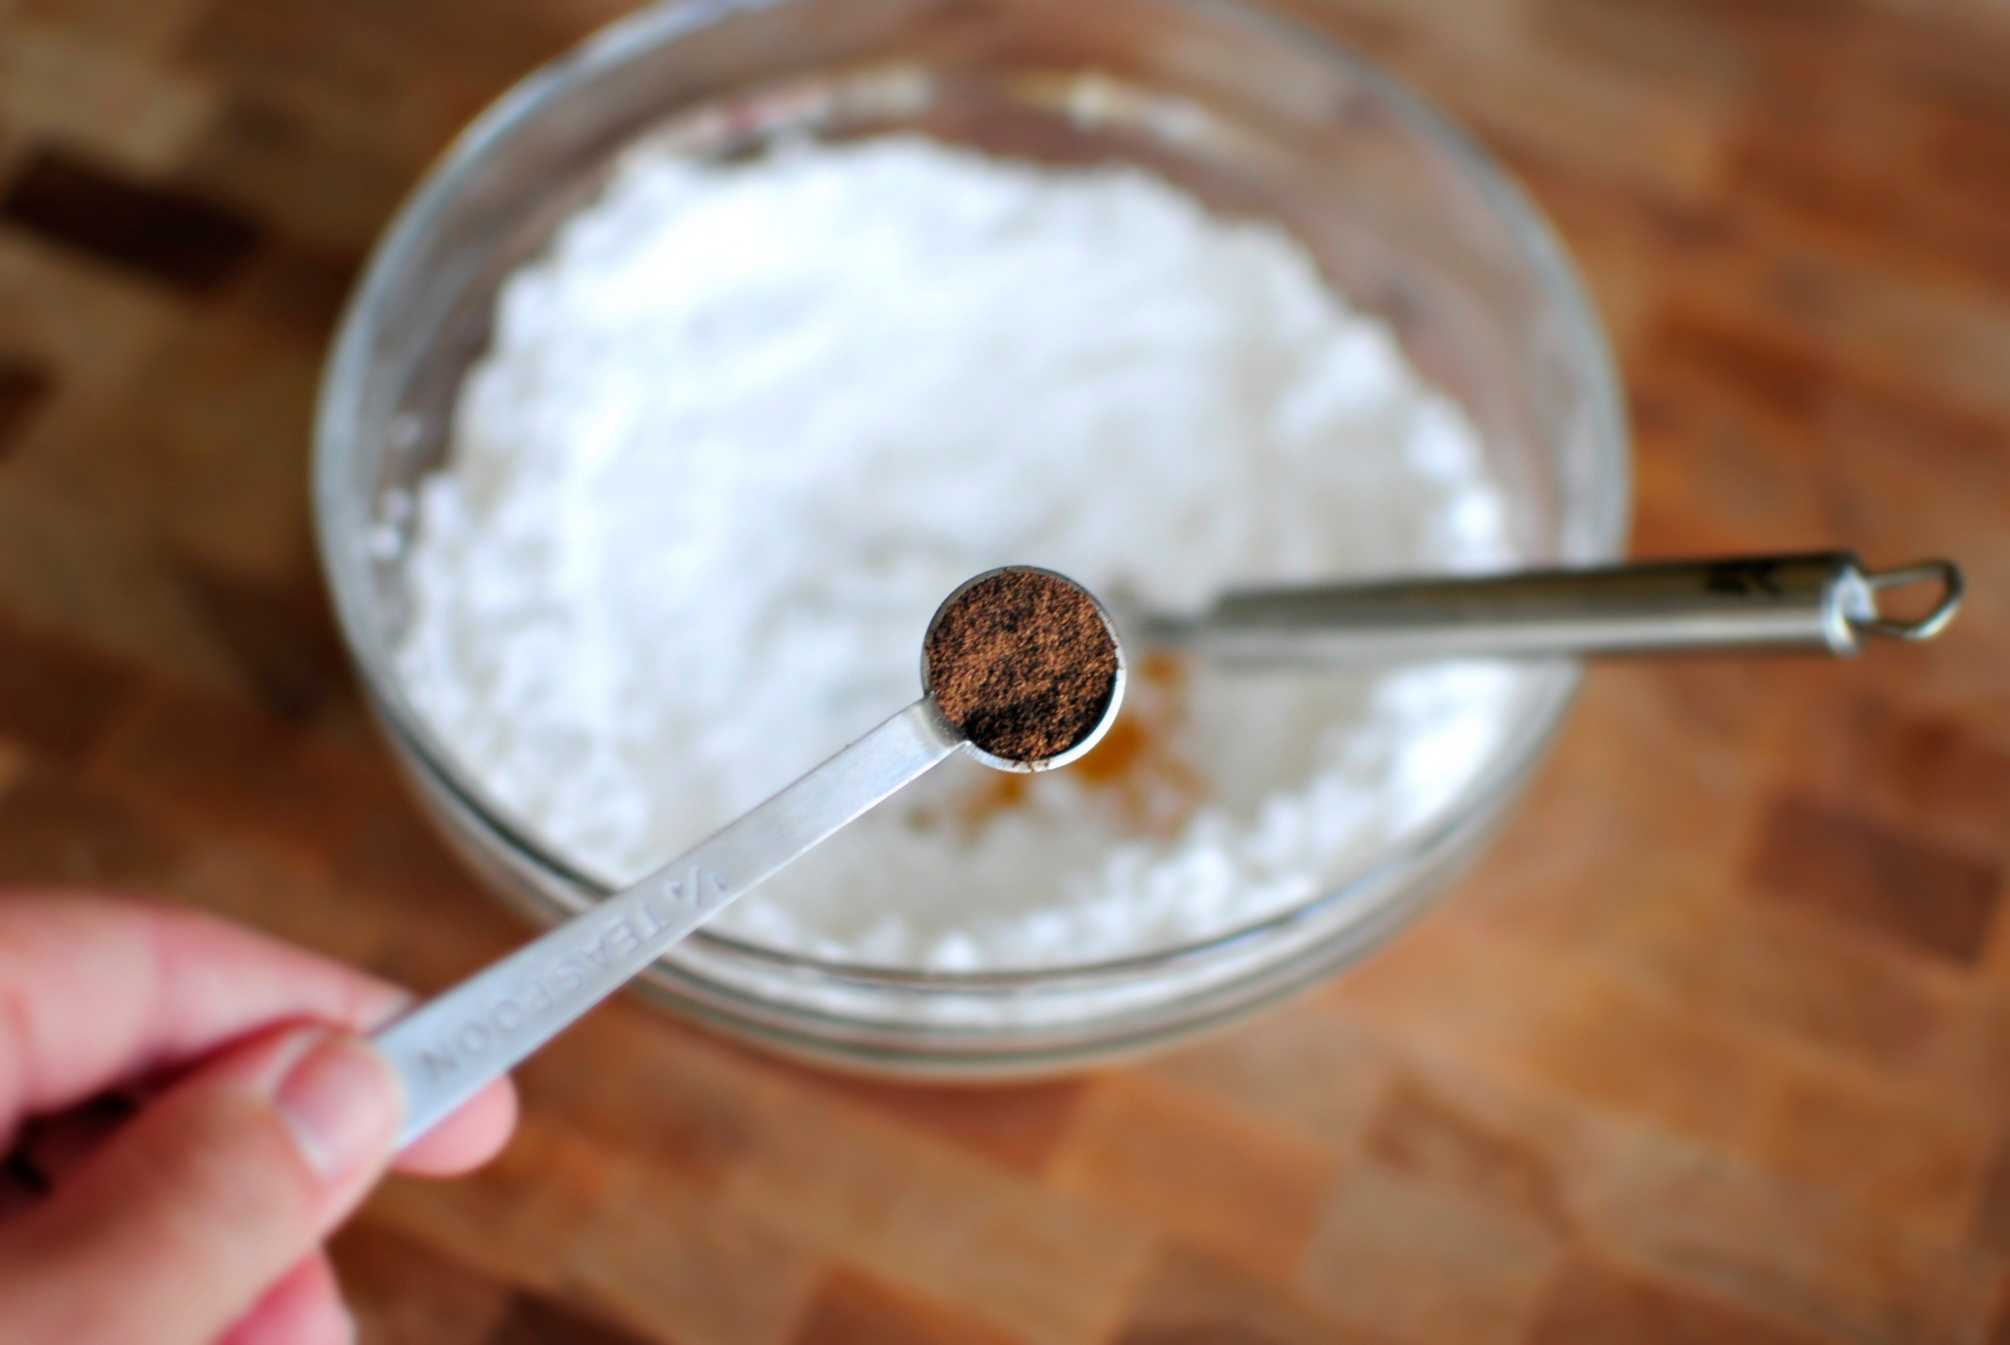
To make the glaze, start by measuring out powdered sugar and then pour in the apple cider. The recipe calls for 2 tablespoons of cider, but I needed to thin it out a tad more so I used a total of 3 tablespoons.


Tasty Kitchen Blog: Apple Cider Donuts. Guest post by Laurie of Simply Scratch, recipe submitted by TK member Aimee of Shugary Sweets.

Then add in allspice.


Tasty Kitchen Blog: Apple Cider Donuts. Guest post by Laurie of Simply Scratch, recipe submitted by TK member Aimee of Shugary Sweets.

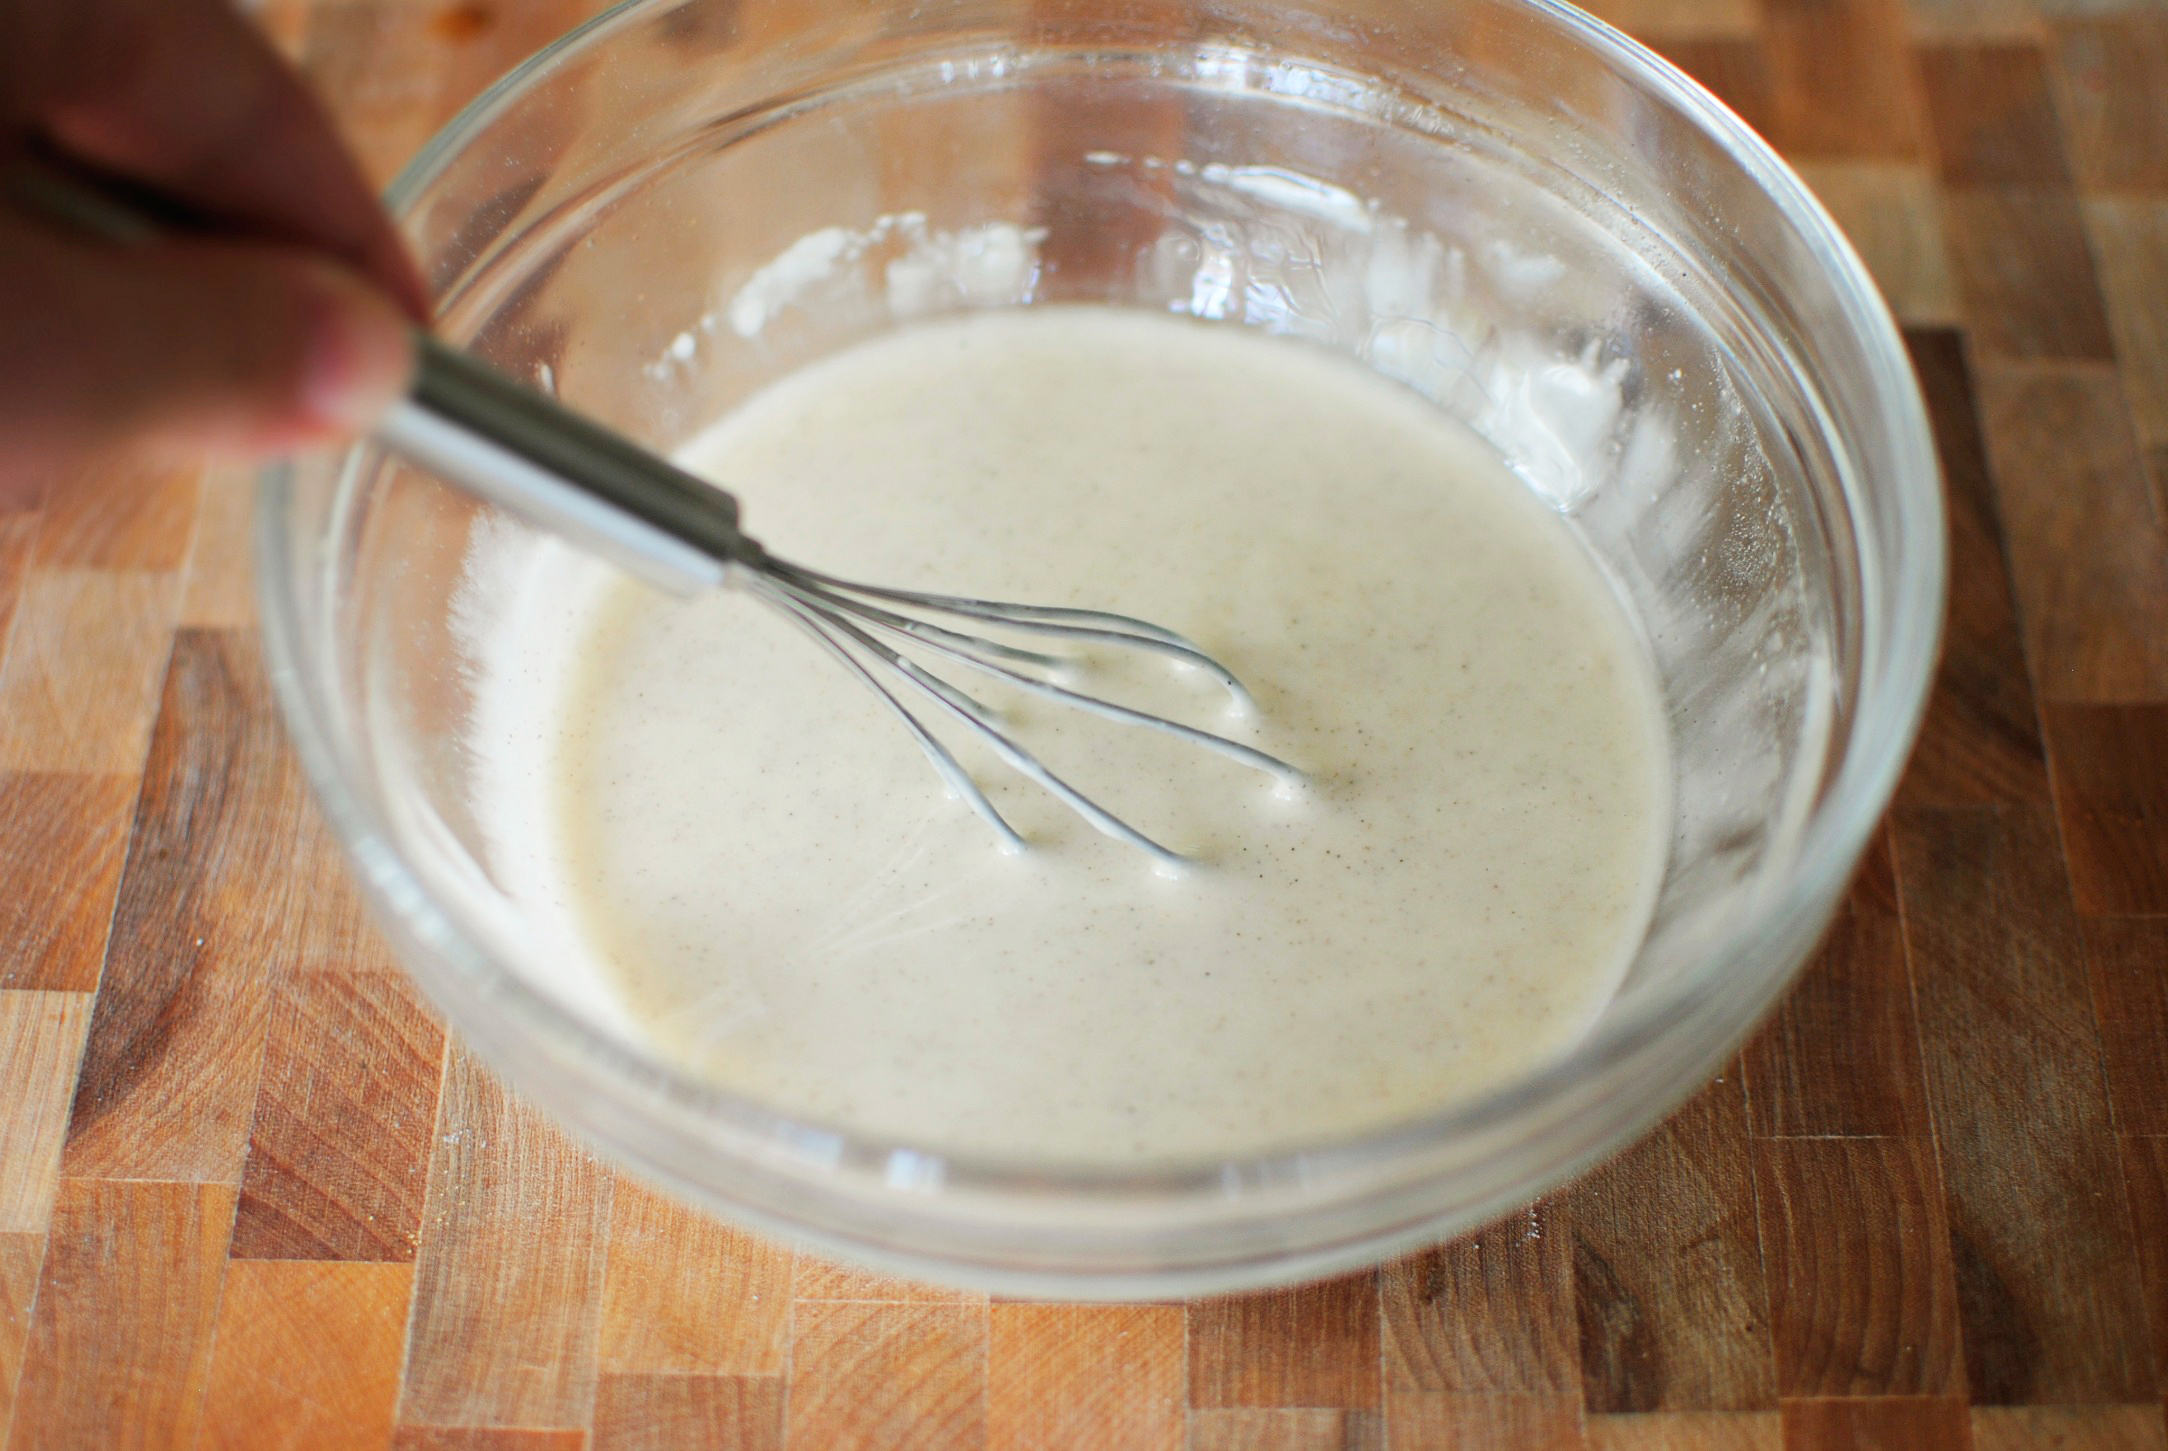
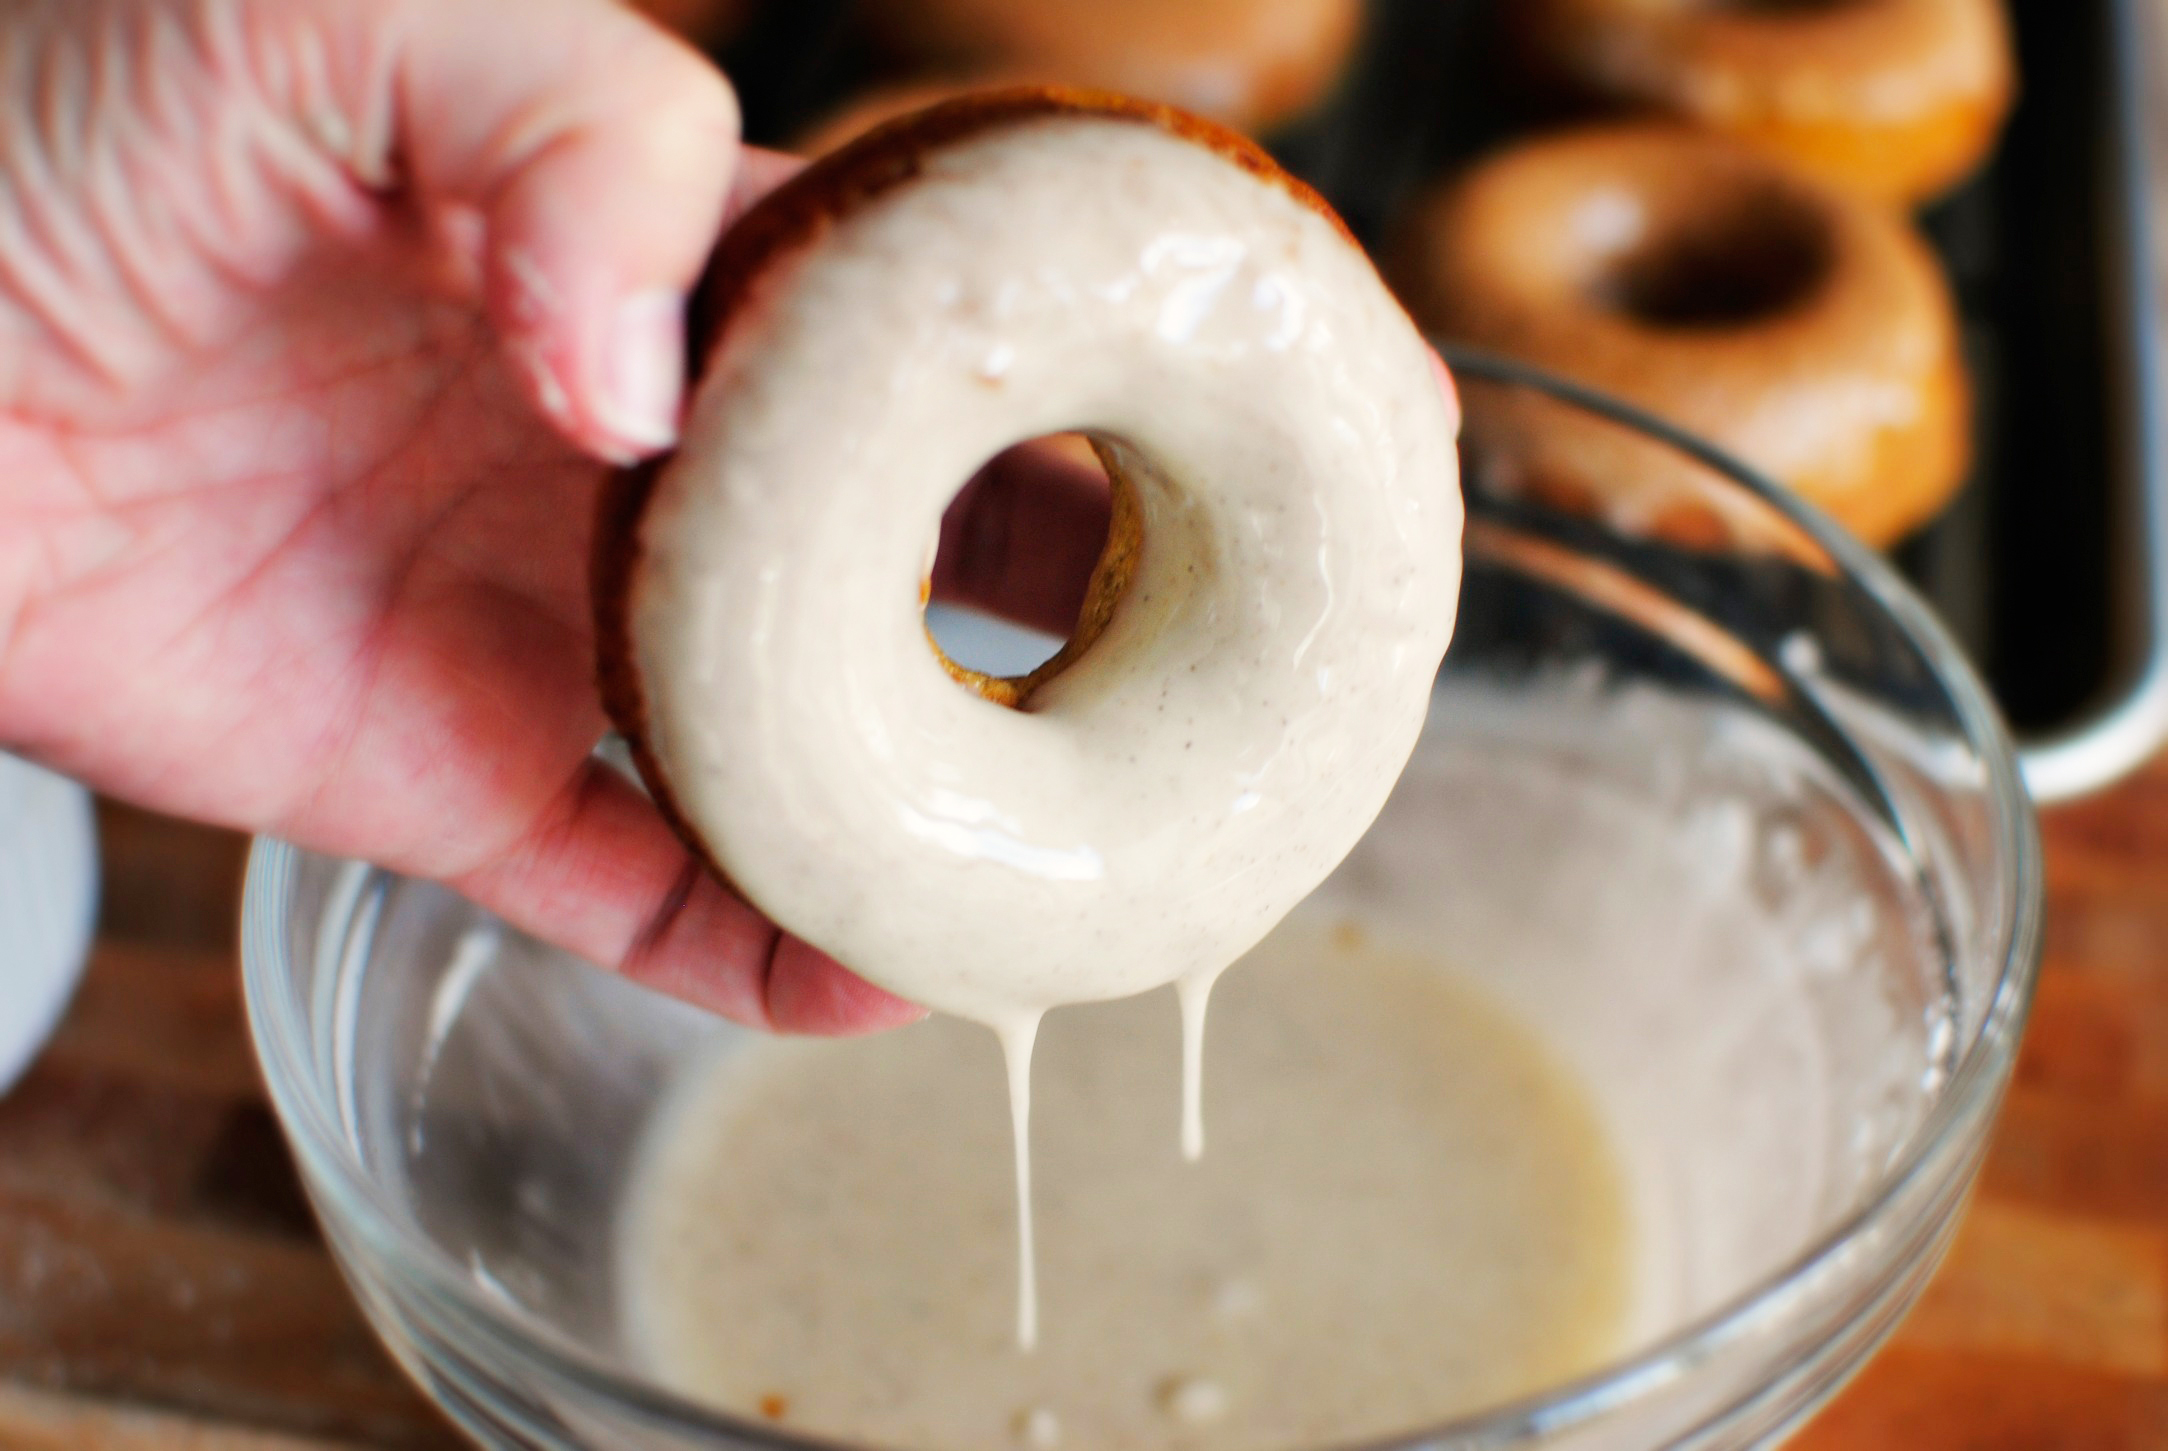
Whisk until completely combined and there are no lumps remaining.


Tasty Kitchen Blog: Apple Cider Donuts. Guest post by Laurie of Simply Scratch, recipe submitted by TK member Aimee of Shugary Sweets.

Dunk the doughnuts into the glaze. Ohhh yeah!


Tasty Kitchen Blog: Apple Cider Donuts. Guest post by Laurie of Simply Scratch, recipe submitted by TK member Aimee of Shugary Sweets.

And then immediately dip it into the cinnamon sugar.



Tasty Kitchen Blog: Apple Cider Donuts. Guest post by Laurie of Simply Scratch, recipe submitted by TK member Aimee of Shugary Sweets.

See what I mean? Now just set on a wire rack set over a sheet pan or paper towels so the glaze has a place to drip and repeat with the rest.



Tasty Kitchen Blog: Apple Cider Donuts. Guest post by Laurie of Simply Scratch, recipe submitted by TK member Aimee of Shugary Sweets.

You can let the glaze cool a tad. But really, why even wait another second?



Tasty Kitchen Blog: Apple Cider Donuts. Guest post by Laurie of Simply Scratch, recipe submitted by TK member Aimee of Shugary Sweets.

You guys. These doughnuts are nothing short of perfect. The texture of the doughnut is soft and moist, while the flavor of cider is not missed at all. Store them in an airtight container and they’ll last for days! Making these perfect for a fun snack in lunches or well, breakfast the next morning!



Tasty Kitchen Blog: Apple Cider Donuts. Guest post by Laurie of Simply Scratch, recipe submitted by TK member Aimee of Shugary Sweets.

A big thank you to Aimee for sharing this phenomenal recipe! This is definitely a recipe our whole house loved and will be making for years to come. And I can bet you all will just love these too!



Tasty Kitchen Blog: Apple Cider Donuts. Guest post by Laurie of Simply Scratch, recipe submitted by TK member Aimee of Shugary Sweets.

Please take a minute to stop by Aimee’s amazing blog Shugary Sweets where she not only dishes up an array of clever treats to suit any sweet tooth but other delicious easy to make recipes as well. You can also find her recipes here on Tasty Kitchen in her recipe box!

Note: the only change I made was to 3 tablespoons of apple cider (instead of two) in making the glaze.


Printable Recipe

Apple Cider Donuts

See post on Shugary Sweets’s site!
4.83 Mitt(s) 6 Rating(s)6 votes, average: 4.83 out of 56 votes, average: 4.83 out of 56 votes, average: 4.83 out of 56 votes, average: 4.83 out of 56 votes, average: 4.83 out of 5

Prep Time:

Cook Time:

Difficulty: Easy

Servings: 12

12
x

Print Options

Page size Letter 3x5 4x6
Text Size Small Medium Large
Content Include description
Include prep time, etc.
Show image

Description

Bake these donuts for a perfect fall breakfast!

Ingredients

  • FOR THE DONUTS:
  • 2 cups Flour
  • ¾ cups Sugar
  • 1 teaspoon Baking Powder
  • 1 teaspoon Baking Soda
  • 1 teaspoon Salt
  • ¼ teaspoons Nutmeg
  • ¼ teaspoons Allspice
  • ½ teaspoons Cinnamon
  • ½ cups Apple Cider
  • ¼ cups Applesauce
  • 2 whole Eggs
  • 1 teaspoon Vanilla Extract
  • FOR THE TOPPING:
  • 2 Tablespoons Apple Cider
  • 1-¼ cup Powdered Sugar
  • ¼ teaspoons Allspice
  • ¼ cups Sugar
  • 1 Tablespoon Cinnamon

Preparation Instructions

In a large mixing bowl add flour, sugar, baking powder, baking soda, salt, nutmeg, allspice, and cinnamon. Mix until blended. Add in the apple cider, applesauce, eggs, and vanilla extract. Beat for about 2 minutes until smooth and creamy.

Lightly grease a doughnut pan (I use Norpro brand). Pour batter into a large Ziploc bag, seal the bag, and snip off the corner. I find this the easiest and cleanest way to get batter into pan without dripping. Pipe the batter into the prepared pan.

Bake doughnuts in a 325ºF oven for about 10 minutes, until they spring back when touched. Remove from the oven and cool slightly before removing from pan.

To make the glaze, whisk together the apple cider, powdered sugar and allspice until completely smooth.

In a separate bowl, mix sugar and cinnamon.

Dip each doughnut into the glaze (top of doughnut only) and then into cinnamon/sugar mix. The glaze will run down the sides and coat nearly the whole donut. Allow to dry on a cooling rack. Enjoy!


_______________________________________

Laurie is the force behind Simply Scratch, a blog that documents her efforts to find and create recipes that are made simply from scratch. (We think it’s sweet that her mother-in-law helped her set up her blog and get started.) We love her recipes; they’re not just tried and true, but they look gorgeous as well. Check out her blog and you’ll become a fan too.
 

Profile photo of Erika (TK)

Pumpkin Delicousness!

Posted by in Looks Delicious!, The Theme Is...

Tasty Kitchen Blog: Pumpkin Deliciousness

 
I love many things about the months of September and October: saying goodbye to the heat and humidity of summer, new school supplies, the vibrant colors of autumn leaves, and baseball. Not necessarily in that order. But near the top of that list is logging in to Tasty Kitchen and seeing all the incredible pumpkin recipes coming in. Everyday I learn some new and creative way to use pumpkin and I wish we could feature them all. Except, if we did that, you’d be looking at pumpkin recipes on the main page all day for a month or two. (Not that there’s anything wrong with that. But then all the other autumn vegetables might start feeling neglected.)

Today I want to highlight just a few of the recent pumpkin recipes that caught my eye. If you want to pick your own favorites, grab a BIG cup of coffee and pull up a chair and browse these 50 or so pages of pumpkin recipes.


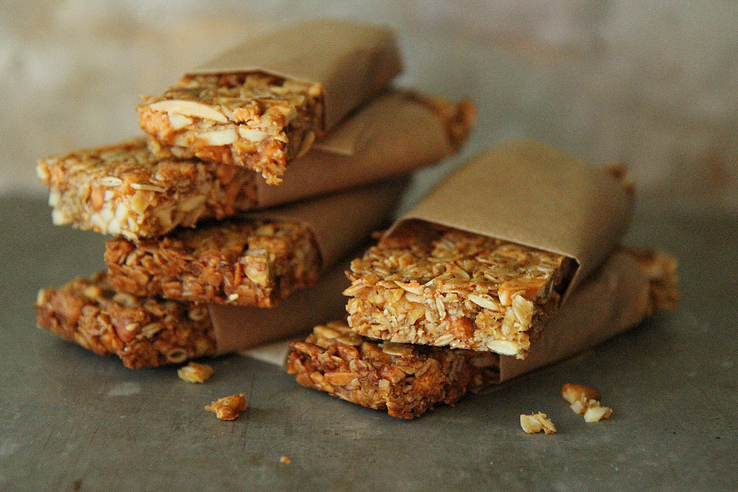
Tasty Kitchen Blog: Pumpkin Butterscotch Granola Bars by Heather Christo

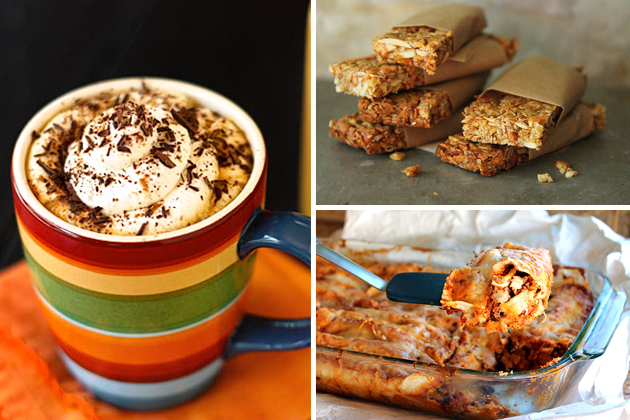
Mmm. Start your day with these Pumpkin Butterscotch Granola Bars from Heather Christo. These look amazing.


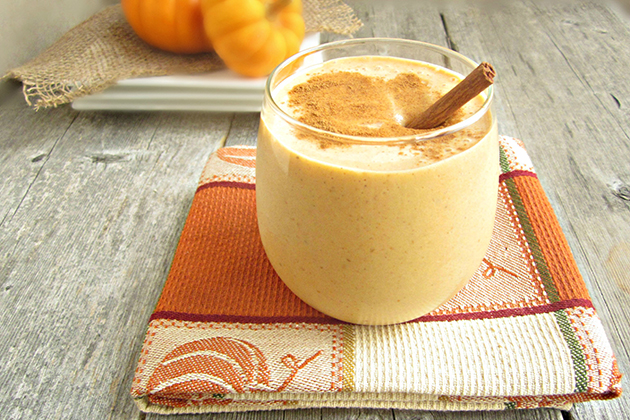
Tasty Kitchen Blog: Pumpkin Pie Smoothie by Anita at Hungry Couple

Or if a liquid start is more your thing (and no, I don’t mean pumpkin rum or gin and pumpkin tonic), whip up this Pumpkin Pie Smoothie from Anita.


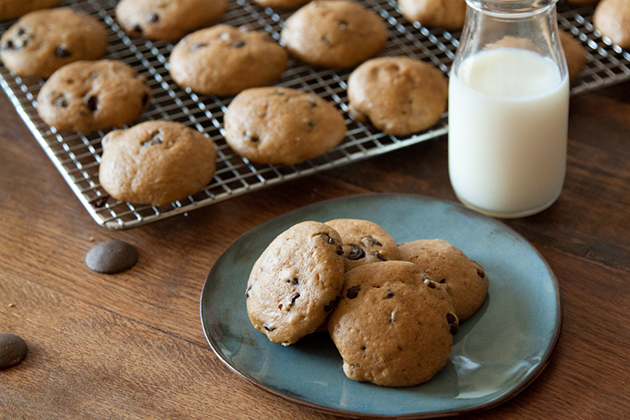
Tasty Kitchen Blog: Pumpkin Chocolate Chip Cookies by whatsgabycooking

Or you can throw some pumpkin into your favorite cookie recipe! Check out these Pumpkin Chocolate Chip Cookies from Gaby.


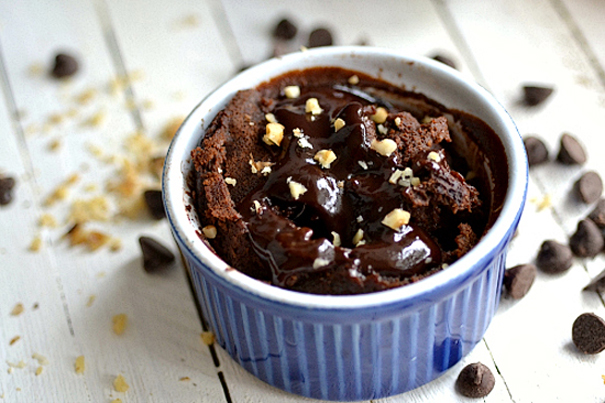
Tasty Kitchen Blog: Dark Chocolate Pumpkin Cake for 1 by claireg12

Then there’s this Dark Chocolate Pumpkin Cake for 1 from Claire. Because chocolate makes good things even better.


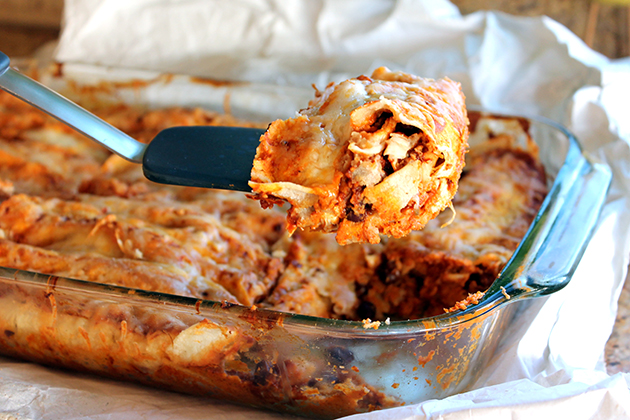
Tasty Kitchen Blog: Spicy Black Bean Chicken Enchiladas with Pumpkin Sour Cream Sauce by Monique of Ambitious Kitchen

Pumpkin recipes don’t always have to be sweet. I love how Monique made a Pumpkin Sour Cream Sauce for these Spicy Black Bean Chicken Enchiladas.


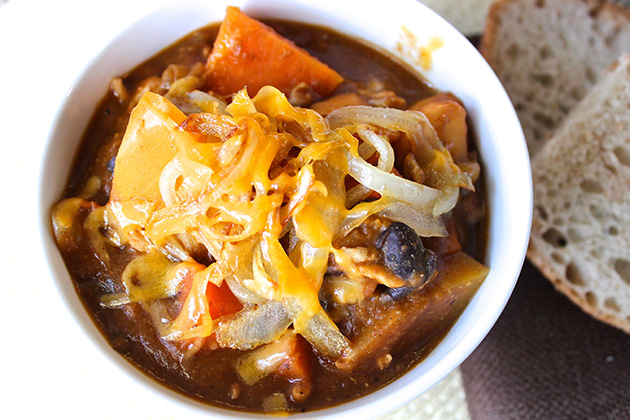
Tasty Kitchen Blog: Autumn Turkey Chili by This Life Abundant

Or make a healthy and filling Autumn Turkey Chili like this one from Abigail. Perfect for the cooler weather!


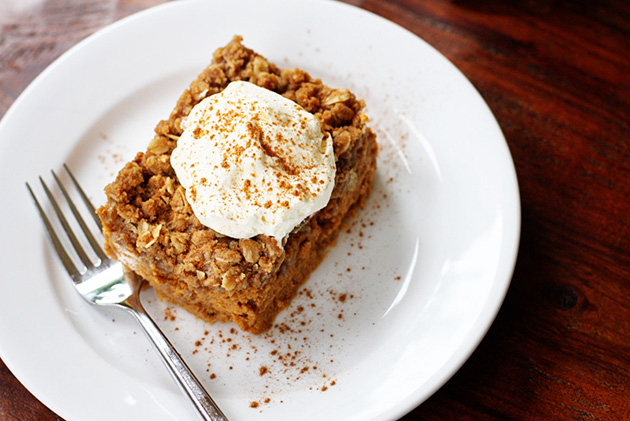
Tasty Kitchen Blog: Pumpkin Crisp by Sweet Anna's

End your meal with this tempting Pumpkin Crisp from Annalise. Or make this a special after-school treat and score big points with the kids.


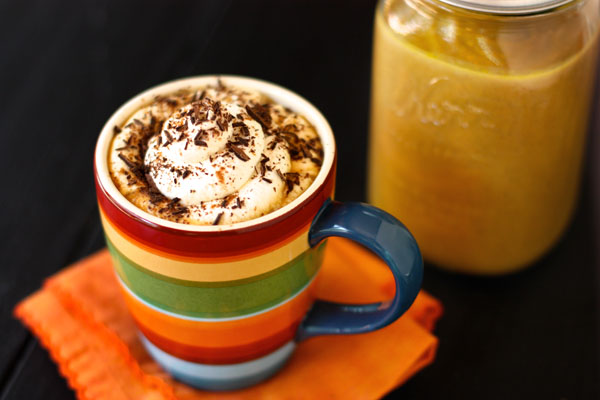
Tasty Kitchen Blog: Pumpkin Spice Latte by afarmgirlsdabbles

Finally, you know this quick roundup wouldn’t be complete without a Pumpkin Spice Latte, and this one from Brenda is just begging to be made. Because, let’s face it, Pumpkin Spice Lattes are pretty much the highlight of this season.

There are so many more pumpkin recipes to choose from, each one as tempting as the next. And in my book, there really is no such thing as too much pumpkin. So keep ‘em coming!


Profile photo of HowSweetEats

Lightened Up Chicken Enchiladas

Posted by in Step-by-Step Recipes

Tasty Kitchen Blog: Lightened Up Chicken Enchiladas. Guest post by Jessica Merchant of How Sweet It Is, recipe submitted by TK member Laurie McNamara of Simply Scratch.

 
Enchiladas are a special food in our house. They are, as I like to refer to them, my weapon. They were the first meal I ever made for my husband and THE meal I make when I … well, quite frankly, when I want something. That something could really be anything, like the replacement of the high light bulb I can’t reach, which I’ve incessantly nagged about or the purse I “accidentally” purchased and let him “accidentally” see. Either way, they are one of my husband’s favorite meals and something I make probably twice a month.

The thing is, they are pretty decadent. We like lots of sodium-laced sauce, tons (no really—tons) of cheese inside and out, and really huge puffy flour or soft corn tortillas. And let’s not forget what goes on top: sour cream, more cheese, and obviously guacamole. Hello lover.

So enter Laurie’s recipe for Lightened Up Chicken Enchiladas. Oh my goodness, I was so excited I almost died. But then I was even more excited after I made them and we seriously loved on the entire pan. These are super delicious, so let’s get started!


Tasty Kitchen Blog: Lightened Up Chicken Enchiladas. Guest post by Jessica Merchant of How Sweet It Is, recipe submitted by TK member Laurie McNamara of Simply Scratch.

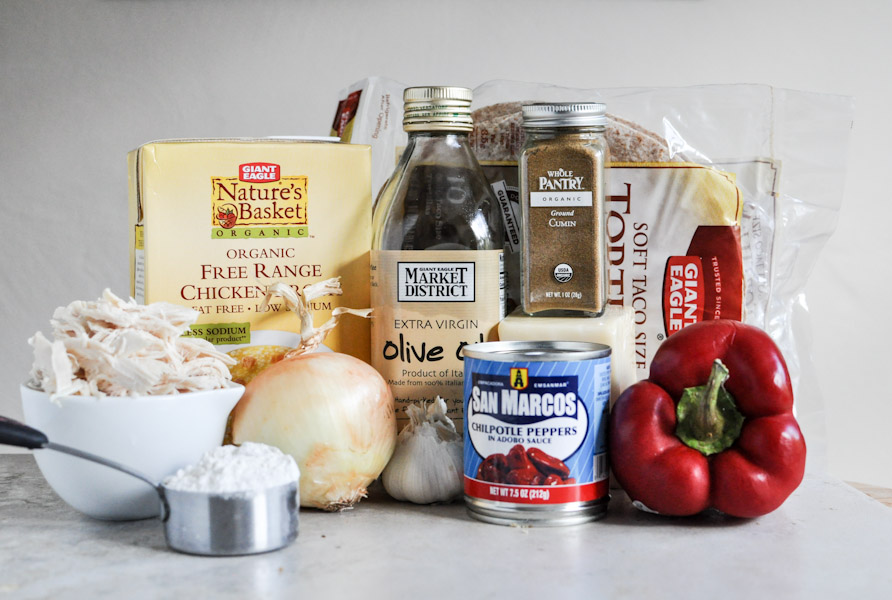
You need some cooked and shredded chicken, low-sodium chicken stock, flour, a sweet onion, a few garlic cloves, olive oil, whole wheat tortillas, cumin, chipotle peppers in adobo, a red pepper and of course, cheese.


Tasty Kitchen Blog: Lightened Up Chicken Enchiladas. Guest post by Jessica Merchant of How Sweet It Is, recipe submitted by TK member Laurie McNamara of Simply Scratch.

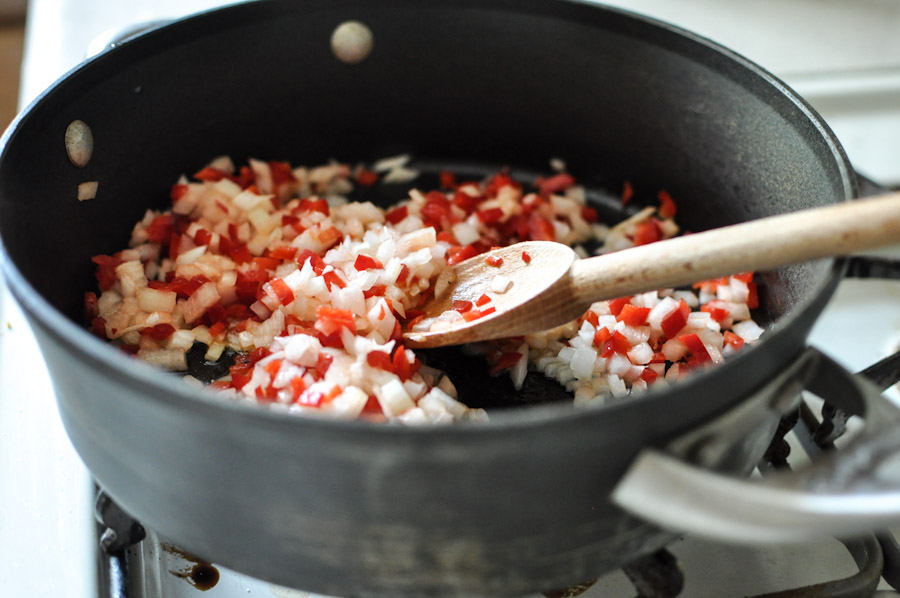
First up, dice your peppers and onions and add them to a skillet with some olive oil. After sautéing until soft, add in your garlic and cook for a few seconds until fragrant.


Tasty Kitchen Blog: Lightened Up Chicken Enchiladas. Guest post by Jessica Merchant of How Sweet It Is, recipe submitted by TK member Laurie McNamara of Simply Scratch.

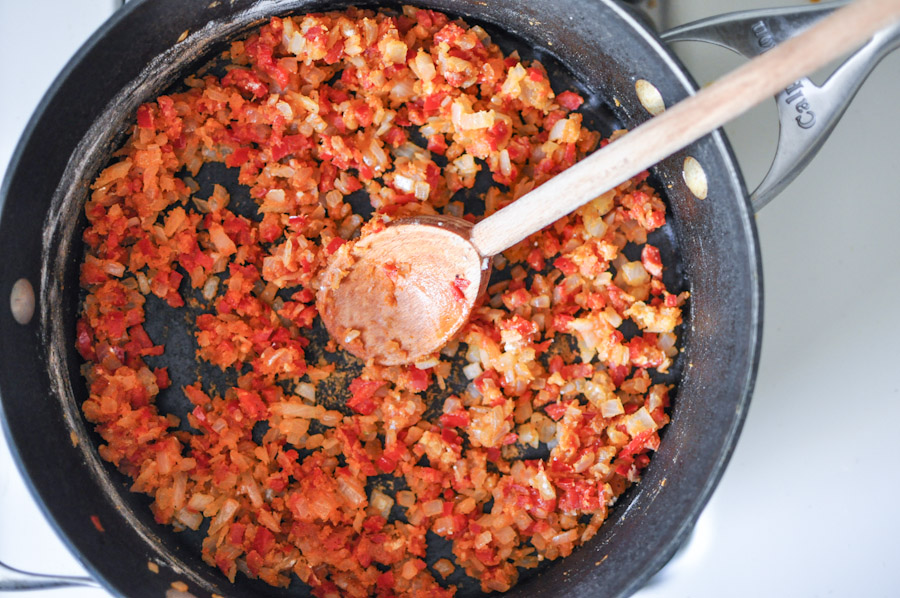
Stir in the flour, chopped peppers and cumin.


Tasty Kitchen Blog: Lightened Up Chicken Enchiladas. Guest post by Jessica Merchant of How Sweet It Is, recipe submitted by TK member Laurie McNamara of Simply Scratch.

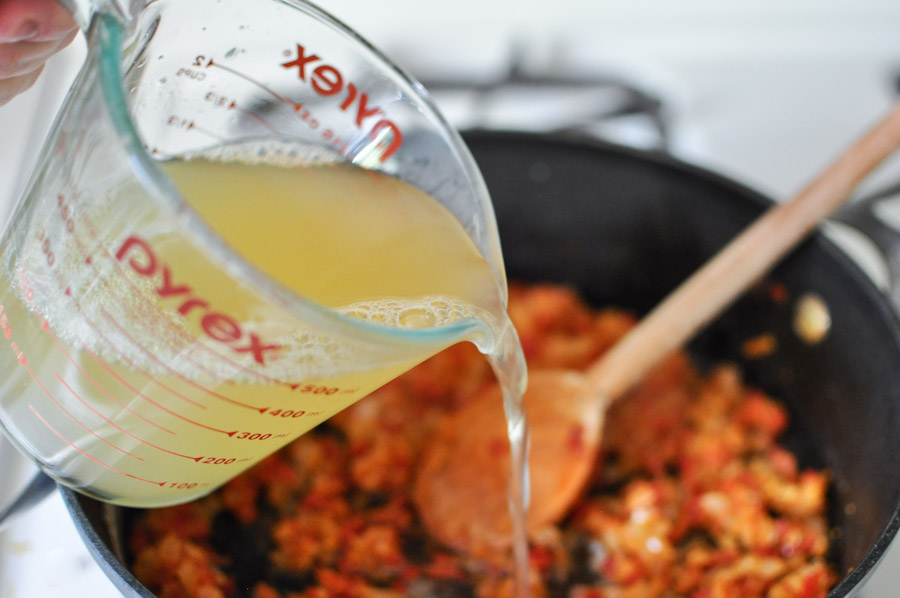
Then add your chicken stock and water, whisking well.


Tasty Kitchen Blog: Lightened Up Chicken Enchiladas. Guest post by Jessica Merchant of How Sweet It Is, recipe submitted by TK member Laurie McNamara of Simply Scratch.

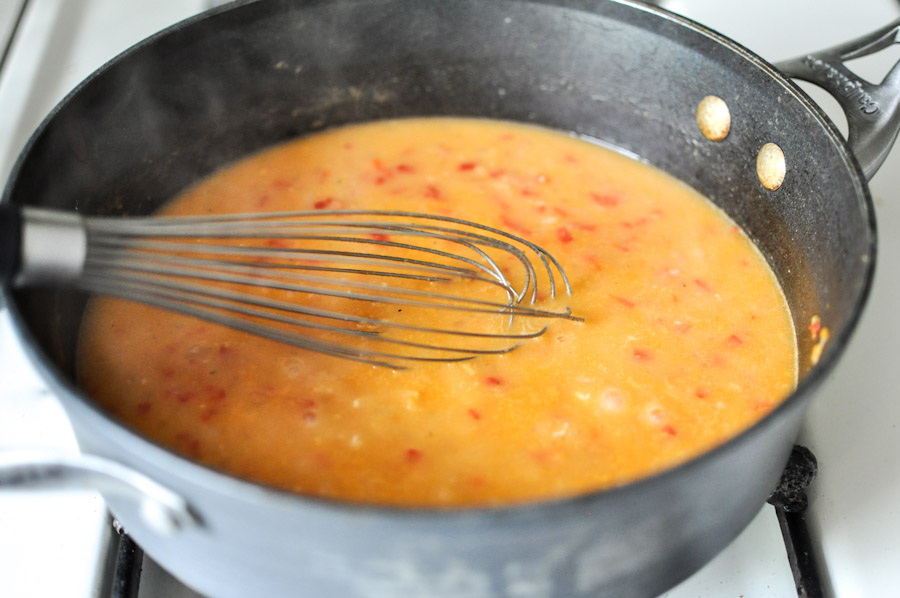
Cook for a few minutes until bubbly and thickened, and boom, you have your sauce! See how simple? Taste and season with salt and pepper if desired.


Tasty Kitchen Blog: Lightened Up Chicken Enchiladas. Guest post by Jessica Merchant of How Sweet It Is, recipe submitted by TK member Laurie McNamara of Simply Scratch.

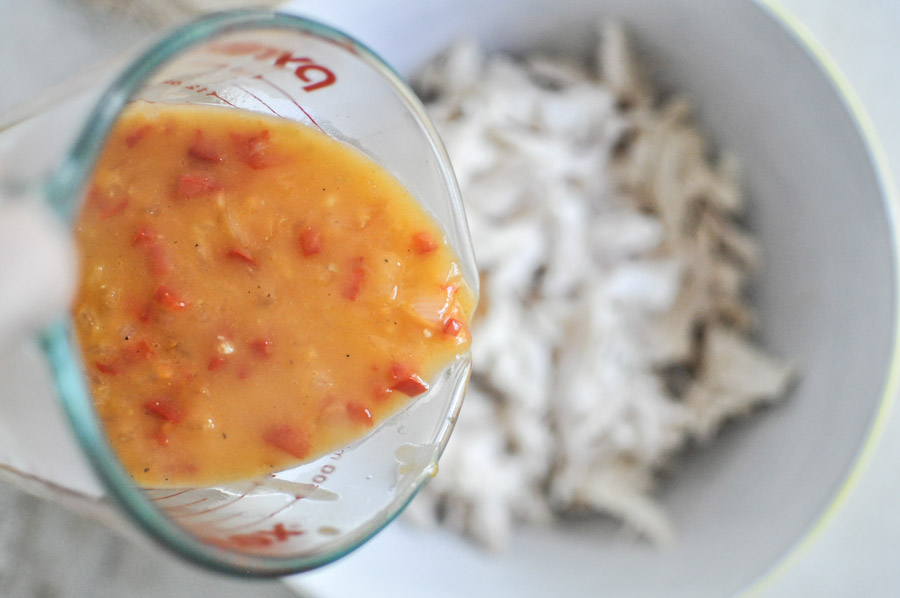
With your shredded chicken in a large bowl, add some of the sauce and mix it up.


Tasty Kitchen Blog: Lightened Up Chicken Enchiladas. Guest post by Jessica Merchant of How Sweet It Is, recipe submitted by TK member Laurie McNamara of Simply Scratch.

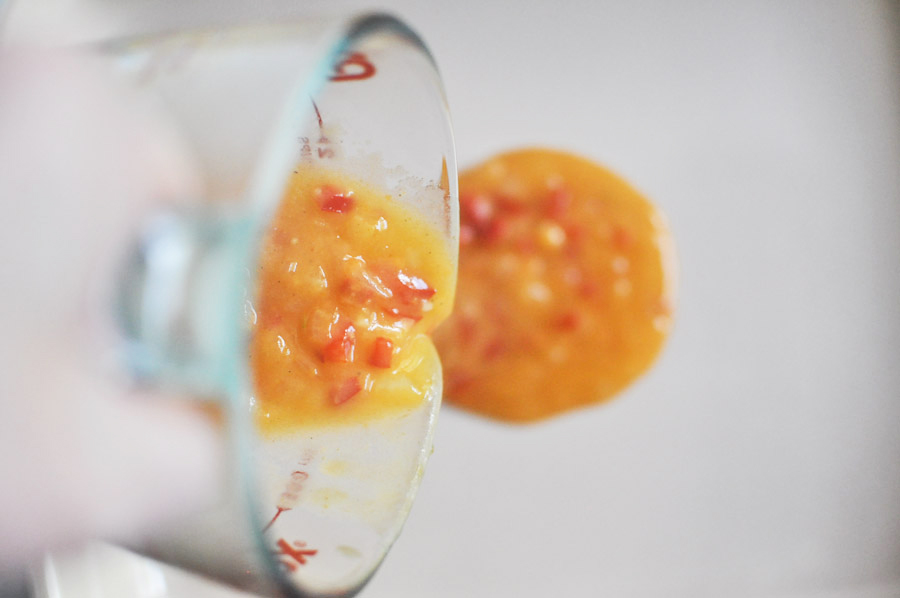
Add a bit more sauce to the bottom of a greased baking dish to make the first layer of deliciousness.


Tasty Kitchen Blog: Lightened Up Chicken Enchiladas. Guest post by Jessica Merchant of How Sweet It Is, recipe submitted by TK member Laurie McNamara of Simply Scratch.

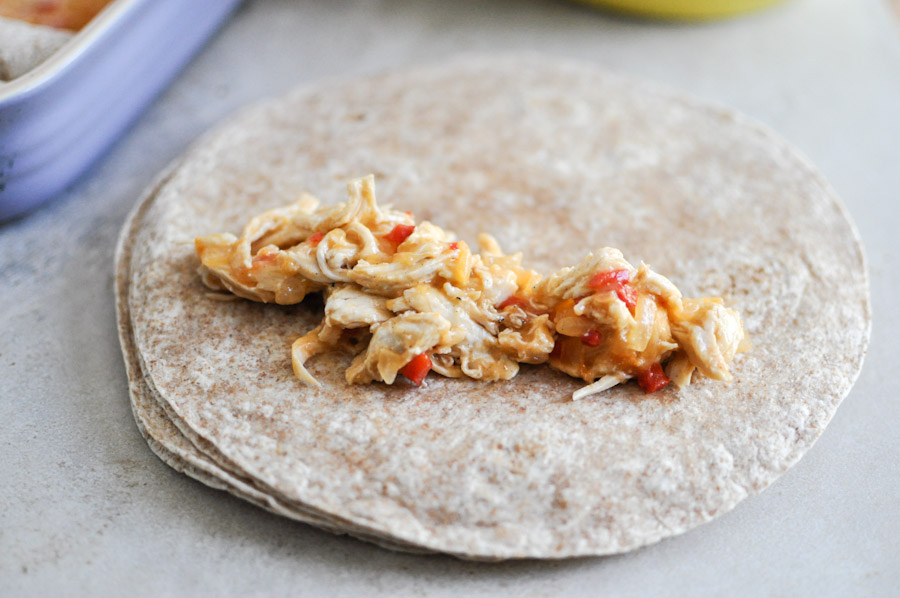
Then start filling your enchis. First up, add a few spoonfuls of the chicken mixture to the tortilla.


Tasty Kitchen Blog: Lightened Up Chicken Enchiladas. Guest post by Jessica Merchant of How Sweet It Is, recipe submitted by TK member Laurie McNamara of Simply Scratch.

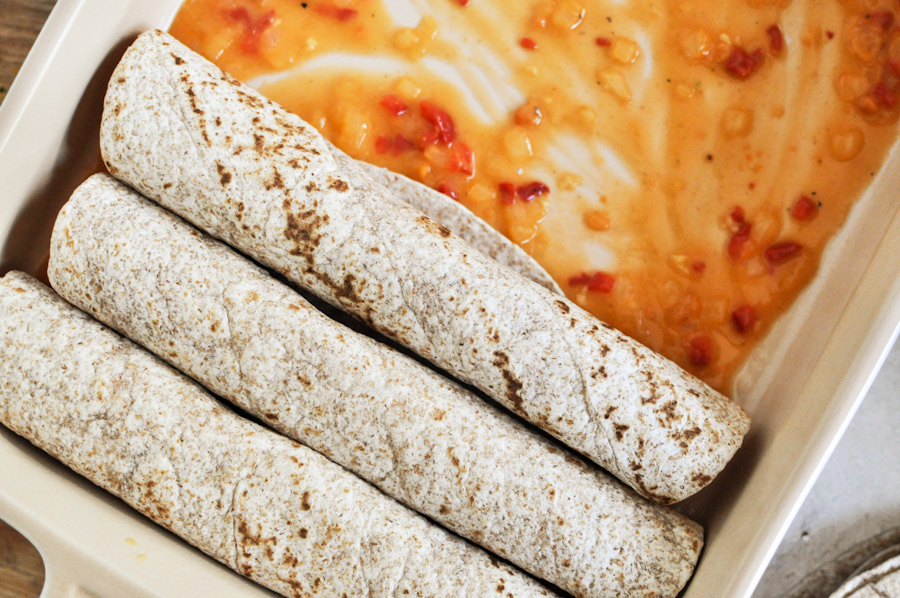
Roll it up tightly, placing it in the dish. Repeat with the rest until they are all crammed together and ready to go.


Tasty Kitchen Blog: Lightened Up Chicken Enchiladas. Guest post by Jessica Merchant of How Sweet It Is, recipe submitted by TK member Laurie McNamara of Simply Scratch.

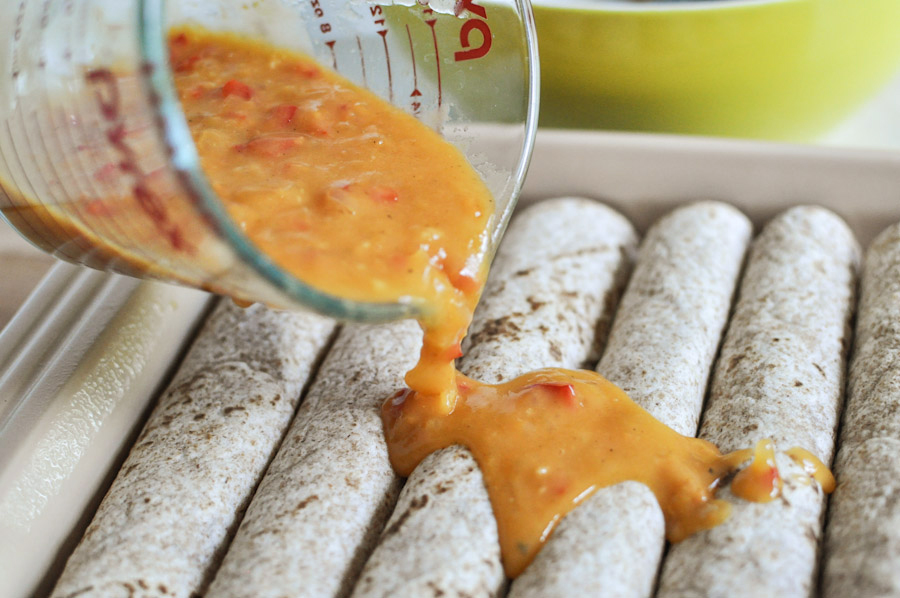
Add the rest of the sauce on top. I gently spread it with a spoon to cover every inch before baking.


Tasty Kitchen Blog: Lightened Up Chicken Enchiladas. Guest post by Jessica Merchant of How Sweet It Is, recipe submitted by TK member Laurie McNamara of Simply Scratch.

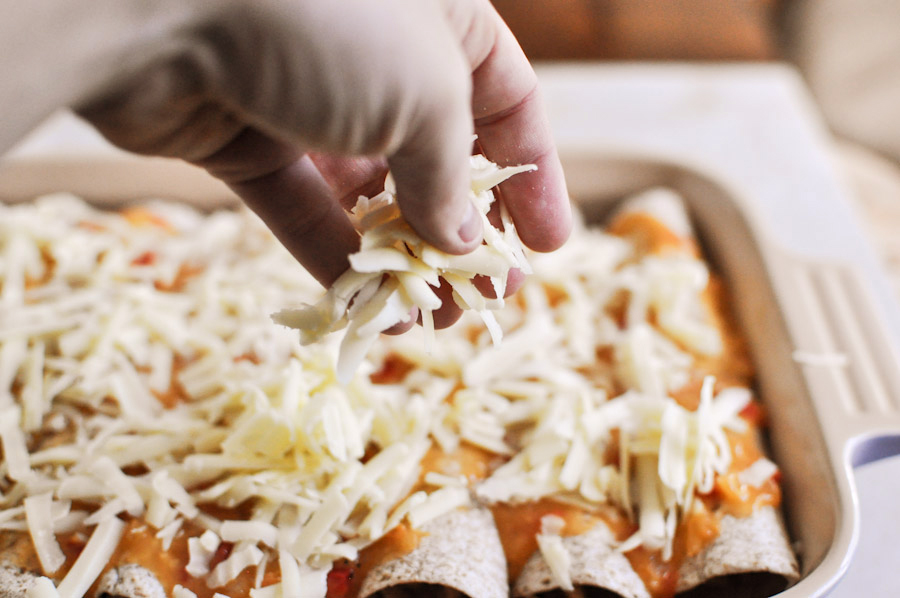
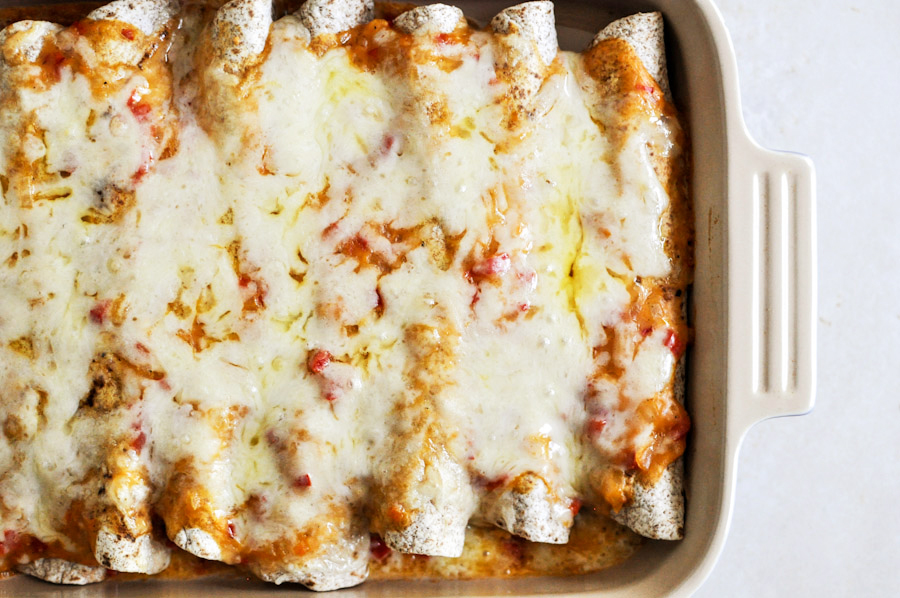
Then add some cheese—just a bit—to cover the dish. Bake for a few minutes just until the enchiladas are warmed through and the cheese is melty. Oh melty cheese.


Tasty Kitchen Blog: Lightened Up Chicken Enchiladas. Guest post by Jessica Merchant of How Sweet It Is, recipe submitted by TK member Laurie McNamara of Simply Scratch.

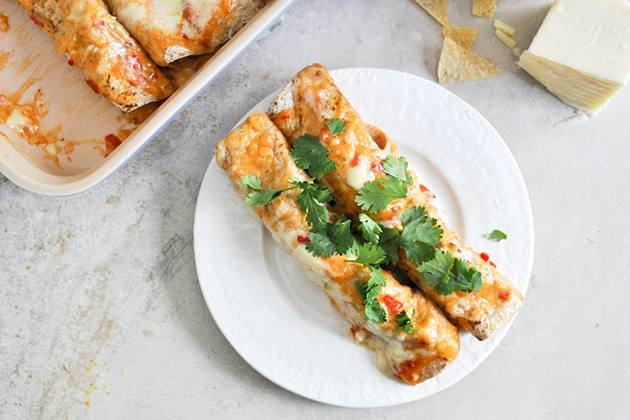
Admire your beautiful work!


Tasty Kitchen Blog: Lightened Up Chicken Enchiladas. Guest post by Jessica Merchant of How Sweet It Is, recipe submitted by TK member Laurie McNamara of Simply Scratch.

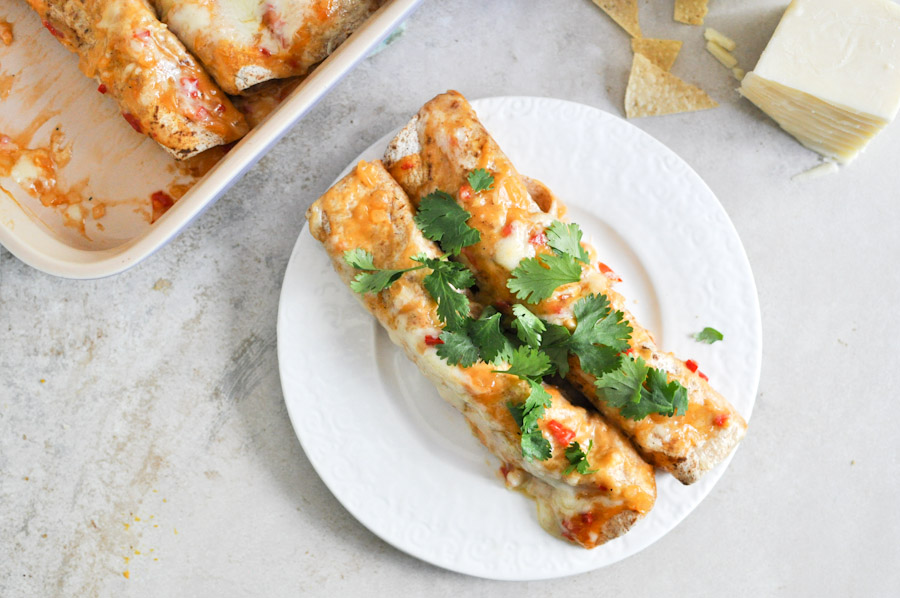
Serve your enchiladas and cover them with sour cream (or, as we like, plain Greek yogurt), guacamole, chives, salsa and chopped cilantro. Go to town with all of your favorite garnishes.

We absolutely adored these! Not only are they much lighter ingredients-wise than our typical enchiladas, they are lightly filling, too. They aren’t heavy since you make your own sauce and keep the cheese to a minimum, but they still taste incredible and get the job done. Cravings cured!

Thanks so much to my fellow TK Blog contributor Laurie for the fabulous recipe. Check out her incredible blog, Simply Scratch, where she shares her delicious creations in the kitchen and beautiful step-by-step photography.


Printable Recipe

Lightened-up Chicken Enchiladas

See post on Laurie - Simply Scratch’s site!
5.00 Mitt(s) 9 Rating(s)9 votes, average: 5.00 out of 59 votes, average: 5.00 out of 59 votes, average: 5.00 out of 59 votes, average: 5.00 out of 59 votes, average: 5.00 out of 5

Prep Time:

Cook Time:

Difficulty: Intermediate

Servings: 4

4
x

Print Options

Page size Letter 3x5 4x6
Text Size Small Medium Large
Content Include description
Include prep time, etc.
Show image

Description

Chicken enchiladas lightened up with grilled chicken, whole wheat tortillas and a broth-y chipotle sauce that is to die for!

Ingredients

  • 2 Tablespoons Olive Oil
  • 1 whole Small Onion, Diced Small
  • ½ whole (red, Green Or Orange) Bell Pepper, Diced Small
  • 2 cloves Fresh Garlic, Peeled And Minced
  • ¼ cups All-purpose Flour
  • 1 teaspoon Cumin
  • 1 Tablespoon Minced Chipotle Peppers In Adobo Sauce
  • 1-½ cup Low Sodium Chicken Broth
  • ¼ cups Water
  • 1 Tablespoon Adobo Sauce (optional)
  • ¾ teaspoons Kosher Salt
  • ⅛ teaspoons Black Pepper, More Or Less To Taste
  • 2 whole Grilled Chicken Breasts, Shredded In A Large Bowl
  • 8 whole Whole Wheat Tortillas
  • ½ cups Grated Muenster Cheese
  • Your Favorite Enchilada Toppings, For Serving (Salsa, Sour Cream, Chopped Fresh Cilantro, Etc.)

Preparation Instructions

Lightly spray the bottom of a 13×9 baking dish and set aside. Preheat your oven to 400 F.

In a large skillet over medium heat add the two tablespoons of olive oil.

Add diced onion and peppers and cook, stirring occasionally, until the onions are translucent and the peppers are soft, about 5 minutes.

Add in the minced garlic and cook for one minute. Add in the flour, cumin and the tablespoon of diced chipotle peppers, stir.

Whisk in the broth and water. Add in the tablespoon of adobo sauce if desired and simmer over medium heat until the sauce has thickened. Season with 3/4 teaspoon kosher salt and 1/4 teaspoon black pepper, taste and adjust seasonings.

Put the shredded grilled chicken in a bowl. Add a cup of the “enchilada sauce” to the shredded chicken.

Measure and spread 1/4 of a cup of the sauce in the bottom of the prepared pan.

Wrap the 8 whole wheat tortillas in a damp paper towel and microwave for one minute.

Spoon a little of the chicken mixture down the center of each tortilla, then tuck and roll each tortilla and place it seam side down into the baking dish.

Pour and spread the remainder of the sauce over top of the enchiladas and top with the half cup of grated Muenster cheese.

Bake, uncovered, in your preheated 400 F oven for 15 minutes or until the cheese has melted and bubbly.

Serve two per person topped with a dollop of sour cream, your favorite hot sauce and torn cilantro. Other delicious toppings like sliced olives, salsa, green onions and pickled jalapenos would be fantastic too!

Enjoy!


_______________________________________

Jessica Merchant is a personal trainer turned food writer and blogger. Her blog, How Sweet Eats, is where she proclaims her love for all things sweet, all things bacon, and everything else in between. She works her magic in her Pittsburgh kitchen, which she shares with her husband of 2 years.
 

Profile photo of Erika (TK)

Looks Delicious! Game Day

Posted by in Looks Delicious!

The weekend is upon us, and as far as I’m concerned, it’s about time! You know what an October weekend means: folks will be planted in front of the television watching some kind of ball being thrown or hit or kicked. This weekend we’ve got NFL games, college football, soccer, tennis, golf … I heard […]

Profile photo of georgiapellegrini

Crepes, Easy as 1-2-3

Posted by in Step-by-Step Recipes

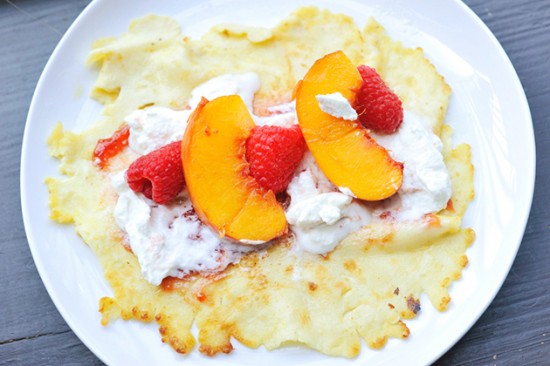
  Crepes are one of those things that I love so much, but rarely make for myself at home. Michelle Robin inspired me to try them at home with her quick and easy 1-2-3 Crepe Batter that definitely convinced me that I could make crepes for myself regularly and it wouldn’t be a production. These […]

Profile photo of georgiapellegrini

Avocado and Cilantro Dressing

Posted by in Step-by-Step Recipes

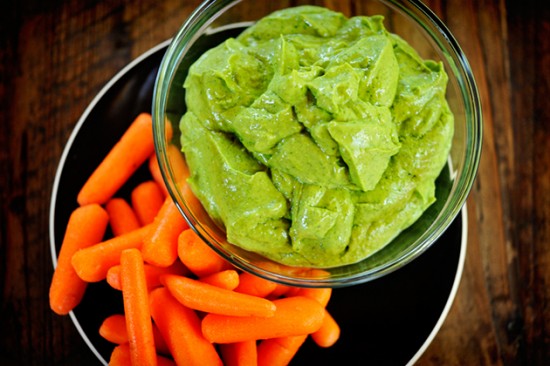
  This Avocado and Cilantro Dressing from TK member Guilty Kitchen is light and fluffy and so versatile. And the dressing can be used for so many purposes. I could also just eat it by the spoonful. That’s enough of a purpose for me! What is also nice is that it stores well for several […]

Profile photo of whatsgabycooking

Fully Loaded Baked Potato Soup

Posted by in Step-by-Step Recipes

  Hi! Oh my goodness, I’ve missed you guys over here on Tasty Kitchen! The last few months have been a whirlwind, with getting married and finishing a super fun project that’s due out next month. I’m so jazzed to be back and I’m kicking things off with basically the most amazing soup to ever […]