The Pioneer Woman Tasty Kitchen
Profile photo of EatLiveRun

Apricot Strudel

Posted by in Baking, Step-by-Step Recipes

Tasty Kitchen Blog: Apricot Strudel. Guest post by Jenna Weber of Eat, Live, Run; recipe submitted by Heather of Heather Christ Cooks.

 
Holy strudel! The moment I saw Heather Christo’s mouth-watering recipe for Apricot Strudel, I knew I had to make it as soon as possible. Apricots are in season now, and these sweet little gems are just flooding the farmers market. I hadn’t made a strudel in years (and never an apricot one!), and was looking forward to playing with some fillo dough. Heather’s strudel turned out a little prettier than mine (I credit her fillo dough handling abilities to the fact that she married a Greek), but wow, was it ever delicious! The apricots could have easily been mistaken for peaches in this flaky strudel, and it was the perfect summer dessert. But don’t believe me—try it yourself! I guarantee it will make an apricot fan out of you for life.


Tasty Kitchen Blog: Apricot Strudel. Guest post by Jenna Weber of Eat, Live, Run; recipe submitted by Heather of Heather Christ Cooks.

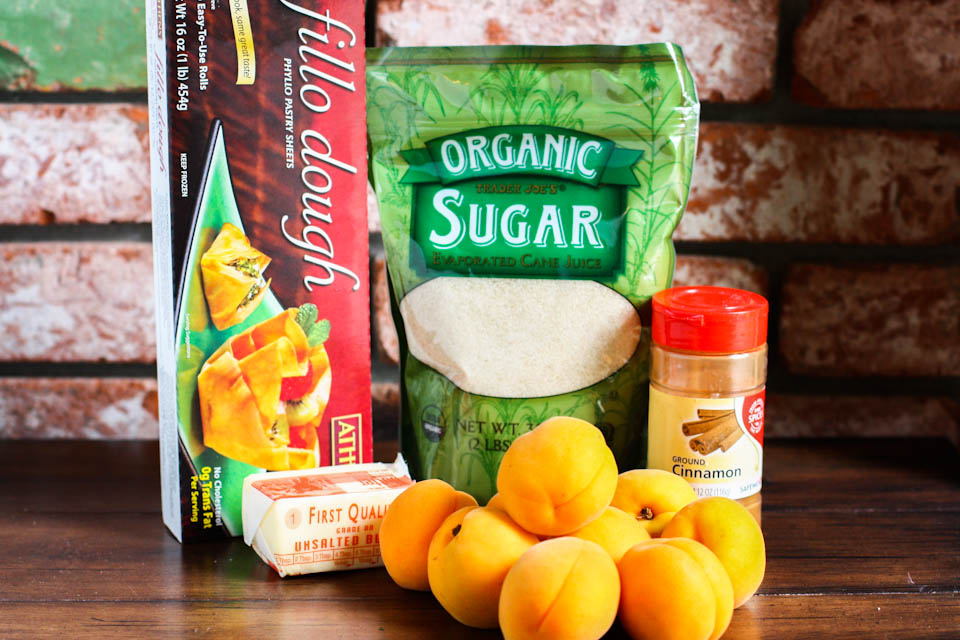
Here’s what you need! Actually, you need all this plus all-purpose flour. I realized I forgot the flour right after I uploaded this photo.

Simple ingredients, really. Just make sure you leave yourself enough time to defrost your fillo dough before starting! Fillo dough defrosts at room temperature in about two hours and trust me, you don’t want to attempt working with this stuff until it has defrosted—-these tissue paper-thin pastry sheets tear easily.


Tasty Kitchen Blog: Apricot Strudel. Guest post by Jenna Weber of Eat, Live, Run; recipe submitted by Heather of Heather Christ Cooks.

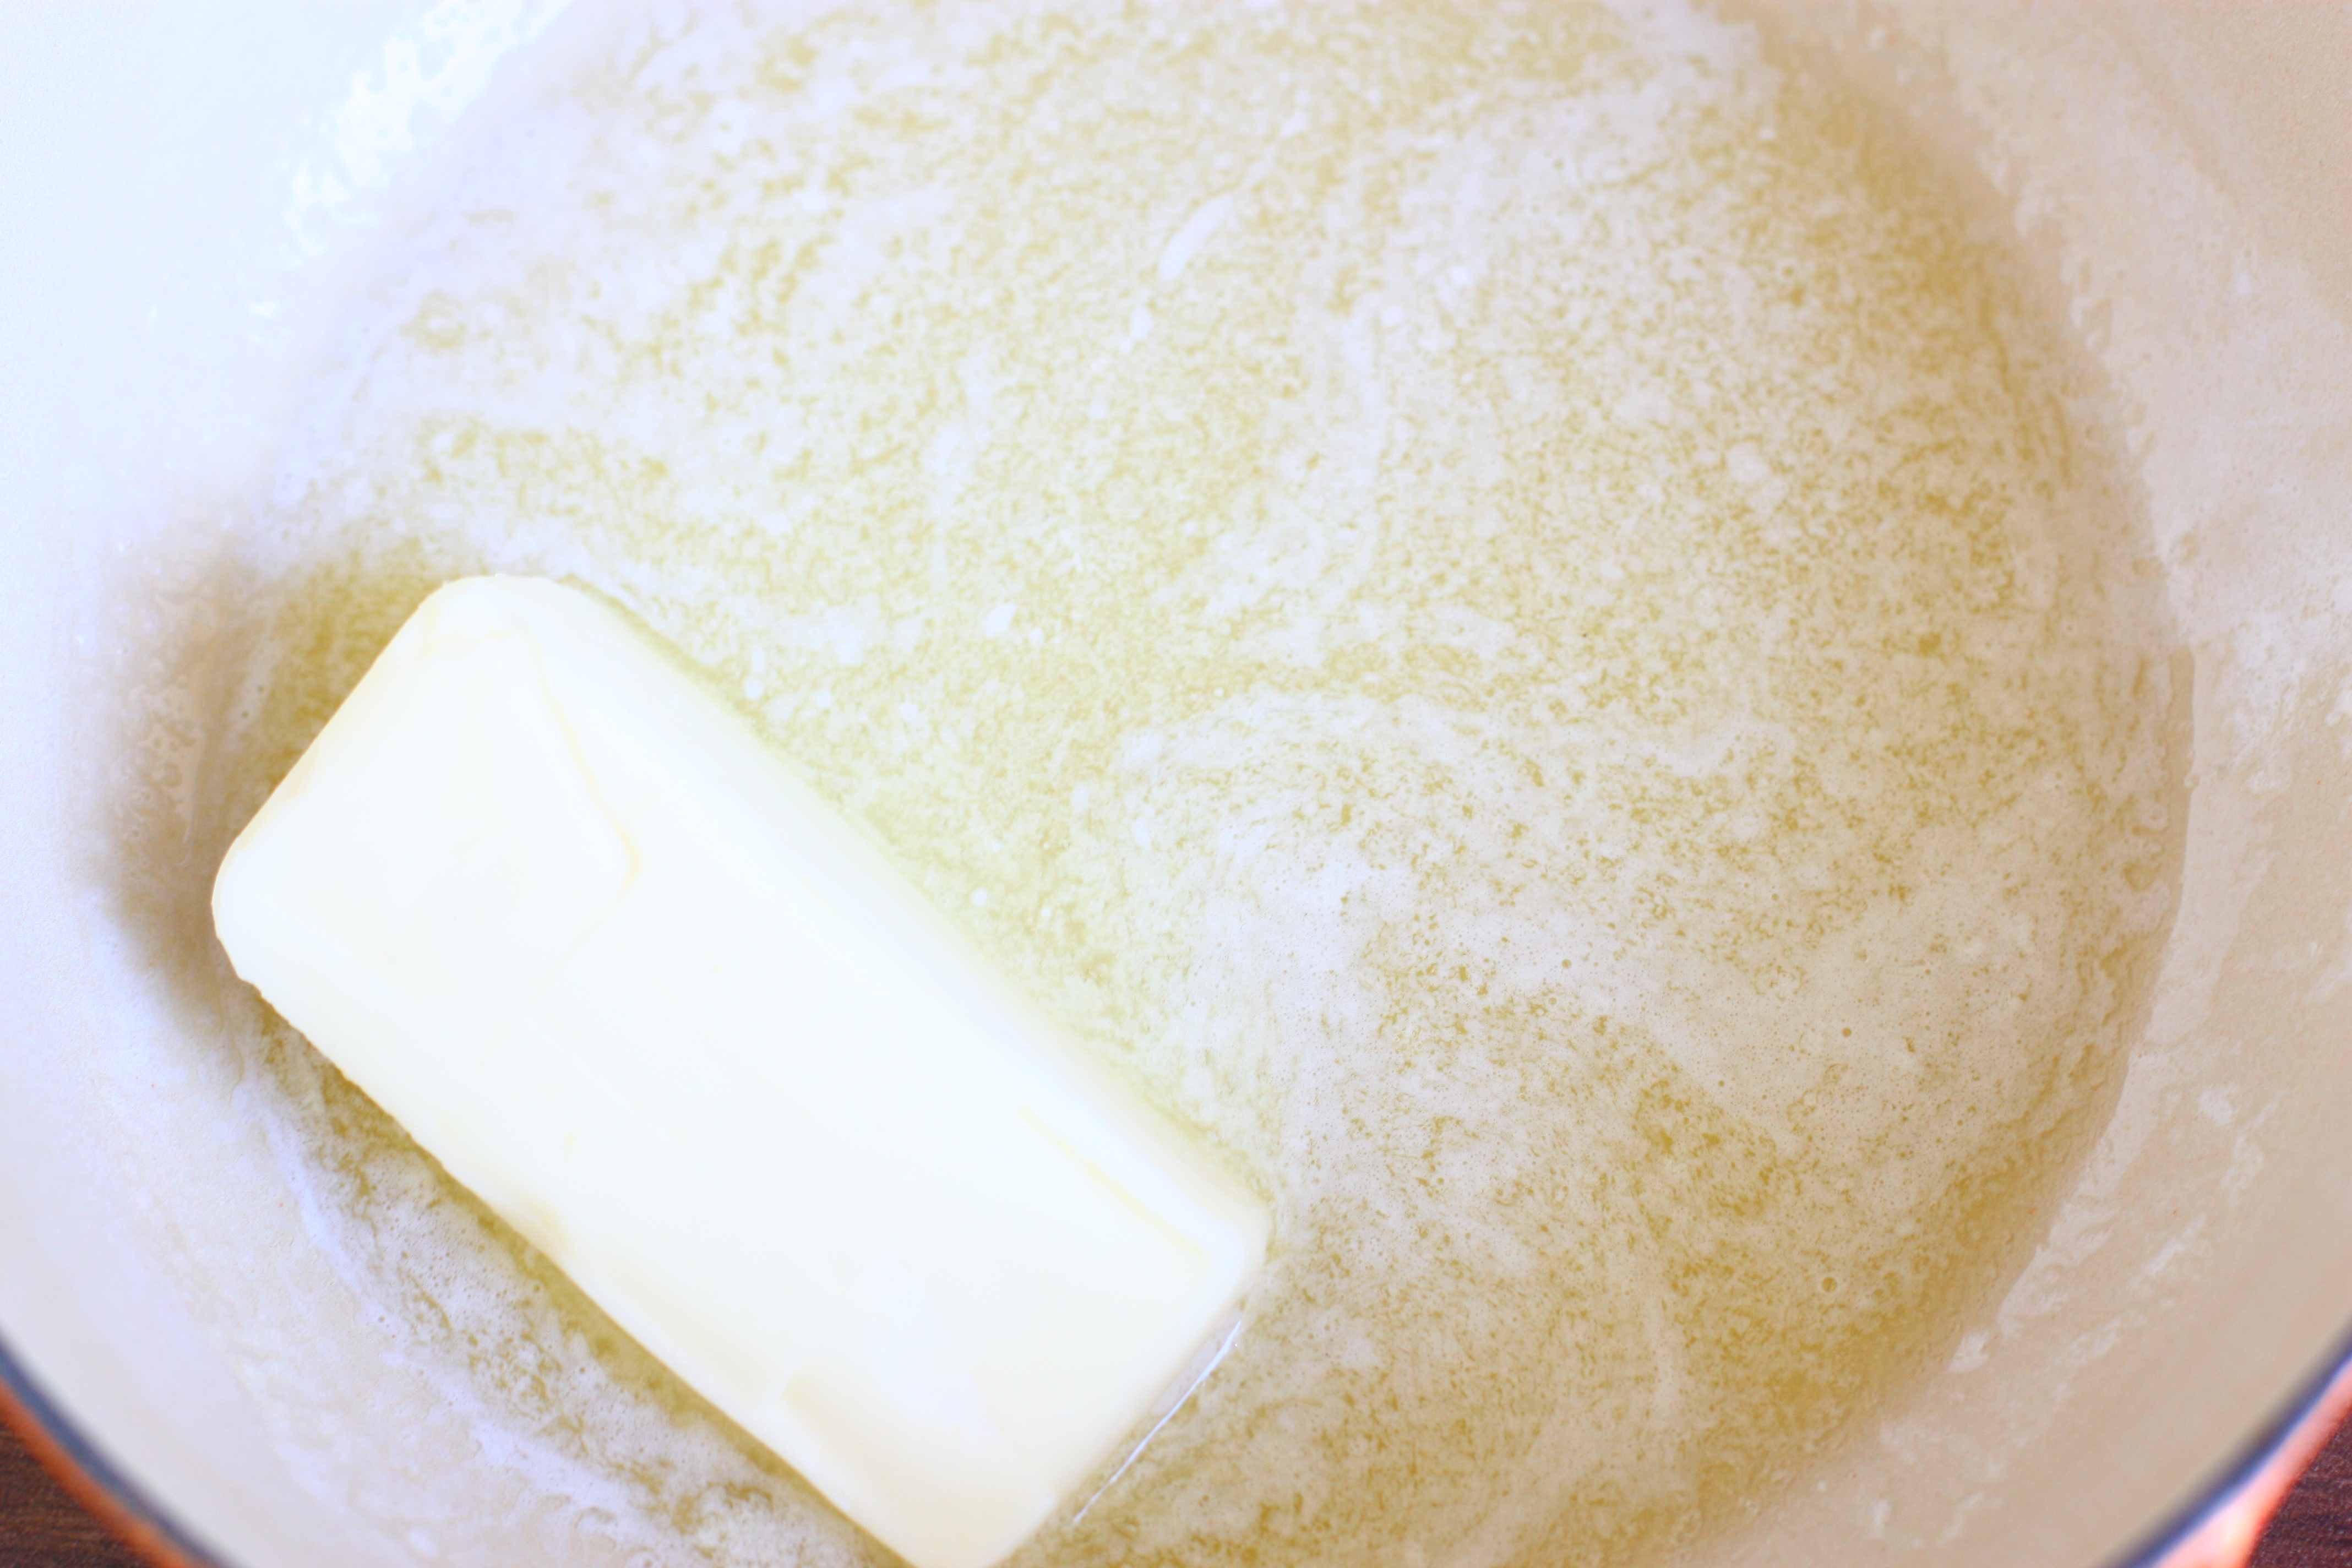
First, melt a stick of butter. You’ll need every bit of this stick for brushing on the fillo dough. This is what will make your strudel so perfectly crisp and golden. After your butter has melted, set it aside.


Tasty Kitchen Blog: Apricot Strudel. Guest post by Jenna Weber of Eat, Live, Run; recipe submitted by Heather of Heather Christ Cooks.

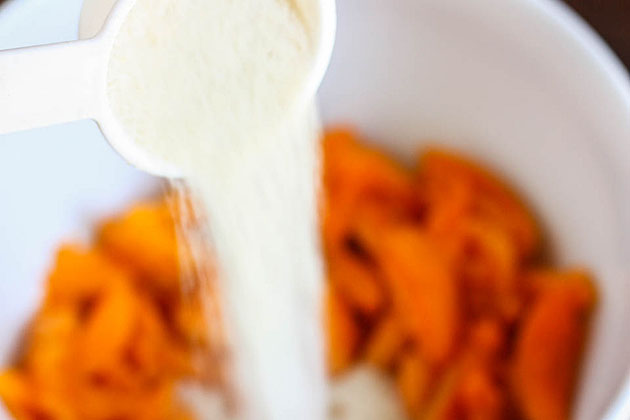
Slice your apricots and toss them into a bowl with 1/4 cup of granulated sugar.


Tasty Kitchen Blog: Apricot Strudel. Guest post by Jenna Weber of Eat, Live, Run; recipe submitted by Heather of Heather Christ Cooks.

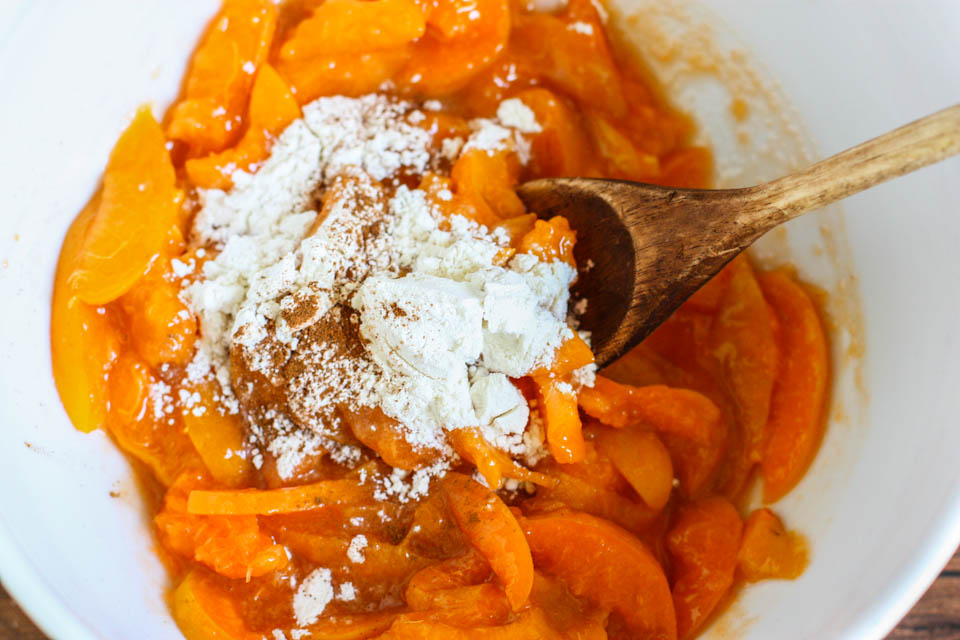
Then add two tablespoons of flour and a pinch of cinnamon. It should look all delicious and juicy—just like a pie filling.


Tasty Kitchen Blog: Apricot Strudel. Guest post by Jenna Weber of Eat, Live, Run; recipe submitted by Heather of Heather Christ Cooks.

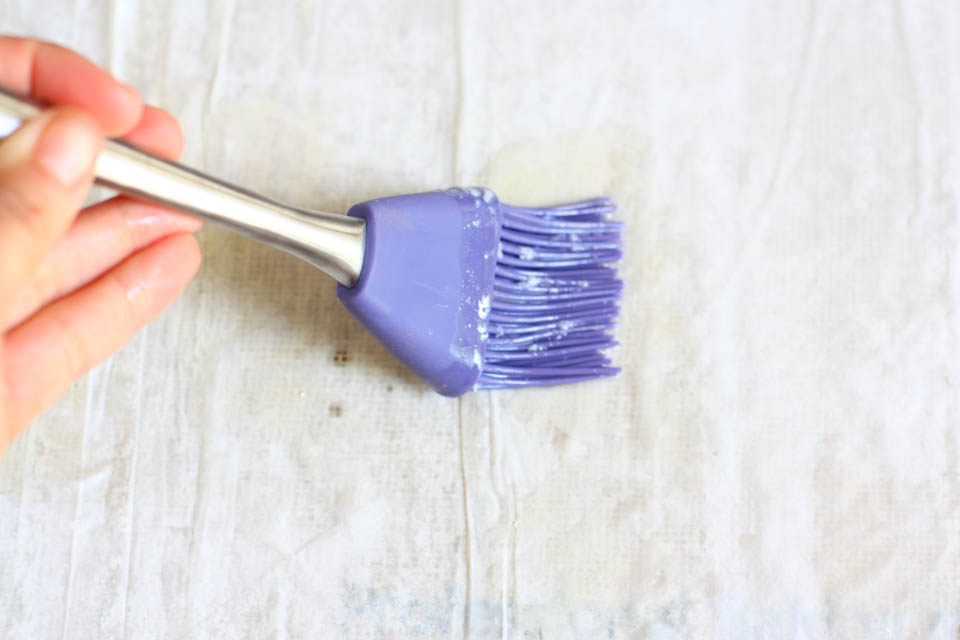
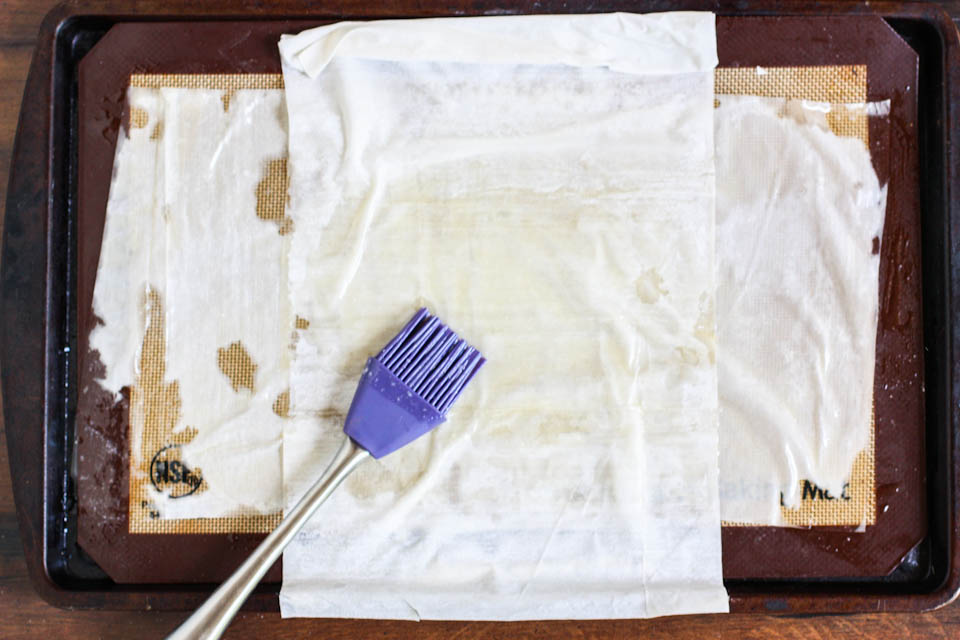
Now here is where things could get a little complicated … but not really. You’ll see! Open your box of defrosted fillo dough and place ONE super-thin sheet on a parchment paper (or Silpat-lined) baking sheet. Brush that sheet well with the melted butter.

A great tip here is to cover the fillo dough with a wet paper towel while you work. This will prevent it from drying out and cracking.


Tasty Kitchen Blog: Apricot Strudel. Guest post by Jenna Weber of Eat, Live, Run; recipe submitted by Heather of Heather Christ Cooks.

After you have brushed the butter on your sheet of fillo, carefully grab two more sheets from the package (remember to cover the remaining up with the wet paper towel!). Place these two sheets on top of the buttery sheet, the opposite way.

Proceed to drench in butter.

Repeat this process (laying one sheet down, brushing with butter, then topping with two sheets going the opposite way) until you have eight buttery fillo layers, or until you use up your box of fillo. I did the latter.


Tasty Kitchen Blog: Apricot Strudel. Guest post by Jenna Weber of Eat, Live, Run; recipe submitted by Heather of Heather Christ Cooks.

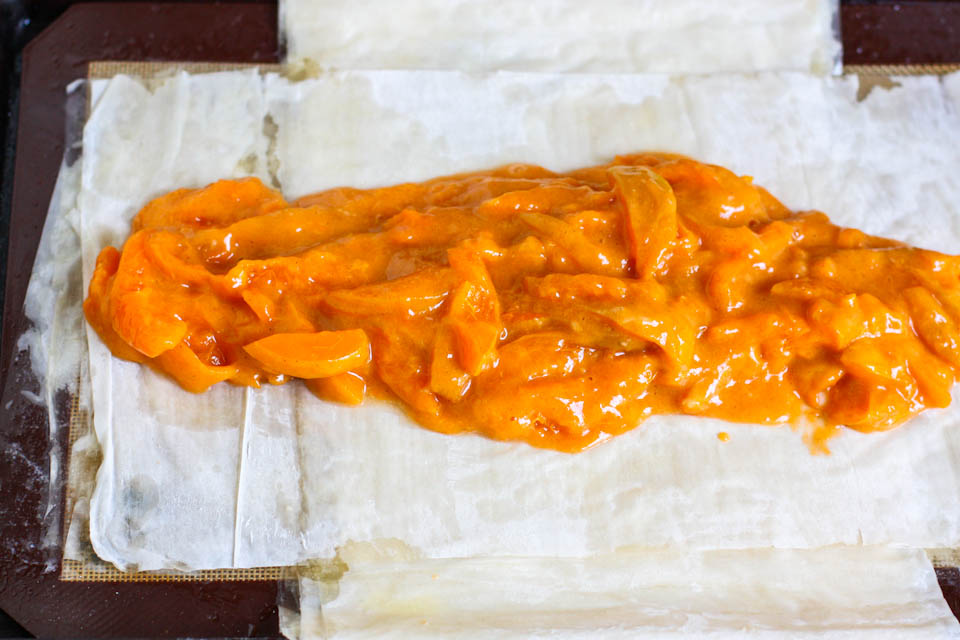
Pour the sugary apricots down the center of the fillo dough in as skinny of a line as you can make.


Tasty Kitchen Blog: Apricot Strudel. Guest post by Jenna Weber of Eat, Live, Run; recipe submitted by Heather of Heather Christ Cooks.

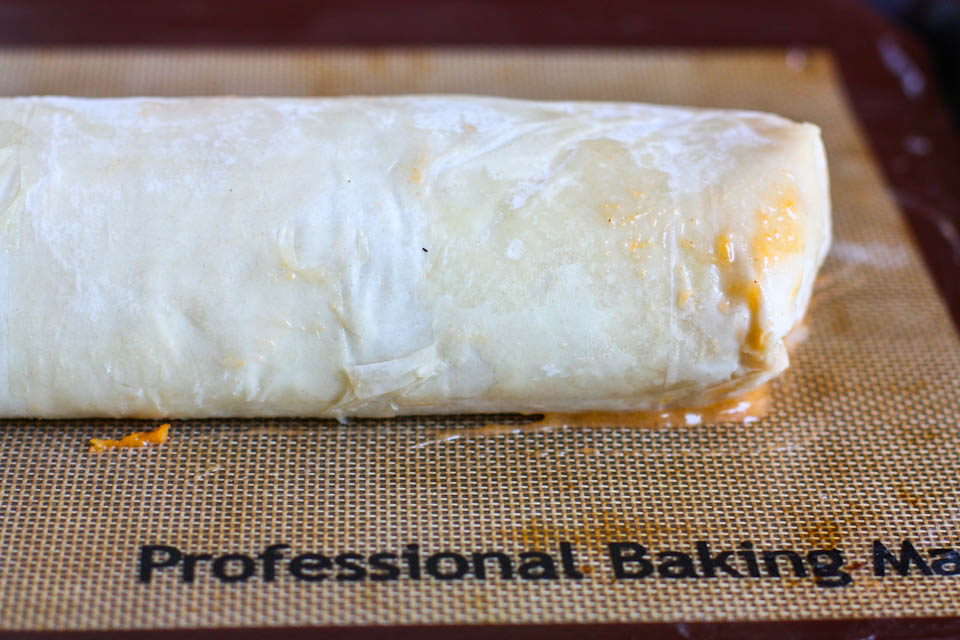
Then, fold the outer “wings” of dough in and start rolling up your strudel like you would roll up an egg roll. You want the ends of the strudel to be as tucked in as you can get so none of that beautiful apricot filling escapes. (See Heather’s blog post for photos of how she did hers!)

Brush your strudel with the remaining melted butter then stick her in a 400ºF oven for half an hour.


Tasty Kitchen Blog: Apricot Strudel. Guest post by Jenna Weber of Eat, Live, Run; recipe submitted by Heather of Heather Christ Cooks.

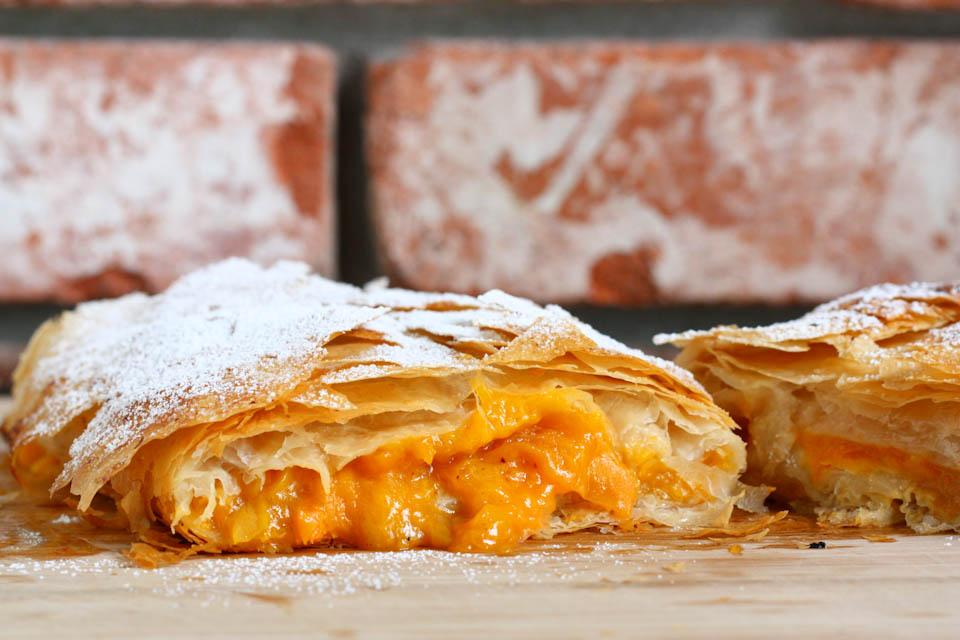
And there ya go! She’s a beauty all right, and you can’t even (really) tell that I tore some of the fillo dough accidently.

Serve this warm with powdered sugar dusted on top of with a scoop of vanilla ice cream.

Thank you, Heather, for this lovely recipe! It’s a keeper, for sure. Check out her blog, Heather Christo Cooks, for more of her great recipes. (You can find the strudel recipe below for printing, so you don’t splatter that melted butter on your laptop like I just did. Oops.)


Printable Recipe

Apricot Strudel

See post on Heather Christo’s site!
0.00 Mitt(s) 0 Rating(s)0 votes, average: 0.00 out of 50 votes, average: 0.00 out of 50 votes, average: 0.00 out of 50 votes, average: 0.00 out of 50 votes, average: 0.00 out of 5

Prep Time:

Cook Time:

Difficulty: Easy

Servings: 8

8
x

Print Options

Page size Letter 3x5 4x6
Text Size Small Medium Large
Content Include description
Include prep time, etc.
Show image

Description

Tender, sweet and tart apricots wrapped in buttery, flaky filo dough make a fast and easy strudel!

Ingredients

  • 1 stick Butter
  • 8  Apricots, Sliced
  • ¼ cups Sugar
  • 2 Tablespoons Flour
  • 1 pinch Cinnamon
  • ½ packages (16 Oz. Size) Filo Dough

Preparation Instructions

1. Preheat the oven to 400ºF. Prepare a sheet pan with a Silpat or parchment paper.
2. In a small pan, melt the butter over low heat. Set aside.
3. Slice the apricots into thin wedges and set them in a bowl.
4. Sprinkle the apricots with sugar, flour and cinnamon. Gently toss everything to coat.
5. Lay a single sheet of filo down in the pan. Brush the sheet with butter.
6. Then lay 2 sheets of filo dough in the opposite direction, overlapping. Brush them with butter.
7. Continue this process of 1 sheet followed by 2 sheets until you have 8 layers of filo dough.
8. Spread the apricots out on the filo dough in a line.
9. Pull the filo dough up and over the apricots and then roll it like a spring roll until the edge of the filo dough is tucked under the strudel.
10. Tuck the ends under. Brush the whole outside of the streudel generously with the rest of the melted butter.
11. Bake the strudel at 400ºF for 30 minutes or until the fruit is soft and the pastry is golden brown.


_______________________________________

Jenna is a food writer who has worked as a pastry chef and bread baker. Her blog Eat, Live, Run has great recipes, travel stories, and the perfect slogan: “Celebrating life, one crumb at a time.”

 

Profile photo of cookincanuck

Grilled Pasta Packets

Posted by in Step-by-Step Recipes

Tasty Kitchen Blog: Grilled Pasta Packets. Guest post by Dara Michalski of Cookin' Canuck, recipe submitted by TK member Lindsay of Eath 80/20.

 
As soon as summertime hits, my boys want to know one thing: When are we going camping? The local mountains and lakes are filled with campsites, tucked away amongst the trees, offering endless hours of exploration for curious minds and a reprieve from the valley heat for everyone.

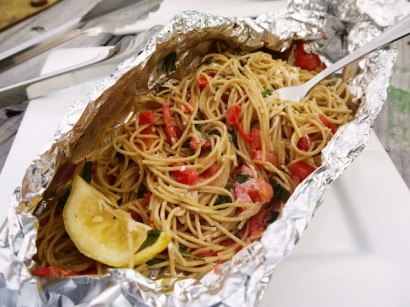
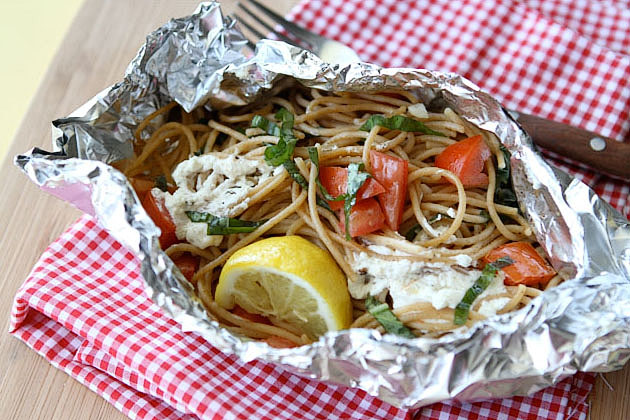
Cooking around a campfire is always an adventure, and we try to come up with novel ways to prepare old favorites to keep things interesting. When I stumbled across Tasty Kitchen member Eat 80/20 Dietitian’s recipe for Grilled Pasta Packets, I knew I had to try it out on our backyard grill. The result? Easy, packed with flavor, and fun to eat. The beauty of this recipe is that you can make the spaghetti ahead of time and pack it in to your campsite. Just assemble and warm it in foil over a camping stove, or on a grate over a smoldering campfire. This will certainly become a new family favorite!

Let’s get cooking.


Tasty Kitchen Blog: Grilled Pasta Packets. Guest post by Dara Michalski of Cookin' Canuck, recipe submitted by TK member Lindsay of Eath 80/20.

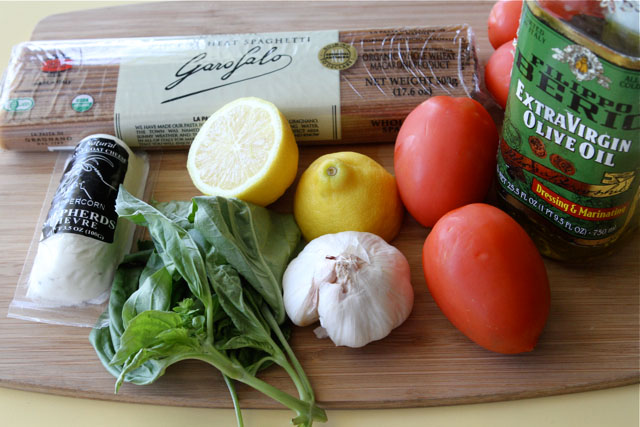
Here’s everything you’re going to need for this recipe. Quick and easy!


Tasty Kitchen Blog: Grilled Pasta Packets. Guest post by Dara Michalski of Cookin' Canuck, recipe submitted by TK member Lindsay of Eath 80/20.

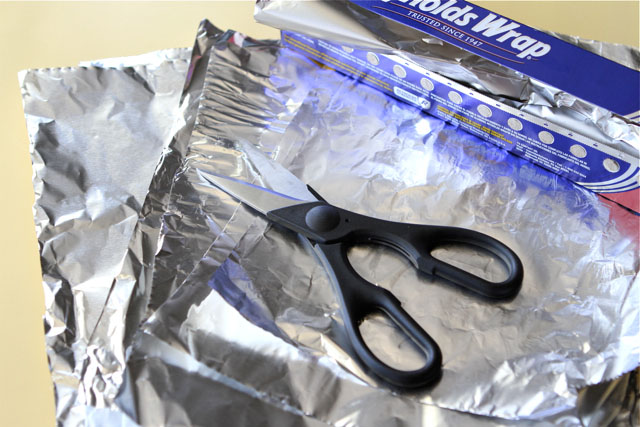
Cut foil into twelve 8- by 12 –inch pieces of foil. You will use two piece of foil for each packet.


Tasty Kitchen Blog: Grilled Pasta Packets. Guest post by Dara Michalski of Cookin' Canuck, recipe submitted by TK member Lindsay of Eath 80/20.

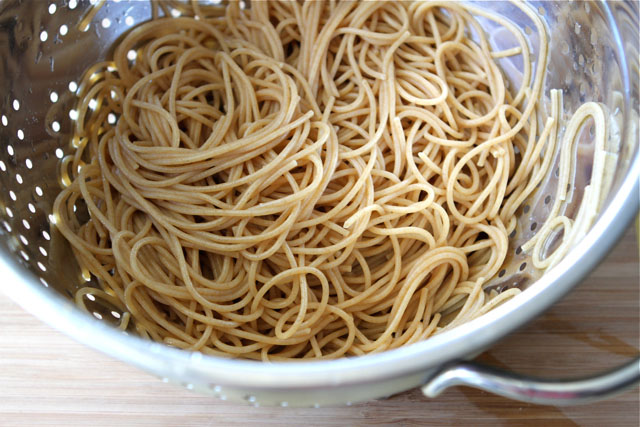
Cook the spaghetti until it is undercooked by a couple of minutes. Rinse with cold water and store it in a resealable plastic bag until you’re ready to use, preferably when you’re bundled up together around a campfire.

When you’re ready to go, preheat the grill to medium heat.


Tasty Kitchen Blog: Grilled Pasta Packets. Guest post by Dara Michalski of Cookin' Canuck, recipe submitted by TK member Lindsay of Eath 80/20.

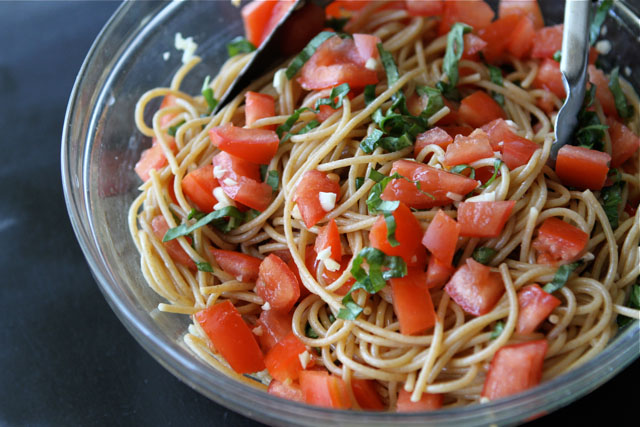
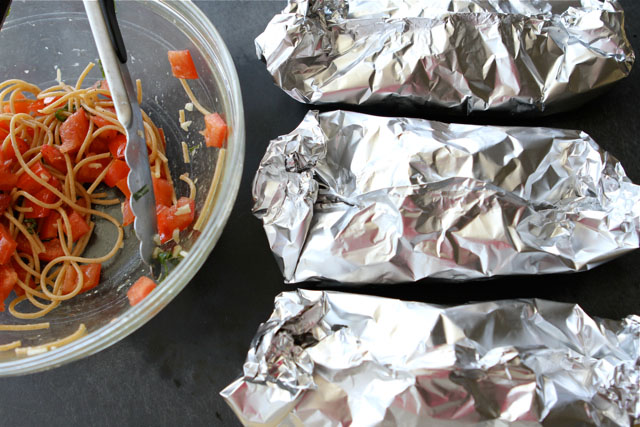
Toss the spaghetti, olive oil, chopped tomatoes, garlic and basil in a large bowl.


Tasty Kitchen Blog: Grilled Pasta Packets. Guest post by Dara Michalski of Cookin' Canuck, recipe submitted by TK member Lindsay of Eath 80/20.

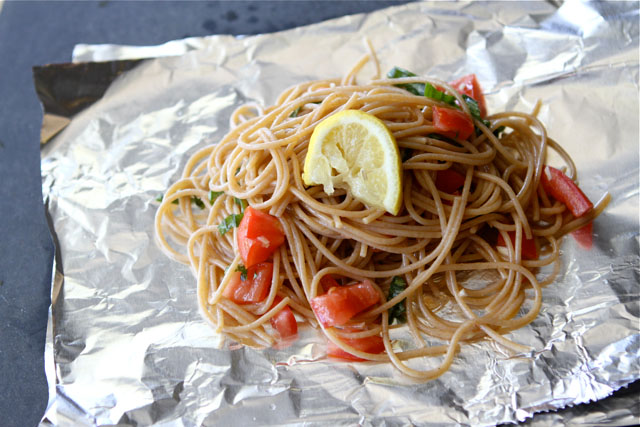
Divide the spaghetti mixture between the 6 double-layered pieces of foil (about 1 ¼ cups per packet). Squeeze 1 lemon wedge over each each portion of spaghetti and lay the lemon wedge on top of the spaghetti.


Tasty Kitchen Blog: Grilled Pasta Packets. Guest post by Dara Michalski of Cookin' Canuck, recipe submitted by TK member Lindsay of Eath 80/20.

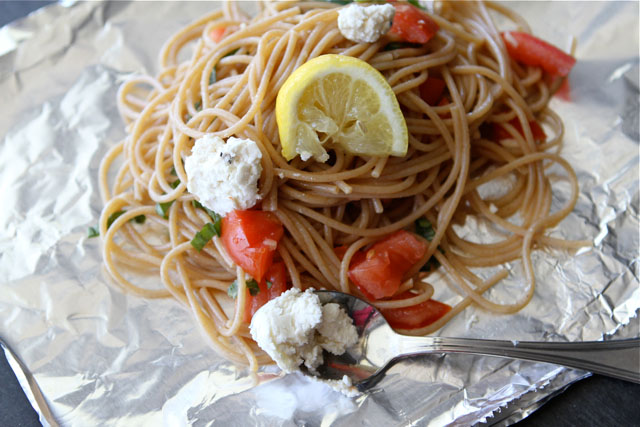
Dollop each portion with a few teaspoons of goat cheese.


Tasty Kitchen Blog: Grilled Pasta Packets. Guest post by Dara Michalski of Cookin' Canuck, recipe submitted by TK member Lindsay of Eath 80/20.

Starting with the long sides, fold the foil to form a package. Fold over the ends. Avoid squeezing out all of the air from the packages.


Tasty Kitchen Blog: Grilled Pasta Packets. Guest post by Dara Michalski of Cookin' Canuck, recipe submitted by TK member Lindsay of Eath 80/20.

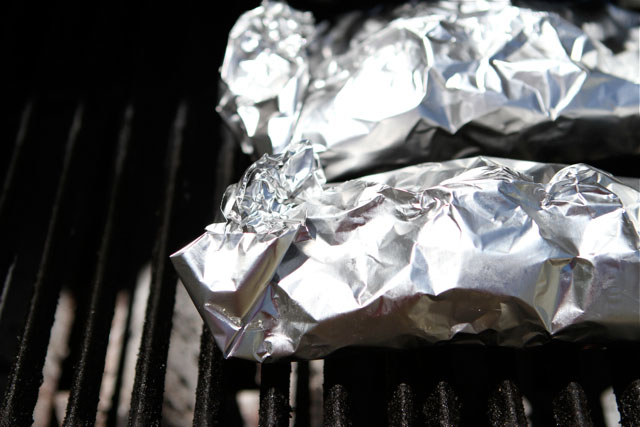
Lower the heat of the grill to low heat (or find a cool-ish part of your campfire). Heat the packets until the spaghetti is heated through and the goat cheese is melted, about 10 to 12 minutes, shaking partway through.


Tasty Kitchen Blog: Grilled Pasta Packets. Guest post by Dara Michalski of Cookin' Canuck, recipe submitted by TK member Lindsay of Eath 80/20.

Remove from the heat and serve.

Thanks so much to Lindsay for this recipe. Be sure to check out her blog, Eighty Twenty. Lindsay follows the principle of eating healthy foods 80 percent of the time so that you can eat less healthy things 20 percent of the time. I like her already!


Printable Recipe

Grilled Pasta Packets

See post on Lindsay {Eighty Twenty Dietitian}’s site!
0.00 Mitt(s) 0 Rating(s)0 votes, average: 0.00 out of 50 votes, average: 0.00 out of 50 votes, average: 0.00 out of 50 votes, average: 0.00 out of 50 votes, average: 0.00 out of 5

Prep Time:

Cook Time:

Difficulty: Easy

Servings: 6

6
x

Print Options

Page size Letter 3x5 4x6
Text Size Small Medium Large
Content Include description
Include prep time, etc.
Show image

Description

This is a camping dinner that is so easy to throw together, and it does not include processed meats. Hooray! Cook your pasta before your camping trip and save it in a Ziploc bag. Then let everyone build their own pasta and toss it on the grill to heat!

Ingredients

  • 1 pound Whole Grain Spaghetti Noodles, Cooked For About 6 Minutes, Or Slightly Less Than Al Dente Per Package Instructions
  • 6 whole Roma Tomatoes Seeded And Chopped
  • 1 cup Fresh Basil Leaves, Coarsely Chopped
  • ½ teaspoons Salt
  • ¼ teaspoons Fresh Ground Black Pepper
  • 3 cloves Garlic, Finely Chopped
  • 3 Tablespoons Olive Oil
  • 1 whole Lemon, Cut Into 6 Wedges
  • 4 ounces, weight Goat Cheese

Preparation Instructions

Preheat grill to medium heat.

Cut one dozen 8×12″ pieces of aluminum foil. Layer foil so that you are using 2 per packet. In a bowl, toss together pasta, chopped tomato, basil, salt, pepper, garlic and olive oil. Spoon one serving of pasta mixture (about 1 1/4 cups) into the center of each packet. Squeeze lemon wedge over pasta before adding the lemon to the packet. Spoon a few teaspoons of goat cheese into packet.

Bring long edges of foil together, then roll it up to secure it. Roll edges of packet to form a closed space (do not squeeze out all of the air).

Reduce grill heat to low, then place packets on grill. Cook for 10-12 minutes, shaking packets halfway through cooking.

Remove from grill and serve immediately.

Nutrition Information per 1 packet as shown above: 224 calories, 11 g fat, 8 g protein, 20 g carbohydrates, 4.5 g fiber


_______________________________________

Dara Michalski is a doll and a sweetheart who clearly knows her way around the kitchen. She blogs at Cookin’ Canuck, where she shares her flavor-packed recipes and fun, engaging writing. The photography’s pretty incredible, too.


Profile photo of georgiapellegrini

Raw Vegan Chocolate Mousse

Posted by in Step-by-Step Recipes

Tasty Kitchen Blog: Raw Vegan Chocolate Mousse. Guest post by Georgia Pellegrini, recipe submitted by TK member Sally of Spontaneous Hausfrau.

 
I’m making a national appeal to everyone to make this pudding as soon as possible. It really has something for everyone—it’s beyond delicious, but is also perfect for anyone trying to curb their sweet tooth. I’m so, so glad I stumbled upon this Raw Vegan Chocolate Mousserecipe from Spontaneous Hausfrau and had the opportunity to make it.


Tasty Kitchen Blog: Raw Vegan Chocolate Mousse. Guest post by Georgia Pellegrini, recipe submitted by TK member Sally of Spontaneous Hausfrau.

It requires a little planning ahead because the cashews will need to be soaked in water, but after that, there is no cooking required and it will be ready to eat in a jiffy.

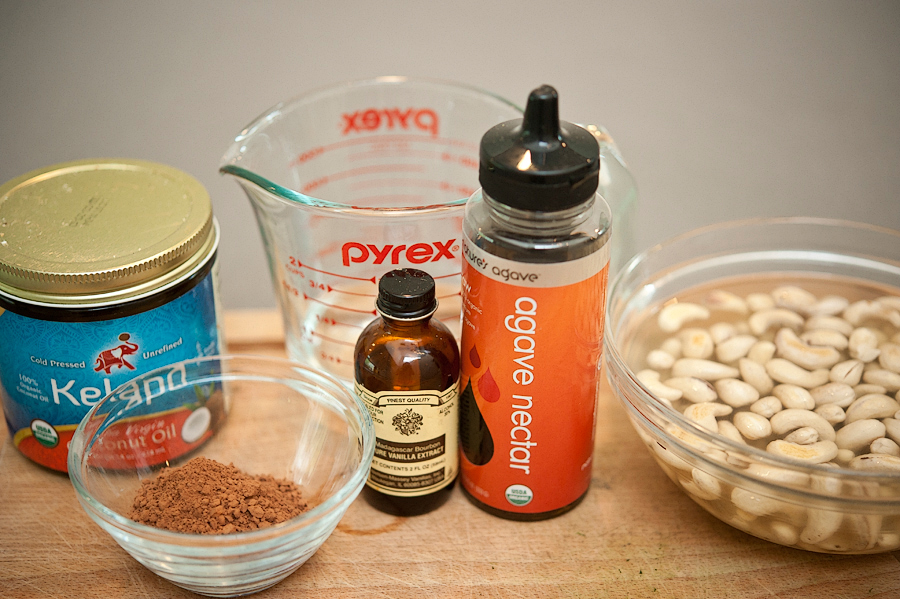
You will need: raw unsalted cashews that have been soaked in water for six hours, agave, vanilla, unsweetened cocoa powder, coconut oil, water.


Tasty Kitchen Blog: Raw Vegan Chocolate Mousse. Guest post by Georgia Pellegrini, recipe submitted by TK member Sally of Spontaneous Hausfrau.

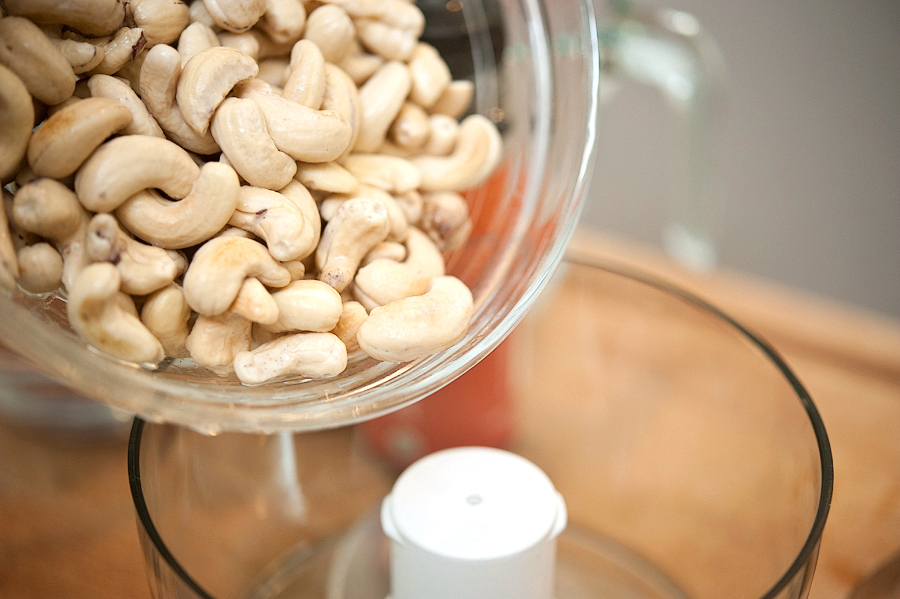
Drain the cashews and put them in a food processor.


Tasty Kitchen Blog: Raw Vegan Chocolate Mousse. Guest post by Georgia Pellegrini, recipe submitted by TK member Sally of Spontaneous Hausfrau.

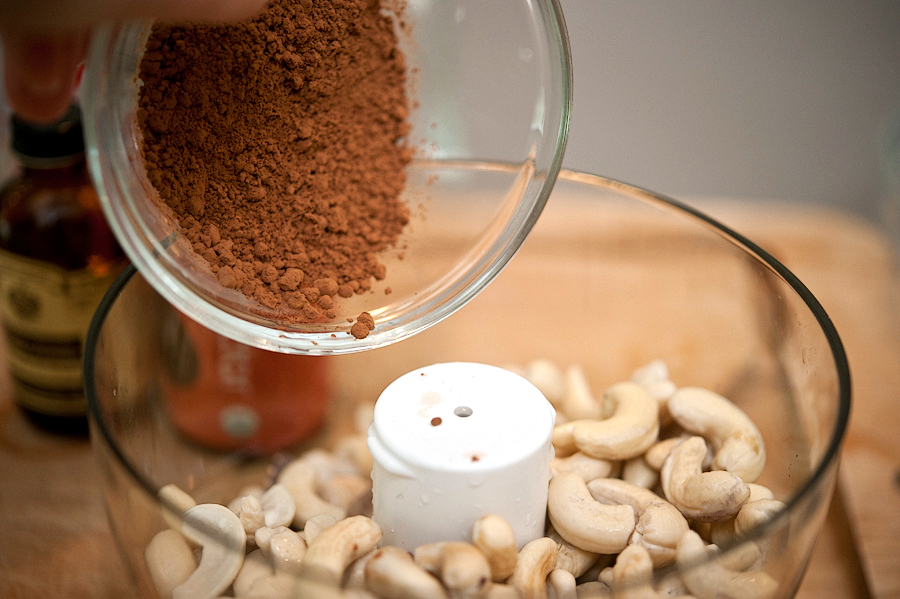
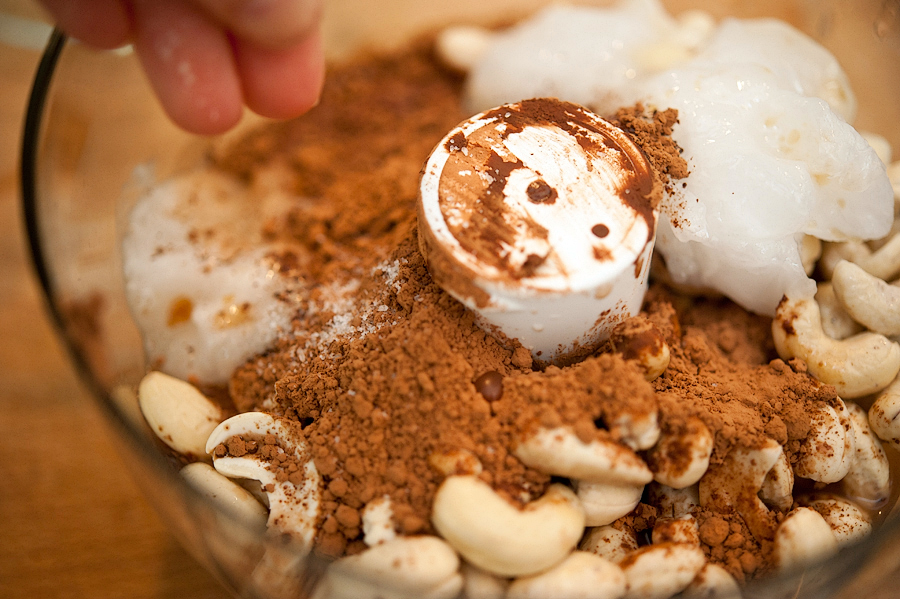
Next add the unsweetened cocoa powder …


Tasty Kitchen Blog: Raw Vegan Chocolate Mousse. Guest post by Georgia Pellegrini, recipe submitted by TK member Sally of Spontaneous Hausfrau.

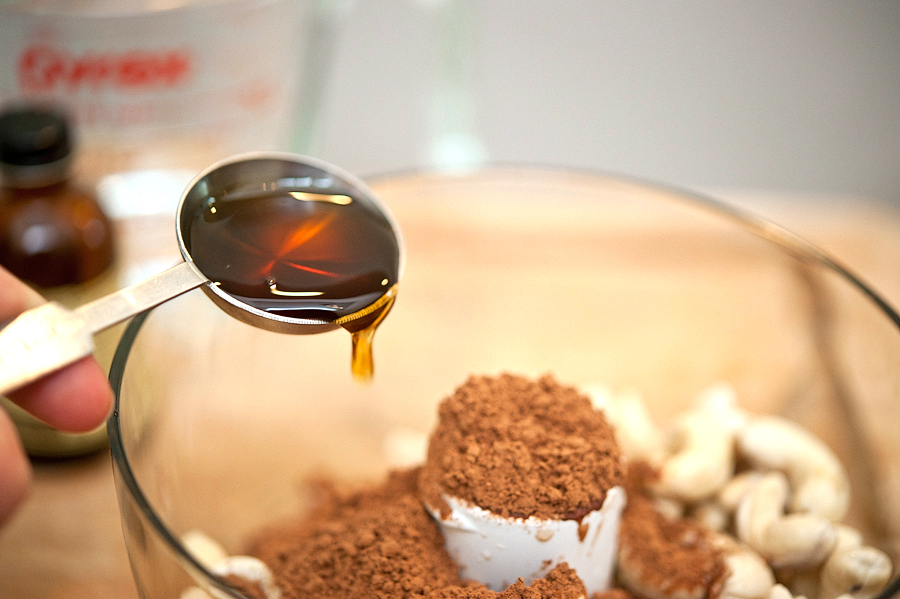
The agave …


Tasty Kitchen Blog: Raw Vegan Chocolate Mousse. Guest post by Georgia Pellegrini, recipe submitted by TK member Sally of Spontaneous Hausfrau.

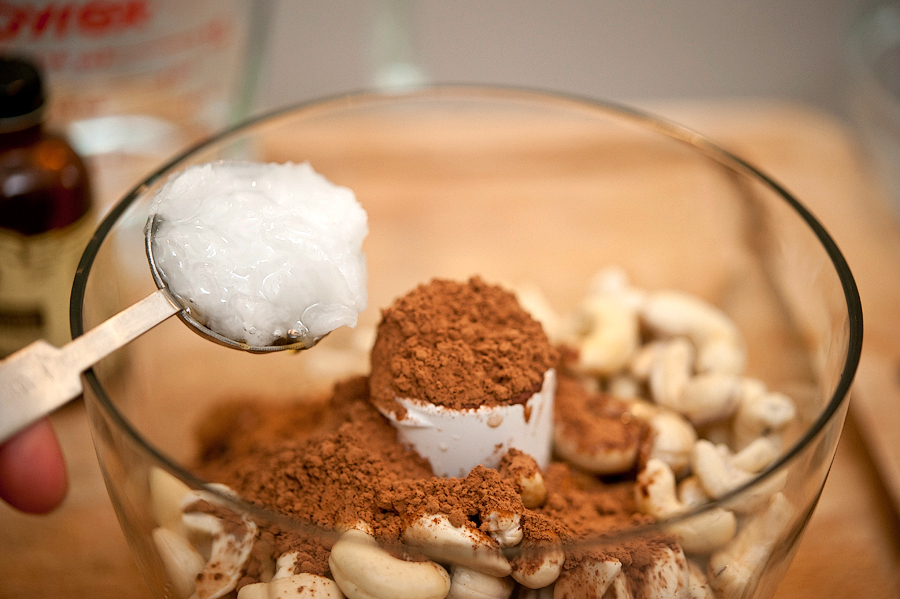
The coconut oil, which adds an amazing creaminess …


Tasty Kitchen Blog: Raw Vegan Chocolate Mousse. Guest post by Georgia Pellegrini, recipe submitted by TK member Sally of Spontaneous Hausfrau.

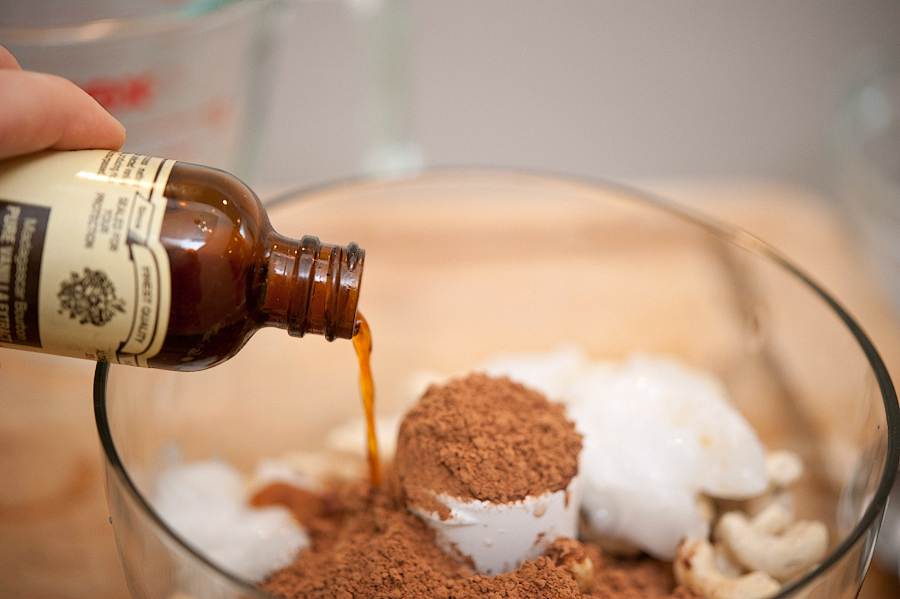
Vanilla …


Tasty Kitchen Blog: Raw Vegan Chocolate Mousse. Guest post by Georgia Pellegrini, recipe submitted by TK member Sally of Spontaneous Hausfrau.

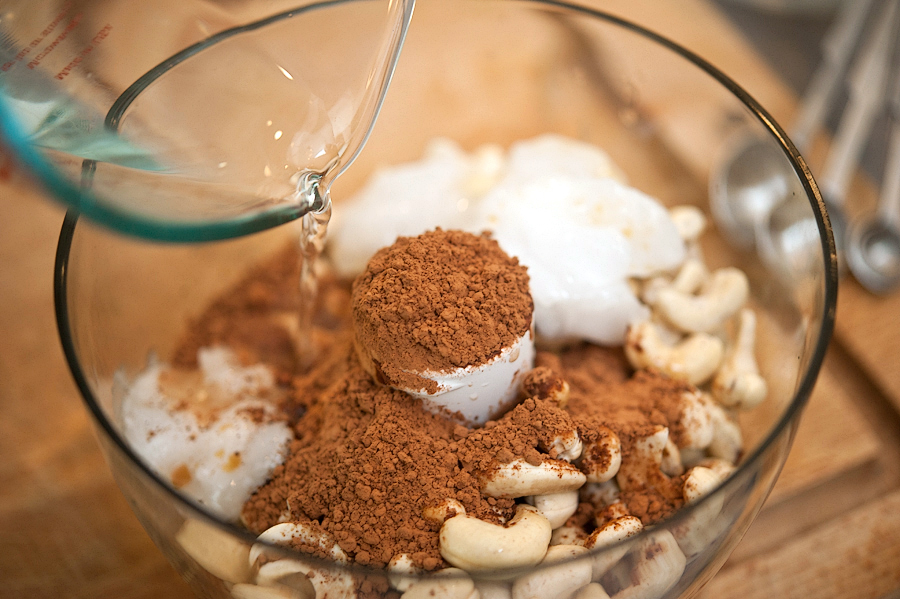
And a bit of water.


Tasty Kitchen Blog: Raw Vegan Chocolate Mousse. Guest post by Georgia Pellegrini, recipe submitted by TK member Sally of Spontaneous Hausfrau.

I also added a pinch of sea salt to give it some brightness. You could also add any other flavorings you please. Cinnamon would be nice, for example.


Tasty Kitchen Blog: Raw Vegan Chocolate Mousse. Guest post by Georgia Pellegrini, recipe submitted by TK member Sally of Spontaneous Hausfrau.

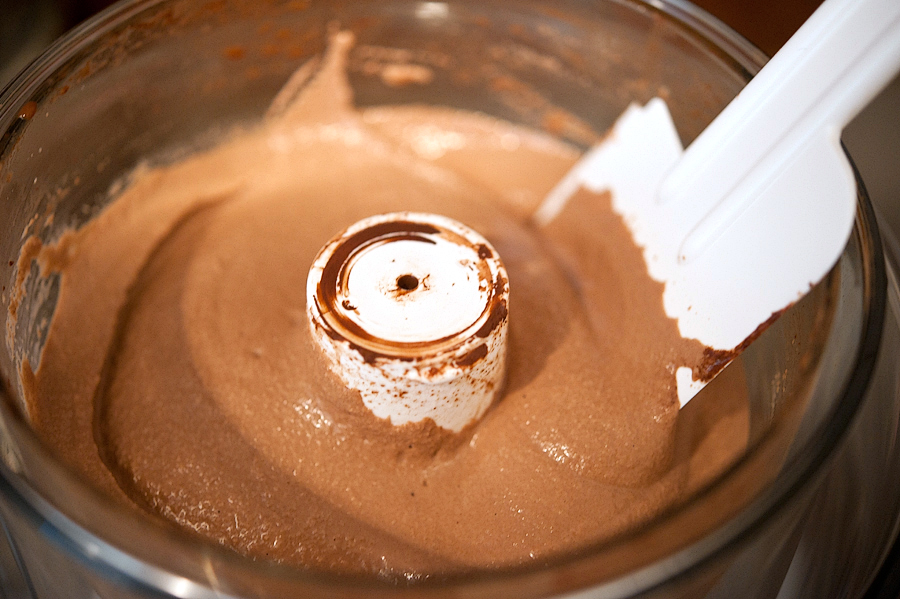
Puree the mixture in the food processor for about three minutes, being sure to scrape down the sides every minute or so. The mixture will become fluffy and creamy as the cashews break down and emulsify with the other ingredients.


Tasty Kitchen Blog: Raw Vegan Chocolate Mousse. Guest post by Georgia Pellegrini, recipe submitted by TK member Sally of Spontaneous Hausfrau.

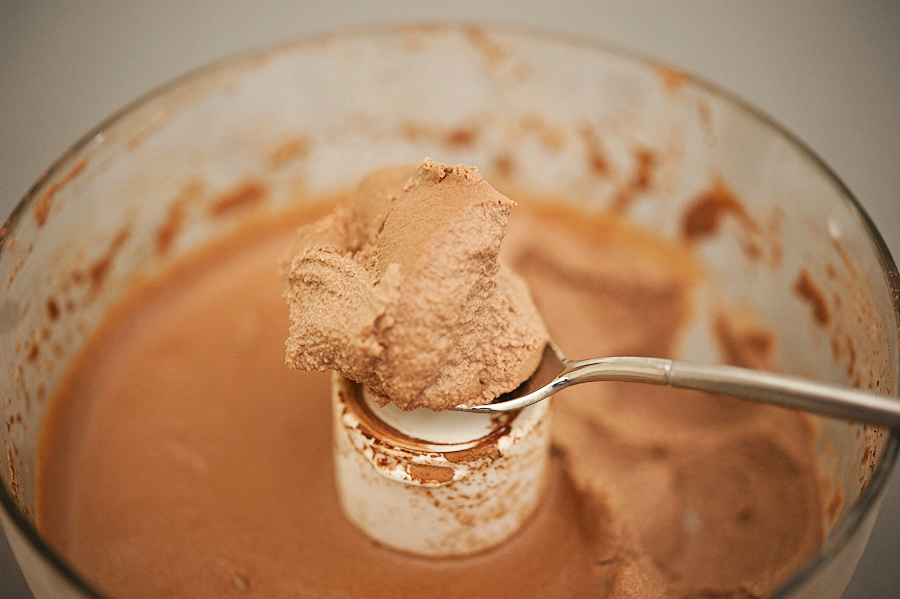
You can eat it at this point, or even better you can pop it in the refrigerator for an hour until it firms up and becomes even more amazing.


Tasty Kitchen Blog: Raw Vegan Chocolate Mousse. Guest post by Georgia Pellegrini, recipe submitted by TK member Sally of Spontaneous Hausfrau.

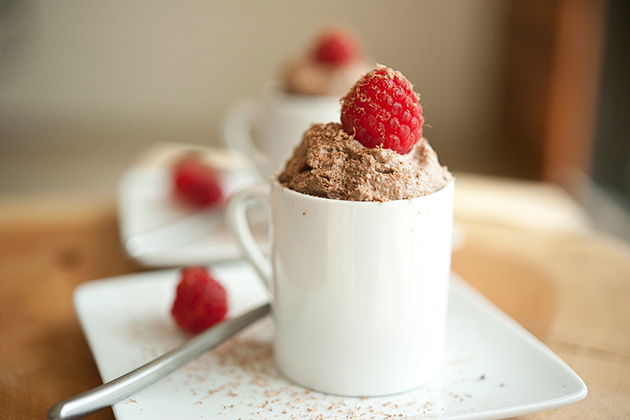
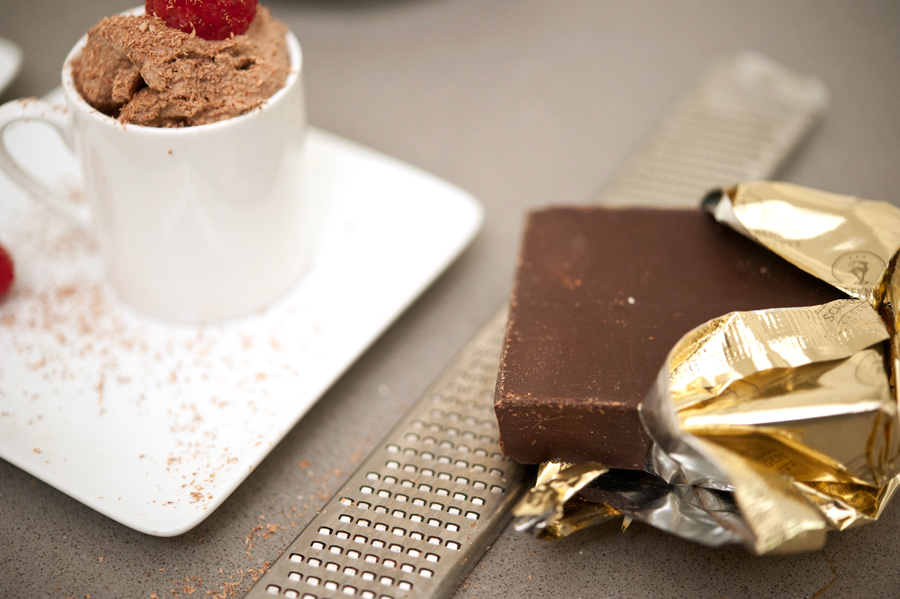
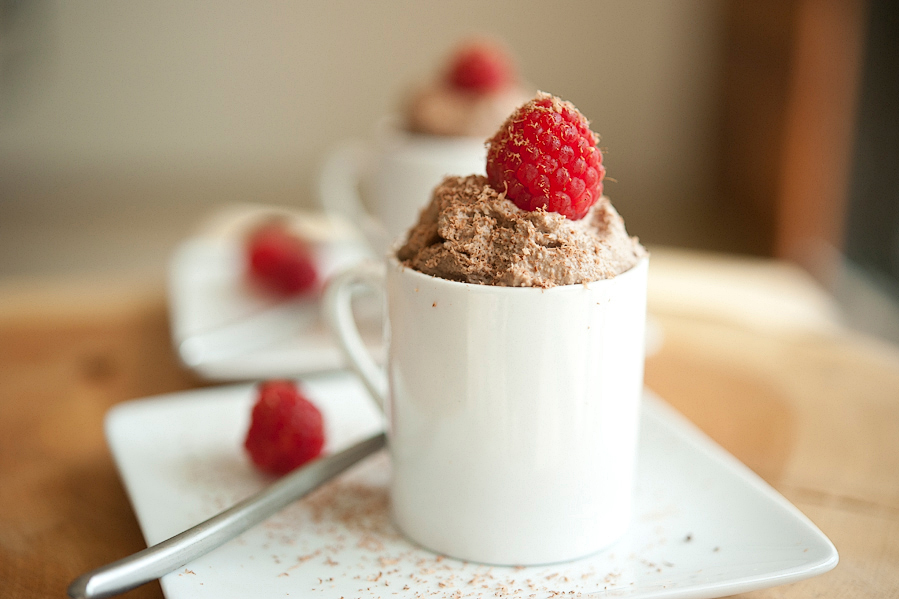
Serve it up in little glasses or bowls. And if you’re feeling fancy, grate a bit of dark chocolate over the top and pop on a raspberry or your other favorite fruit.


Tasty Kitchen Blog: Raw Vegan Chocolate Mousse. Guest post by Georgia Pellegrini, recipe submitted by TK member Sally of Spontaneous Hausfrau.

You will love, love, love this. I served it to friends and one of them asked if they could lick the bowl. I said yes of course, it was the only logical thing to do.

Thanks so much to Sally for this wonderful recipe. Check out her website The Spontaneous Hausfrau for other great finds!


Printable Recipe

Raw Vegan Chocolate Mousse

See post on Spontaneous Hausfrau’s site!
3.00 Mitt(s) 1 Rating(s)1 vote, average: 3.00 out of 51 vote, average: 3.00 out of 51 vote, average: 3.00 out of 51 vote, average: 3.00 out of 51 vote, average: 3.00 out of 5

Prep Time:

Cook Time:

Difficulty: Easy

Servings: 3

3
x

Print Options

Page size Letter 3x5 4x6
Text Size Small Medium Large
Content Include description
Include prep time, etc.
Show image

Description

This creamy, intense mousse is healthy and crave-worthy.

Ingredients

  • 1 cup Raw Cashews, Soaked 6 Hours
  • 2 Tablespoons Agave Syrup
  • 4 teaspoons Coconut Oil
  • 1 whole Vanilla Bean, Scraped
  • ½ cups Water
  • 2 Tablespoons Raw Cacao Powder

Preparation Instructions

Combine all the ingredients in the bowl of a food processor and puree for 3-4 minutes, periodically scraping the bowl, until the mixture is creamy and fluffy. Chill 1 hour to further thicken the mousse. Serve garnished with raw cacao nibs.


_______________________________________

There’s so much to say about Georgia, we don’t know where to start. Leaving Wall Street for the French Culinary Institute, followed by a stint at the Gramercy Tavern and La Chassagnette in France, her passion for food and food traditions are evident and inspiring. Visit her site at Georgia Pellegrini, where you’ll find more recipes, photos, learn all about her wonderful books Girl Hunter and Food Heroes, and enjoy her latest adventures.


Profile photo of ThreeManyCooks

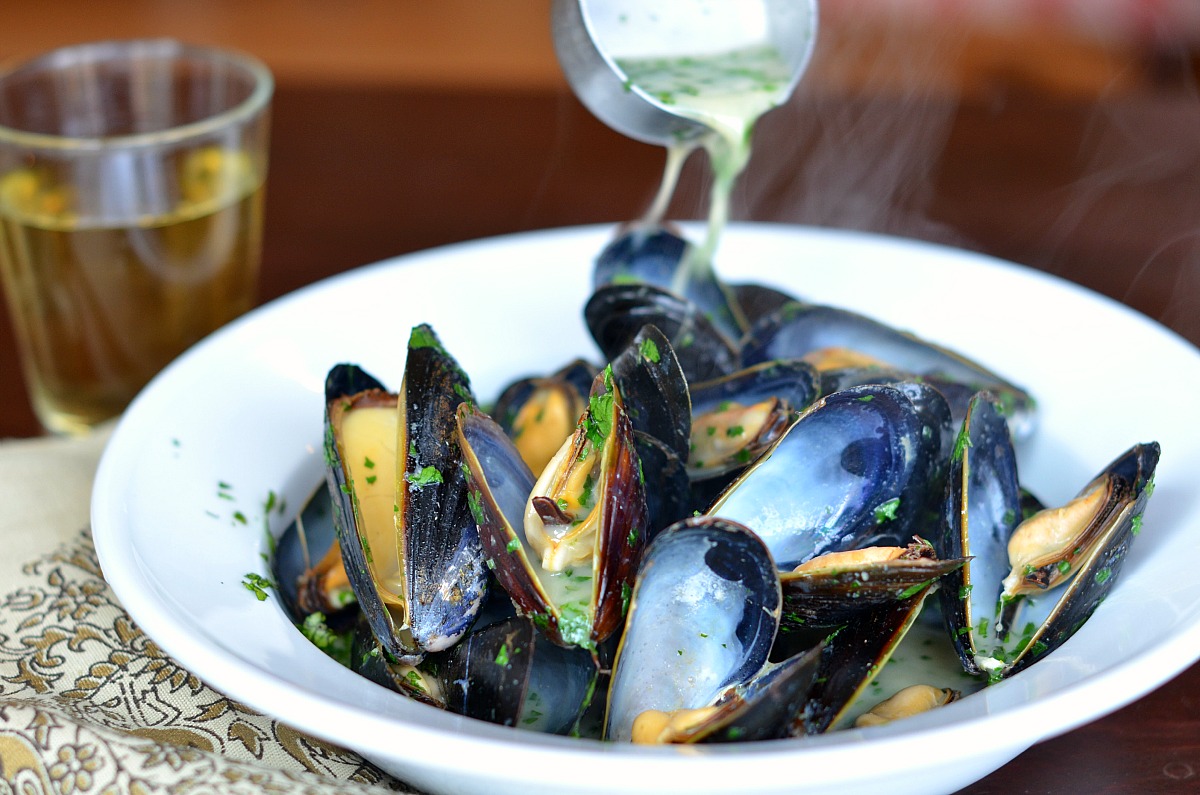
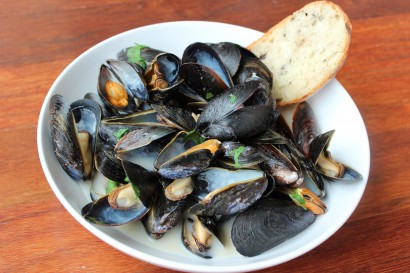
Thai Coconut Mussels

Posted by in Step-by-Step Recipes

Tasty Kitchen Blog: Thai Coconut Mussels. Guest post by Maggy Keet of Three Many Cooks, recipe submitted by TK member Lisa of One Cook, Two Kitchens.

 
Years ago my husband and I started a tradition with our good friends called ‘Mussels Night.’ Every so often we’d get together at one house or the other and make two giant pots of mussels—one in a creamy white sauce, the other in a spicy marinara. We cherished those evenings not only for the company, but for the ease of preparation and speedy cook-time, which meant we could focus more on our friends than fussing in the kitchen. When the mussels were done we’d put the steaming pots in the middle of the table, pull out a few baguettes, open a couple bottles of wine, and settle in for a good night of boisterous conversation and uproarious laughter. We’d start with large bowlfuls. By the end of the night we’d be sitting in front of a giant pile of shells, washing down the last sauce-soaked piece of bread with a gulp of red wine.

We no longer live in England, near those good friends, but mussels still hold a special place in my heart. These beautiful Thai Coconut Mussels from One Cook Two Kitchens reminded me that it’s been far too long since our last ‘Mussels Night.’


Tasty Kitchen Blog: Thai Coconut Mussels. Guest post by Maggy Keet of Three Many Cooks, recipe submitted by TK member Lisa of One Cook, Two Kitchens.

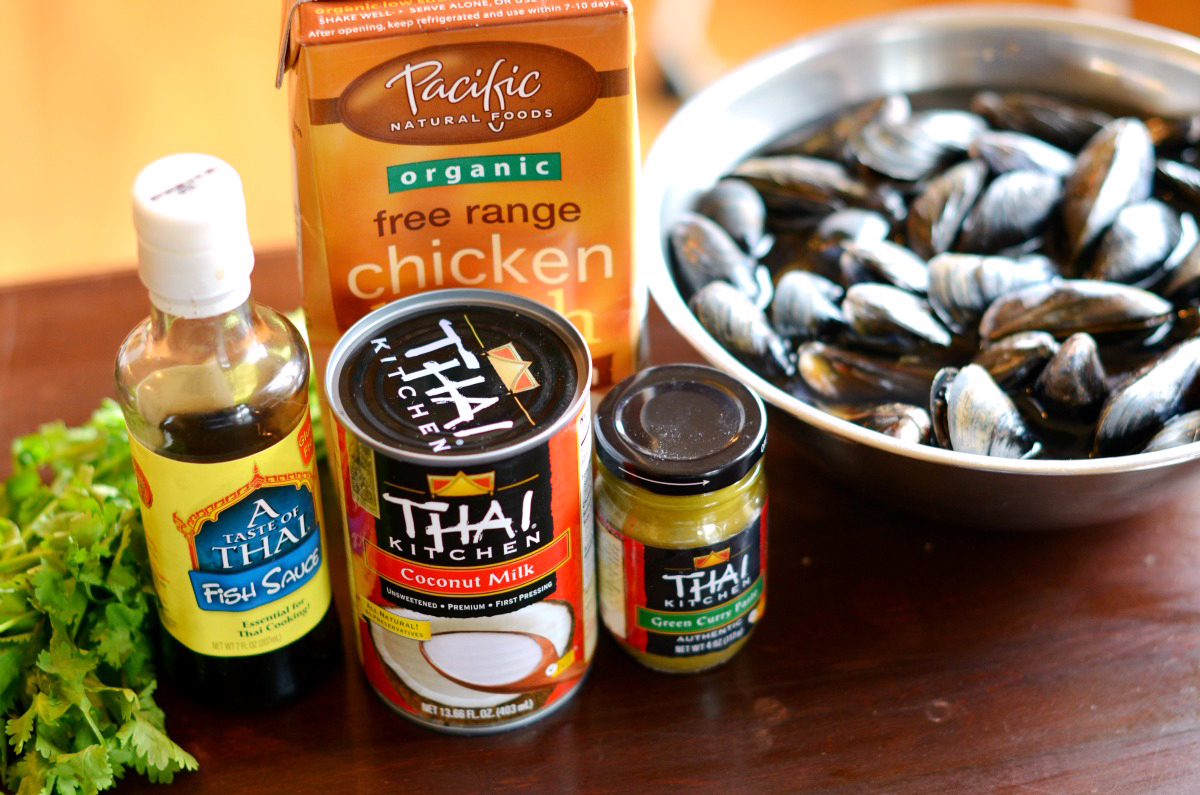
This recipe requires just six ingredients: chicken broth, green curry paste, fish sauce, mussels, coconut milk, and cilantro.


Tasty Kitchen Blog: Thai Coconut Mussels. Guest post by Maggy Keet of Three Many Cooks, recipe submitted by TK member Lisa of One Cook, Two Kitchens.

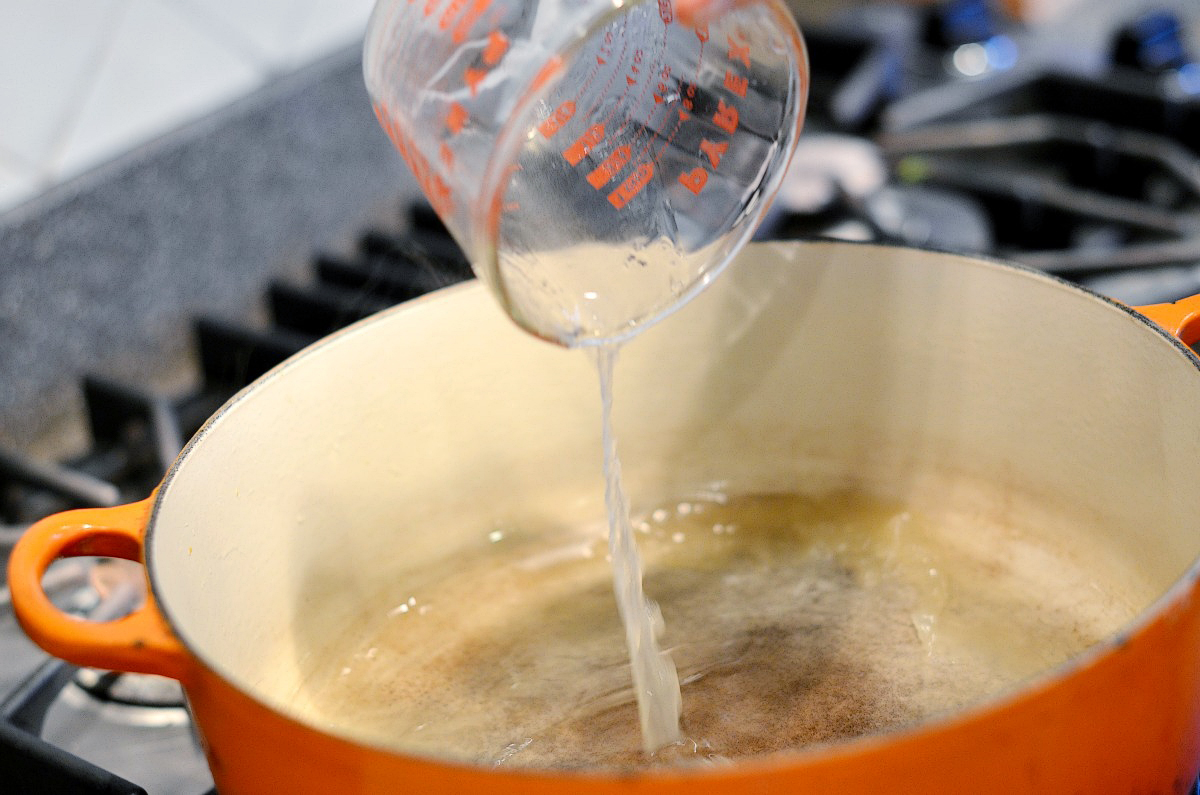
In a large pot or Dutch oven, bring the chicken broth to the boil.


Tasty Kitchen Blog: Thai Coconut Mussels. Guest post by Maggy Keet of Three Many Cooks, recipe submitted by TK member Lisa of One Cook, Two Kitchens.

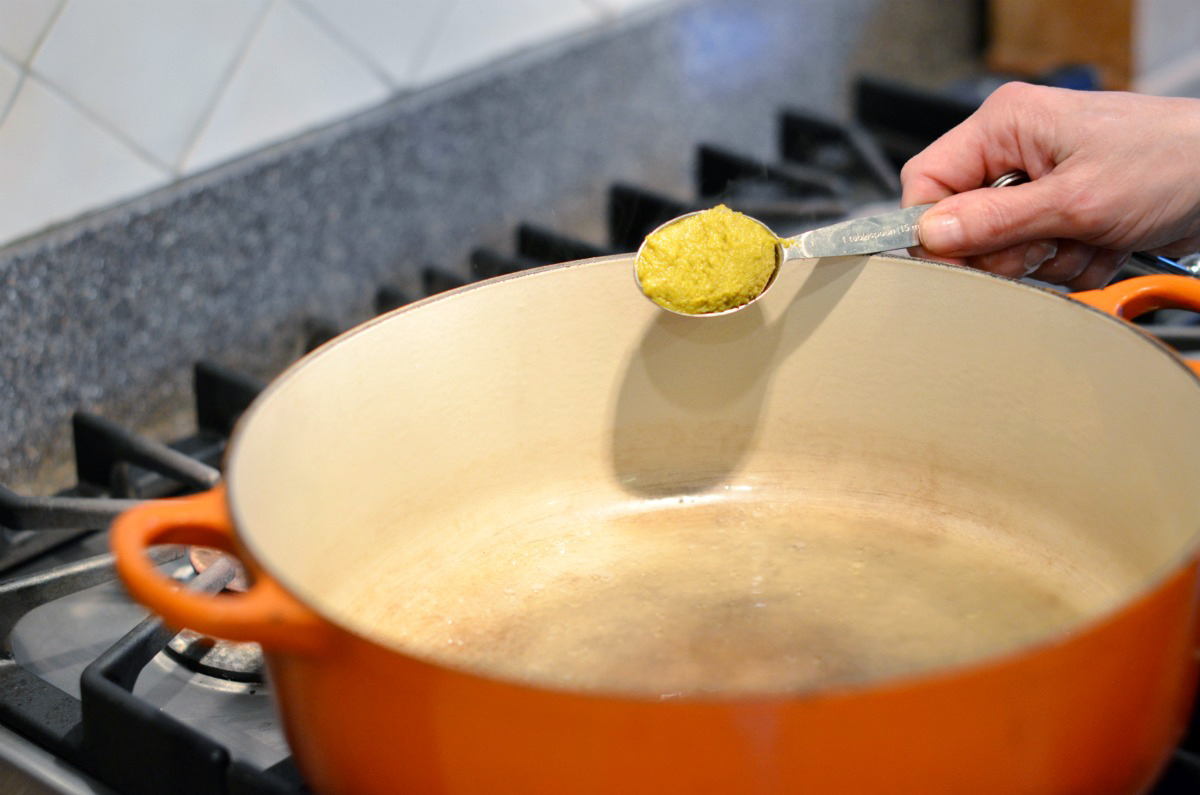
Then add the green curry paste. If you’re enthusiastic about curry (as I am!), you could add a bit more curry paste to increase the flavor and heat.


Tasty Kitchen Blog: Thai Coconut Mussels. Guest post by Maggy Keet of Three Many Cooks, recipe submitted by TK member Lisa of One Cook, Two Kitchens.

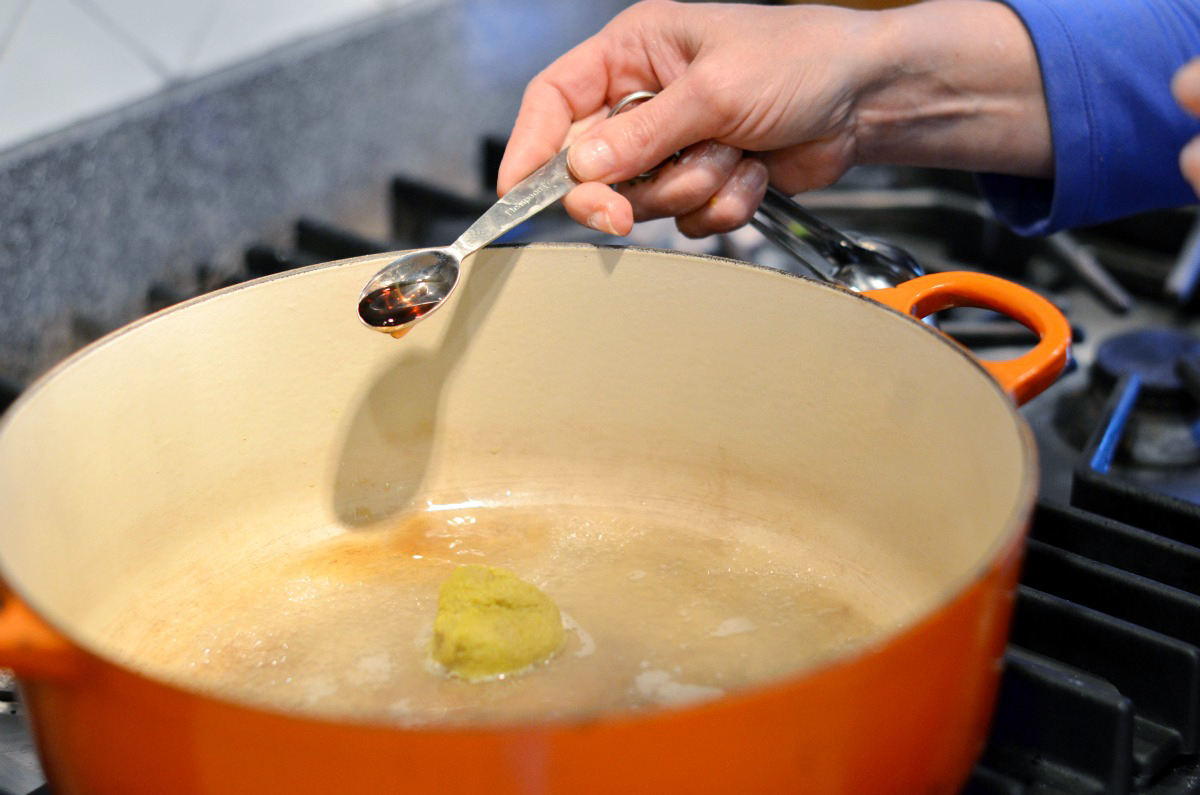
Then add the fish sauce to the mix and give the pot a stir.


Tasty Kitchen Blog: Thai Coconut Mussels. Guest post by Maggy Keet of Three Many Cooks, recipe submitted by TK member Lisa of One Cook, Two Kitchens.

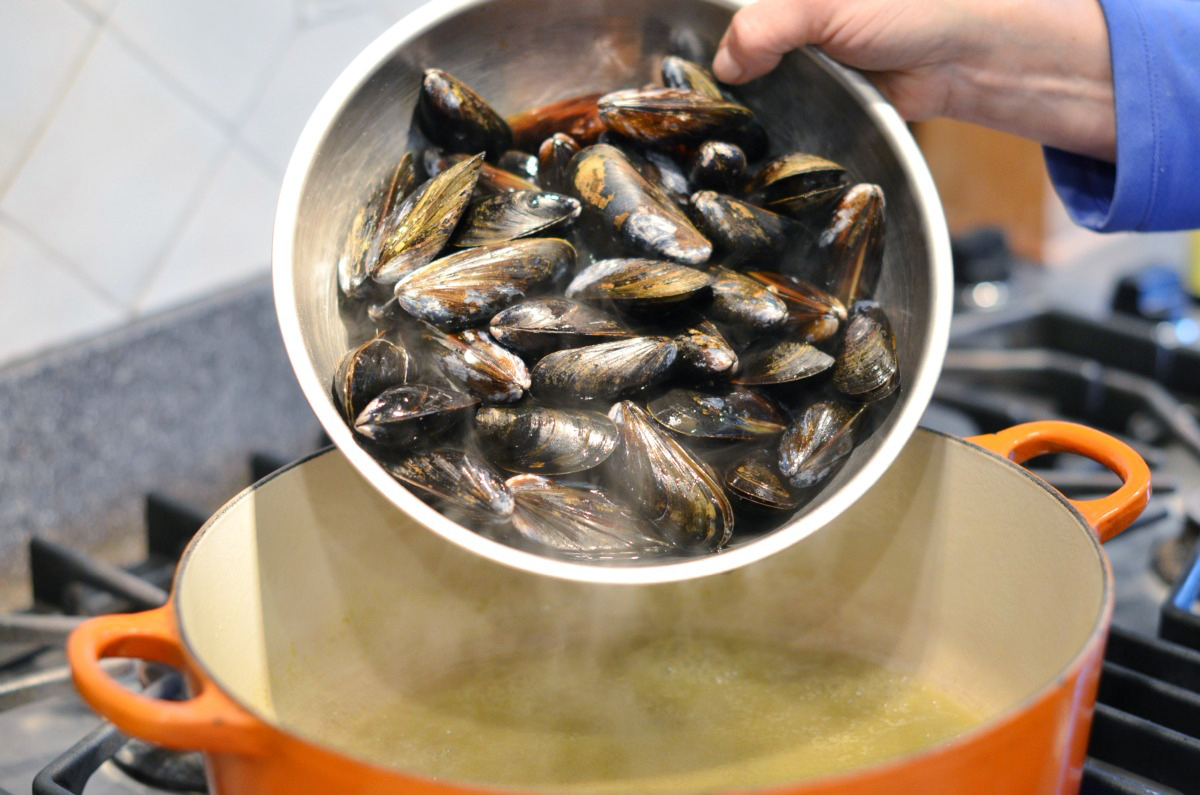
Once mixed, pour in those mussels.


Tasty Kitchen Blog: Thai Coconut Mussels. Guest post by Maggy Keet of Three Many Cooks, recipe submitted by TK member Lisa of One Cook, Two Kitchens.

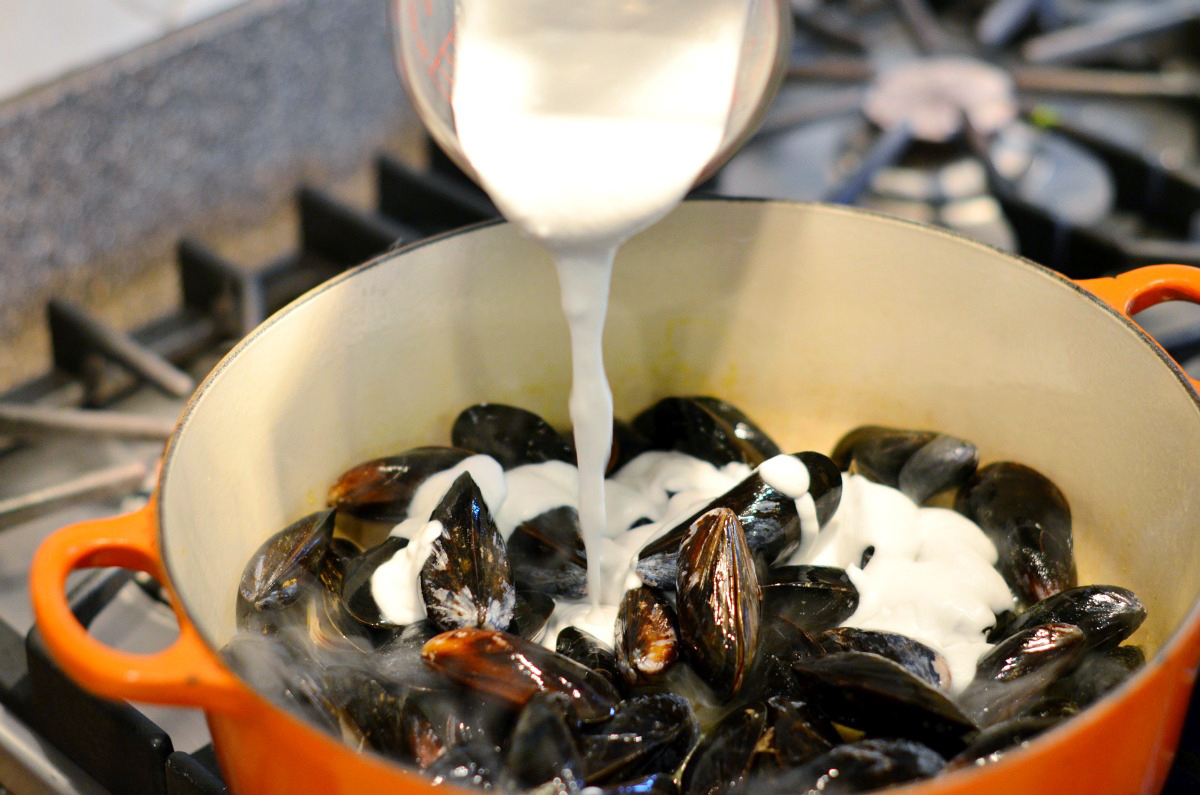
Then add the creamy coconut milk. I am giving you permission to splurge and use full fat coconut milk. It’s just better.


Tasty Kitchen Blog: Thai Coconut Mussels. Guest post by Maggy Keet of Three Many Cooks, recipe submitted by TK member Lisa of One Cook, Two Kitchens.

Stir in the coconut milk.


Tasty Kitchen Blog: Thai Coconut Mussels. Guest post by Maggy Keet of Three Many Cooks, recipe submitted by TK member Lisa of One Cook, Two Kitchens.

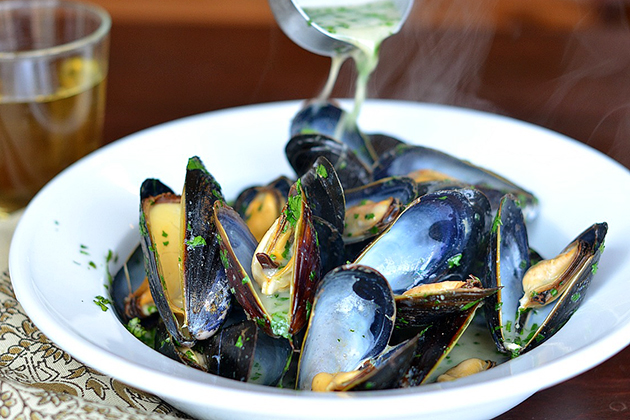
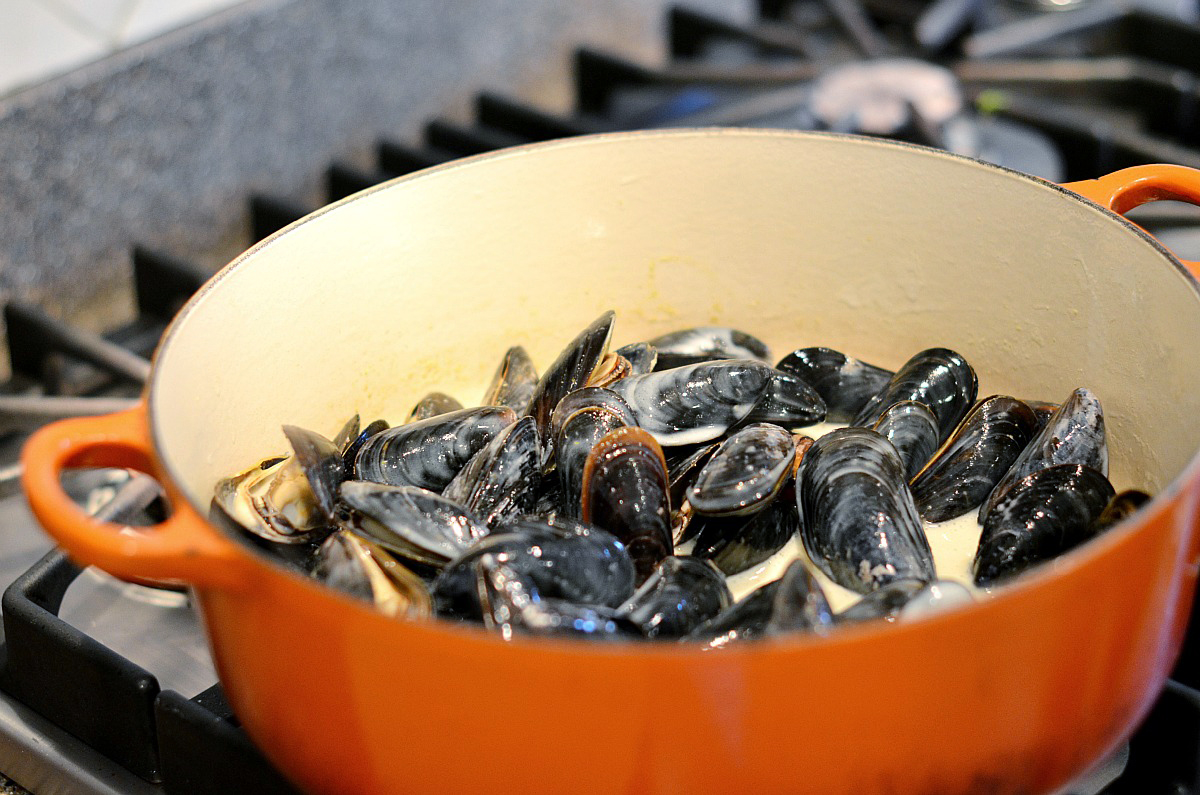
Put a lid on the Dutch oven. Five to seven minutes later, this dish is done. You know the mussels are fully cooked when they’ve all popped open! If they don’t pop open, don’t eat ‘em.


Tasty Kitchen Blog: Thai Coconut Mussels. Guest post by Maggy Keet of Three Many Cooks, recipe submitted by TK member Lisa of One Cook, Two Kitchens.

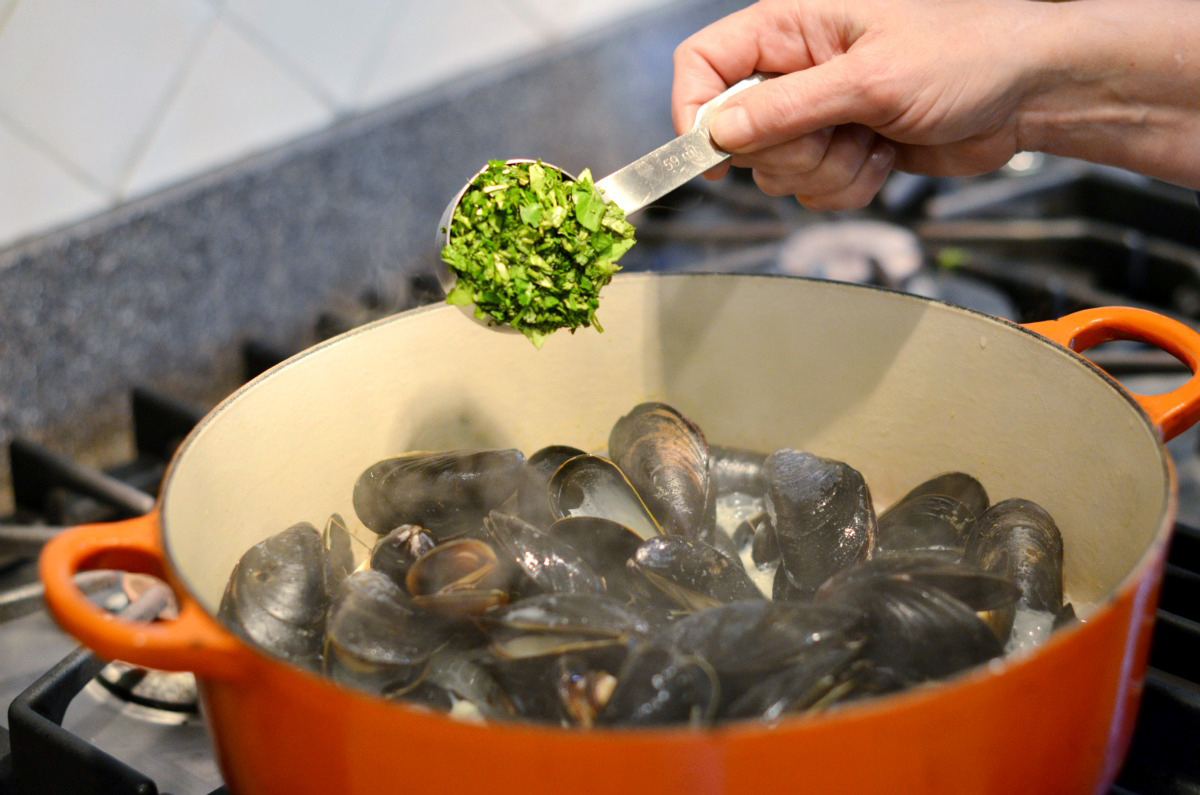
Stir in plenty of chopped cilantro (in my opinion, the greatest fresh herb on the planet).


Tasty Kitchen Blog: Thai Coconut Mussels. Guest post by Maggy Keet of Three Many Cooks, recipe submitted by TK member Lisa of One Cook, Two Kitchens.

Now this is the most important step: Make sure you enjoy these mussels with some good bread (or rice), a glass of white wine, and plenty of wonderful people!

Thanks to Lisa for this delicious recipe! Head over to her blog One Cook. Two Kitchens. for more recipes from her kitchens. (In case you were wondering, one is in a Toronto condo, and the other in a lake house. Both have gorgeous views.)


Printable Recipe

Thai Coconut Mussels

See post on One Cook Two Kitchens’s site!
5.00 Mitt(s) 1 Rating(s)1 vote, average: 5.00 out of 51 vote, average: 5.00 out of 51 vote, average: 5.00 out of 51 vote, average: 5.00 out of 51 vote, average: 5.00 out of 5

Prep Time:

Cook Time:

Difficulty: Easy

Servings: 2

2
x

Print Options

Page size Letter 3x5 4x6
Text Size Small Medium Large
Content Include description
Include prep time, etc.
Show image

Description

Mussels are one of the healthiest, easiest fast-food dishes going, and yet they are impressively elegant to serve. Try this exotic Thai green curry, coconut-based broth for a meal that you can have on the table in less than half an hour.

Ingredients

  • ½ cups Chicken Broth
  • 1 Tablespoon Thai Green Curry Paste
  • 2 teaspoons Fish Sauce
  • 2 pounds Mussels, Cleaned, With 'beards' Removed
  • 1 cup Coconut Milk (regular Or Light Works)
  • ¼ cups Fresh Cilantro Or Basil, Chopped
  • Basmati Rice, To Serve

Preparation Instructions

In a large pot that has a lid (Dutch oven works well), heat the chicken broth to boiling. Add in green curry paste and fish sauce. If you are heat-sensitive, start with 1 teaspoon of the green curry paste, and add more at the end, to taste, if desired.

Add in mussels, stir. Add in coconut milk. Cook until the shells open, 5 to 10 minutes.

Add in chopped cilantro, if desired. (Basil is good too.)

Serve in bowls with lots of broth for each person and pass a bowl of basmati rice on the side.


_______________________________________

Three Many Cooks is the always-entertaining food blog of Pam Anderson and her two daughters, Maggy and Sharon. Pam is a well-known and much-respected food writer and author, Maggy is a “hippy adventurer meets 1950s housewife,” and Sharon refers to herself as a recovering food snob learning to survive on a graduate student’s budget. Theirs is a strong relationship both inside and outside the kitchen, and it shows in the food they create and the stories they tell.


Profile photo of HowSweetEats

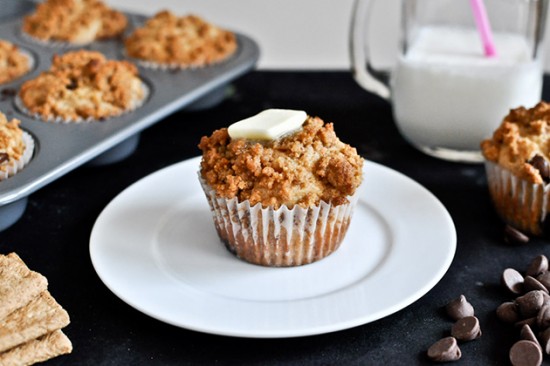
Graham Cracker Chocolate Chip Muffins

Posted by in Baking, Step-by-Step Recipes

  If there is anything I love, it’s a warm muffin topped with butter. If there is anything I love more than that, it’s a warm muffin topped with butter and studded with melty chocolate chips. And if there is anything I love even more than THAT? It’s a muffin, with the butter and the […]

Profile photo of georgiapellegrini

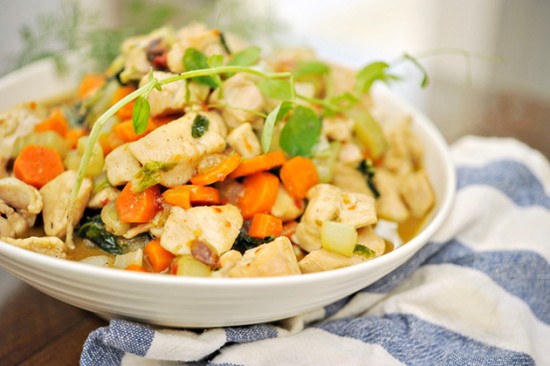
Kung Pao Chicken

Posted by in Step-by-Step Recipes

  I never imagined myself making Authentic Kung Pao Chicken with such ease in my home kitchen. But I did, thanks to Becky (The Vintage Mixer) and this delicious yet easy recipe.       To stir this up, you will need: chicken breasts, salt, cornstarch, soy sauce (I used liquid aminos), peanuts, cooking oil, […]

Profile photo of Amber {Sprinkled With Flour}

Flourless Chocolate, Almond and Coconut Cookies

Posted by in Baking, Step-by-Step Recipes

  How you do judge a cookie’s success? Mine get tested and approved by a very persnickety five-year-old, who likes to throw around words like “bestest”, and “goodest”, and “totally awesome.” A new one got thrown into the mix today when I tried these Flourless Chocolate, Almond and Coconut Cookies shared by Courtney. A…
Profile photo of missamy

No-Bake Chocolate Cheesecake

Posted by in Step-by-Step Recipes

  Can I tell you a secret? I’ve only made a real cheesecake once before. I was a nervous wreck waiting to see if it would crack, and wondering if I’d be able to loosen it from the pan without a total mess. It turned out just fine, but I’ve yet to make another since. […]