The Pioneer Woman Tasty Kitchen
Profile photo of georgiapellegrini

Brazilian Cheesebread (Naturally Gluten-free!)

Posted by in Baking, Step-by-Step Recipes

Tasty Kitchen Blog Brazilian Cheesebread. Guest post by Georgia Pellegrini, recipe submitted by TK member Jill Wilkins of The Pink Cowgirl.

 
Brazilian Cheese Bread or Pao de Queijo was one of the most interesting recipes I’ve made in a while. First, it’s naturally gluten-free. And second, it didn’t require any kneading or rising time. And it was very cheesy and chewy, a fun take on the dinner roll! When I saw this recipe by Jill Wilkins, I thought I should foray into unchartered cooking territory. I’m glad I did!


Tasty Kitchen Blog Brazilian Cheesebread. Guest post by Georgia Pellegrini, recipe submitted by TK member Jill Wilkins of The Pink Cowgirl.

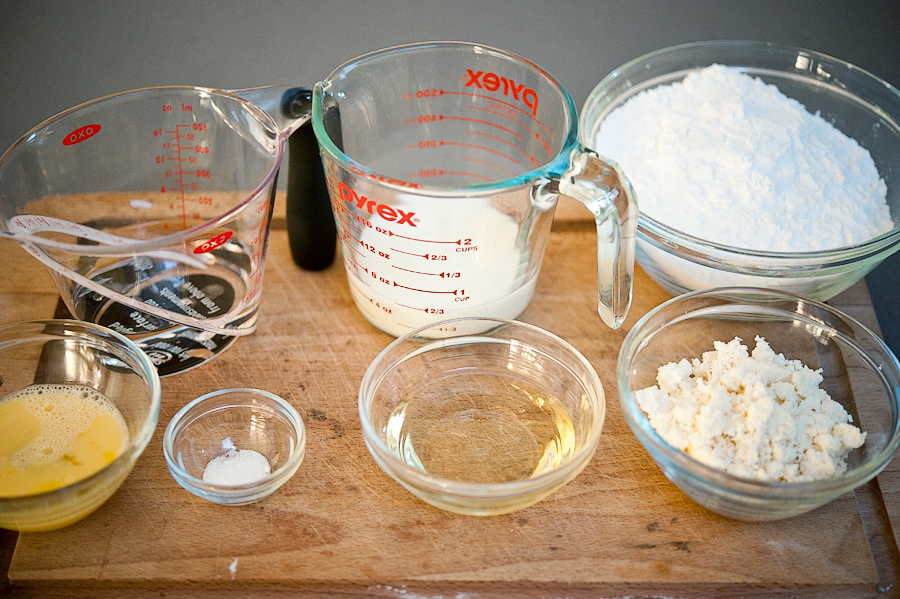
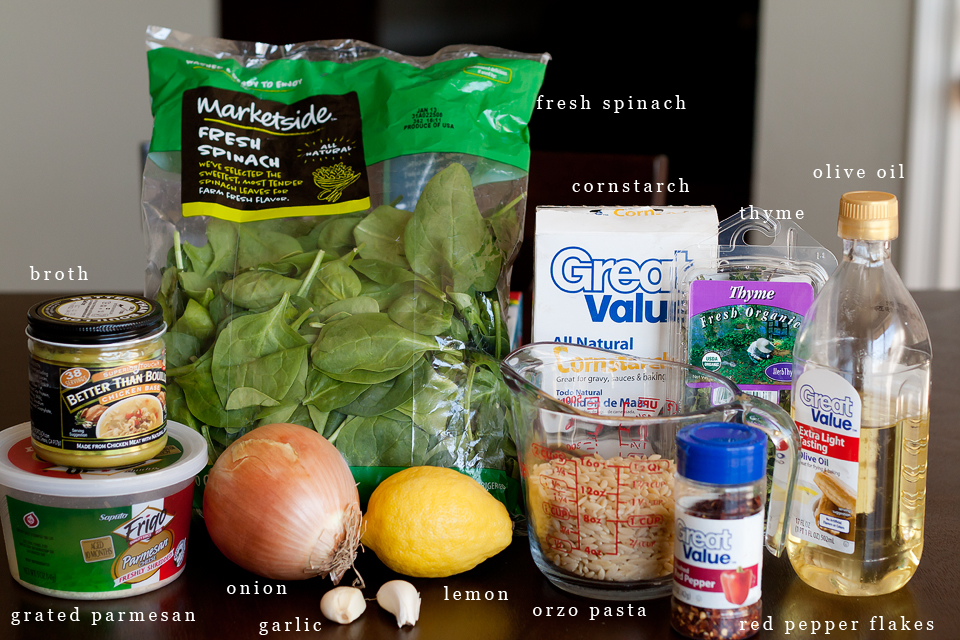
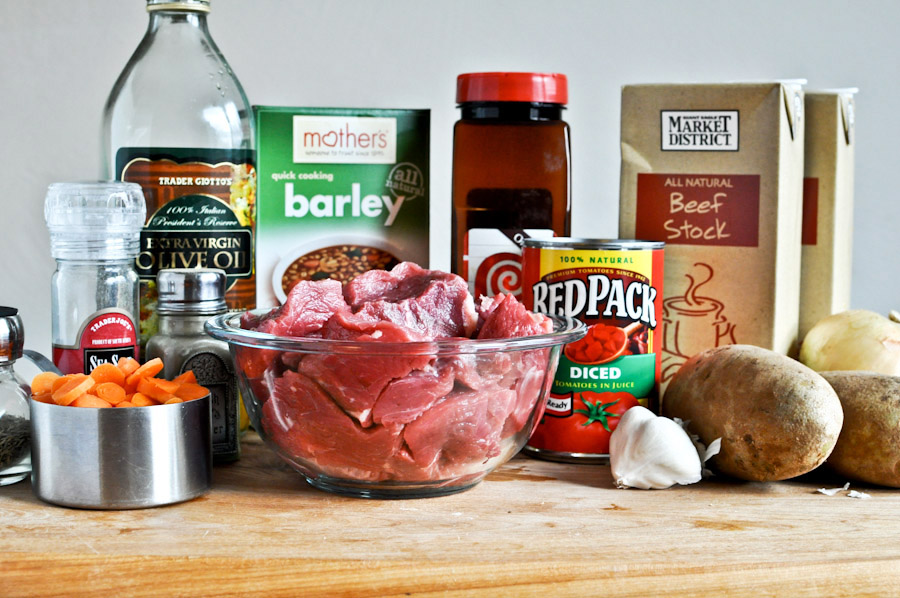
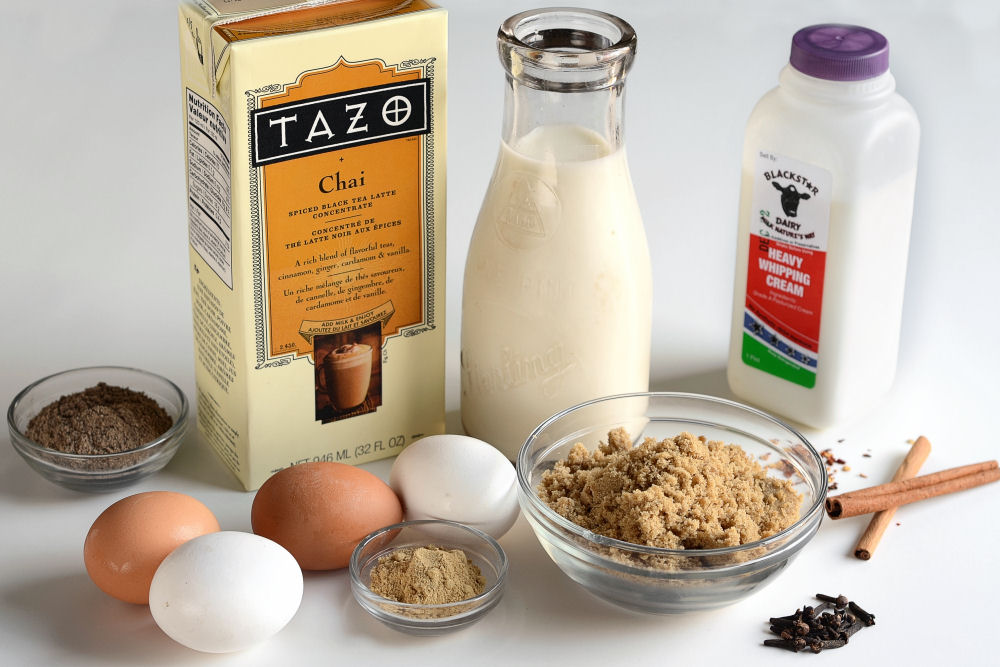
You will need: whole milk, water, oil (I would try olive oil, or grape seed oil, too, which has a better flavor than canola), salt, tapioca flour (also known as tapioca starch), eggs, and cotija cheese (feta will also work well).


Tasty Kitchen Blog Brazilian Cheesebread. Guest post by Georgia Pellegrini, recipe submitted by TK member Jill Wilkins of The Pink Cowgirl.

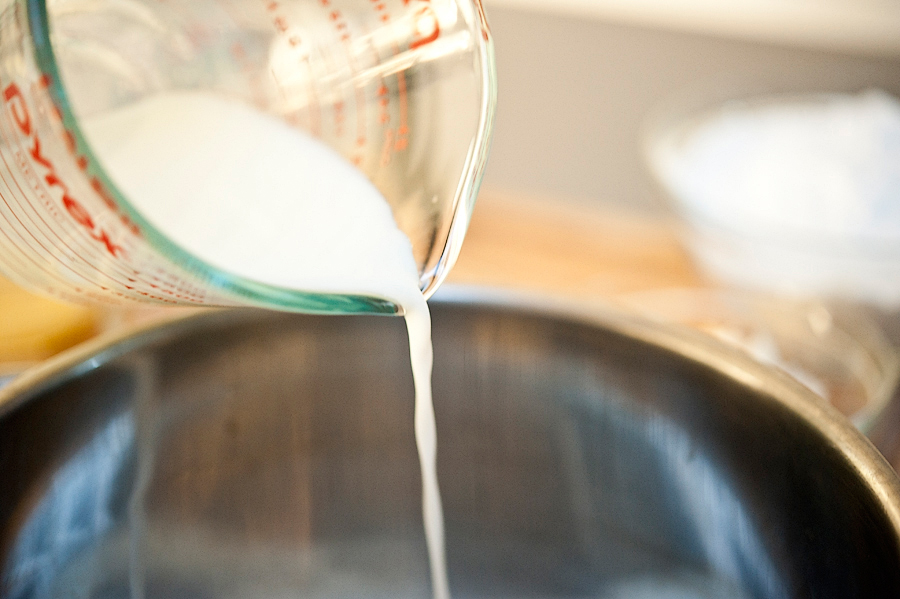
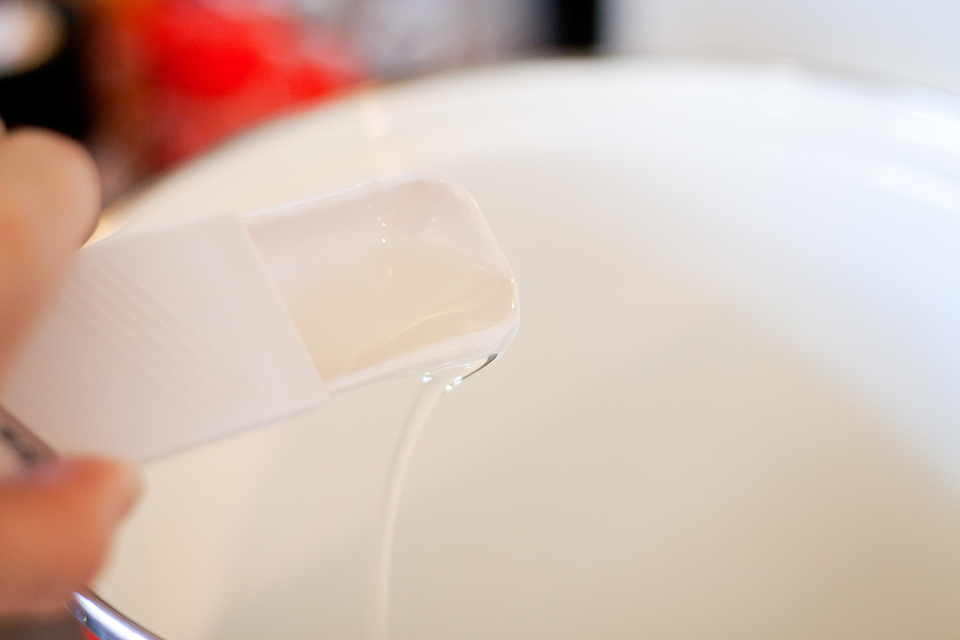
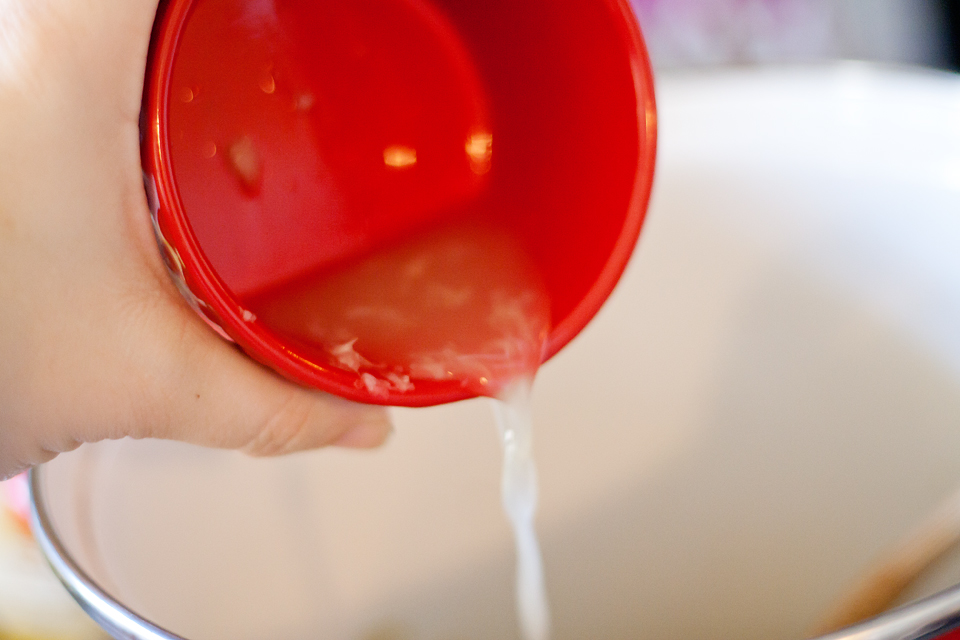
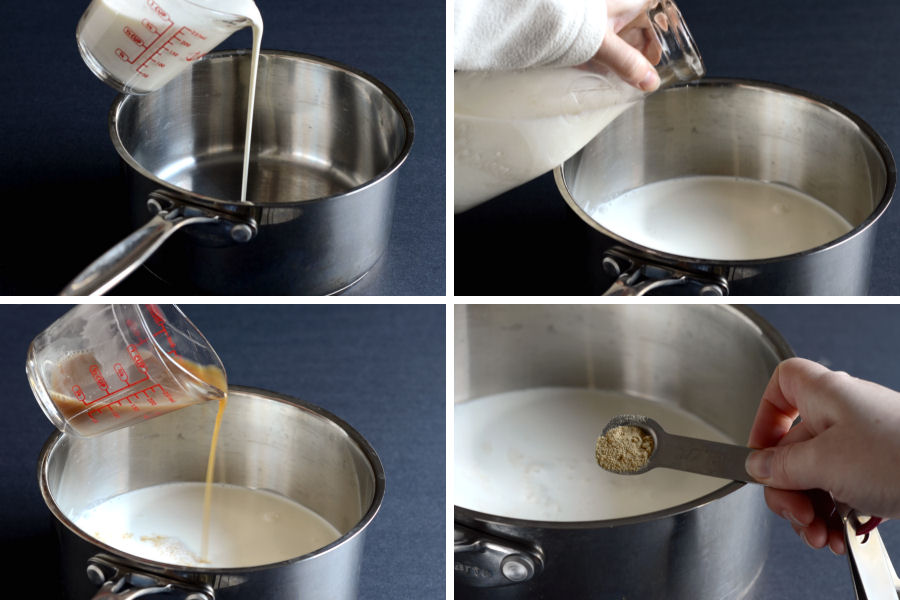
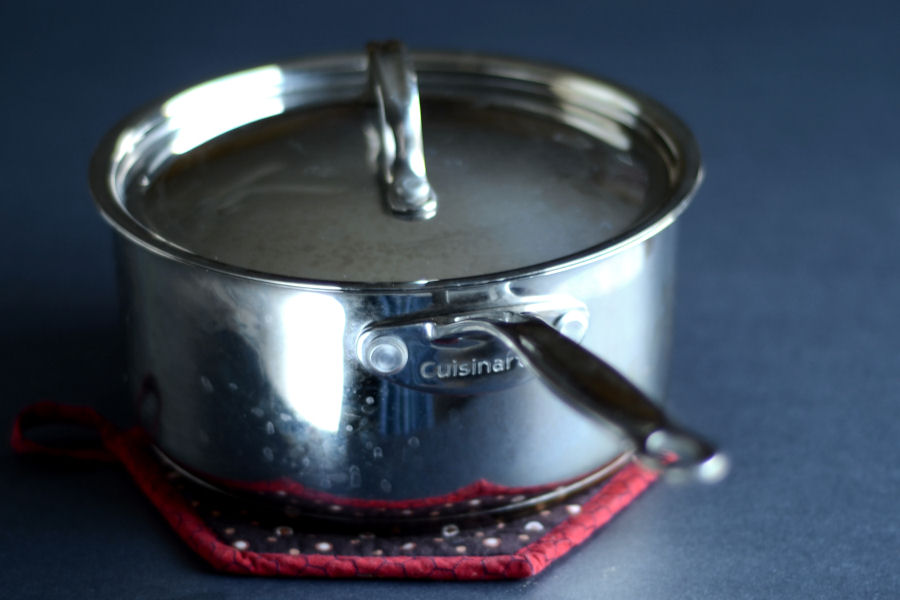
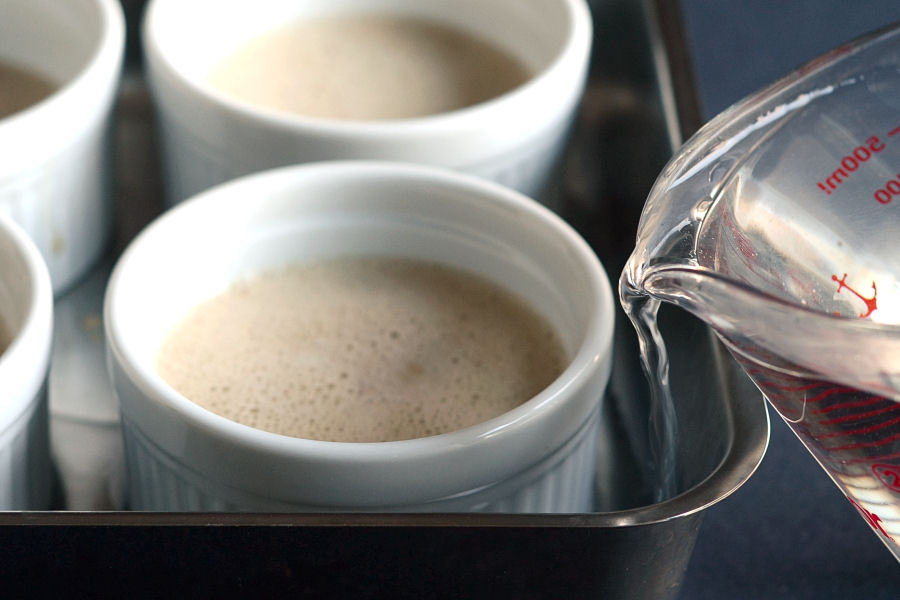
Begin by setting out a saucepot and pouring in the milk…
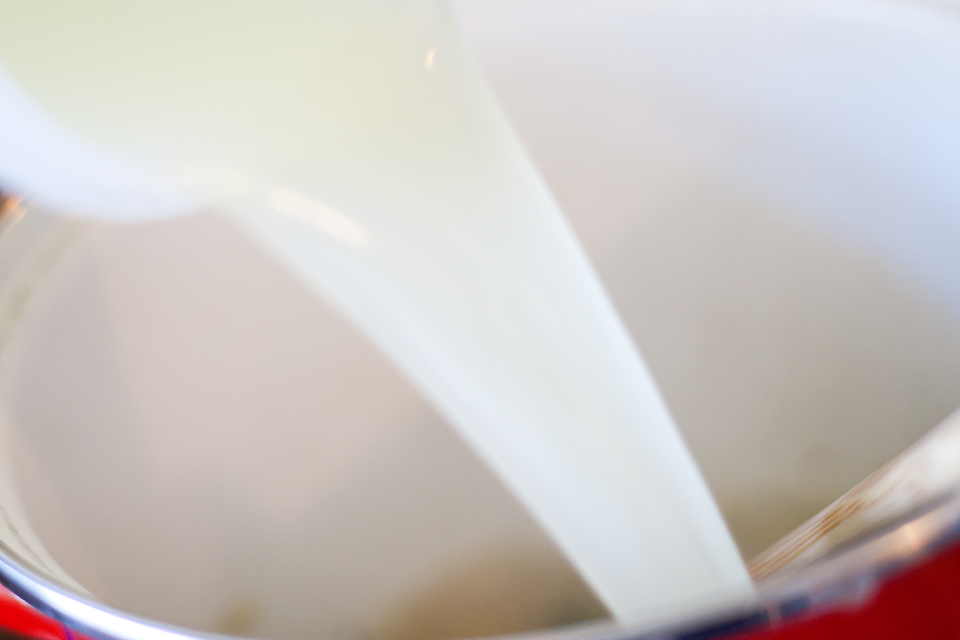


Tasty Kitchen Blog Brazilian Cheesebread. Guest post by Georgia Pellegrini, recipe submitted by TK member Jill Wilkins of The Pink Cowgirl.

Then the water…


Tasty Kitchen Blog Brazilian Cheesebread. Guest post by Georgia Pellegrini, recipe submitted by TK member Jill Wilkins of The Pink Cowgirl.

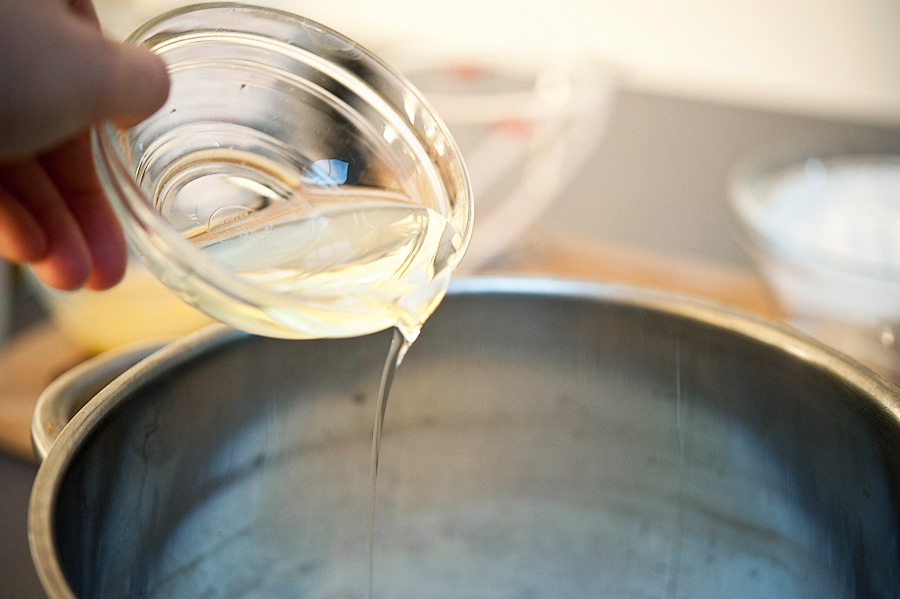
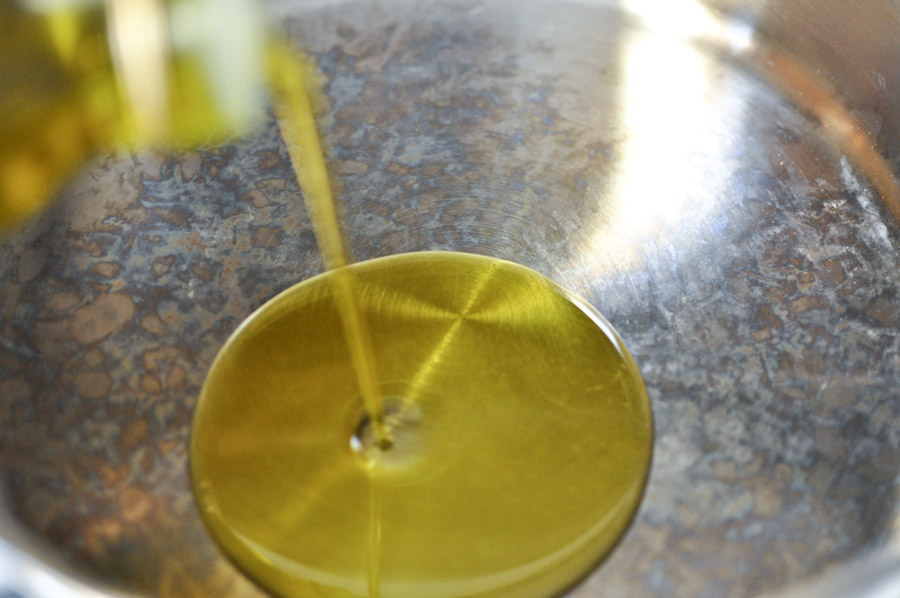
And the oil. (I would experiment with various oils here!)


Tasty Kitchen Blog Brazilian Cheesebread. Guest post by Georgia Pellegrini, recipe submitted by TK member Jill Wilkins of The Pink Cowgirl.

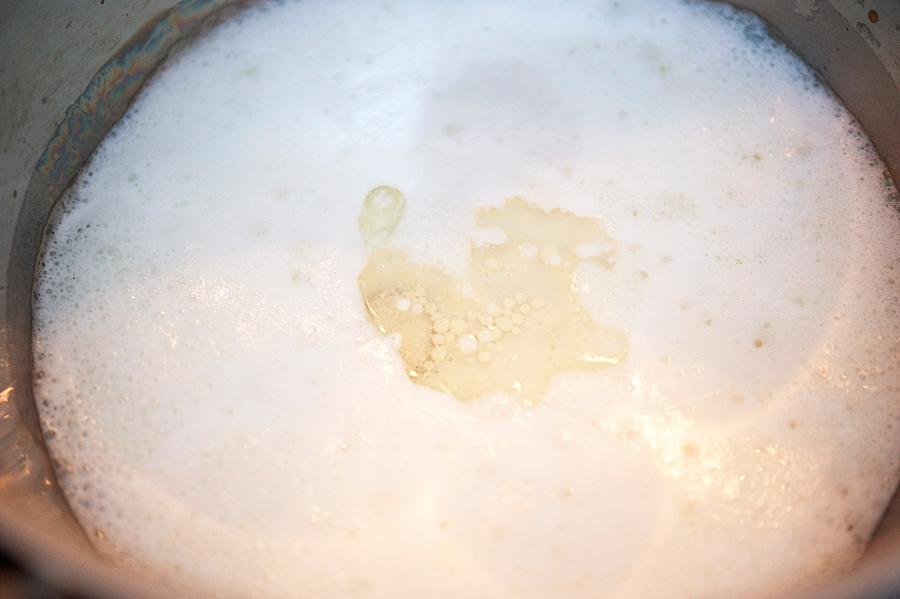
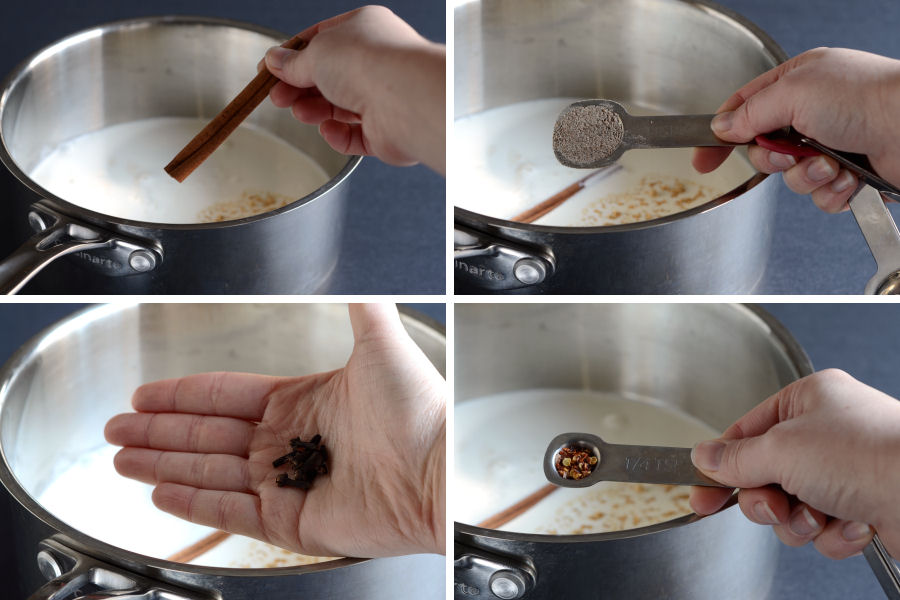
Let it come to a simmer and sprinkle in the salt. Turn off the heat and let cool slightly.


Tasty Kitchen Blog Brazilian Cheesebread. Guest post by Georgia Pellegrini, recipe submitted by TK member Jill Wilkins of The Pink Cowgirl.

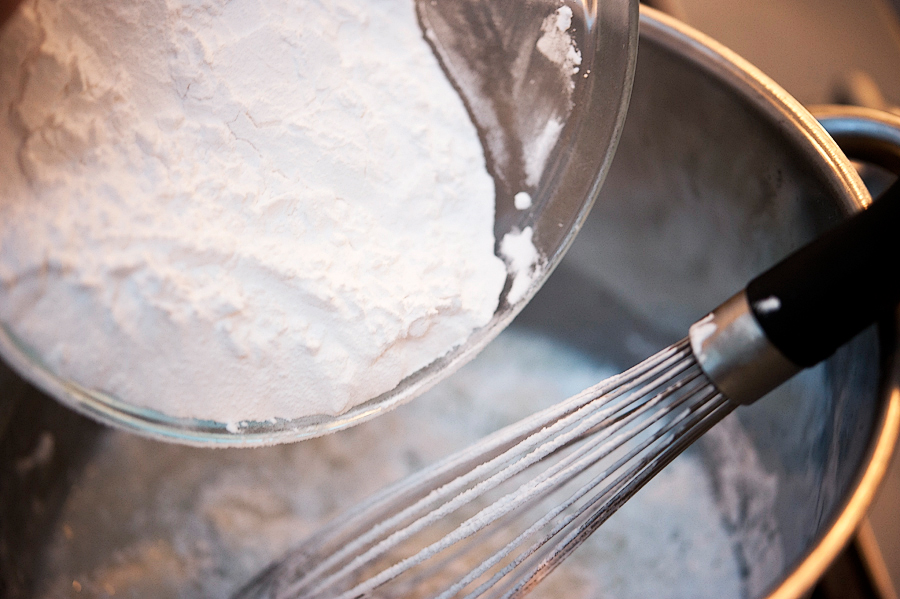
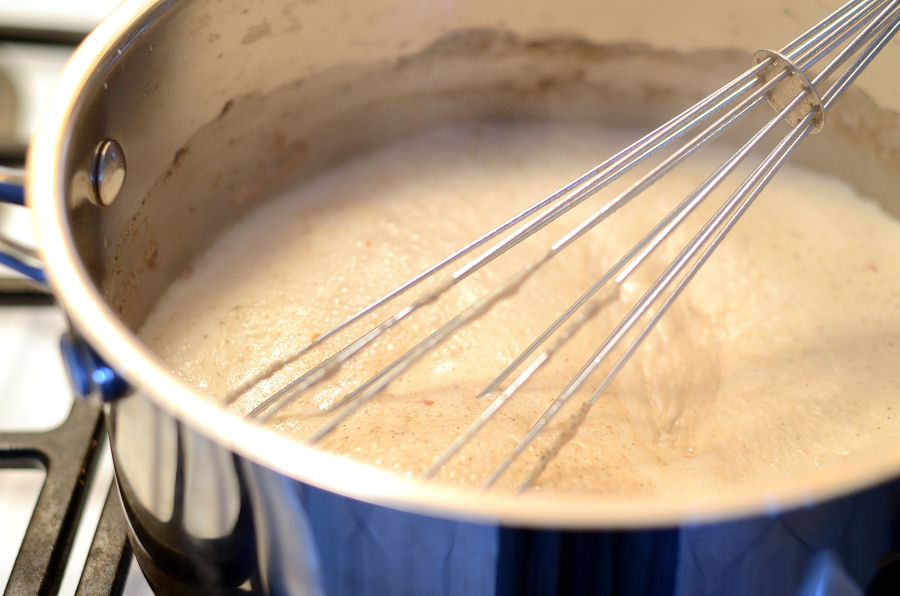
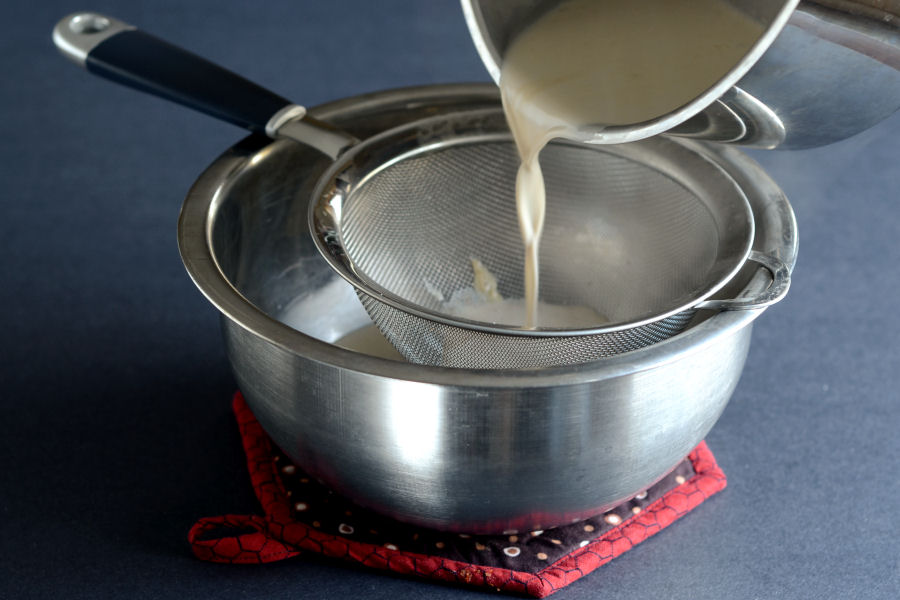
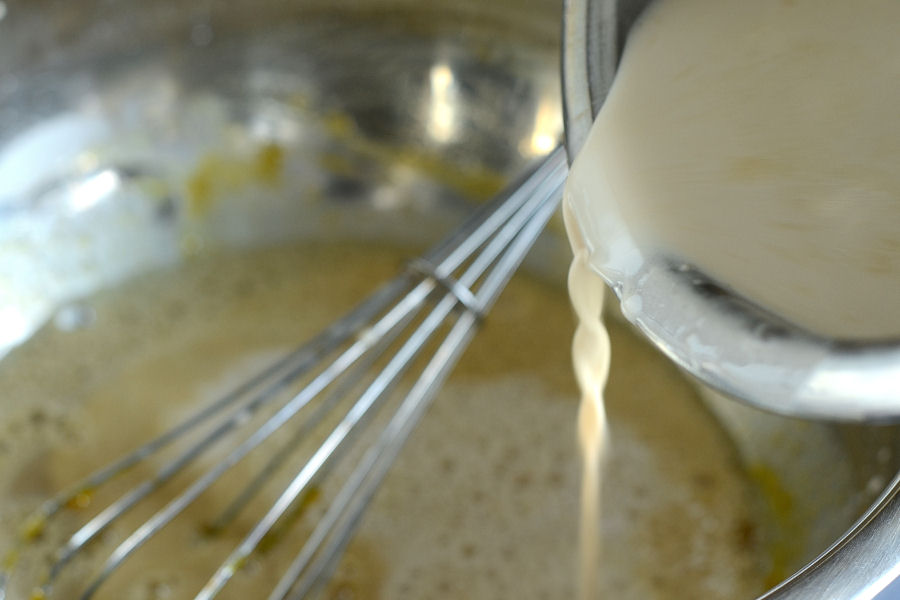
When warm but not hot, slowly whisk in the tapioca flour a little at a time.


Tasty Kitchen Blog Brazilian Cheesebread. Guest post by Georgia Pellegrini, recipe submitted by TK member Jill Wilkins of The Pink Cowgirl.

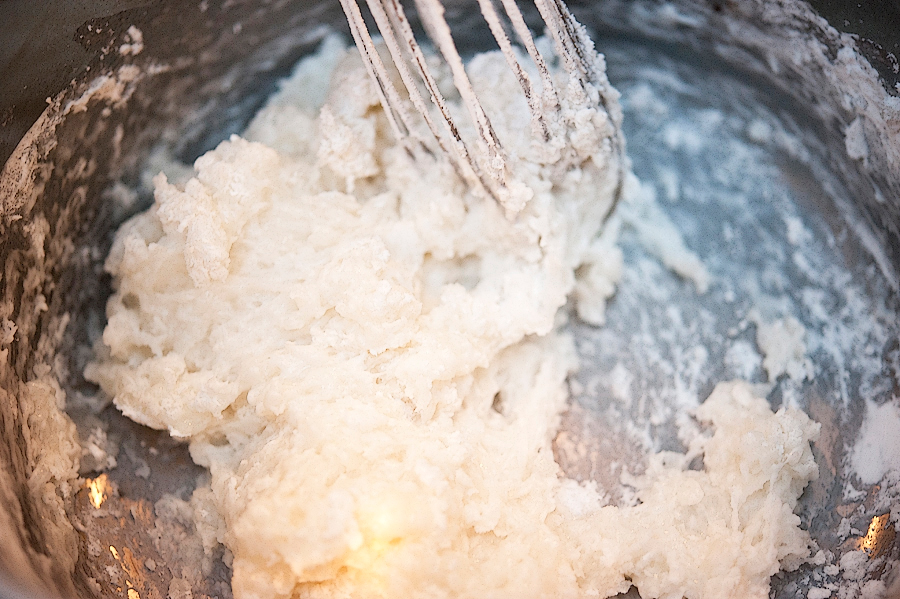
The mixture will become very thick and form into a dough.


Tasty Kitchen Blog Brazilian Cheesebread. Guest post by Georgia Pellegrini, recipe submitted by TK member Jill Wilkins of The Pink Cowgirl.

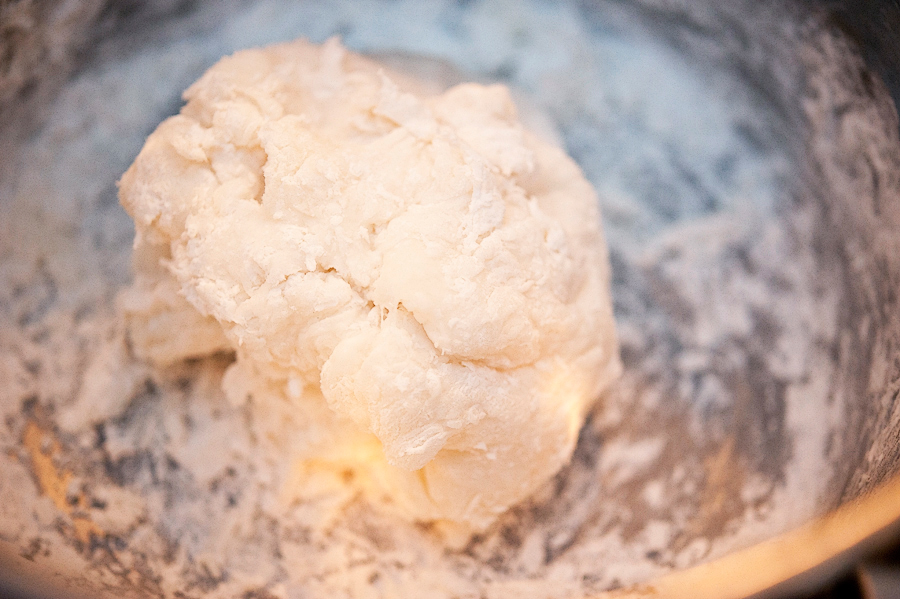
Work the warm dough into a ball.


Tasty Kitchen Blog Brazilian Cheesebread. Guest post by Georgia Pellegrini, recipe submitted by TK member Jill Wilkins of The Pink Cowgirl.

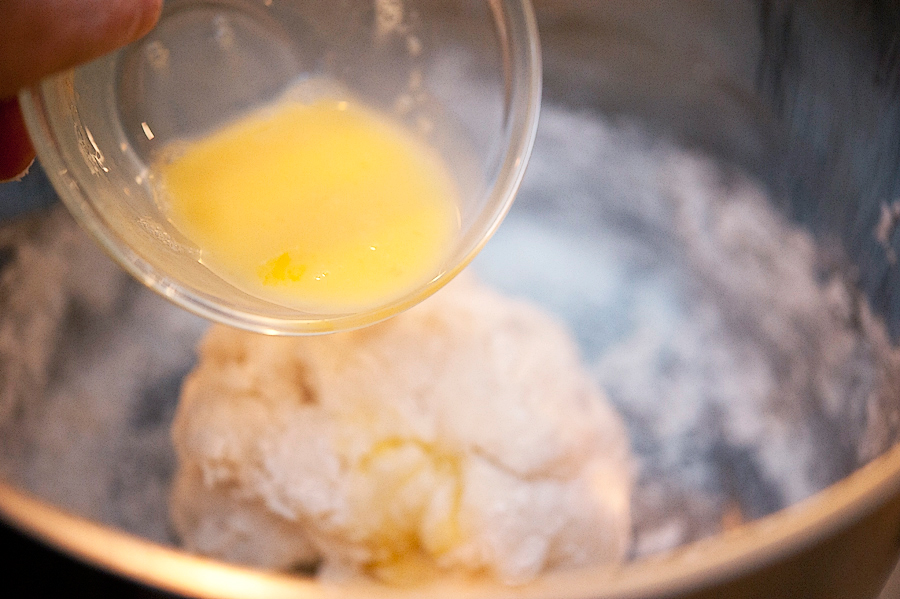
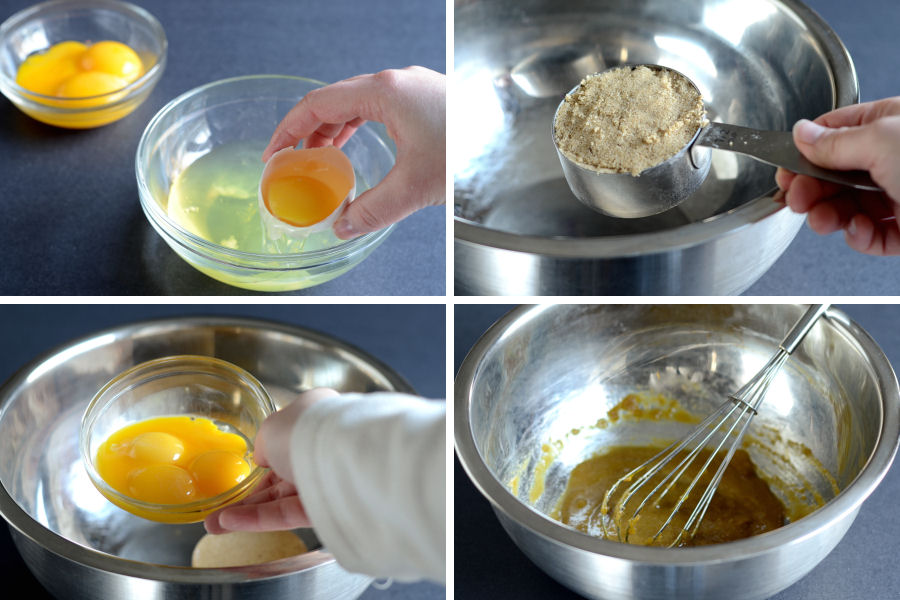
Add the egg and work it in some more with your hands or a spoon.


Tasty Kitchen Blog Brazilian Cheesebread. Guest post by Georgia Pellegrini, recipe submitted by TK member Jill Wilkins of The Pink Cowgirl.

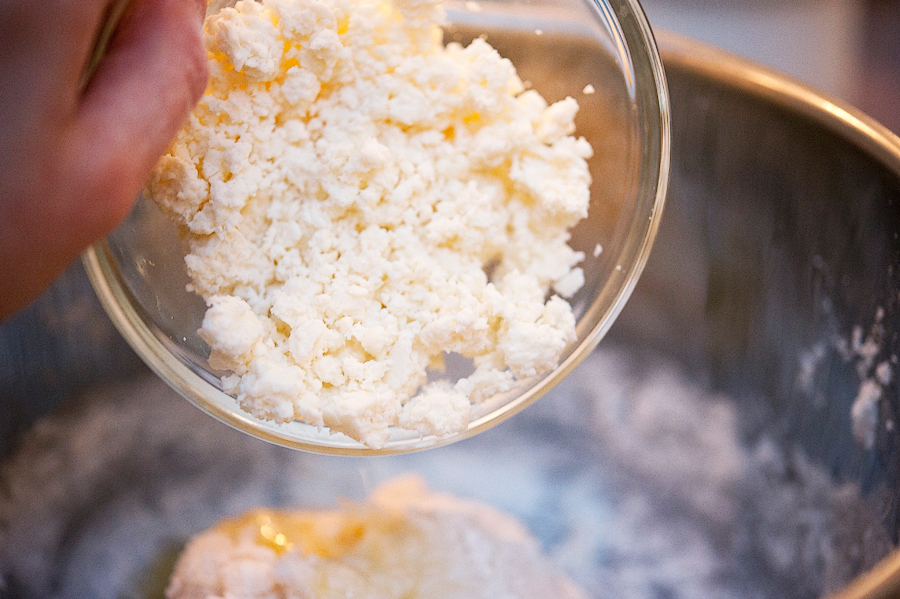
Then sprinkle in the cheese and work that in some more.


Tasty Kitchen Blog Brazilian Cheesebread. Guest post by Georgia Pellegrini, recipe submitted by TK member Jill Wilkins of The Pink Cowgirl.

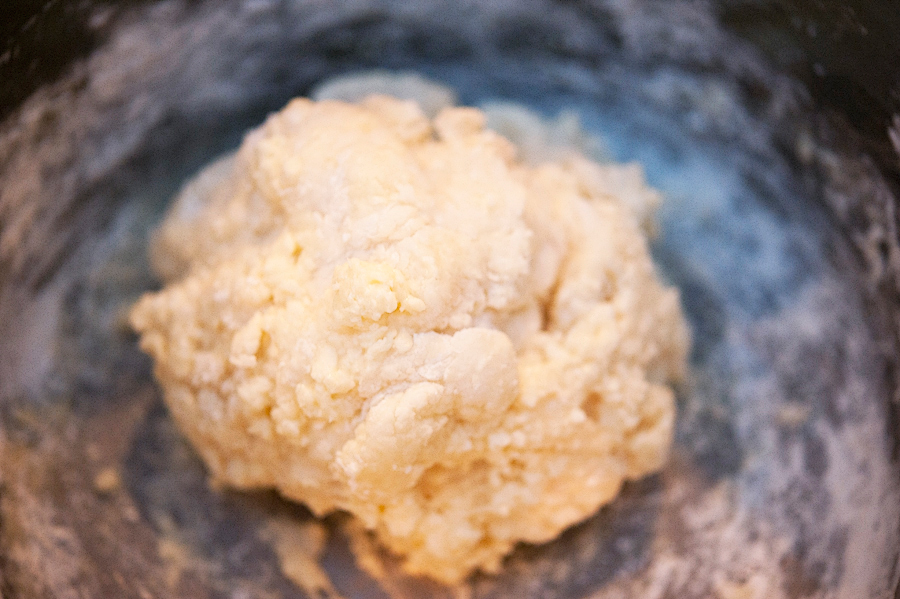
Form a large cheesy ball and grease a baking sheet.


Tasty Kitchen Blog Brazilian Cheesebread. Guest post by Georgia Pellegrini, recipe submitted by TK member Jill Wilkins of The Pink Cowgirl.

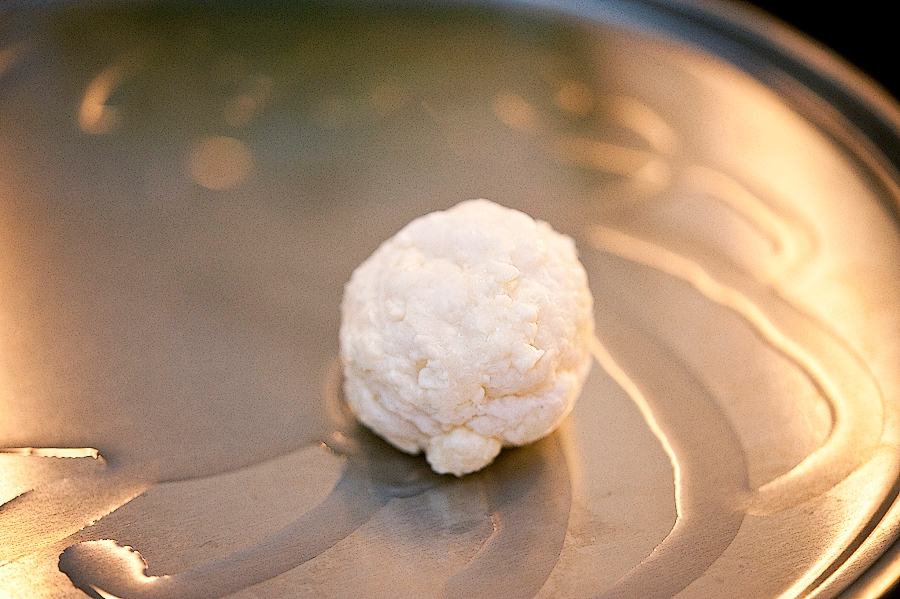
Form 1-inch balls from the dough and place them on the baking sheet.


Tasty Kitchen Blog Brazilian Cheesebread. Guest post by Georgia Pellegrini, recipe submitted by TK member Jill Wilkins of The Pink Cowgirl.

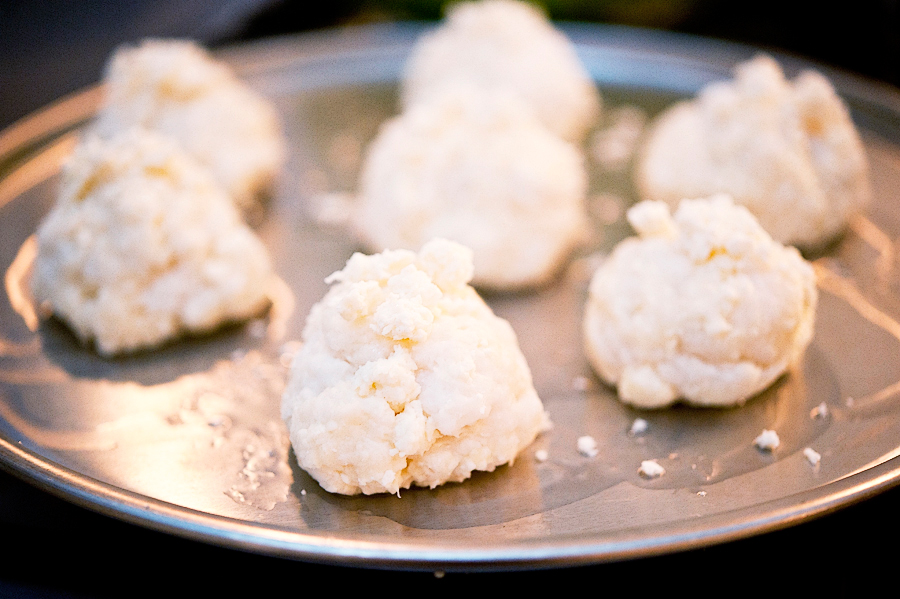
Sprinkle more cheese on top for good measure and place them in the oven.


Tasty Kitchen Blog Brazilian Cheesebread. Guest post by Georgia Pellegrini, recipe submitted by TK member Jill Wilkins of The Pink Cowgirl.

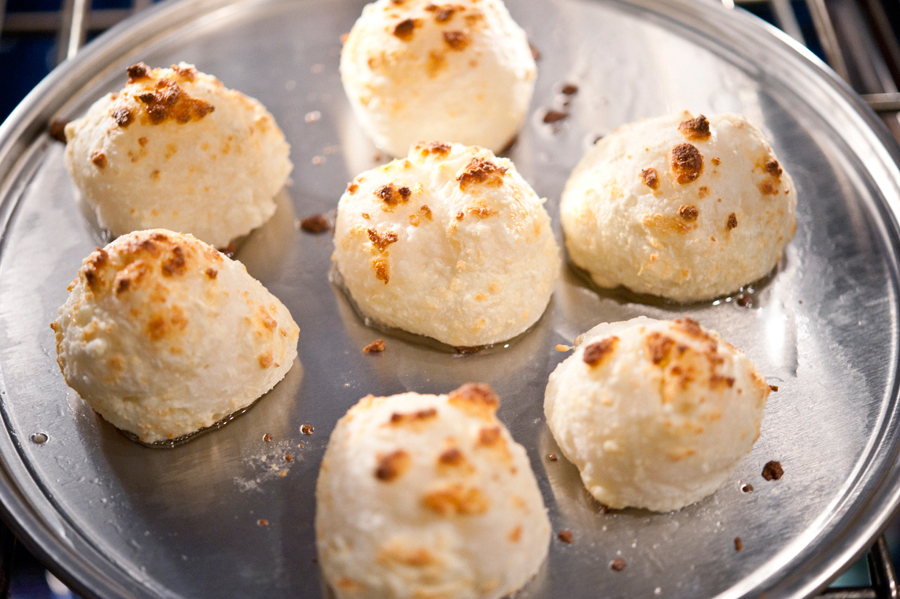
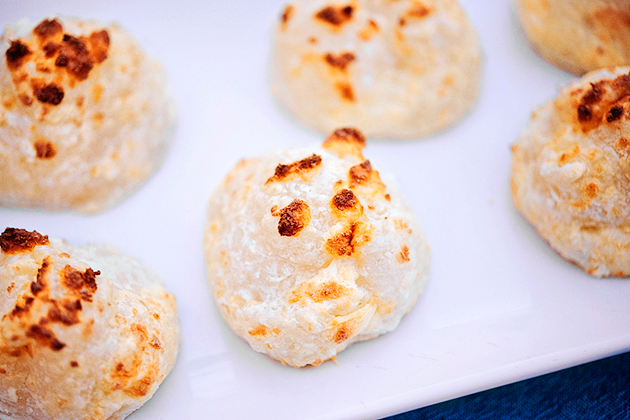
You will cook them until they are golden brown and the inside has fully cooked.


Tasty Kitchen Blog Brazilian Cheesebread. Guest post by Georgia Pellegrini, recipe submitted by TK member Jill Wilkins of The Pink Cowgirl.

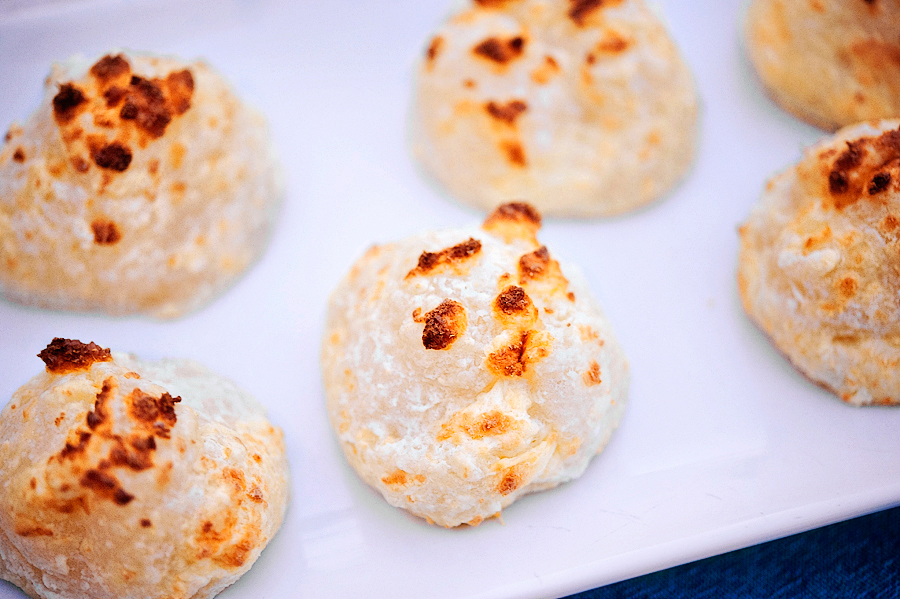
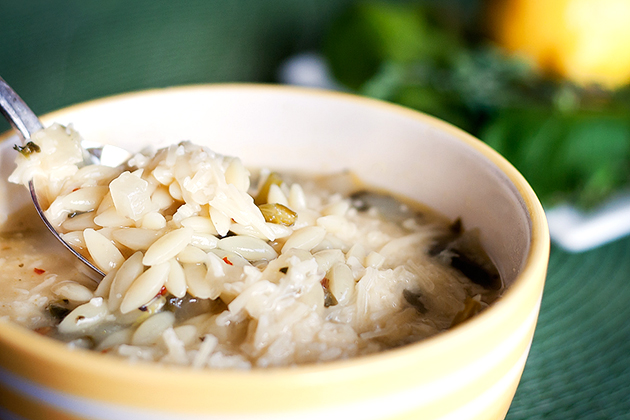
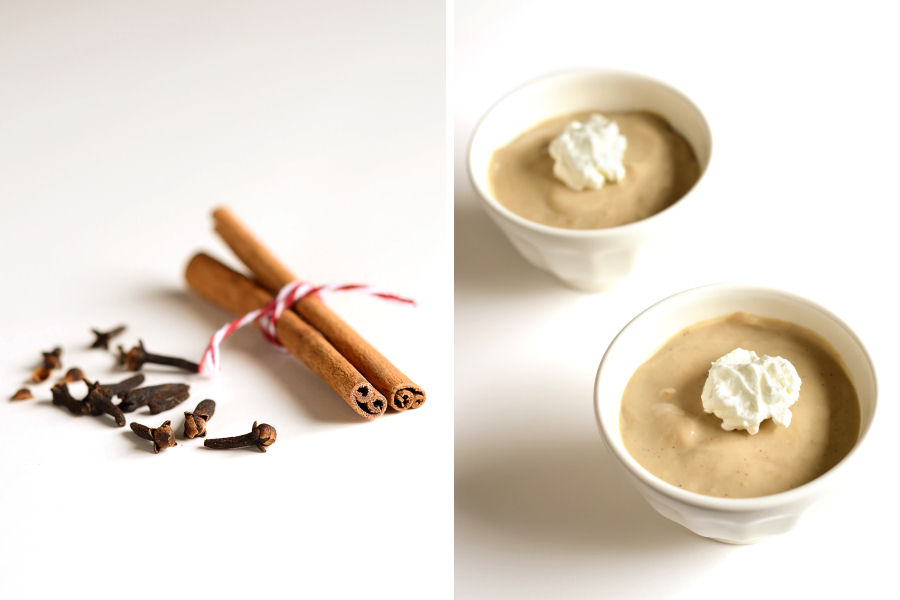
They look like little soft pillows of cheesy goodness. Give these a try! And thanks to Jill Wilkins for encouraging me to try an unusual recipe. Mosey on to her blog, The Pink Cowgirl, for more of her corn-free and gluten-free recipes.


Printable Recipe

Pao de Queijo (Brazilian Cheesebread)

See post on Jill Wilkins’s site!
5.00 Mitt(s) 2 Rating(s)2 votes, average: 5.00 out of 52 votes, average: 5.00 out of 52 votes, average: 5.00 out of 52 votes, average: 5.00 out of 52 votes, average: 5.00 out of 5

Prep Time:

Cook Time:

Difficulty: Easy

Servings: 20

20
x

Print Options

Page size Letter 3x5 4x6
Text Size Small Medium Large
Content Include description
Include prep time, etc.
Show image

Description

Wonderful little scrumptious bites. Easier than you think and deceptively delish and naturally gluten free.

Ingredients

  • ½ cups Whole Milk
  • ½ cups Water
  • ¼ cups Canola Oil
  • ¼ teaspoons Salt (heaping)
  • 2-½ cups Tapioca Flour, Or A Little More As Needed
  • 1-½ whole Egg, Beaten
  • 4 ounces, weight Granulated Cojita Cheese, Plus Extra For Topping Cheese Breads

Preparation Instructions

Preheat oven to 350ºF and grease 2 baking sheets. In a saucepan bring the milk, water, oil, and salt to a boil. Remove the pan from heat and set aside. Add the flour in increments, stirring constantly until the dough becomes pliable and can be kneaded with hands. Be patient, the more you stir the more solid the dough will become. Only add enough flour until dough reaches desired consistency. Stir in the beaten eggs then the cojita cheese. Stir until dough becomes thick and can be molded. Add additional tapioca flour if needed. Roll dough into 1″ balls and dip the tops into the extra cheese. Place on the greased baking sheets and bake for 20-25 minutes or until cheese becomes golden brown.

Note: You can also use granulated parmesan cheese (Kraft) for this recipe.


_______________________________________

There’s so much to say about Georgia, we don’t know where to start. Leaving Wall Street for the French Culinary Institute, followed by a stint at the Gramercy Tavern and La Chassagnette in France, her passion for food and food traditions are evident and inspiring. Visit her site at Georgia Pellegrini, where you’ll find more recipes, photos, learn all about her wonderful books Girl Hunter and Food Heroes, and enjoy her latest adventures.


Profile photo of Amber {Sprinkled With Flour}

Spinach Lemon Orzo Soup

Posted by in Step-by-Step Recipes

Tasty Kitchen Blog Spinach Lemon Orzo Soup. Guest post by Amber Potter of Sprinkled with Flour, recipe submitted by TK member Cassie of Bake Your Day.

 
I love soup, but for some reason it’s one of those dishes that I never make at home. I don’t know why, maybe it’s because I live in a house of boys … and bigger boys. Meals usually consist of manly food, like burgers, roast, and steak. If I put a bowl of soup in front of my husband and son, I’m quite sure they would stare at me as if I’d sprouted three horns on my head. Soup is not man food, at least in my house.

But a girl’s gotta have something for herself every now and then, and this girl wanted a bowl full of warm, delicious soup. When I found this Spinach Lemon Orzo Soup recipe from TK member Cassie, I knew it fit the bill perfectly.


Tasty Kitchen Blog Spinach Lemon Orzo Soup. Guest post by Amber Potter of Sprinkled with Flour, recipe submitted by TK member Cassie of Bake Your Day.

I love recipes that have just a few simple ingredients, and this one (adapted from Faith Durand of The Kitchn) is super simple but definitely delicious.


Tasty Kitchen Blog Spinach Lemon Orzo Soup. Guest post by Amber Potter of Sprinkled with Flour, recipe submitted by TK member Cassie of Bake Your Day.

First, heat your oil in a large heavy pot or stock pot.


Tasty Kitchen Blog Spinach Lemon Orzo Soup. Guest post by Amber Potter of Sprinkled with Flour, recipe submitted by TK member Cassie of Bake Your Day.

Add the onion and garlic and cook for 3-4 minutes until fragrant. Please ignore my black-bottomed pot. It perpetually looks dirty even though it’s not, kind of like my 5-year-old, who usually is.


Tasty Kitchen Blog Spinach Lemon Orzo Soup. Guest post by Amber Potter of Sprinkled with Flour, recipe submitted by TK member Cassie of Bake Your Day.

Add the lemon zest, red pepper flakes and thyme. (Note: I only had fresh thyme on hand, so I doubled the amount and used 2 teaspoons.) Cook another 3 minutes until the onions are tender and translucent.


Tasty Kitchen Blog Spinach Lemon Orzo Soup. Guest post by Amber Potter of Sprinkled with Flour, recipe submitted by TK member Cassie of Bake Your Day.

Turn the heat to medium and add the orzo.


Tasty Kitchen Blog Spinach Lemon Orzo Soup. Guest post by Amber Potter of Sprinkled with Flour, recipe submitted by TK member Cassie of Bake Your Day.

Now add that yummy spinach. Cook for 1 minute.


Tasty Kitchen Blog Spinach Lemon Orzo Soup. Guest post by Amber Potter of Sprinkled with Flour, recipe submitted by TK member Cassie of Bake Your Day.

Add the lemon juice.


Tasty Kitchen Blog Spinach Lemon Orzo Soup. Guest post by Amber Potter of Sprinkled with Flour, recipe submitted by TK member Cassie of Bake Your Day.

Add your broth. You can use chicken or vegetable. Bring to a light simmer and cook for 12-15 minutes, until the orzo is barely tender.

Whisk the water and cornstarch together in a small bowl.


Tasty Kitchen Blog Spinach Lemon Orzo Soup. Guest post by Amber Potter of Sprinkled with Flour, recipe submitted by TK member Cassie of Bake Your Day.

With the soup at a light boil, whisk in the cornstarch mixture and stir rapidly. Allow the soup to thicken, about 3 minutes.


Tasty Kitchen Blog Spinach Lemon Orzo Soup. Guest post by Amber Potter of Sprinkled with Flour, recipe submitted by TK member Cassie of Bake Your Day.

Serve immediately garnished with freshly grated Parmesan.


Tasty Kitchen Blog Spinach Lemon Orzo Soup. Guest post by Amber Potter of Sprinkled with Flour, recipe submitted by TK member Cassie of Bake Your Day.

I love the delicious mix of flavors and textures in this soup, and the parmesan adds the perfect crowning touch. I enjoyed my lunch so much, I ALMOST felt guilty about the PB&Js that my men decided to eat, after they refused to eat my non-manly soup. Their loss!

A hearty thank you Cassie for sharing this delicious recipe! Make sure you visit her blog Bake Your Day, where you will find so many wonderful looking dishes.


Printable Recipe

Spinach Lemon Orzo Soup

See post on BakeYourDay’s site!
4.74 Mitt(s) 23 Rating(s)23 votes, average: 4.74 out of 523 votes, average: 4.74 out of 523 votes, average: 4.74 out of 523 votes, average: 4.74 out of 523 votes, average: 4.74 out of 5

Prep Time:

Cook Time:

Difficulty: Easy

Servings: 8

8
x

Print Options

Page size Letter 3x5 4x6
Text Size Small Medium Large
Content Include description
Include prep time, etc.
Show image

Description

Healthy, creamy vegetarian soup that is quick to throw together and tastes like it has simmered all day.

Ingredients

  • 2 Tablespoons Olive Oil
  • 1 whole Large Onion, Chopped
  • 2 cloves Garlic, Minced
  • 1 whole Lemon, Zest And Juice
  • 1 teaspoon Red Pepper Flakes
  • 1 teaspoon Dried Thyme
  • 2 cups Fresh Spinach Leaves, Packed
  • 1-½ cup Uncooked Orzo Pasta
  • 8 cups Vegetable Or Chicken Broth
  • 2 Tablespoons Water
  • 1 Tablespoon Cornstarch
  • ¼ cups Freshly Grated Parmesan Cheese, More Or Less As Needed

Preparation Instructions

Heat the oil in a large heavy pot or stock pot. Add the onion and garlic and cook for 3-4 minutes until fragrant. Add the lemon zest, red pepper flakes and thyme and cook another 3 minutes until the onions are tender and translucent. Turn the heat to medium and add the spinach and orzo. Cook for 1 minute and then add the broth and lemon juice.

Bring to a light simmer and cook for 12-15 minutes until the orzo is barely tender. Whisk the water and cornstarch in a small bowl. With the soup at a light boil, whisk in the cornstarch mixture and stir rapidly. Allow the soup to thicken, about 3 minutes.

Serve immediately garnished with freshly grated Parmesan.

Cassie’s notes:
This soup is also great with 1-2 cups of cooked chicken added in. Feel free to use chopped frozen spinach—just make sure you thaw, drain and squeeze out the excess water.


_______________________________________

Amber is a stay at home mom who lives in the heart of the Missouri Ozarks. It’s a long way from where she grew up, in Wales (yes, way over in the U.K.). The recipes in her blog Sprinkled with Flour include her original creations as well as her family recipes. Go check them out!


Profile photo of HowSweetEats

Beef with Barley Soup

Posted by in Step-by-Step Recipes

Tasty Kitchen Blog: Beef Barley Soup. Guest post by Jessica Merchant of How Sweet It Is, recipe submitted by TK member Terri of That's Some Good Cookin'.

 
I don’t know about you, but it’s finally winter in my neck of the woods. It’s cold. I’m hungry. And I’m ready to hibernate.

I could live off soups year round, and find that nothing is more satisfying that a big bowl of stew (or two) followed by a few cookies. Maybe some bread. Maybe a salad. But the soup is where it’s at. According to my mom, my grandma made an excellent beef and barley soup. However, it was never one of the recipes she made in my lifetime. It’s been hidden in my recipe box since she passed away, and I had all but forgotten about it until I came across this Beef with Barley Soup recipe from Terri. I could hardly wait to whip up a pot; it just screamed comfort. And it’s much easier than I thought it would be. Win!


Tasty Kitchen Blog: Beef Barley Soup. Guest post by Jessica Merchant of How Sweet It Is, recipe submitted by TK member Terri of That's Some Good Cookin'.

Here are your super simple ingredients: salt, pepper, thyme, carrots, olive oil barley, stew beef, season salt, diced tomatoes, beef stock, garlic, potatoes, onions and 1 bay leaf.
It should be noted that I had a difficult time finding pearl barley and had to resort to a quick cooking barley. Because of this, I reduced my simmer time a bit, and while I was afraid the barley would be a hot mess, it still came out great! More on that later.


Tasty Kitchen Blog: Beef Barley Soup. Guest post by Jessica Merchant of How Sweet It Is, recipe submitted by TK member Terri of That's Some Good Cookin'.

Begin by dicing your onion. Also peel and chop your potatoes.


Tasty Kitchen Blog: Beef Barley Soup. Guest post by Jessica Merchant of How Sweet It Is, recipe submitted by TK member Terri of That's Some Good Cookin'.

Next up, add your olive oil to a large stock pot and let it get nice and hot. Once hot, add your beef and DON’T TOUCH IT. Let it sear first, then once it can easily be flipped (and is not sticking to the pot), toss it.


Tasty Kitchen Blog: Beef Barley Soup. Guest post by Jessica Merchant of How Sweet It Is, recipe submitted by TK member Terri of That's Some Good Cookin'.

See the caramelly brown color? That’s what you want. Gray meat is the worst. Trust me. Give it some color!


Tasty Kitchen Blog: Beef Barley Soup. Guest post by Jessica Merchant of How Sweet It Is, recipe submitted by TK member Terri of That's Some Good Cookin'.

After about 5 minutes your meat should be browned, and it’s time to add your onions and garlic. Stir everything together.


Tasty Kitchen Blog: Beef Barley Soup. Guest post by Jessica Merchant of How Sweet It Is, recipe submitted by TK member Terri of That's Some Good Cookin'.

Continue stirring every few minutes until the onions become caramelized. You can add a little more oil here if needed, but it wasn’t necessary for me.


Tasty Kitchen Blog: Beef Barley Soup. Guest post by Jessica Merchant of How Sweet It Is, recipe submitted by TK member Terri of That's Some Good Cookin'.

Now it’ time to add everything else! Throw in the potatoes and carrots and barley …


Tasty Kitchen Blog: Beef Barley Soup. Guest post by Jessica Merchant of How Sweet It Is, recipe submitted by TK member Terri of That's Some Good Cookin'.

Dump in the stock …


Tasty Kitchen Blog: Beef Barley Soup. Guest post by Jessica Merchant of How Sweet It Is, recipe submitted by TK member Terri of That's Some Good Cookin'.

Then add your seasonings and bay leaf.


Tasty Kitchen Blog: Beef Barley Soup. Guest post by Jessica Merchant of How Sweet It Is, recipe submitted by TK member Terri of That's Some Good Cookin'.

Bring the soup to a boil, then reduce it to a simmer and let it cook for about 2 hours, stirring occasionally. Again, I shaved a bit of time off here since I used the quick cooking barley. I let mine simmer for about 45-60 minutes.


Tasty Kitchen Blog: Beef Barley Soup. Guest post by Jessica Merchant of How Sweet It Is, recipe submitted by TK member Terri of That's Some Good Cookin'.

After the 2 hours (or 45-60 minutes, in my case), add in your diced tomatoes. Give it a good stir and let it simmer for another hour. Easy!


Tasty Kitchen Blog: Beef Barley Soup. Guest post by Jessica Merchant of How Sweet It Is, recipe submitted by TK member Terri of That's Some Good Cookin'.

Give it a taste and adjust your seasonings. I snuck multiple spoonfuls for about 2 hours straight.


Tasty Kitchen Blog: Beef Barley Soup. Guest post by Jessica Merchant of How Sweet It Is, recipe submitted by TK member Terri of That's Some Good Cookin'.

Remove your bay leaf and serve it hot with a sprinkle of fresh parsley. I added some crusty bread with butter for dipping. Crackers would be good, too!


Tasty Kitchen Blog: Beef Barley Soup. Guest post by Jessica Merchant of How Sweet It Is, recipe submitted by TK member Terri of That's Some Good Cookin'.

Dig in!

This soup actually warmed me to the core and the flavor was just incredible. It is a perfect dish for cold winter nights, and if you use the quick cooking barley, you can even make this as an easy weeknight meal. I didn’t even care that I burn every inch of my mouth.

Thanks so much Terri for the delicious recipe! Be sure to check out her blog That’s Some Good Cookin’. It’s chock full of fabulous dishes and stories.


Printable Recipe

Beef with Barley Soup

See post on Terri @ that's some good cookin'’s site!
4.82 Mitt(s) 17 Rating(s)17 votes, average: 4.82 out of 517 votes, average: 4.82 out of 517 votes, average: 4.82 out of 517 votes, average: 4.82 out of 517 votes, average: 4.82 out of 5

Prep Time:

Cook Time:

Difficulty: Easy

Servings: 8

8
x

Print Options

Page size Letter 3x5 4x6
Text Size Small Medium Large
Content Include description
Include prep time, etc.
Show image

Description

Take the chill off with a warm bowl of this filling soup.

Ingredients

  • 2 Tablespoons Olive Oil
  • 1 pound Beef Cubes (for Stew)
  • 1 whole Large Onion, Medium Diced
  • 2 cloves Minced Garlic
  • 2 whole Carrots, Smaller Ends Cut Into Rounds, Larger Ends Diced
  • 2 whole Potatoes, Large Dice
  • 1-½ teaspoon Seasoning Salt
  • 1 teaspoon Sea Salt (or To Taste)
  • Ground Black Pepper To Taste
  • 6 cups Beef Stock
  • 2 cups Water Or As Needed
  • ½ cups Pearl Barley
  • ½ teaspoons Thyme
  • 1 whole Bay Leaf
  • 1 can (14.5 Oz. Size) Diced Tomatoes

Preparation Instructions

Heat a large stock pot over medium high heat. Add the olive oil.

Brown the beef cubes for three minutes in the oil, then add the onions and garlic. Lower the heat to medium low and cook until the onions are cooked and just start to caramelize. Stir as needed to keep onions and garlic from burning. Lower heat if necessary; drizzle a little more olive oil if needed to keep food from sticking.

Add everything except the tomatoes to the pot and stir well. Increase the heat and bring the soup to a boil, then turn heat to low, cover pot, and simmer for two hours, stirring occasionally. Adjust heat as necessary to keep soup at a slow simmer. If the soup thickens too much, add a little more water or broth.

Taste to correct seasonings, then add tomatoes and simmer for another hour. Remove bay leaf before serving.


_______________________________________

Jessica Merchant is a personal trainer turned food writer and blogger. Her blog, How Sweet Eats, is where she proclaims her love for all things sweet, all things bacon, and everything else in between. She works her magic in her Pittsburgh kitchen, which she shares with her husband of 2 years.


Profile photo of Erica Lea

Chai Pots de Creme

Posted by in Step-by-Step Recipes

Tasty Kitchen Blog: Chai Pots de Creme. Guest post by Erica Kastner of Cooking for Seven, recipe submitted by TK member Stacey of Just Stacey J.

 
Creamy, smooth custard contrasted with intense, spicy flavors. Today, I bring you these lovely Chai Pots de Creme, shared by Stacey (butterbean).

I’ll not lie. The ingredient list contains a few specialty items. And the process is a bit time-consuming. But these little custards are very much worth it. So rich and full of flavor; and they can be made a day or so in advance, for those crazy days when you’re expecting visitors and have no time to make something awesome.

Here’s how to make these scrumptious little bowls of creaminess:


Tasty Kitchen Blog: Chai Pots de Creme. Guest post by Erica Kastner of Cooking for Seven, recipe submitted by TK member Stacey of Just Stacey J.

First, the ingredient list:  heavy cream, whole milk, chai concentrate (I used Tazo, but you can use any kind you wish), ground ginger, cinnamon stick, ground cardamom, whole cloves, crushed red pepper, egg yolks, and brown sugar. 


Tasty Kitchen Blog: Chai Pots de Creme. Guest post by Erica Kastner of Cooking for Seven, recipe submitted by TK member Stacey of Just Stacey J.

Preheat your oven to 325ºF. Place 1 1/2 cups cream, milk, chai concentrate, ginger…


Tasty Kitchen Blog: Chai Pots de Creme. Guest post by Erica Kastner of Cooking for Seven, recipe submitted by TK member Stacey of Just Stacey J.

…cinnamon stick, cardamom, cloves, and red pepper in a saucepan. 


Tasty Kitchen Blog: Chai Pots de Creme. Guest post by Erica Kastner of Cooking for Seven, recipe submitted by TK member Stacey of Just Stacey J.

Bring to a boil and simmer for 5 minutes. 


Tasty Kitchen Blog: Chai Pots de Creme. Guest post by Erica Kastner of Cooking for Seven, recipe submitted by TK member Stacey of Just Stacey J.

Remove from heat, cover, and let steep for 15 minutes. This will help to intensify the flavors.


Tasty Kitchen Blog: Chai Pots de Creme. Guest post by Erica Kastner of Cooking for Seven, recipe submitted by TK member Stacey of Just Stacey J.

Meanwhile, place 6 ramekins in a 13×9-inch pan.


Tasty Kitchen Blog: Chai Pots de Creme. Guest post by Erica Kastner of Cooking for Seven, recipe submitted by TK member Stacey of Just Stacey J.

Strain the cream mixture into a bowl. Discard the solids, or boil in a pan of water for a lovely aroma.


Tasty Kitchen Blog: Chai Pots de Creme. Guest post by Erica Kastner of Cooking for Seven, recipe submitted by TK member Stacey of Just Stacey J.

Separate the egg yolks from the whites. Whisk together the brown sugar and egg yolks.


Tasty Kitchen Blog: Chai Pots de Creme. Guest post by Erica Kastner of Cooking for Seven, recipe submitted by TK member Stacey of Just Stacey J.

Whisk in the strained cream mixture.


Tasty Kitchen Blog: Chai Pots de Creme. Guest post by Erica Kastner of Cooking for Seven, recipe submitted by TK member Stacey of Just Stacey J.

Divide the custard evenly among the prepared ramekins. I find it easiest to place the custard in a pitcher first.


Tasty Kitchen Blog: Chai Pots de Creme. Guest post by Erica Kastner of Cooking for Seven, recipe submitted by TK member Stacey of Just Stacey J.

Pour hot water into the baking dish to reach halfway up the sides of the ramekins.


Tasty Kitchen Blog: Chai Pots de Creme. Guest post by Erica Kastner of Cooking for Seven, recipe submitted by TK member Stacey of Just Stacey J.

Cover with aluminum foil.


Tasty Kitchen Blog: Chai Pots de Creme. Guest post by Erica Kastner of Cooking for Seven, recipe submitted by TK member Stacey of Just Stacey J.

Pierce the foil in several places.


Tasty Kitchen Blog: Chai Pots de Creme. Guest post by Erica Kastner of Cooking for Seven, recipe submitted by TK member Stacey of Just Stacey J.

Bake until softly set, about 30 minutes. Remove from pan and let cool for 1 hour. Cover with wax paper (I used plastic wrap) and refrigerate for at least 2 hours. Just before serving, whip the remaining cream to soft peaks. Dollop a little (or a lot) onto each custard. Enjoy!


Tasty Kitchen Blog: Chai Pots de Creme. Guest post by Erica Kastner of Cooking for Seven, recipe submitted by TK member Stacey of Just Stacey J.

Notes: 

• My husband and I found that the red pepper was a little odd. You could easily leave this out if you prefer a less spicy (and by spicy, I mean hot) chai. 
• As Stacey mentioned, it was necessary for me to remove the foil and bake the custards for an additional 20 minutes or so. Everyone’s oven is different, so start with 30 minutes and work from there.

Thank you so much, butterbean, for sharing this amazing recipe with us! Visit her blog Just Stacey J. for recipes, photos, and so much more.


Printable Recipe

Chai Pots de Creme

See post on butterbean’s site!
4.00 Mitt(s) 1 Rating(s)1 vote, average: 4.00 out of 51 vote, average: 4.00 out of 51 vote, average: 4.00 out of 51 vote, average: 4.00 out of 51 vote, average: 4.00 out of 5

Prep Time:

Cook Time:

Difficulty: Easy

Servings: 6

6
x

Print Options

Page size Letter 3x5 4x6
Text Size Small Medium Large
Content Include description
Include prep time, etc.
Show image

Description

Sweet and spicy dessert. The flavors make the whole house smell wonderful. Easy and tasty alike.

Ingredients

  • 2-½ cups Heavy Cream, Divided
  • ½ cups Whole Milk
  • ½ cups Chai Concentrate
  • ½ teaspoons Ginger
  • 1 whole Cinnamon Stick
  • 1 teaspoon Cardamom
  • 8 whole Cloves
  • ¼ teaspoons Crushed Red Pepper Flakes
  • 4 whole Egg Yolks
  • ½ cups Brown Sugar

Preparation Instructions

Preheat the oven to 325°F. In a saucepan, bring 1 1/2 cups cream, the milk, chai concentrate, ginger, cinnamon, cardamom, cloves and crushed red pepper to a boil; simmer for 5 minutes. Remove from the heat, cover and let steep for 15 minutes.

Place six 1/2-cup ramekins in a 9-by-13-inch baking dish. Strain the cream mixture into a bowl, pressing on the solids; discard the solids.

In a medium bowl, whisk together the egg yolks and brown sugar. Whisk in the cream mixture. Divide the custard among the ramekins; pour enough hot water into the baking dish to come halfway up the sides of the ramekins. Cover the dish with foil and pierce in several spots.

Bake the custards until softly set, about 30 minutes. (I had to uncover and cook mine for about another 20 minutes.) Remove from the water and let cool for 1 hour. Cover with wax paper and refrigerate for at least 2 hours. Before serving, whip the remaining 1 cup cream until soft peaks form; dollop onto each custard and sprinkle with the candied ginger if desired.


_______________________________________

Newly-married Erica Kastner shares her wonderful recipes and amazing food photography on her blog, Cooking for Seven. She also writes about crafts and posts more of her beautiful photography in her personal blog, EricaLea.com. There really isn’t much that this amazing young lady can’t do, and we’re thrilled she does some of it here.


Profile photo of Laurie - Simply Scratch

Homemade Ricotta with Lemon and Basil

Posted by in Step-by-Step Recipes

  Are you like me and have this forever growing “recipe bucket-list”? Things like homemade fruit leathers, giant cinnamon rolls have snuck their way onto my mile long list, but on the very tippy-top of that long list was to make my own ricotta cheese. It was when I saw Megan’s recipe for Lemon Basil […]