The Pioneer Woman Tasty Kitchen
Profile photo of Erica Lea

Chai Gingerbread Bars

Posted by in Baking, Step-by-Step Recipes

Tasty Kitchen Blog: Chai Gingerbread Bars. Guest post by Erica Kastner of Cooking for Seven, recipe submitted by TK member Nika.

 
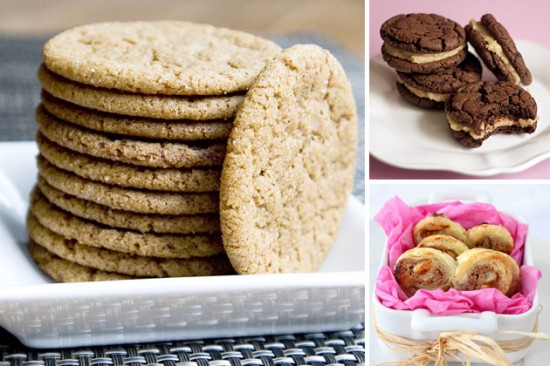
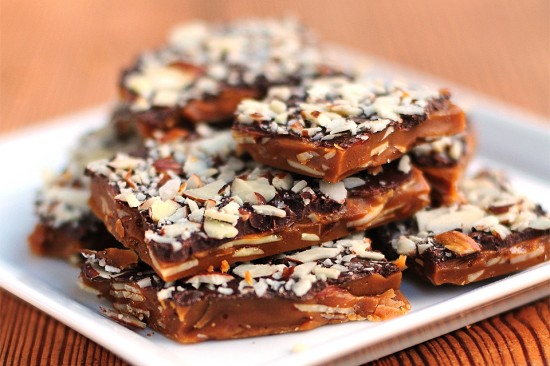
Chai meets Gingerbread.

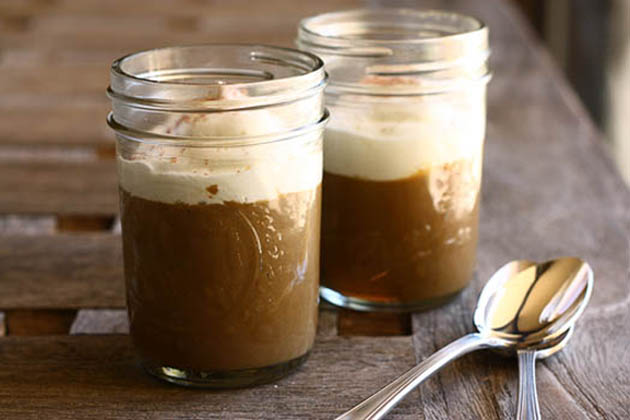
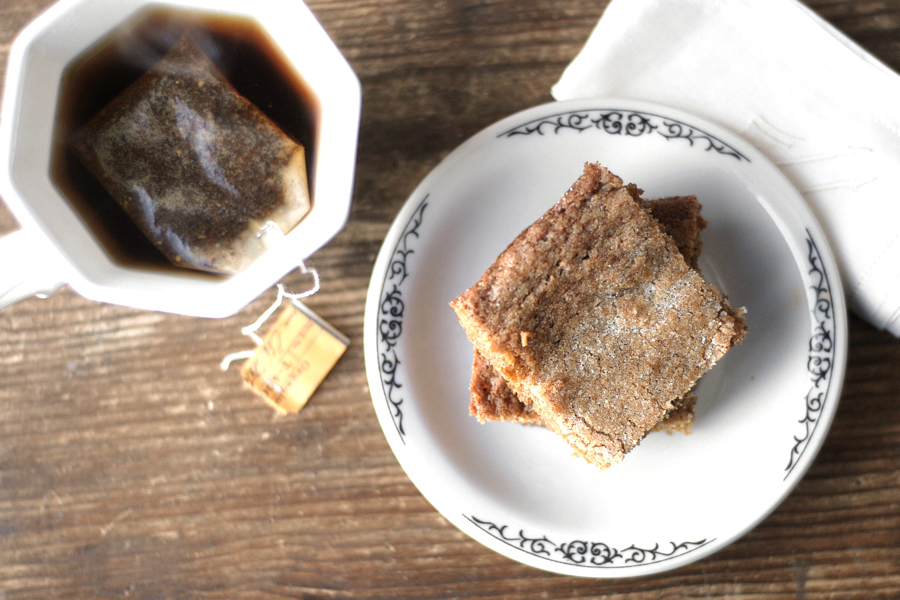
These bars, brought to us by Nika (who also shared the utterly delicious Red Curry Coconut Noodles), are the perfect addition to a steaming cup of coffee, cocoa, or tea. Curl up with your toes by the fire and savor a wonderful treat.

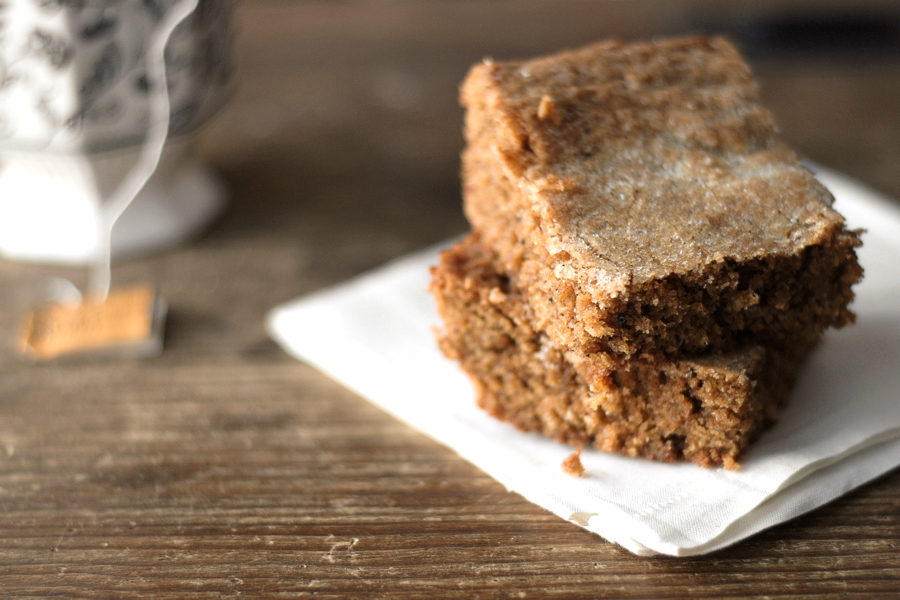
What really drew me to these Chai Gingerbread Bars was the unique list of ingredients. Real chai tea leaves. Fresh ginger. Whole wheat flour. The result is subtle flavors, a soft, chewy texture, and the perfect amount of sweetness.


Tasty Kitchen Blog: Chai Gingerbread Bars. Guest post by Erica Kastner of Cooking for Seven, recipe submitted by TK member Nika.

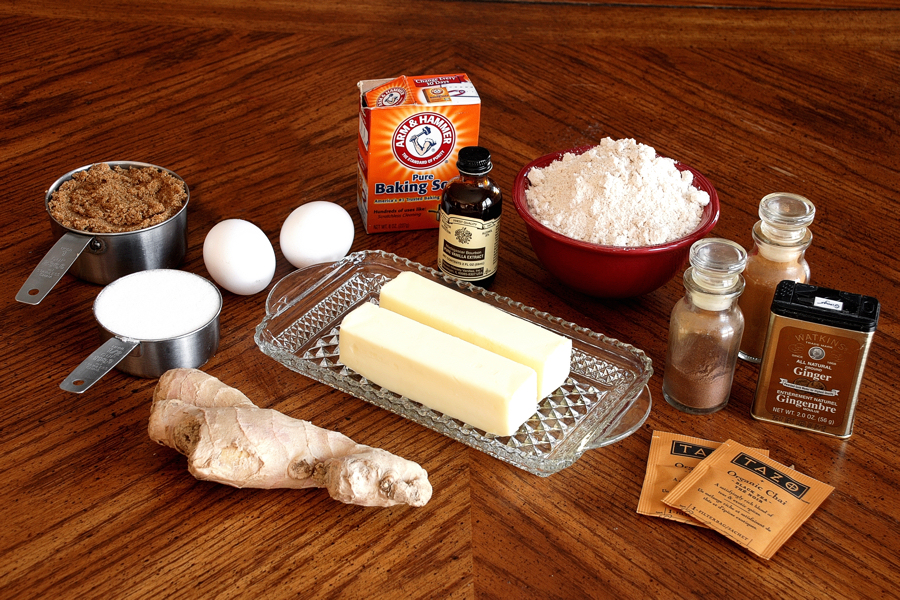
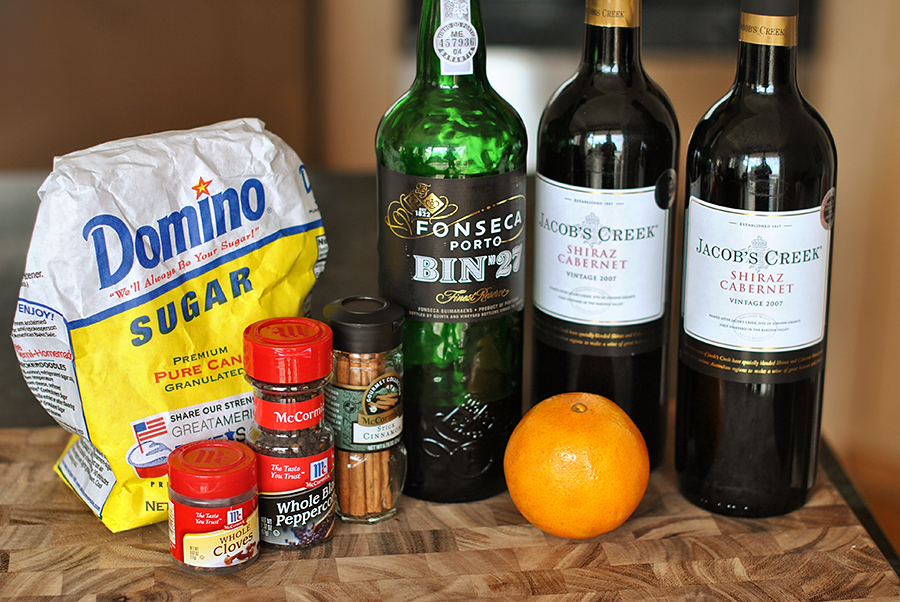
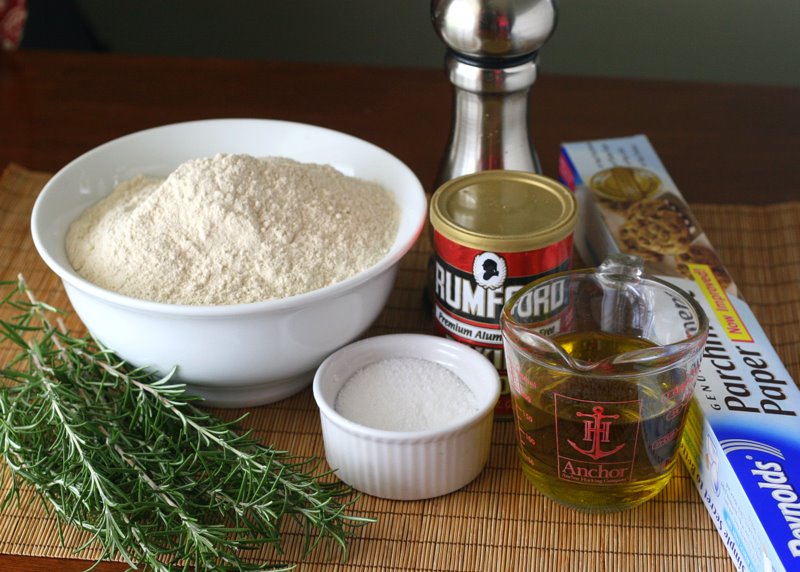
First, gather your ingredients: whole wheat flour, cinnamon, allspice, chai tea, ground ginger, baking soda, butter, dark brown sugar, granulated sugar, eggs, vanilla, and fresh ginger.


Tasty Kitchen Blog: Chai Gingerbread Bars. Guest post by Erica Kastner of Cooking for Seven, recipe submitted by TK member Nika.

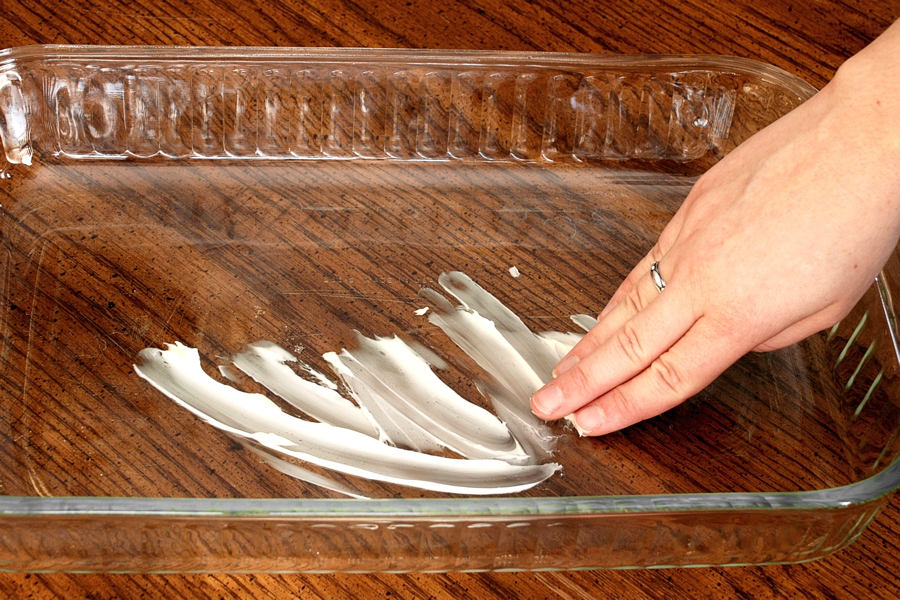
Preheat your oven to 350° F. Grease a 13×9-inch pan with butter or cooking spray.


Tasty Kitchen Blog: Chai Gingerbread Bars. Guest post by Erica Kastner of Cooking for Seven, recipe submitted by TK member Nika.

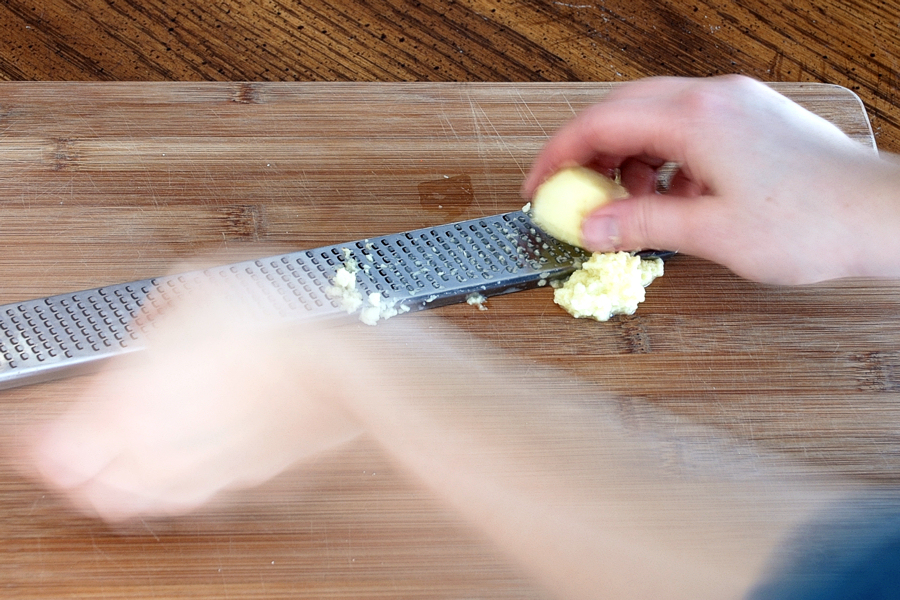
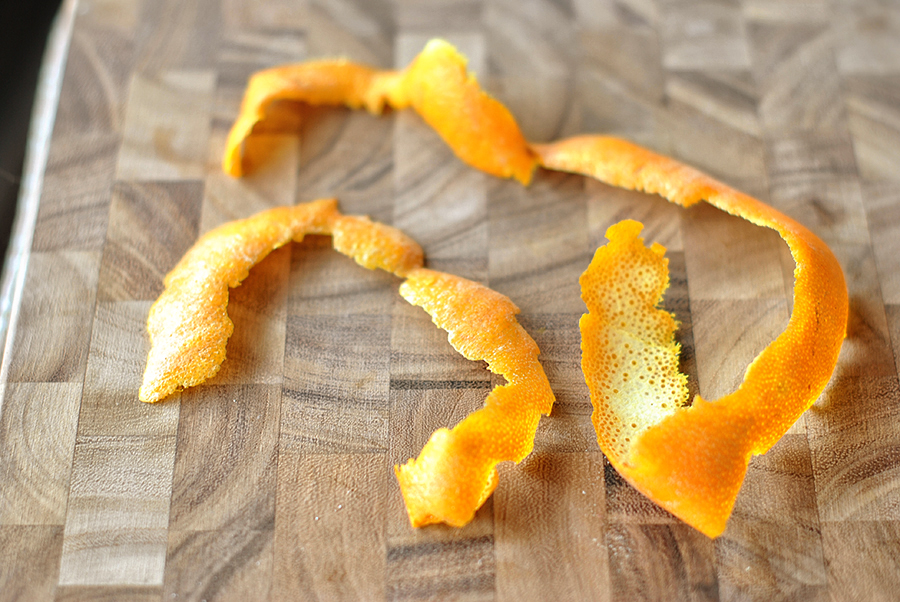
Grate about a tablespoon of ginger.


Tasty Kitchen Blog: Chai Gingerbread Bars. Guest post by Erica Kastner of Cooking for Seven, recipe submitted by TK member Nika.

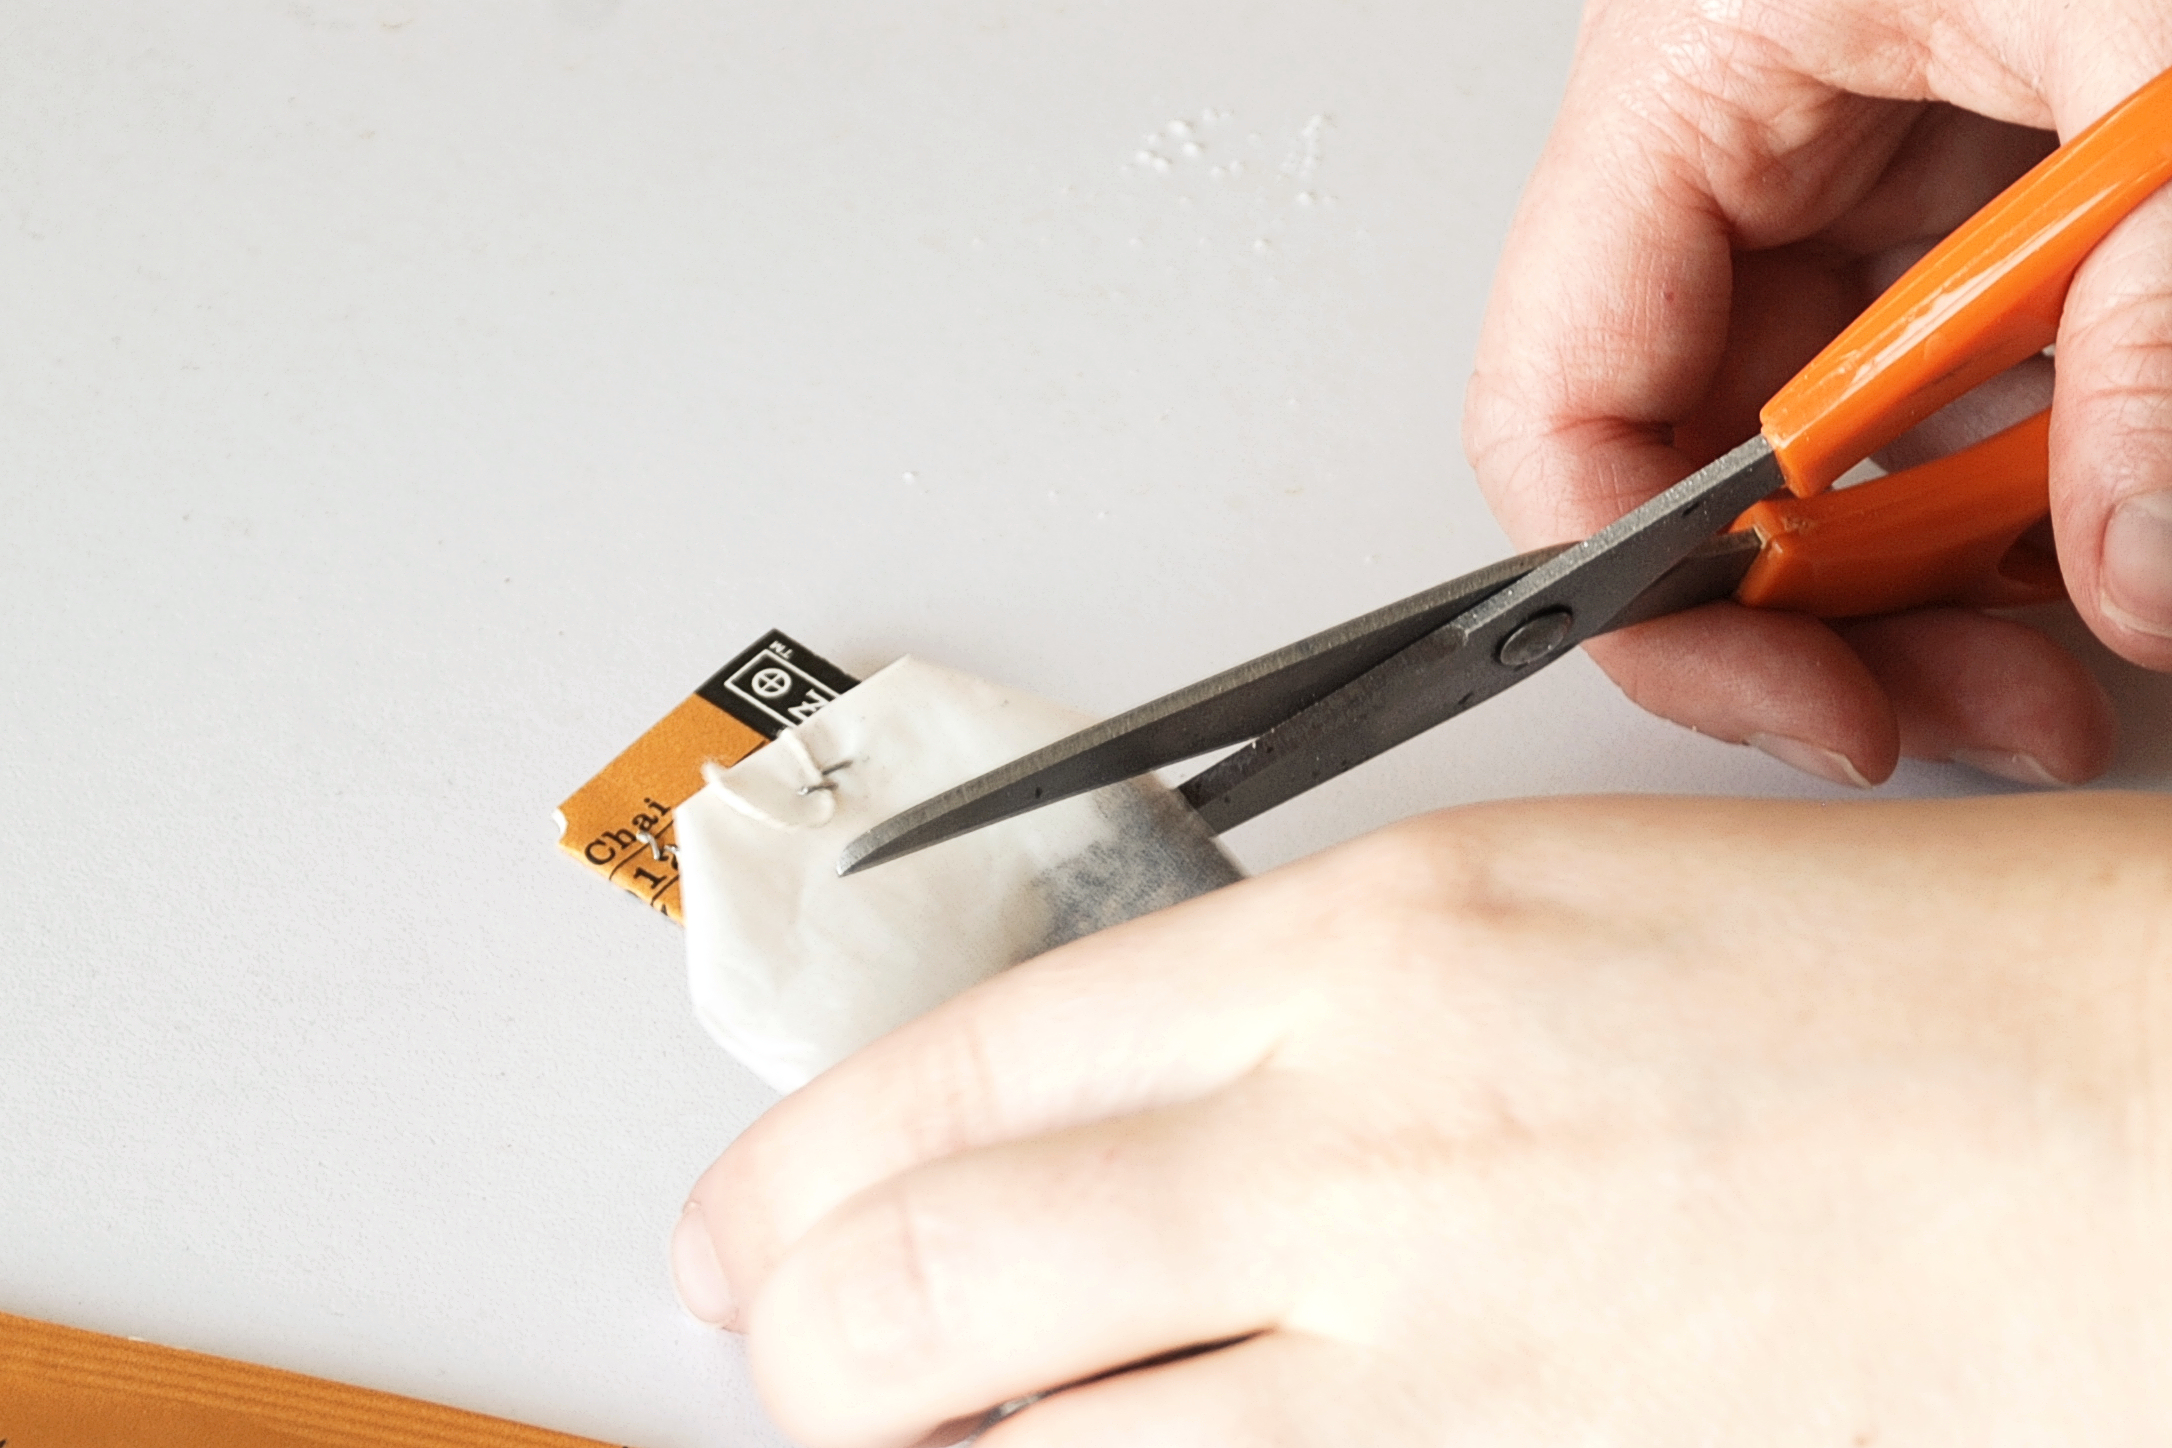
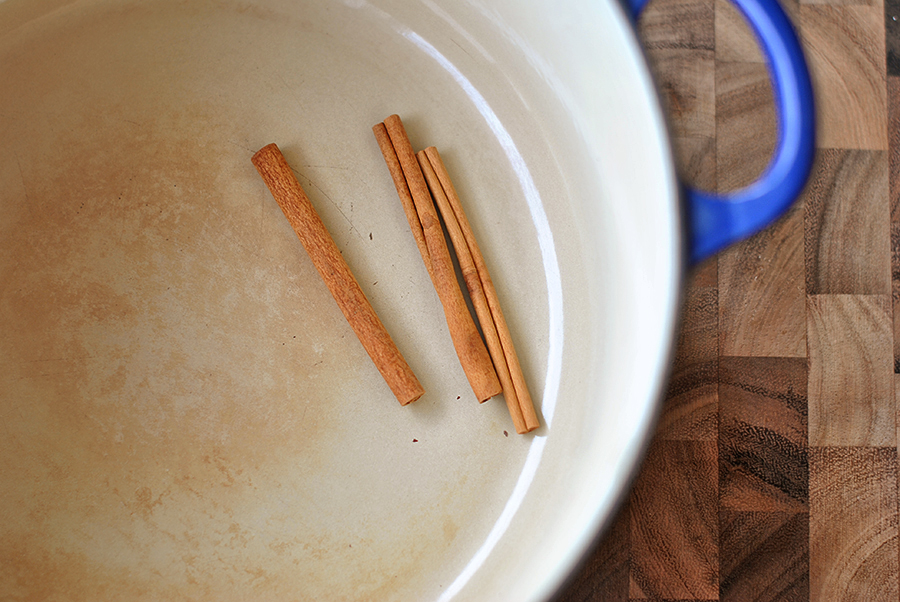
Cut open a bag a chai tea and pour the contents into a small bowl.


Tasty Kitchen Blog: Chai Gingerbread Bars. Guest post by Erica Kastner of Cooking for Seven, recipe submitted by TK member Nika.

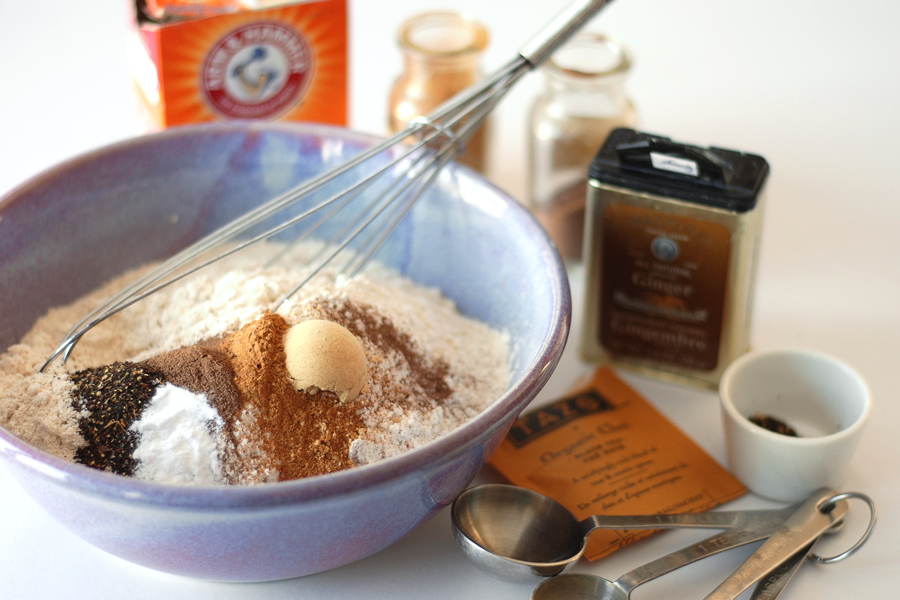
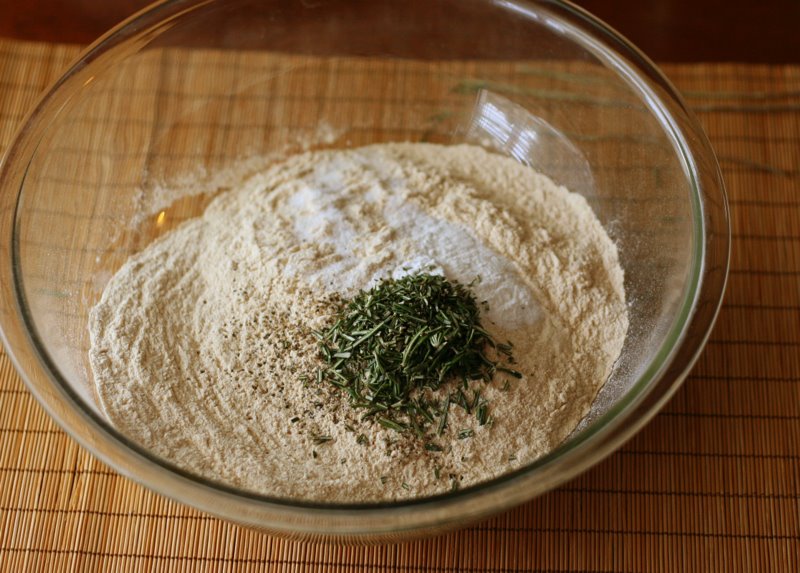
Whisk together the flour, cinnamon, allspice, ginger, chai tea leaves, and baking soda.


Tasty Kitchen Blog: Chai Gingerbread Bars. Guest post by Erica Kastner of Cooking for Seven, recipe submitted by TK member Nika.

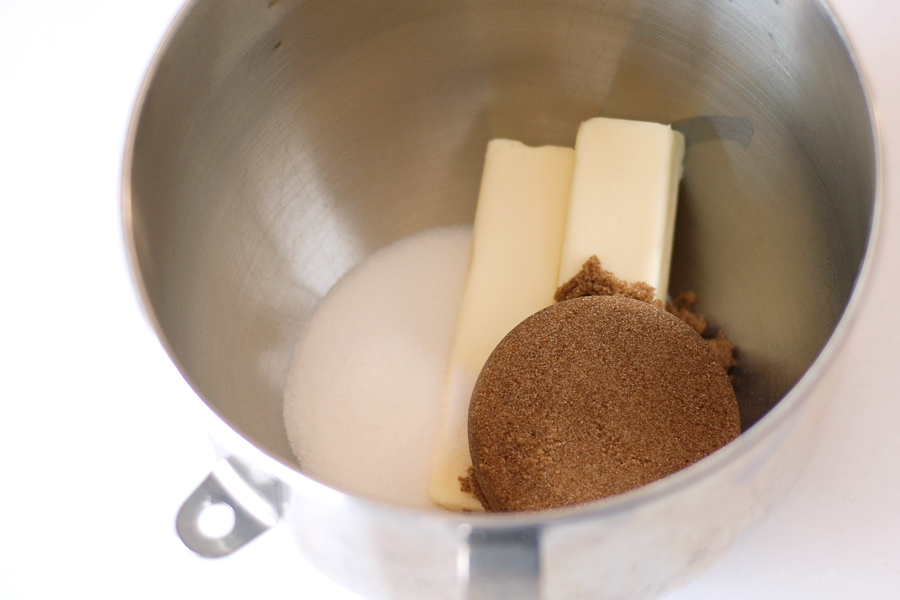
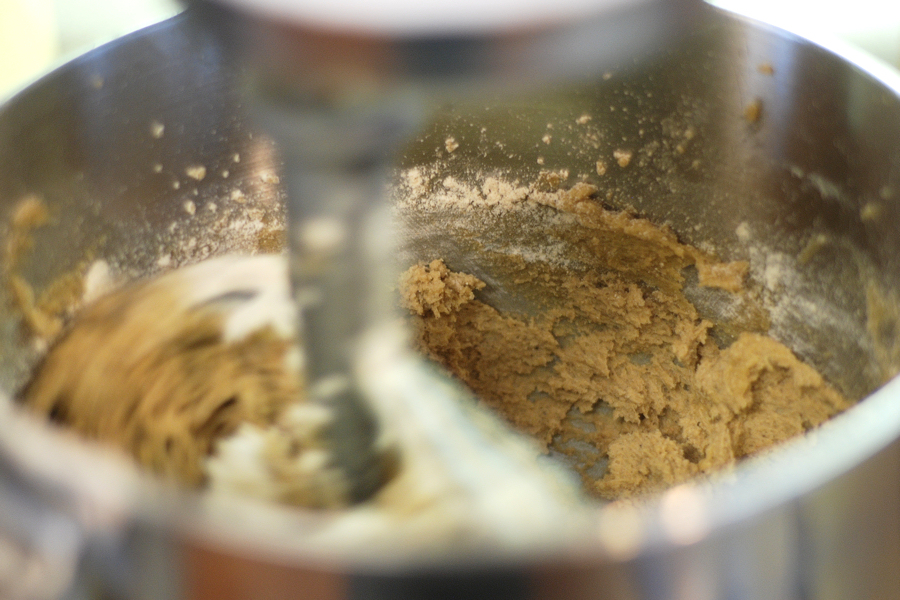
Place the butter and sugars in the bowl of a stand mixer.
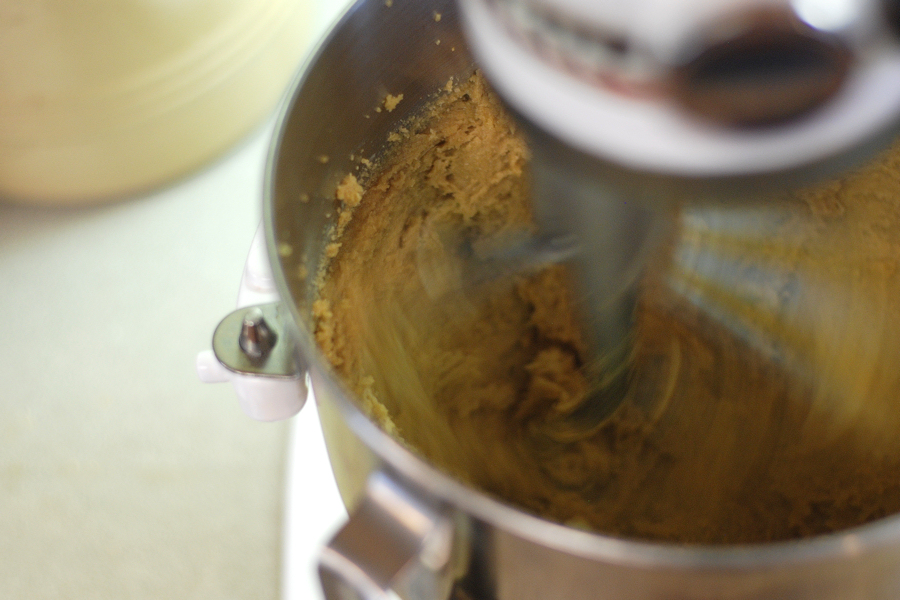


Tasty Kitchen Blog: Chai Gingerbread Bars. Guest post by Erica Kastner of Cooking for Seven, recipe submitted by TK member Nika.

Beat until soft.


Tasty Kitchen Blog: Chai Gingerbread Bars. Guest post by Erica Kastner of Cooking for Seven, recipe submitted by TK member Nika.

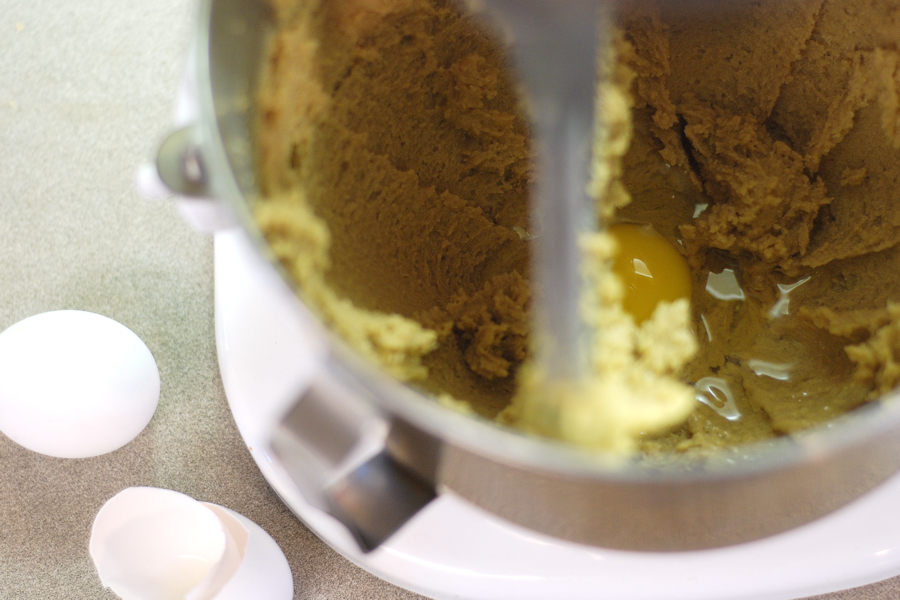
Add the eggs, one at a time, beating well after each addition.
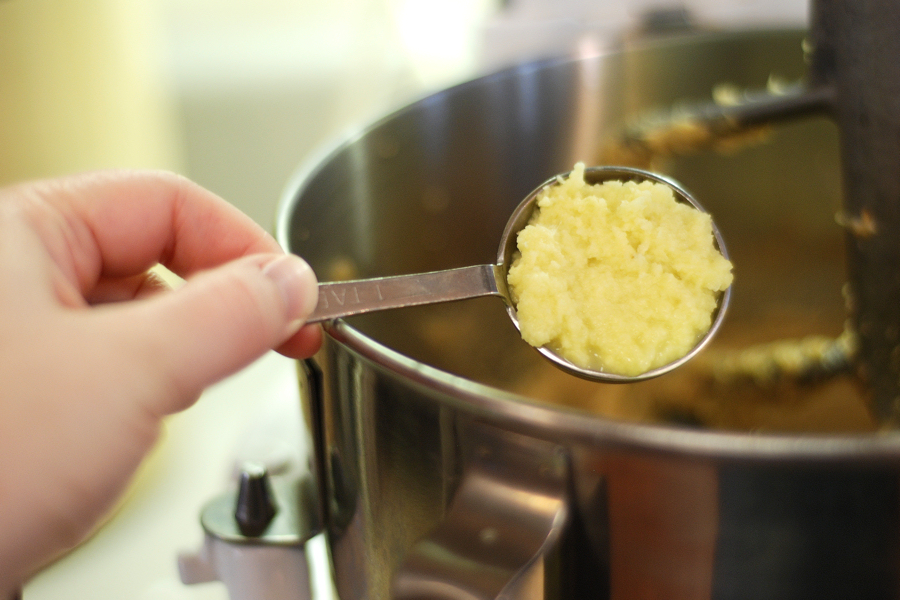


Tasty Kitchen Blog: Chai Gingerbread Bars. Guest post by Erica Kastner of Cooking for Seven, recipe submitted by TK member Nika.

Add the ginger …


Tasty Kitchen Blog: Chai Gingerbread Bars. Guest post by Erica Kastner of Cooking for Seven, recipe submitted by TK member Nika.

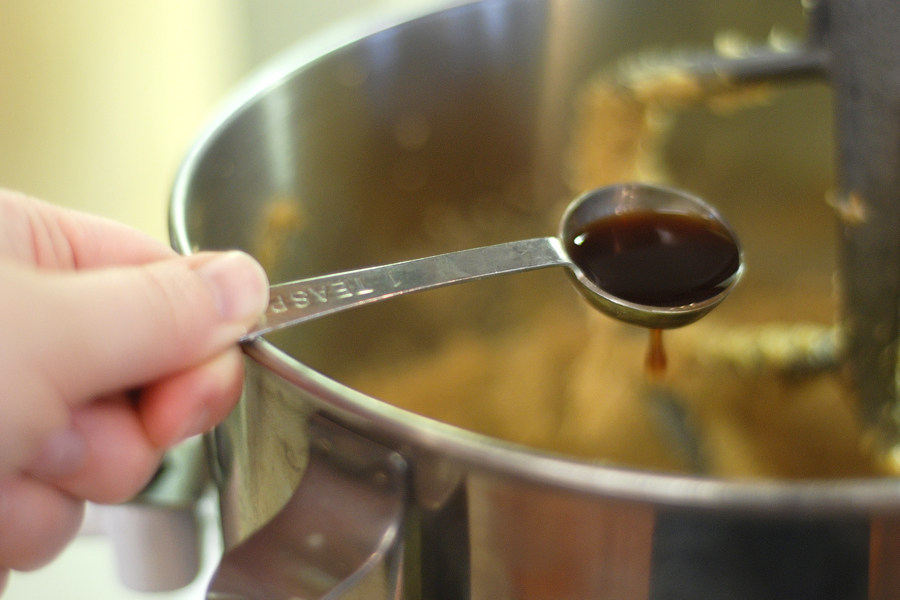
And the vanilla. Mix.


Tasty Kitchen Blog: Chai Gingerbread Bars. Guest post by Erica Kastner of Cooking for Seven, recipe submitted by TK member Nika.

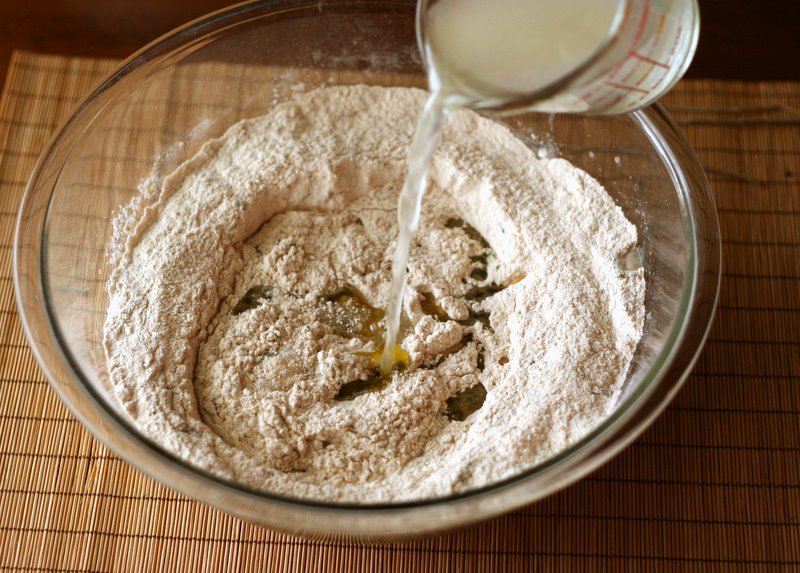
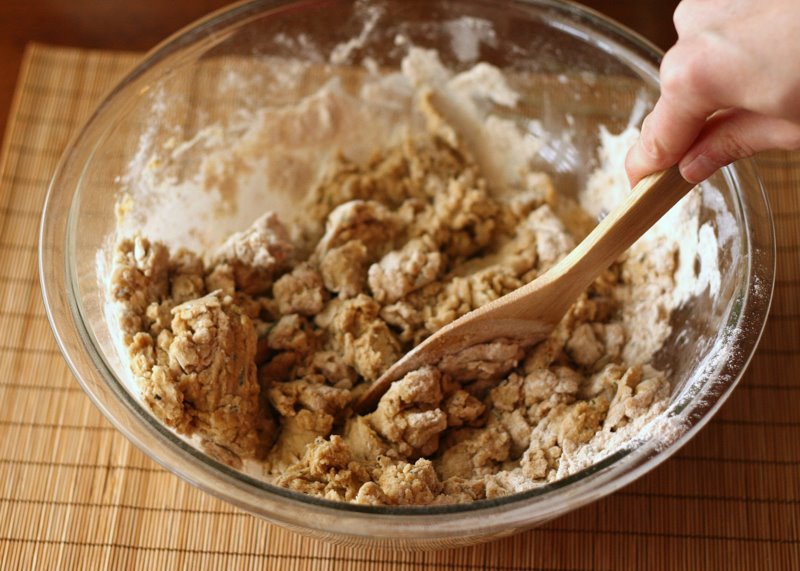
With the mixer on low, slowly add the flour and mix until blended.


Tasty Kitchen Blog: Chai Gingerbread Bars. Guest post by Erica Kastner of Cooking for Seven, recipe submitted by TK member Nika.

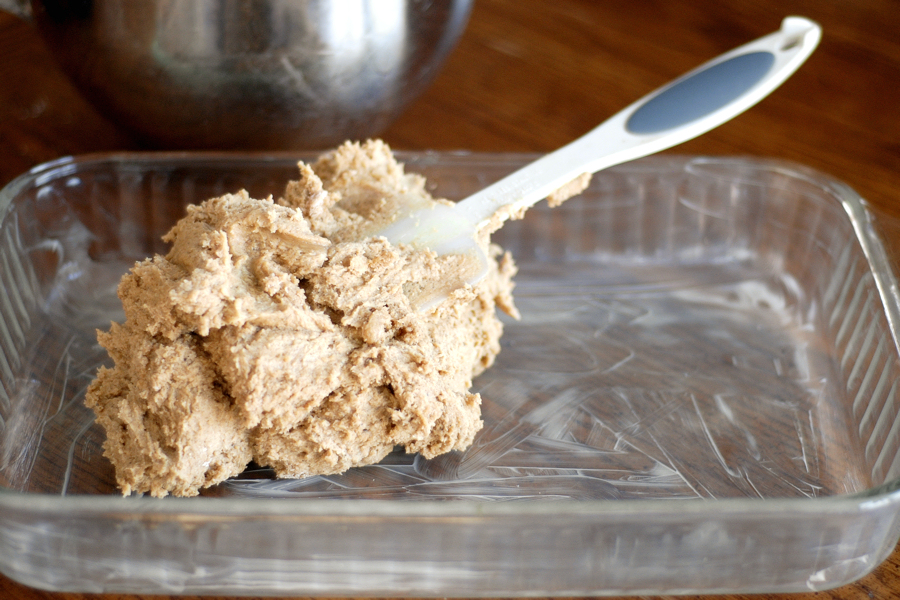
Scoop the batter into your prepared pan.


Tasty Kitchen Blog: Chai Gingerbread Bars. Guest post by Erica Kastner of Cooking for Seven, recipe submitted by TK member Nika.

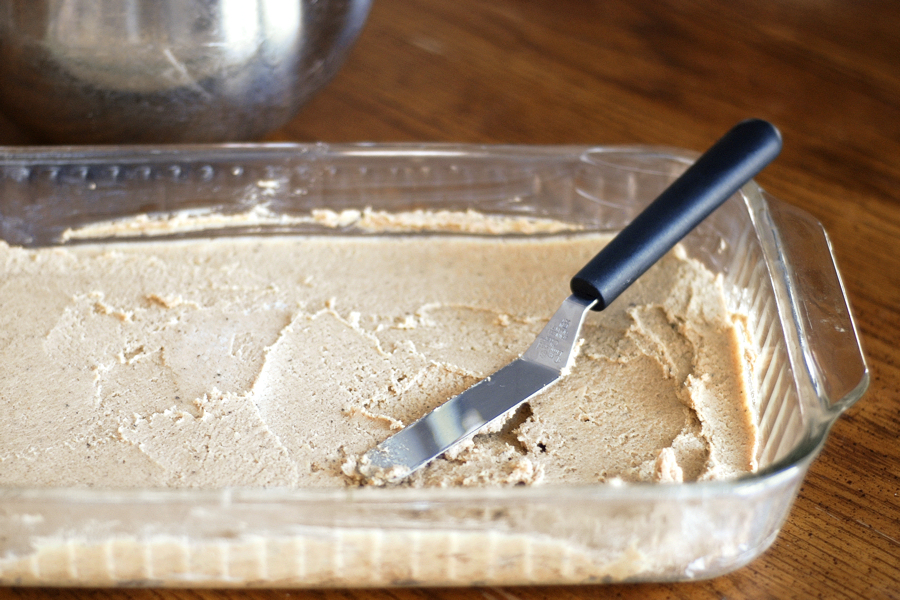
Lightly grease with butter or spray with cooking spray an offset spatula. Spread the batter out evenly in the pan.


Tasty Kitchen Blog: Chai Gingerbread Bars. Guest post by Erica Kastner of Cooking for Seven, recipe submitted by TK member Nika.

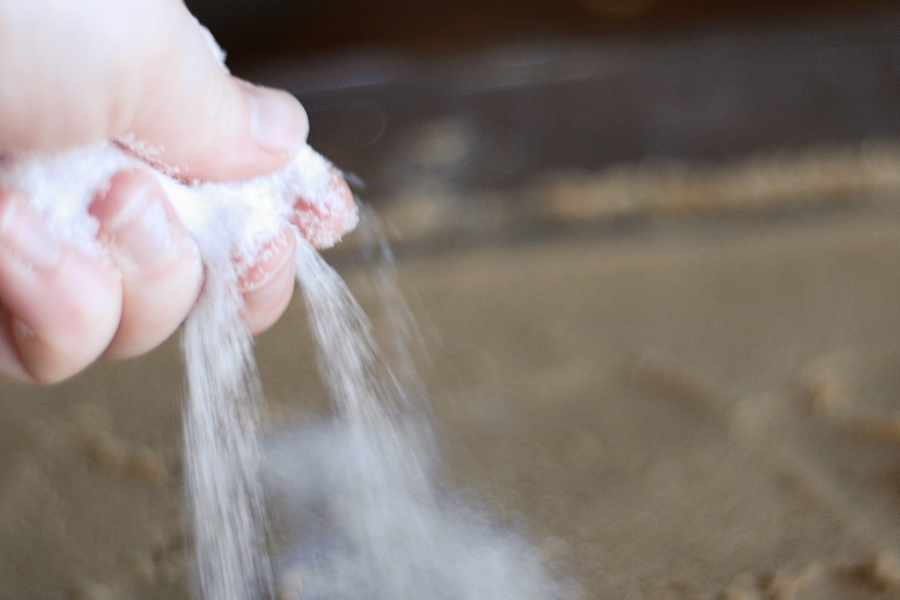
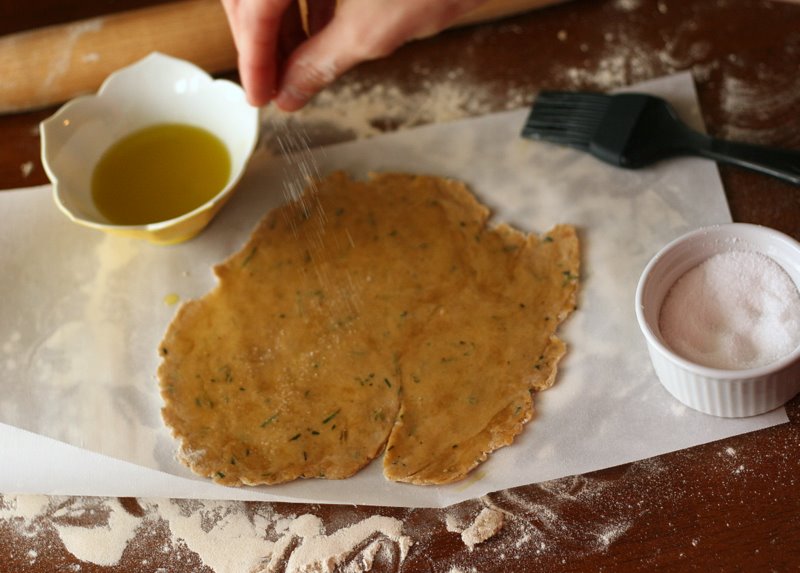
Sprinkle the top with more granulated sugar, if desired.


Tasty Kitchen Blog: Chai Gingerbread Bars. Guest post by Erica Kastner of Cooking for Seven, recipe submitted by TK member Nika.

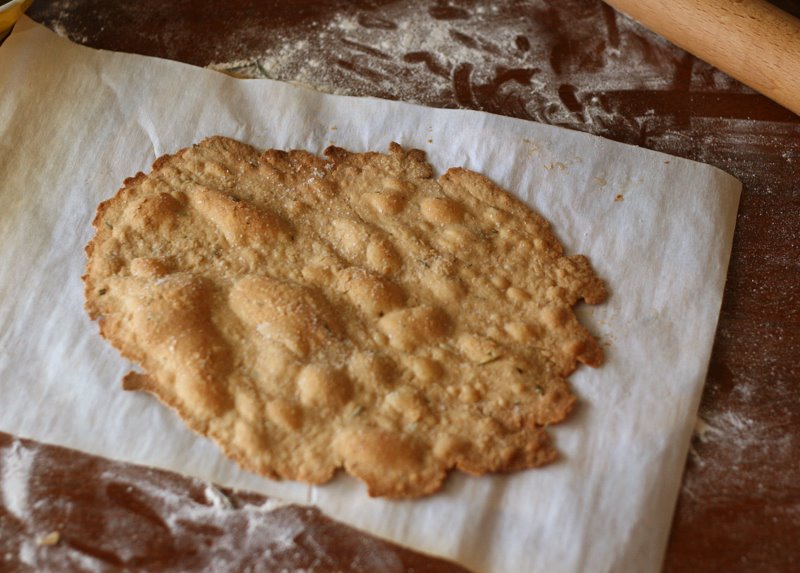
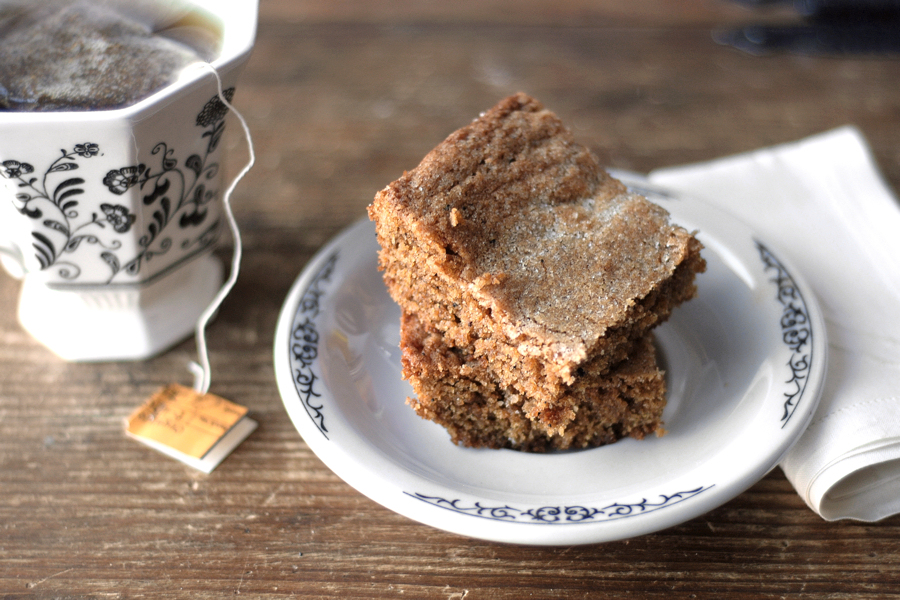
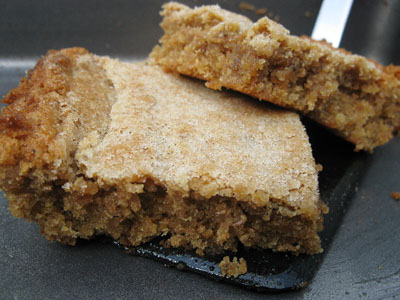
Bake in a preheated oven for 25 minutes. A toothpick should come out clean with a few moist crumbs clinging. If you can wait (I couldn’t), cool the bars completely before cutting.


Tasty Kitchen Blog: Chai Gingerbread Bars. Guest post by Erica Kastner of Cooking for Seven, recipe submitted by TK member Nika.

Nika suggests that you chill the bars in the refrigerator. I really couldn’t wait that long. They were scrumptious at room temperature.

I don’t think I would change anything about this recipe. Perhaps I’ll try using more natural sweeteners next time. But the flavor is spot on.


Tasty Kitchen Blog: Chai Gingerbread Bars. Guest post by Erica Kastner of Cooking for Seven, recipe submitted by TK member Nika.

Thank you, Nika, for sharing this lovely recipe with us.


Printable Recipe

Chai Gingerbread Bars

4.77 Mitt(s) 18 Rating(s)18 votes, average: 4.77 out of 518 votes, average: 4.77 out of 518 votes, average: 4.77 out of 518 votes, average: 4.77 out of 518 votes, average: 4.77 out of 5

Prep Time:

Cook Time:

Difficulty: Easy

Servings: 16

16
x

Print Options

Page size Letter 3x5 4x6
Text Size Small Medium Large
Content Include description
Include prep time, etc.
Show image

Description

Soft chewy gingerbread bars, with a bit of chai.

Ingredients

  • 2 cups Whole Wheat Flour
  • 1 teaspoon Cinnamon
  • 1 teaspoon Allspice
  • 1 teaspoon Chai Tea Leaves
  • 1 teaspoon Ground Ginger
  • ½ teaspoons Baking Soda
  • 1 cup Butter, Softened
  • 1 cup Dark Brown Sugar
  • ½ cups White Sugar
  • 2 whole Large Eggs
  • 1 teaspoon Vanilla
  • 1 Tablespoon Fresh Grated Ginger

Preparation Instructions

Preheat oven 350F. Spray a 9×13 baking pan.

In a bowl, put flour, all the spices, chai tea and baking soda. Mix together.

In your mixer, beat the butter with the sugars until soft. One at a time, add the eggs. Beat until they are combined. Mix in the vanilla and grated ginger. With the mixer on low, add the flour mixture. Blend until the flour is blended in.

Scoop the batter into the pan. Spread it around evenly over the bottom of the pan. With a greased spatula (sprayed with a bit of cooking spray, because the batter is pretty sticky!), smooth out the batter. Sprinkle the top with white sugar (totally optional). I have a feeling that you might be looking in the bottom of that pan and start thinking that it just doesn’t look like enough batter. It is. Trust me.

Bake for about 25 minutes. When you poke it with a toothpick, it should come out clean with a few moist crumbs. Cool completely before cutting. And, if you can wait, put it in the fridge and let the bars get cold. They are even better cold!

And of course, ENJOY!


_______________________________________

Erica Berge shares her wonderful recipes and amazing food photography on her blog, Cooking for Seven. She also writes about crafts and posts more of her beautiful photography in her personal blog, EricaLea.com. There really isn’t much that this amazing young lady can’t do, and we’re thrilled she does some of it here.


Profile photo of Erika (TK)

Looks Delicious! Cafe Au Lait Pudding

Posted by in Looks Delicious!

Tasty Kitchen Blog: Looks Delicious! (Cafe au Lait Pudding, submitted by TK member A Cozy Kitchen)

 
Coffe, cream, a touch of cinnamon, and a whole lot of deliciousness.

This Cafe au Lait Pudding from A Cozy Kitchen just looks like the perfect sweet weekend treat, don’t you think? I’ve been in love with it ever since I first saw it.

Here’s the link to their original blog post. And while you’re there, spend some time checking out all their other wonderful recipes. We love them, and we know you’ll love them, too.

Thanks, ladies!

Happy weekend, everyone!


Profile photo of ThreeManyCooks

Mulled Wine

Posted by in Holidays, Step-by-Step Recipes

Tasty Kitchen Blog: Mulled Wine. Guest post by Maggy Keet of Three Many Cooks, recipe from Three Many Cooks.

 
There are two kinds of people in the world: those who love red wine and those who love white. But when the temperature drops and the snow flies, a whole lot of white lovers turn red. ‘Tis the season for warm, bold, sweet and spicy. And come holiday time, mulled wine amps up the best qualities of a good red.


Tasty Kitchen Blog: Mulled Wine. Guest post by Maggy Keet of Three Many Cooks, recipe from Three Many Cooks.

All you need for this hot toddy is cinnamon sticks, whole cloves, whole peppercorns, an orange, sugar, port and two bottles of cheap inexpensive, full-bodied red wine like a cabernet or shiraz (the fact that you can use inexpensive wine and port makes this recipe even more delicious!).


Tasty Kitchen Blog: Mulled Wine. Guest post by Maggy Keet of Three Many Cooks, recipe from Three Many Cooks.

Start by peeling the orange with a vegetable peeler.


Tasty Kitchen Blog: Mulled Wine. Guest post by Maggy Keet of Three Many Cooks, recipe from Three Many Cooks.

Then have a little contest with yourself to see how long you can make the peel before it ends. Just kidding. I didn’t do that.

Okay, I did.


Tasty Kitchen Blog: Mulled Wine. Guest post by Maggy Keet of Three Many Cooks, recipe from Three Many Cooks.

Add three cinnamon sticks. It’s best to do this in a small saucepan, but I don’t have one (crazy, I know) so I just put this all in my Le Creuset and it worked fine.


Tasty Kitchen Blog: Mulled Wine. Guest post by Maggy Keet of Three Many Cooks, recipe from Three Many Cooks.

Then add 1 teaspoon of whole cloves.


Tasty Kitchen Blog: Mulled Wine. Guest post by Maggy Keet of Three Many Cooks, recipe from Three Many Cooks.

Next add 1 teaspoon of whole peppercorns. You don’t have to add these, but I really like a little spicy heat in my mulled wine. If you like a lot of heat, just add more than a teaspoon.


Tasty Kitchen Blog: Mulled Wine. Guest post by Maggy Keet of Three Many Cooks, recipe from Three Many Cooks.

Then put the orange peels into the pot.


Tasty Kitchen Blog: Mulled Wine. Guest post by Maggy Keet of Three Many Cooks, recipe from Three Many Cooks.

Add 1 cup of water to the spice mix and bring to a boil. Simmering the spices in a little water first means you don’t have to overcook the wine to infuse it with flavor.


Tasty Kitchen Blog: Mulled Wine. Guest post by Maggy Keet of Three Many Cooks, recipe from Three Many Cooks.

Reduce heat and simmer until cinnamon sticks start to unfurl and spices have released their flavor, about 15 minutes.


Tasty Kitchen Blog: Mulled Wine. Guest post by Maggy Keet of Three Many Cooks, recipe from Three Many Cooks.

Add 1/2 cup sugar …


Tasty Kitchen Blog: Mulled Wine. Guest post by Maggy Keet of Three Many Cooks, recipe from Three Many Cooks.

And 1/2 cup port. Doesn’t that look pretty? Makes me feel Christmas-y just lookin’ at it.


Tasty Kitchen Blog: Mulled Wine. Guest post by Maggy Keet of Three Many Cooks, recipe from Three Many Cooks.

Once you’ve mixed those ingredients together, add the wine. Bring to a simmer over low heat, then turn off heat. At this point, you may strain the mulled wine if you like, but the cinnamon sticks, cloves and peppercorns will fall to the bottom of the pot.

Ladle into mugs and serve immediately (in your Dollar Store Christmas mugs!)


Tasty Kitchen Blog: Mulled Wine. Guest post by Maggy Keet of Three Many Cooks, recipe from Three Many Cooks.

Mulled wine, you bring joy to my world.

Happy Holidays, everyone!


Printable Recipe

Mulled Wine

5.00 Mitt(s) 3 Rating(s)3 votes, average: 5.00 out of 53 votes, average: 5.00 out of 53 votes, average: 5.00 out of 53 votes, average: 5.00 out of 53 votes, average: 5.00 out of 5

Prep Time:

Cook Time:

Difficulty: Easy

Servings: 8

8
x

Print Options

Page size Letter 3x5 4x6
Text Size Small Medium Large
Content Include description
Include prep time, etc.
Show image

Description

Quick Mulled Wine.

Ingredients

  • 3 sticks Cinnamon (2-3 Inches Long)
  • 1 teaspoon Whole Cloves
  • 1 teaspoon Whole Peppercorns
  • 1 whole Orange Peel, Removed With A Vegetable Peeler
  • 1 cup Water
  • ½ cups Sugar
  • 2 bottles (750ml Bottle) Full-bodied Red Wine, Such As Cabernet Or Shiraz
  • ½ cups Port

Preparation Instructions

Bring cinnamon, cloves, peppercorns, orange peel and water to boil in a small saucepan. Reduce heat and simmer until cinnamon sticks start to unfurl and spices have released their flavor, about 15 minutes.

Bring contents of saucepan, sugar, wine, and port to simmer over low heat in a Dutch oven or large saucepan. Turn off heat. Ladle into mugs and serve immediately.


_______________________________________

Three Many Cooks is the always-entertaining food blog of Pam Anderson and her two daughters, Maggy and Sharon. Pam is a well-known and much-respected food writer and author, Maggy is a “hippy adventurer meets 1950s housewife,” and Sharon refers to herself as a recovering food snob learning to survive on a graduate student’s budget. Theirs is a strong relationship both inside and outside the kitchen, and it shows in the food they create and the stories they tell.


Profile photo of Natalie | Perry's Plate

Bakery Style Rosemary Flatbread

Posted by in Baking, Step-by-Step Recipes

Tasty Kitchen Blog: Bakery Style Rosemary Flatbread. Guest post by Natalie Perry of Perry's Plate, recipe submitted by TK member culinarycapers.

 
We’re big hummus eaters at our house. Sometimes the only way I can get my little girls to eat raw vegetables is to place a bowl full of hummus in front of them. Lately I’ve grown weary of carrot sticks and cucumber slices and wanted to find something healthier to dip than a store-bought cracker. When I first stumbled upon this recipe for Bakery Style Rosemary Flatbread, I thought it was for a thin, soft bread, similar to naan.

Nope. Crunchier. Like a cracker trying its hardest to be a tortilla. But still a cracker. And the best part? There’s no yeast involved.

Today’s recipe comes from culinarycapers—a vegetarian TK member whose recipe box is filled with all kinds of delicious concoctions!

Let’s get started, shall we?


Tasty Kitchen Blog: Bakery Style Rosemary Flatbread. Guest post by Natalie Perry of Perry's Plate, recipe submitted by TK member culinarycapers.

No mysterious ingredients here: flour (I used white whole wheat), fresh rosemary, salt, olive oil, baking powder, freshly ground black pepper, and some parchment paper.


Tasty Kitchen Blog: Bakery Style Rosemary Flatbread. Guest post by Natalie Perry of Perry's Plate, recipe submitted by TK member culinarycapers.

First, get the leaves off of the rosemary stems. The easiest way to do this is by grabbing it with one hand where the tough stem begins. With your other hand, pinch the stem, slide your fingers down, and …


Tasty Kitchen Blog: Bakery Style Rosemary Flatbread. Guest post by Natalie Perry of Perry's Plate, recipe submitted by TK member culinarycapers.

ZIP! Off they come. The first time I did this I’m pretty sure I giggled at how easy it was.


Tasty Kitchen Blog: Bakery Style Rosemary Flatbread. Guest post by Natalie Perry of Perry's Plate, recipe submitted by TK member culinarycapers.

You’ll need about three sprigs. Give those leaves a good chop.


Tasty Kitchen Blog: Bakery Style Rosemary Flatbread. Guest post by Natalie Perry of Perry's Plate, recipe submitted by TK member culinarycapers.

Then put them in a big bowl with the other dry ingredients.


Tasty Kitchen Blog: Bakery Style Rosemary Flatbread. Guest post by Natalie Perry of Perry's Plate, recipe submitted by TK member culinarycapers.

Whisk away.


Tasty Kitchen Blog: Bakery Style Rosemary Flatbread. Guest post by Natalie Perry of Perry's Plate, recipe submitted by TK member culinarycapers.

Then pour in the oil.


Tasty Kitchen Blog: Bakery Style Rosemary Flatbread. Guest post by Natalie Perry of Perry's Plate, recipe submitted by TK member culinarycapers.

And some warm water. (No, I didn’t rinse my measuring cup. You probably wouldn’t either. Admit.)


Tasty Kitchen Blog: Bakery Style Rosemary Flatbread. Guest post by Natalie Perry of Perry's Plate, recipe submitted by TK member culinarycapers.

Stir until it comes together and gets clumpy.


Tasty Kitchen Blog: Bakery Style Rosemary Flatbread. Guest post by Natalie Perry of Perry's Plate, recipe submitted by TK member culinarycapers.

At this point you may want to knead it a bit. Not a lot. Just to get it into a big ball.


Tasty Kitchen Blog: Bakery Style Rosemary Flatbread. Guest post by Natalie Perry of Perry's Plate, recipe submitted by TK member culinarycapers.

Then cover it with a clean towel and let it rest for 30 minutes while you check your email, take a shower, eat one or two clementine oranges. Or eight. I’m so glad they’re back in season, aren’t you?


Tasty Kitchen Blog: Bakery Style Rosemary Flatbread. Guest post by Natalie Perry of Perry's Plate, recipe submitted by TK member culinarycapers.

Meanwhile, stick a cookie sheet in the oven and preheat it to 450 degrees. If it’s rimmed, place it upside down so you can get the flatbread in and out of the oven easier.


Tasty Kitchen Blog: Bakery Style Rosemary Flatbread. Guest post by Natalie Perry of Perry's Plate, recipe submitted by TK member culinarycapers.

When the dough’s ready, get a clean workspace ready by sprinkling it with flour. Have a rolling pin and a dough cutter (if you’ve got one) ready.


Tasty Kitchen Blog: Bakery Style Rosemary Flatbread. Guest post by Natalie Perry of Perry's Plate, recipe submitted by TK member culinarycapers.

Divide the dough into 6 or 8 pieces, depending on how large you want your flatbreads to be. Dough cutters are great for this, but you could surely use a knife.


Tasty Kitchen Blog: Bakery Style Rosemary Flatbread. Guest post by Natalie Perry of Perry's Plate, recipe submitted by TK member culinarycapers.

Place all but one section of the dough back into the bowl and keep them covered as you work. Sprinkle a bit of flour on the dough you’re working with.


Tasty Kitchen Blog: Bakery Style Rosemary Flatbread. Guest post by Natalie Perry of Perry's Plate, recipe submitted by TK member culinarycapers.

Roll it out fairly thin. You could go paper thin if you’d like. Experiment with it and see what makes you happy. It doesn’t have to be perfectly round. Perfect edges and symmetry were soooo 5 years ago—lucky for those of us who are incapable of making perfect circles.


Tasty Kitchen Blog: Bakery Style Rosemary Flatbread. Guest post by Natalie Perry of Perry's Plate, recipe submitted by TK member culinarycapers.

Using your dough cutter (or a spatula) loosen the dough from the workspace …


Tasty Kitchen Blog: Bakery Style Rosemary Flatbread. Guest post by Natalie Perry of Perry's Plate, recipe submitted by TK member culinarycapers.

And transfer it to a smallish piece of parchment.


Tasty Kitchen Blog: Bakery Style Rosemary Flatbread. Guest post by Natalie Perry of Perry's Plate, recipe submitted by TK member culinarycapers.

Brush liberally with olive oil.


Tasty Kitchen Blog: Bakery Style Rosemary Flatbread. Guest post by Natalie Perry of Perry's Plate, recipe submitted by TK member culinarycapers.

Sprinkle with sea salt, then place it (carefully!!) on that screaming hot pan in the oven. I just picked up the paper and put it in there with my hands. You could also put it on another flat baking sheet or pizza peel and slide it into the oven.

Oh, and I’m pretty sure it says on my box of parchment paper that I shouldn’t use it in an oven hotter than 420 degrees. I used the same two pieces of parchment for all of my flatbreads and they did not spontaneously combust. I’m not a parchment safety officer, but I think it helps not to have excess (like, a LOT of) parchment around the dough.

And I like to live on the edge.

But, seriously. Keep an eye on it.


Tasty Kitchen Blog: Bakery Style Rosemary Flatbread. Guest post by Natalie Perry of Perry's Plate, recipe submitted by TK member culinarycapers.

When it comes out of the oven it should look something like this. Golden brown with a few bubbles (or some giant ones) baked onto the surface. Yum.


Tasty Kitchen Blog: Bakery Style Rosemary Flatbread. Guest post by Natalie Perry of Perry's Plate, recipe submitted by TK member culinarycapers.

Let it cool for a bit, then break it in to pieces. This flatbread would be great alongside some crudites and hummus (or any kind of vegetable dip) at a holiday gathering. It’s very light and has a subtle rosemary flavor that pairs well with all kinds of things.

Thanks for a great recipe culinarycapers!


Printable Recipe

Bakery Style Rosemary Flatbread

5.00 Mitt(s) 12 Rating(s)12 votes, average: 5.00 out of 512 votes, average: 5.00 out of 512 votes, average: 5.00 out of 512 votes, average: 5.00 out of 512 votes, average: 5.00 out of 5

Prep Time:

Cook Time:

Difficulty: Easy

Servings: 12

12
x

Print Options

Page size Letter 3x5 4x6
Text Size Small Medium Large
Content Include description
Include prep time, etc.
Show image

Description

I love these rosemary crackers by themselves or dipped in hummus or baba ghanoush. I use a spicy dark green extra virgin olive oil because I love the taste, but any olive oil will work fine.

Ingredients

  • 3-½ cups Flour
  • 1 teaspoon Salt
  • 2 teaspoons Baking Powder
  • 2 Tablespoons Chopped Fresh Rosemary
  • 1 Tablespoon Coarsely Ground Black Pepper (optional)
  • 1 cup Warm Water
  • ¾ cups Olive Oil
  • 8 pieces Parchment Paper
  • 1 cup Olive Oil For Brushing
  • 8 dashes Medium Coarse Sea Salt

Preparation Instructions

Place a large rimless baking sheet or an inverted rimmed baking sheet in the oven and heat to 450 degrees.

Whisk flour, salt, baking powder, rosemary and black pepper together in a large bowl. With a wooden spoon, stir in the water and olive oil until a medium stiff dough forms. Knead gently if necessary to combine. Let rest in the bowl covered with a plate or plastic wrap for 30 minutes.

Divide dough into 6 to 8 portions, depending on the size of your cookie sheet. One at a time, roll dough out with lots of flour into a paper-thin rustic round; the thinner you roll it, the thinner the cracker will be. Experiment to find just the thickness that suits you.

Place on the parchment paper and brush excess flour off the dough, then brush liberally with olive oil and sprinkle with a little sea salt. With another cookie sheet or pizza peel, transfer to the hot baking sheet and bake for 8 to 12 minutes until lightly browned on the edges with specks of brown throughout. Remove from the oven, cool and break into large pieces. Repeat with the remaining dough.


_______________________________________

Be sure to check out Natalie’s own beautiful food blog, Perrys’ Plate, where you can see her growing collection of lovely recipes. There’s always something new to see there. Go visit now!


Profile photo of Erika (TK)

Cookies Galore!

Posted by in The Theme Is...

  Happy Friday, everyone! Today, we’re going to close Cookie Week with a bang. A 29-cookie bang, to be exact. That may seem like a big number to you but trust me, it’s paltry considering we have 130 pages of recipes in the Cookies section of our Desserts category. That’s a lot of cookies, friends. […]

Profile photo of missamy

Almond Roca

Posted by in Holidays, Step-by-Step Recipes

Get over your fear of candy making and rock the roca! Quick and easy, and with only one pot and one pan dirty, you'll have Heath Bar-like goodness in no time. Sharing optional.